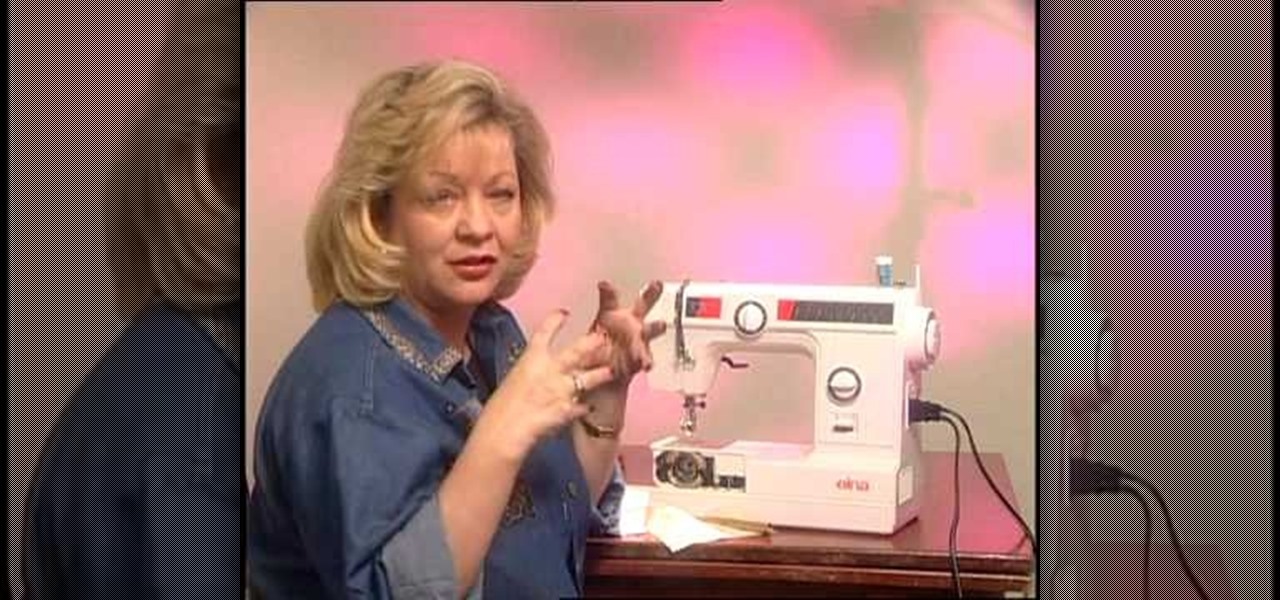
Whether you have a Singer sewing machine, a Janome or a Brother, this video is good advice. If your sewing machine has been sitting in storage or has been unused for a long time, you'll need to do a little bit of maintenance before you start it up again.
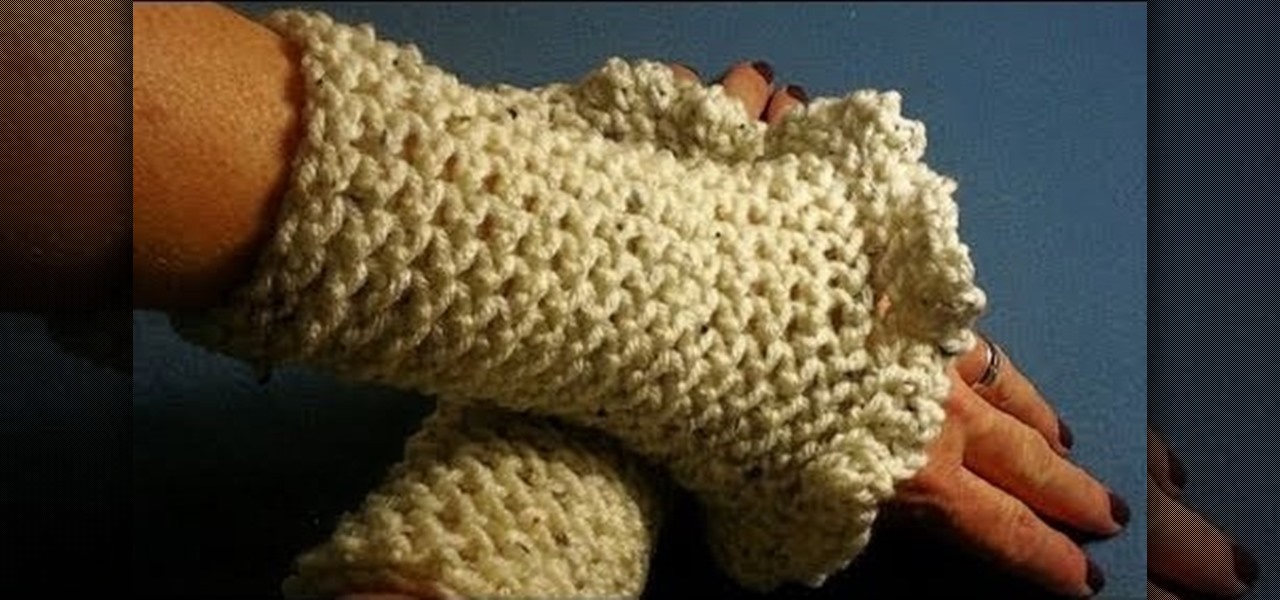
This is perfect for someone who wants to keep their hands warm but still work with their hands (such as typing, sewing or crafting). Start with medium weight worsted yarn and a size I crochet hook to make these fun wrist warmers.
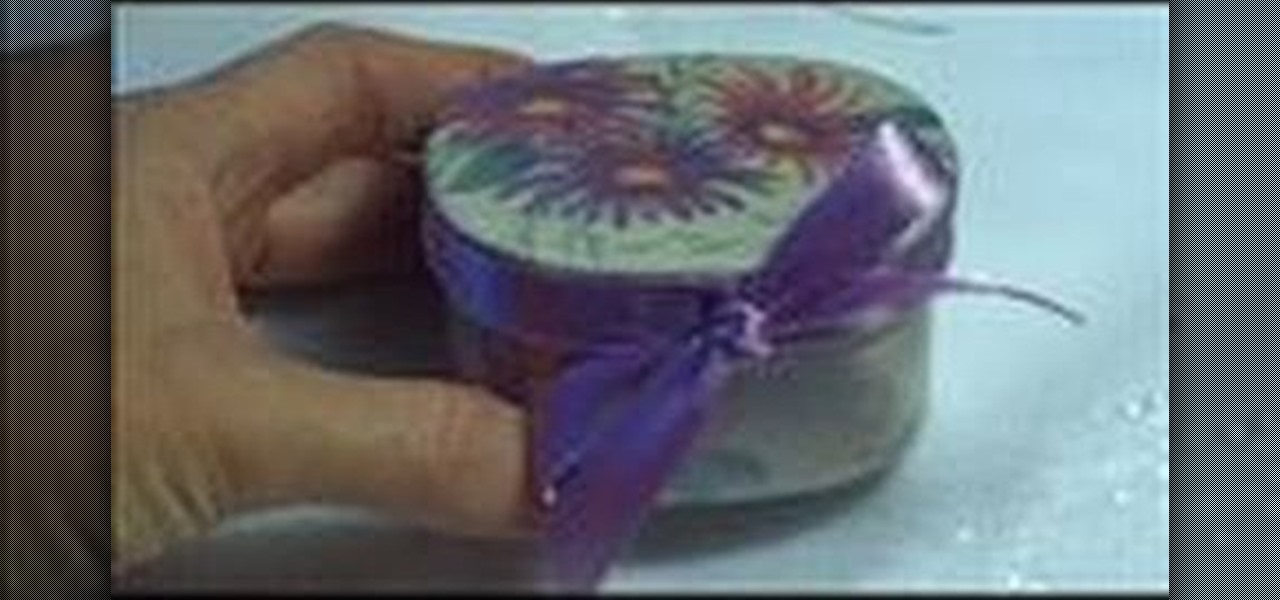
Start with a basic cardboard box. You will also need some paper (wrapping paper or desginer paper works best), some Mod Podge, scissors, a length of ribbon and some card stock to form stencils. Then, decorate as you wish! Add embellishments like buttons or appliques as well.
This is the perfect tutorial for beginners who are interesting in learning how to quilt. Start with a basic abstract pattern and your favorite colors of fabric (you can use scraps if you wish as well), then follow the video and make your first quilt!
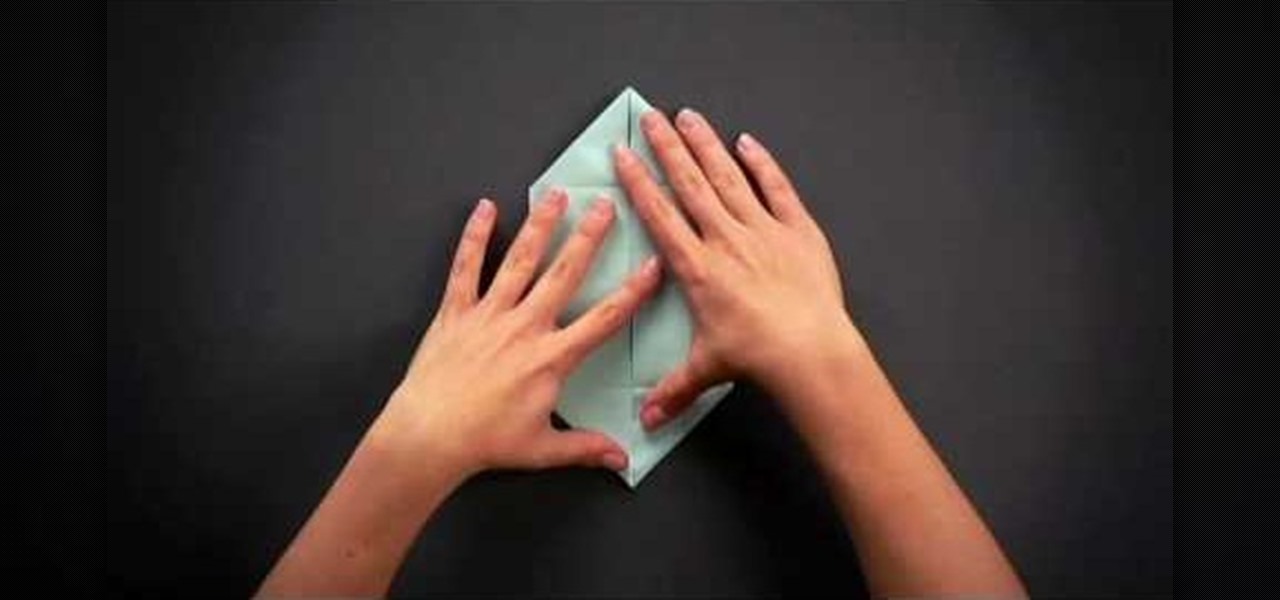
We know that there is some seriously impressive origami out there. From 30-sided modular origami spheres to magic cubes and advanced, rounded figures like dragons, the world of origami offers so much to create if only you practice.
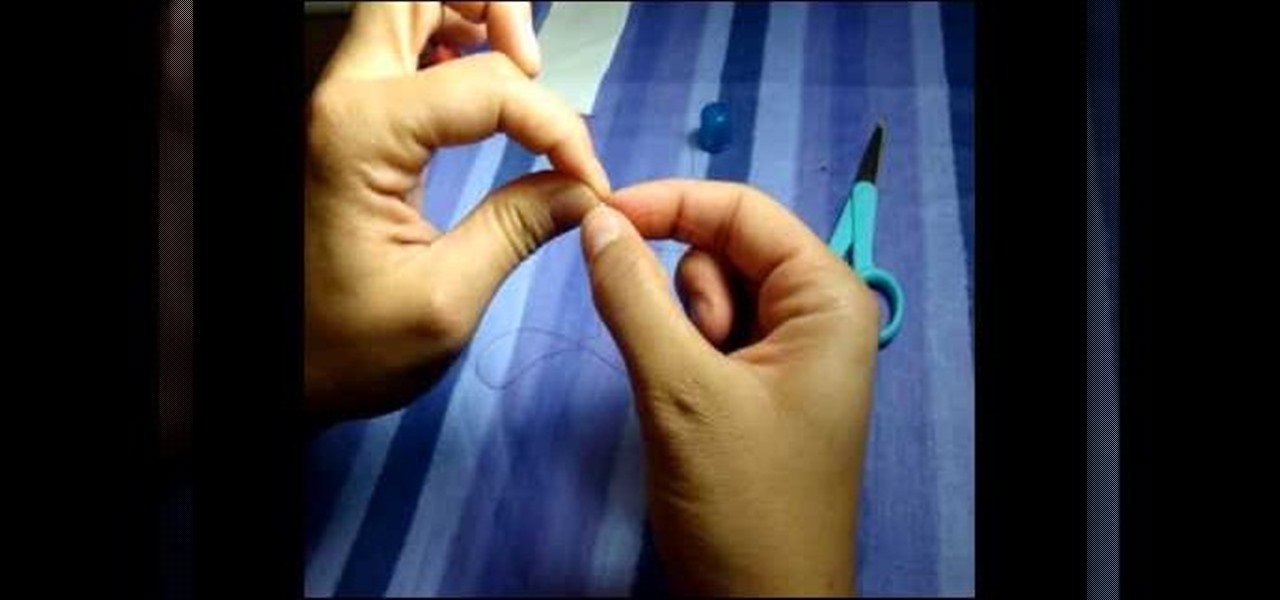
Sometimes, hand sewing is a better idea than machine sewing - or maybe you just don't have a sewing machine, but still want to sew a few things. This tutorial shows you the materials and techniques you'll need to get started hand sewing.

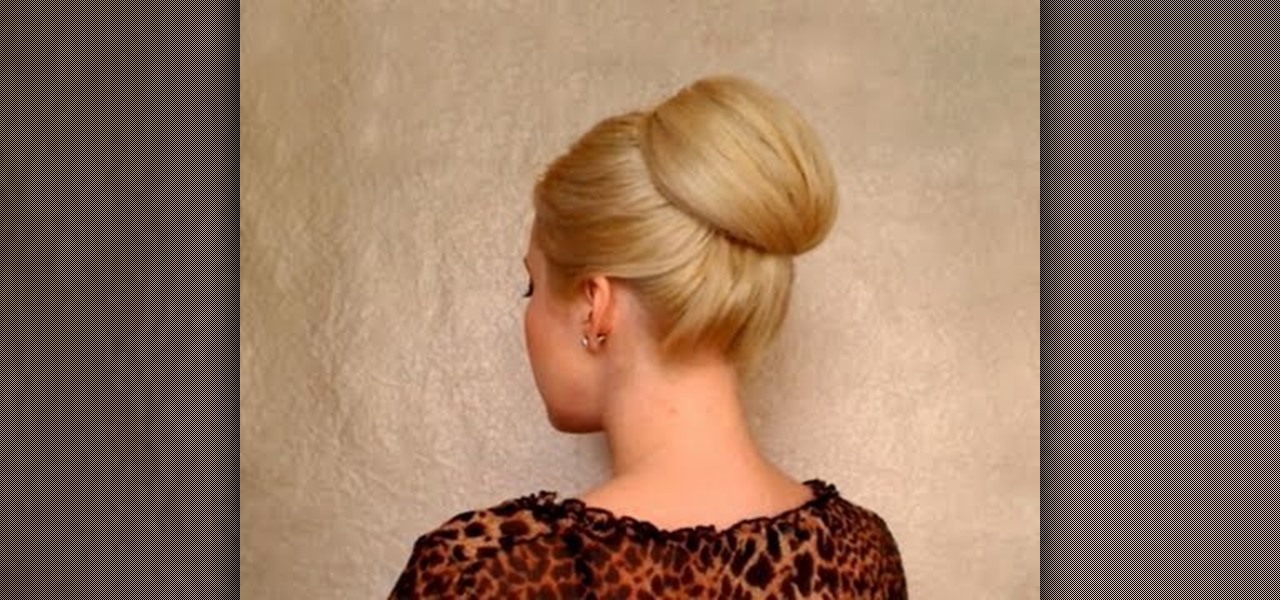
Back in the '40s through the '60s, it took very little effort for gorgeous starlet Audrey Hepburn to start new trends. Whether she was sporting a short pixie cute (as in "Roman Holiday") or wearing buggy sunglasses (vide "Breakfast at Tiffany's"), Hepburn was always on the cutting edge.

The key to being able to perform yoga properly is in the breath. This tutorial shows you how to get started on breathing the yogic way. Use your entire lung capacity to take slow, measured breaths and focus on your diaphragm.

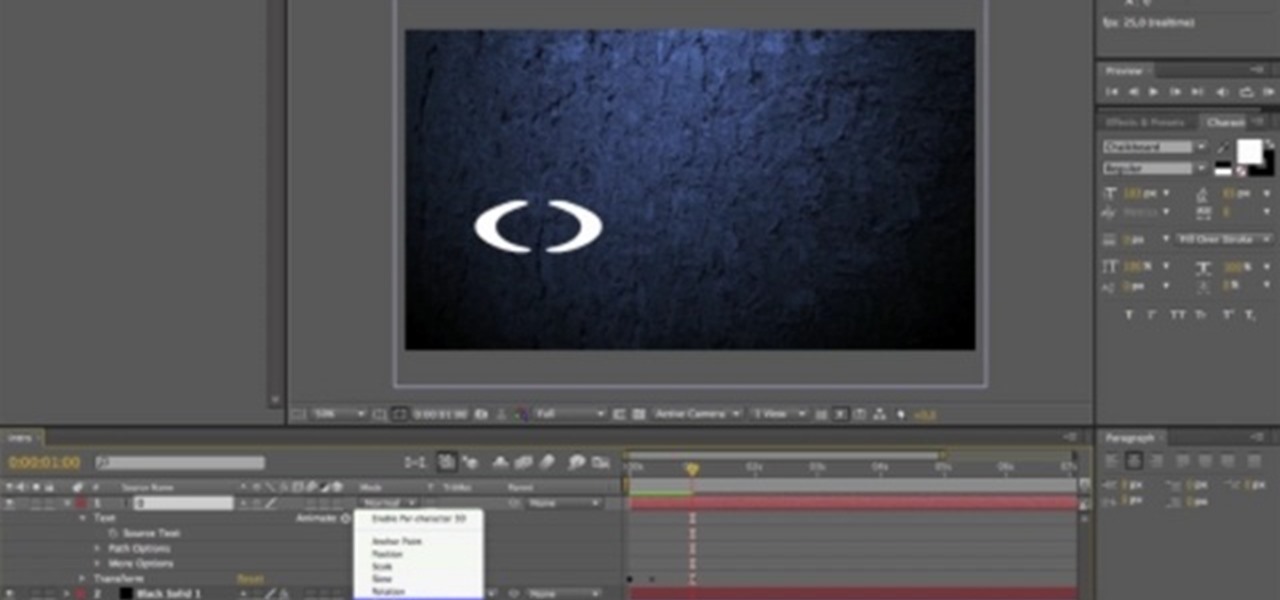
Start with Adobe After Effects. Decide what you want your intro to look like. Then follow along with this tutorial, which shows you how to use the various tools in After Effects to create a short yet effective intro clip.

You can still make great high definition videos using the Canon digital SLR camera line. This video gives you quite a few tips you can use to start creating your own videos and movies - the most important one of which is to have fun!

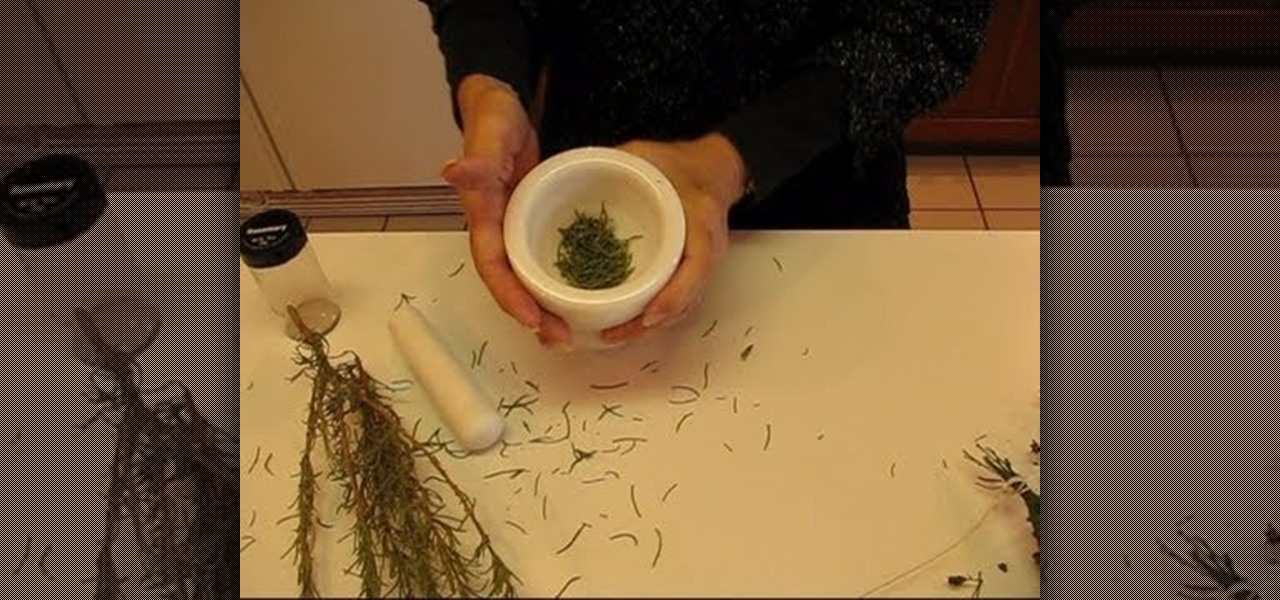
If you're into creating your own dried herbs and spices, you will eventually start to have questions about how to store them long-term, rather than just leave them hanging. This tutorial shows you how to properly store and care for home dried herbs.

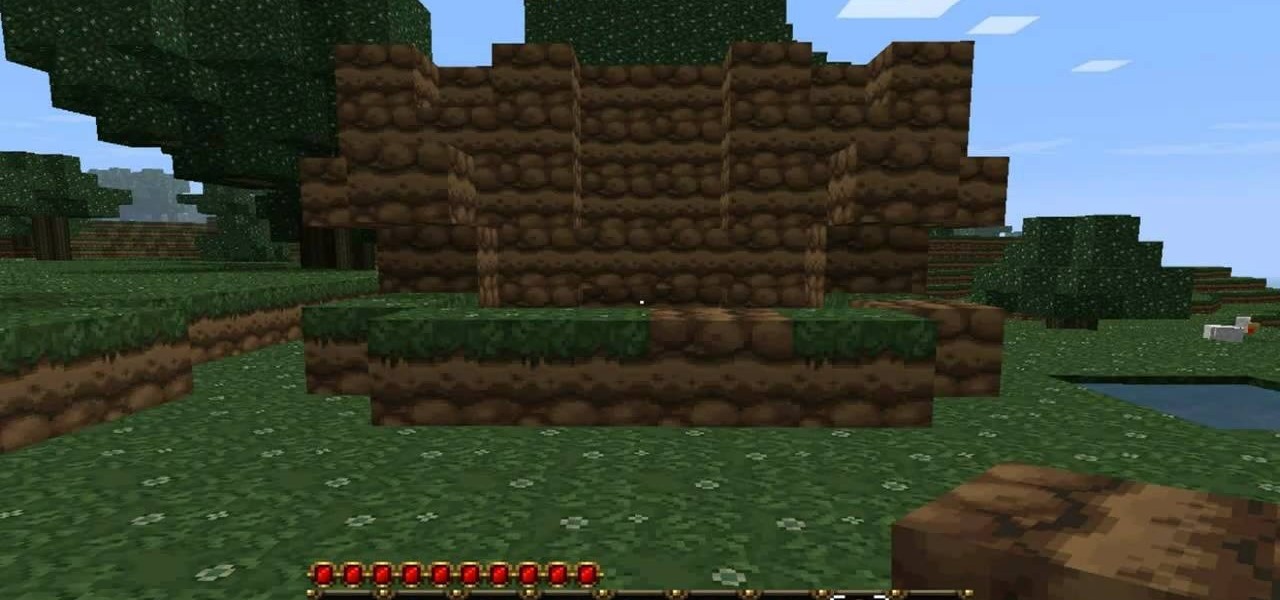
You can have an infinitely regenerating cobblestone factory in MineCraft! You will need two buckets of lava, four buckets of water and eighty four blocks of dirt to make this factory that will then start producing unlimited cobblestones for you.

Before you start whipping up dishes like profiteroles stuffed with whipped cream and raspberries, you should probably master the basics first. You can't excel - and sometimes break the rules - without learning them first, right?

Call of Duty: Black Ops has a great Easter egg on the main menu which allows you shoot and kill tons of Nazi zombies! And it's really easy to find. Basically, from the main menu, look down at your restraints and start tapping LT and RT to break free. This will give you the "Just Ask Me Nicely" achievement. Next, go to the computer and type in DOA, which will unlock Dead Ops Arcade. When you start playing the game, you'll earn the "Insert Coin" achievement. That's it!

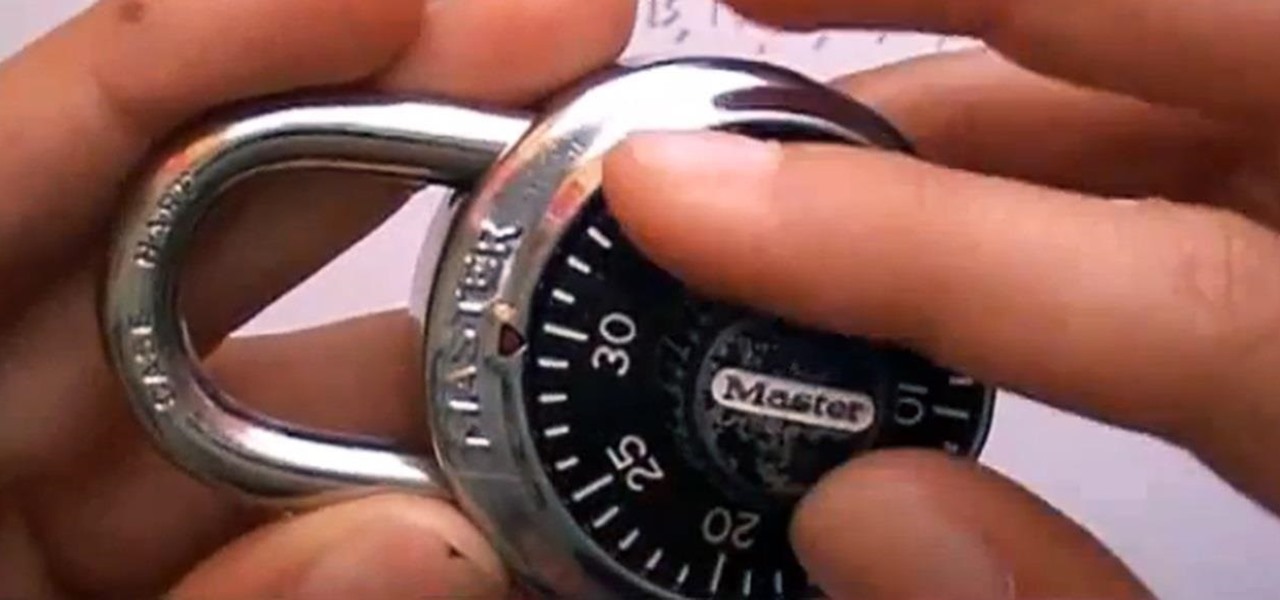
Lock picking is a great skill that takes lots of practice and patience to master, but some locks simply can't be picked, like a Master Lock combination padlock. With a combination lock, you'll have to do it the old-fashioned way—cracking combinations.

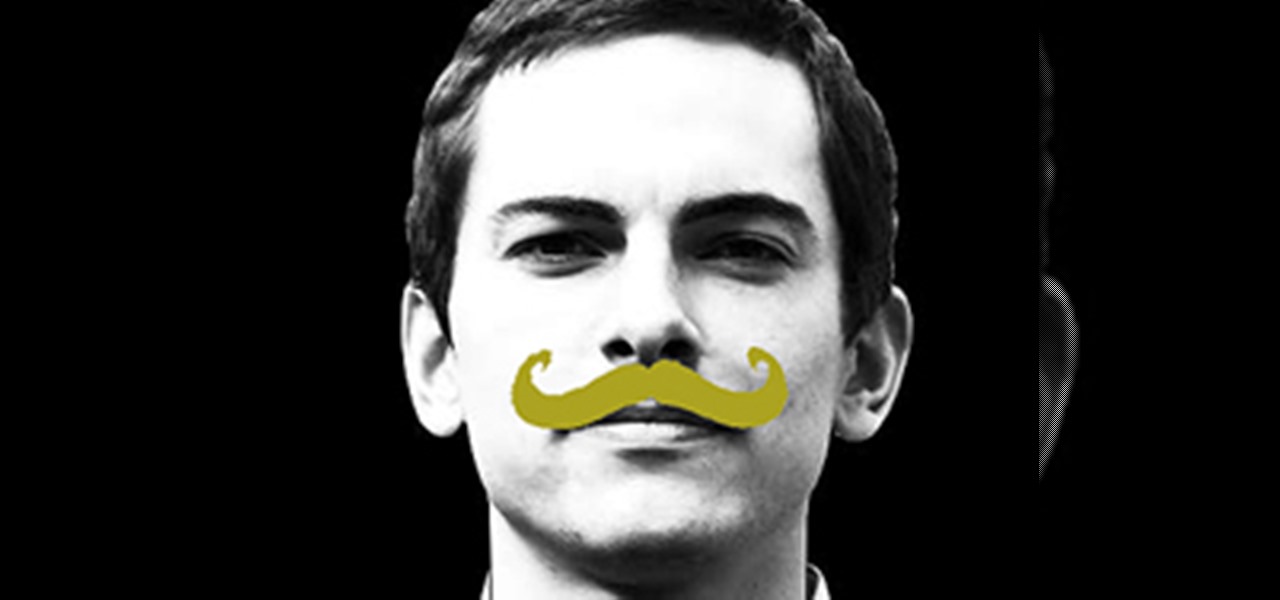
Movember is here, and if you haven't already started growing your moustache, then you still have time. Movember takes place during the entire month of November, and if you haven't figured it out quite yet, it is a portmanteau of the words moustache and November.

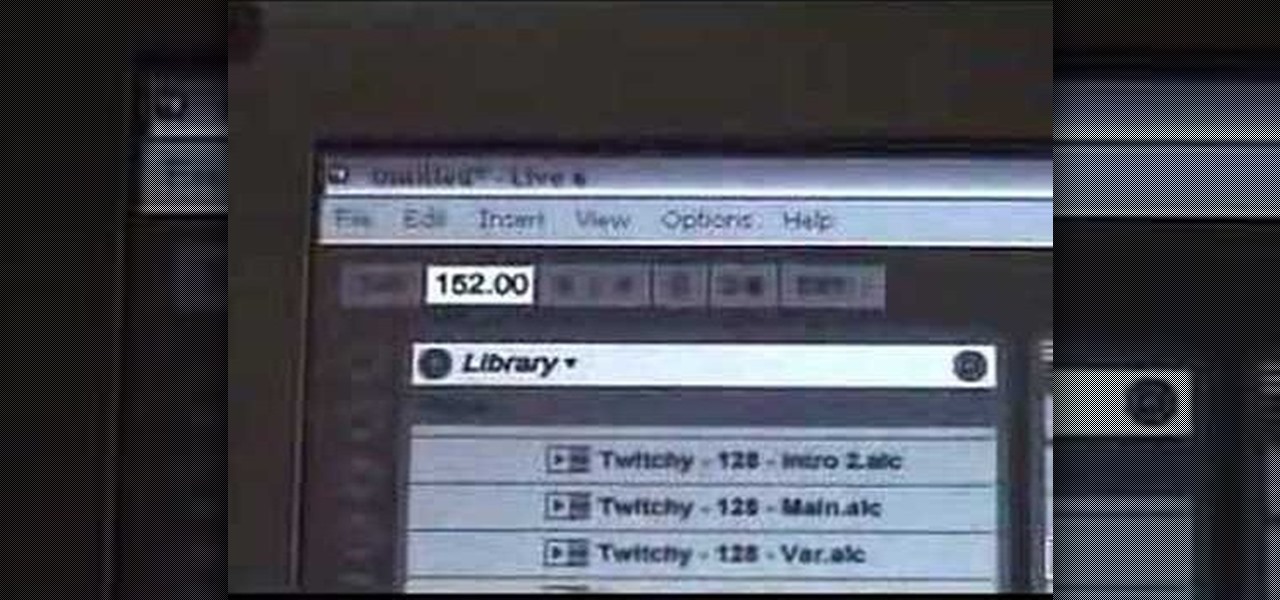
Does traveling between the world's finest nightclubs getting paid to play music sound good to you? Then a career as an international superstar DJ may be for you. But where to start? This video might be a good place. It will teach you the basics of mixing two songs together using Ableton Live, the premier live sequencing and mixing software, to create your very first DJ mix.

In this tutorial, we learn how to draw a vintage car. This car will take a lot of detail, so make sure you take your time with it. Start out by drawing the hood of the car, then work your way to the back of it. Once you have the basic outline of the car finished, add in the details! Don't forget the windshield, side mirrors, paint, wheels, tires, etc while drawing. To finish this up, start to shade with the pencil and then use the eraser to create a shined appearance as well. Add in colors if...

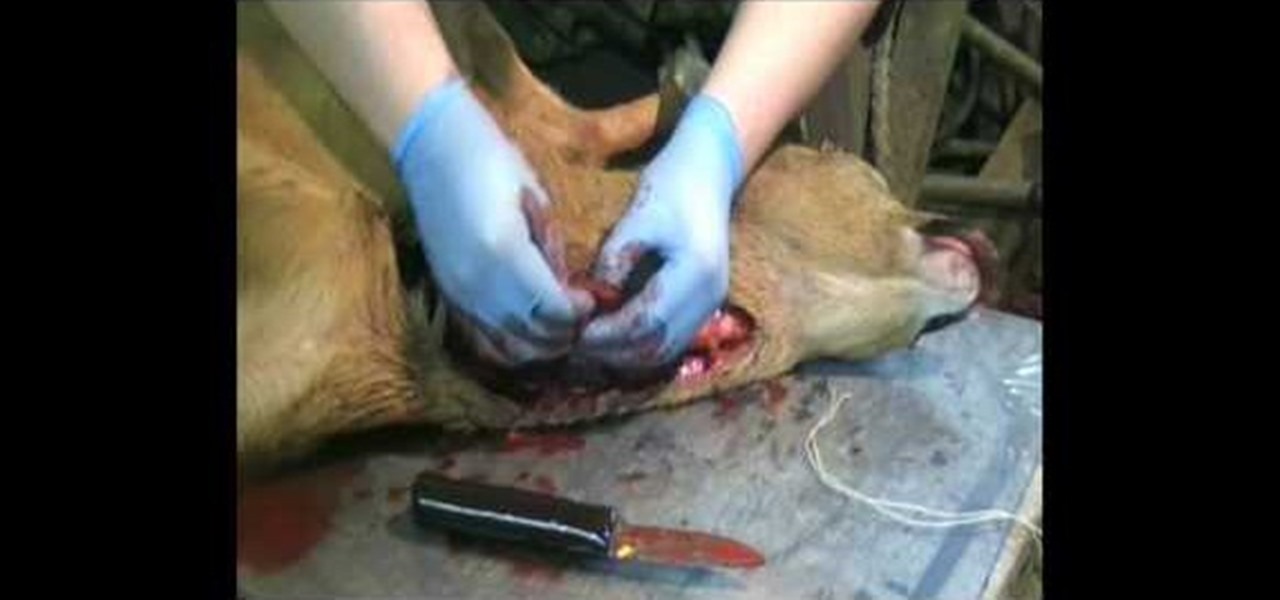
In this tutorial we learn how to field dress a deer. First, put some gloves on and grab a sharp knife. After this, puncture a hole in the lower half of the throat of the deer. Next, start to cut up until you reach the neck. There will be a lot of blood that comes out, just a warning. Then, you will see the inside of the deer start to come out from the fur. Cut the piece of the neck and then tie together at the end. To finish, go to the rear end of the deer and cut from the hole. Tie it with a...

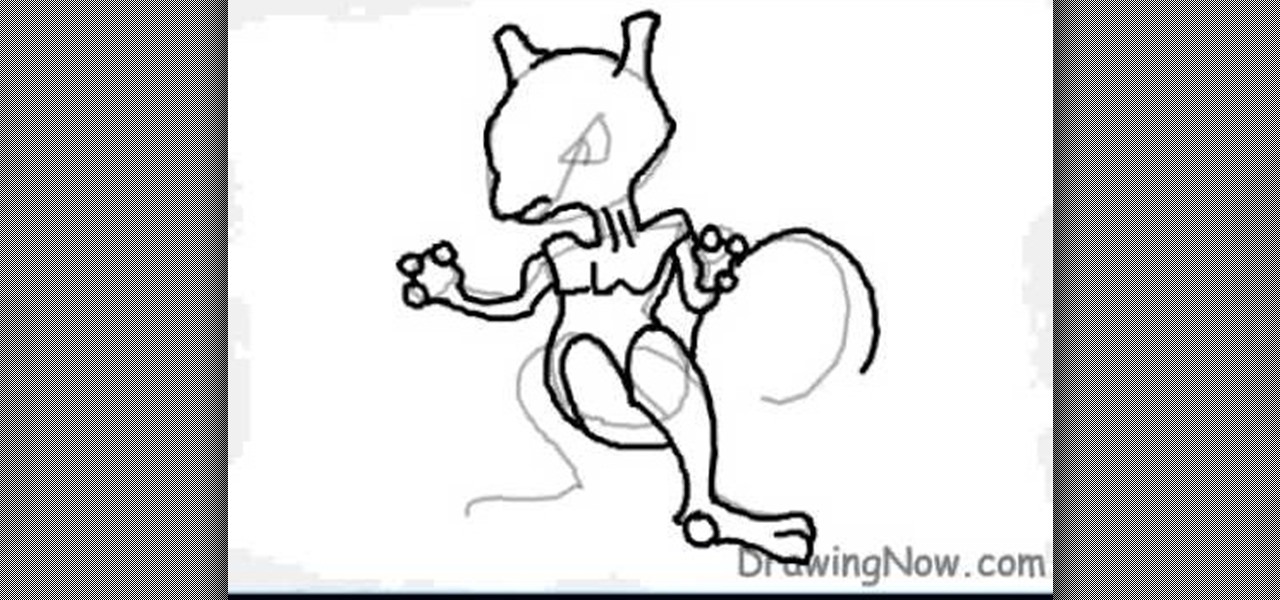
In this tutorial we learn how to draw Mewtwo. Start out by drawing the outline of the head and the rest of the body with a light pencil. Then, start to add in the details of the body and the face. Once completed, you will draw the permanent outline onto the picture over the first one and erase the first one. Next, you will color in the skin and clothing that Mewtwo is wearing. Add in shading around the character to make it look more realistic. Also make sure to use different colors on the ori...

In this tutorial, we learn how to draw Demon Realm Pain. To start, you will draw the outline of the character with a pencil. Draw the headband on him first, then draw the eyes, nose, and mouth. After this, draw on the top of the head using a half circle, then draw on the horns on top of the hat. After this, draw on freckles to the character's face and then shade in around the different areas. After this, you will start to draw in additional details around the face and shade in where needed to...

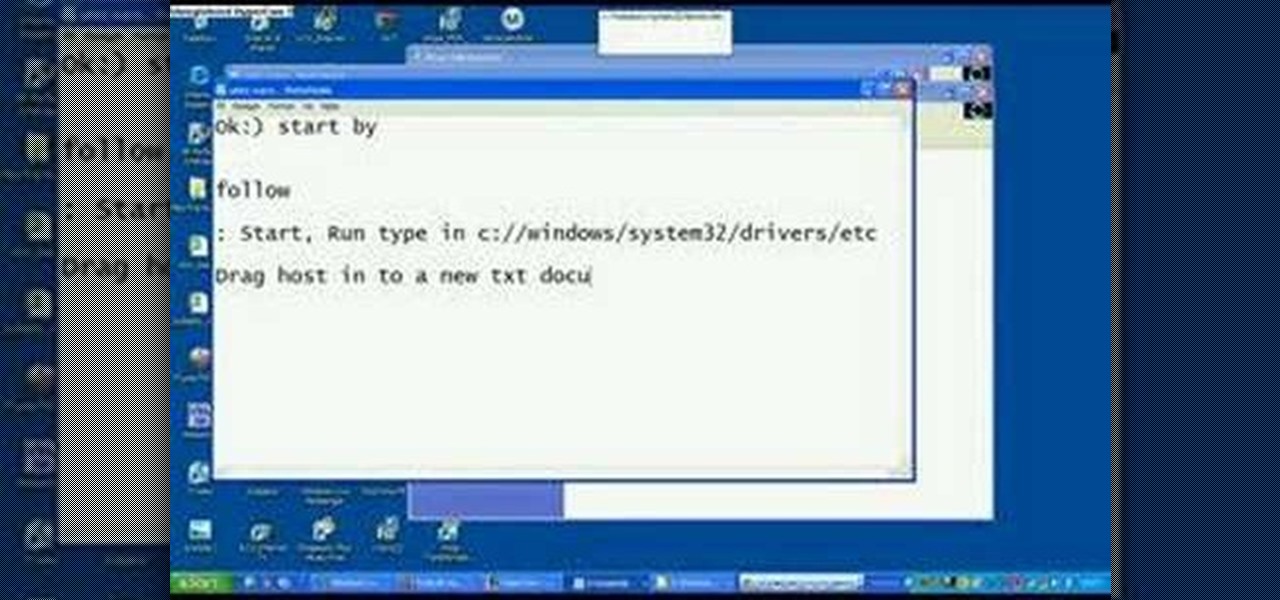
In this tutorial, we learn how to block a website. First, you will start by going to the start menu then go to "run". After this, type in "c://windows/system32.drivers/etc". After this, a new window will pop up on your screen. With this, you will drag the host into a text document. Then, type in the website that you want to block inside of this document. Once you are finished, type in the IP address of your computer next to that and save it. This will finish up the blocking of the website and...

In this tutorial, we learn how to draw fold legend Bob Dylan. To start, you will first draw the hair and the head along with the upper body, hands, and guitar. After this, you will start to add in the facial features. Draw on the eyes and add lines to make the face look more realistic. Make sure it looks like he is holding the guitar with his hand, showing one hand around it. After this, you will need to add color to the drawing on both the clothing and the skin. To finish, you will erase any...

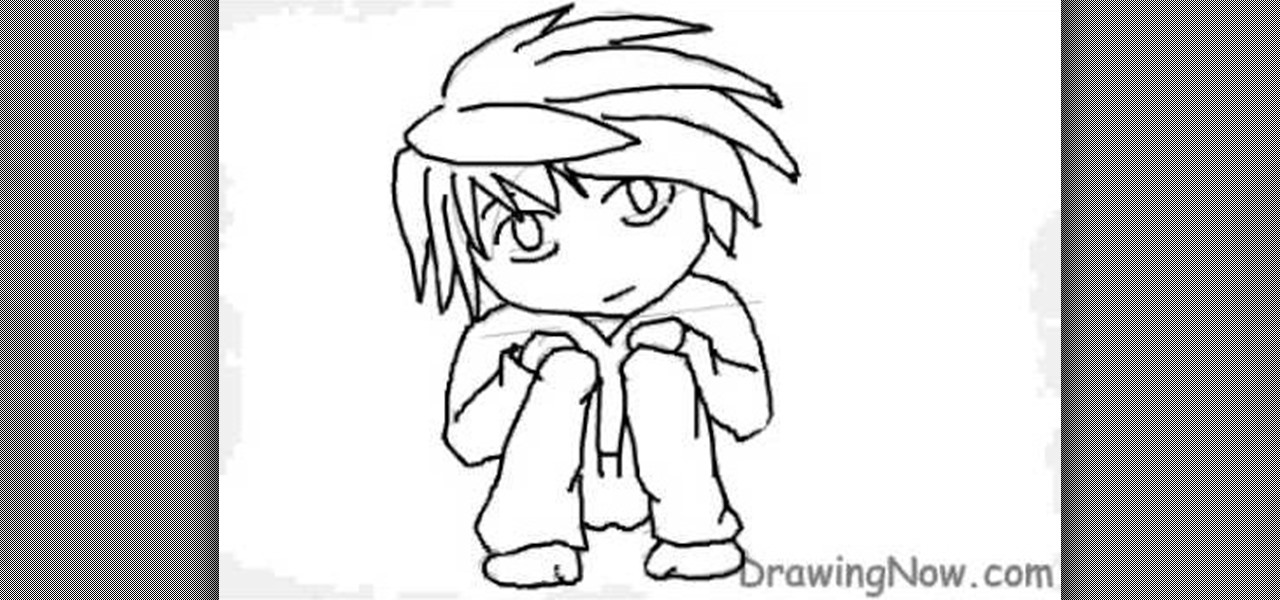
In this video, we learn how to draw a chibi L. As with any drawing, you want to start with the outline of the character to get a feel for where all the parts are going to go. After this, you will use a different drawing material to draw over this and create the final lines for the Chibi L. After this, start to draw in the details of the face and the rest of the body. Also make sure you draw in the hair, adding lines to show where the different strands are. Finish this off by coloring the skin...

In this tutorial, we learn how to walkthrough This Is the Only Level Too - All Levels. As you start the level, you will basically start to bounce around until you get to the gate. Don't move for five seconds to help you open the gate in the first level. On the second level, just go to the gate as normal. Then, use your mouse to help you open the gate up. Keep going through the different stages and hit your arrow keys or use your mouse to help you continue through. When you finish through the ...

In this drawing tutorial, we learn how to draw a chibi Sokka. Start off by drawing a round circle for the head of the character. After this, draw on the ears to the sides of the head. Then, draw on the hair on the back of the head followed by the facial features. After this, draw on the body, but don't draw a neck because this character doesn't really have one. Once you have the outline finished, start to use a darker marker to create the clothing and other details onto the character. Clean u...

In this tutorial, we learn how to heat emboss a stamped image for a handmade card. First, use the stamp to grab ink and then lay it down on a piece of card stock. After this, cover it in ink and start to add heat to it. You will see the image start to change color when you do this. It will turn to a metallic sort of color when you add the heat to it. Once you have added heat to the entire thing, you will be finished with the embossed stamp effect! Do this for any type of stamp you want and ha...

In this tutorial, we learn how to draw a twisted skull. First, draw the outline of the skull and then start to draw in the jaw line around the middle. After you have this drawn out, draw in the teeth on the top and bottom of the face. Then, draw in the eye sockets and the nose shape. From here, start to add in lines that look like cracks around the top and sides of the skull. There is no perfect way to draw this, draw it how you feel it should look! Add in some shading to show the depth and c...

When you think of bruschetta, you probably start thinking about its crispy, drool-worthy texture and the tomato, vinegar, and olive oil dip that usually goes on top. But bruschetta, which is the Italian word for "bread," can actually be topped with anything.

In this how-to from Household Hacker, we learn of a number of free proxy services that make getting around your school's Internet filter software a breeze. For all of the details, and to start accessing and using all of your favorite websites when at school, watch this video guide.

Learn the secret to running the FaceTime video phone call app over your iPhone 4's data plan with this hacker's how-to. For all of the juicy details, and to get started making video calls over cellular internet on your own Apple iPhone 4, watch this video tutorial.

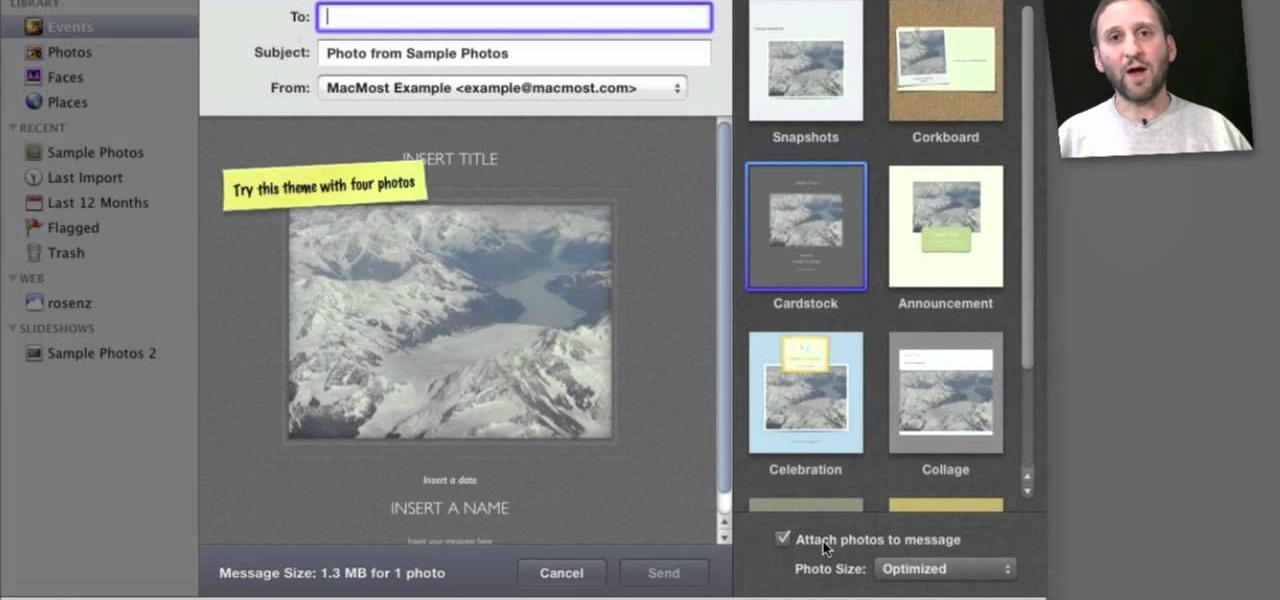
Looking for a quick primer on how to email someone a photo from within Apple's iPhoto 11? It's easy! And this brief home-computing how-to from MacMost presents a complete, step-by-step overview of the process. Get started sharing pictures and photos within iPhoto 11 with this video guide.

Interested in using the Google TV Ads SpotMixer tool to produce your television commercial? It's easy. And this official video guide from the folks at Google AdWords presents a complete guide. For all of the relevant details, and to get started using SpotMixer to create your own custom TV spots, watch this clip.

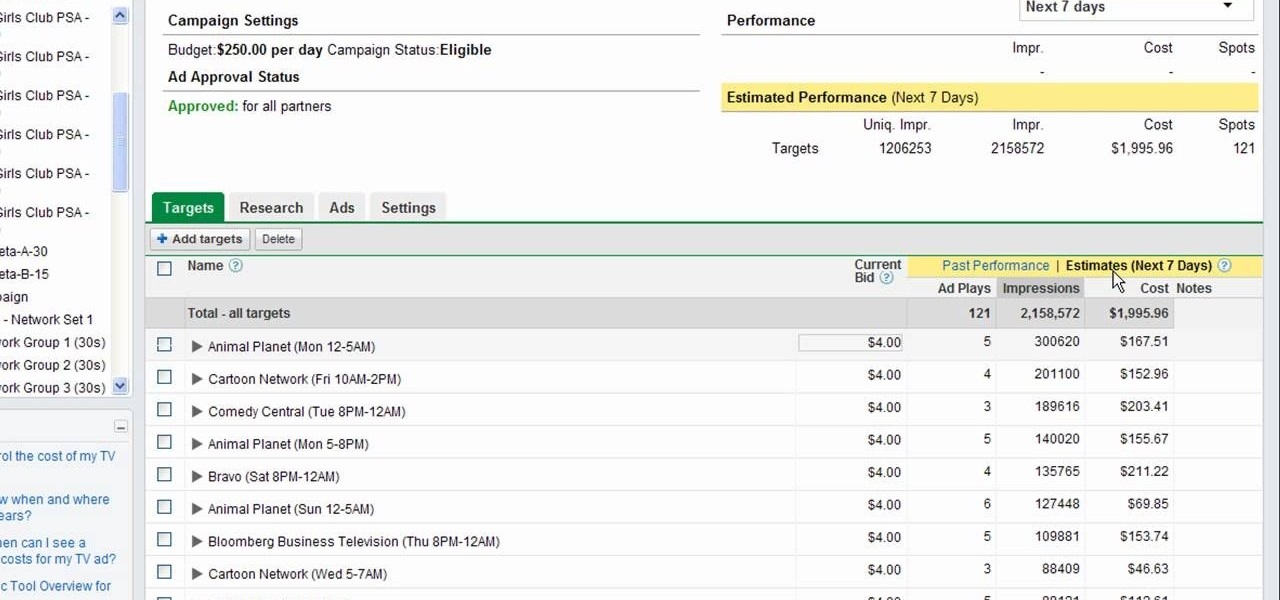
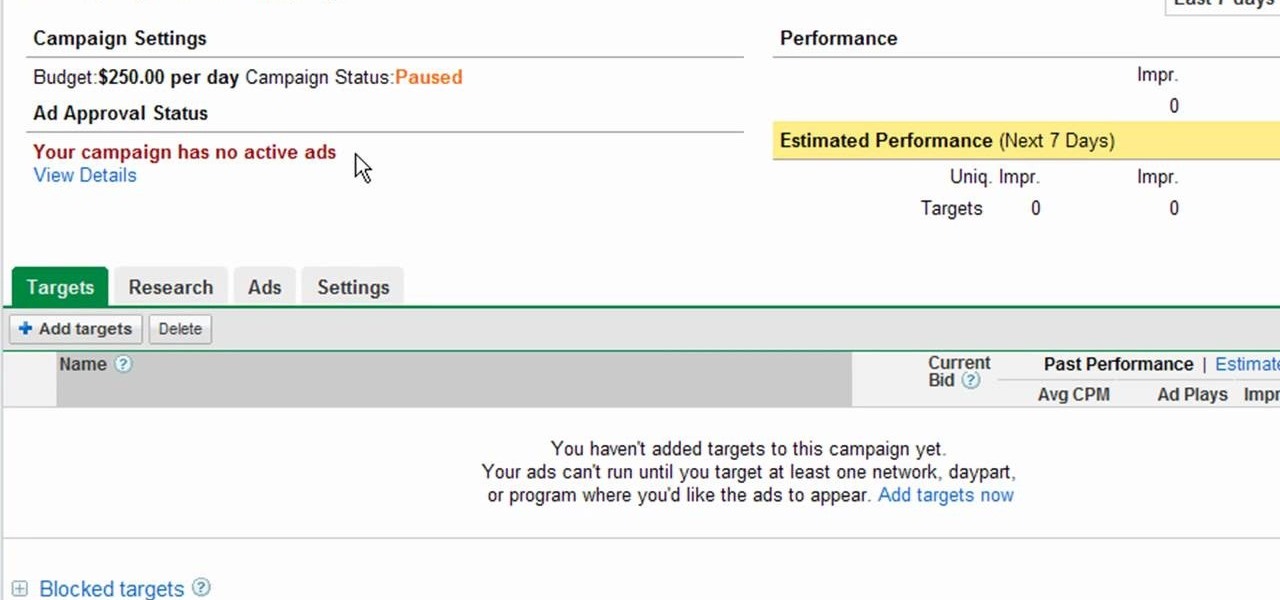
Interested to know how many TV impressions you'll receive over the next seven days? This official video from Google will teach you how to use the new interface to determine just that. For all of the relevant details, and to get started estimating the impressions of your Google AdWords TV Ads campaigns, watch this clip.

Want to see how a Google TV Ads national cable television advertising campaign is doing? This official video from Google will teach you how to use the new interface to determine just that. For all of the relevant details, and to get started gauging the effectiveness of your own Google AdWords TV Ads campaigns, watch this clip.

If you're only fighting with foam, you don't want a professional hunting weapon. But you can refit a commercial crossobw and make it larp safe. Starting with the Cobra crossbow, you can modify it to safely shoot foam tipped arrows at a boffer larp.

Combat is a fundamental part of many boffer larps, and you'll need to know how to fight well in order to have a successful PC for most games. This tutorial starts with the very basics of weapon grip, and shows you other important boffer combat techniques, like footwork and how to attack without leaving yourself open for a counterattack.

Fallout: New Vegas is OUT NOW, and this video will show you the complete walkthrough for the "Ring-a-Ding-Ding" quest, which subsequently gives you the "Ring-a-Ding-Ding" achievement. If you haven't ordered your copy of Fallout: New Vegas for the Xbox 360 yet, do it now, then follow along with this video to start collecting your achievements and raising your gamerscore. Completing this mission gives you 25G.

In this tutorial, we learn knitting basics. To knit, you will start out by selecting your choice and colors of yarns. After this, you will need to grab two knitting needles and then make a slipknot from the yarn with your finger. Attach this to one of the needles and then start a chain one on this. From here, you will continue to wrap the thread around the needle and then squish it all together. Then, take the other needle and wrap it into the first part of the thread. Then, continue to work ...

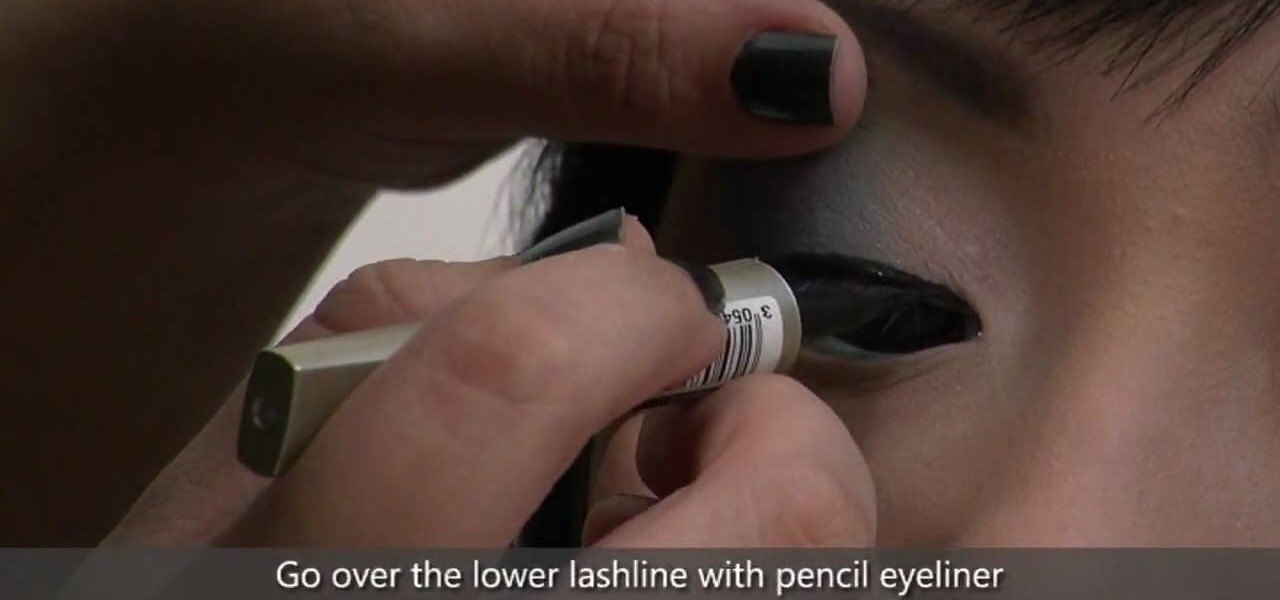
If you have brown eyes then you know that colors like brown and gold are "safe" eyeshadow colors, meaning they look good no matter what (there's lots of brown and gold in our eyes, after all) and are neutral enough that you can wear them anywhere.


