To cement the stones around your pond, start by mixing up half of an 80 pound bag of Quick Crete. Pour the 40 pounds of concrete into a metal container, add water and mix it together. Add just enough water so that it is not too runny. Put down a base of cement around the pond where you will lay the stones. Lay the stones in the cement, then put some cement in between the stones, and smooth it out.

This video tutorial will show you how to paint leopard print nails. 1. Apply orange color to top half of your nail starting at the cuticle
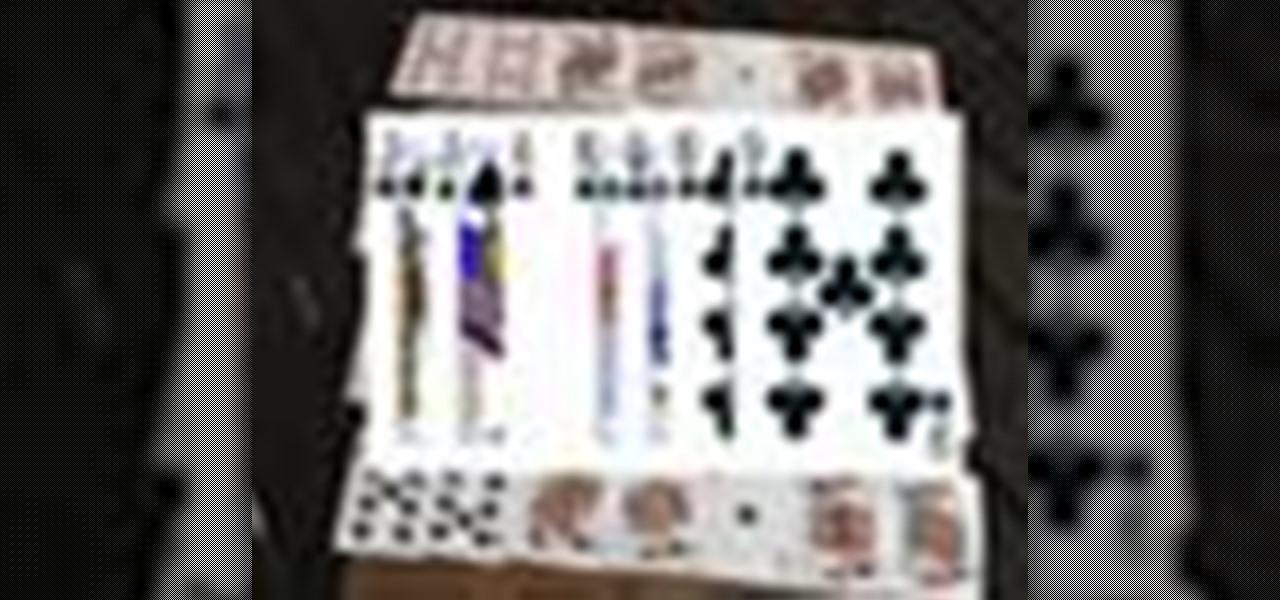
Tired of losing your shirt playing poker? How about a fun game for couples instead? You Will Need

Check out this instructional RV video to learn how to maintain the LP gas system on your recreational vehicle. Open up the compartment and you will see your LP tank. There is a gauge that tells you how much is inside the tank, there is also a fill station where you fill it up, always make sure the cap is returned after filling it up, so no debris gets inside. There is also a pressure release valve so when you are filling it, the pressure can escape through there so you can get the proper amou...
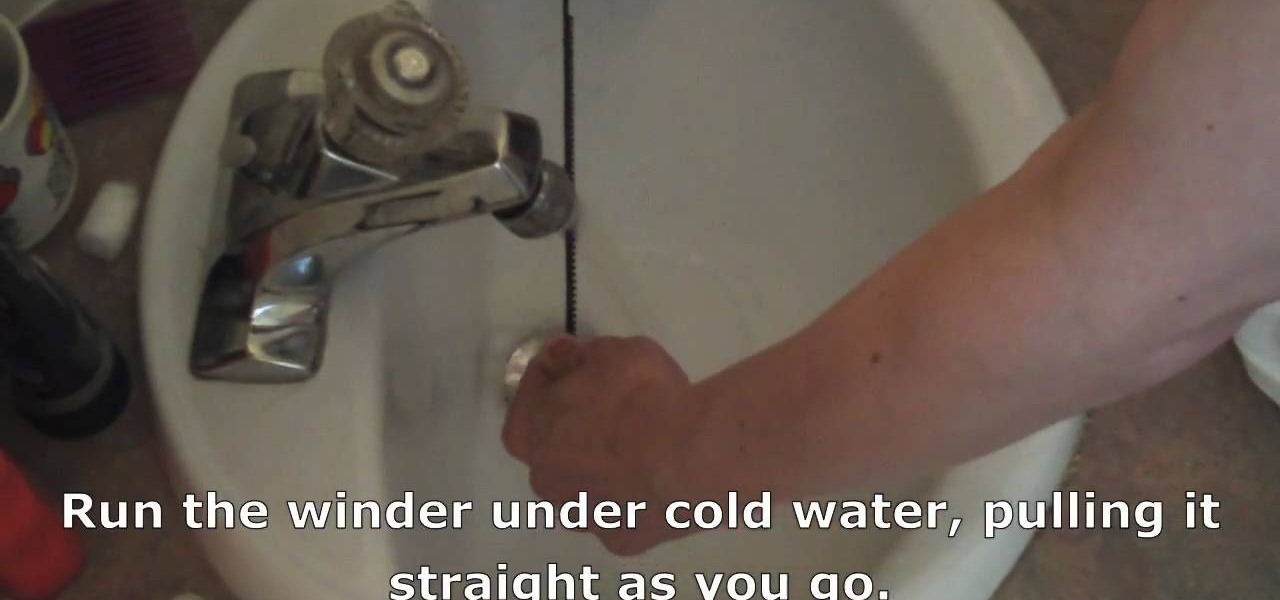
The winder is the ziptie-like cord that you pull through your Beyblade launcher to start your Beyblade spinning around the board. They often come bent into a near-circle when purchased, and this can cause your shots to lose power and even break your launcher. Watch this video for a quick guide to straightening your winder and keeping your Beyblade spinning strong.

If you've been wondering how to clean your silver, this video will show you a simple way to do it using products you have laying around. To do this, you will need baking soda, aluminum foil, hot water, and your dirty silver of course. First heat up water so it's close to boiling, not just hot water from the sink. Pour this into a large bowl to fit your silver, then grab sheets of heavy duty foil. Place the foil into the large bowl along with a few cups of baking soda. After this, place your s...

We know dolls are supposed to be children's toys, but there's something about them that scares the living daylights out of us. Maybe, just maybe, it's those lifelike eyes that appear almost too real to be fake? That seem to follow us as we move around the room? Okay, maybe we've seen a few too many horror movies, but you have to admit there's just something off about dolls.
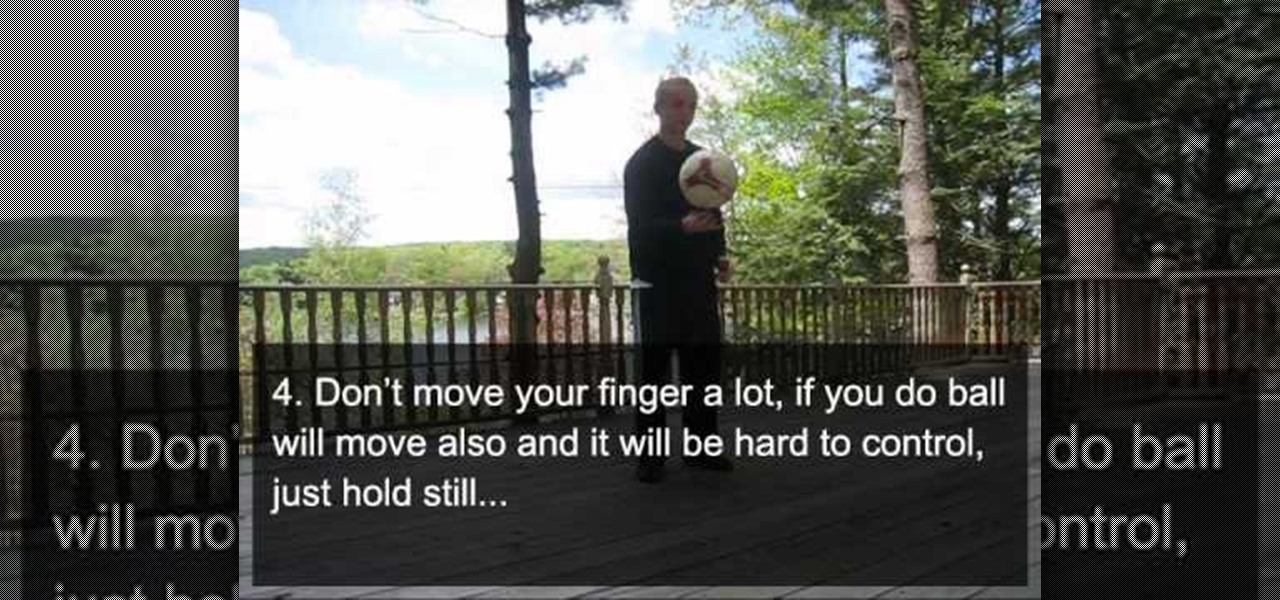
Touching a soccer ball with your hands for a trick is somewhat sacrilegious, but ever since basketball players started spinning the roundball around on their fingers, soccer players have felt the need to answer. This video will teach you how to spin a soccer ball on the end of your finger quickly and easily.
If you're as sick and tired as we are of slutty girls walking around in hiked-up and whored out versions of Snow White and "angel" costumes on Halloween, then you can fight back by turning to the opposite end of the spectrum. No, we're not telling you to dress up like an Amish girl.
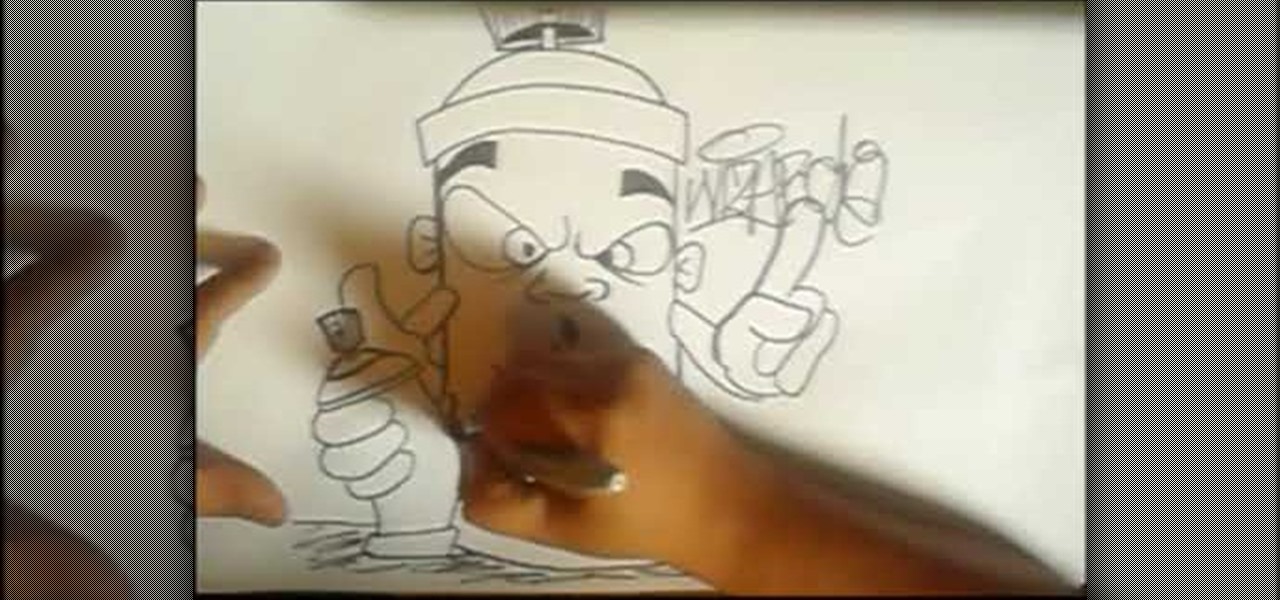
In this tutorial, we learn how to draw graffiti lettering. To do this, you will use a pen and draw out your letters adding a graffiti flare to them. Do not draw regular letters, these have outlines and a flare out to the ends of them. This is very similar to the graffiti you will see written outside, but used with spray paint. Fill in the middles of the letters, then draw lines around it to make it look like it's standing off of the paper. use a marker to outline the sides of the letters so e...
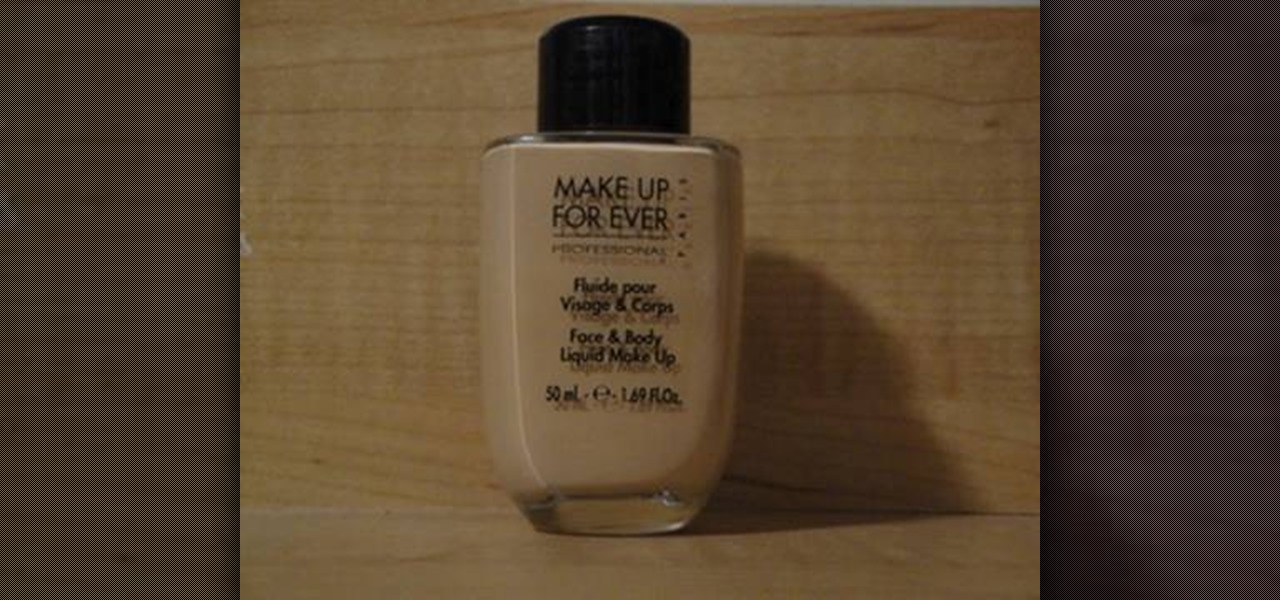
Makeup artists often throw around terms like "cool undertones" and "warm neutrals," but when it comes to buying a foundation, most women select one by swiping it on and then wiping it off.
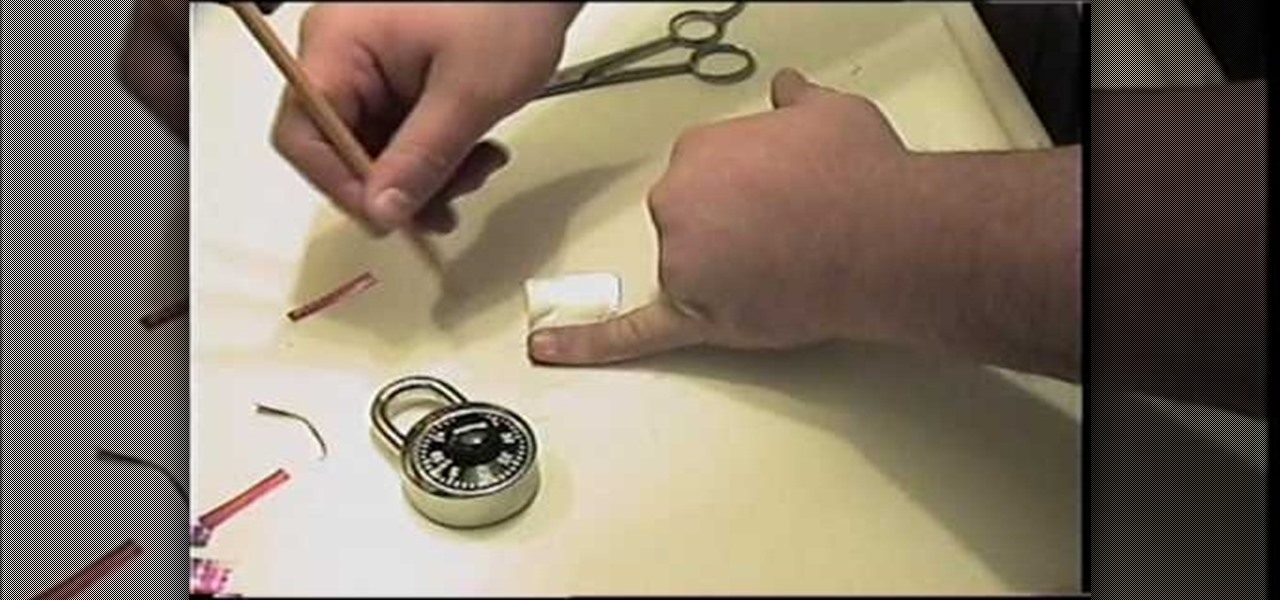
In this tutorial, we learn how to pick a combination lock using a soda can. To begin, have your lock next to you and an empty soda can and scissors. When your lock won't open, cut the soda can in the middle so you have a small square. After this, cut off strips, then measure the size of your pinkie on the foil. Next, cut the foil out so it's the exact size of your pinkie and then stick this piece of foil into the lock. Move the foil around until it comes undone and you will have the lock unlo...
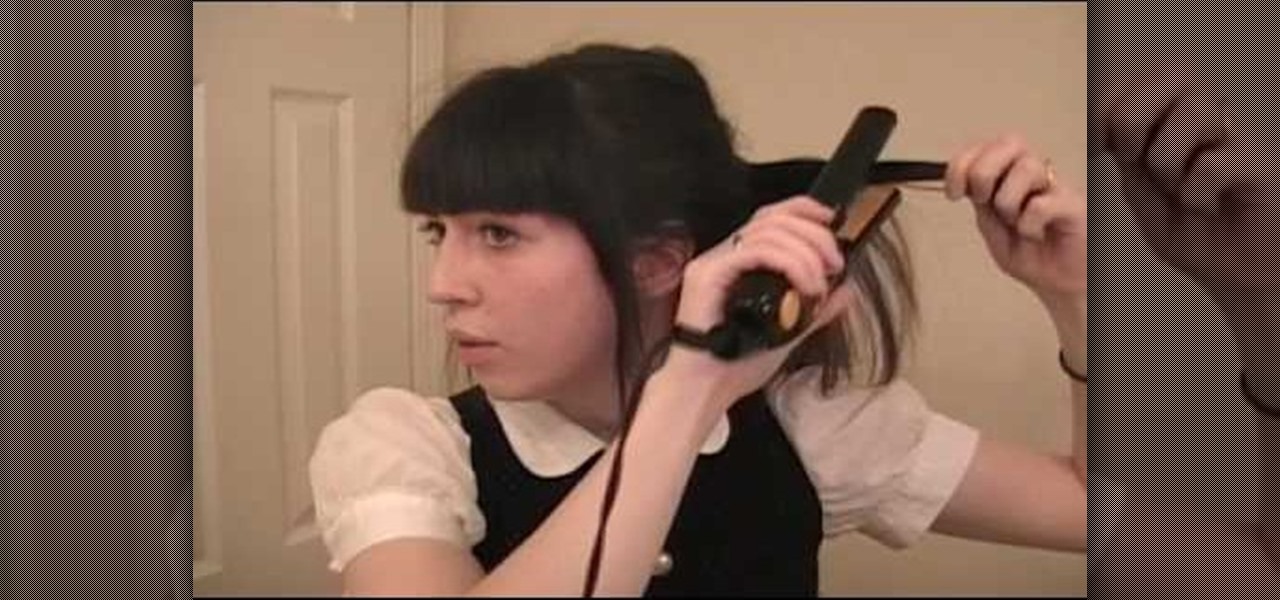
In this tutorial, we learn how to do a messy hair bump pony tail. To begin, you will need to straighten your hair all the way through with a straightener. Next, you will push your hair back and tie into a pony tail in the back. As you are gathering your hair for the pony tail, comb the top and sides so it's smooth and bring your bangs out on the sides. Now, take your straightening iron and curl the back of your pony tail in different one inch strands. Don't worry about making this look perfec...
Rings add a chic finishing touch to any outfit, but quality rings can be expensive and affording more than one or two is difficult for girls on a budget. If you're a big fan of wearing some bling on your fingers but don't feel like spending your entire paycheck on them, watch this video to learn how to make your own.
In this how-to video, you will learn how to remove the front case of an iMac G5. First, lay the case on its back. Remove the screws in order to get the ram bay cover off. Once this is done, pull on the release tabs to remove the ram modules. Next, remove the torx screws on the bottom side of the casing. Once these are removed, work your way around the casing to remove the front from the back. Do not pull too far as you might damage the wires to the camera. Unplug the camera once you are able ...
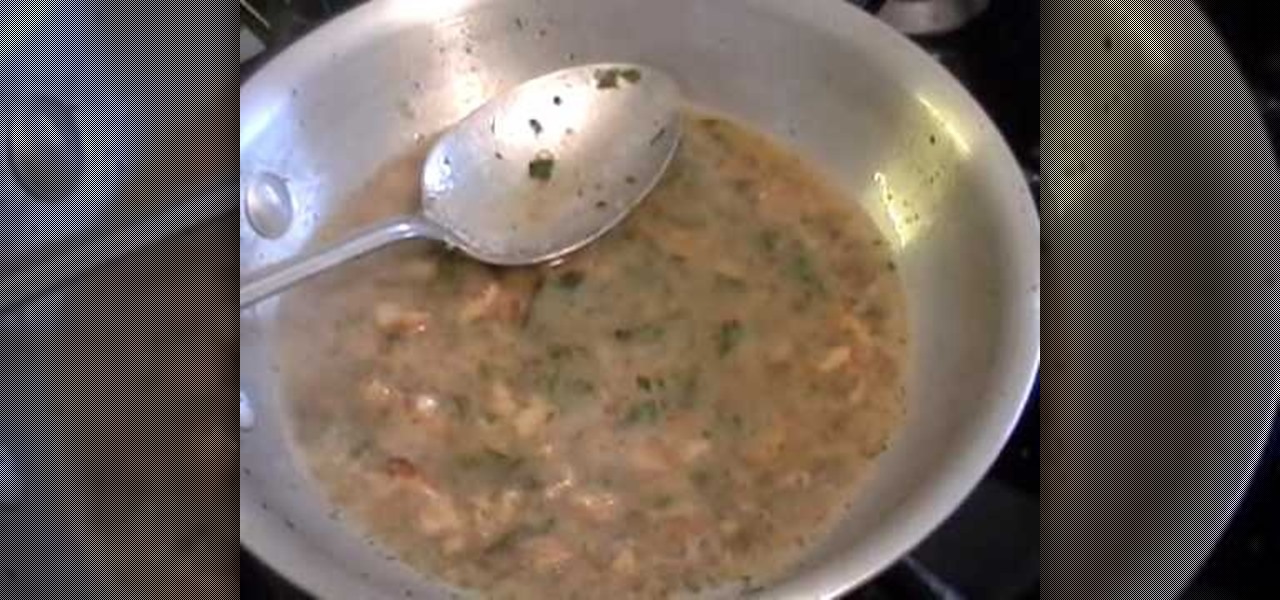
In this tutorial, we learn how to make tarragon walnut brown butter sauce. You will need: 3 tbsp unsalted butter, 1/4 c freshly squeezed lemon juice, 1 tbsp chopped fresh tarragon, 2 tbsp chopped walnuts, salt and pepper. First, throw the chunk of butter into a sautee pan on medium heat until it foams up. Cook this for about 6-10 minutes until it turns a light brown color, then add in the walnuts. Be careful not to burn your walnuts, just swish around in the butter for 1 minute. After this, c...
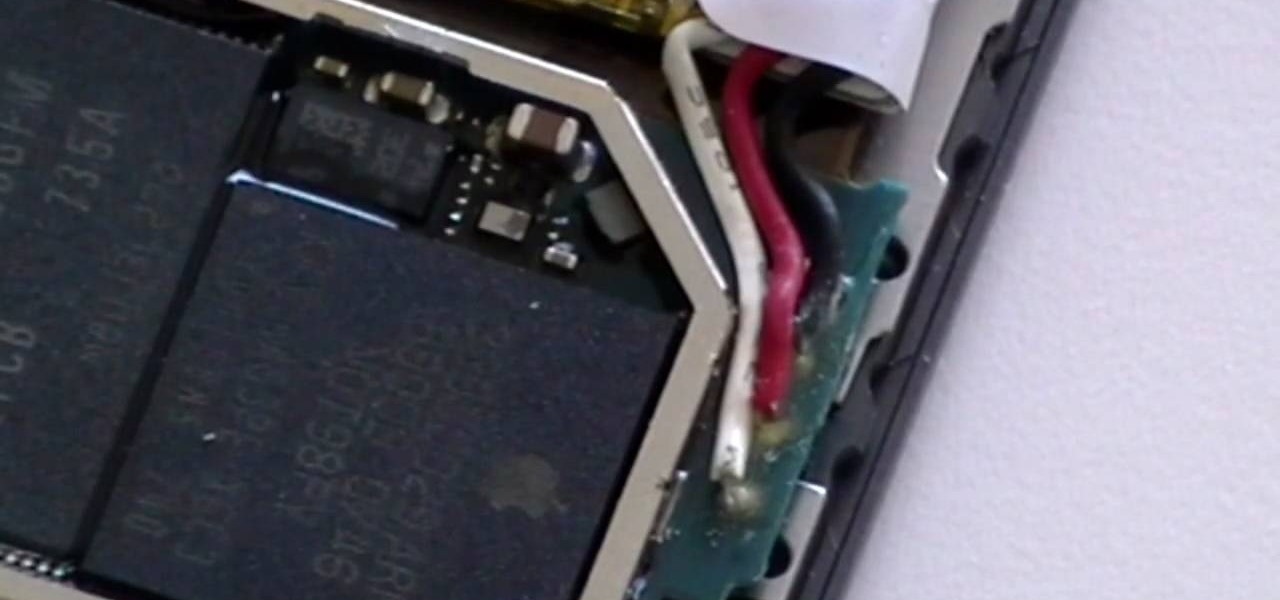
Is the battery life on your Ipod diminishing? Watch this video as the folks at Repairs Universe show you how to replace the battery on your 1st generation Ipod. First you need some tools to pry open your Ipod. Flathead screwdrivers and razors work well. Take the razor and slowly inch your way around the opening to pry it open. Then take off the back cover. The battery is black and has a serial number and the Apple symbol on it. Don't confuse this with your hard drive. Watch the video for the ...
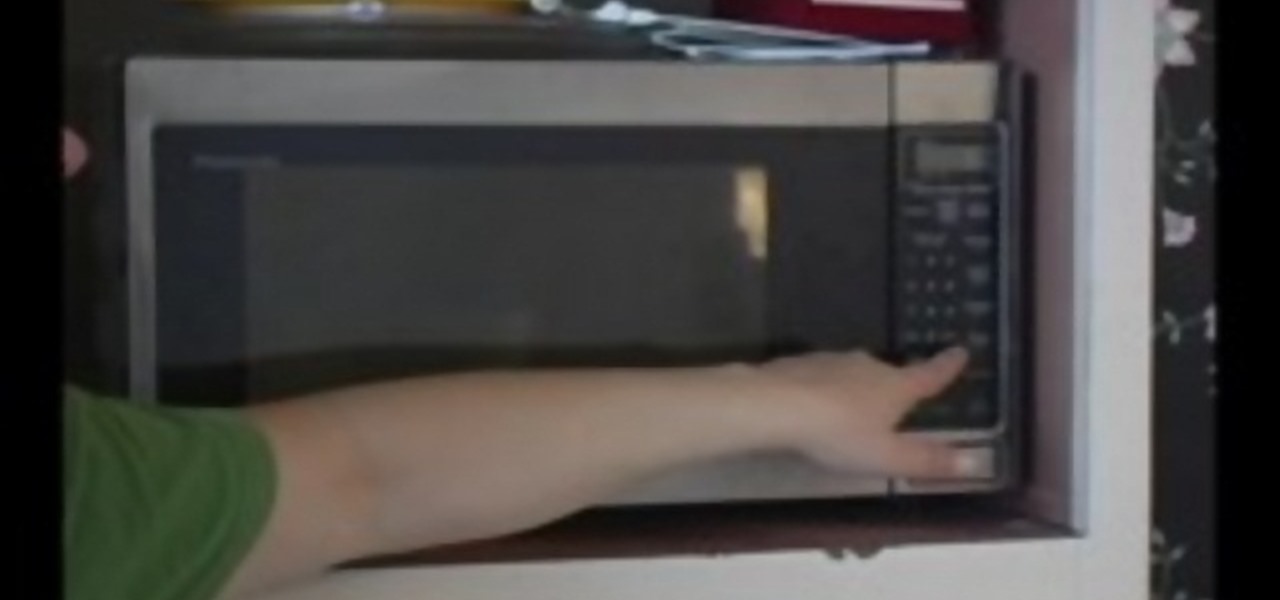
The instructor shows us how to clean a microwave using green products in this video. First, take a microwave safe dish and pour some white vinegar into it. You will want to cover about 1 inch of the dish. Once in the microwave, turn on for around 2 minutes and remove the dish. Now, you take a wet wash clothe and rub ivory soap all over it. You can now clean the inside of your dirty microwave with the soapy clothe. Make sure once you're done scrubbing, you take a clean wash clothe and wipe all...
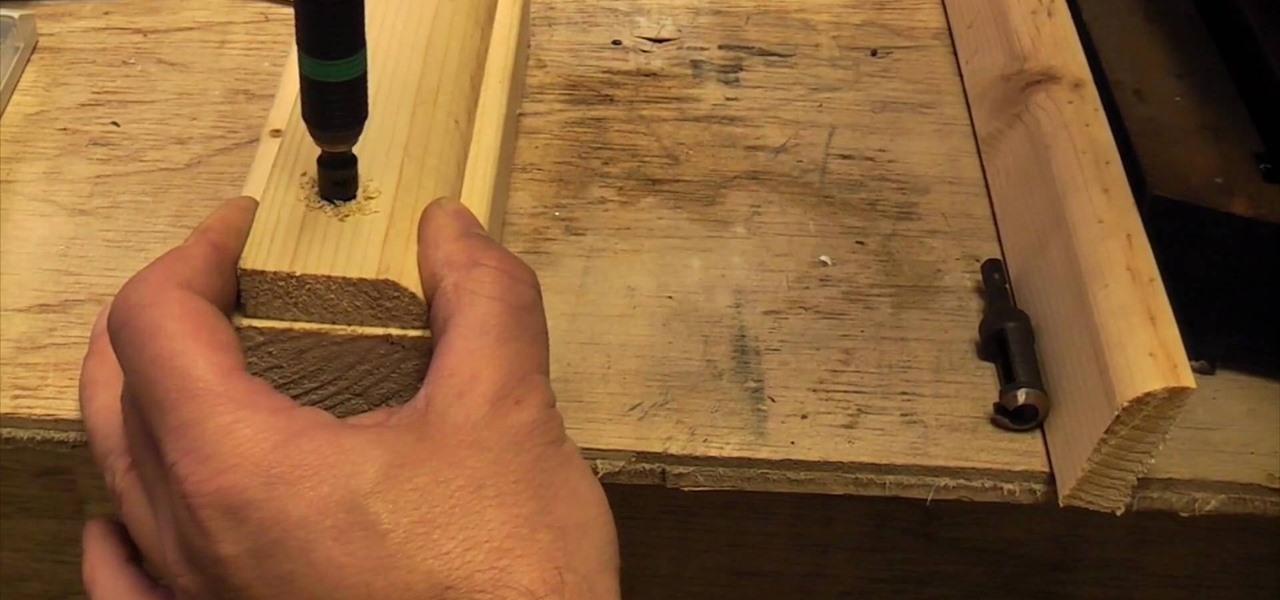
In this Home & Garden video tutorial you will learn how to conceal screw heads. This video is from www.ultimatehandyman.co.uk. It is very easy to do. You will need a kit called screw digger and plug cutter set for size 8 or size 10 wood screws. Using the drill bit from the set, drill the hole. This will drill a hole for fitting a plug in addition to the hole for the screw. Now take a piece of similar wood and cut out a plug with the plug cutter tool as shown in the video. Drive the screw in t...
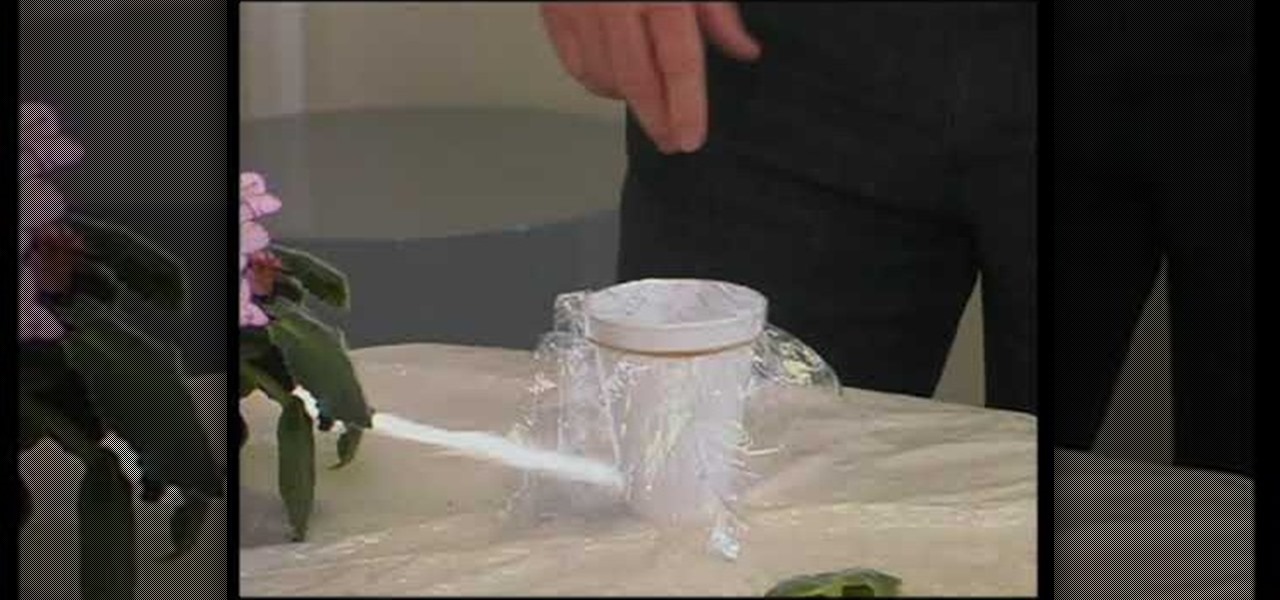
to transfer ice plants, take a Styrofoam cup with holes in bottom and sides for drainage. fill cup with potting soil. place cuttings of ice plants into pot, about 2-3 cuttings per cup. keep moist. for African violets, snap off an entire leaf including the stem. fill a Styrofoam cup with water. cover with saran wrap with a rubber band around the edge to keep it tight. cover completely with aluminum foil to keep inside of cup dark. place hole in center of plastic/aluminum foil with a pencil. pl...
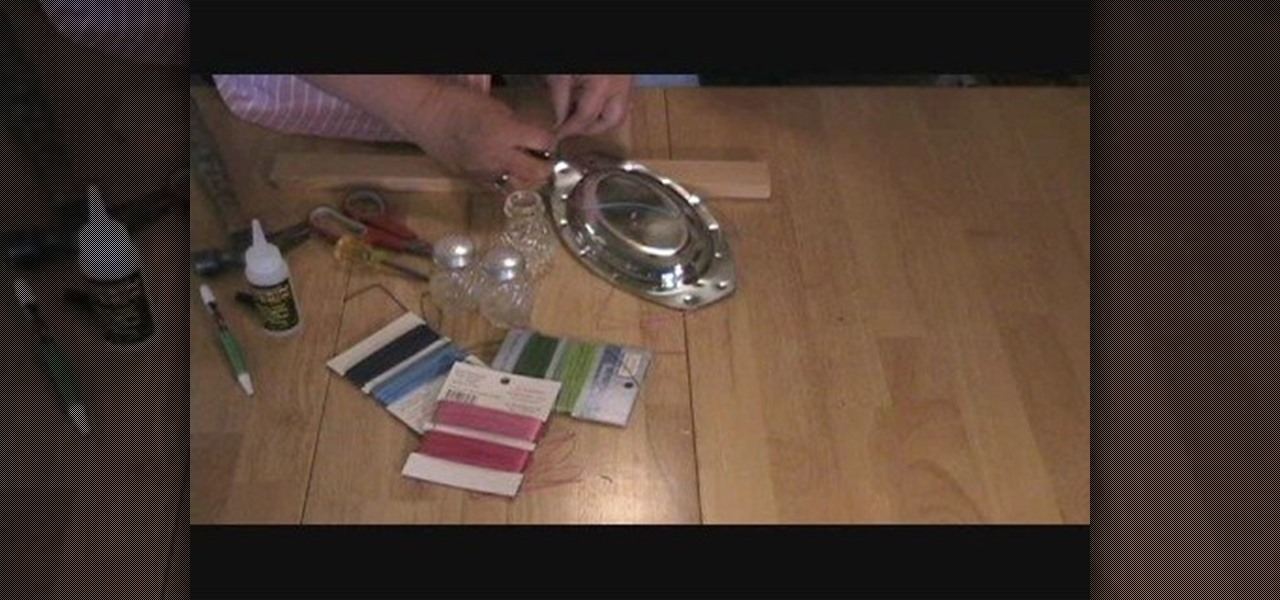
Here is a very crafty and cute way to create a wind chime out of old salt and pepper shakers that can be found either around your house or bought at second hand stores and a small tin tray or plate to hang your shakers from. A bit of out door or water-proof glue and some colorful string or twine, scissors and a nail or awl will finish out all the supplies you need.
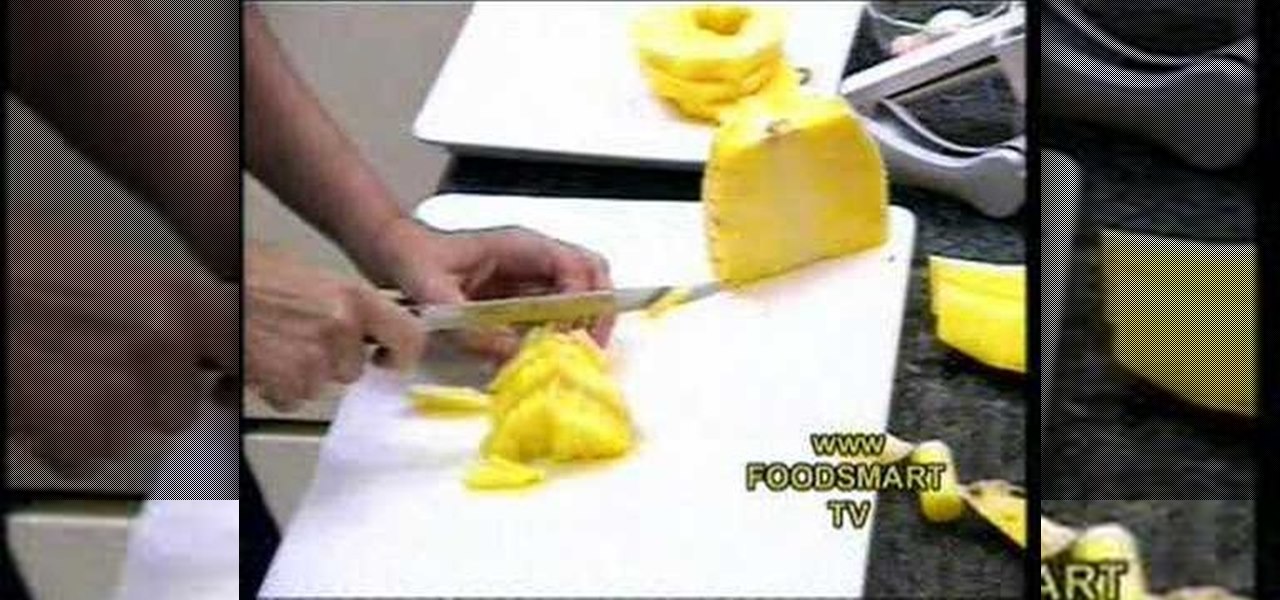
This is a video that demonstrates how to cut up a pineapple for a healthy snack. She places the pineapple on it's side and then cuts one end off and then the other. She then stands the pineapple up and cuts around until all the outer part of the pineapple is gone. She slices down the side of the pineapple in strips, turning it after each strip is removed. She then cuts the pineapple in half. She then cuts it again and removes the core, doing that to both of the larger pieces of pineapple. She...
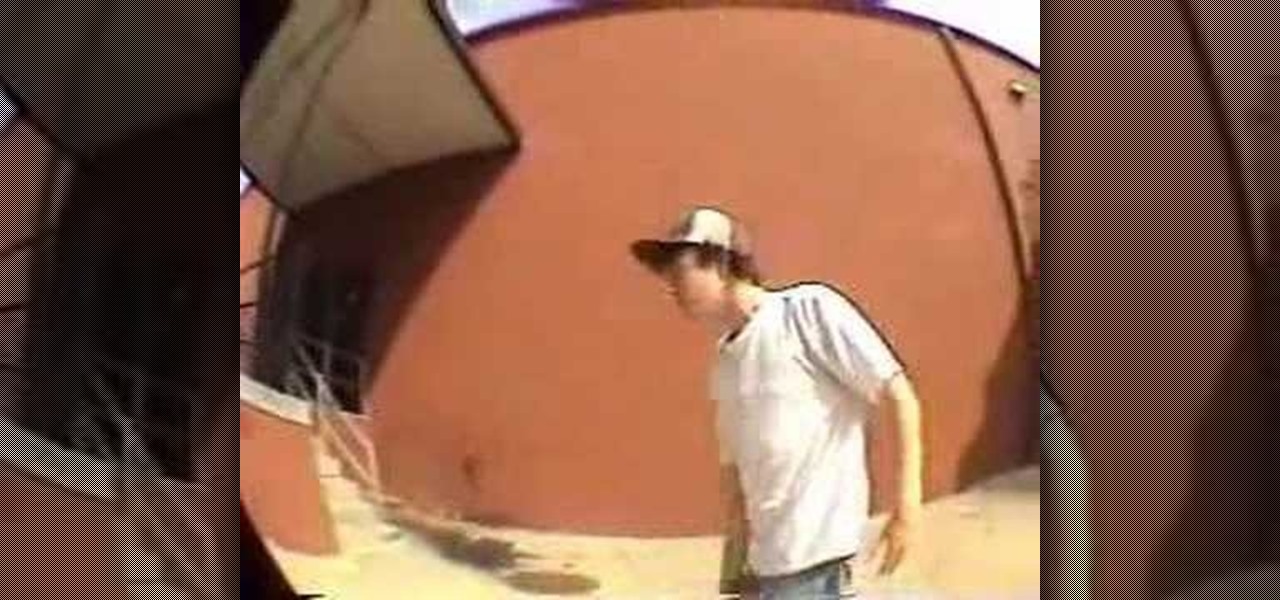
In this video Eric Joneckis gives you a few tips on acting like a true skateboarder. If you want other people to take you seriously as a skateboarder, you need to look the part. Here are a few tips: Always wear a shoelace belt, skateboarding shoes that shouldn't be untied to take them off, long hair and a cap to keep it all in place. Next to style, attitude is the most important thing you can have. Learn how to fool the people around you into thinking you are a good skateboarder. If you can't...
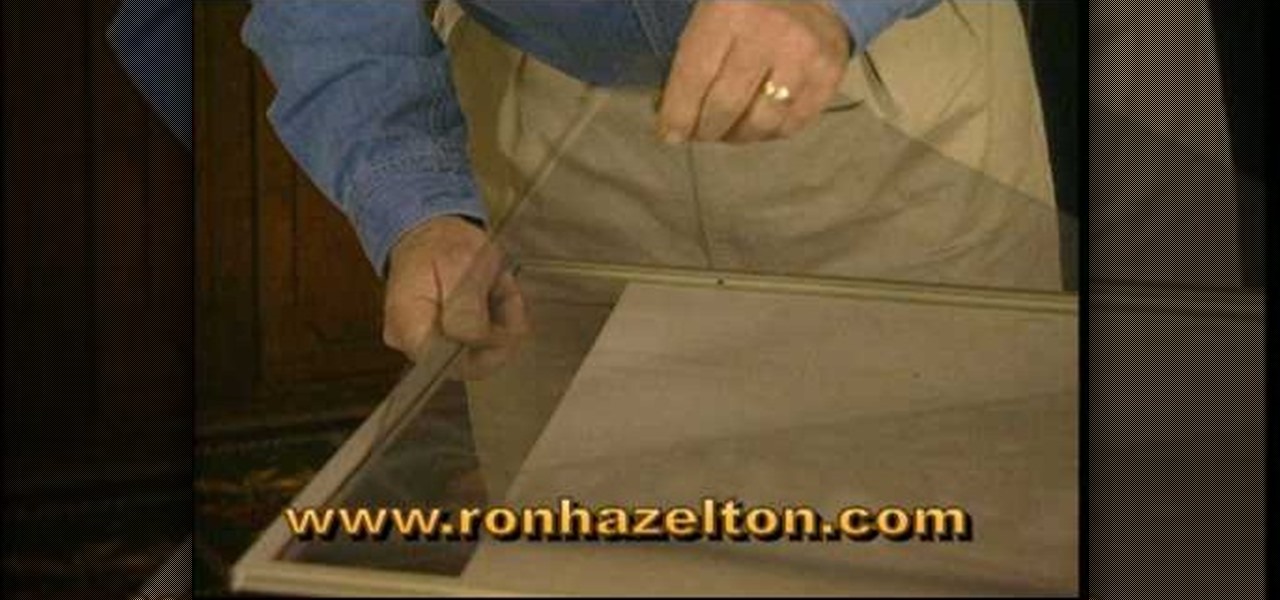
Ron Hazelton describes how to replace a screen in a door or window. The screen is held in the frame by a vinyl cord that can be removed with a knife. Lift the old screen out of the frame. With the new screen on a flat surface, using the frame as a template, cut the new screen a half-inch larger than the frame all around. Cut 45-degree notches in the screen at each corner. Place the screen evenly on the frame. Press the cord back into the groove on the sides first, then the top and bottom. Fin...
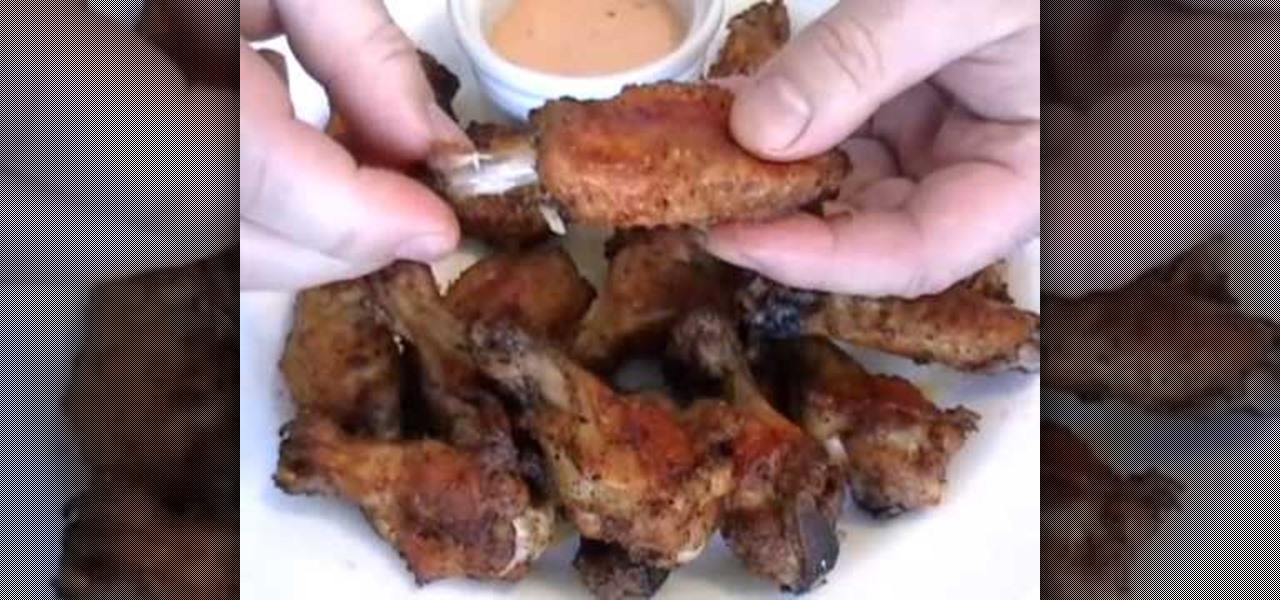
Have you ever thought about eating a chicken wing in a different way? Do you dislike having to gnaw your way around the bone? Well watch this!
So, basically I was looking around on the internet trying to find out how to make more intricate bows, and found nothing but a whole lot of very confusing instructional posts with no pictures or videos. Here you'll learn how to make cute little bows for your pets, in 6 simple steps! I'm still learning myself, but I'm hoping this could help others!
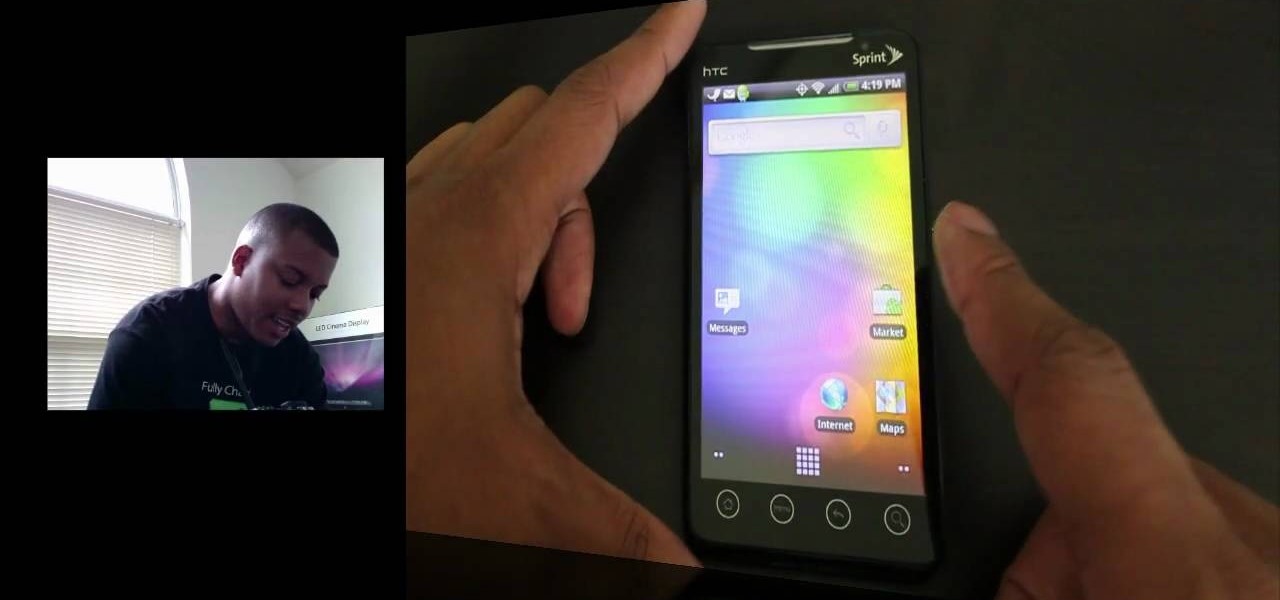
In this clip, you'll learn how to complete disable HTC Sense on an HTC Evo 4G Google Android smartphone. For more information, including a complete demonstration and detailed, step-by-step instructions, and to get started turning off HTC Sense on your own Evo 4G, take a look.
Pineapple and bananas make a great complimentary dish to go along with pork or shrimp or many other items you are cooking. First you want to make a rum glaze. Start by melting down some butter. Add some dark rum, pepper, and some brown sugar to the butter. Then stir it up and set it aside. Take some bananas and cut off both ends of the banana leaving the skin on. Then cut the bananas in half length ways. Put them skin side down on a baking pan. Next take a pineapple and cut the top and bottom...
Microsoft recommends a unique user ID and password for every user. In order to switch user ID or log off one need to click to the 'Start' menu as shown in the video. Press the move button at the shut down menu as shown. In the sub menu you can see the Change user and Log off. The window will typically shut down and restart on change of user ID or Log Off. In case you need to leave your PC unattended you can press 'Lock' from the same menu which will refrain anyone from changing your desktop s...
Believe it or not, capturing a beautiful shot of a vehicle is more difficult than you think. Sure, you can just snap a photo, but capturing the design, detail, and essence of the car is a whole other story. Lighting, location, settings, and angles are play into how well the photographic representation turns out.
If you're anything like me, the heat of the summer can often be unbearable. Where I live, it often gets as high as 108 degrees Fahrenheit, so anything that cools off is a welcome and amazing thing. Mister fans are especially amazing for cooling off, but they are usually very big and attached to buildings (which currently is way out of the picture for me.)
In this tutorial, we learn how to make a standard blanket from crocheting. First, you will start your crochet by positioning the material into your hand. Then, you will need to tuck in between your ring and middle finger and around the others. The fingers will control the tension in the string. Now, start the first stitch by rotating the string around the finger. Then, grab the back one and pull it over the front. Use your finger to pus up and then you have your first stitch. put it on your h...
In this tutorial, we learn how to draw an eye. Start out by drawing the outline of the eye, which should be in a football shape. Then, draw the inside of the eye and the outside of it as well. Then, you will start to add in additional details around the eye and the eyelashes. After this, add in the crosshatch inside the eyes and shade in the pupils. Shade around the outside of the eye, then add darker lines for the eyelashes on both the top and the bottom. Add a crease in the eye to make it l...
In this video, we learn how to draw Rukia. Start out by drawing a circle with a triangle shape at the bottom. Then, draw reference lines in the face to measure where the features of the face are going to be. After this, start to draw in the details of the face. Draw the eyes, mouth, nose, eyebrows, and any other details you need. Make sure the eyes match the original character and leave white for the pupils to show. Draw in the hair to finish up the drawing, making sure to draw the eyebrows a...
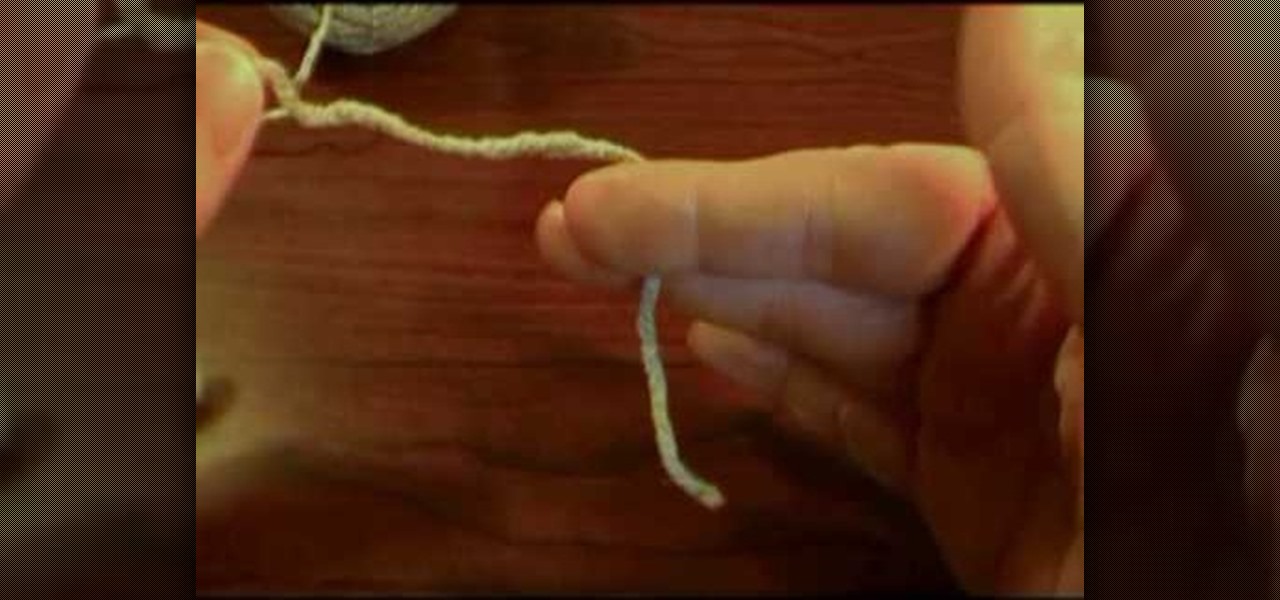
In this video, we learn how to hold a hook and yarn in crochet. First, grab your hook at the thumb grip. Then, practice how you like to hold your hook so it feels most comfortable with your hand. After this, grab your yarn and wrap it around the hook, placing tension in the string. To do this, wrap it around your pinkie then your pointer. Then, hold in between the thumb and middle finger. After this, you will be able to place the hook in the yarn easily to start out your stitch. After this, s...
In this video, we learn how to build a bionicle switchblade. Start with the piece of the blade that has holes inside of it. Then, start to connect the edges and the other pieces that go inside of it. Grab the piece for the blade, then lock it into place by attaching the elbow pieces that connect around it. Once you have connected these together, you will have one entire piece with the blade on the very edge of it. The end of it should be bendy, so grab a rubber band that is thick and wrap it ...
In this video, we learn how to apply MUFE face & body liquid makeup. First, pour the foundation out onto your hand and then take your foundation brush and dip it into the liquid. After this, start to brush the makeup on your face, starting with the side of the forehead and working your way around. This is a gel based liquid, so it's going to stick onto your face extremely well, you won't have to apply a lot of it. When finished applying, use a damp sponge and press it on your face around wher...
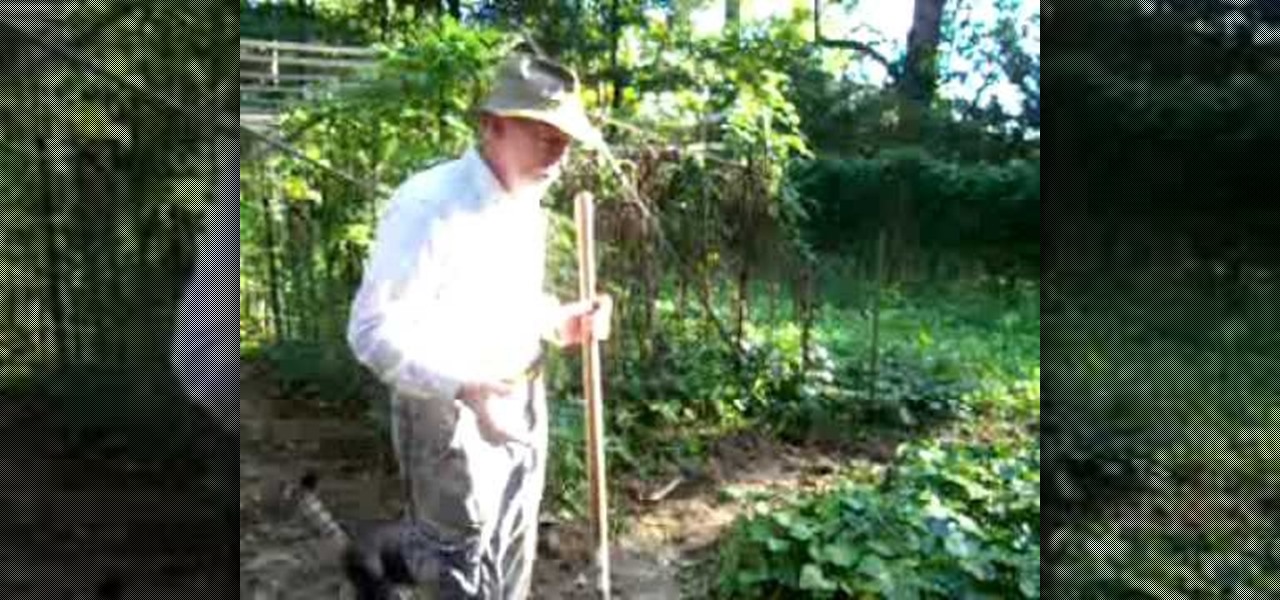
How to grow sweet potatoes
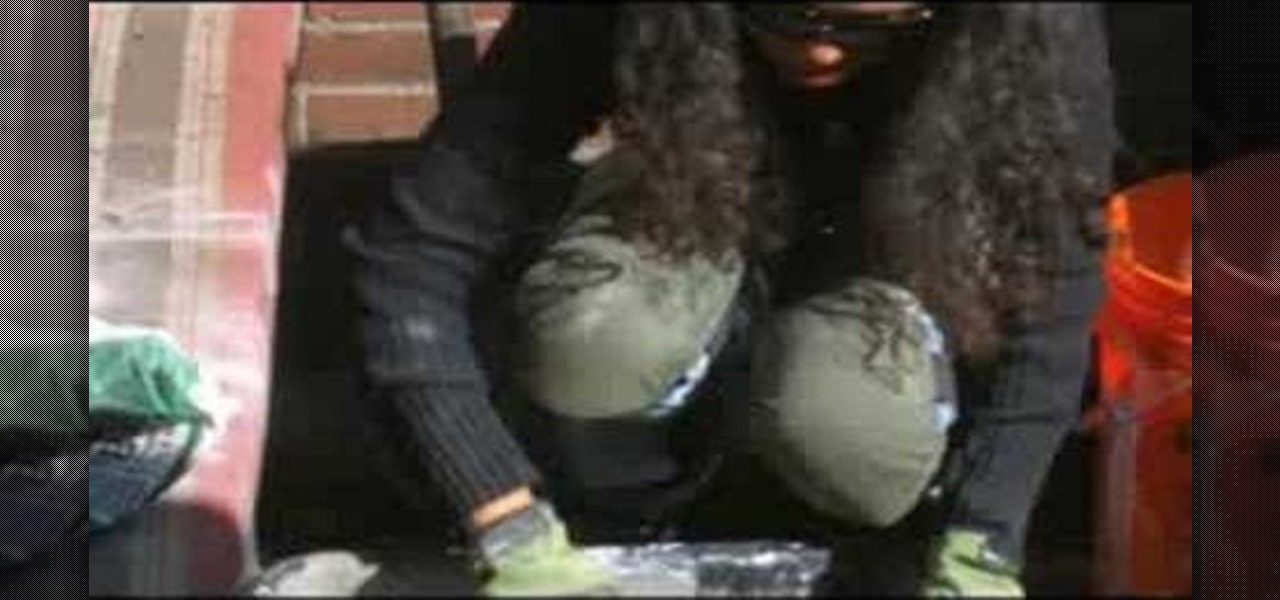
You start out with putting a rater big lump of clay on the potter's wheel (the turn table if you want) and make sure you got water close by. By using your hands and your fingers you then start to shape the clay lump into the size you want it. Keeping both the clay and the hands wet all the time. Once the pot starts to get the size you want it to be, you start to give it a more detailed shape. In this case it is a bit wider in the top than in the bottom. Once your satisfied with the shape, you...
You can make a rocket at home using these items found around the house. Icing sugar, measuring tape, a PVC pipe, black marker, hammer, flat headed bolt around 18 millimeters wide , mortar and pestle, drill, drill bit size 5 millimeter, potassium nitrate and kitty litter.