In this tutorial, we learn how to draw Marik Ishtar. Start with the outline of the head (in a circle shape) and draw the reference lines around the front of the face. After this, draw in darker lines around the features of the face and start to add in details throughout the entire head. Draw in hair, a nose, eyes, ears, and everything else. Once you have finished with this, draw in the neck of the character and then the shoulders. After this, finish the hair off on the back of the had, then a...
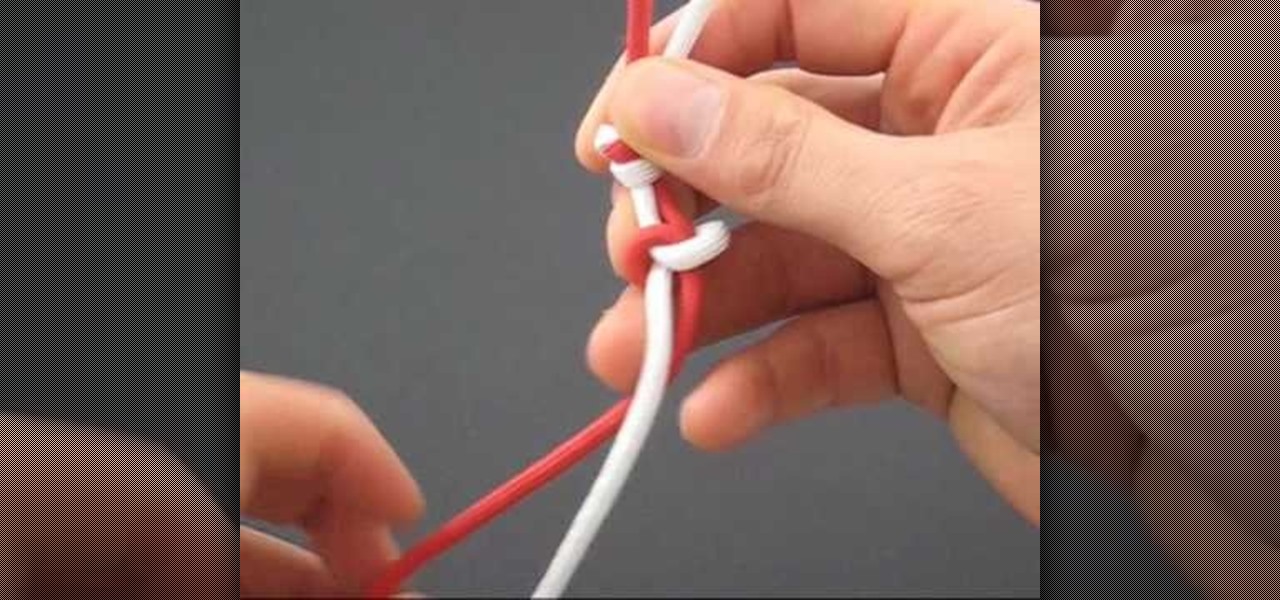
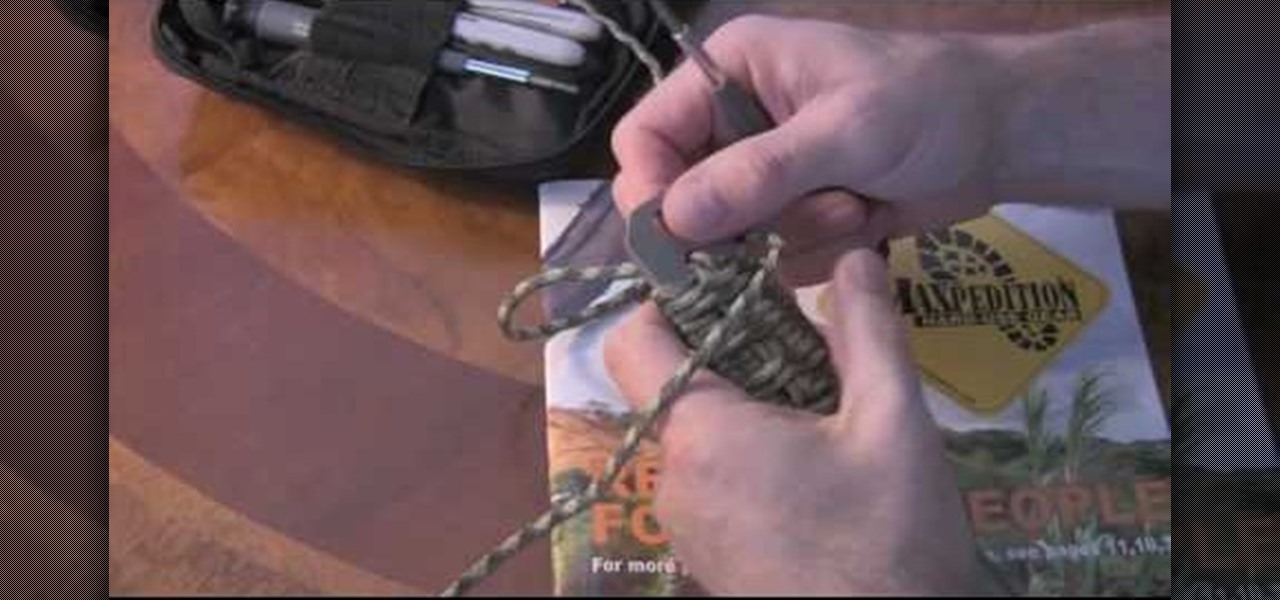
In this tutorial, we learn how to tie a paracord snake knot. Start out with a double overhand knot, by making a loop with two strings and tying it through. After this, start the snake knot by taking the left piece of string and wrapping it around into a loop. Then, take the other piece of string and place it inside the loop, then pull it to the left and wrap it around the other string, then push it through the loop. Continue to do the snake knot until you reach the bottom, then finish it off ...
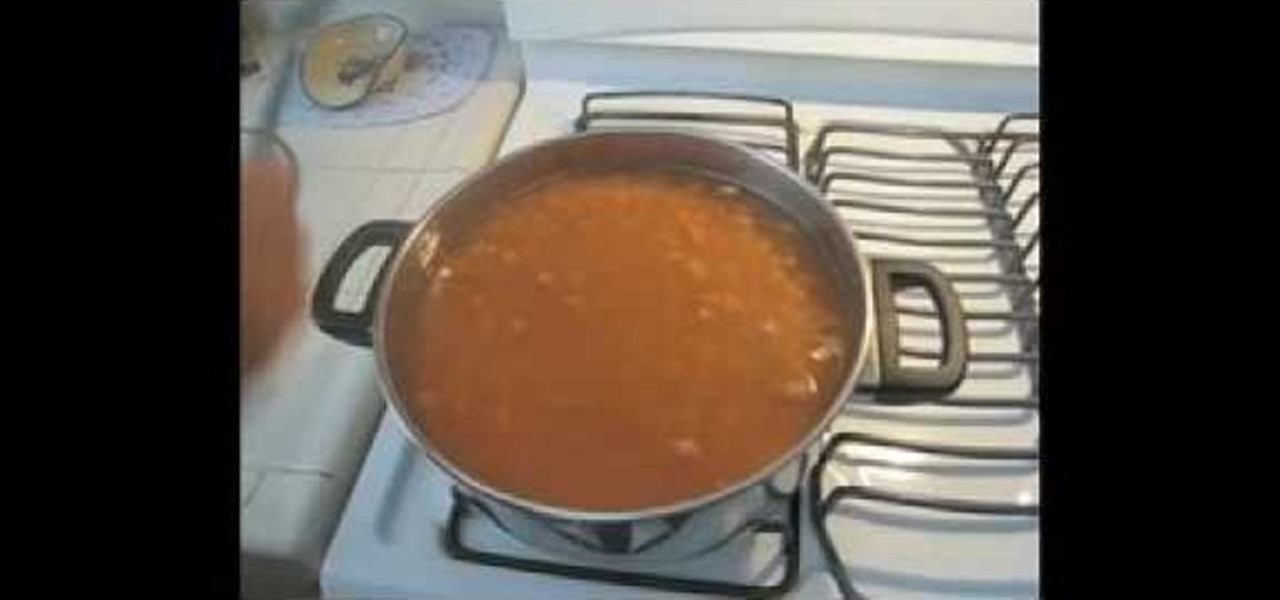
In this video, we learn how to make refried pinto beans on the oven. You will start out with 1 pound of pinto beans, and take out any rocks or dirty beans. Next, put the beans into a pot and rinse them off with water. After this, put them in a large put and add in 12 c water with a clove of garlic. Let the beans come to a boil, then lower the heat to low and cover the pot. Cook for an hour, then add in 2 tbsp salt. Cook for one more hour, then try them to make sure they are finished. Now add ...

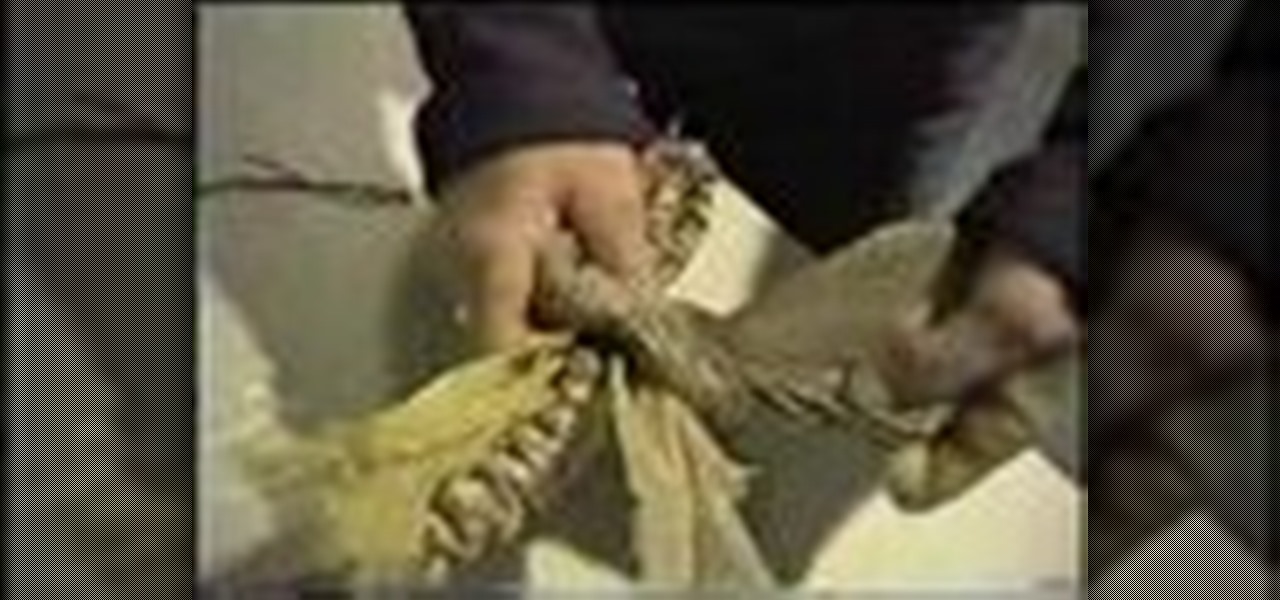
You will use an old work glove to make the string. First cut the seems of the glove to the finger tips with scissors. Cut out the palm part of the clove. Remove the elastic off of the back with a knife. remove the hem with your scissors. Next, start cutting at the edge up around the shape of the glove. Keep going round until it starts turning into one long piece. Go back around the leather and trim up the rough edges and corners. He ends up with about seven foot of string. It's a cheep free w...
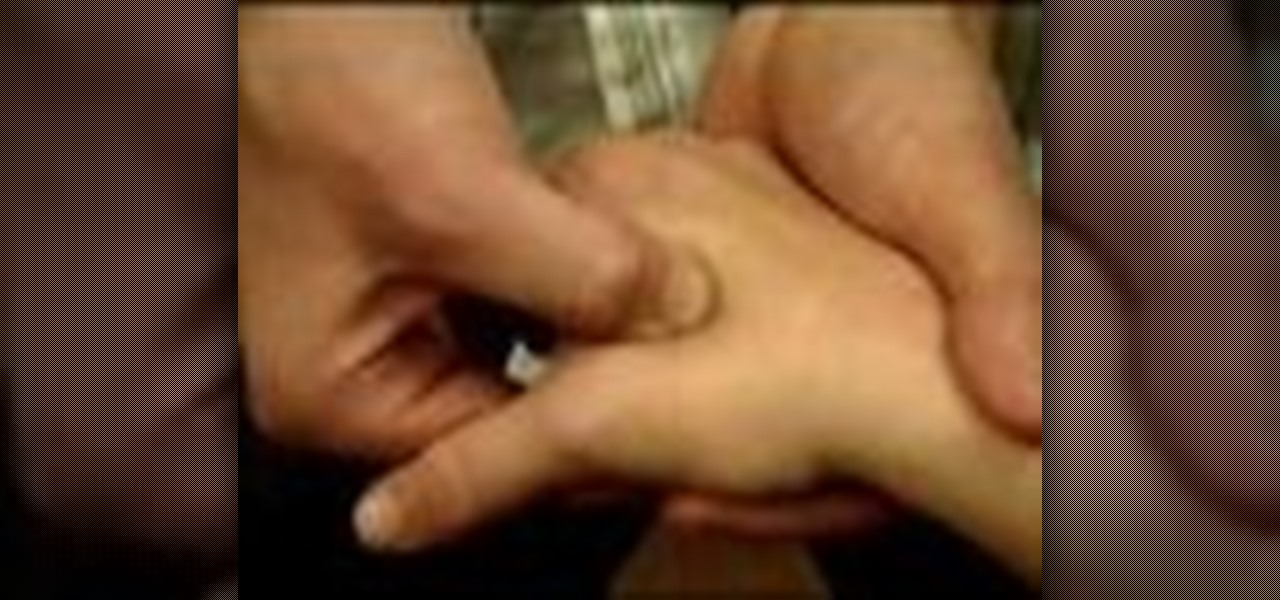
In this video, we learn how to give a professional hand massage. First, spread oil onto the hand with your hands, which will prevent you from sticking together. After this, open the hand up and interlock your fingers with theirs and start to massage the inside of the hand. Open the hand up and work your fingers into the sensitive muscle areas. Go slowly, but apply enough pressure around the hands to make a difference. After this, work the tendons on the front and work your hands around each o...
In this tutorial, we learn how to recycle plastic grocery bags into a dog leash. To begin, you will cut the plastic bags in half, then cut off the handles of the bags. Next, apply glue to the entire bag, then roll up into a straight line. Continue to do this for several different bags, depending on how long you want your dog leash to be. When you finish this and the glue is dried, tie several bags together end to end, and have three rows of these. Now, take the bags and tie them in a knot aro...

There's no getting around it: if you want to get good at playing the ukulele or any other instrument, you'll need to practice. Fortunately, the Internet is awash in free uke lessons, like this one from Ukulele Live, which make the task not only easy but fun. This clip, in particular, demonstrates how to perform hammer-ons and pull-offs (hammers-on and pulss-off for the highfalutin) on the uke.
Need to remove a bumper sticker and don't have any goo gone? No problem! Just break out the ol' olive oil and you're good to go!
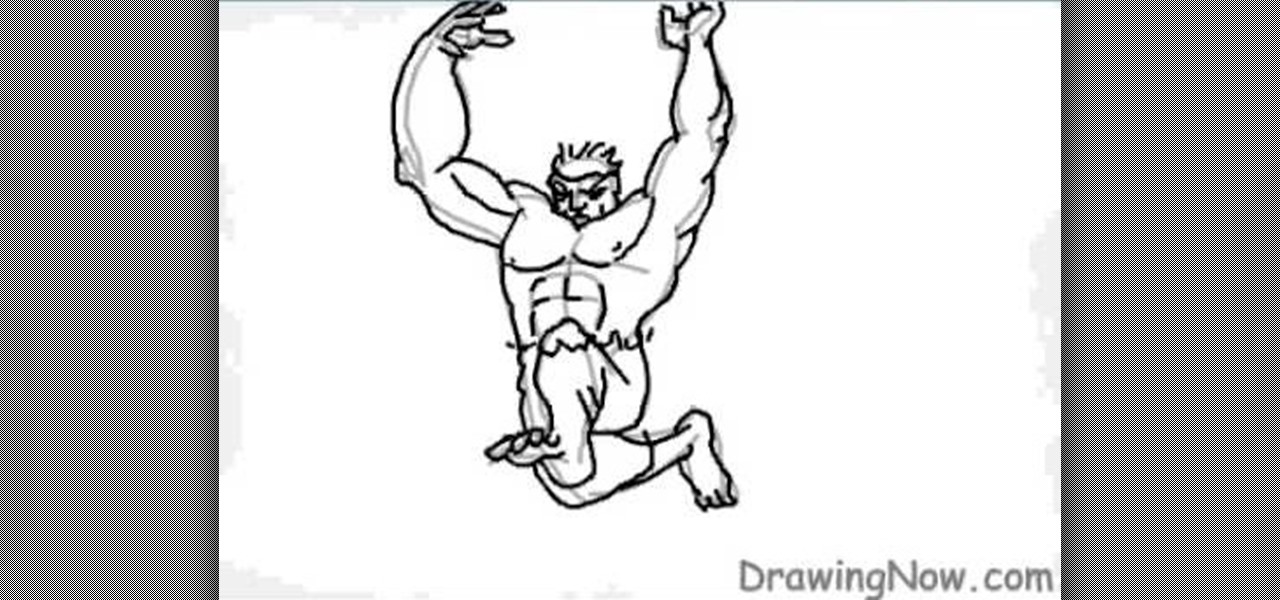
In this tutorial, we learn how to draw the Hulk. Start off by drawing the outline of the body. Make sure you draw the character's body large and keep the proportions accurate. After this, start to draw in the features of the face and the rest of the body. Use lines to make the muscles appear, then shade around them to make it look more realistic. Next, you will need to add some color to the drawing. Green would be most accurate, with some parts darker than others with shading. Finish this dra...
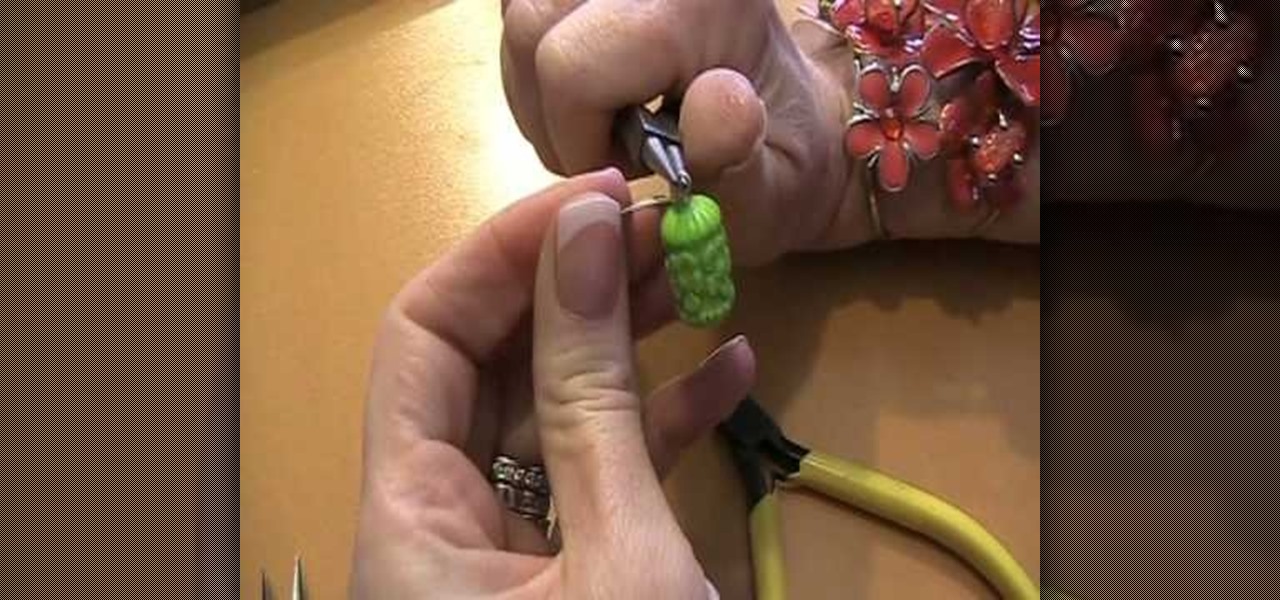
When it comes to making earrings or necklaces, you could take the easy way out and just add a normal head pin to the top of your bead or pendant. But what if you like to create motifs with the wire itself? A great way to start embellishing with wire is by creating this coiled top dangle, or a wrapped head pin.
In this tutorial, we learn how to make a Freddie Krueger glove. You will need: a saw, sandpaper, silver spray paint, black paint, brown paint, old glove, tin from a can, plexi glass, shiny cardboard, and a hot glue gun. Start off by using your paper roll to cut off a strip of it that will start on the joints of your hands, then cut this in half. After this, make a cut in the top of it and on the sides of it. Do this again for the four fingers, then wrap it around the glove fingers. After this...
In this video, we learn how to do the choreography for Ke$ha's "Take it off". Start off on the ground doing a count of eight while moving your hands up your body, then pop up and move back down. After this, you want to twist your head around and then move to the side while walking and placing your hands over your face. Make sure to count in steps of eight, then walk back while shaking your body and clap with your wrists. After this, move your arms to the music and act like you are in a car wh...
In this tutorial, we learn how to make stacked hair bows. Start off with three separate bows: red, white, and blue. Make sure there is a string still hanging from the red one, but the strings on the white and blue are cut off. Now, put glue from a hot glue gun and place it on the middle/side of the blue ribbon, the glue the white one where the glue is and hold together. Next, take the red bow and glue it to the center of the blue and white bow. Hold the red bow in place until it's completely ...
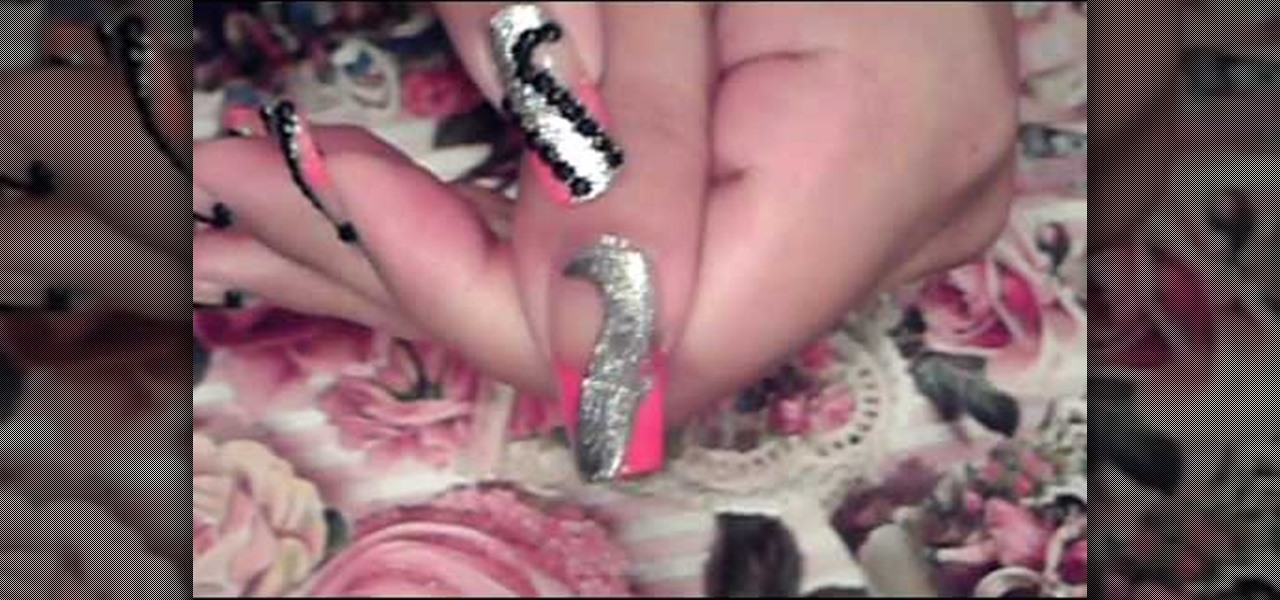
Love4Nails starts off with pink, silver, and black nail polish. First choose one of your colors to create a French tip manicure. She next takes the silver polish, starts at the bottom and creates a swirl around the nail. Swerve the silver in a way that it covers the French tip part of the nail. Then get the pink glitter and apply only on pink polished area. Place black rhinestones on the swirled area of the nail. Because you're using the pink glitter polish, if you choose not to add rhineston...
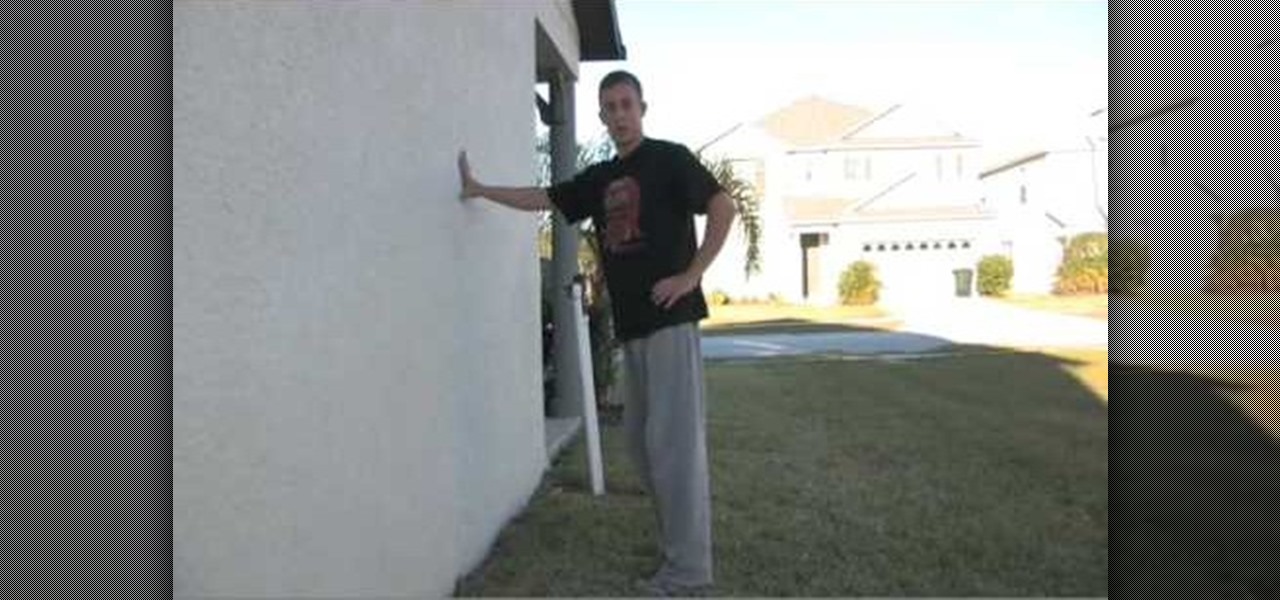
First, you take your position at about arms length away from the wall. You'll want to be somewhere around two feet away from the wall. Place you hands straight out in front of you. You always plant your feet first and then place you hands on the wall. As you start jumping, push off the wall with your palms pushing into the wall. Once you start to rotate, don't put your hands behind you. Straight from the wall to your knees. Tuck your neck, then you can jump, placing your hands on your knees a...
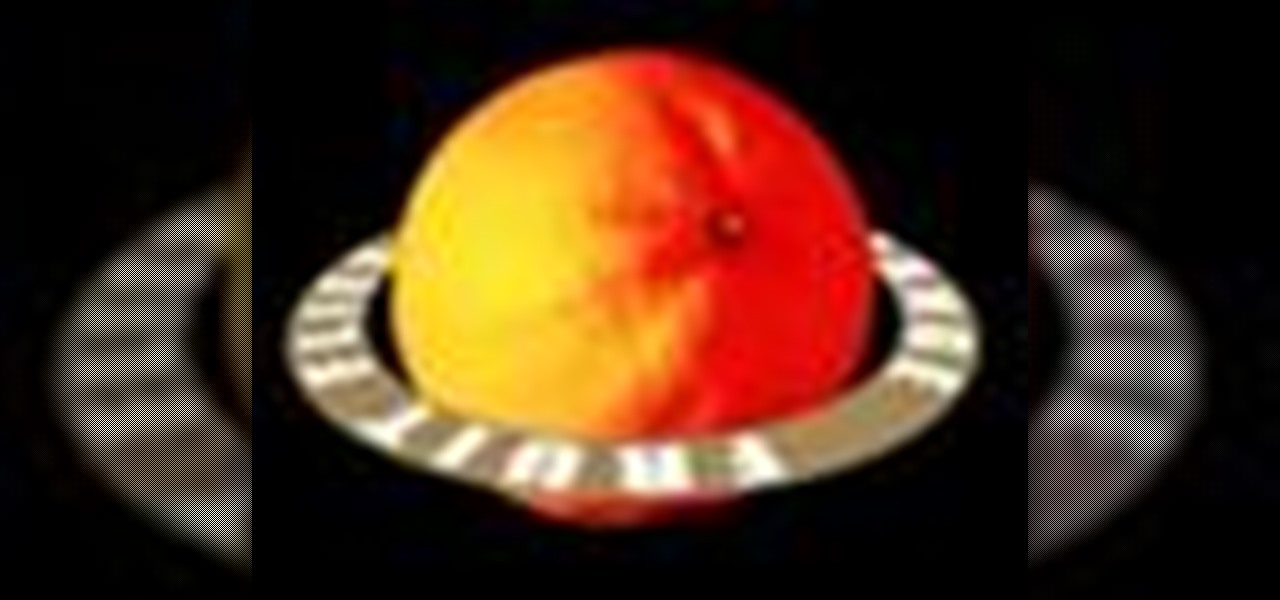
Instructor Brian Maffitt gives a fast-paced recipe for creating a Saturn-like ring of text around an orange. Brian gives the Stroke, Path Text, and Basic 3D filters a good workout, stresses the importance of pre-composing, and tops it all off with an inverted mask. This is a great "fake-3D" effect you'll be glad to add to your arsenal. So come on...orange you going to watch this clip?
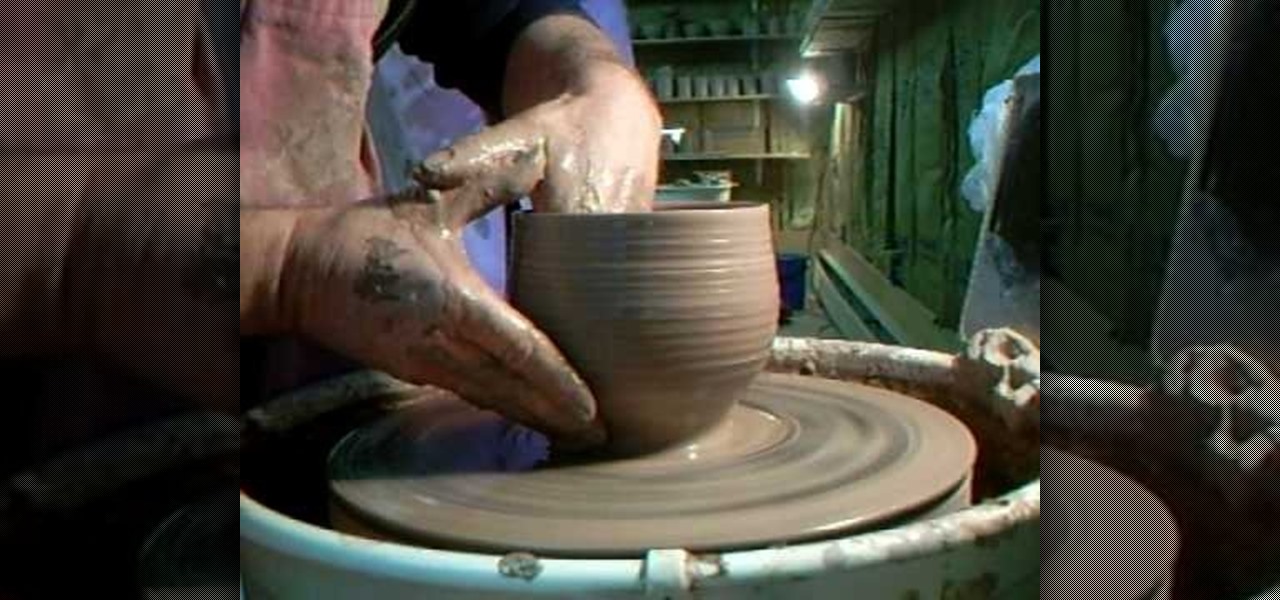
In this video, we learn how to paddle clay. Start off by placing the clay on the wheel and turning it on so it's moving quickly. You wan tot make sure you are using a lot of water and keeping the clay moist, as well as your hand. Make sure the bottom is even around on all sides, or it will turn out off center. Place your hands around the clay and cradle it until it makes a round and even shape. Continue to do this until you can put your hands on the side of the pot and work your clay on the i...
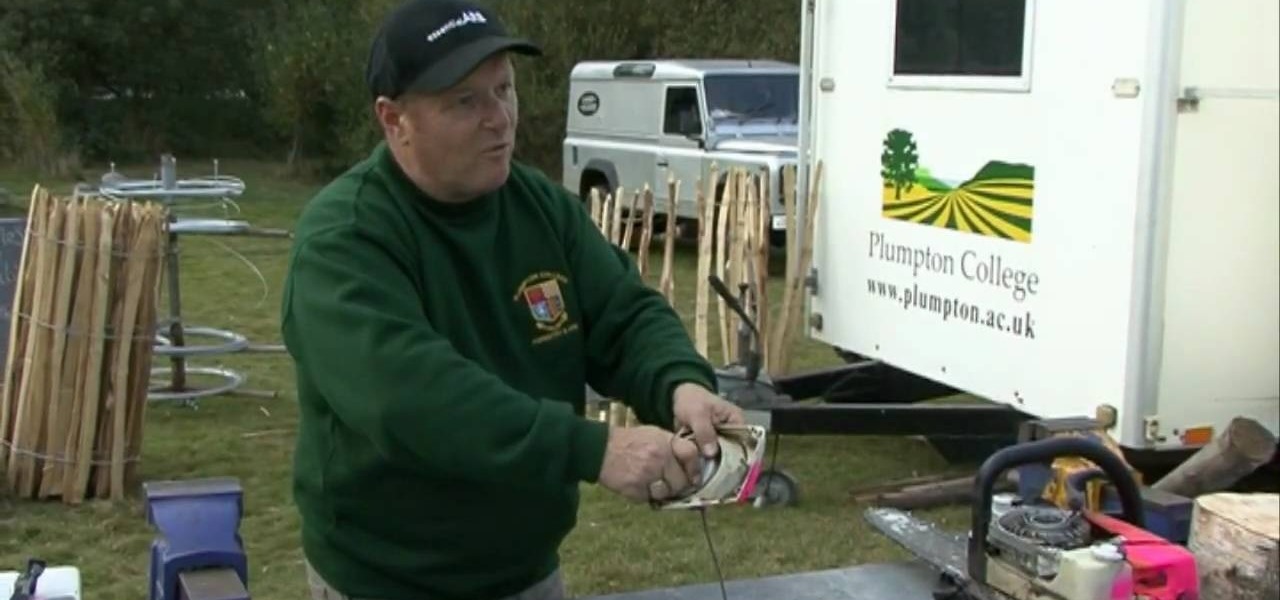
In this video, we learn how to fix a slack chainsaw recoil starter. All you need is to wind up the recoil string so the tension can be put back on. First, remove the bolts out (there will be around four of them). Next, lift the side casing off and find the nylon spool with the cable cord wrapped around it. There will be a clock spring around that. Now, wind it up with a screwdriver while holding the spool of the corn and winding up the spoon a couple of times. When you reach the correct tensi...
In this video, we learn how to carve a whole chicken. Start off by removing the wings from the chicken with a sharp knife. Go around the bones and let them guide you where to go. Next, remove the legs of the chicken, cutting again with a sharp knife. When finished, lay your chicken flat down and find where the breasts are. Cut around the breast bone to find the best spot to cut off the breasts. After this, cut the chicken breast into strips and set aside. Now that your chicken is finished, di...
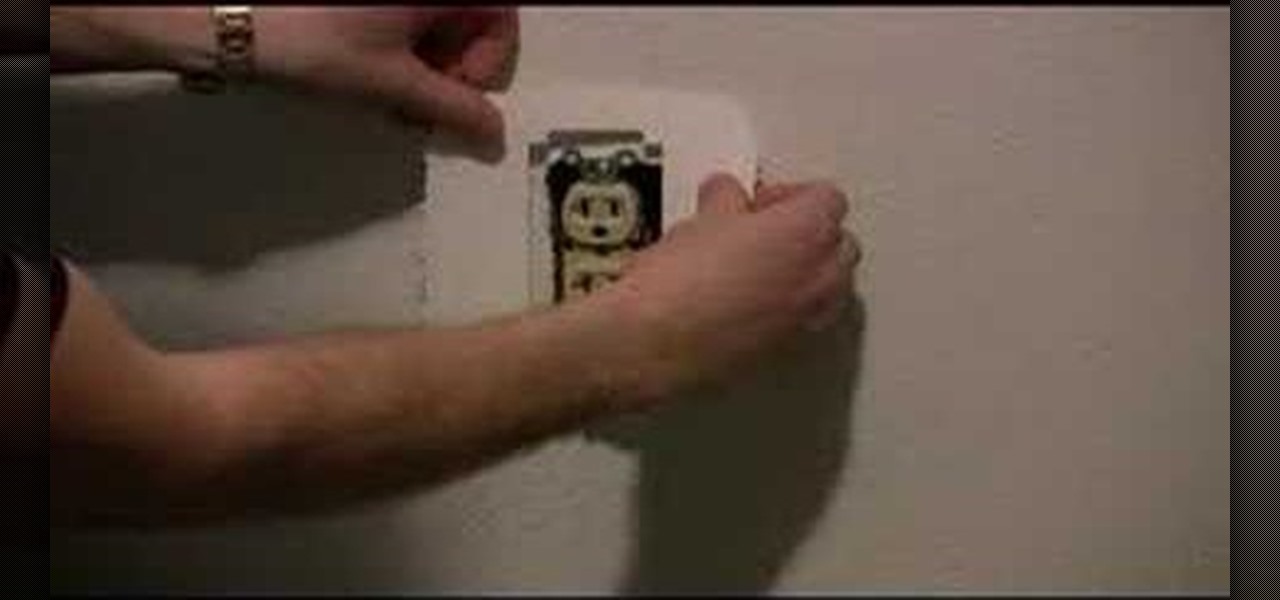
This Home and Garden video tutorial is going to show you how to repair damage around wall elements such as outlets. The video demonstrates how to repair a gap around a socket that was created due to a miscalculation on the part of the mason. The simplest way of repairing this would be to take the cover off, get a patch which is pre cut to the correct dimensions, peel it off, place it correctly over the opening in the wall and press it on. You could paint the area with matching color. Then put...
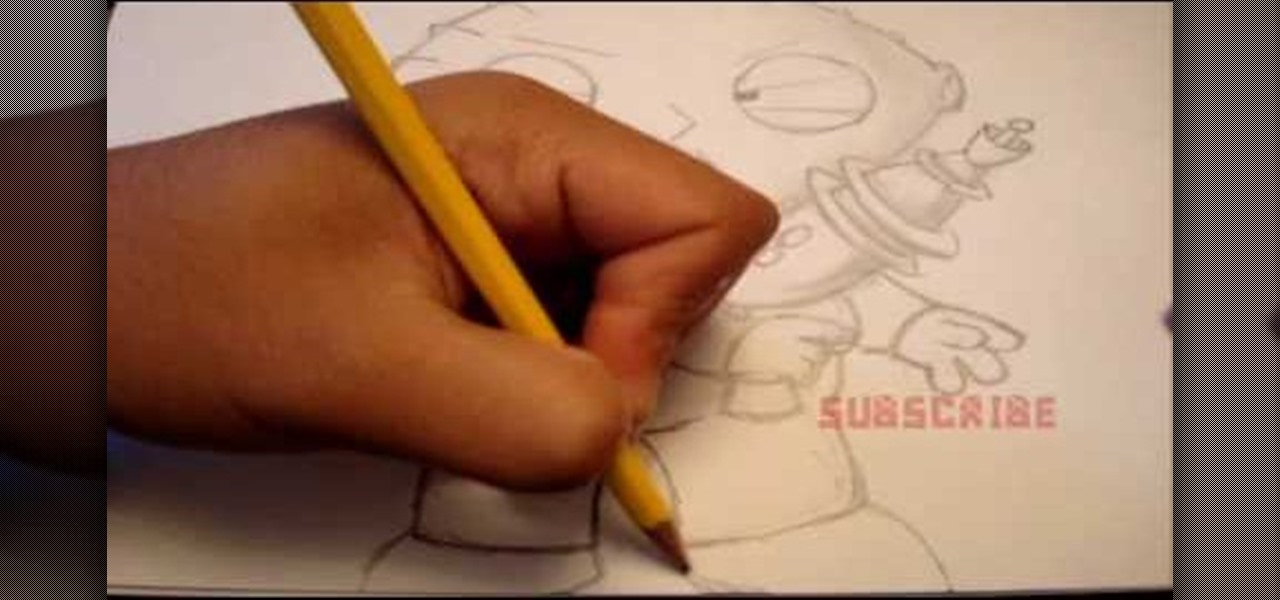
In this tutorial, we learn how to draw Stewie Griffin from Family Guy with a pencil. Start off by drawing the ears, then the football shaped head around the ears. next, draw the arms with the shirt on it, and make the hands. Also, draw a rocket with Stewie holding it. Keep drawing downwards, making the arms around the rocket and the body with pants and a bib on top. Draw in the details of the face, giving the character large eyes and a triangle shaped nose. Give the character narrow eyebrows ...
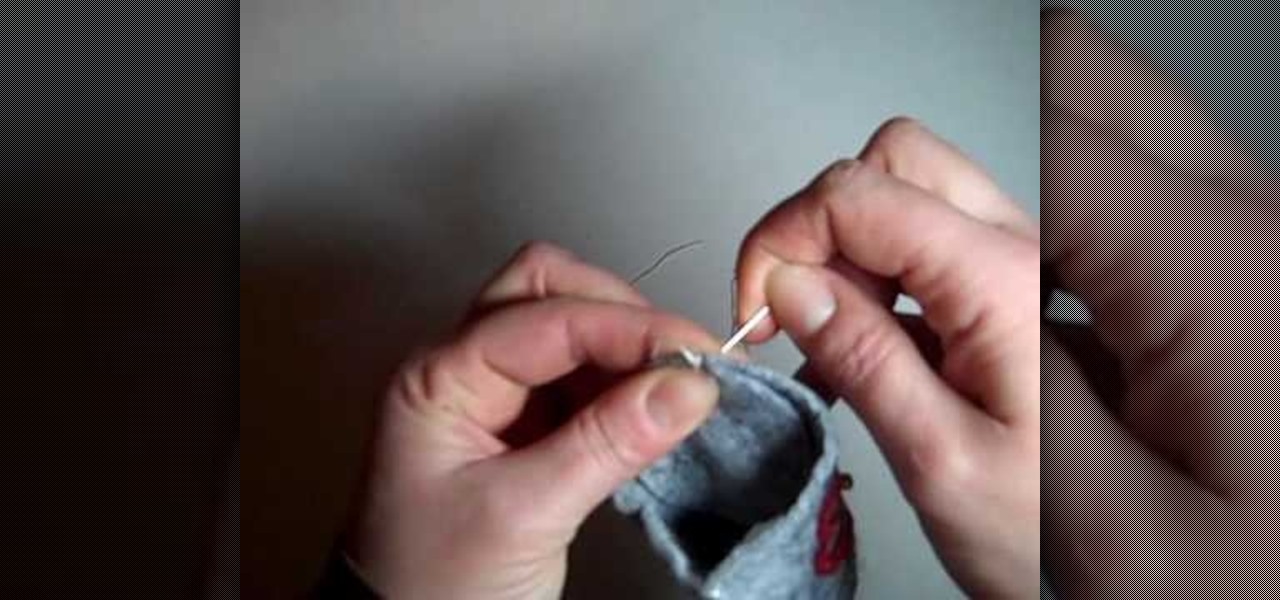
In this Arts & Crafts video tutorial you will learn how to do Whipstitching. The video demonstrates how to stitch the bottom of a cloth basket to the sides of the basket. A whipstitch is a very basic stitch. Start at one end of the basket; attach the bottom to the sides with a pin. Pass the needle from the inside so that the knot is hidden. All you have to do is taking the thread and whipping it around the edge. At the beginning, give it a bit of binding stitch before stitching the rest of th...
In this video, we learn how to recycle plastic bottles to make hanging art. First, cut the bottom off of the bottle and then cut it in half. Then, cut the other end off of the bottle as well. After this, you can grab the bottle and start to paint your choice of color all over it. Use different colors and transition and blend with them. Lay these on one side to dry when you are finished. When you're done with these and they are completely dry, you can use them to decorate around your house. Th...
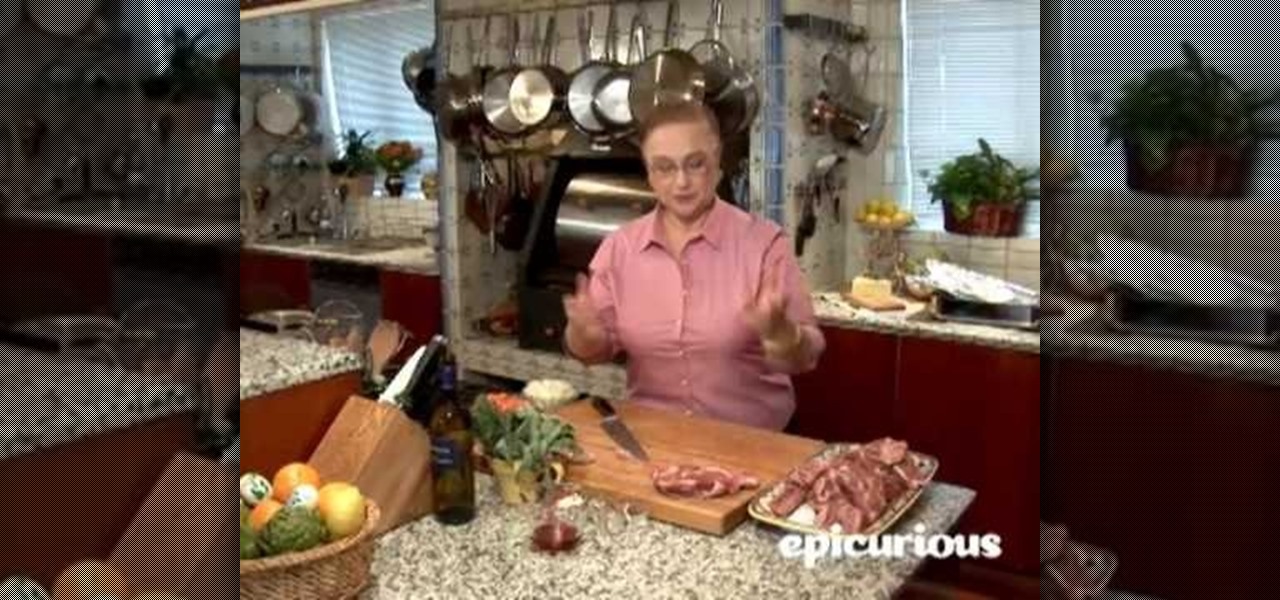
In this video, we learn how to trim a lamb shoulder with Lidia Bastianich. Start off with your raw piece of meat laid out in front of you. You will want to trim the meat around the outside where the most fat lies. Remove the fat that is excessive with a sharp knife. Cut as close to the bone as possible, then trim off the excess fat. Remember, some fat is good to keep on the meat for flavor. Cut the meat into cubes after you have removed the fat from it. Once finished, you will be able to roas...
In this tutorial, we learn how to apply Tm Burton inspired Edward Scissorhands makeup. Start off by applying scar wax on the face to create realistic scars. Then, apply Revlon Colorstay Foundation in Ivory all over the scar. After this, apply white cream makeup all over the face, including over the scars. Use a sponge to blend this around the face. Coat this until your face is white. Then, apply white shadow over the eyelids using powder. After this, apply Ben Nye neutral set powder, then bla...
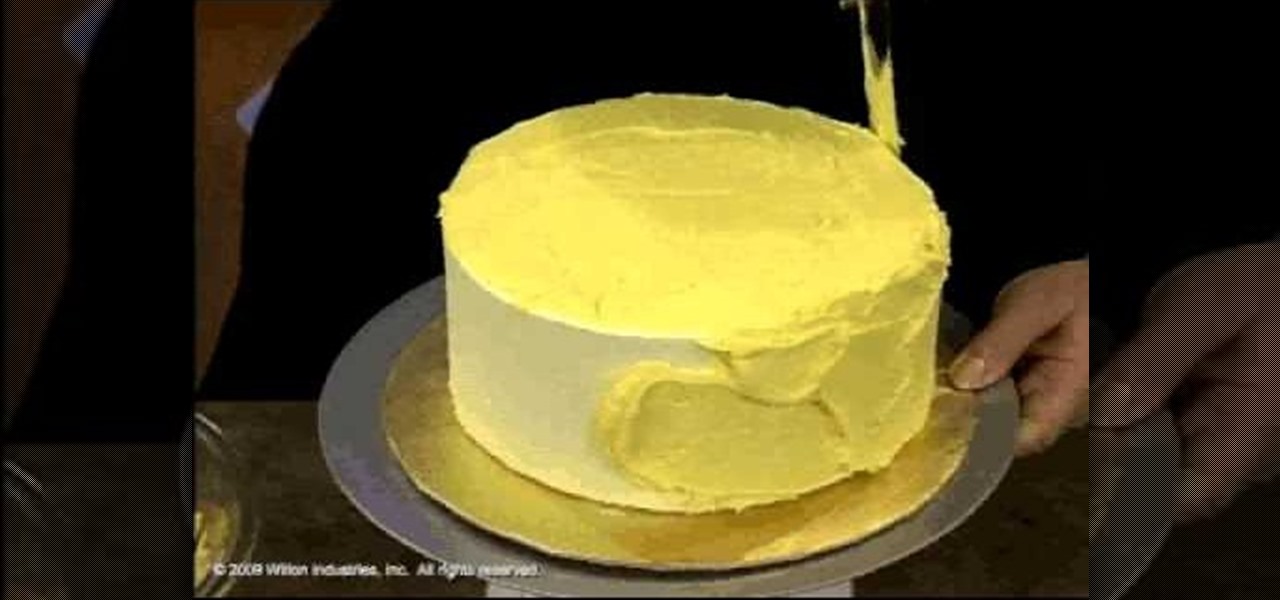
You can ice cakes using a spatula and put a “crumb coat” on the cake to seal in the crumbs prior to decorating. Start by putting a large dollop of icing on top of the cake, spreading it completely over the top with a spatula. Use enough icing that you don't pull the crumbs into the icing as you work.
This tutorial shows how to make tiny molded roses and leaves that you could put on cupcakes. To start you only need a few ingredients: icing sugar, water, paste coloring, fondant icing sugar, and a piping bag (optional). Mix all ingredients together, then put them in a bag so they stay soft. Make the color of the rose or petals any color you want. Knead the dough so that you will have the color you would like. Next, break off a piece of the kneaded dough and form it into a cone shape. Break o...
In order to cut into a fresh pineapple, you will need a sharp knife and a cutting board.
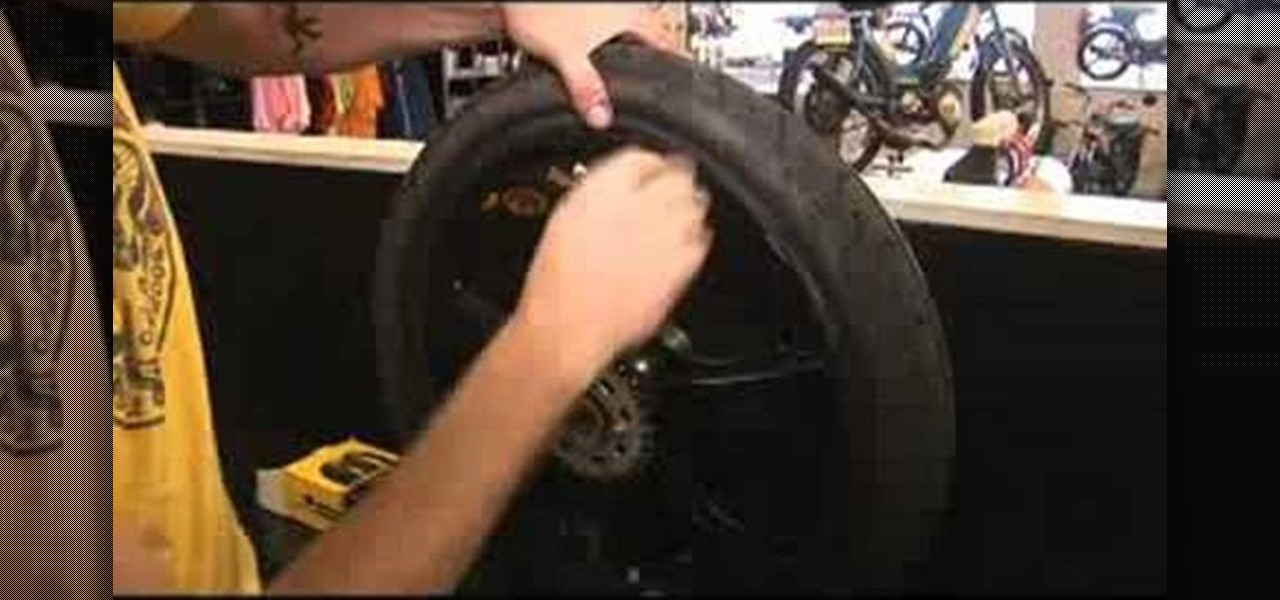
Zach Levenburg of 1977 Mopeds in San Francisco shows us how to fix a flat on the rear wheel of a moped.
In this tutorial, we learn how to create a masquerade ball mask with makeup. First, draw the outline of the mask around your eyes. After you do this, paint on light blue eyeshadow in circles around your eyes. Then, take a dark blue color and apply it on the outer edge of the light blue and inside the outline that you created. Apply glitter to the dark blue portion of the eyes, then draw on black around the outline of the mask, smudging it onto the outer edges of the face. After this, apply ey...
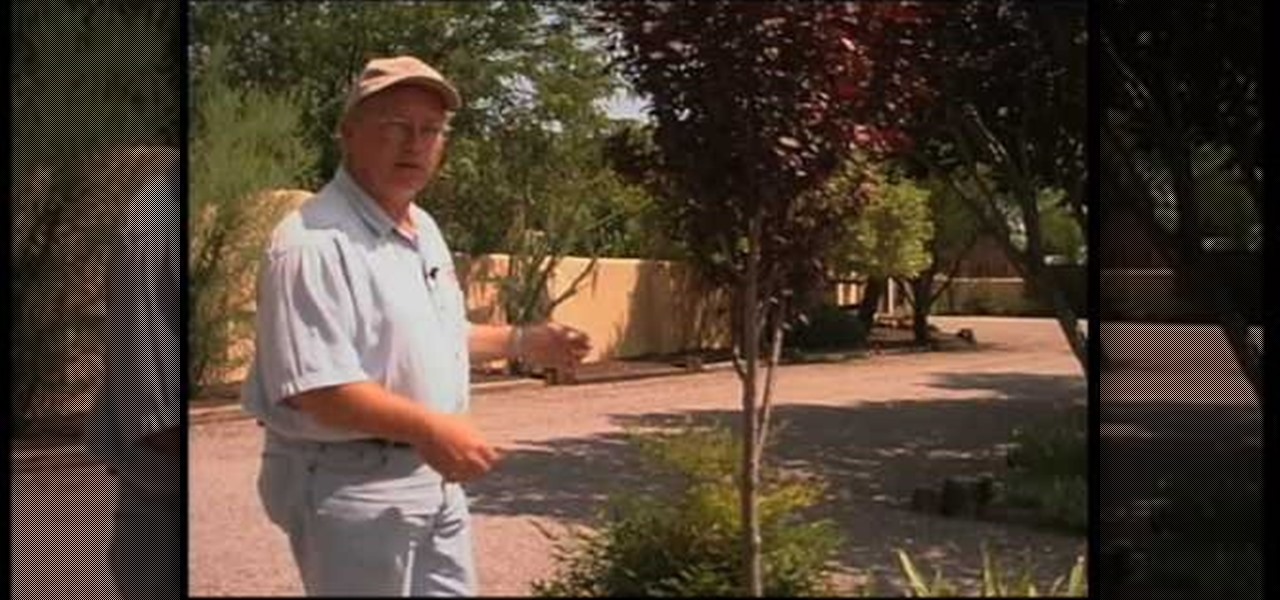
For new landscapes people tend to generally plant the new 'purple leaf plum' trees in a square shaped small plots. They also plant some small plants around it to make it look good. However when the tree grows older it needs to spread its roots. At that time these plants may try to hinder the trees roots growth. Therefore it is advisable remove them once the tree starts growing bigger. Then you can also add water to the roots by spreading it around the area of the tree.Whenever there is proble...
Breacher bars are like the much cooler older brother to the swiss pocket knife. In fact, there's little comparison between the two. A breacher bar, which is a rectangular shaped knife, is used by SWAT teams and bomb techs to easily and quickly cut through and pry open just about anything. But safety comes first.
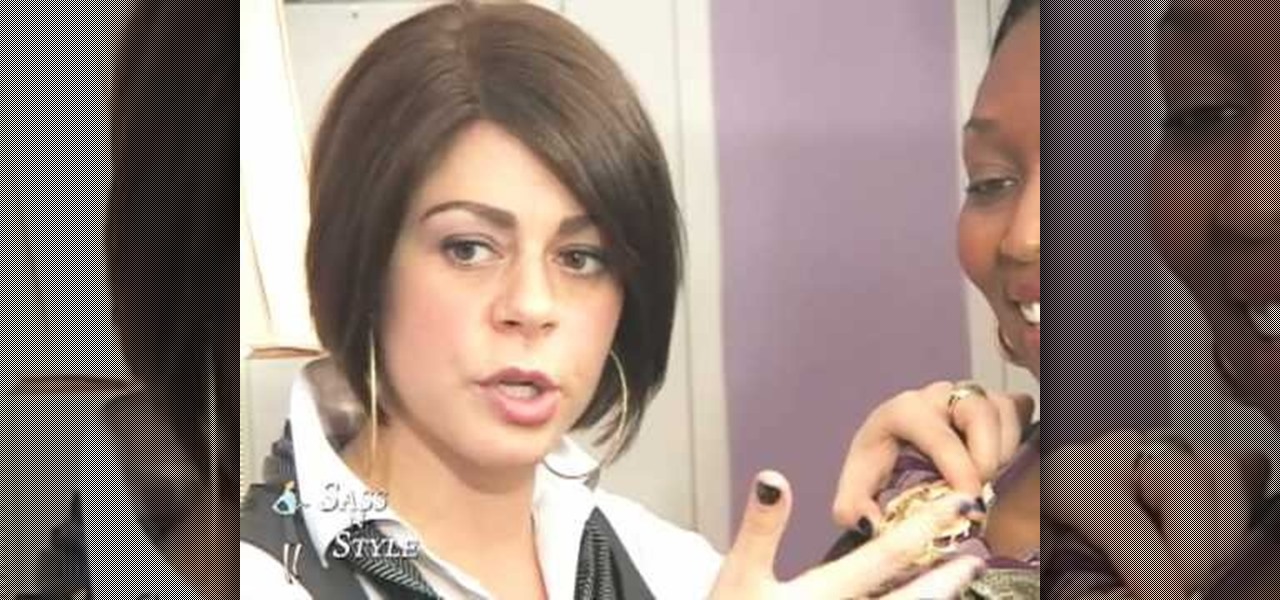
In this tutorial, we learn how to tie a dress scarf. You can use this in a number of ways to add some fun to your outfit. Start off with a black turtleneck and grab a long and skinny scarf. Find the middle of the scarf, wrap it around the back of the neck and then twist it. From here, tie at the bottom and give it even ends! With a scoop-neck top, you will take the scarf from the middle and wrap it around the neck. After this, pull it through in a half bow on one side and pair with a long jac...
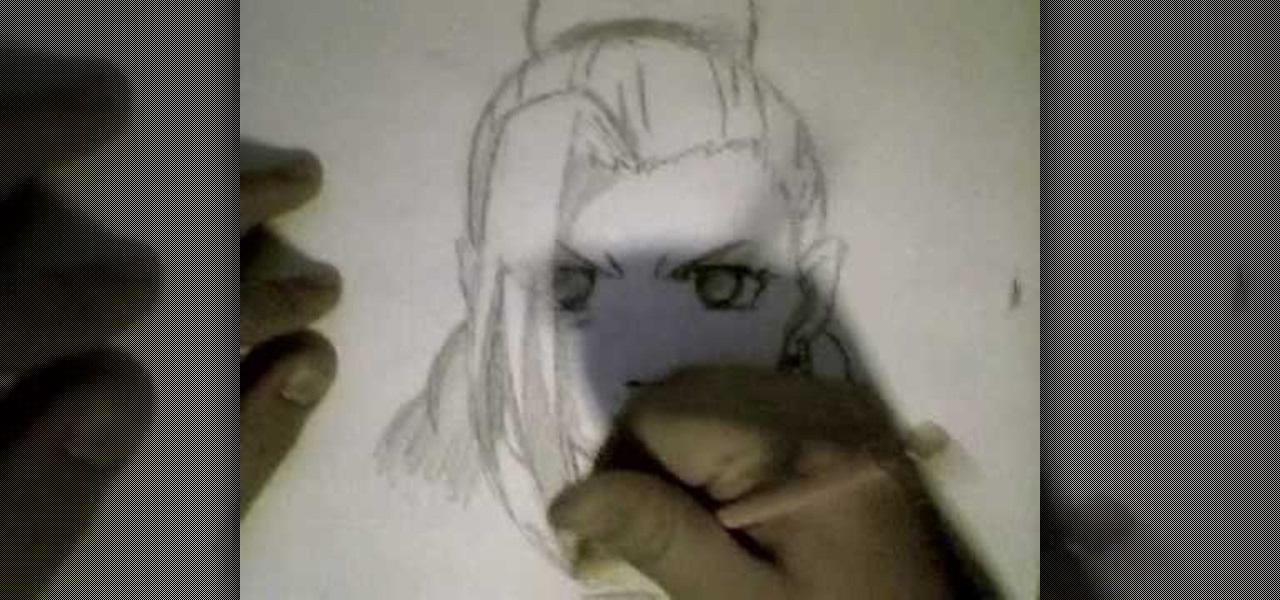
In this video, we learn how to draw Ino from Naruto. Start off by drawing a circle for the head, then drawing lines in the middle to create reference for where the facial features will go. After this, draw in the hair on the top of the head along with the eyes, eyebrows, and creases of the eye. Then, draw the jaw line around the face and erase the lines you used for reference. After this, add in additional lines and hair to make it look more realistic. Use shading around the face to show ligh...
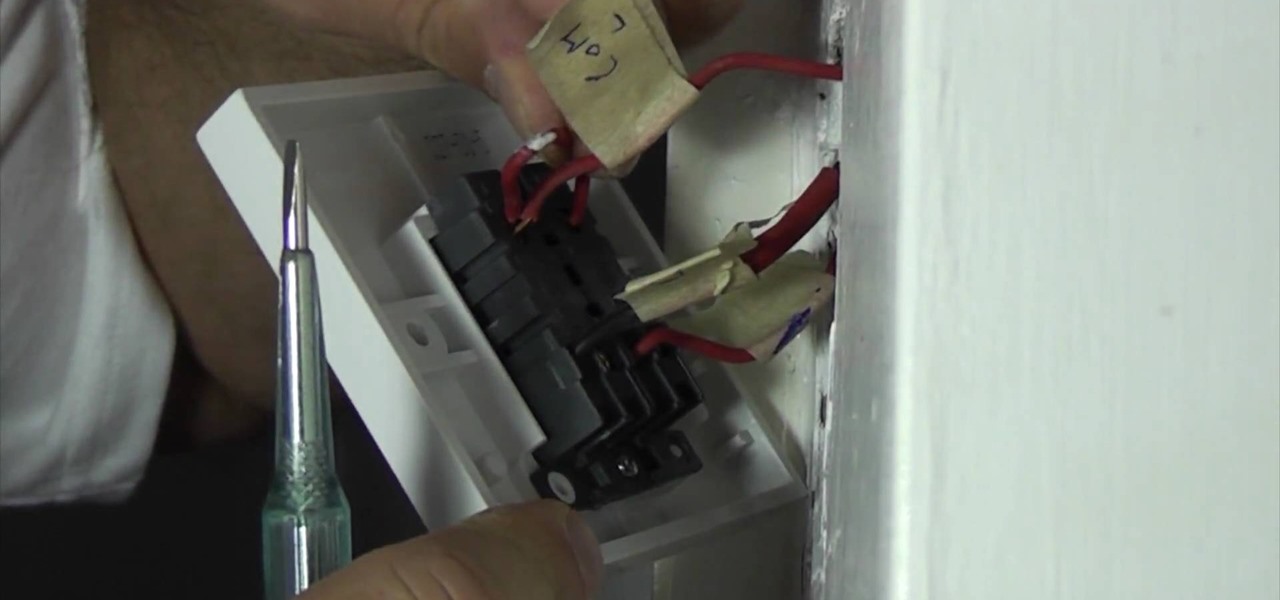
In this video we learn how to replace an electrical light switch. First, turn the power off in your home. Then, remove the screws around the switch exposing the wires. Confirm that they are dead with a tester, then you can get started removing. Wrap electrical tape around the wires and then label them with what they were connected to. Tear this out of the terminals, then replace the new one with the wires hanging out. Make sure you place the wires back into the same terminals as before, using...
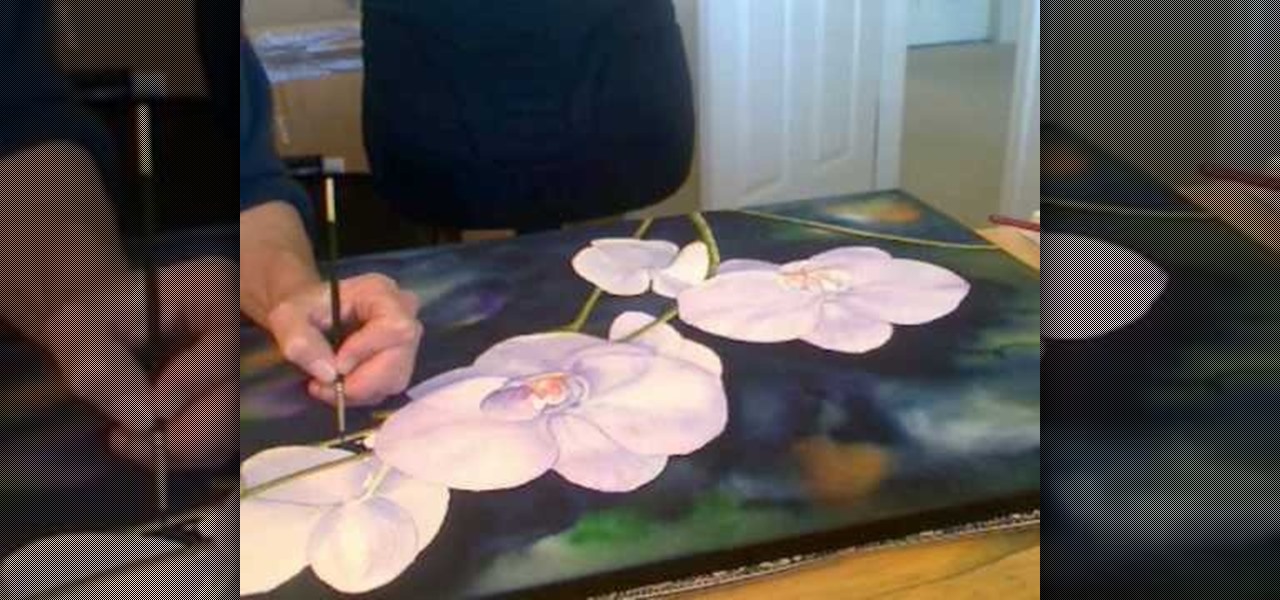
In this video, we learn how to pain orchid flowers with watercolor paints. Start out by using a light lilac color on the petals. Use a thin brush to push the colors around on the picture so you have slight shading around the different petals. Use a darker purple color in the middle of the flower. Then, use a yellow color in the very middle. Add in a green leaf and stem on the bottom of the flower. Use a paper towel to smudge any excess moisture or water off of the flower to make it more prist...
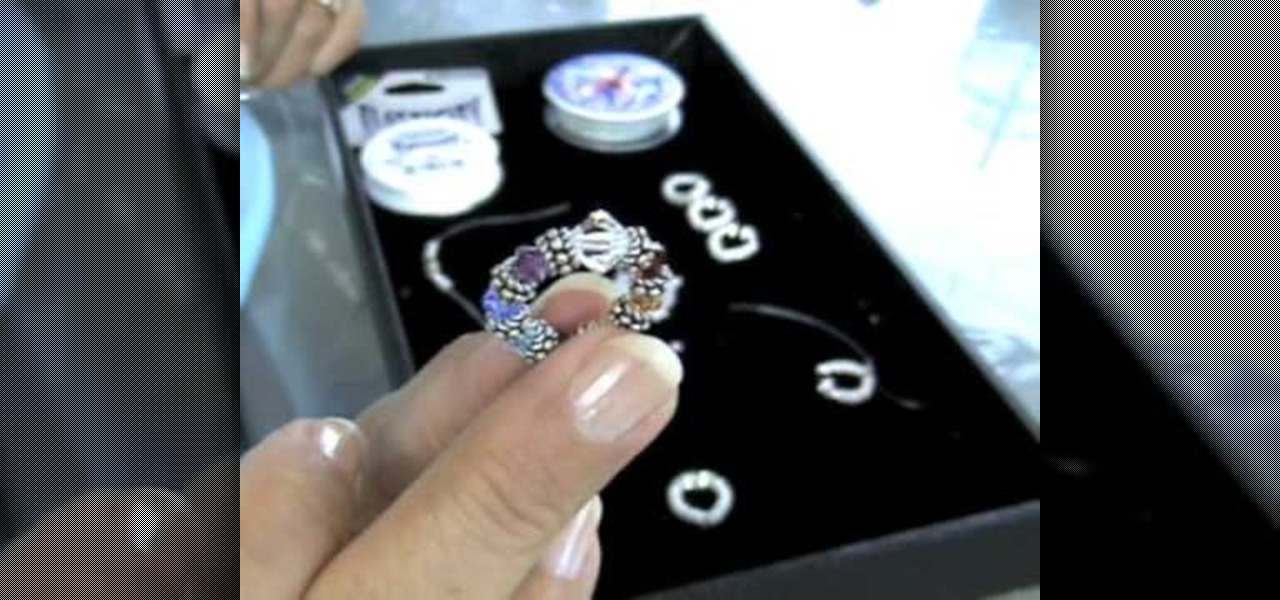
In this tutorial, we learn how to make an elastic Bali bead & crystal ring. First, you need to get all of your supplies together, which include: elastic cord, crystals, glue, beads, and scissors. Start by cutting a 6 inch piece of the elastic cord, then string a bead to the middle of it. Then take a crystal and string it onto one side along with another bead and a silver bead. After this, place more beads around the other side of the middle bead then put it around your finger to see if it's t...
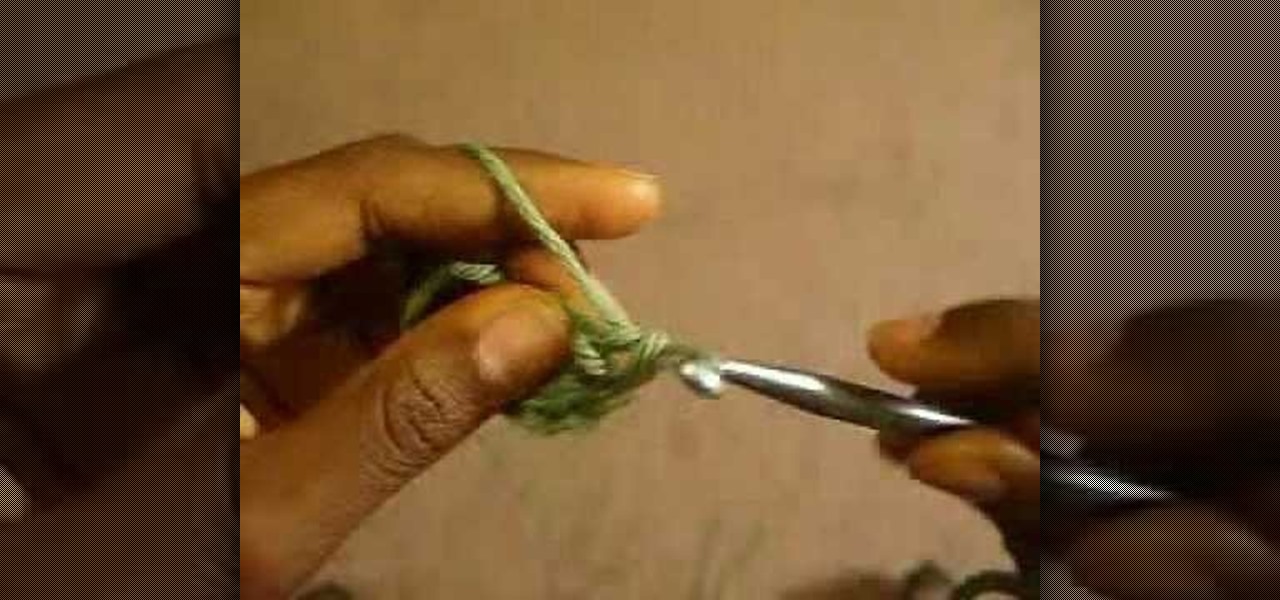
In this video, we learn how to start a beanie. During this, you will increase the number of single crochet stitches in a chain. Start off with a chain three, then join them by crocheting a single stitch in the first stitch you made. Do this by pushing the hook through and pulling the yard over, then pulling through. After this, you will have a circle. Start to crochet inside of this by using your circle and inserting the hook into the circle. Crochet around the tail of the circle, then yarn o...
In this video, we learn how to draw Charmander. Start off by drawing the large eyes with lines inside of them. After that, you will connect the head around it, followed by the nose. Next, you will draw in the rest of the body including the feet. Draw in the tail with flames coming out the end of it. Add in lines around the body to make the figure look more realistic, then draw in pupils for the eyes. When you are finished, you can color the character or just leave it how it is and shade in on...
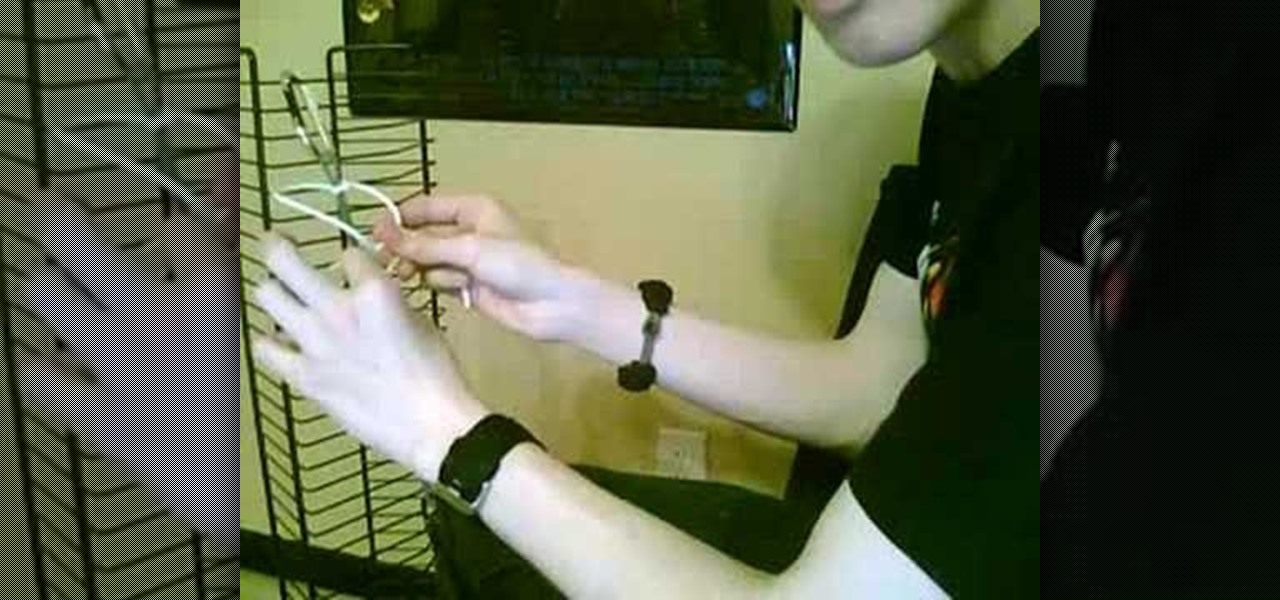
In this tutorial, we learn how to weave a (king) cobra stitch for paracord bracelets. First, take a 10 inch cord, fold it in half, then tie a knot at the end of it. Put this on a holder, then tie another chord on the bottom of it and hold it with your knees for tension. Next, start to weave the other color chord around it by going in and out of the two sides of the first chord. Continue to do this for the entire bracelet, then knot it off at the end to finish. You can add your favorite colors...