Punky pop twosome 3OH!3 are eccentric to say the least. With songs that wax poetic in memorable and tasteful lines like "Do the Helen Keller and talk with your hips," it's impossible to ignore this pop group these days.
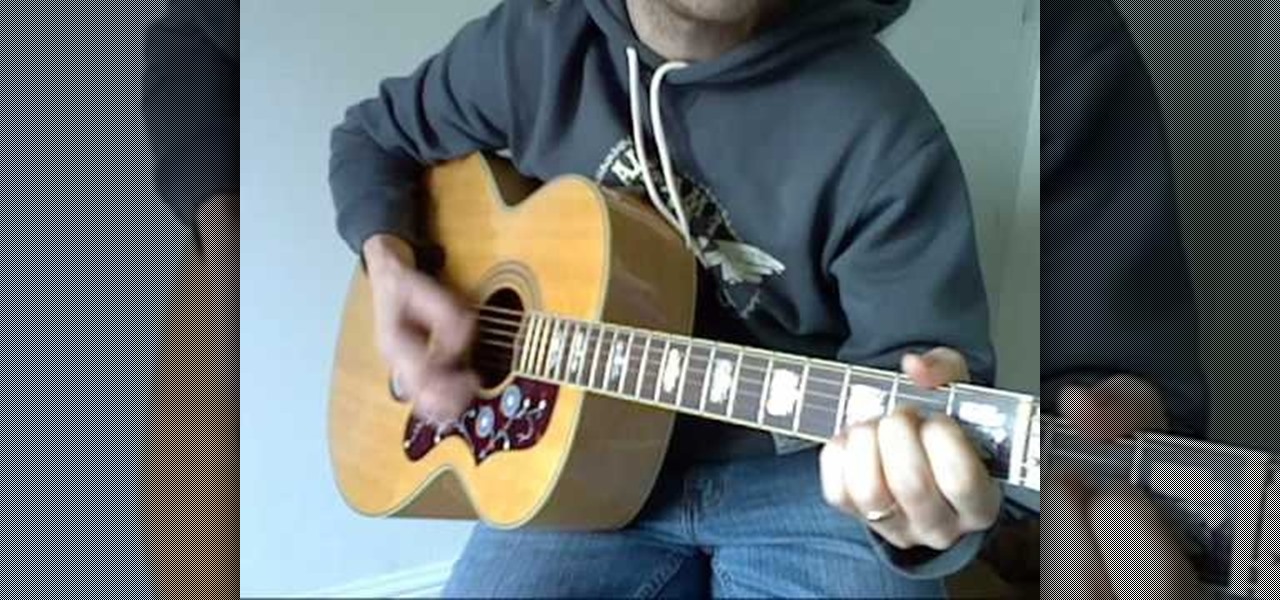
In this video, we learn how to improve your chord changes on an acoustic guitar. Start off by playing slowly so you figure out exactly where each of the chords are. Then, start to play in faster and faster, making sure your chord changes are clean and not messed up. After you do this, start to play a simple song on the guitar that requires small chord changes. Practice doing this song over and over until you become familiar with where the fingers go on the guitar. Once you have this down, you...
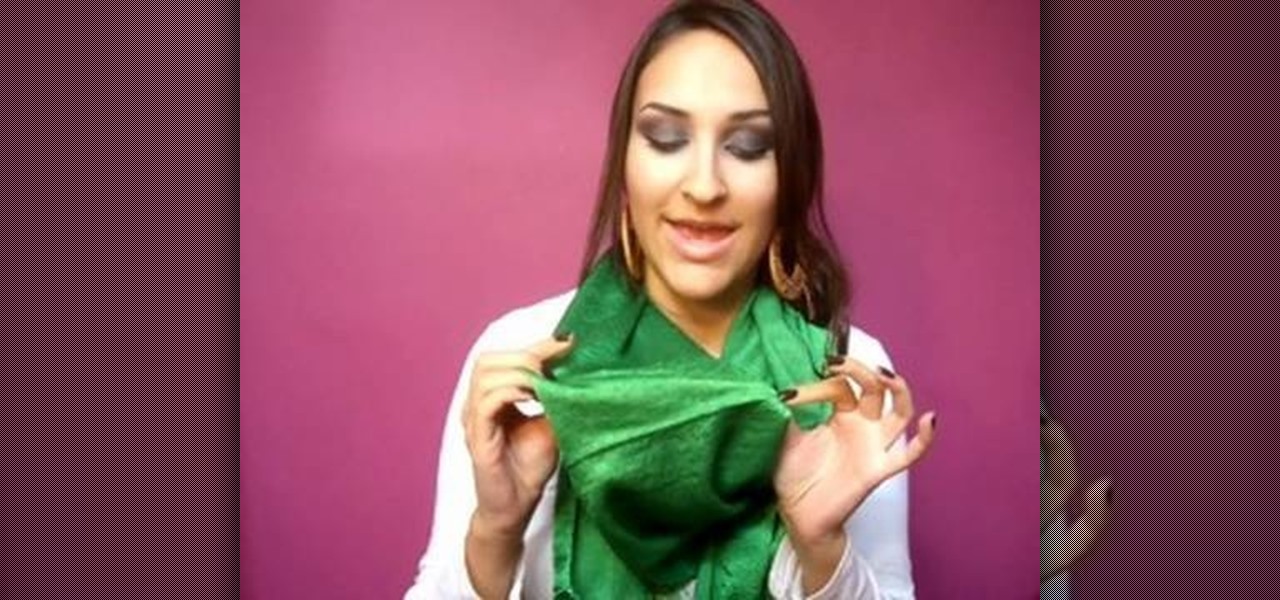
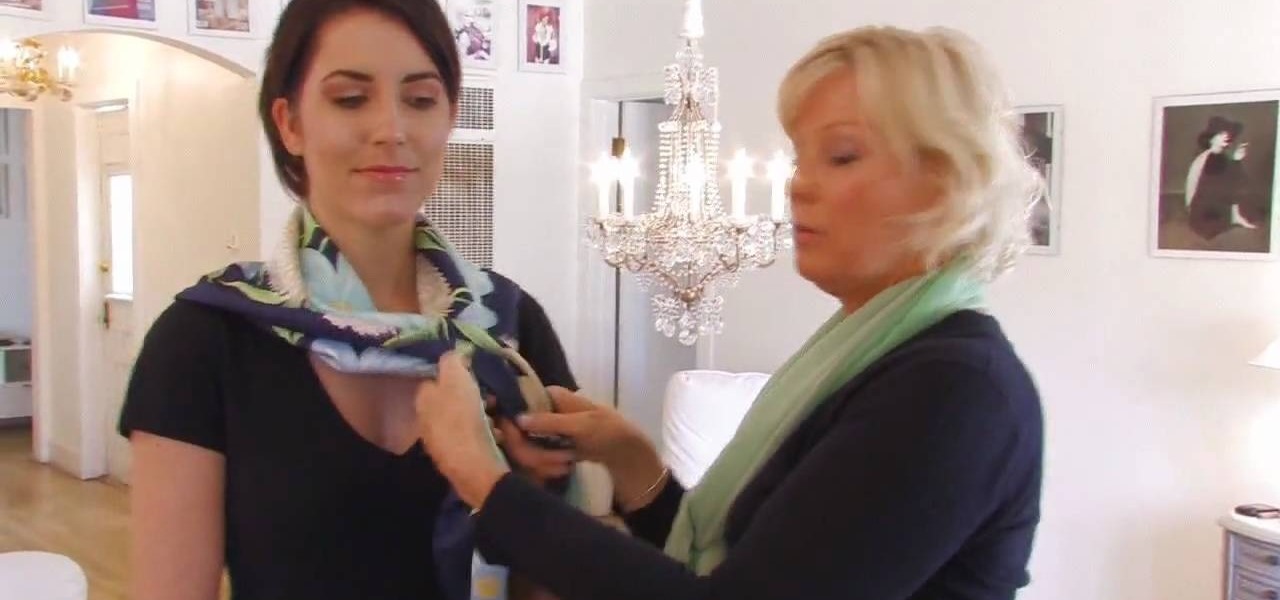
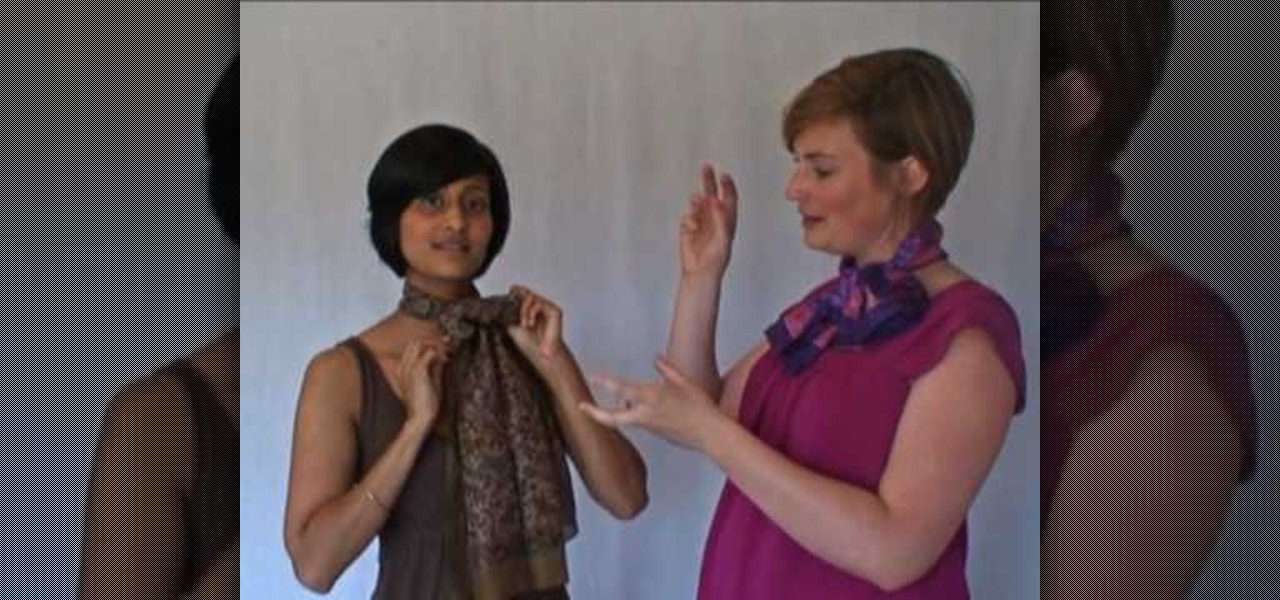
In this video, we learn how to wear a scarf by creating contrast and texture. A squared shaped scarf with contrasting patterns will look great with anything that you are wearing. To wear this, make it into a triangle, then tie the ends together around the back of the neck. Then, you can let the scarf hang down on the front to add a texture to your look. A solid color scarf is also great if you are wearing a simple top to add a splash of color. You can tie this around the neck one, then let th...
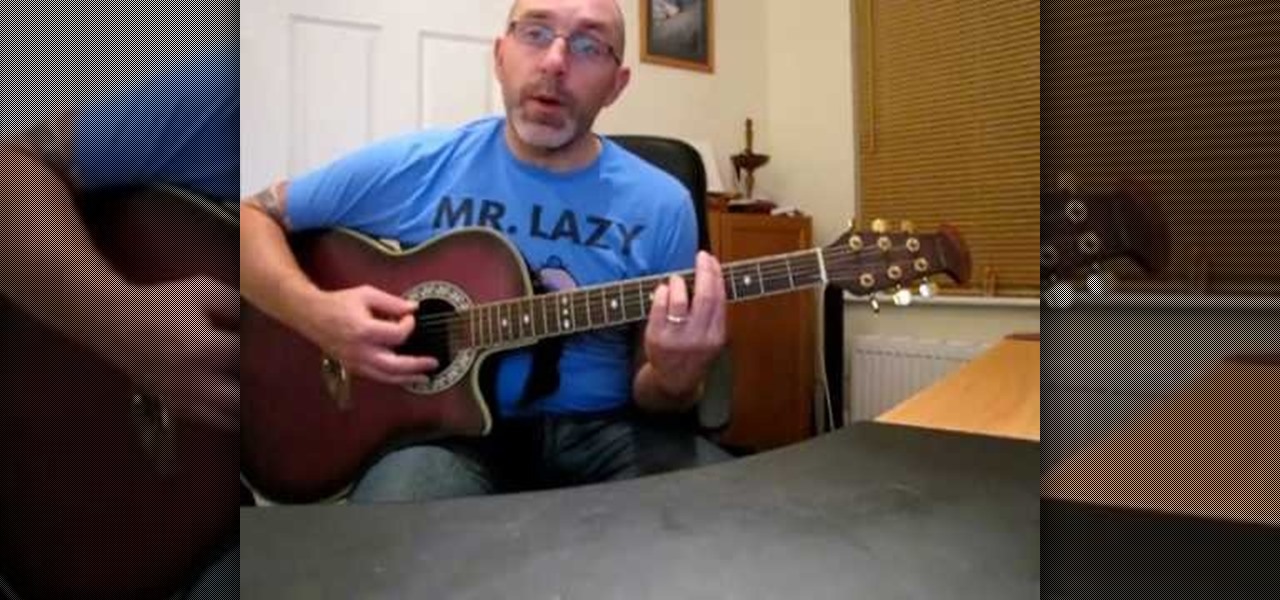
In this video, we learn how to play "Candy Says" by Velvet Underground on guitar. Start off by tuning down the guitar one step for all the strings. Start to play the introduction chords, doing small sections then piecing them together. The chords are E, G sharp minor, G, and C sharp for the chorus. Once you get past the first chorus, start with the middle of the song and add in the lyrics as you sing the song. Continue to play the rest of the song adding in the other chorus parts, then when y...
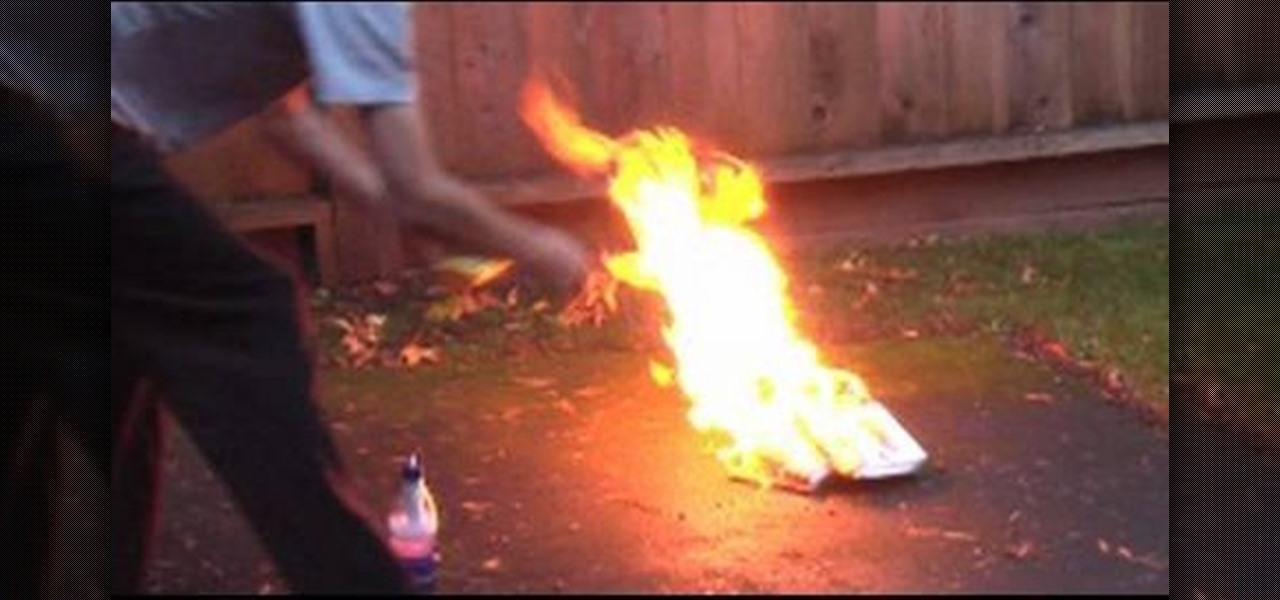
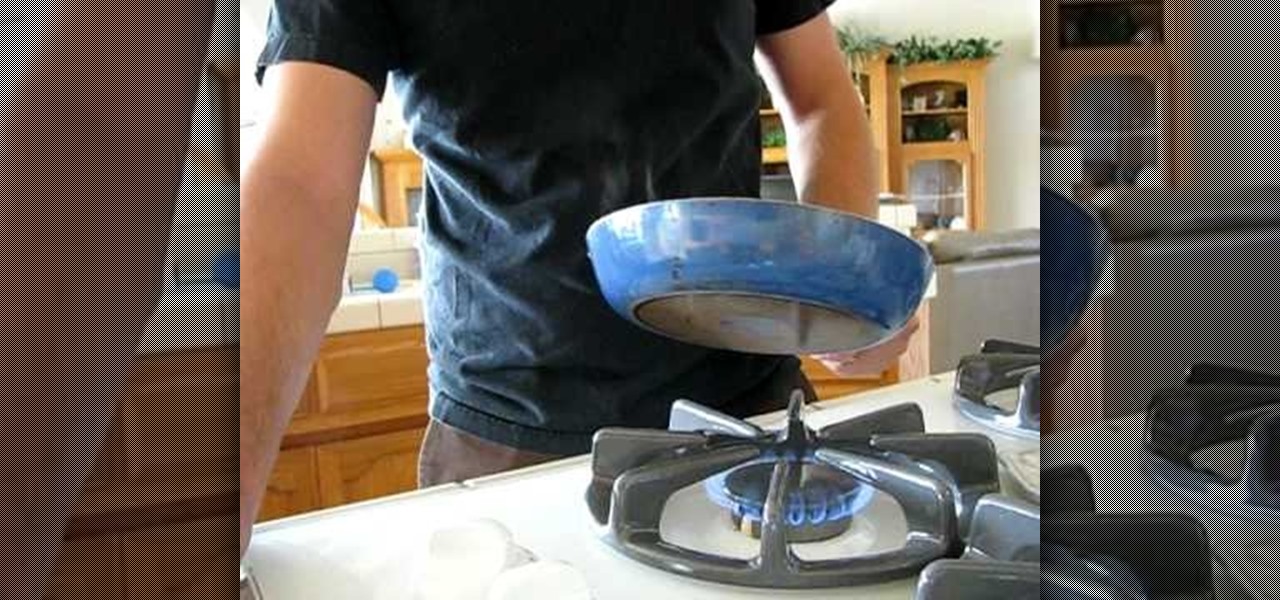
If you're planning on making a fire and don't have a big fire extinguisher laying around, you may think that you're all out of options. But if you've got a water bottle, some baking soda, vinegar, dish soap and a little water you're all set to go! This video shows you how to create a short term, home made fire extinguisher and also demonstrates its effectiveness.

Rubber bands are an ordinary, everyday, common household item, right? Their hidden in your desk, wrapped around your bills, holding your pencils together at the office, but what else can you do with rubber bands? What are some extraordinary uses? Woman's Day Magazine tells you how you can repurpose those rubber bands!

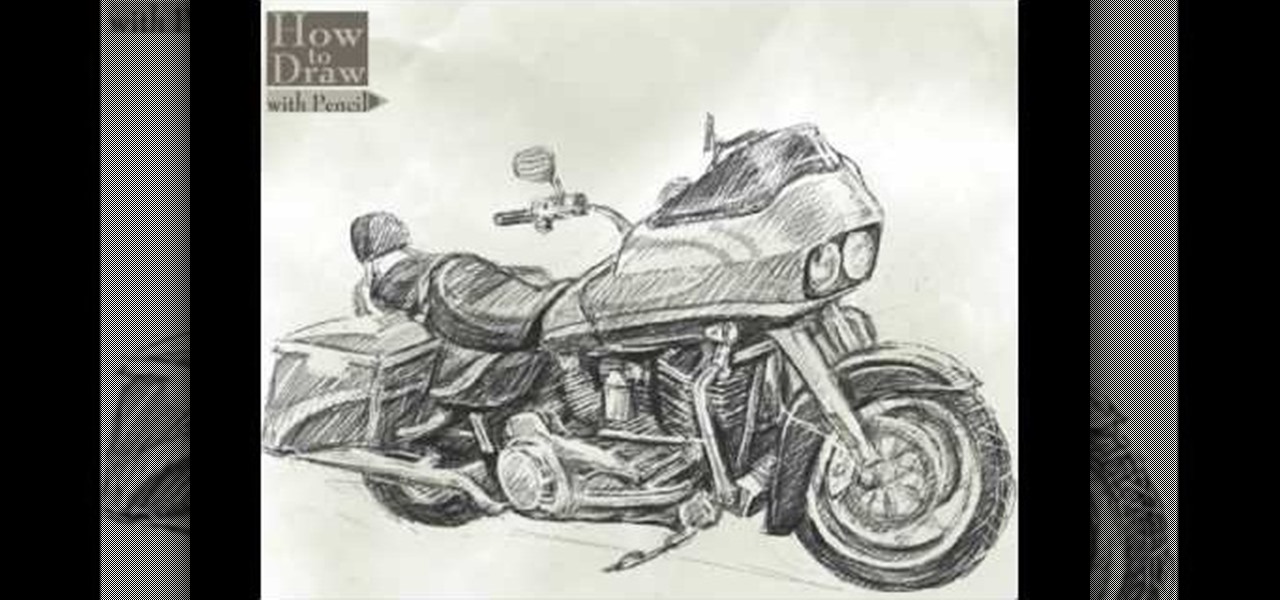
In this video, we learn how to draw a Harley Davidson Road Glide. Start off by drawing the body of the motorcycle as a rough outline. After this, start to fill in the different areas by making large sections of the bike 3-D. Draw in the wheels and the back of the bike, as well as the handle bars, mirrors, and lights. Draw the seat and back seat in, then start to add in further details. Apply shadowing to the car, making some parts darker than others. When you are finished with the drawing, co...
In this tutorial, we learn how to draw a palm tree. Start off by drawing the ground on the bottom, then draw the base of the tree. Make it curved, so it looks more realistic. Two lines will be going up until you start to draw the leaves on the tree. After this, you will want to start in and shade one side of the tree that the sun will have touched more than the other. Add lines to the tree as well, so you can see the textures that are on it. When drawing the leaves, make sure you are drawing ...
In this tutorial, we learn how to draw the anime character Tobi. Start off by using light pencil markings to outline the face and the head. After this, use a marker to draw in the eyes and pupils. Next, draw in the eyebrows over the eyes, then make a small mark for the nose. Draw in a line for the mouth, then make one of the eyes a diagonal line, like the character is winking. Start to outline the chin, then draw in the ears and start making the hair. The hair should be spiked and going down ...
Gary France shows us how to properly straighten your hair in this video. Start off by blow drying your hair or simply just brushing it after the shower. Start with the underneath of the hair, then work the iron through the hair. Make sure to start at the root and end with the tips of the hair. Follow a comb through the hair until you reach the end. Continue this technique while working through all the different sections of the hair. You may need to place the iron through the hair several time...
In this video, we learn how to draw a manga chibi eye. Start off by drawing an outline of the eye with the round middle and the lines on top and on the bottom. After this, start to add in the small details of the eye, like the pupil and shine marks on it. Next, start to shade in the eye and make the lines thicker. Continue to draw in black until the back of the eye is covered black and another portion of the eye is white. Switch back and forth between different pencils to help you color in di...
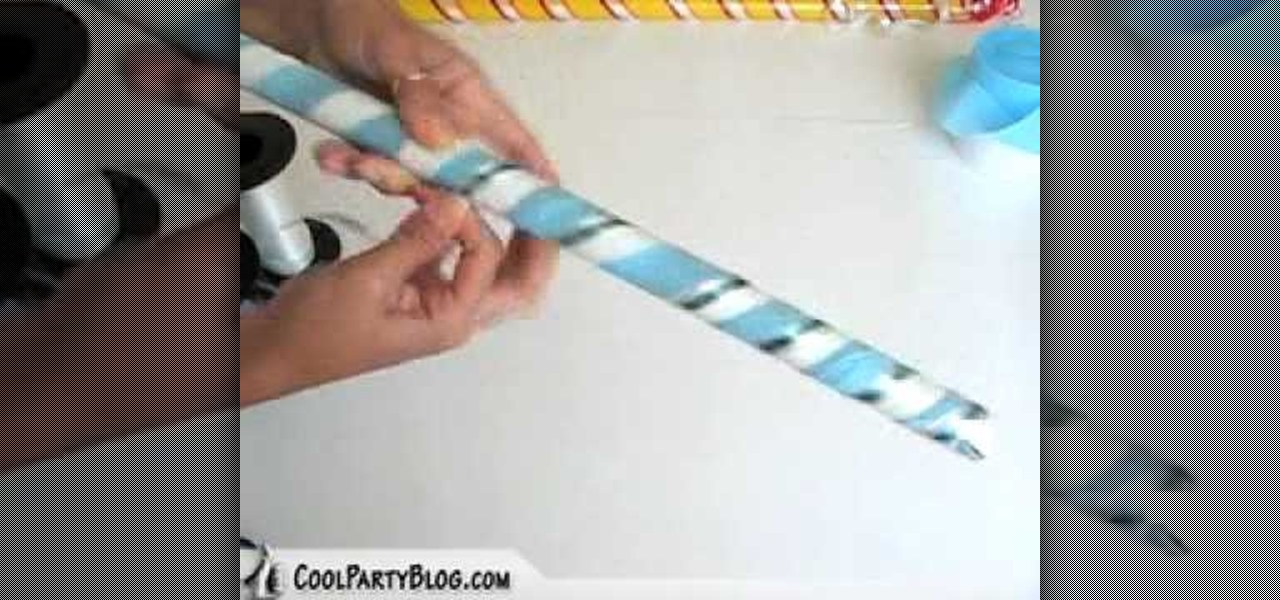
In this tutorial, we learn how to customize a pi–ata buster stick. First, choose a couple streamer colors that match the theme of your party. Next, roll the streamer around the stick, covering the entire stick. Tape down the end on both sides so the streamers stay on. Next, wrap a different color streamer around the stick and tape that down as well. You can also add on ribbon around the stick to make it more decorative. When finished, make sure everything is taped down at the end and you will...
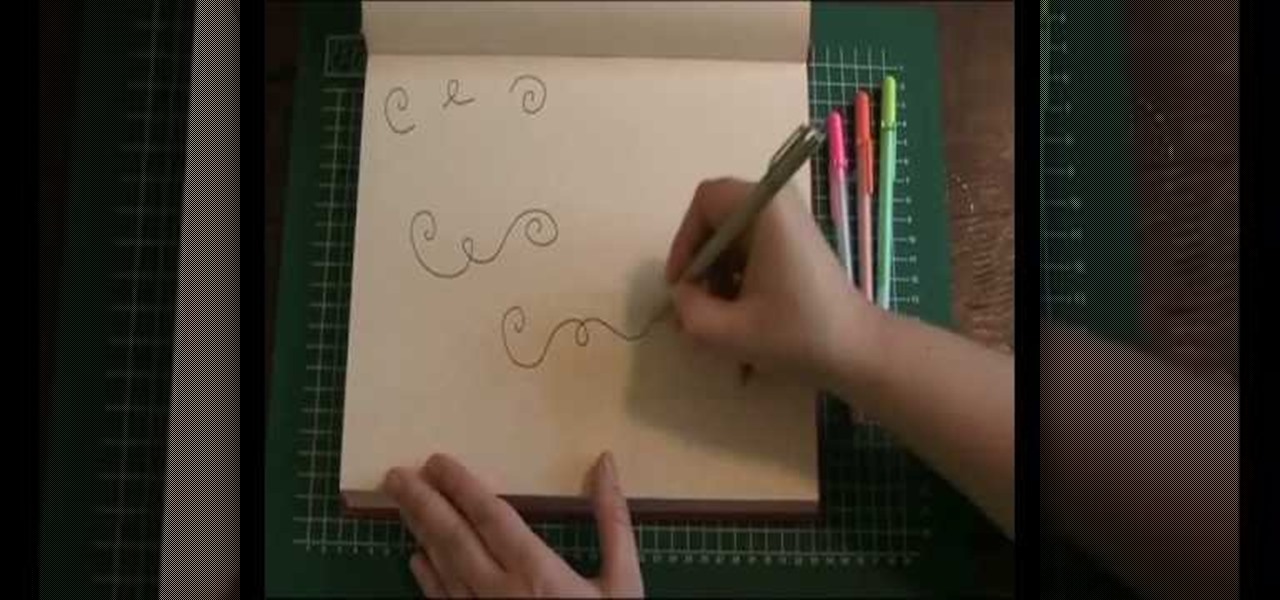
In this video, we learn how to draw a doodle with Marieke Blokland. Start off by writing the letter "e" in cursive, several times, making the letter larger as you go. Link the e's together, then when you get to the bottom of the paper it will be just a scribbled loop. Now, on the next page, draw more of these looped e's, dragging out the lines. On the next paper, draw spirals going from smaller to larger and going clockwise and counter-clockwise. Start to incorporate all of these shapes toget...
In this tutorial, we learn how to draw Umbreon from PokŽmon. Start off by drawing the head and using crossing lines as the reference points for the eyes. After this, draw the neck and body underneath the head. Next, draw the feet, rear legs, and tail as well. Use your pencil to add lines on the sides to make the fur look real. Next, start drawing in details to the character, including; ears, paws, and eyes. Also, draw the nose and mouth to the character. After this, start to shade different p...
Cate Adair shows us ways to wear a square scarf in this tutorial. The first way to wear this is the classic, which you will wrap the scarf around your hair and wear sunglasses. The next way to wear it is to fold it around your neck, with a jacket over it, to keep you warm during cold months. You can also double wrap the scarf around you, letting the triangle side lay on the front of your shirt. This can be a fun statement with many different outfits, no matter what you are wearing. Wear acces...
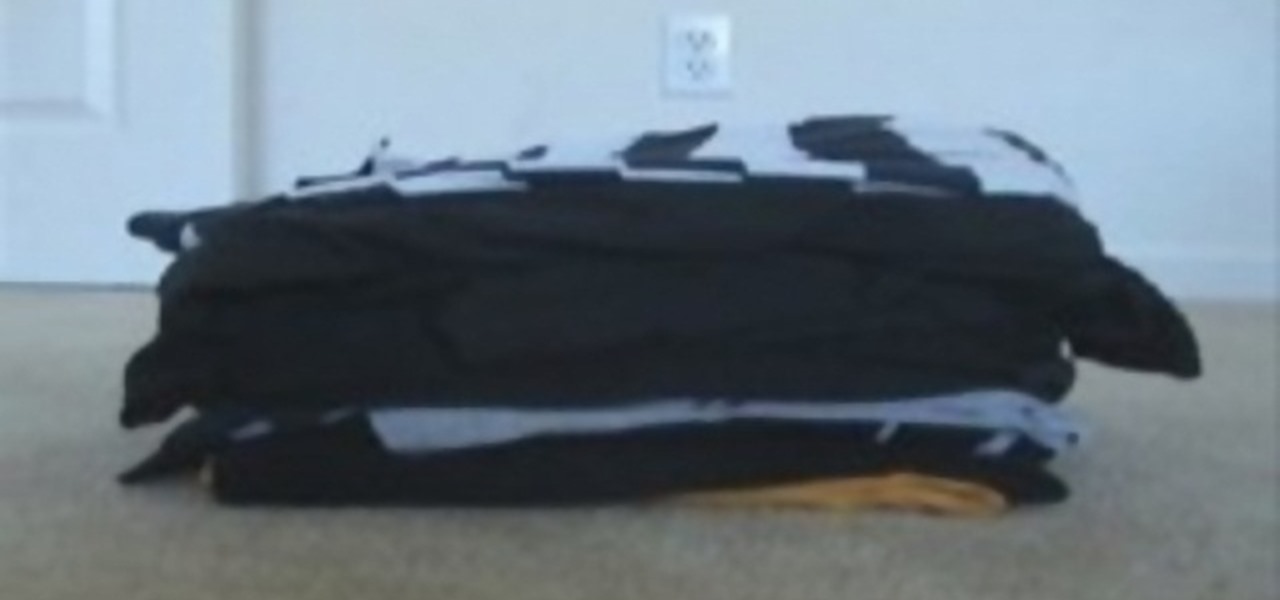
In this video, we learn how to save space while packing using 3 household items. You will need the following items: garbage bag, vacuum, and rubber band. First, fold your clothes and stack them on top of each other in a pile, then place a garbage bag around them. Now, take your rubber band and tie it around the bag, then stick the hose of the vacuum into the hole. Now, turn your vacuum on and let it suck the air out of the bag, and you will see the bag shrink within just a few minutes. Keep s...
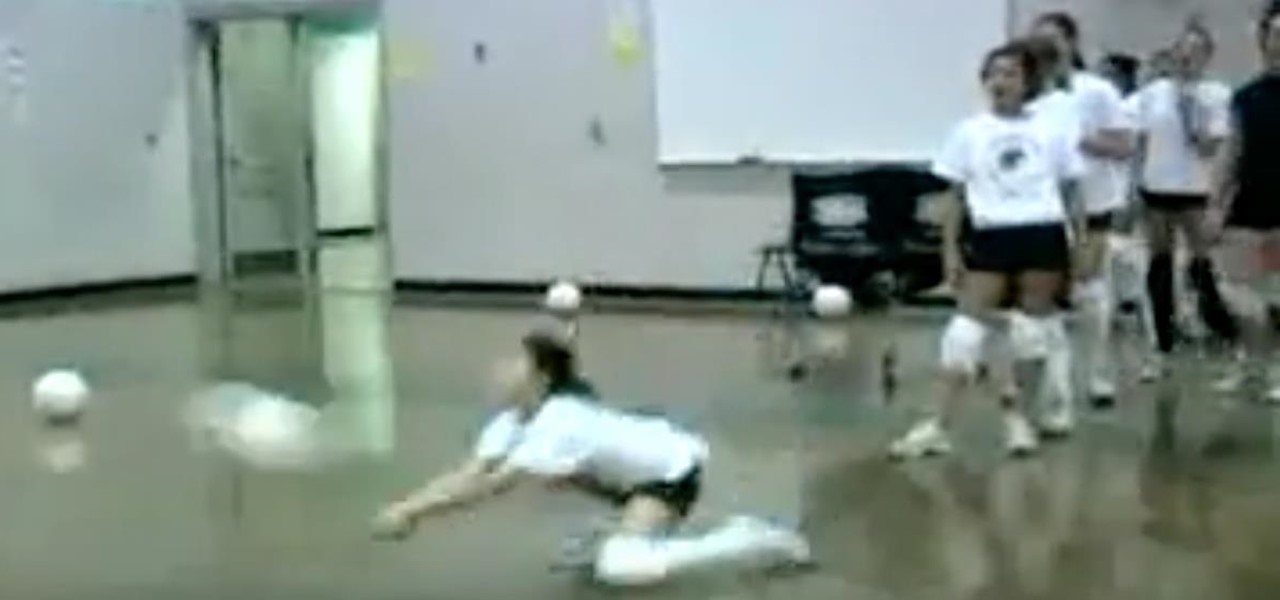
As anyone who's been around sports long enough knows, defense wins championships. This video features a middle school girls' volleyball coach explaining some techniques and drills for improving the defensive play of young female volleyball players. These include teaching your players to call for the ball and pass properly, and making players move around as much as possible during passing drills to get them used to covering as much ground as they can.
Are your favorite applications hidden in the last page of you iPhone's menu? Well, you can easily move them around, customizing them to however you want them. So how do you manage the homescreen? Best Buy has answers. The Best Buy Mobile team explains how simple it is to move apps on the homescreen of your Apple iPhone.
In this video tutorial, viewers learn different ways to wear a Pashmina scarf with a bridesmaid dress. The first way is to wear it on the shoulders for those who are uncomfortable with strapless dresses or are cold. The second way is to simply wear it around your arms. The third way is to put on the shoulders and tie it at the back. The fourth way is put it around your neck and wrap it. If it's cold, you can wrap the end in a knot. The fifth way is to double the scarf then tie it around your ...
In this video tutorial, viewers learn how to tie a four-in-hand knot for a tie. Begin by putting the tie around your neck with the wide end on your right and narrow end on your left. Bring the wide end over the narrow end ad wrap it around. Wrap it around once more and bring it up through the loop at the neck. Now slide the wide end through the loop underneath it. Then hold the knot and pull the narrow end to tighten the tie. This video will benefit those viewers who are preparing for a forma...
Place you tie around your neck. Make one side longer and one side shorter. Then you will criss-cross the two sides of the tie, with the longer end being placed over the short end. Take the long end and loop it around the shorter end. Then you will take the longer end and bring it through the little loop that you have already formed by looping the end around. This will give you the ascot. To do a scrunchy tie, take the ends and pull them through the loop that has formed, and then you will have...
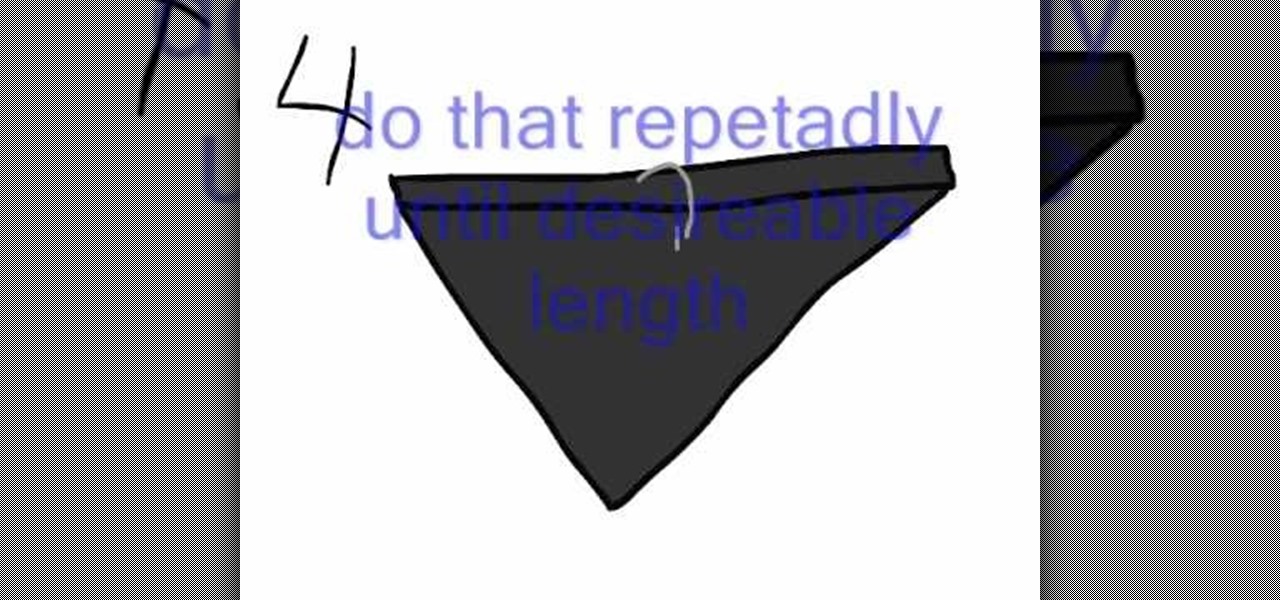
In this video, we learn how to fold a bandanna. First, place your bandanna flat, then fold it diagonally. Once you've done this, you will have an upside down triangle. Now, fold the top of the triangle down as many times as you desire, it can be as wide or as thin as you want. Now, you should have a rectangle with a triangle hanging out from under it. You can now tie the bandanna around your head, butting the triangle part around your mouth. Tie a knot behind your head tight enough to where i...
The video is about creating a plank hitch making use of string and a couple of logs. The video begins with placing a piece of string in a particular pattern on the ground and then placing wood logs on top of it. The string is tied around the logs using a particular knot. The string is pulled tight around the logs and before tying the knot one piece of string is looped twice around the other piece. After the first knot the same process is repeated for the second knot. The video is extremely us...
Olivia will be showing you a few different styles you can wear your Pashmina scarf. One way you can wear it is by just grabbing one corner and throw it around your neck it may be a bit longer but you wont end up with a big bunch of tassels on one end. Another way you can wear it is to simply loop it around your neck, it makes it a bit shorter if that's what you're comfortable with. Then another way you can wear it is by doubling it then sort of knotting it around your neck, but don't not it t...
In this how-to video, you will learn how to make irregular bead cages. Corinne Bradd will show you how easy this is. First, if you have a flat or nugget type bead, it will be hard to make the cage easily. First, place the wire through the bead and bend it up from the loop. Hold it in place and wrap the wire around the bead. Keep wrapping until you get to the top. Next, wrap the wire around the top so that it will be completely fastened. Snip away any excess piece of wire. You can hang it from...
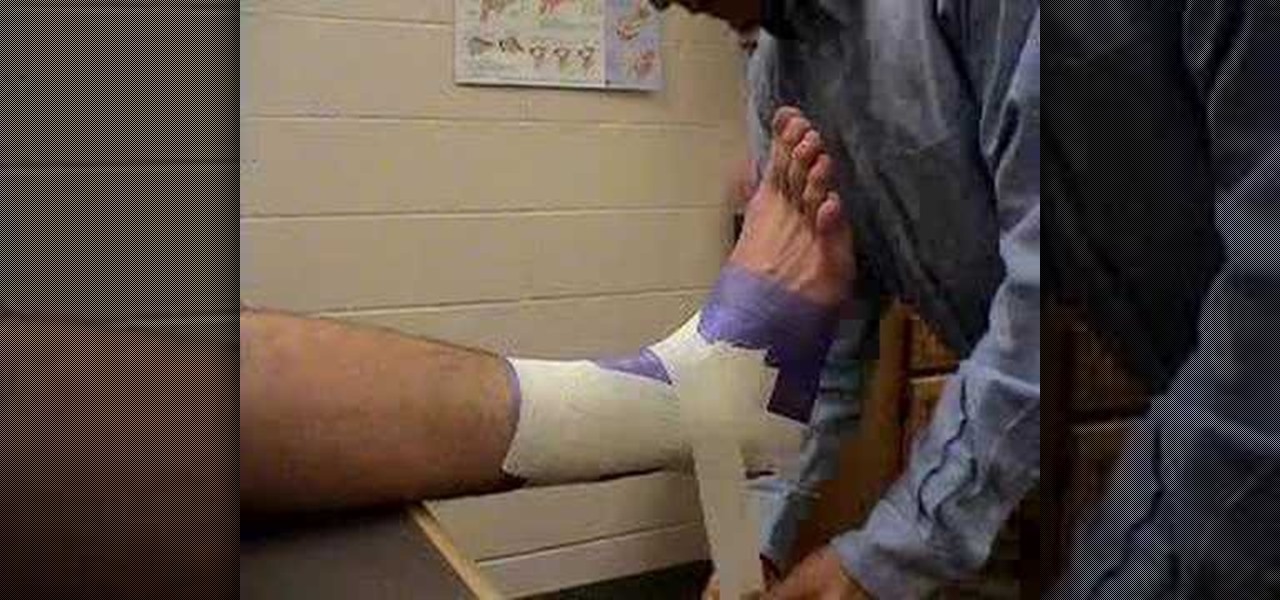
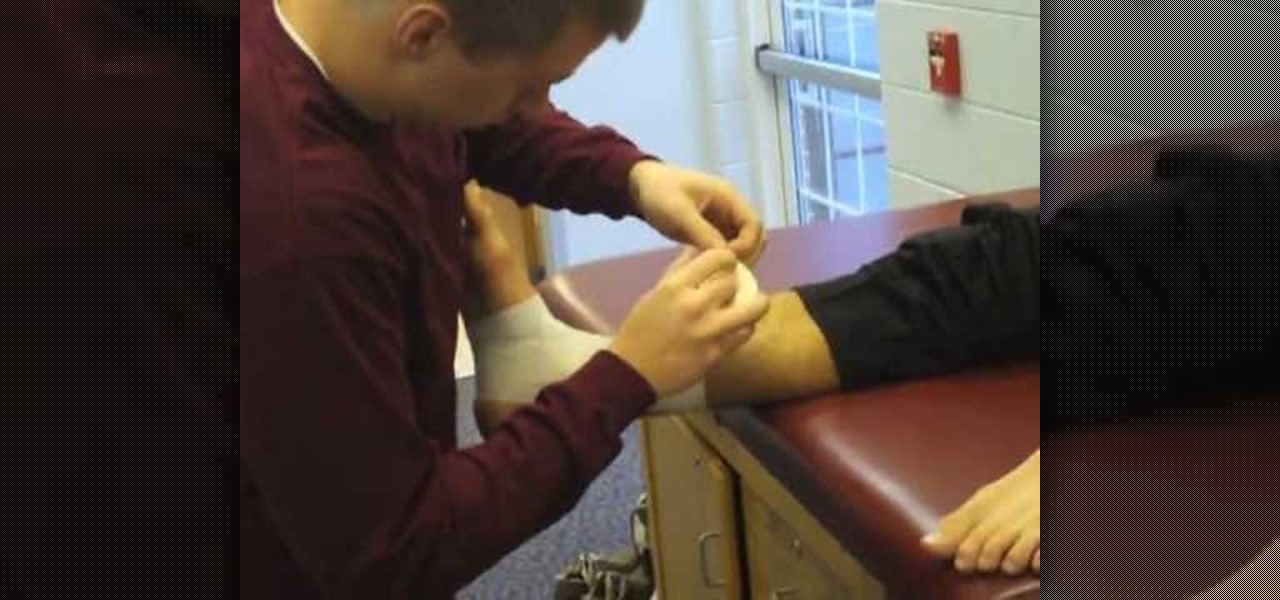
This video shows how to wrap an ankle with athletic tape. First he sprays a little spray adhesive on the ankle and sticks a couple thin pads on places that are prone to blistering. He then wraps the foot and entire ankle with a prewrap to protect the skin and cover the hair so that the tape won't irritate the skin. Then he begins by taping two anchors around the top of the ankle, and putting a piece of tape down the side from the anchors, under the heel, and up the other side like a stirrup, ...
This video teaches you how to make a steampunk bunny. You want to start off by making a blob with a fairly light color. Then you want to use a sharp stainless steel tool to create a round head. Make sure to make the head of the bunny is forwarded a little bit so that it looks like a bunny. Next, using your hands create a tail in the back of the bunny. Insert one of the bigger eyes using the little wire. Go ahead take your tool and carve out the nose, the cheeks and the mouth. Next you want to...
In this video tutorial, viewers learn how to strap down large items to the bed of a truck. Users will just need a long rope. The rope should be long enough to wrap around the back of the truck. Take the rope and make a loop. Then wrap around it and pull. It should look similar to a rope noose. Make sure it is tight. Then take the other side of the rope and put it through the loop. Pull on it to tighten. Then wrap around it and pull. Do this several times to secure it. This video will benefit ...
This video is in the Arts and Crafts category and you will learn how to make a Victorian-inspired necklace using an old ribbon. This is a very simple and easy way of making a necklace. Take a ribbon of about an arm’s length, tie it around the neck and check that the length should be OK. Then you can take a bunch of beads or a flower or some such suitable item which is fixed on a wire to put on the ribbon. Tie a knot around the wire and then turn the wire around the ribbon and your necklace is...
This wrap is intended to support and stabilize the ankle joint. Supplies needed include a 1 - ½'' – 2'' adhesive tape, pre-wrap, and heel and lace pads. Apply heel and lace pads at high friction areas, including the distal aspect of the Achilles tendon, and the dorsal aspect of the ankle joint. Apply under-wrap to secure them in place. It is critical that the foot remains at a ninety degree angle for this portion of the procedure. Apply an adhesive tape anchor strip at the lower leg, approxim...
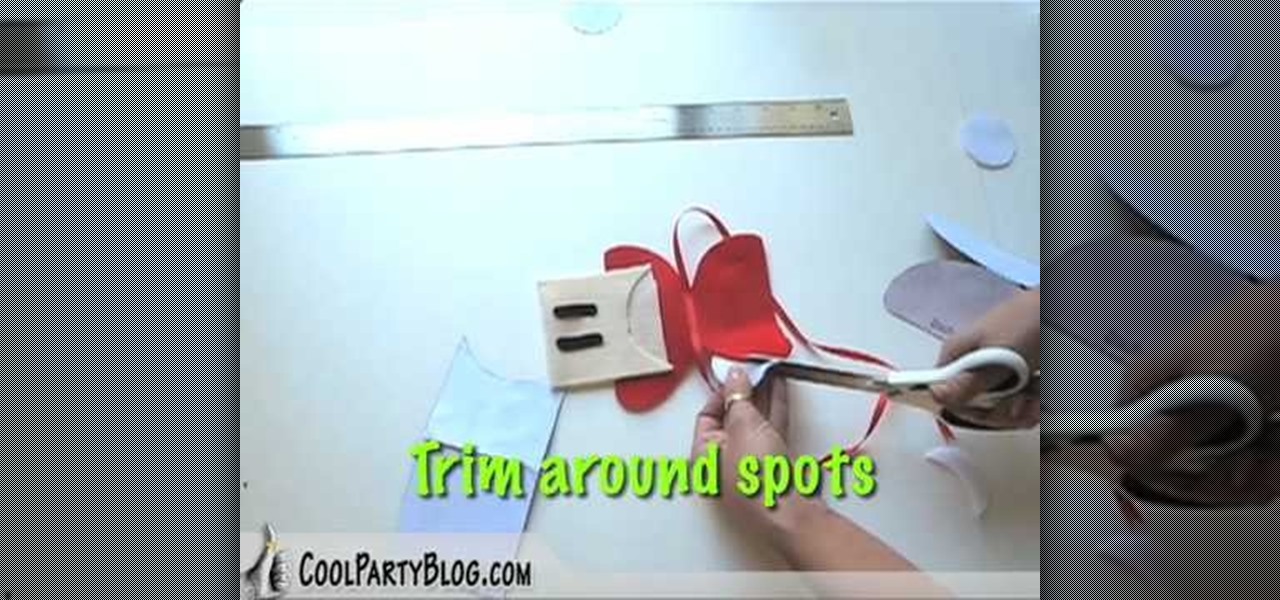
How to create Mario power up mushroom pouches in six easy steps. Use cardboard as a template. Fold peach felt in half and cut around the template. Cut half circle out while holding template and felt in place. Make a mushroom head template for the mushroom caps/tops. Fold red felt in half to cut around the edges. (Do same for the green mushroom). Make a circle template to use as the spots. Use white felt for the spots and start following the template. Use black felt for the eyes and start to p...
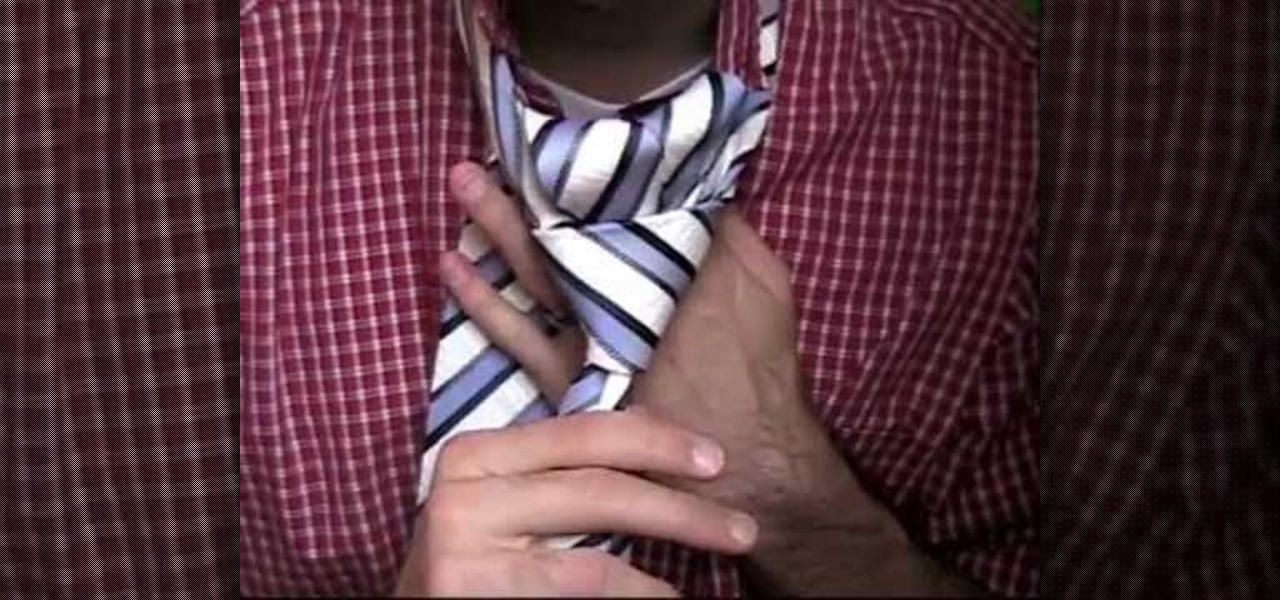
If you want to know how to tie a Double Windsor knot, this video is for you. To tie a Double Windsor knot: Lift up the collar of your shirt. Place the tie around the back of your neck so that the wide end hangs down on the side of your dominant hand, a little more than twice as low as the thin end. Cross the wide end once over the front of the thin end and then around the back of the thin end a few inches below your neck. Slip the wide end through the back of the V-shape made by the knot, pul...
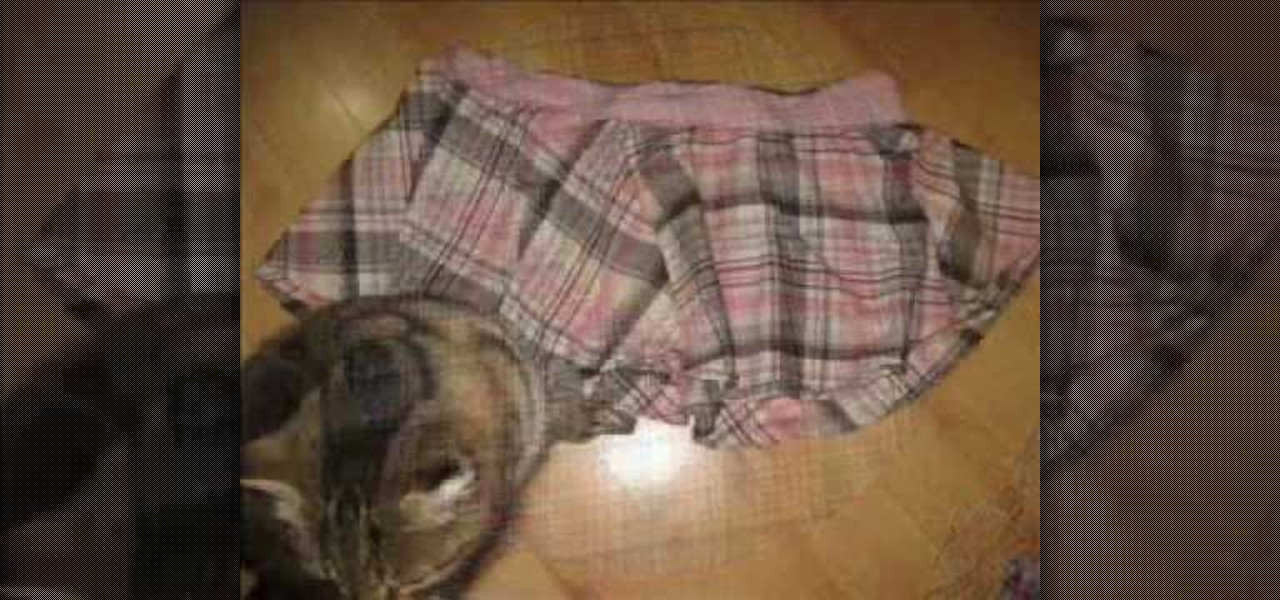
If you want to know how to make a circle skirt easily, you should watch this video. To make an easy circle skirt: Lay out the square of fabric and use the measuring tape to make a circle as large as your hips. Trace another circle around the edge of the fabric. Trace the largest circle that will fit inside of the fabric square, going all the way to the edges of the sides of the square. Cut out the inner circle and cut around the outer circle. Measure your waist to get the length of your elast...
Take some eggs and whisk them in a measuring cup. Add a little pepper to the eggs. Pour the eggs into a pan that has been sprayed with non-stick spray and preheated. Tilt the pan to spread the omelette around the pan. Take a spatula and loosen up the edges all the way around the whole pan. Continue to tilt the pan several times to evenly spread the omelette around the pan. Put some cheese on the omelette and take a spatula and fold it in half. Flip the omelette over so that it is evenly cooked.
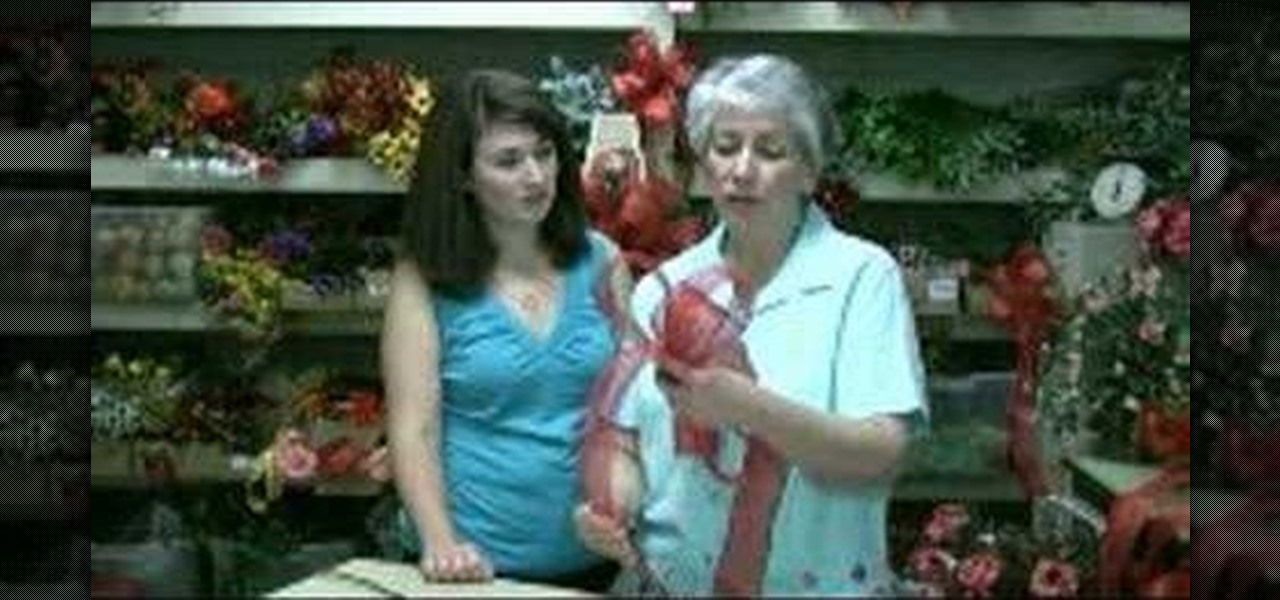
Bows are a pretty accent to almost anything. You can put a bow in your hair, on your clothing, on accessories, around flowers, around your puppy's collar - anywhere - and they add a hint of adorable. In this tutorial, Nancy of Lady Bug Wreaths shows us how to make bows for beginners with detailed instructions, step by step. Nancy's ingenious tips make bow-making a breeze!
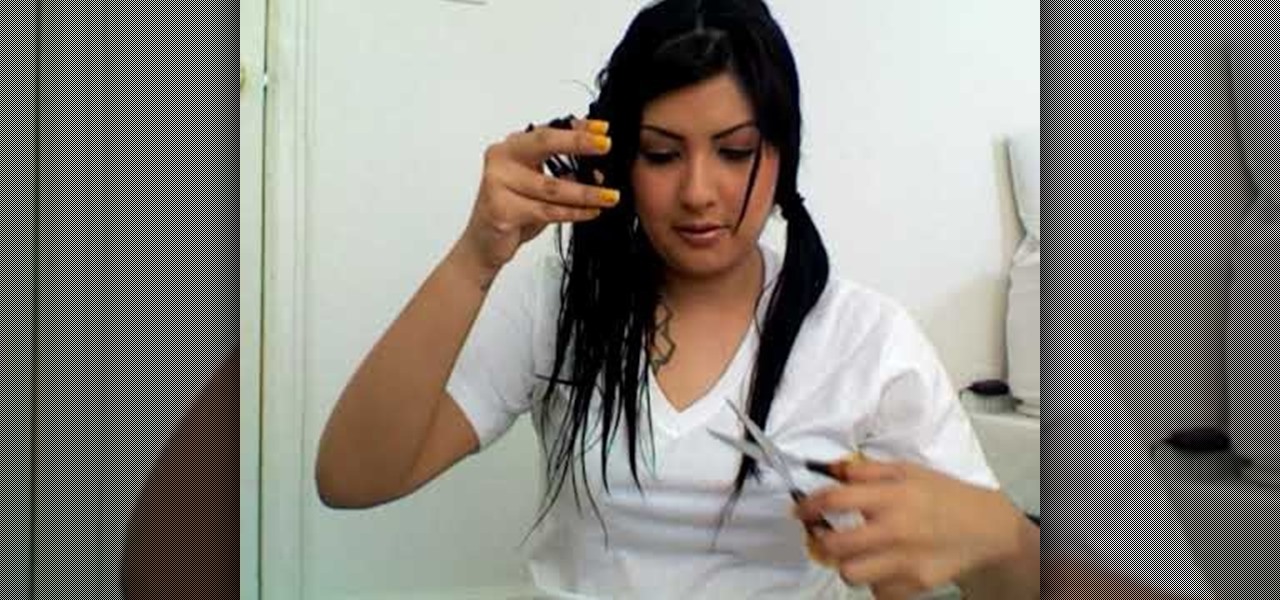
Don't have the money in your budget to go out to the salon? With this video you will be given tips to cut your own hair. Before you start, you will need elastic hair ties, a comb, and hair cutting scissors. This video will take you through a step-by-step demonstration from start to finish on how to do a hair cut at home. She'll show you how to section off your hair and start cutting away. As she says, the hardest part is knowing when to stop.
Wendy Woods from The Refinery teaches you different ways to tie a scarf. The three things to consider when buying a scarf are: size/shape, fabric, and pattern. First style: Fold scarf in half, put around your neck, pull ends through the loop, pull to the side and fluff out ends. Second style: Wrap scarf around neck (with right side twice as long as left), cross long side over short and pull up through loop, pull short side down until tight, pull to the side and fluff out. Third style: Wrap sc...
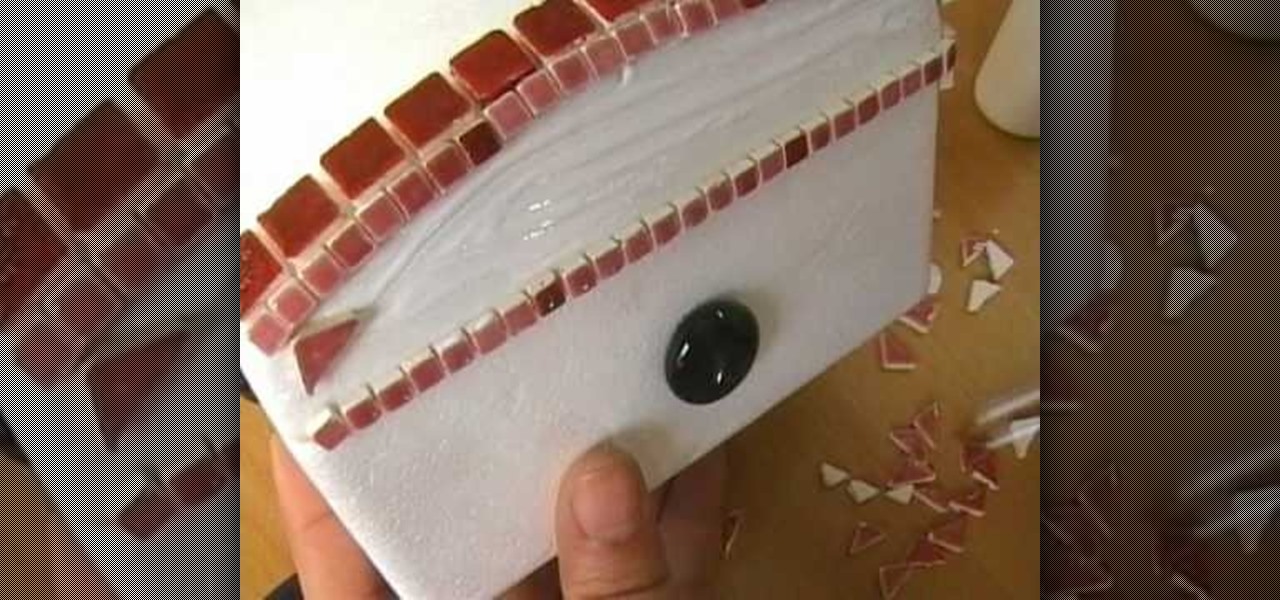
This video demonstrates making a mosaic jewelry box. A plain jewelry box is decorated using different shaped pieces of glass. First, round flat glass pieces are glued in the center of the top and sides. Then a ring of glue is put around the circle and rectangular pieces are glued around that. Square tiles are used around the top edge, and odd shaped pieces are used to fill in the rest of the surface area of the box. After it has dried for two hours, a glaze is applied to the entire box. This ...
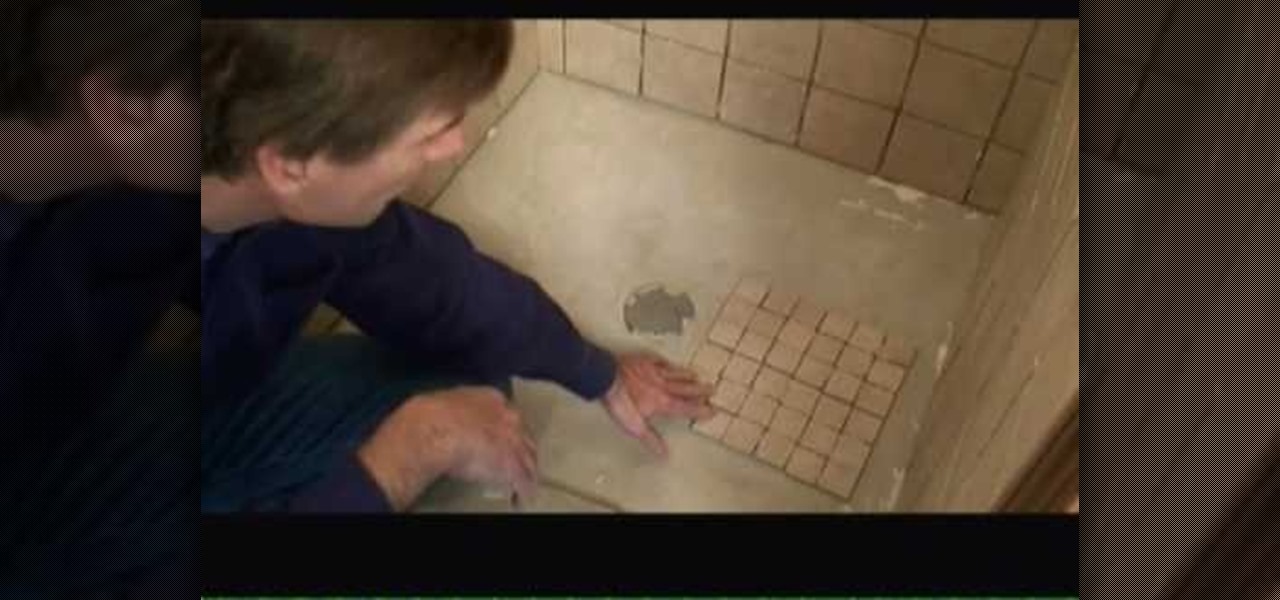
Start by putting tile backer board tape on all the joints on the wall board and then put mortar over the backer board tape. Let the mortar dry and then you can begin the tile job. Install a ledger board at the base of the shower stall about one tile high. Draw some vertical and horizontal lines on the wall to help keep the tile going straight. Also use tile spacers to help keep the tile going straight. Mix up some thin set mortar. Put the thin set mortar on the wall. Apply it with the flat si...
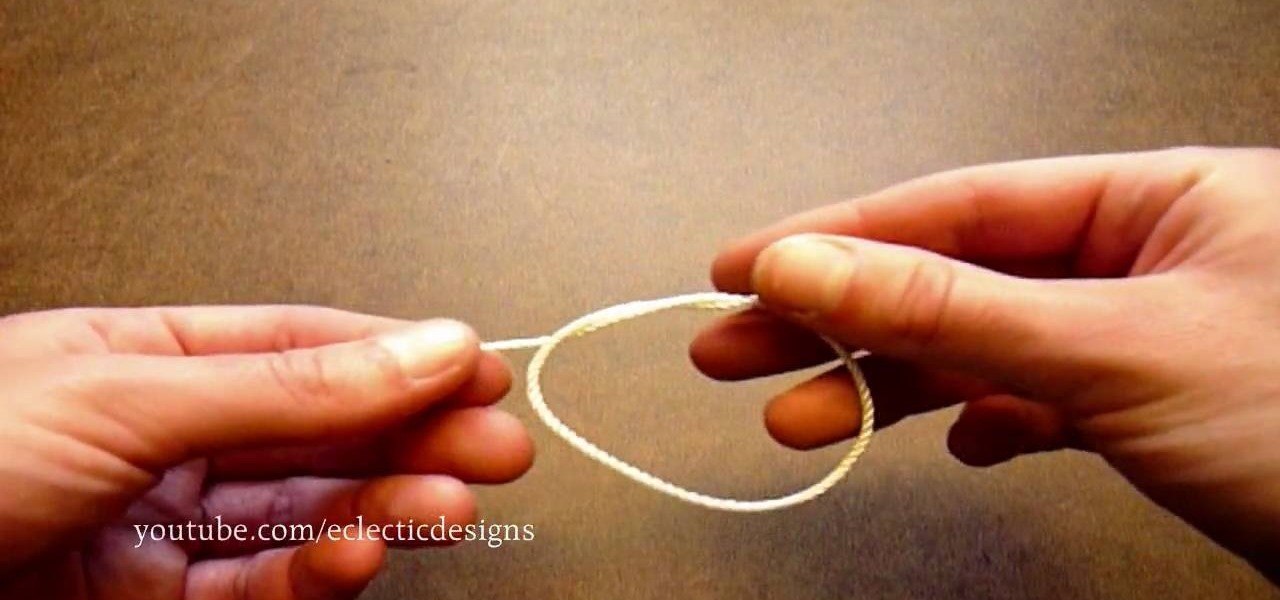
To tie the overhand knot, make a loop and pass one end of the string through the loop and tighten by pulling both ends. To tie a double overhand knot, make a loop and pass one end of the string through the loop twice before pulling both ends to tighten the knot. To tie a surgeon's knot, take the left string and bring it over and around the right string twice. Then take the right string over and around the left string and pull both ends to tighten, leaving a complete loop of string below the k...