Snapchat accidentally—and then intentionally—announced their digital eyeglasses, known as Spectacles, over the weekend. While we'd hoped their augmented reality-heavy platform would result in related hardware, Spectacles unfortunately seek to "reinvent" little more than a video camera.

If you normally take your iced coffee with plain old cream and sugar, you'll find that Starbucks recently-introduced Vanilla Sweet Cream Cold Brew will really hit the spot. It's icy, smooth, and perfectly sweetened with vanilla syrup.
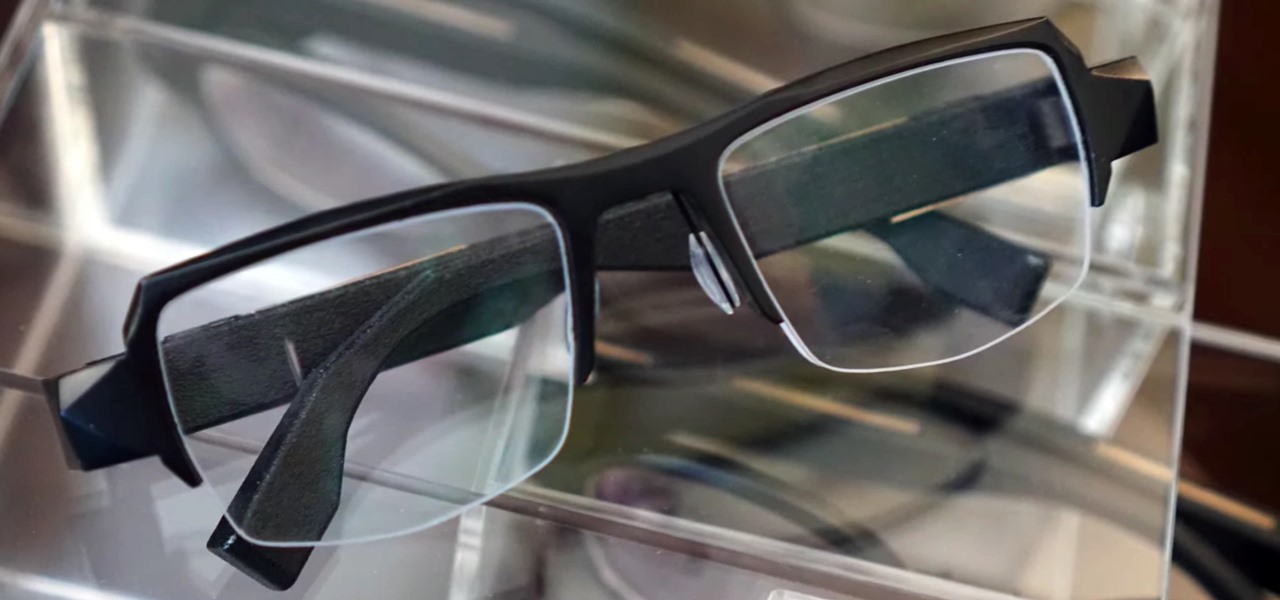
The world of augmented reality has seen a myriad of different products, from sensor-laden smartphones to robust holographic headsets, but Google Glass's failures nearly killed the middle ground.
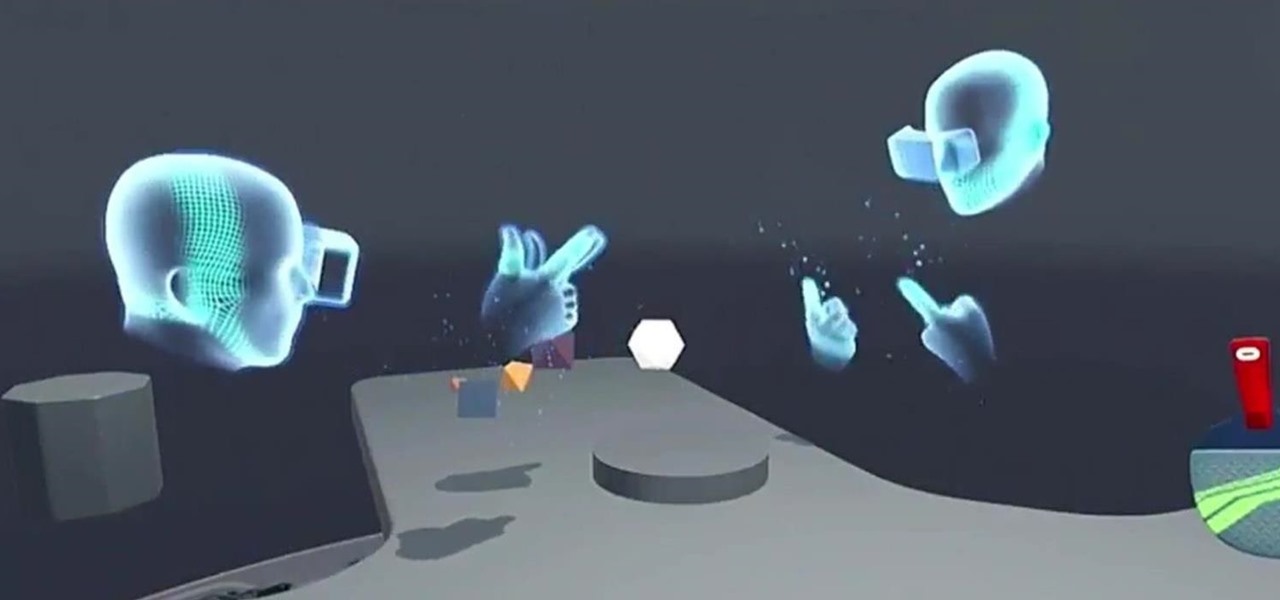
Facebook announced at its F8 Developer's Conference on April 12th that, in addition to the VR-ready Oculus Rift we have today, it plans to bring Augmented Reality (AR) into the fold of their social machine.
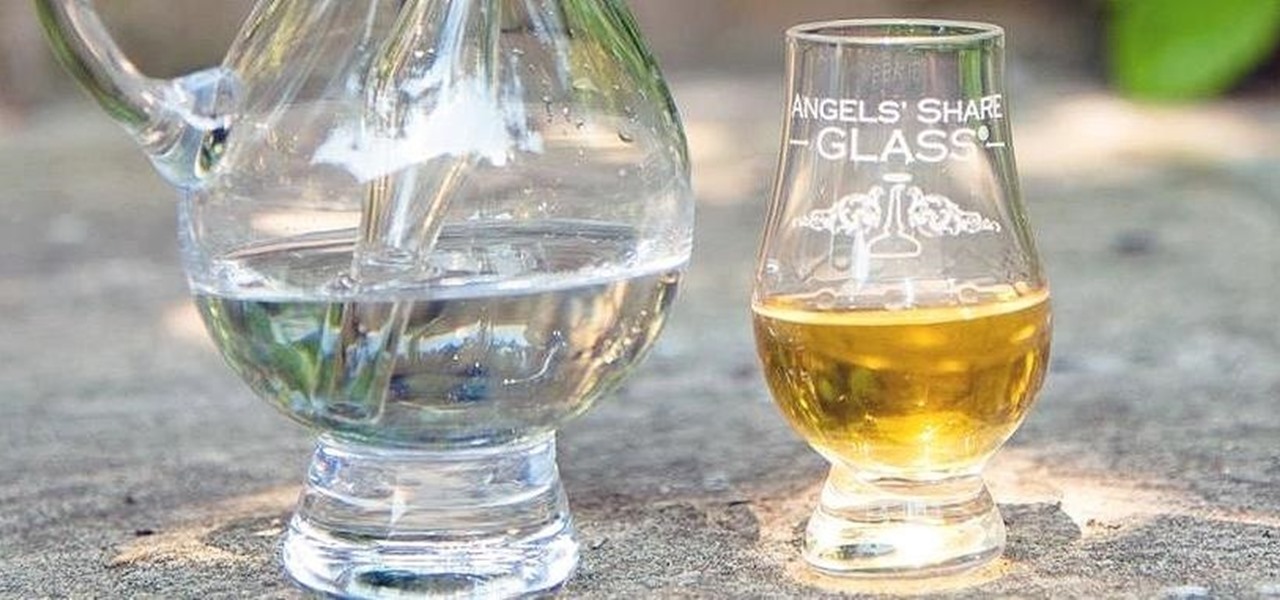
Before I get ostracized by all of you whisky lovers who live and die by whisky served neat, let me say my piece.
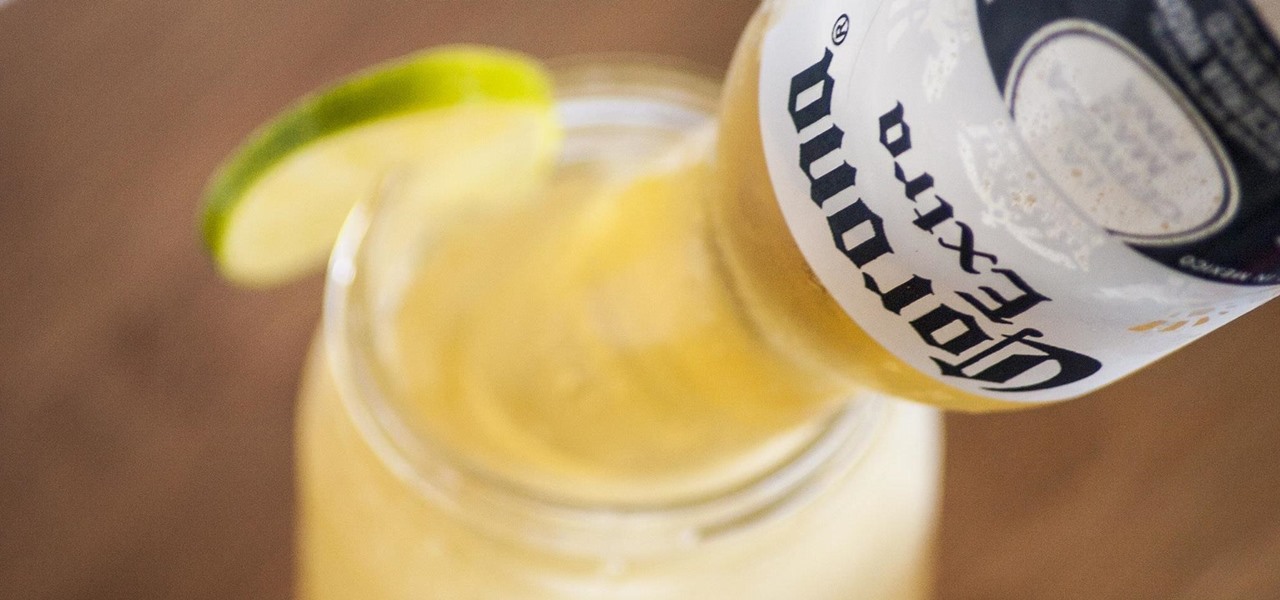
One of my favorite things about cocktails is that they're so diverse. They can be sweet or savory, filling or refreshing. And they can take advantage of nearly any ingredient imaginable, including egg whites, smoked ice, flavor cubes, and even beer.

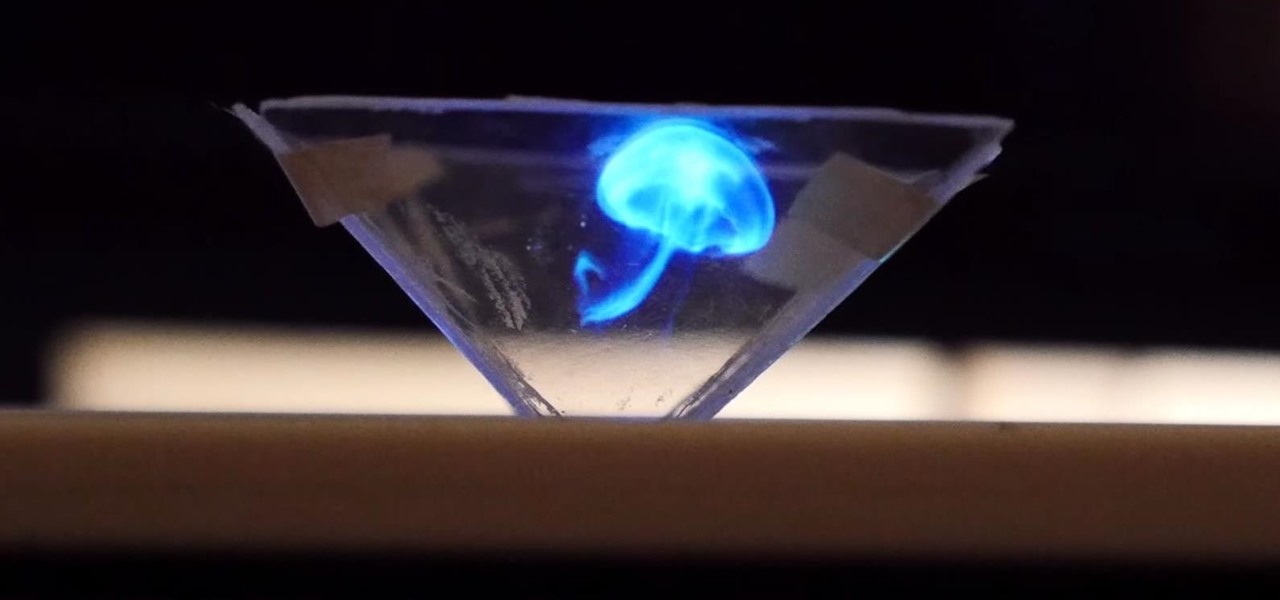
Holographic technology has made a push towards becoming a reality for everyday consumers, most recently with the introduction of the Microsoft's HoloLens, which combines real-world and virtual elements in one awesome device.
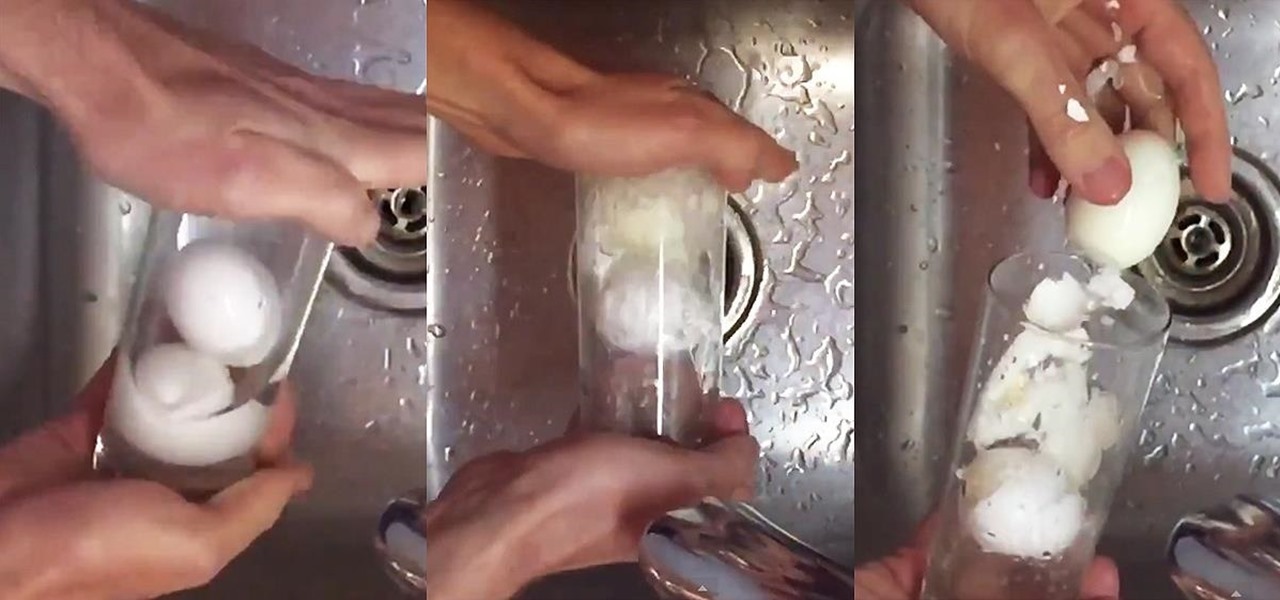
Hard-boiled eggs are such an amazing snack, but there's nothing quite so frustrating as trying to get all the shell off without damaging the egg underneath. I've ended up with many a sadly pitted and pockmarked egg that somehow doesn't taste quite as good as when it emerges all white and smooth.
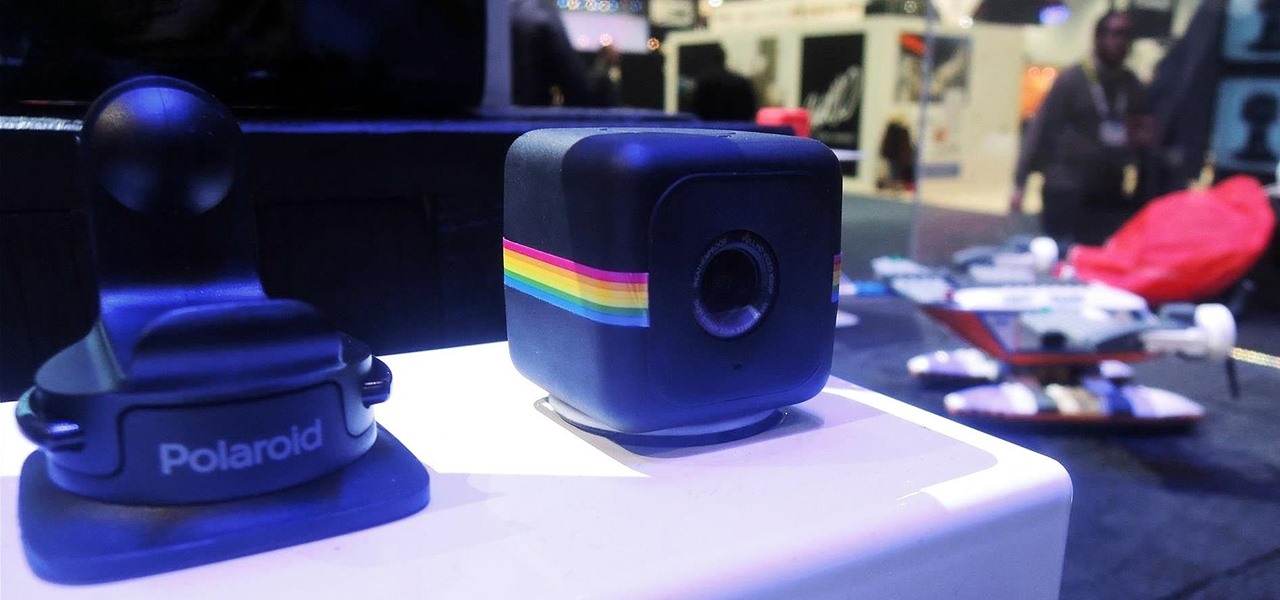
Polaroid's answer to the masculine-fueled GoPro comes in the form of a tiny family-friendly square, fittingly named the Polaroid CUBE. Starting at a very modest $99.99 , the water-resistant action camera comes in all different colors, shoots HD video at 1080p, allows users to take 6MP pictures, and supports a microSD card of up to 32GB. Attached to the bottom of the cube is a magnet that allows you to stick the camera in many places, including the side of a car (though the Polaroid representa...
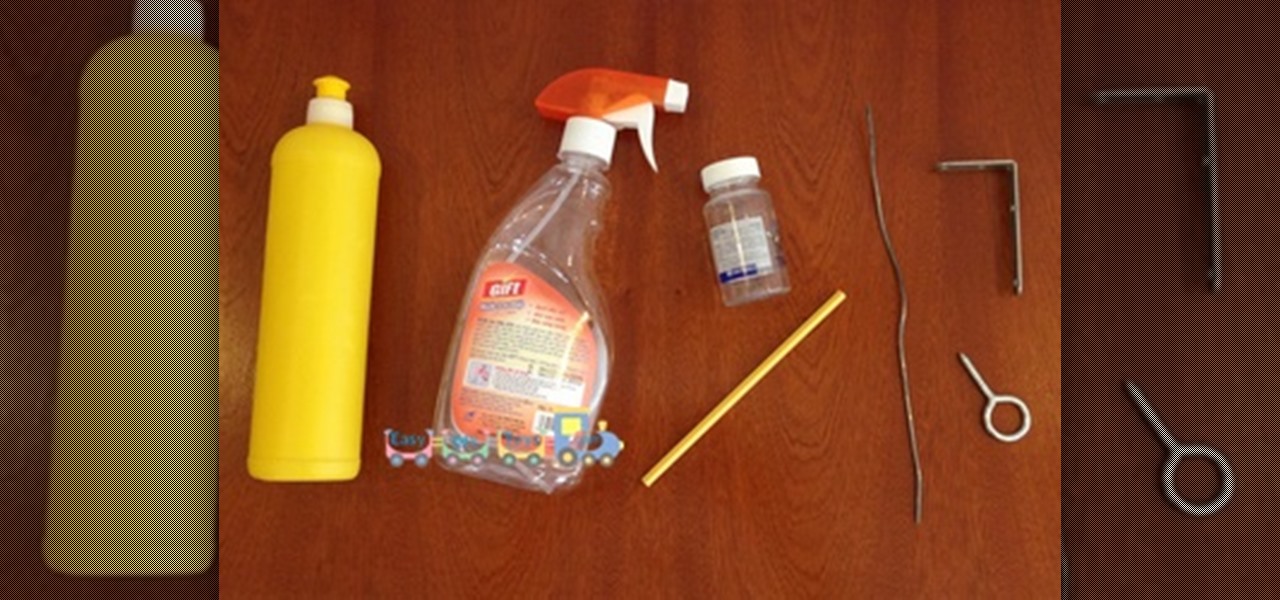
Do not point this gun to other! Kids SHOULD NOT use the darts in this tutorial as the ammunition, you should only use soft things like the cotton head of the ear-cleaner stick!
You've probably used Google to search for recipes, or to find out what the heck that mystery food on the ingredients list is. But with all its built-in features, there are plenty of other ways the search engine can help you out in the kitchen.
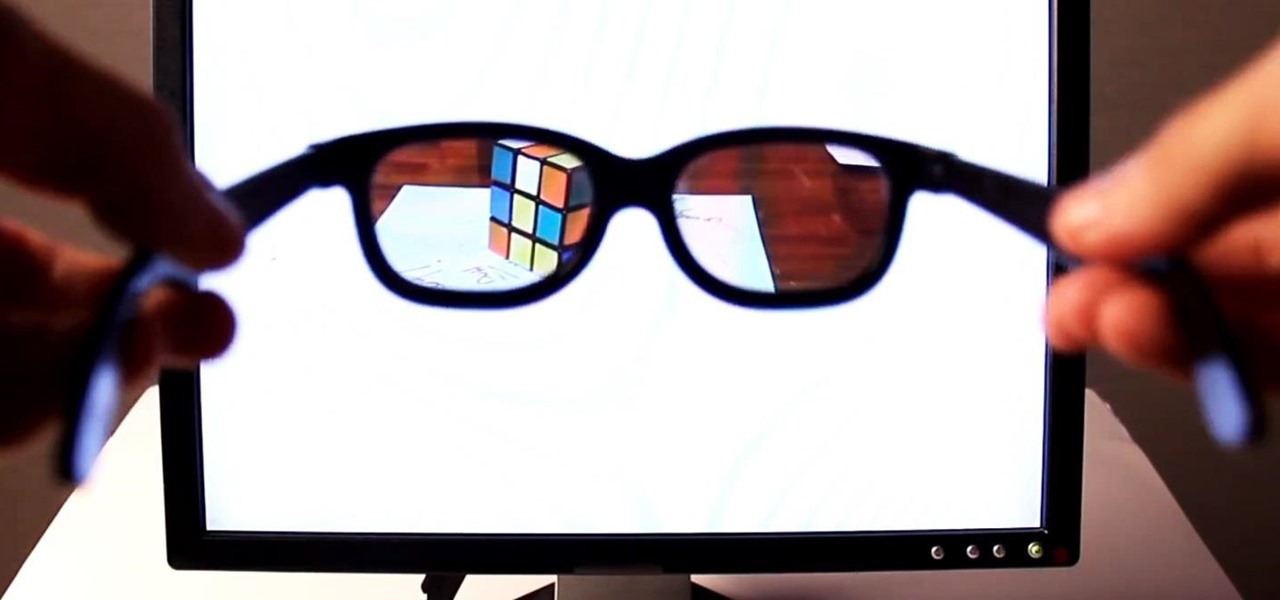
No matter your reason, if you want to hide what's on your computer screen from prying eyes, there are plenty of ways to do it. You can get a privacy filter, install a panic button for your browser, or just develop super fast reflexes. But all it takes is the right angle or a too-slow reaction to blow your cover.
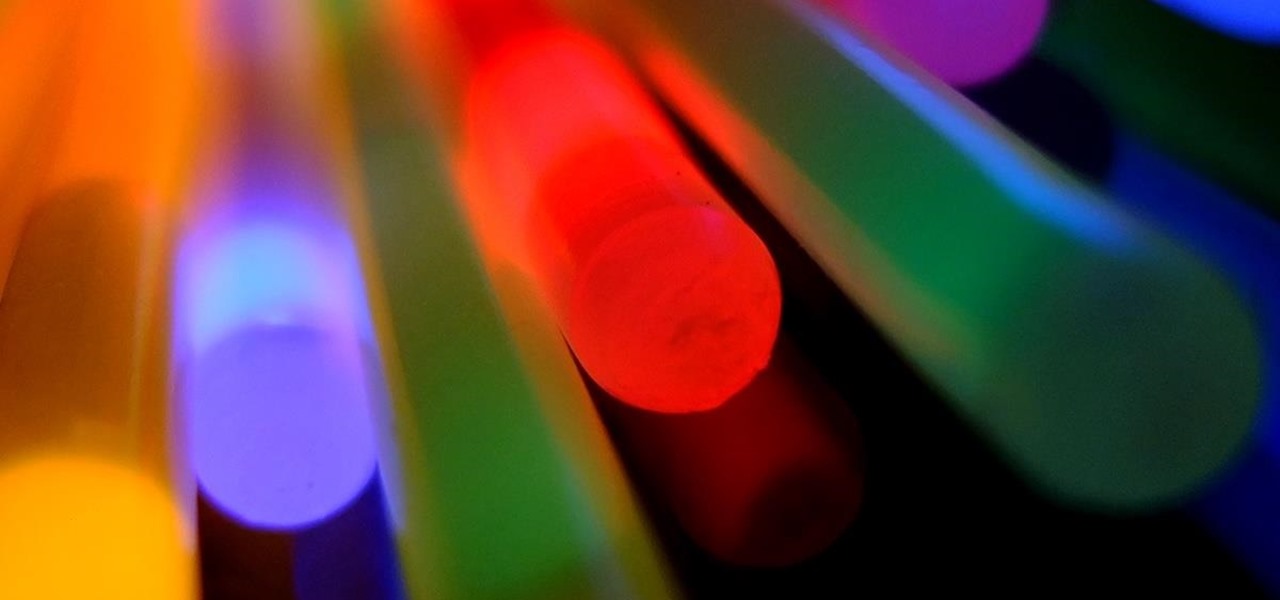
Glow sticks, a popular favor at parties and outdoor events, and a must-have on Halloween, can be traced back to the United States Navy in the mid-1960s. The military desired improved visibility during night operations, and glow sticks, with their small-size portability and lack of batteries, were a perfect tactical solution.
As far as logos go, few are as iconic and instantly recognizable as Apple's old-school rainbow emblem. No matter how sleek their products get, people are still nostalgic for the old, colorful logo, and this mod from Adafruit basically proves it. If you have some pretty decent soldering skills, you can make the Apple on the back of your iPhone light up like the old rainbow logo. In the video below, Becky Stern from Adafruit uses a kit with a replacement glass back, tweezers, screwdrivers, and ...
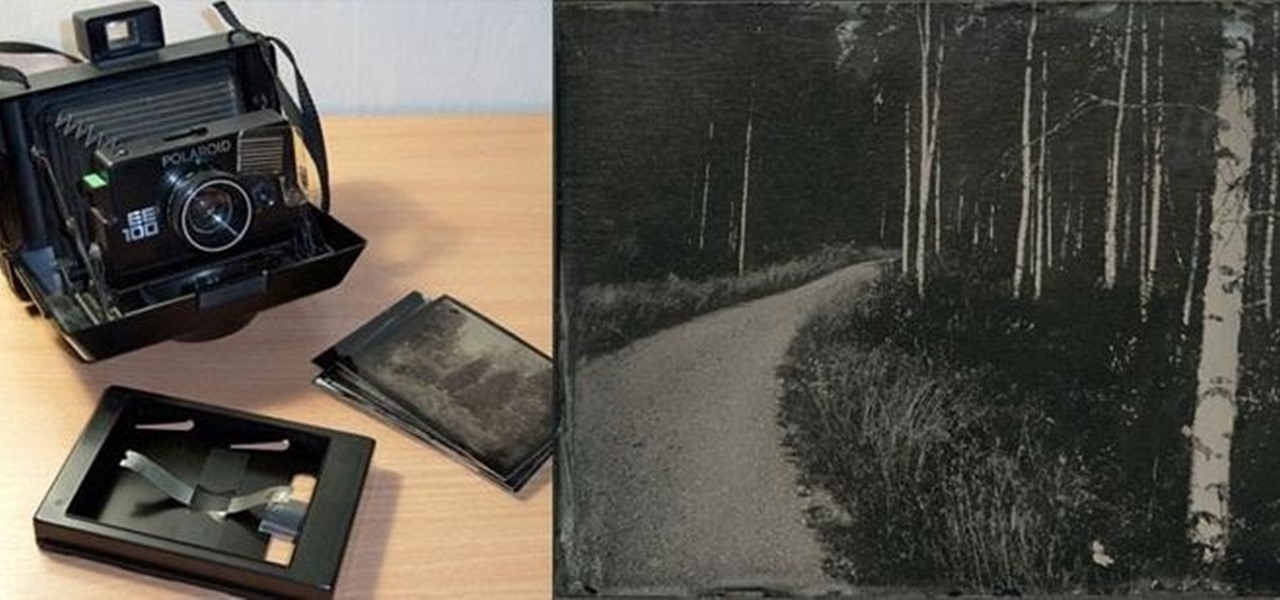
Wet-plate collodion photography is a process that lets you develop a photo onto a piece of glass. It has some neat applications, but it's not a simple process, and most people use a special camera to do it because the silver nitrate used to process usually ends up leaking, which would ruin a regular camera.
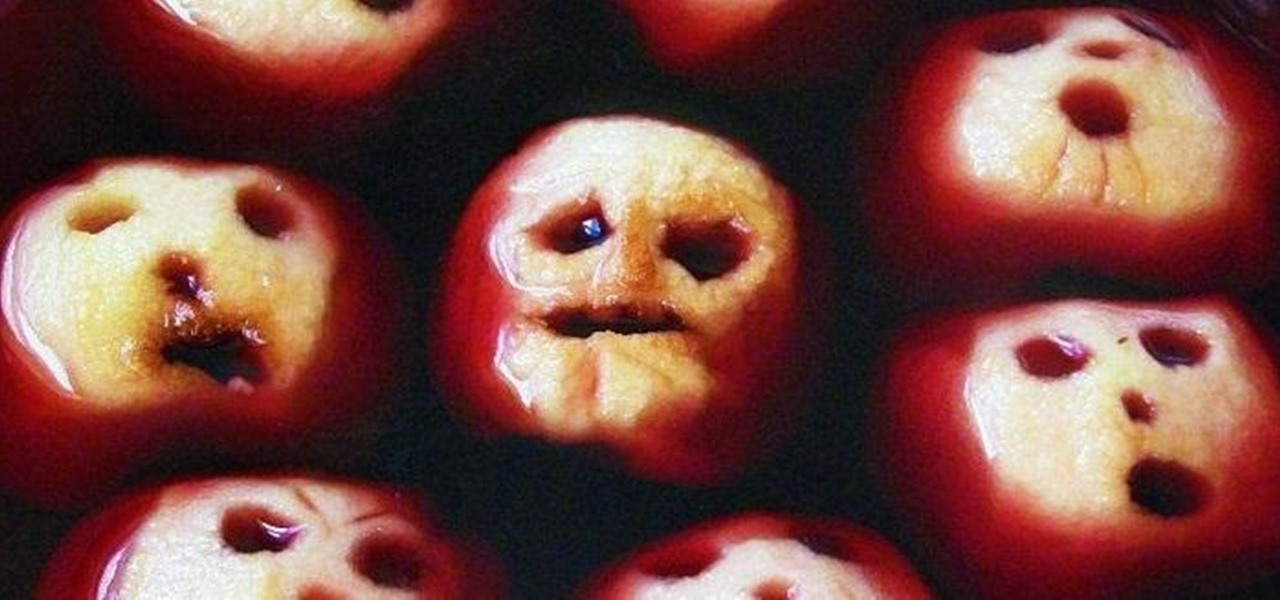
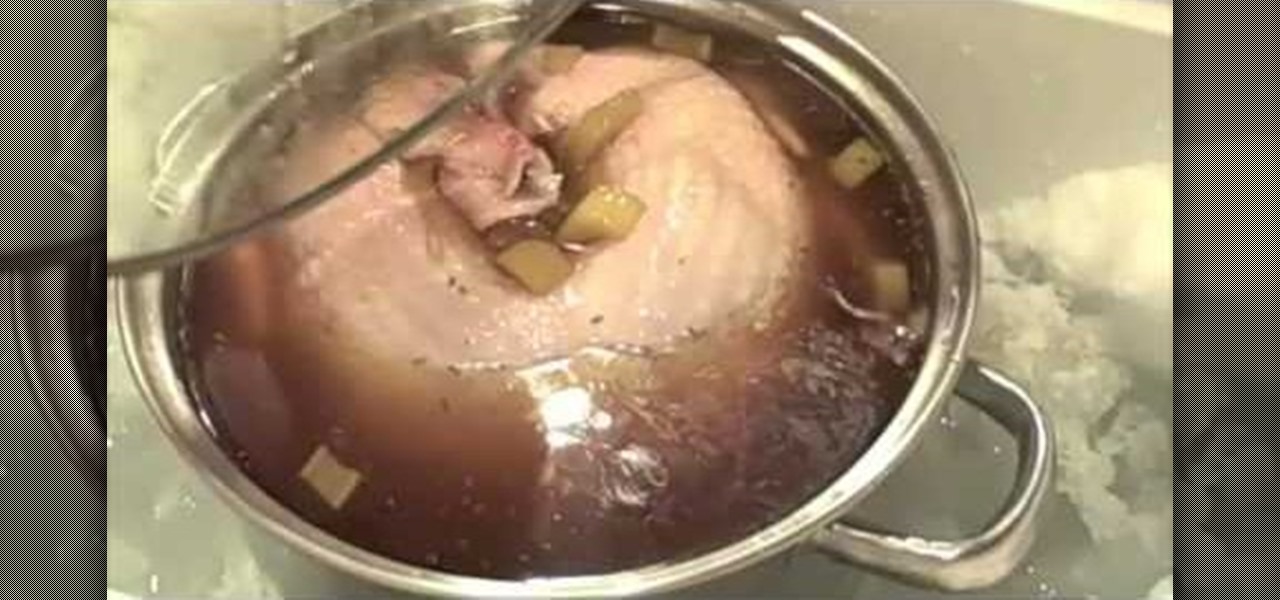
If you're too old to trick-or-treat (are you ever really?), throwing a Halloween party is the next best thing. You could always just serve beer and jungle juice like most other people will be doing, which will certainly get the job done, but where's the fun in that? Instead, impress (or gross out) your guests with one of these gruesome drinks.
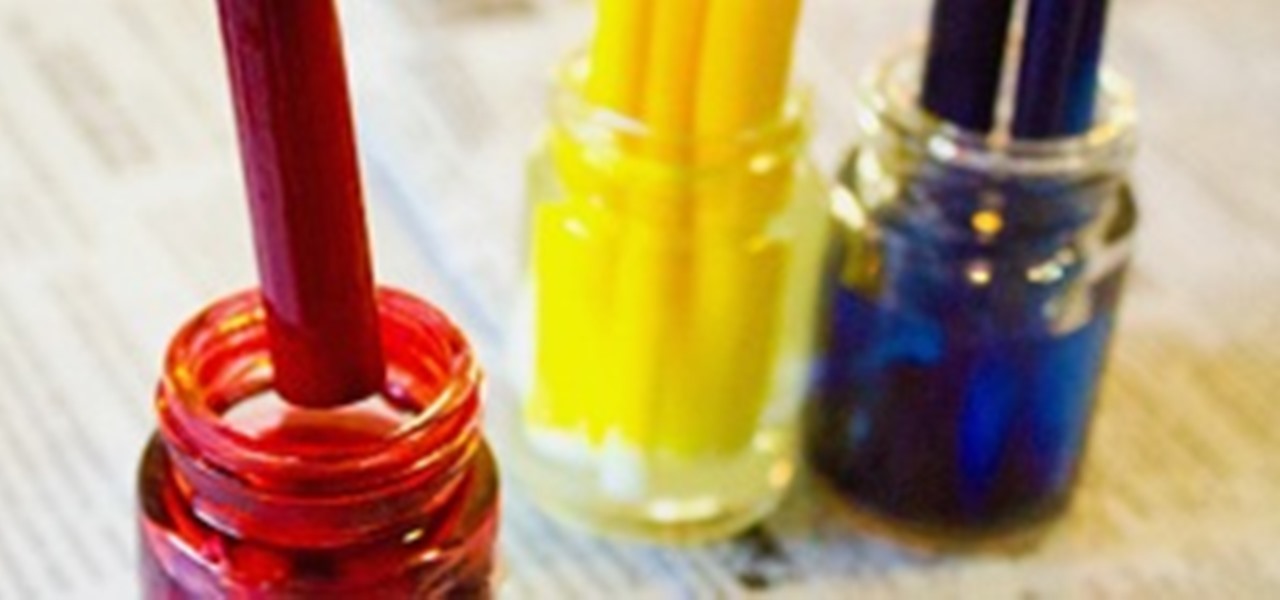
Dried out markers are the worst. They take up space, and for some reason, even though they're totally useless, most of us have at least a few lying around just for the sake of not throwing them out. Luckily, Julie Finn over at Crafting a Green World has come up with a way to repurpose them into alcohol ink, a versatile type of ink that can be used on non-porous materials like plastic, glass, and metal. This is truly a tutorial for the pack rat in all of us. First, a little primer on what you ...
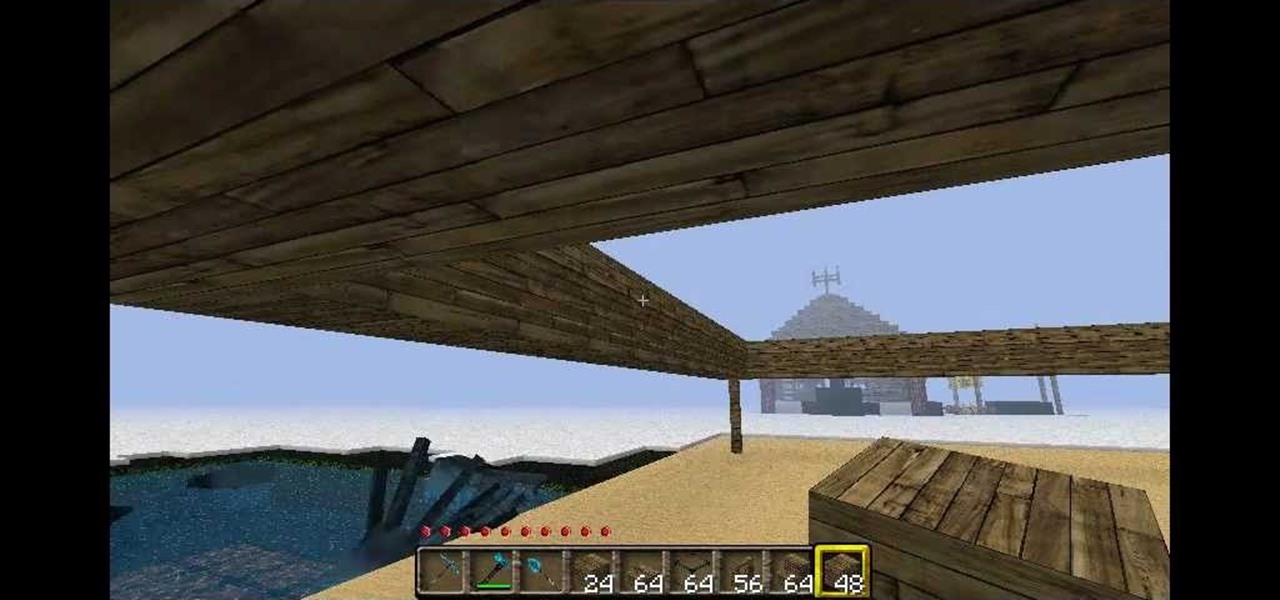
In this two part tutorial, you will learn how to build a beach house from scratch in Minecraft. You will need wooden planks, wooden slabs, glass, fence, wooden stairs, levers, doors, pistons, and redstone torches. Once you have all of your resources, you can construct a beautiful raised house on the sand.
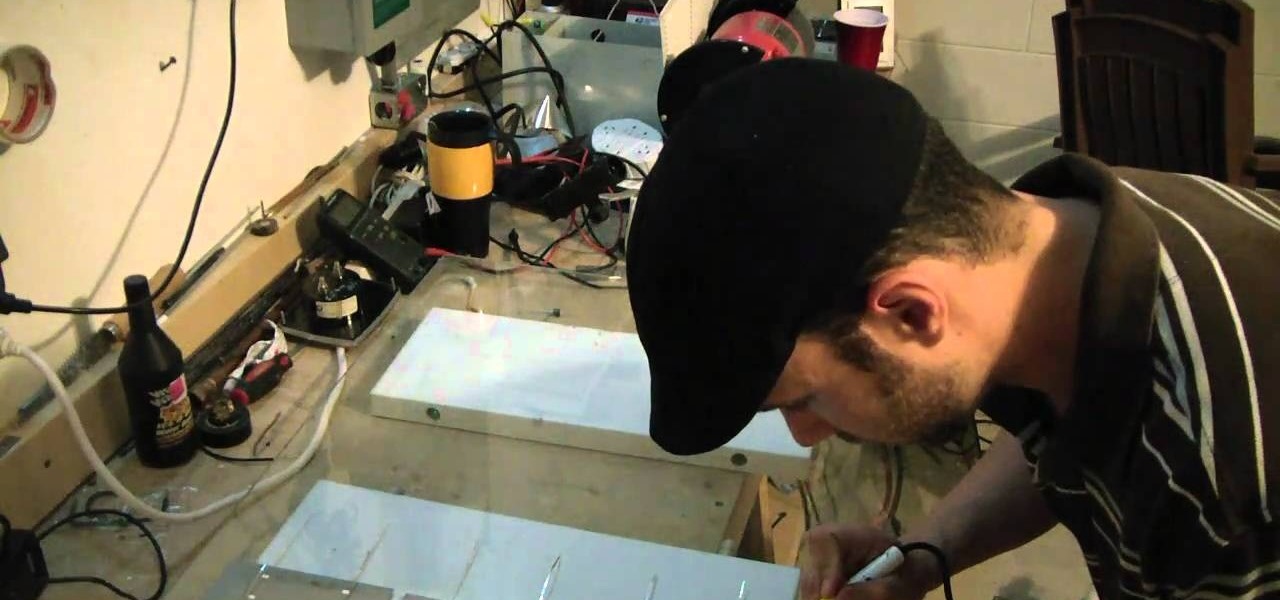
If you want to save money on your electric bill, try building some of these solar panels using solar cells wired in a series. You can save money by using extra glass you or a friend may already own if it isn't being used. Soon you can harness the power of the sun by creating your own solar electricity.
Let's face it, people: Many of us power through the holidays with the aid of an extra glass of wine or beer here and there. Whether it's your perverted uncle or your overbearing grandmother that you have to put up with, a little buzz makes everything more jolly.
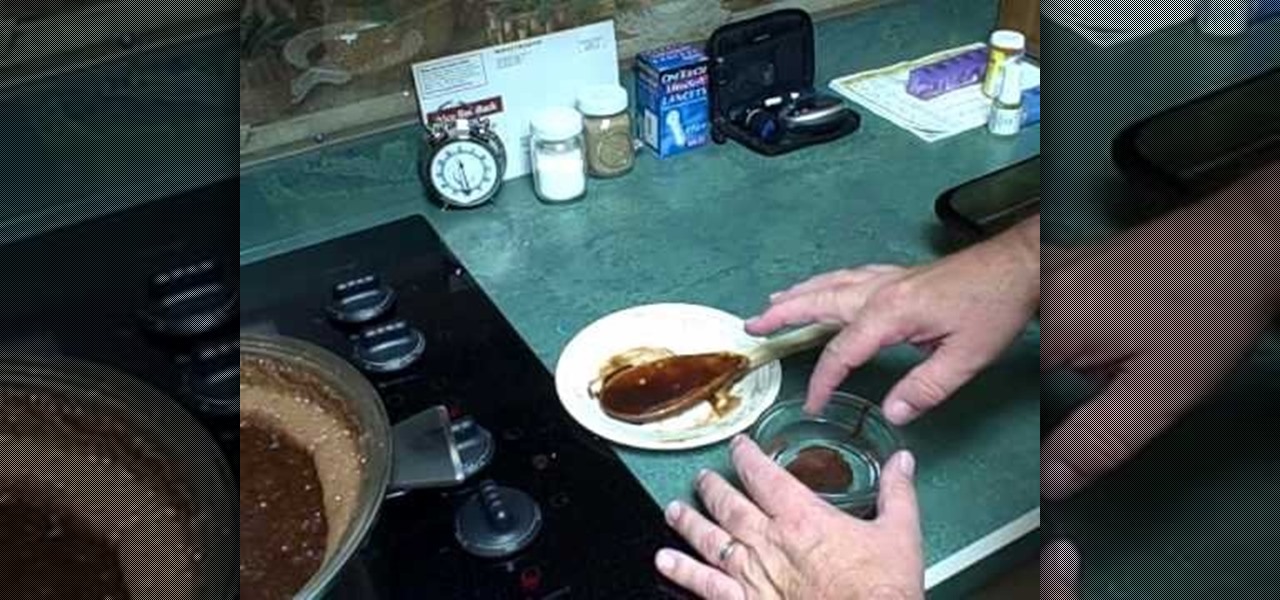
In this tutorial, we learn how to make "dirt farmer" fudge. Ingredients include: 6 c sugar, 1 1/3 c cocoa, 1/4 tsp salt, 3 c milk, 2 tsp vanilla, 1 stick butter, and peanut butter (optional). Now, grab a big saucepan and add in your cocoa, salt, and sugar. Mix the dry ingredients together really well, then add in the milk and put on the stove over medium heat. Stir constantly until it comes to a bubbling boil. From here, quit stirring and let it cook down a little bit. After this, add in the ...
In this tutorial, we learn how to draw a cartoon dad. First, draw the oval for the head and then draw the hair and the facial features on with an outline. After this, color in the skin, hair, and collar of the shirt. Next, add in details for the hair and the face to make it look more realistic. Then, color in the shirt and outline the head and rest of the body with a black thick paintbrush. Draw on glasses to the face underneath the eyes to give the dad an older look. Then add shading and whi...
In this tutorial, we learn how to draw Uncle Scrooge McDuck. Start off by drawing the outline of the hat, heat, neck, upper body, instrument, and lower body. After this, draw on the eyes, glasses, and the beak. From here, you will start to add in additional details and erase the outline lines from where they aren't needed. Start to add in lines to create folds on the character and then color him in with the appropriate colors. After this, add in shading to different parts of him and his instr...
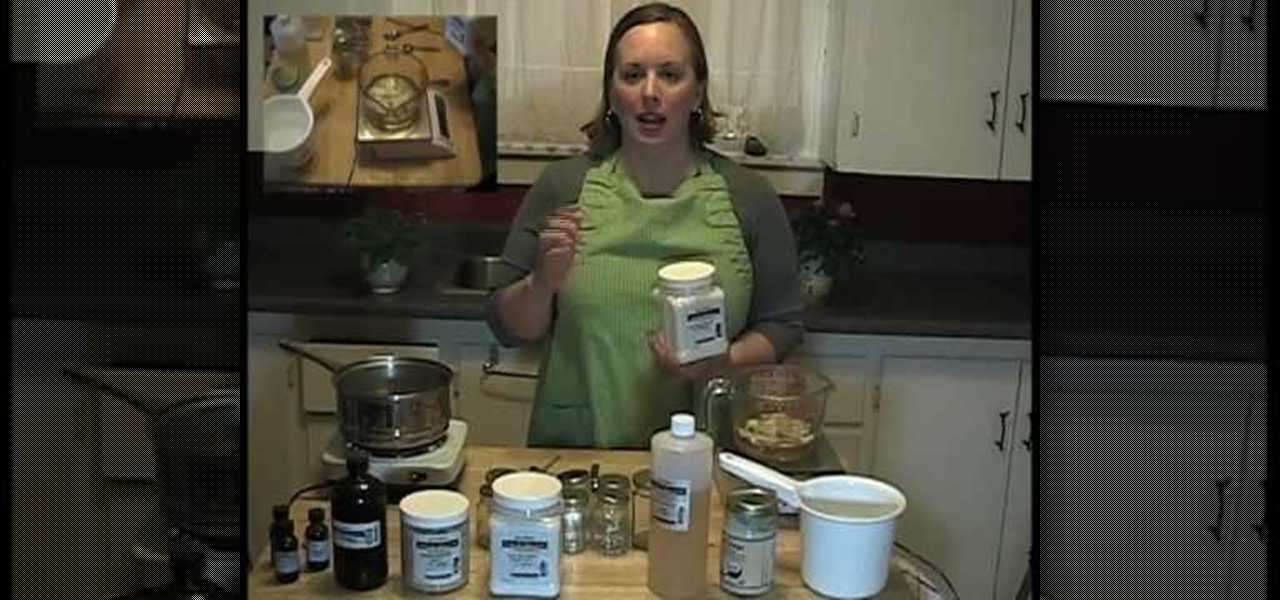
In this tutorial we learn how to make whipped unrefined shea butter. You will need: jojoba oil, grapeseed oil, shea butter, essential oils of your choice, pearl white mica powder, silica powder, rice powder, and borin nitrite. To start, you will measure out all of your ingredients together. Use as much of the oils as you want to make it smell the way you want it to. After this, add all of the ingredients together in a Pyrex glass that can be placed in the microwave. Then, pour into a large mi...
In this tutorial, we learn how to scribe break an acrylic sheet. You just need a Stanley knife and a straight edge to do this to any acrylic sheet. First, put some gloves on and safety glasses. From here, level out the area you want to cut on your sheet, then clamp the angle while laying down. Next, use your knife to cut along the edge, going over the same spot several times. Press down hard to ensure it's completely cut. To finish, all you have to do is to bend the excess piece down and it s...
In this video we learn how to use a table saw with Skil & Lowe's. The rip cut and the cross cut are two cuts that are most useful. A rip cut goes with the grain of the board to cut it to width. The cross cut goes against the grain and cuts it to length. First, position the board next to the blade and then raise the blade. The blade should be just above where the board is at. Slide the rip ends over to the dimensions you want and then lock it down. Put your safety glasses on, then turn on the ...
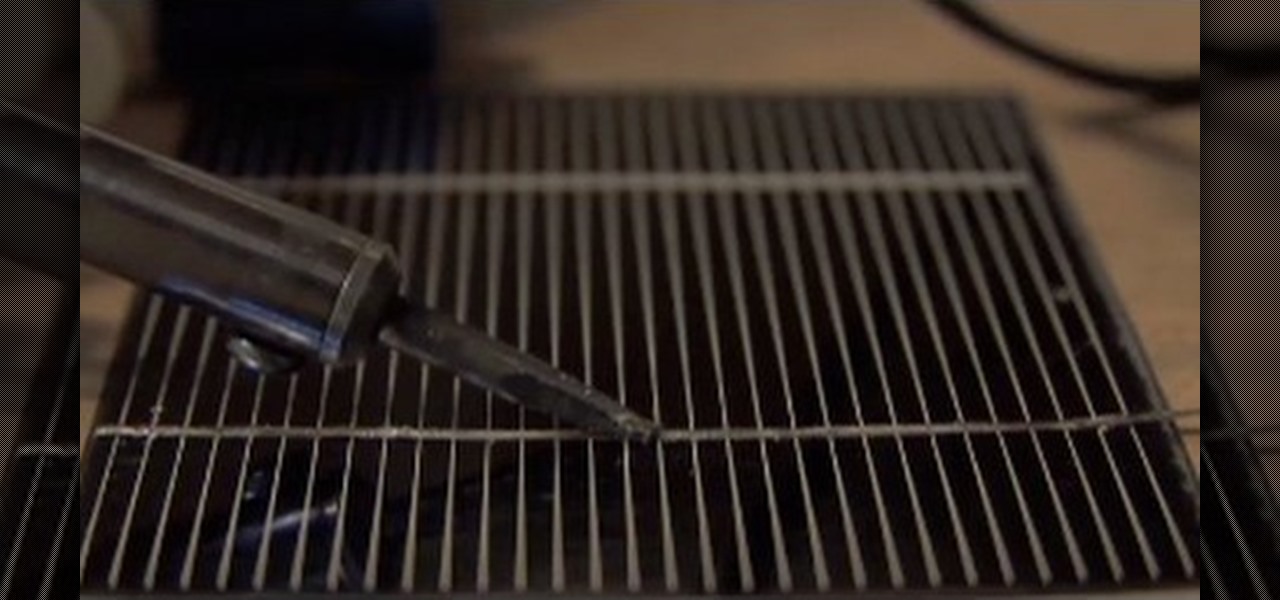
In this video, we learn how to make your own solar panel.The amorphous solar glass is the cheapest but it's also the least efficient. You can do anything you want with these and they are durable. The hexagon cells are the most efficient and most expensive as well. The poly crystalline is almost 2 watts a piece and can be purchase in lots of any size. You have to tab these cells together and they are extremely fragile. Be careful when you work with these. To make these, you will solder tabbing...
In this tutorial, we learn how to make whipped body butter. Making your own body butter can save you a lot of money versus paying for it at the store, and you can completely customize it! First, you will need to heat up generic body butter that has no smell to it. You will heat this up with some water and oils that have your favorite scent to them. Heat this over low heat in a glass container to prevent it from burning. Then, you will add in any colors that you would like to make it look diff...
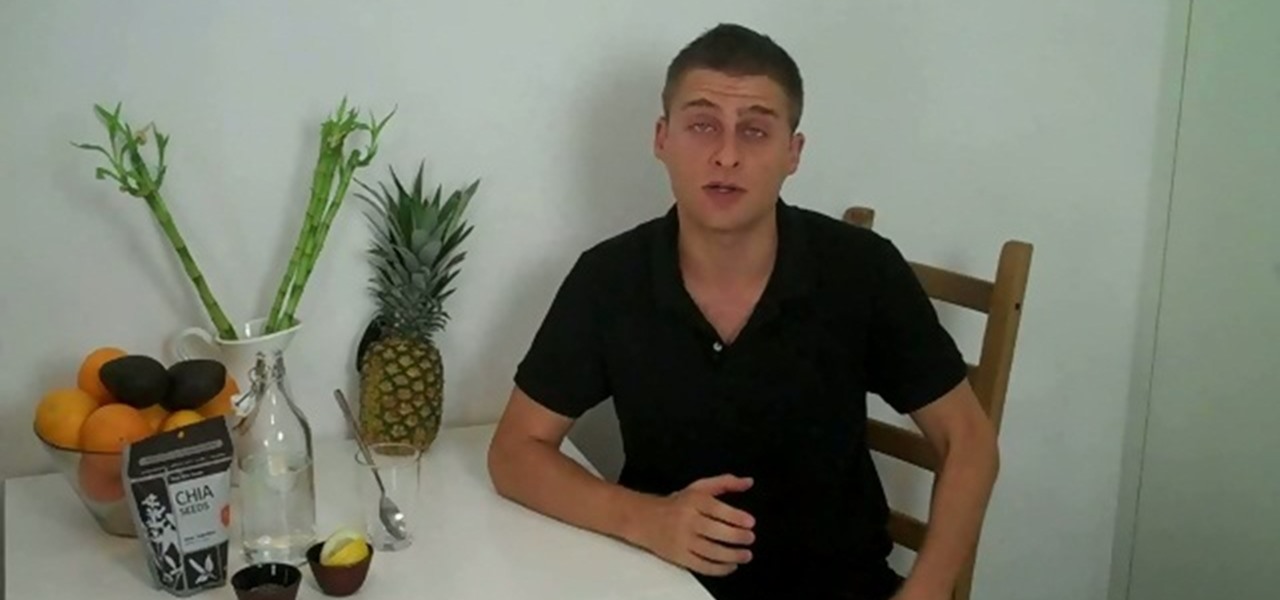
Balance your life— balance yourself— all with this L-shaped handstand and some chia lemonade. This video will show you the recipe for a healthy chia lemonade drink, full of Omega 3 fatty acid, plus the L-shaped yoga handstand that will help you get a real feel for balance.
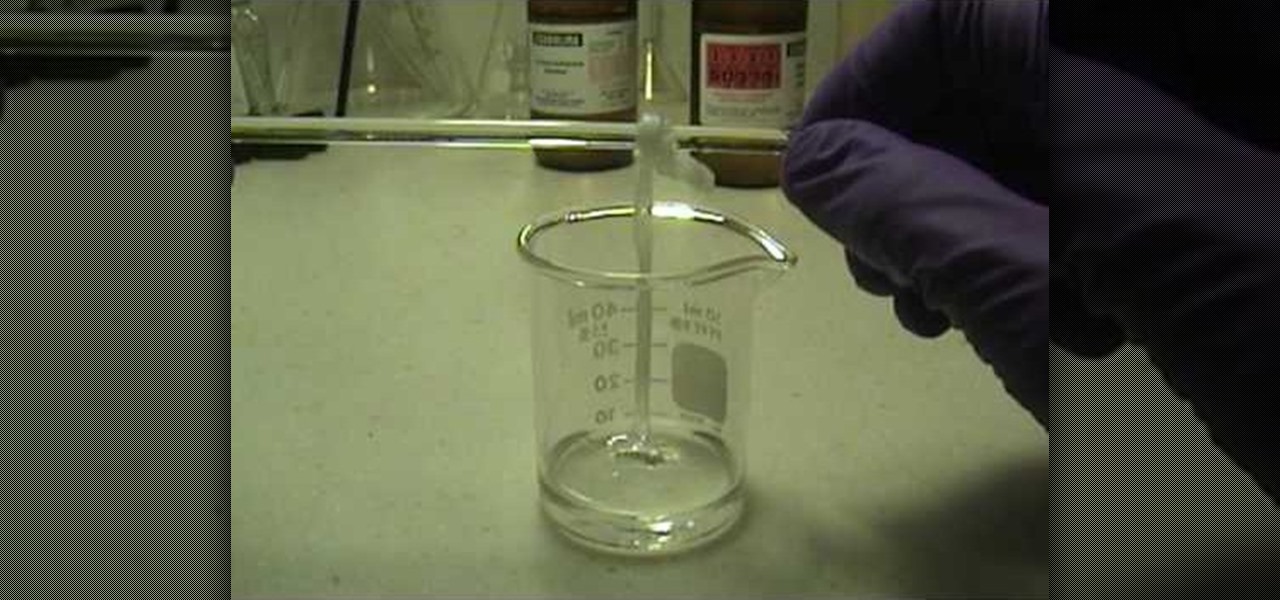
This video tutorial is in the Education category which will show you how to make elemental sulfur (sulphur). The chemicals you need are nitric acid and sodium thiosulphate. The reaction produces toxic SO2 gas so keep it coved with a watch glass. Put 12.9 grams of sodium thiosulphate in a beaker and dissolve it in minimum amount of water. Pour about 15ml of nitric acid in to the beaker. Let it sit in a warm place for a couple of hours and the sulphur will settle at the bottom of the beaker. Th...
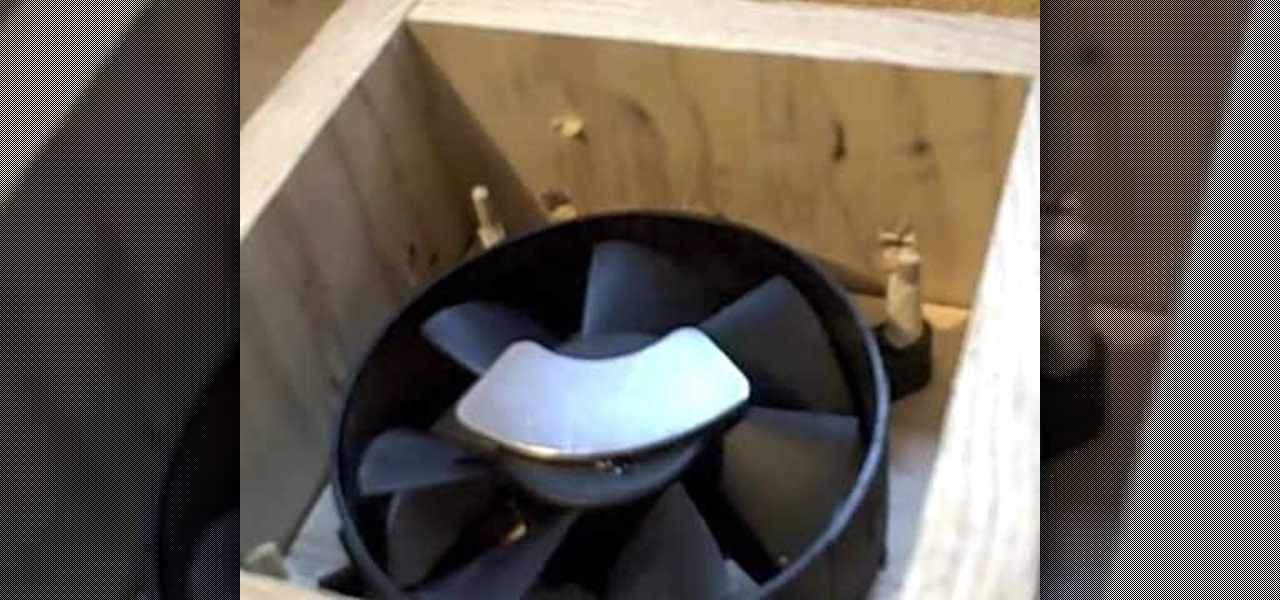
In this tutorial, we learn how to build a magnetic stirrer from computer parts. This is a simple thing to make, and is great if you are going to be mixing chemicals and don't want to get your hands dirty. First, you will need to create a wooden box with the top empty. Then, place a computer fan into the middle of the box and pin it down. Place a magnet from the hard drive in the middle of the fan, then place a stirring rod on the glass that will go on the top of the wooden box. Now you will b...
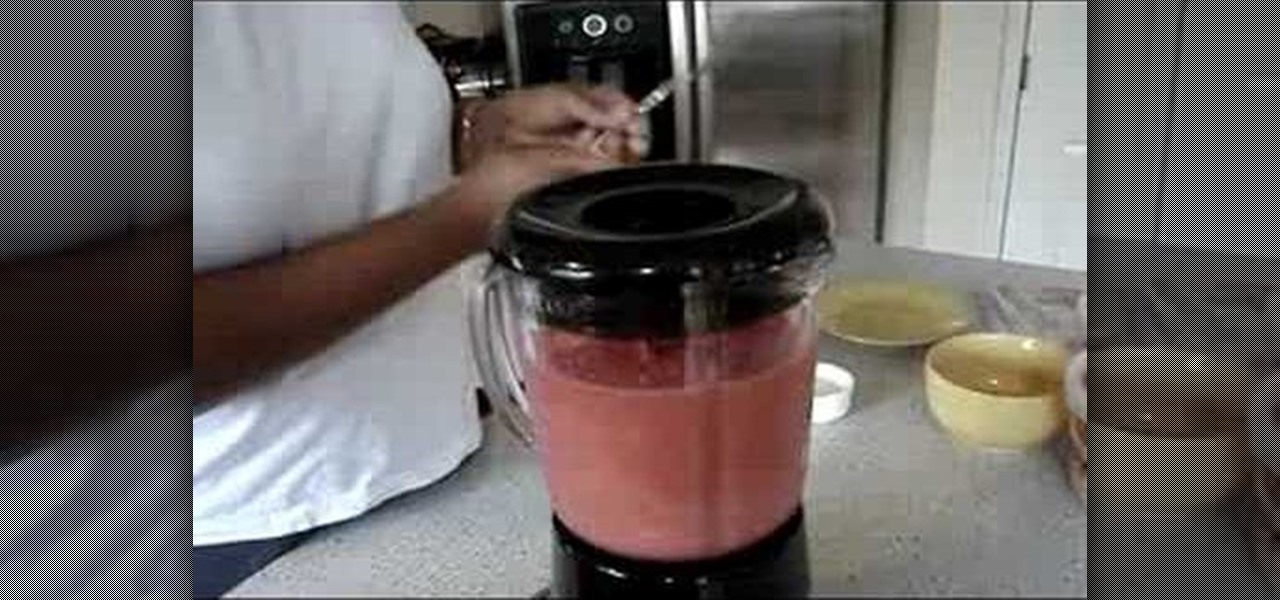
In this tutorial, we learn how to blend a homemade smoothie. You will first need to grab some frozen fruits of your choice and place them into a blender. Some good fruits to use include: strawberries, pineapples, papaya, and blueberries. After this, add in strawberry ice cream to the blender and two fresh bananas. Add in 1 c of mango juice, then place the top on the blender. Blend this on high until all of the ingredients have combined together. You may need to stir during the middle of the p...
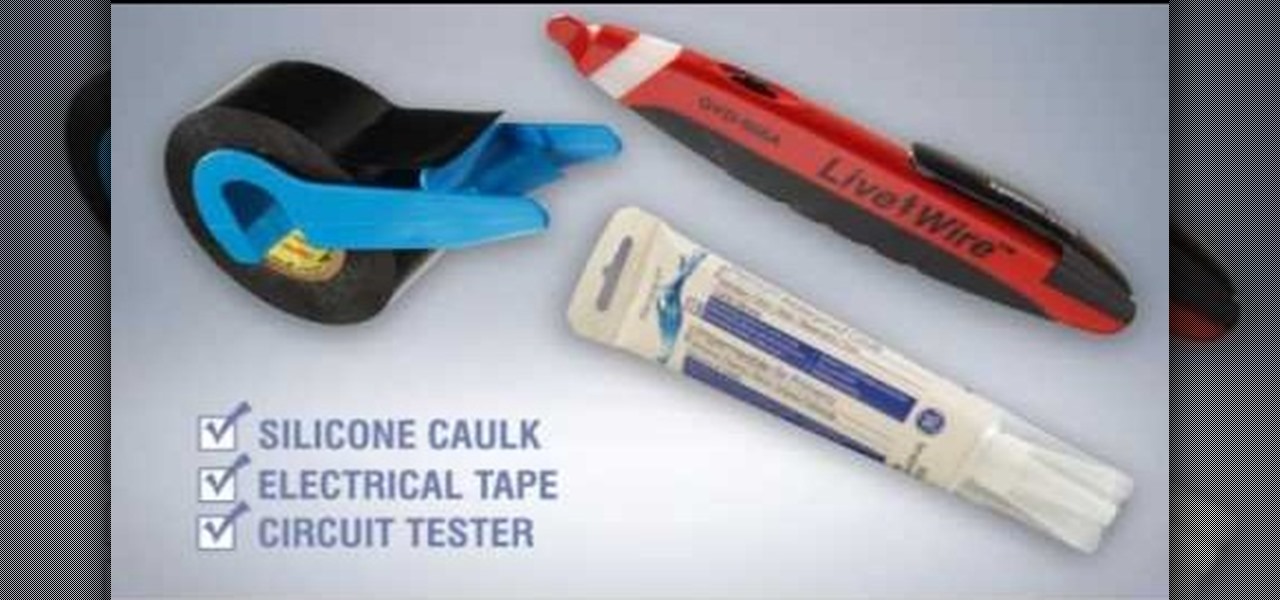
In this tutorial by Lowe's, we learn how to install exterior motion-sensor lights with Lowe's. First, you will need to pick out what kind of motion sensor light you want. Most of the kits you purchase will come equipped with all the things you need, you will just need to supply the hardware. You will need: a screwdriver, circuit tester, electrical tape, silicone caulk, work gloves, and safety glasses. Open up the package and find the directions inside of it. After this, turn off the electrici...
In this tutorial, we learn how to make your own nylon. You will need: pipettes, pipette filler, forceps, beaker, stir rod, sebacoyl chloride and hexanediame solution. Now, pour some of the hexanediame solution into the small beaker. Add in a food coloring if you want to make this a specific color. After this, add in 4 cc's of sebacoyl chloride and carefully drip into the side of the beaker. You should see a layer of where the two liquids are after this. Now, take your tweezers and reach into ...
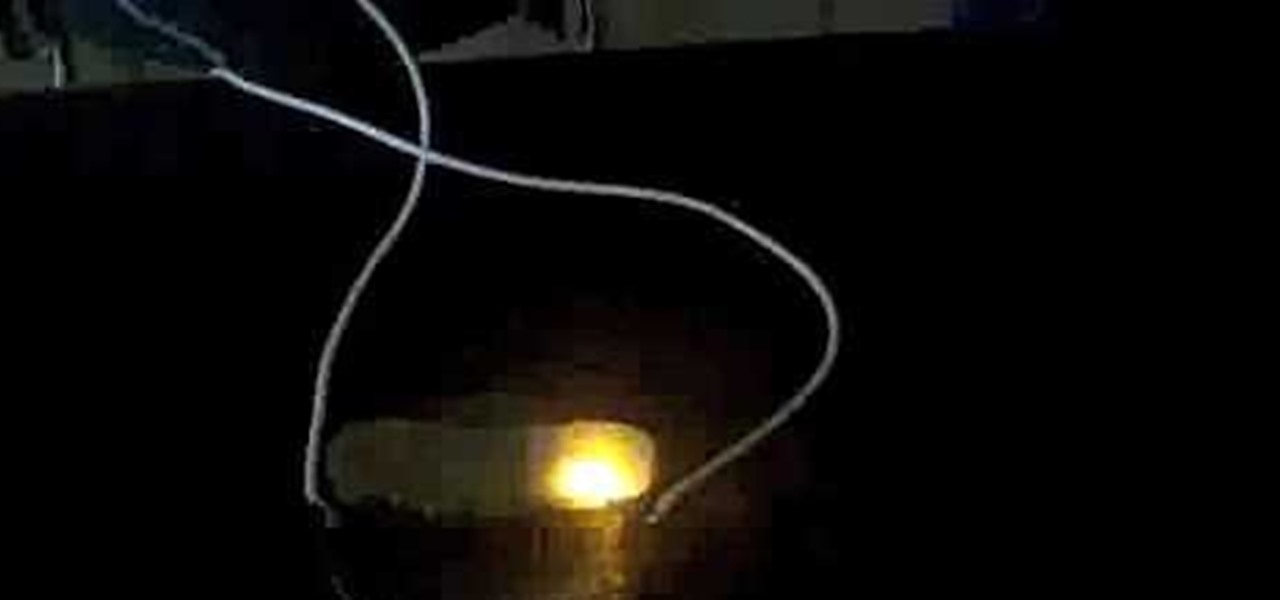
In this Education video tutorial you will learn how to make a light bulb from a pickle. Pickles are high in ions in the form of acids and salts. These are electrolytes and they will transfer energy through the pickle. Place a pickle on a glass plate and hook it up with an AC power cord with a nail on each end as shown in the video. You must have protective gloves on. Poke the nails on each end of the pickle and hook up the cord to the power source. The pickle will start emitting light which i...
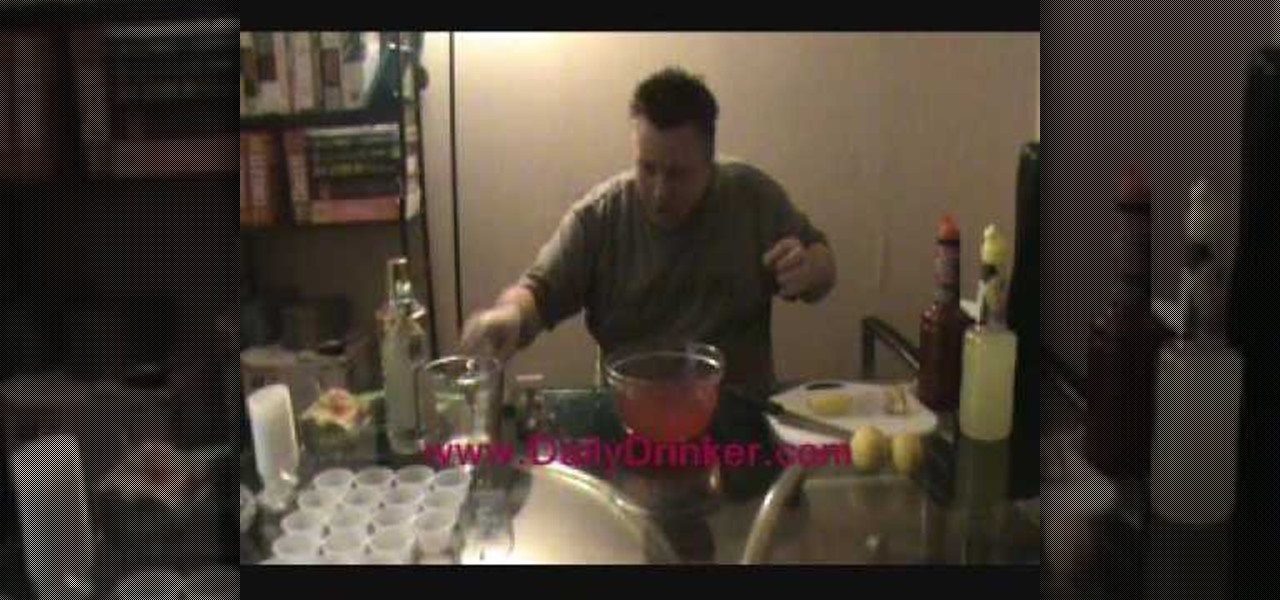
In this tutorial, we learn how to make strawberry lemonade Jell-O shots. First, you will need to take a couple cups of boiling hot water, then mix it with a large packet of strawberry lemonade Jell-O. Mix this together until all of the powder is completely dissolved. After this, pour 1.5 c of citrus vodka (cold) into the bowl of Jell-O. Then, take a fresh lemon and squeeze the juice of it into the bowl, making sure to remove any seeds. Mix up the rest of the mixture after this, then pour into...
In this clip, you'll learn how to turn off dock reflections on an Apple computer running the Leopard operating system. With a little know-how, it's easy. So easy, in fact, that this video guide can offer a complete overview of the process in a matter of a few minutes. For more information, including a complete demonstration and detailed, step-by-step instructions, take a look.
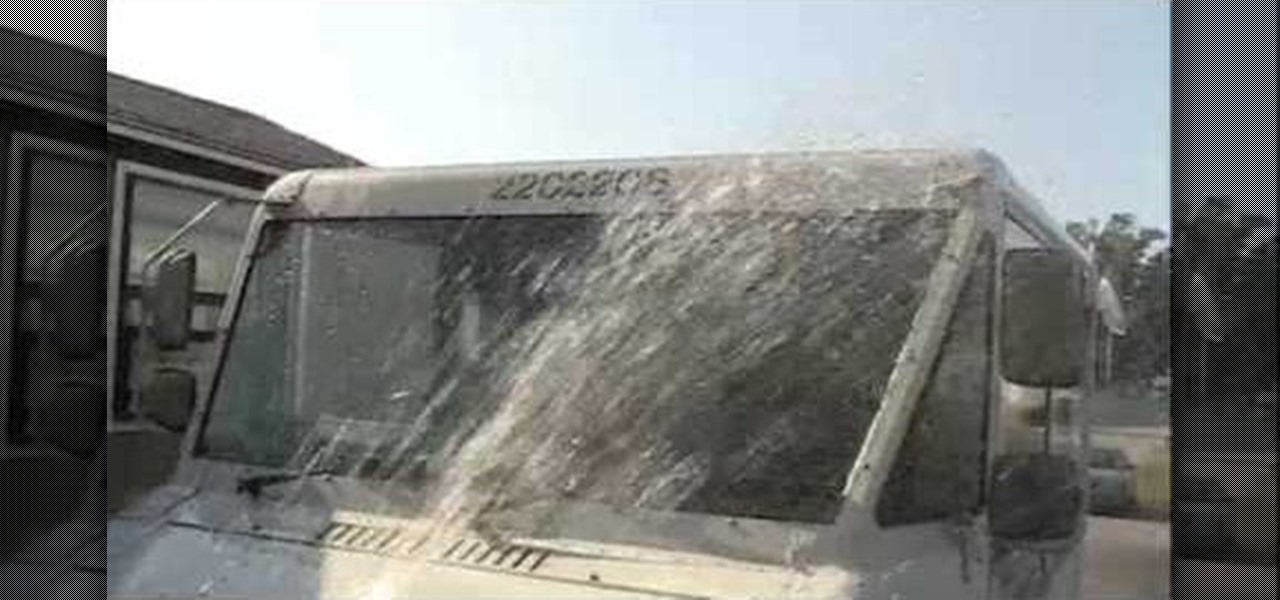
Unless the windshield is obviously cracked, there are only two other possible causes to a leaky windshield. One is from the seal around the whole glass, because it's broken or worn by age, and the other is the more common culprit on LLV postal trucks, and that's where the side mirror bolts on. This is is hard to see without a mirror and flash light, but check it before you replace the windshield, because if it's the source of the leak, you'll still have a leak even after replacing the windshi...
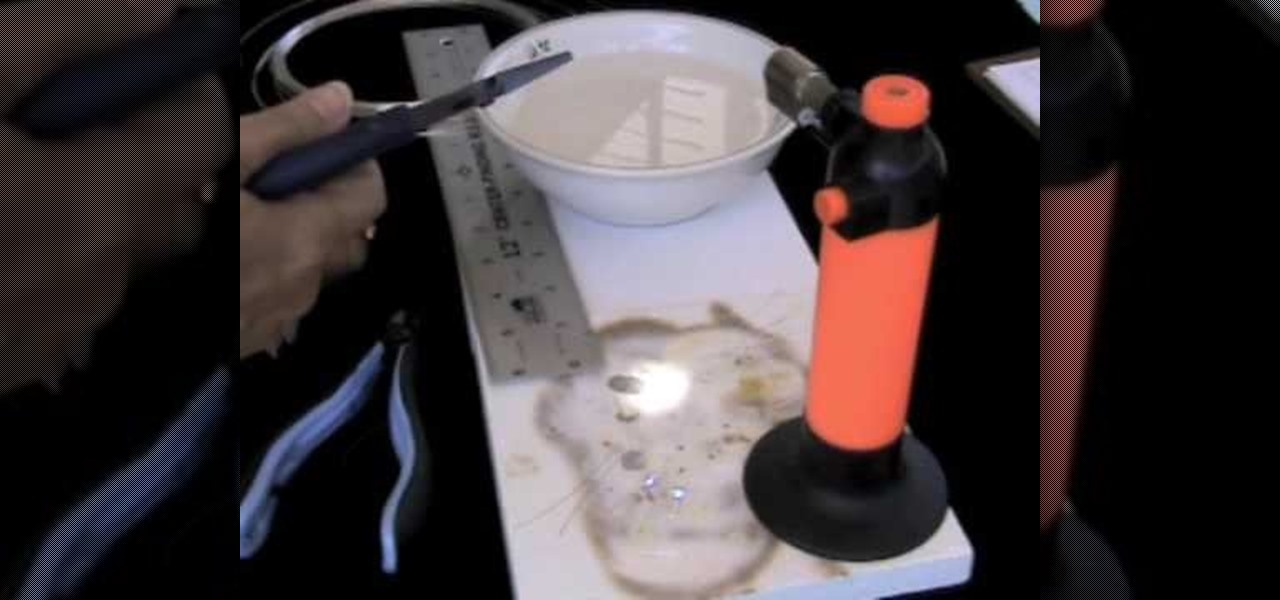
In this video, we learn how to make your own sterling silver headpins. You will first need a torch (one from your kitchen will work fine), a heat protected surface, bowl of cold water, and fine silver. Next, cut out two inch pieces (or longer if that suits you best). Put on safety glasses and turn on your torch. Now, pick up one of the piece you cut and put it into the tip of the flame. Quickly, the silver will ball up at the end of the pin. When it has balled up, place it on the cooled surfa...
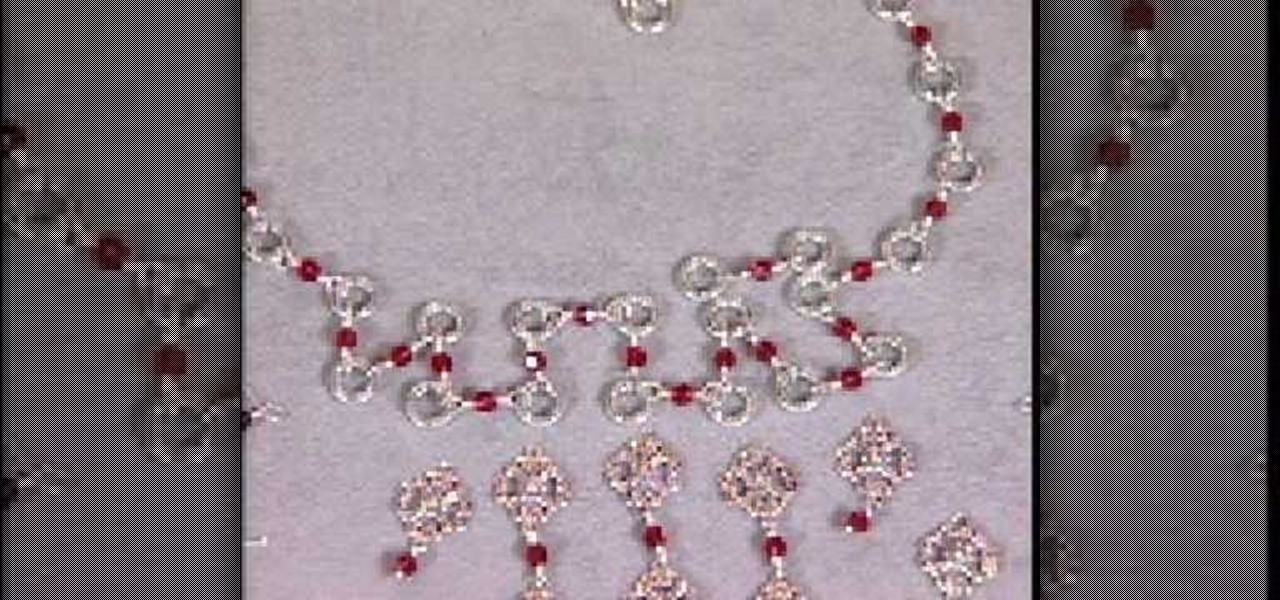
In this tutorial, we learn how to make a silver vintage-style bead necklace. First make sure you have silver wire and glass beads in the color that you prefer. Now, you will string the beads through individual wires and close them so these can be applied to the center of the necklace. This will create a long chandelier like quality on the necklace. After this, you will create the base of the necklace with the same color beads and silver. You will want to follow the pattern of creating silver ...