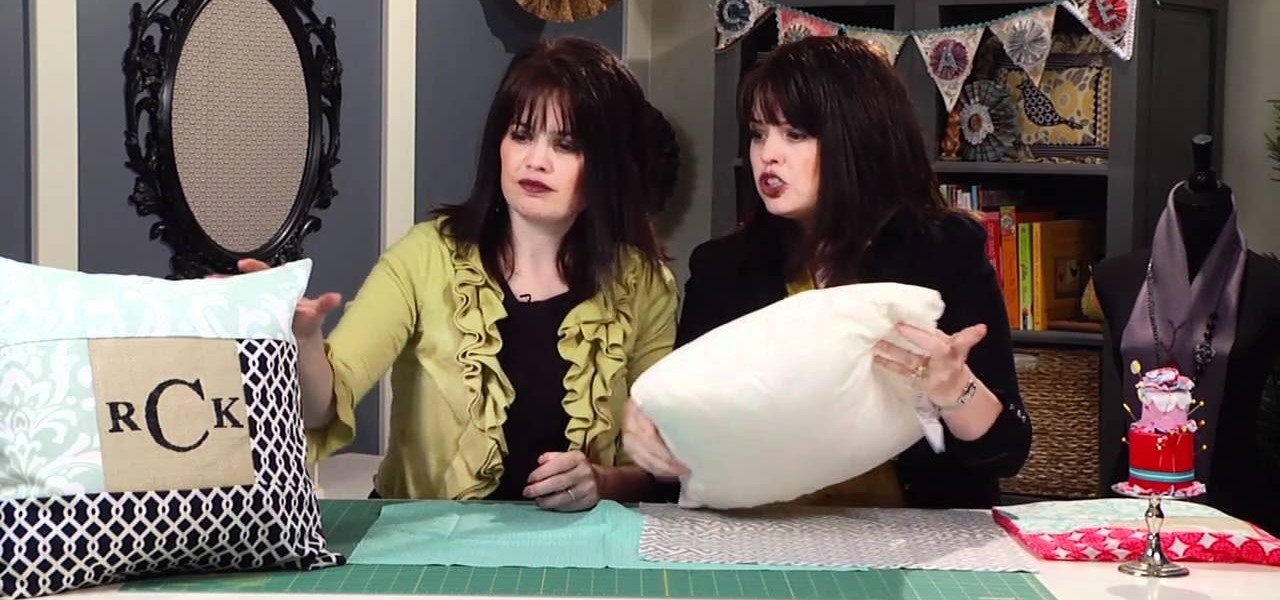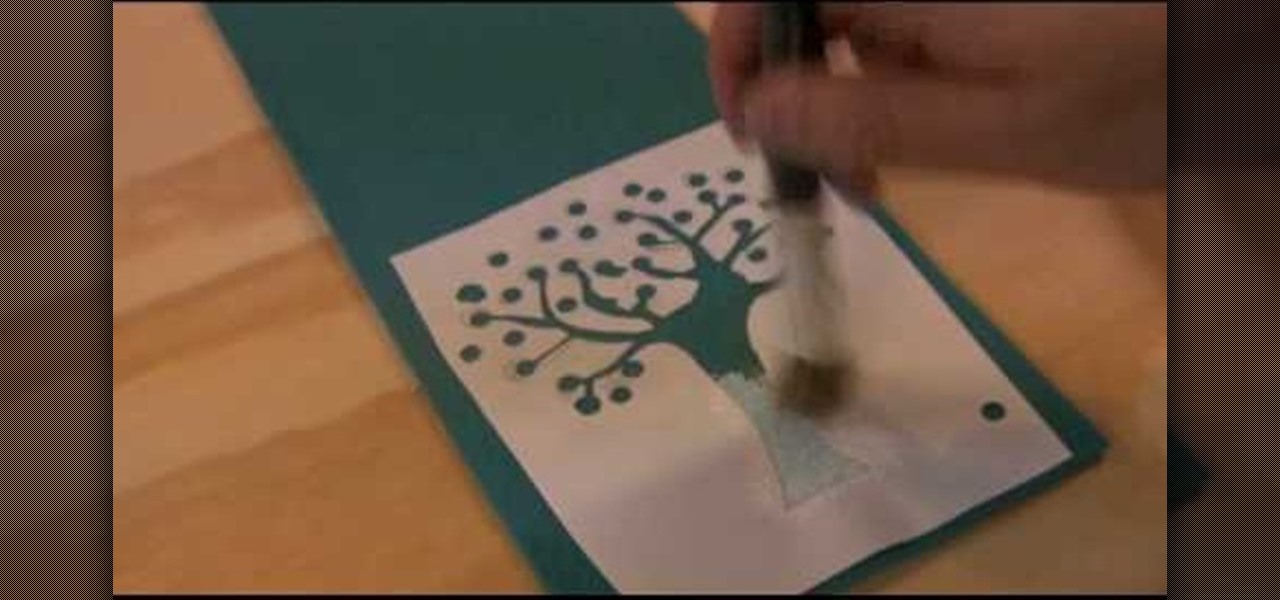
This instructional video demonstrates how to paint, collage and stencil using a layering technique. Experiment with as many layers as you want. Make sure each layer is completely dry before beginning the next layer.
In this arts and crafts video tutorial learn how to make a paper piercing using a paper piercing template with June Campbell. The template comes with pre-made holes in varying designs that you will poke through. You will also need a paper piercing tool to create your holes as well as a craft knife to cut out larger holes. In addition, you will also need a piece of paper. Use a hard surface, such as a plastic tray to protect your table and then place a styrofoam sheet on top of that for furthe...
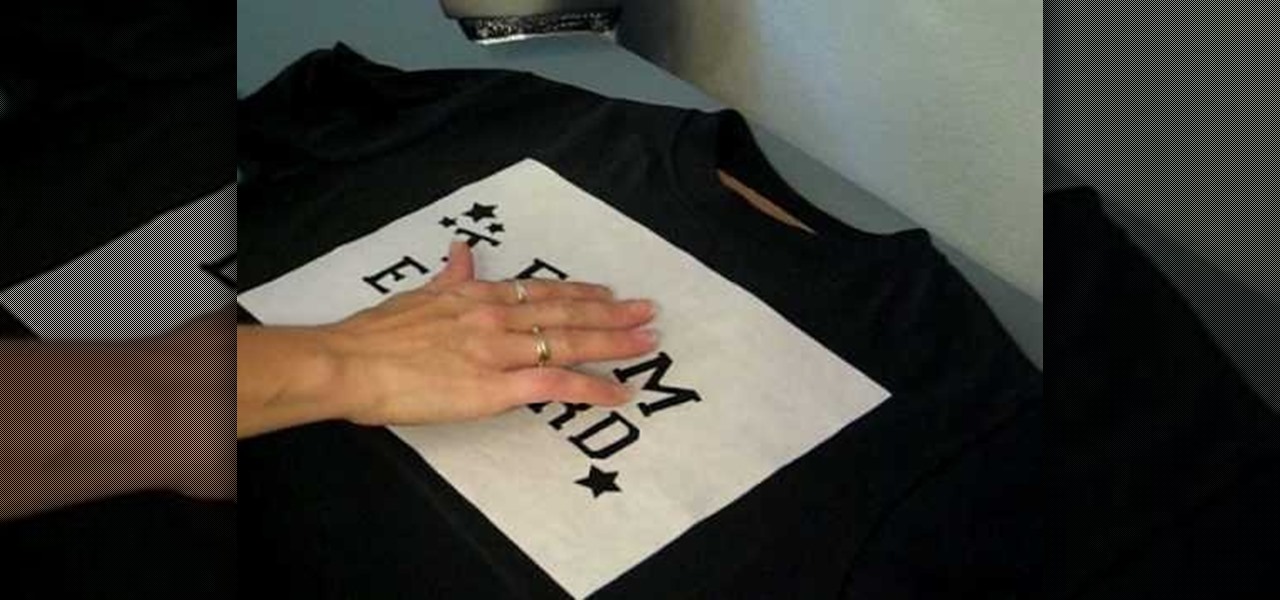
Watch this instructional stenciling video to create your own stencil using a few simple tools. This stencil was created in Adobe Photoshop 7.0. You will need freezer paper, X-acto knife, a t-shirt, stiff cardboard,fabric paint, a foam brush, poly glitter (optional), and an iron. You can stencil a number of t-shirts once you have cut out the freezer paper stencil.
Carving pumpkins is a seasonal tradition in many families. Learn how to carve shapes into a pumpkin freehand or using a stencil. f you can, it's fun to pick your own pumpkin at a pumpkin patch. You can also get a fresh pumpkin at a market or farm stand. Choose a pumpkin with a bright orange color that has no bruises, soft spots, scars or mold. The stem should be attached and be dried or slightly brittle. You will need a long thin knife, an ice cream scoop, a poking tool and a saw knife. A beg...
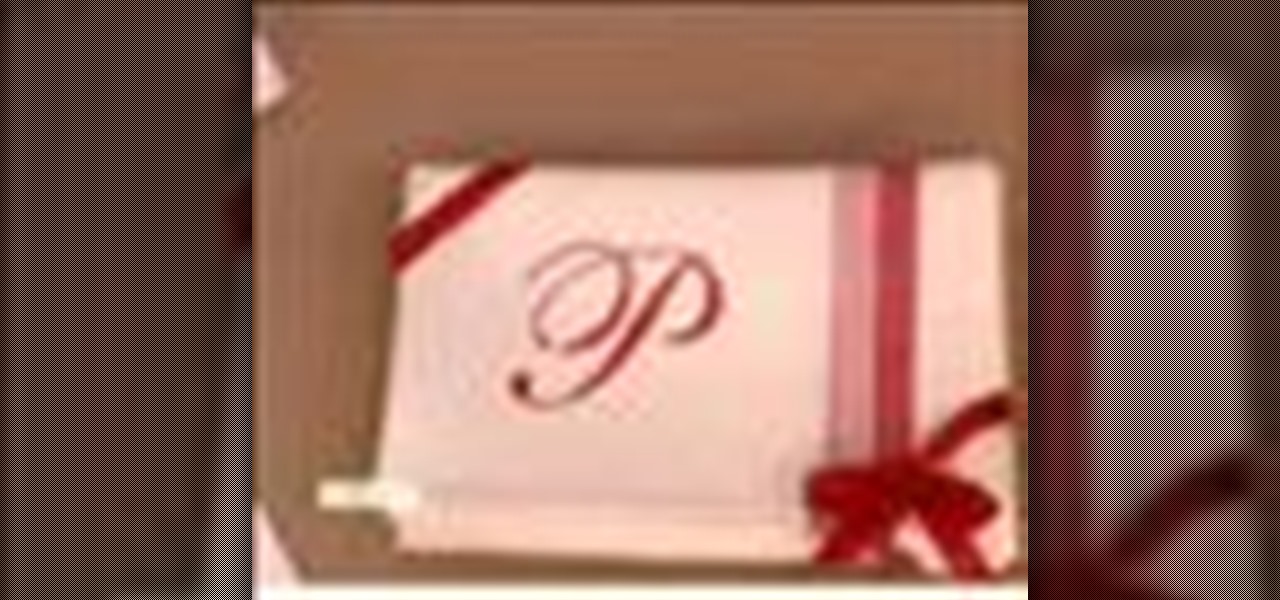
Paige Davis, of Trading Spaces joins Martha to decorate hand towels with stencils. Materials you will need are hand towels (flat weave), sheet of paper, letter stencil, tape,
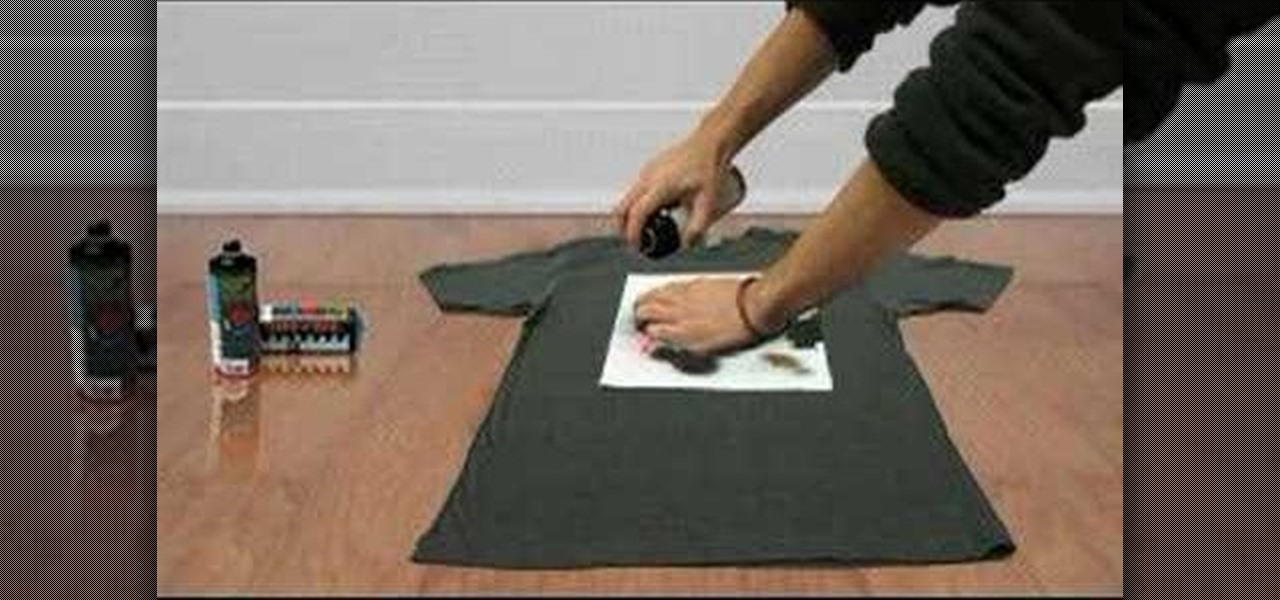
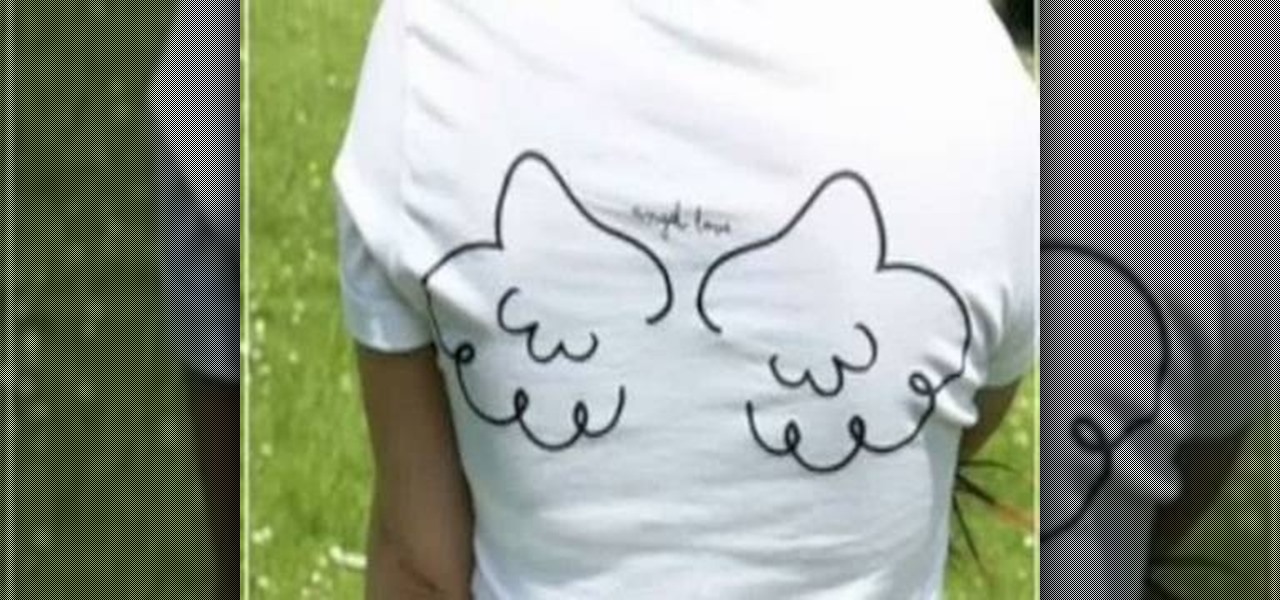
Stencils are an easy way to add to a basic t-shirt. Draw a design, cut it out, and get ready to paint. This video printmaking tutorial shows how to easily stencil a t-shirt. Follow along and make your own.

This video shows how easy and fast you can make a tattoo stencil without a thermal copier machine. You will need tracing paper, a sketchbook and stencil paper. Trace over any design that you want. Remove the brown layer from the stencil paper. Tape the traced design to the stencil paper to keep it from moving and trace the design onto the stencil paper pressing firm with a bold point pen trying not to rip the paper. Lift the white paper to see your design.

Watch this video to learn how to make a stencil for graffiti and attach it to a public place with wheatpaste.

Want to turn any photo into a stencil for graffiti? This video will show you how to apply effects in Adobe Photoshop and print and cut out the correct pieces so that you have a perfect stencil for making great graffiti art. Stencil graffiti art in Photoshop.

This tutorial shows you how to create stencil type graffiti in Photoshop. It starts by explaining how stencils work. Use Photoshop to create stencil type graffiti.

Gather Materials nail polish (at least 2 colors)

Too cute, even though I don't have an Android phone. Via NOTCOT.

Freezer paper to make stencils? We're aware that you're probably not used to using the food staple for crafting, but it's actually a super inexpensive way to create beautiful stencils - in this case, monograms - on fabric.

Polymer decorations are easy to create and beautiful to exhibit. These amazing polymer clay flowers can be used as a beautiful assortment of decorations or just a little keepsake for yourself or for a friend. They don't take long to make and all you need is some polymer clay, a stencil cutter for your petals, and a tool to round off your petals. This video will demonstrate how to make these amazing polymer clay flowers great for any occasion. Enjoy!

This video illustrate us how to make a vase out of three stamps. Here are the following steps: Step 1; First of all take all the requirements that is paper, stamps, stamp pad, color pencil extra.

If your bags have seen too many highways and byways, treat them to a first-class upgrade with this idea from Rust-Oleum and ReadyMade: Give world-weary luggage a new lease on life with Rust-Oleum paint and hit the road, stat. Spray paint a stenciled image on your suitcase to update and personalize your look! You will need an image, rustoleum spray paint, a utility knife, masking tape, spray adehsive, rubber gloves and a mask. Cut out your bold simple design and use as a stencil. Use a spray p...

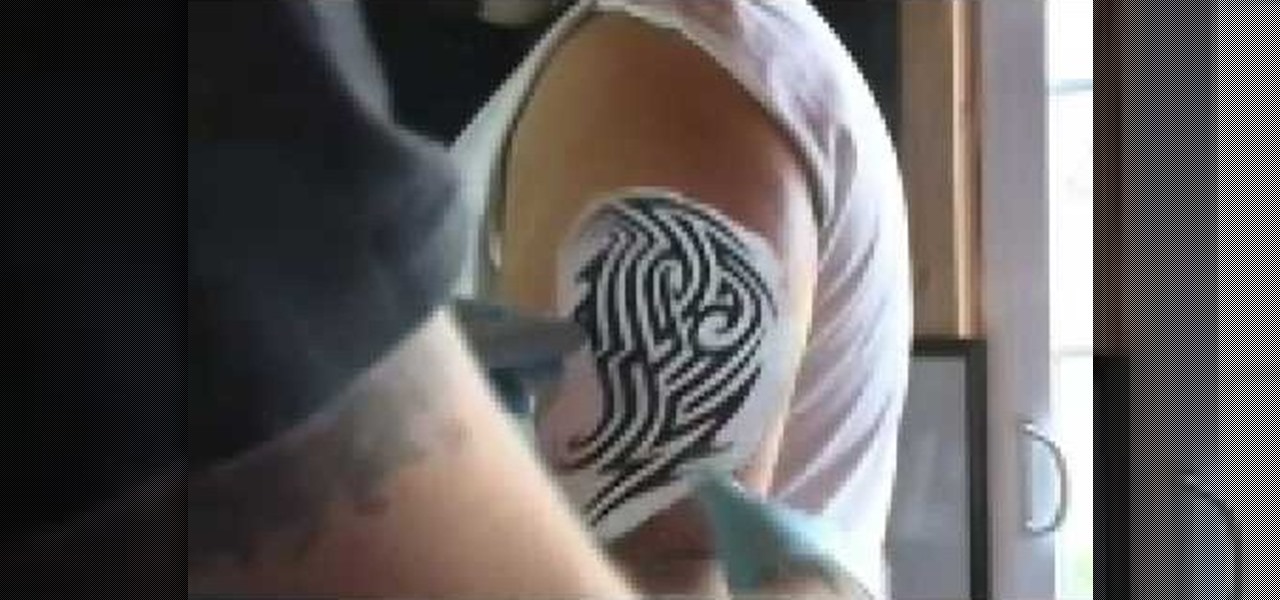
For people who would like to learn how to make a professional tattoo, this is the tutorial to watch. For making a basic arm tattoo, the subject should be seated upright in a military position. You should apply some alcohol and then some antiseptic to the area to disinfect the area and place the stencil over the area. It is suggested that the subject shave his or her arm in order to get the best effects. The tattoo stencil should be placed over the center line of the arm and align it properly,...

Check out this DIY video tutorial from Curbly, the best place to share pictures of your home, find design ideas, and get expert home-improvement advice.

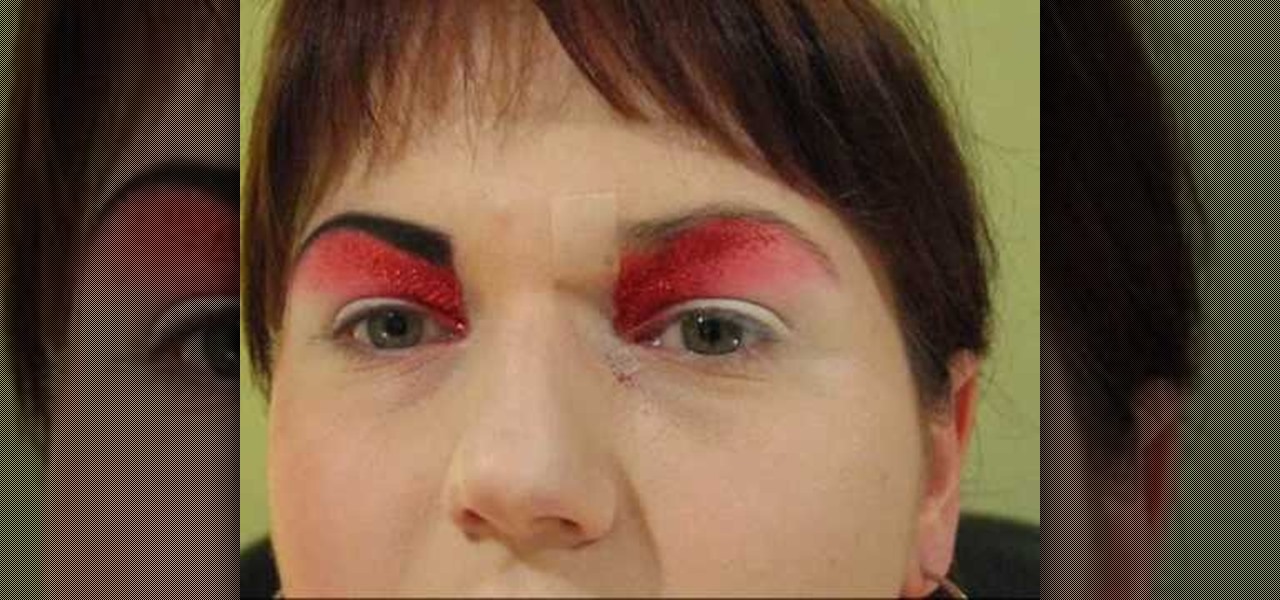
The two sides of your face are more like sisters than twins, and the same thing goes with eyebrows. Though it's not possible to achieve a perfect double of one brow on the other side (sometimes the angle will be off, or one will be thicker than the other), there are steps you can take to even them out.

In this tutorial, you will learn exactly how to make a router-based inlay. And inlay is made up of small cut out sections of wood, and looks like a stencil or pattern when you are finished.

In order to create Fergie's look in "Meet Me Halfway" (both the eyes and the makeup), you will need the following: an eyebrow stencil, eye shadow primer, nude bone color, a frosty champagne color, a warm and neutral brown color, nude matte color, brown eyeliner, mascara, concealer, foundation, lip liner, lipstick, and false eyelashes.

In this tutorial, we learn how to craft quilled Christmas decorations. First, you will need to take paper and cut it into thin strips that are all the same size. After you do this, you will need to take a think stick and wrap the paper around it all in the same place. Once finished, you will need to take this circle of rolled paper and place it into a stencil that has a bunch of circles on it. Shape these circles into teardrops and then glue them together with other pieces to shape into a sno...

For the first part, make chroma key blood: Ingredients: glue, flour, mix with water like papier mache, three drops of green and two drops of yellow food color. This combination gives more of a fluorescent chroma key look.

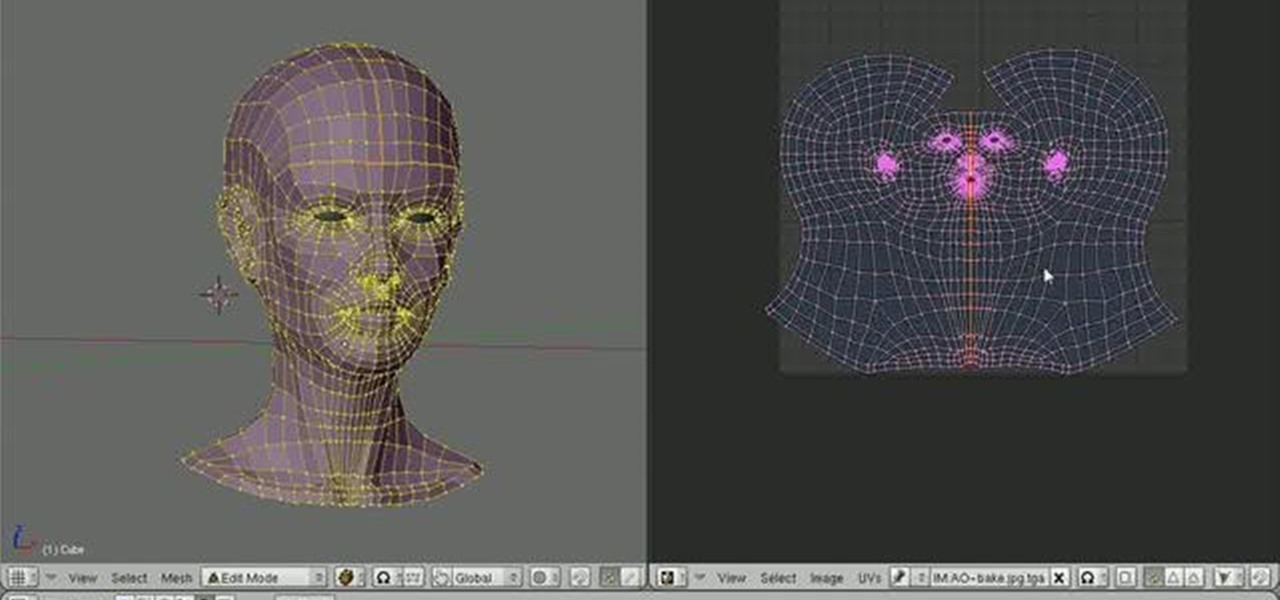
With the release of Blender 2.49, comes the ability to stencil images onto your model via projection. This tutorial goes through the process of setting up your model and it’s UVs in order to “projection paint” your textures onto the model. Whether you're new to the Blender Foundation's popular open-source 3D computer graphics application or are a seasoned digital artist merely on the lookout for new tips and tricks, you're sure to be well served by this free video software tutorial from the f...

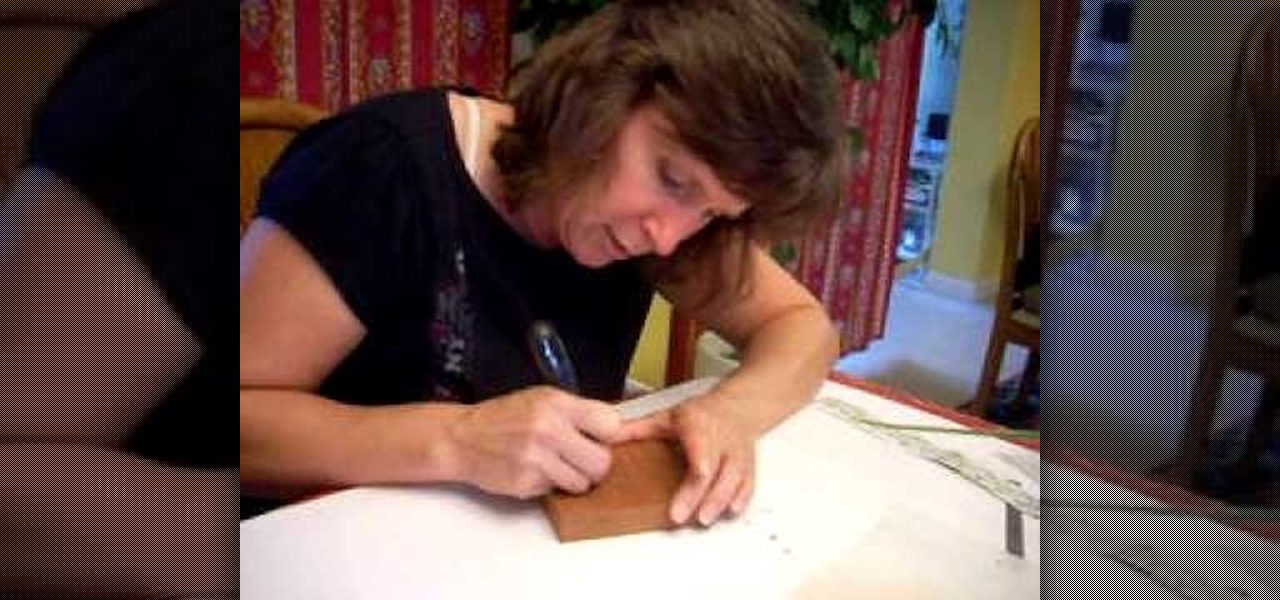
In this three-part carving tutorial, Valerie Jones demonstrates her chip-carving techniques on Mahogany wood. Using an X-acto knife, she carves the wood by hand & describes how to carve German-style, geometric patterns into the wood after stenciling the pattern on the outer wood surface. Later, Valerie talks about her methods when chip carving wood: how to hold the knife, how to guide the blade, finishing the final product, how to follow a stencil pattern & goes over more useful information.

Watch this science video tutorial from Nurd Rage on how to make silver chloride for a photochemistry test. They show the chemistry of photography using silver chloride that they make themselves from table salt and silver nitrate.

This video will show how to decorate duct tape creations with Japanese Kanji characters, which are Chinese-based characters. After creating your duct tape stencil which will serve as a backing, you should go online and find a Kanji character which you would like to copy, print it out on paper, and cut it out with scissors. Place the characters on your duct tape and trace around the character, making a stencil of the character you would like. Finally, you need an X-acto knife, which you will u...

First thing you've got to do is to clean your brows with the brow brush to clean the brows and the surface as well.

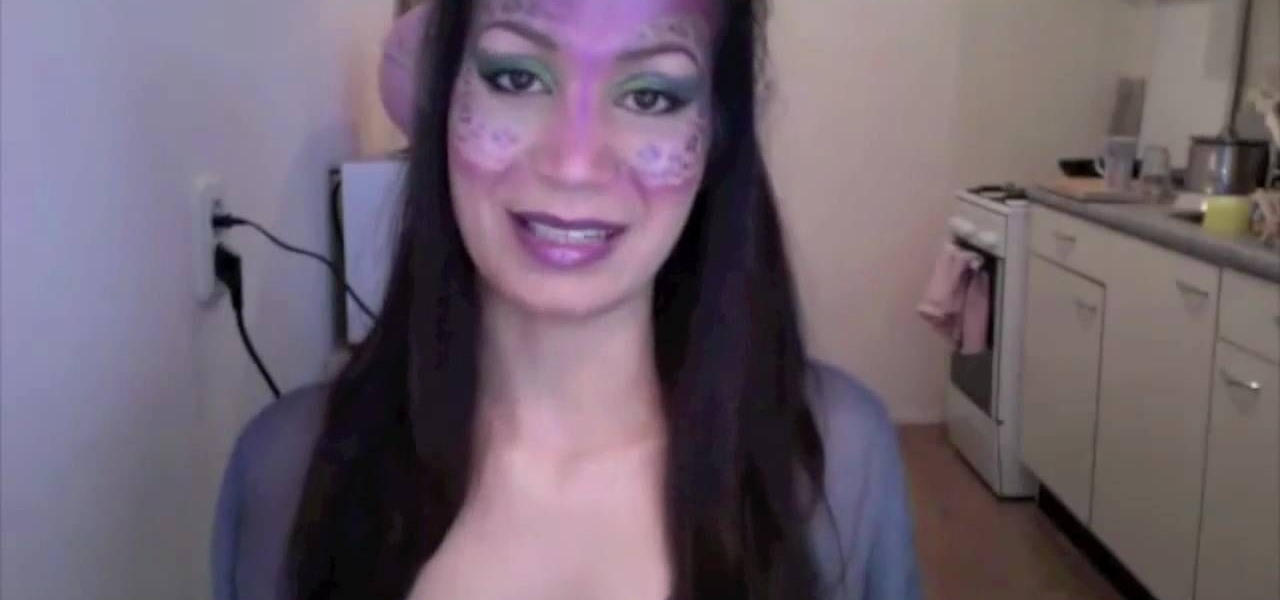
This video demonstrates how to create a fancy elf look using simple makeup techniques. This look is complimented by a pair of elf ears that can be purchased on the web. To get this look you should colors that are inspired by nature such as deep purples and greens. To create the design, use paper coasters that will provide the stencil for your look. First, lightly apply moss green eyeshadow pencil as a base on the cheek bone, on the temple, and above the eyebrow. Use your finger to blend the p...

Looking to make your Xbox your own? Check out this tutorial for details on how to create your own custom designed faceplate and make a statement.

You know Moana's a rock-solid pick for Halloween this year. The question is, how far will you go to become Moana? Are you going to just slap on a cream skirt and a red bandeau? Or do you want to go all out and end up with the finished product like YouTuber Gladzy Kei did?

In this tutorial, we learn how to use Fiskars Decorative Edge scrapbook layout. First, you will need to pick out the templates, pictures, and paper that you want to use for this project. Now, place the stencil over the card stock and cut out the stencil shapes you want, stars work best if you are doing a fun child theme. Now, apply these to your base card stock, and arrange a frame over the background. Now, apply the picture to the page and add on the stencils you just cut out. Add in quotes ...

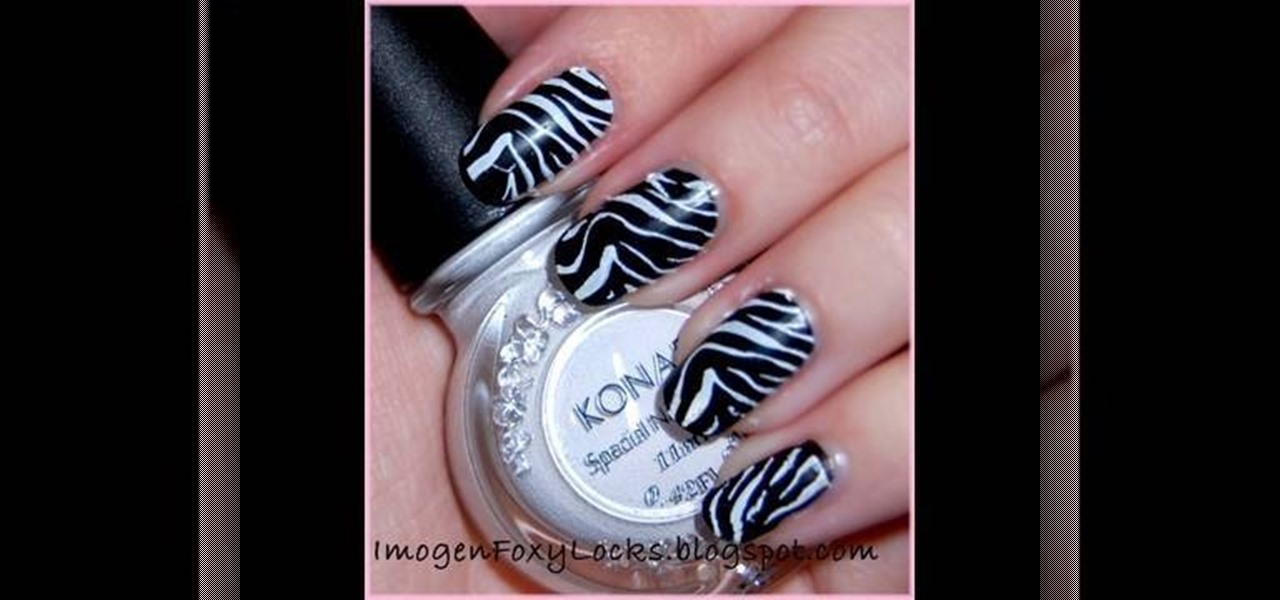
In this tutorial, we learn how to do a Konad zebra nail design in 5 minutes. You will need: Konad white nail polish, stamper, zebra stamp, and scraper plate. First, place white nail polish onto the zebra stamp until it's all over the stencil. Then, use the scraper to remove the excess nail polish. Now, stamp the stamper onto the stencil and then stamp it onto your nail. You can clean up the excess white nail polish with nail polish remover on top of a Q-Tip. Before you begin this, you will wa...

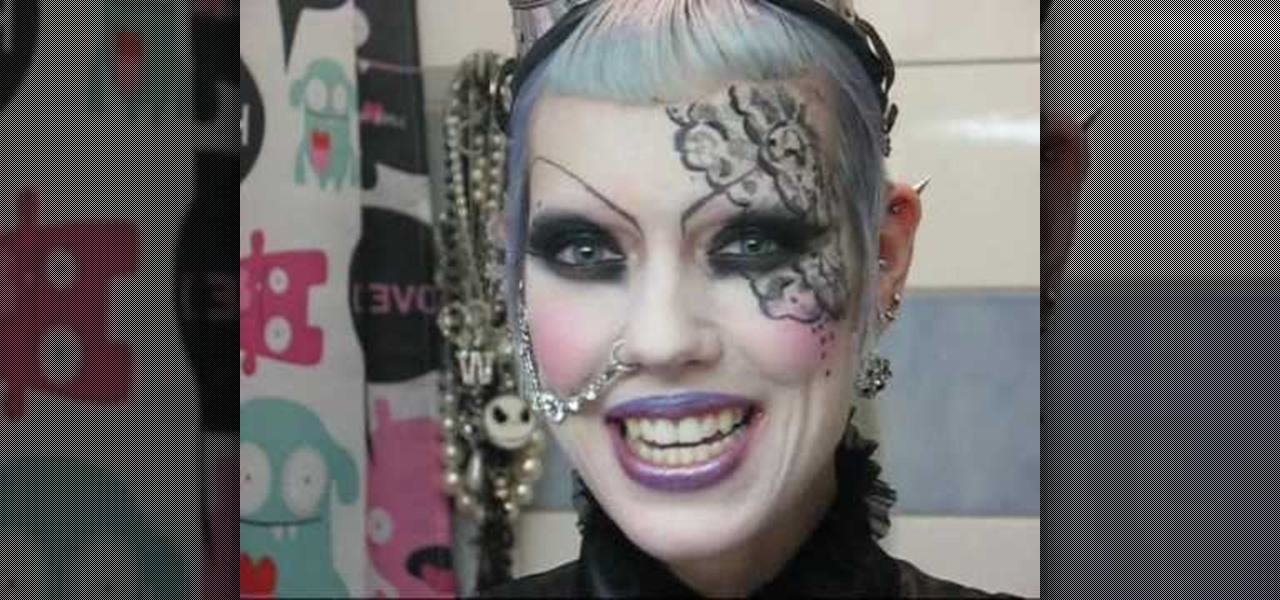
For all you cosplay-loving goths out there, here is a makeup tutorial hosted by Internet-cosplay sensation Adora BatBrat... showing you once more, how to apply a gothic makeup look! In this tutorial, Adora shows how to apply a gothic lace look by using a real piece of lace as a stencil across her face. Watch & learn how to get this creative make-up look!

This great tutorial by BubzBeauty takes us through the step by step process of screen printing your own t-shirts. Materials you will need include Mod Podge glue to make a stencil of your tee design, fabric paint, thin permeable fabric (preferably Organza), a 12 inch embroidery hoop, and a sponge.

With this video you can learn the few simple steps it takes to give yourself a beautiful look, no matter how little time you have.

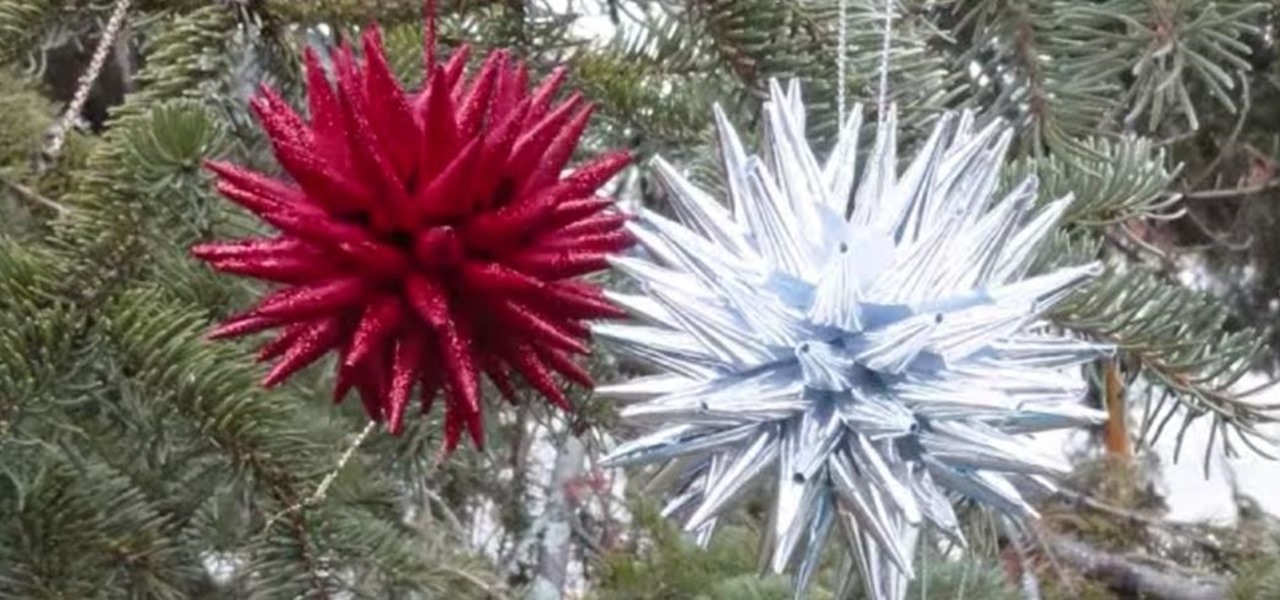
To be honest, these Christmas ornaments look more like sea urchins than stars to us. Either way, these festive ornaments are beautiful and cheap alternatives to purchasing standard ornaments at the store. Give each ornament character by using a different color or pattern paper.

Once you get started with the concept of "stair step" cards - it is hard to stop! It would be fun to try a double set of stairs, add another row for five letter words and cut letters into the bridging circles. Cut the extra panels for the front and emboss them with the Divine Swirls 'Cuttlebug' folder. Then use the Stardust 'Stickles' on the swirls to really make them pop! The extra letters from the name cutout were perfect for the envelope. Emboss the envelope with the Birthday Candle 'Cuttl...

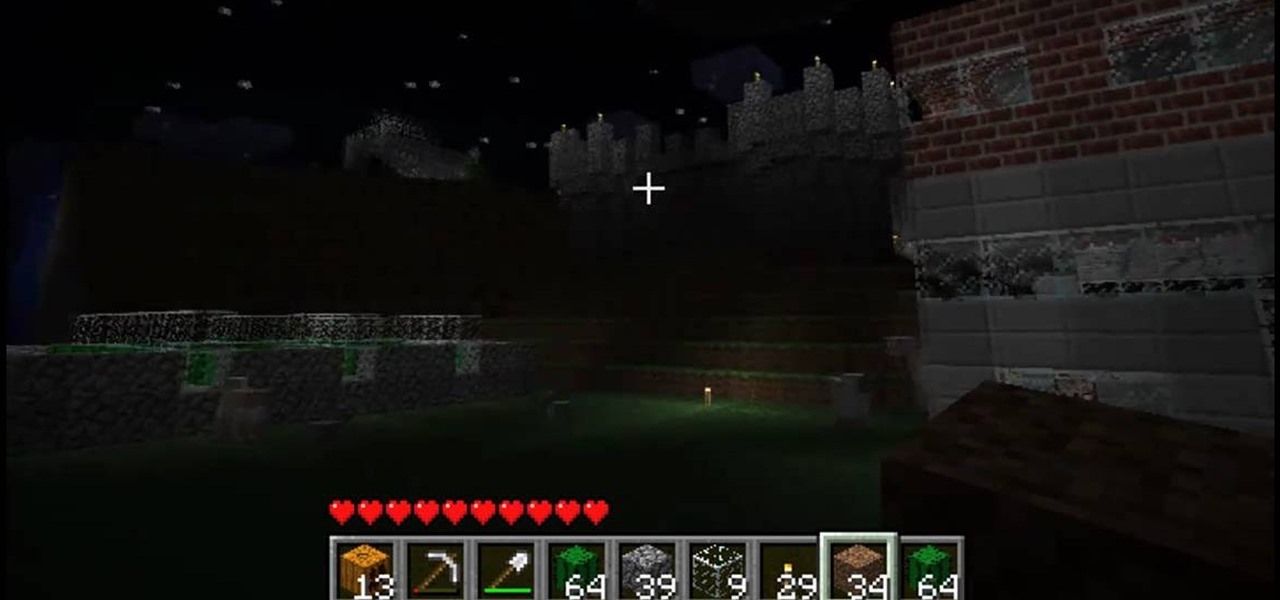
This technique is a simple way to get easy, perfect circles when trying to build in MineCraft. You can make a good template or stencil just by using the circle tool available in MS Paint. Then transfer the pixel data from Paint to MineCraft!

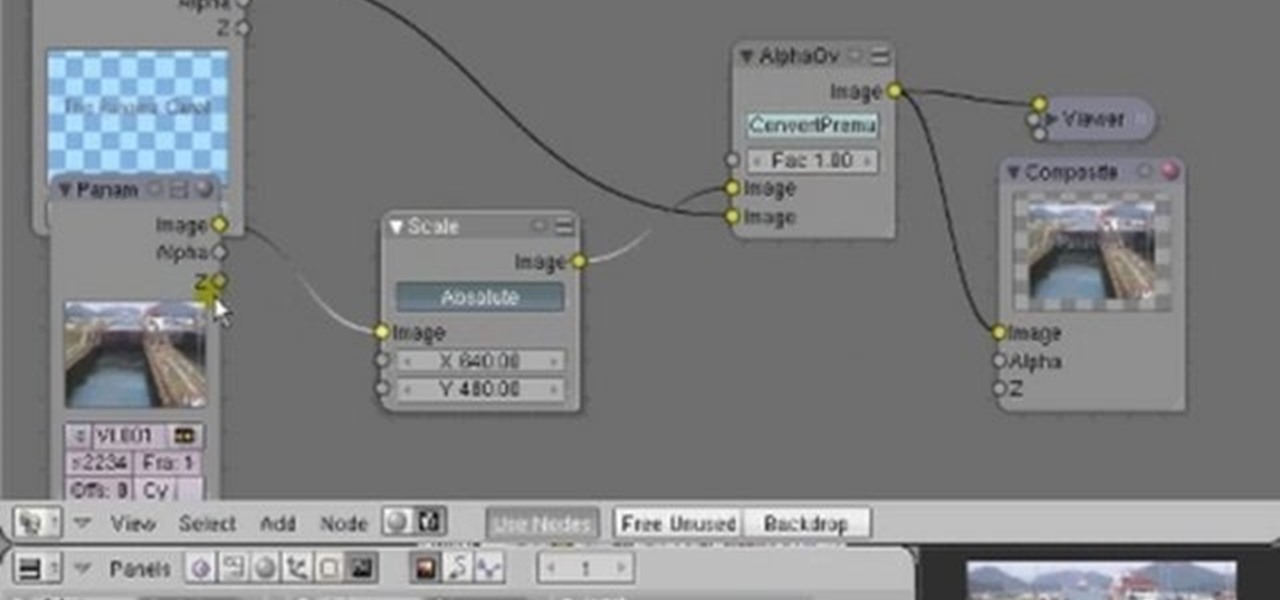
This clip explains how to use Blender to title your video, layer your titles on top of video, or stencil your video on top of title text. Whether you're new to the Blender Foundation's popular 3D modeling program or a seasoned graphic artist just interested in better acquainting yourself with the application, you're sure to be well served by this free video tutorial. For more information, including detailed instructions, take a look!


