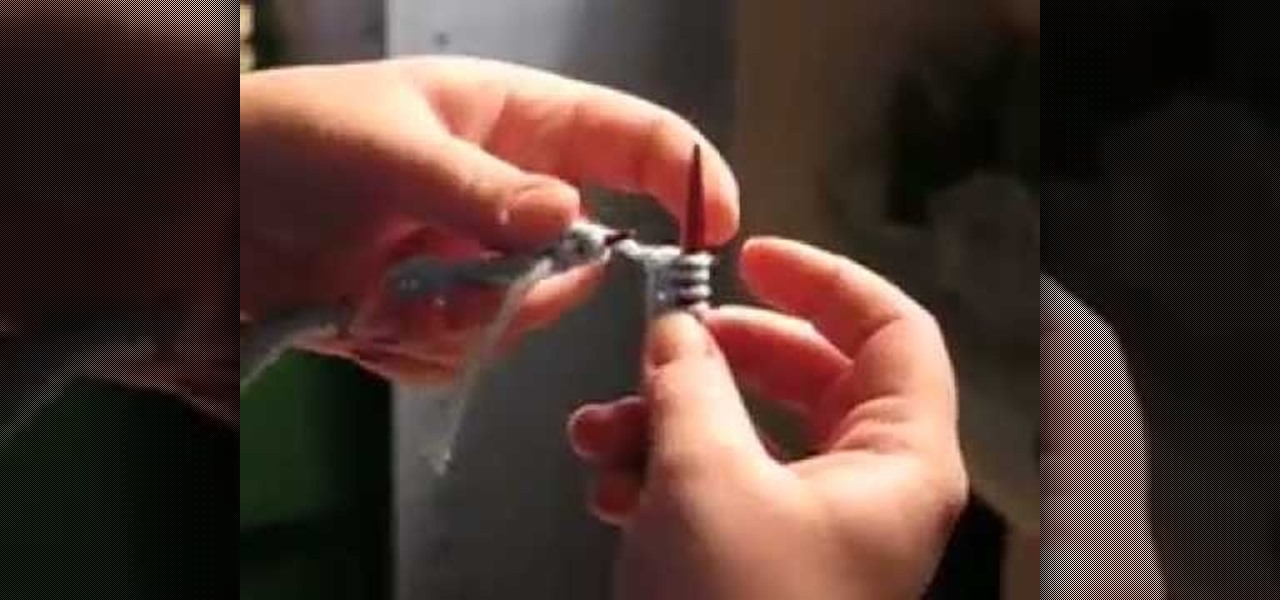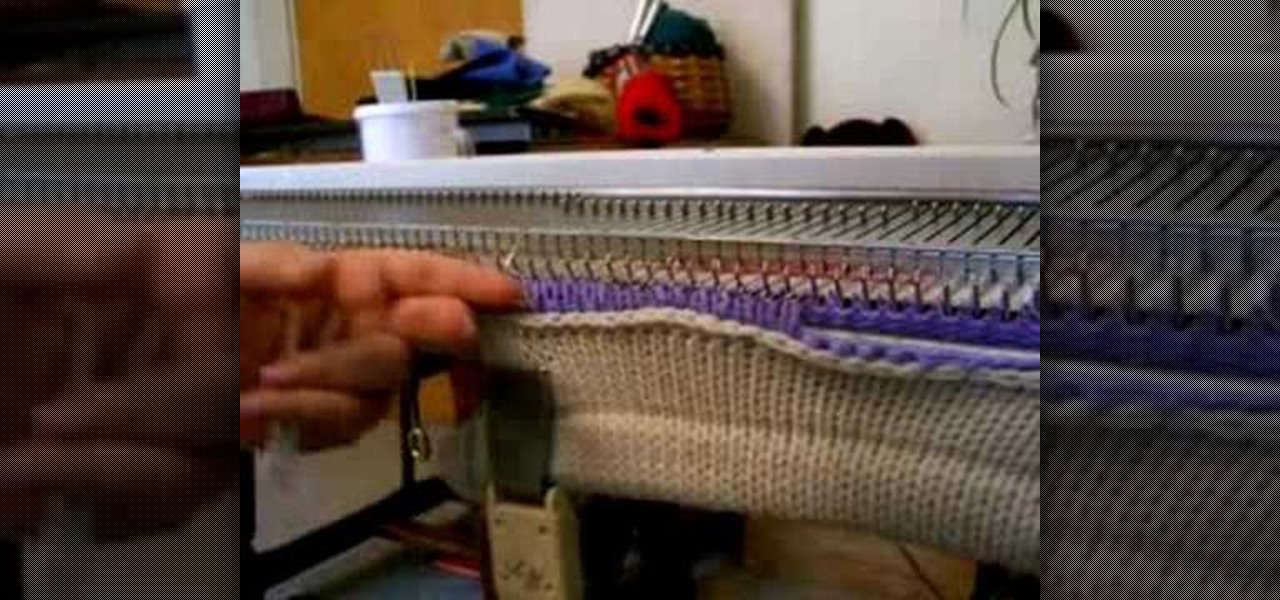
This instructional knitting video provides tips for making interesting patterns using a knitting machine. This is a demonstration of how to pick up and hang stitches. Use a three prong tool to attach one piece of knitting work to the knitting machine. Once you set the set the machine up, you can knit a wearable piece with an altering pattern.

This video crocheting tutorial demonstrates how to do single crochet stitches for Japanese amigurumi shapes. This pattern will make a ball shape, useful for amigurumi yarn toys. Learn how to stitch a single crochet for ball shapes by watching this instructional video.

When you make an actual garment you will have to know how to decrease and increase stitches. For this article we'll deal with just the decrease.
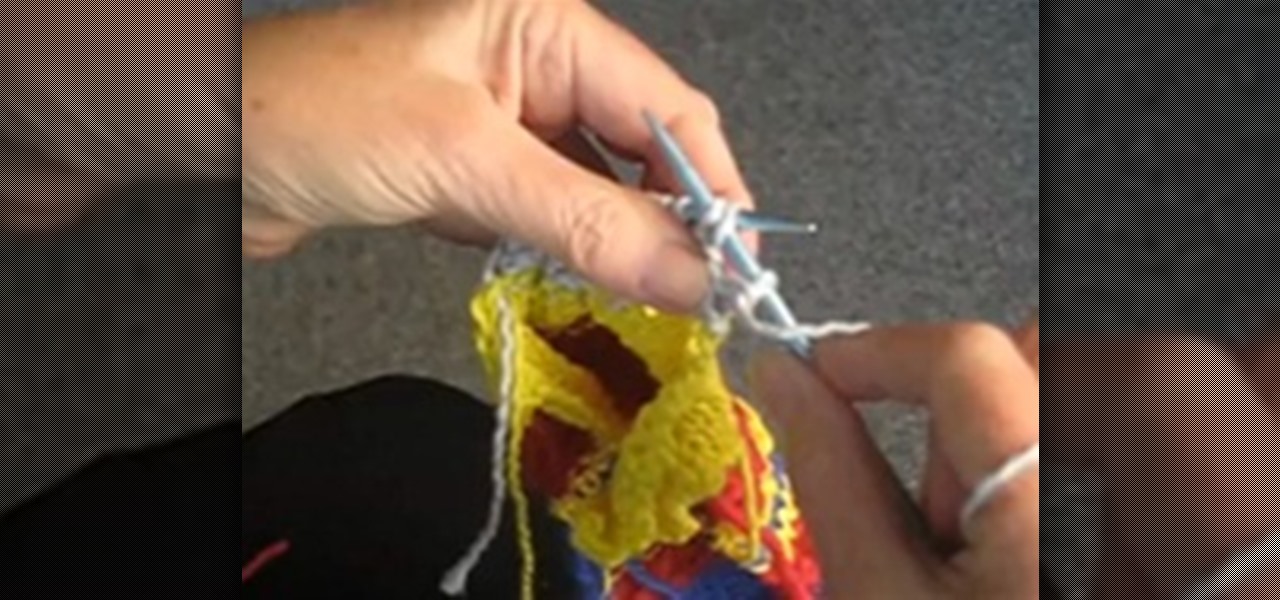
Usually you decrease on Knit rows, but there will be times when your patterns tells you to decrease on a Purl row. It's easy to do and here's how.

There will be times when you will want to knit an edging onto your work. Here's how to do it. It's best to use a smaller needle for edging than the one you used for the project. Go into every stitch on the edge with your needle.
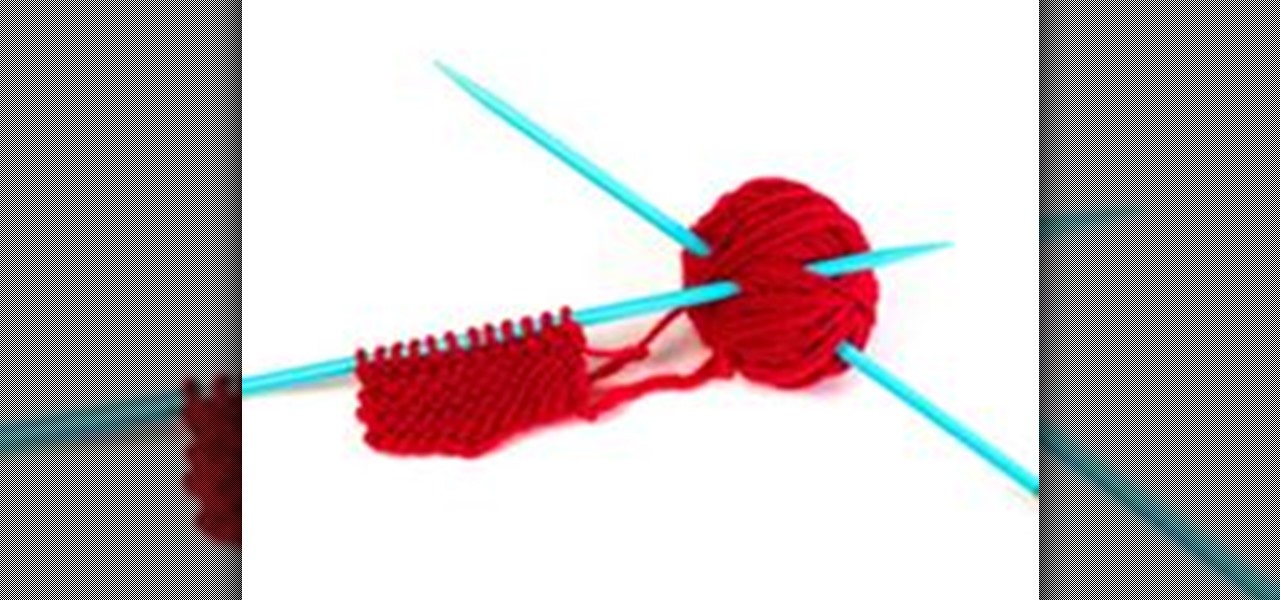
Sometimes your instructions will include having to CAST ON AT THE BEGINNING OF A ROW. It's not difficult and here's how to do it.

When you make an actual garment you will have to know how to decrease and increase stitches. For this article we'll deal with just the increase.

Rosanne shows us in this tutorial editing stitches using Points Edit Mode in design software Embird. Rosanne shows you how to connect each letter for a logical design. Move stitches using Point Edit Mode in Embird.

Learn the knit stitch, twisted knit stitch, purl stitch, and basic removal method on a knitting loom. A will need a knitting loom, wool yarn, and a knitting tool. Perform basic loom knitting stitches.

Learn these embroidery stitches and you can outline and fill. Just like coloring as a kid.. but with thread.

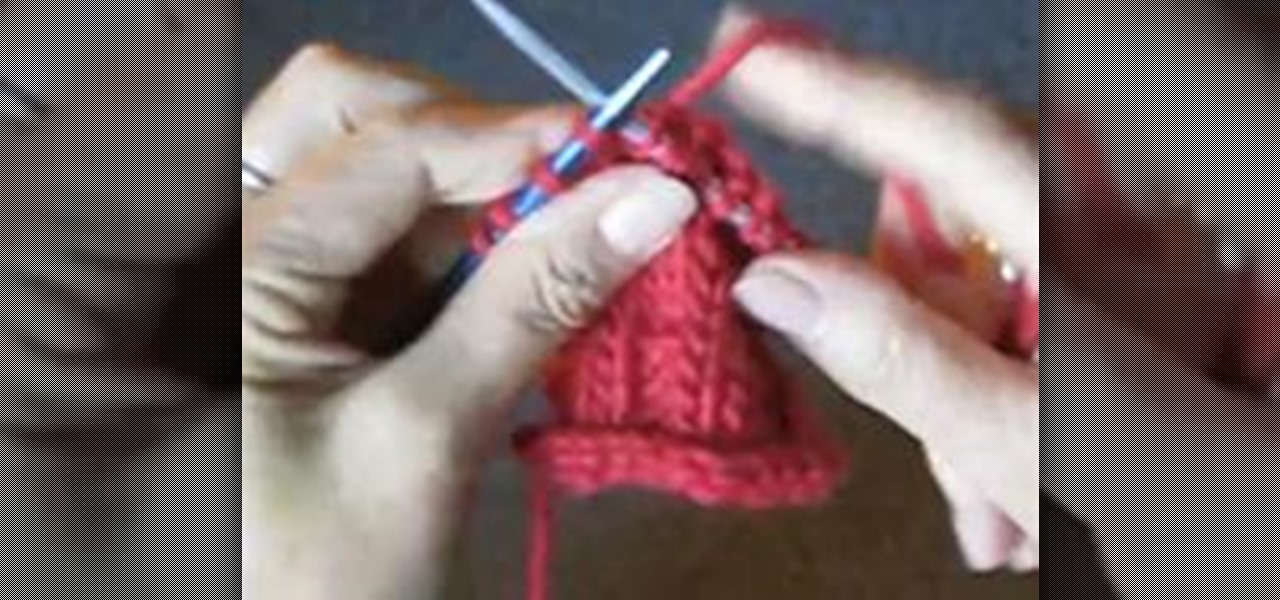
This video demonstrates how to pick up stitches, also called picking up stitches and knitting. This method allows you to pick up stitches and continue knitting on a project without sewing a seam. Pick up stitches.

For design embroidery software Embird. Want to know how to remove pesky underlying stitches using the Mask Tool? Rosanne demonstrates in this tutorial using the pull tool, as well. Remove underlying stitches in Embird.

Using Embird embroidery software, Rosanne shows us how to use the Basting Stitches control properly, for a perfect design. Rosanne will also show you the bast in a hoop technique for more security. Insert basting stitches in Embird.
Getting started on the loom? START HERE for your first cast on and stitch technique. First Loom Stitch: E wrap or Single Stitch

Most of the time you will increase on Knit stitches. You can see my article on that here. However, there will be times when you will need to know how to increase on a Purl stitch. Here's how:

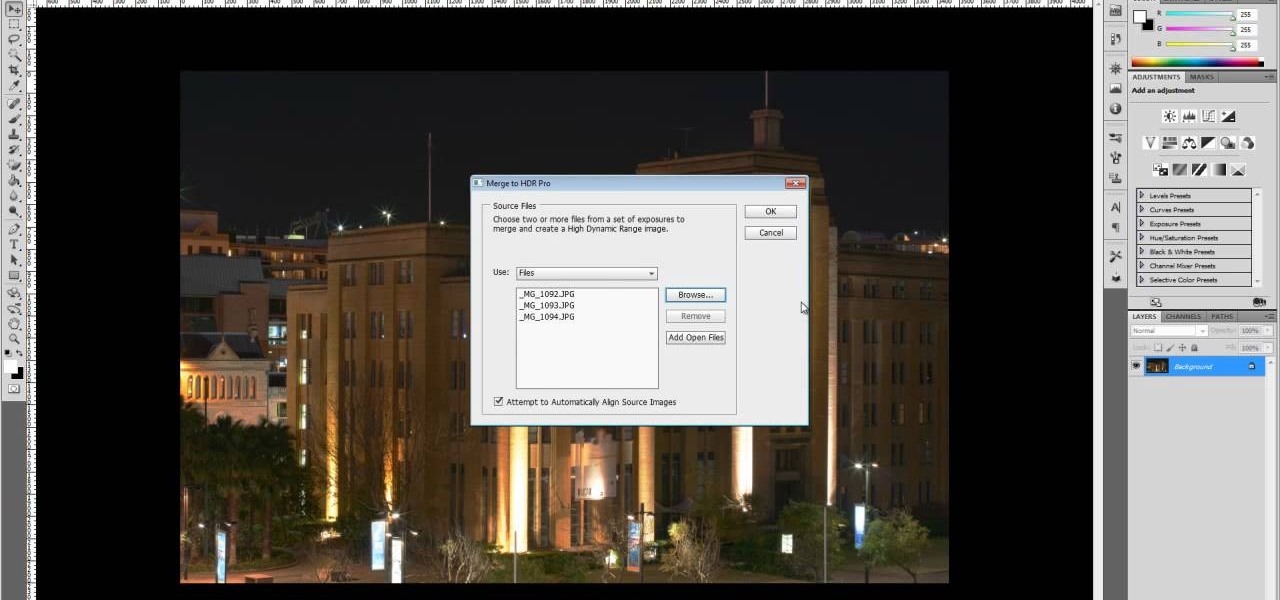
Panoramic photographs are deliciously delightful to the eyes, but an HDR version of that same picture will make people go nuts! If you know anything about HDRI (high dynamic range imaging), then this will be a breeze. Watch and learn.

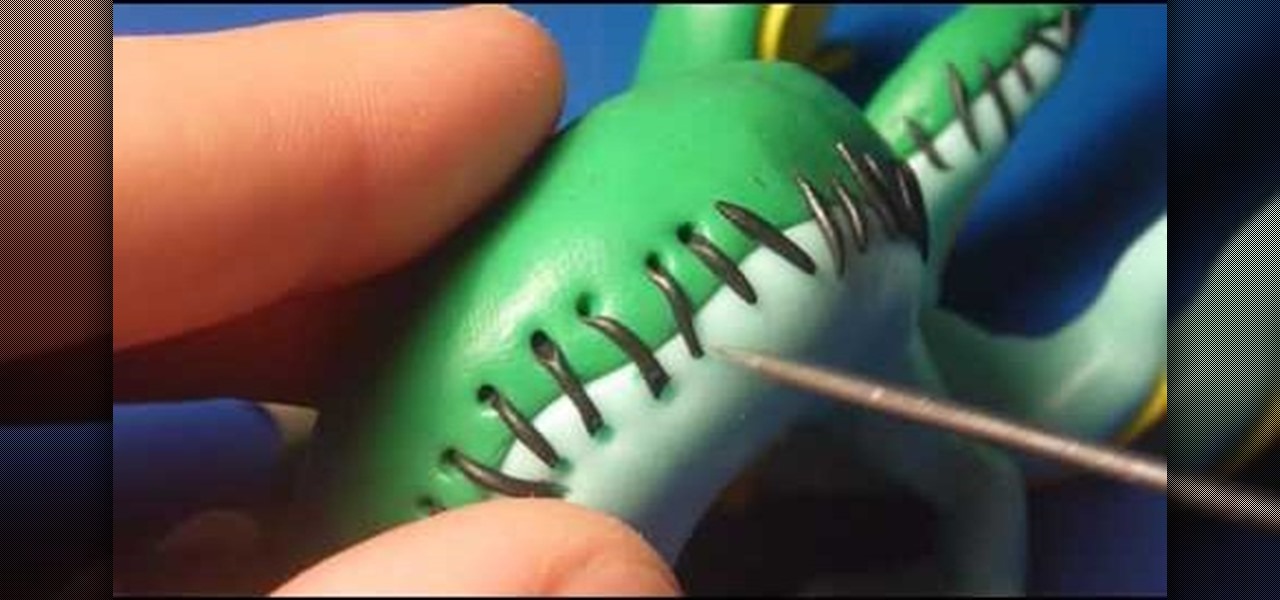
If you would like to create the look of stitches or sutures on your clay sculptures, you will need the following: clay, a toothpick or sharp implement, and a cutting tool.

Elizabeth Zimmermann demonstrates knitting on circular needles. She also gives us tips on how to deal with twisted stitches.

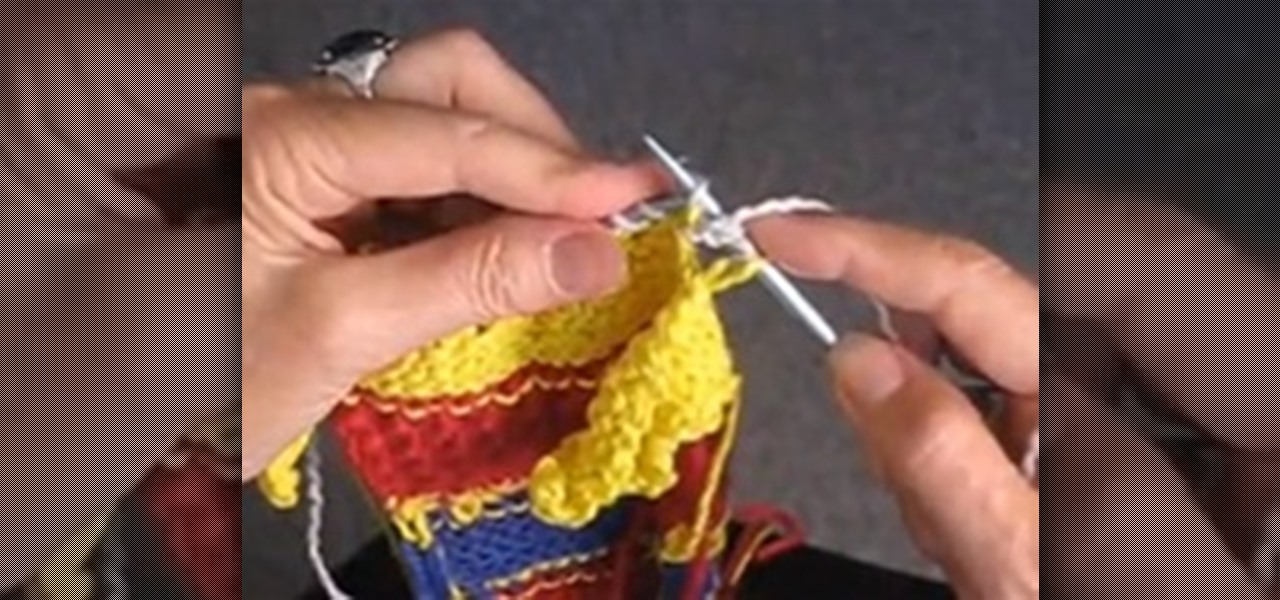
Stay tuned for this knitting instructional video on the gusset stitch. When you knit the heel flap, you slipped a stitch at the beginning of each row. This made a very nice chain through which you can pick up the gusset stitches. You can either pick up stitches through the whole chain stitch, or through the back loop of the chain stitch. Picking up stitches through the whole chain stitch creates a rather definite seam on the inside which could be uncomfortable to wear. I prefer to pick up the...

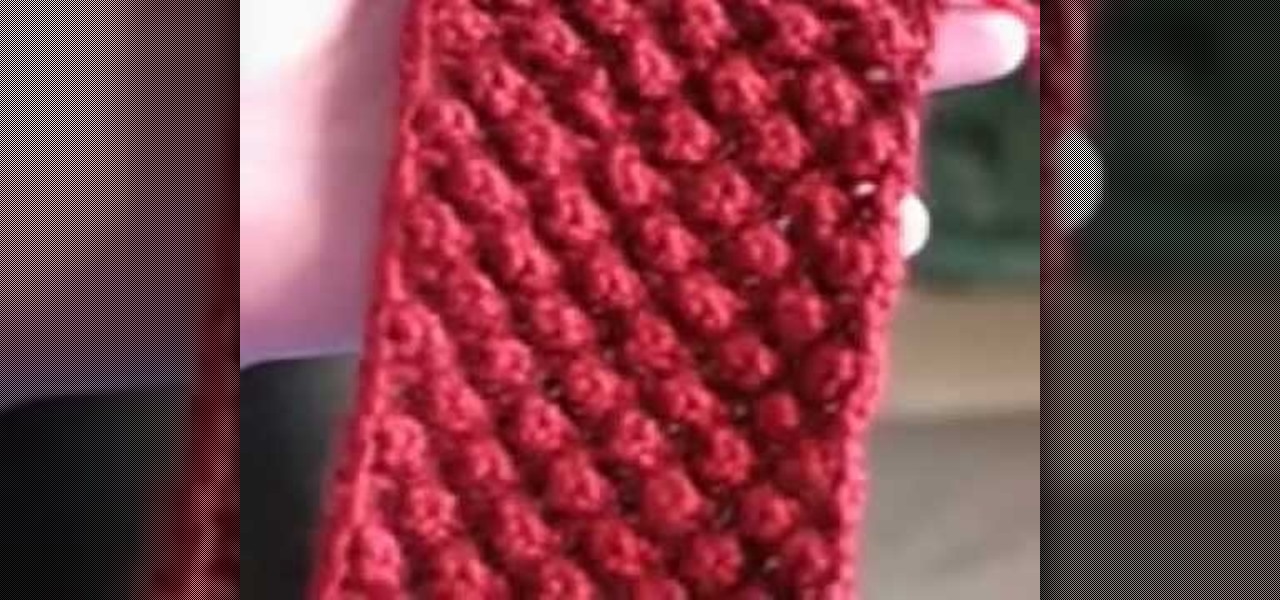
The video demonstrates how to do the two stitches used to make the raspberry stitch, which are purl 3 stitches together, and knit 1 purl 1 knit 1 in the same stitch.

This video knitting tutorial shows how to attach an I-Cord onto another knitted piece. Start by picking up stitches along the edge to which the I-cord is to be attached. Break the yarn, and cast 3 stitches onto a double-point needle. Slip these stitches onto the front end of the needle that is holding the edge stitches, such that the working yarn is 3 stitches in, next to the first edge stitch. Begin by knitting 2 stitches, pulling the working yarn across the back, as for regular I-cord. The ...

Iknitwithcatfur teaches us how to knit perfect puffed ribs. Cast on a multiple of 3 stitches plus 2 stitches. This means that any number of stitches that you want to cast on for you project must be divisible by 3 plus 2 extra stitches to create the selvage. Purl the first 2 stitches of row 1 then begin the repeating pattern of yarn over, knit 1 stitch, yarn over, purl 2 stitches. Repeat this pattern until the end of the row. This will be the right side of your knitting. In knitting abbreviati...

Stay tuned for this knitting instructional video on inserting a heel for a knitted sock. This is a very large scale knitted sock. It's going to be a felted Christmas stocking. The knitting is finished except for inserting the heel. The knitting technique demonstrated is exactly the same for a more normal, human-size knitted sock. It's also the same technique used to insert a pocket in a sweater.

Learn how to increase your knitting speed with Miriam Tegels, the World's Fastest Knitter. She can stitch 118 stitches in one minute; a record that appears in the Guinness Book of World Records. Miriam Tegel's knitting secret is keeping all movements to a minimum. Use size 8 knitting needles and DK weight yarn for optimal performance. After casting on sixty stitches, see how many stitches you can knit in three minutes. Good luck!

In this tutorial, we learn how to knit a daisy stitch. First, you will knit all the stitches for one row. On the next row, you will purl three together making yarn over, then purling the same three stitches together again. Having looser stitches in the first row will help with the ease of knitting the second and third row. Continue to do this process until you are finished. Knowledge on how to do these stitches is extremely important. If you don't know how to knit before this, you won't know ...

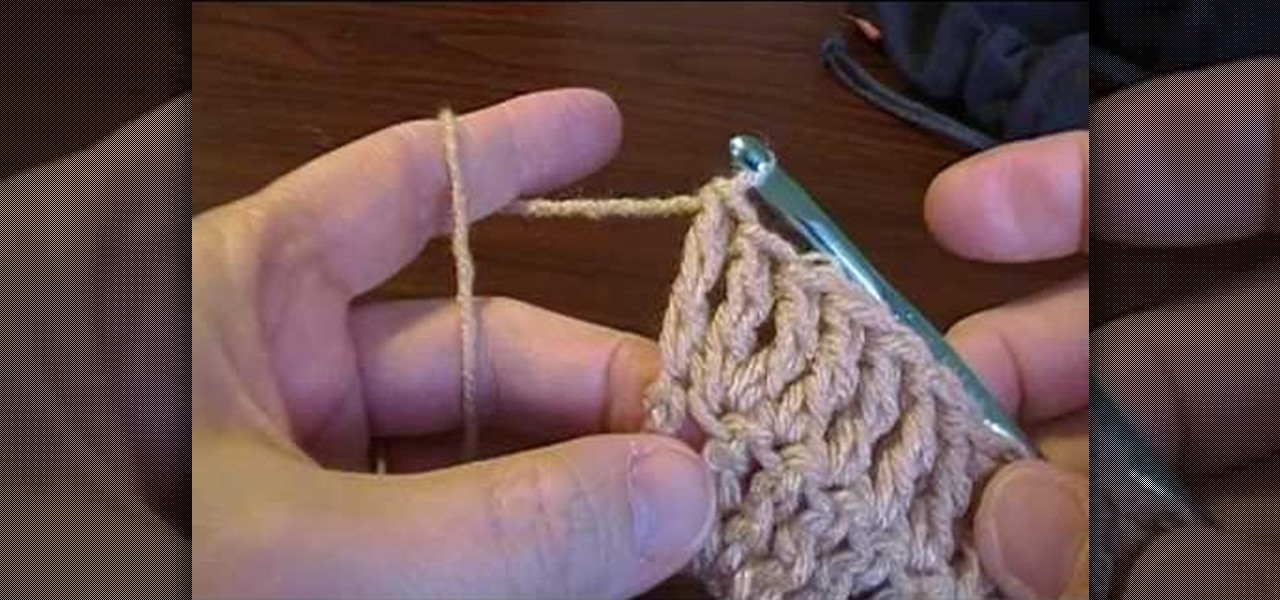
In this video, we learn how to increase and decrease treble or triple crochet. First, make a chain of ten, then do a few yarn overs. Treble into the next stitch by placing the yarn over your hook twice and drawing out the loop. Draw through two three times, then your treble will be completed. Triple crochet is another name for treble, in case you are already familiar with that term. These stitches will take longer because you have to do more stitches to make the chains complete. To increase, ...

Have you ever wanted to knit with double pointed needles? Don't be intimidated by them anymore! Follow along in this great how to video, and you'll be on your way in no time! Learn how to knit with double pointed needles: We are starting with forty stitches. Be sure that stitches are divided as evenly as possible. Transfer ten stitches onto to another needle. (Slide the stitches down the needle so they don't fall off). Using another needle, slide another ten stitches to it. Repeat this until ...

Watch this video demonstration of the knitting technique short row shaping. In traditional knitting shoulder shaping, stitches are bound off across the top edge of the shoulder on sequential rows, creating a stair-step line. It can be difficult to make a neat job of seaming this shoulder line. Short-row shaping provides the same slope, but creates an even line across the top edge to facilitate a neater finish.

Stay tuned for this knitting demonstration video. This three needle bind off technique produces a very neat, flexible shoulder seam – and, no sewing is required. Begin by moving the shoulder stitches from their stitch holders to appropriately sized needles.

This video knitting tutorial demonstrates making a 3-stitch I-cord, so cast on 3 stitches. Use 2 double-pointed needles to make an I-cord. After casting on, instead of turning the work, slide it down such that the first stitch you will knit is at the opposite end of the stitches from the working yarn. Pull the working yarn across the back and knit three stitches. Now slide the work again, give the cord end a tug, pull the yarn across the back and knit three stitches. You need to add some tens...

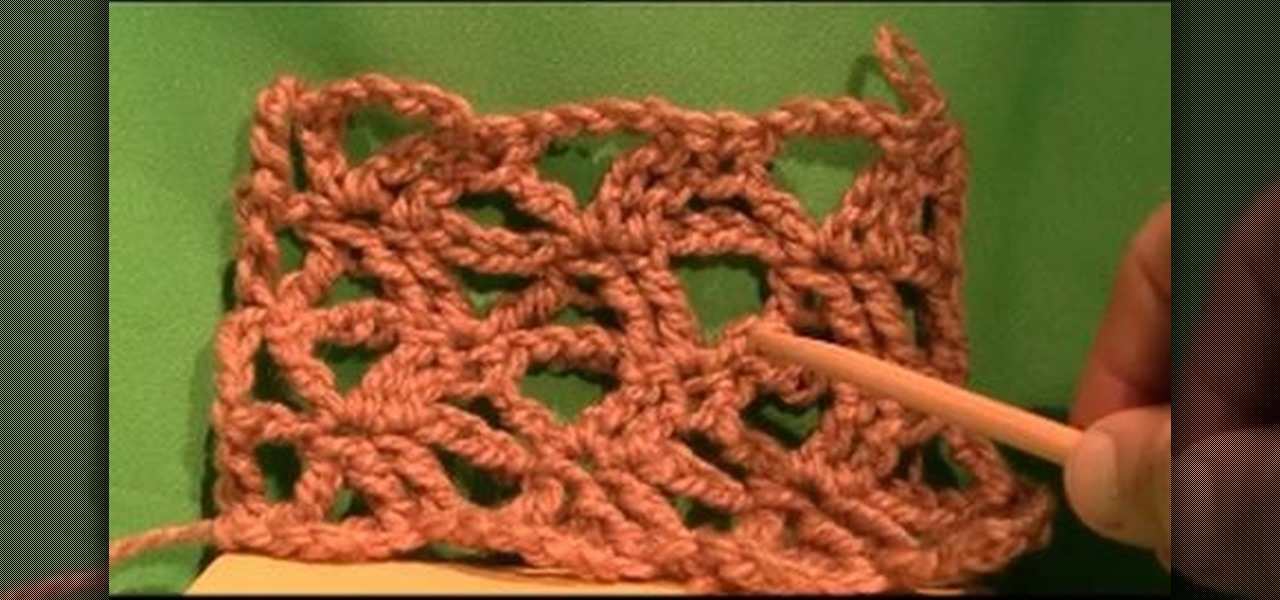
The left handed version of the double lattice stitch looks exactly like it sounds--lattice stitching sets up a feminine, lacy motif with lots of space between stitches.

Ever wonder how to estimate the length of tail when knitting? Watch this knitting demonstration video and soon you will be a pro at estimating the length of tail.

Watch this knitting instructional video to learn how to do the knitting cable cast on. Start by making a slip knot with a 6" tail and place it on the left-hand needle with the working yarn coming from the back.

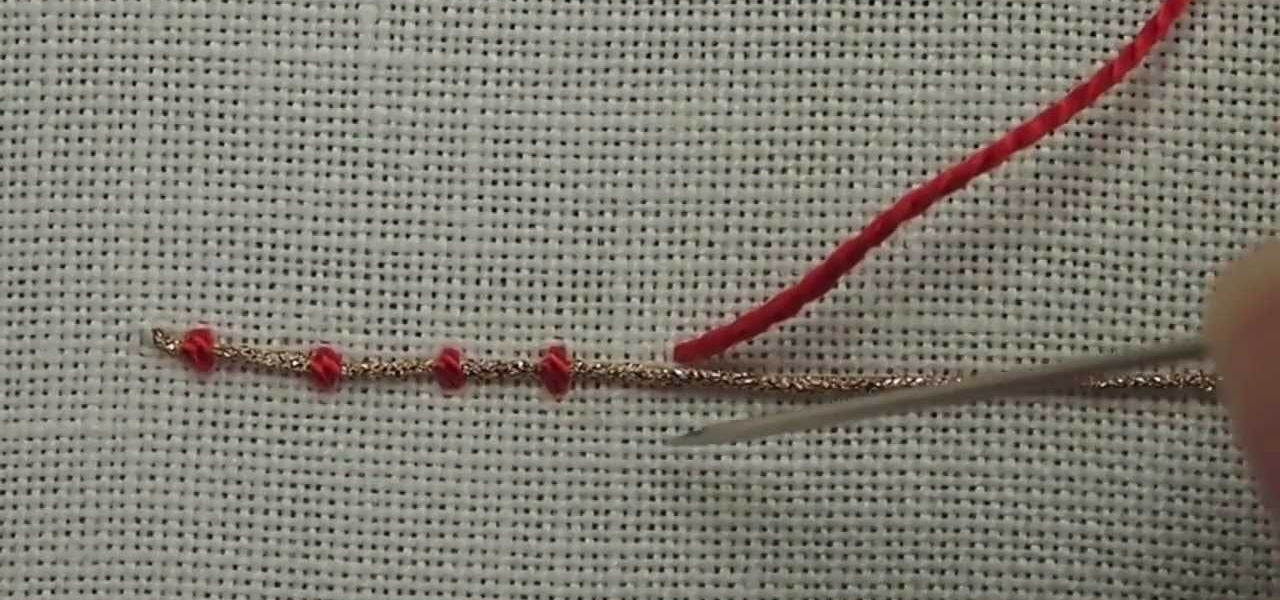
Couching is another easy embroidery stitch in hand embroidery, and a great way to create decorative line stitches that scroll and twirl about. It's also widely used for filling areas, and historically was used to great effect during the Middle Ages and Renaissance in a technique called Or Nue. Here's a video from Needle 'n Thread that demonstrates couching a single thread for an outline.

Here's another video tutorial from Needle 'n Thread for hand embroidery stitches - this one is for the Palestrina stitch. Palestrina stitch is used for outlining or filling and is common in both Jacobean designs as well as in Mountmellick embroidery, the latter because it gives a highly textured line or fill area.

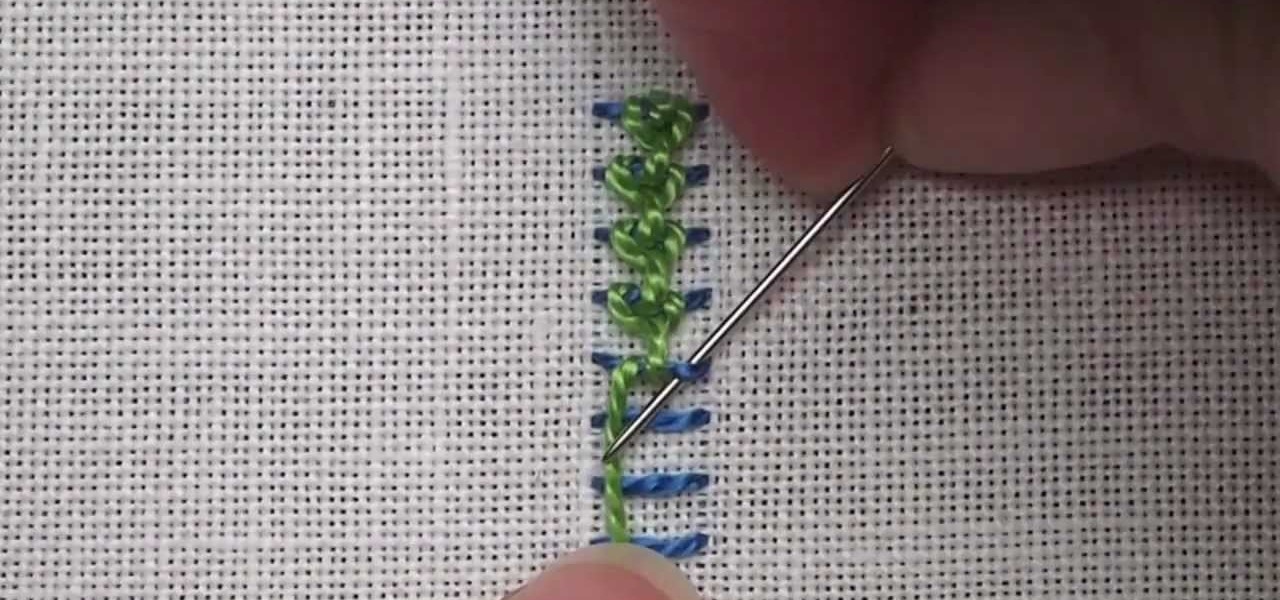
This is a composite stitch. There are two embroidery stitches here put together to make the raised chain: the simple straight stitch which forms the bars on which you stitch the chain stitch. Watch this video from Needle 'n Thread to see how it's done.

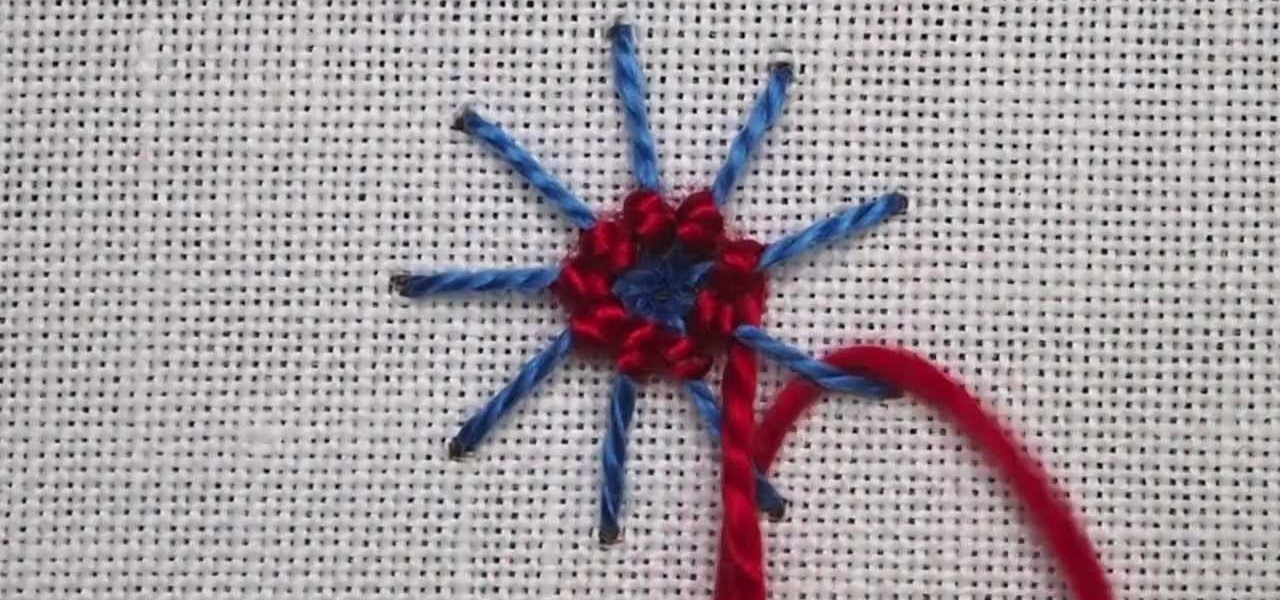
The spider web stitch and the ribbed spider web stitch are both "woven" embroidery stitches, either used as isolated accents or used in clusters. They aren't a line stitch or a filling stitch, and they aren't really a "small" detached stitch that can speckle a background lightly, either. Watch this video from Needle 'n Thread to see how it's done.

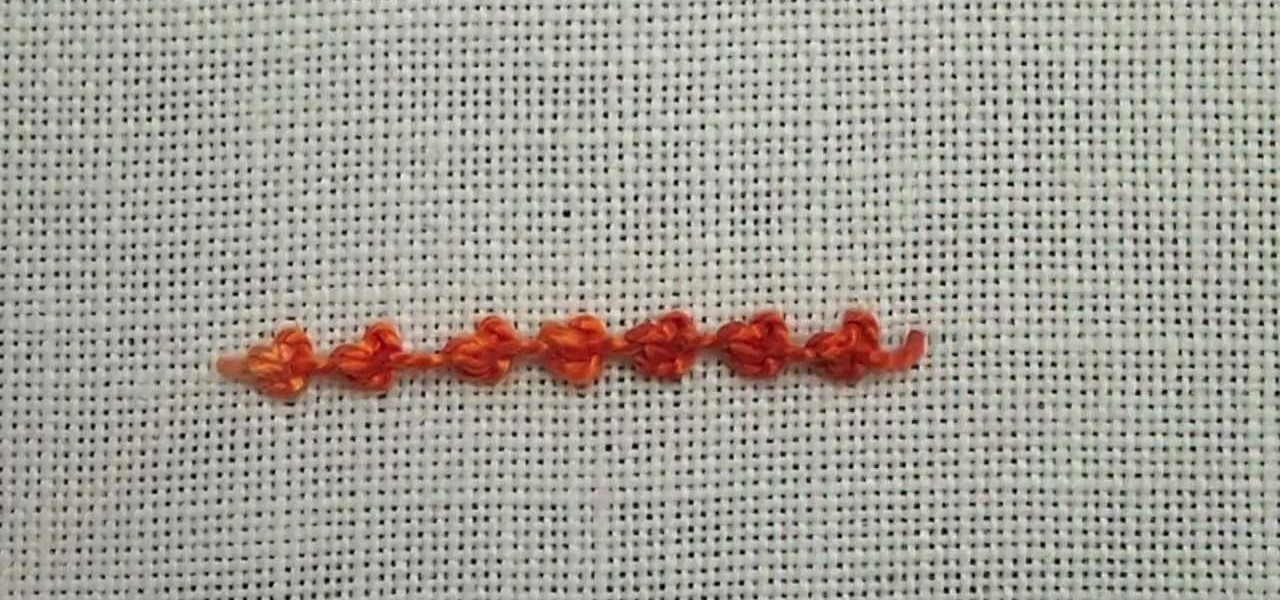
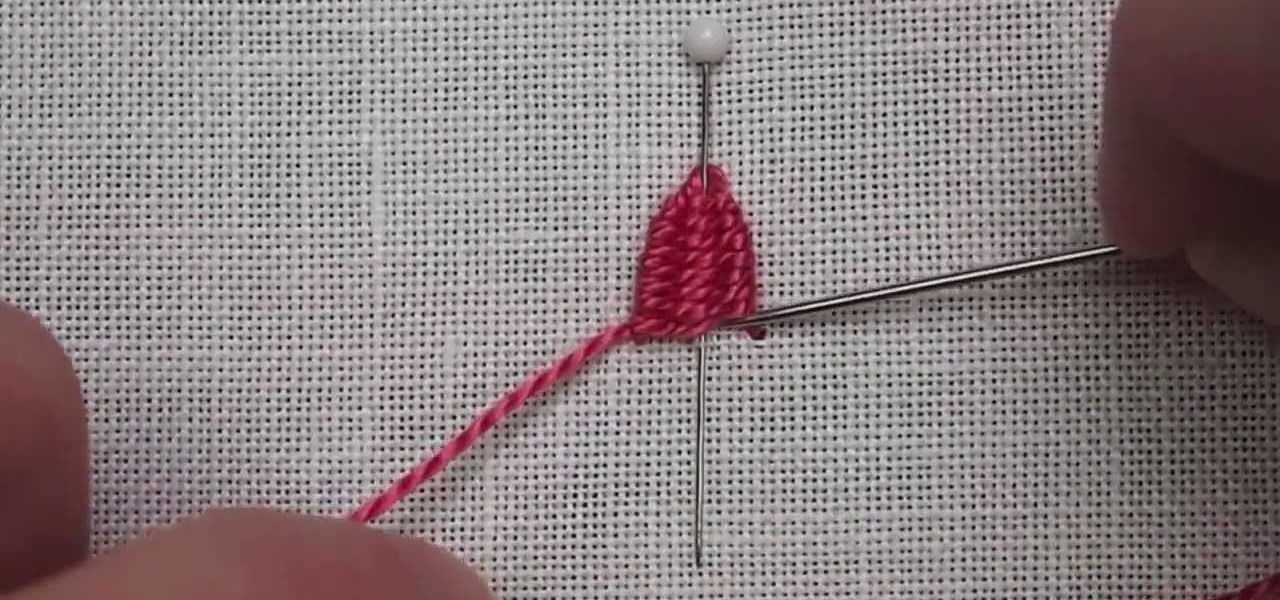
There are many dimensional embroidery stitches , but one of the most fun is the woven picot. You can do a lot with it! It's an easy embroidery stitch - it looks more advanced than it actually is! It's a great stitch for adding texture to your embroidery project, and it doesn't necessarily have to be free standing. See how it's done in this video from Needle 'n Thread.

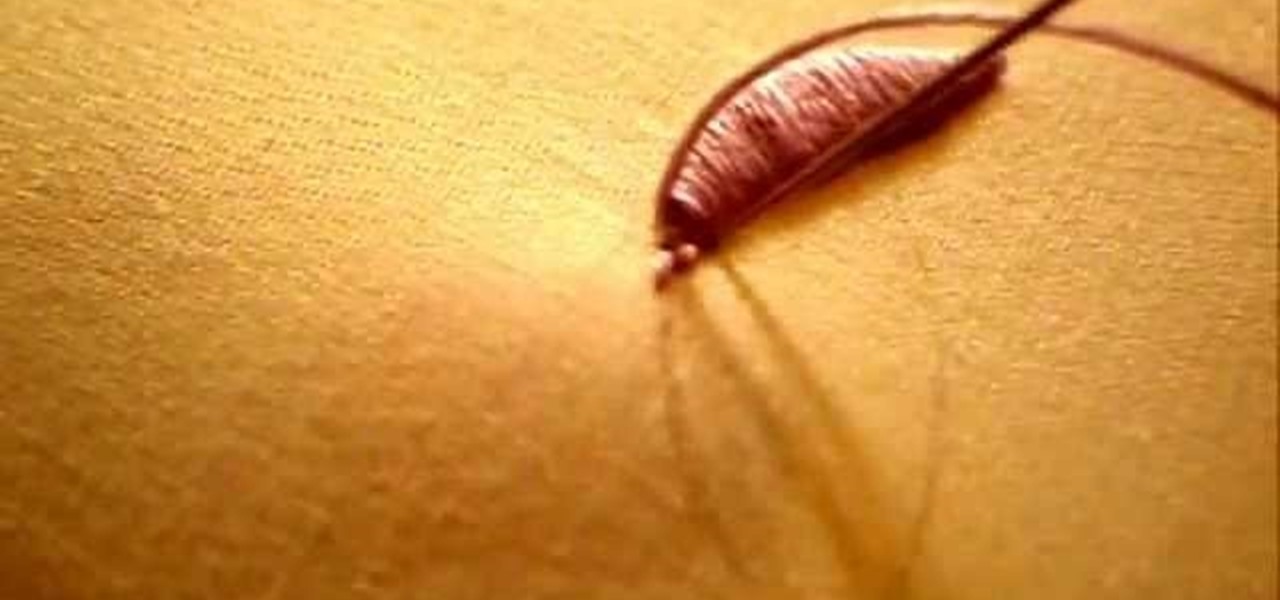
Of all the hand embroidery stitches that exist, one of the most beautiful, when done well, is the satin stitch. It does take a little practice to get the hang of satin stitching, and it is true that it is not a very "forgiving" stitch. Watch the video from Needle 'n Thread to see how it's done.

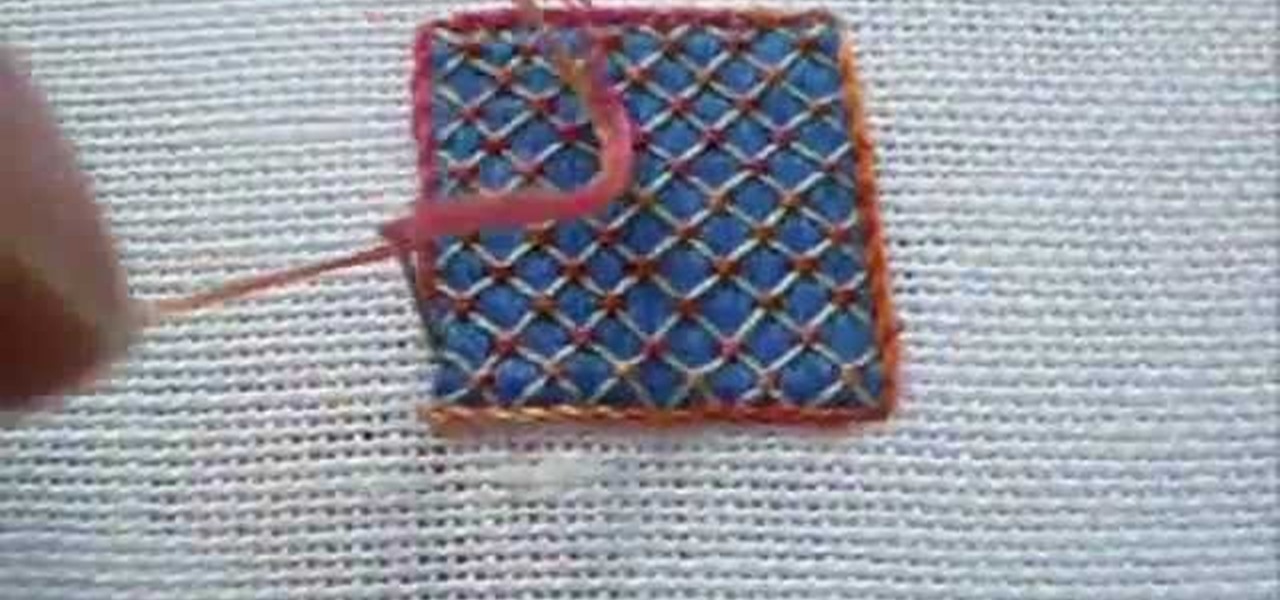
Lattice work is used as filling or for backgrounds. Worked on a plain ground (with only the fabric behind the lattice stitches) it can be easily managed by beginners. Adding a colored background (for example, a background worked in satin stitch) kicks the stitch up a notch to intermediate level. Here's a video tutorial from Needle 'n Thread on working lattice stitch over a satin stitch ground.


