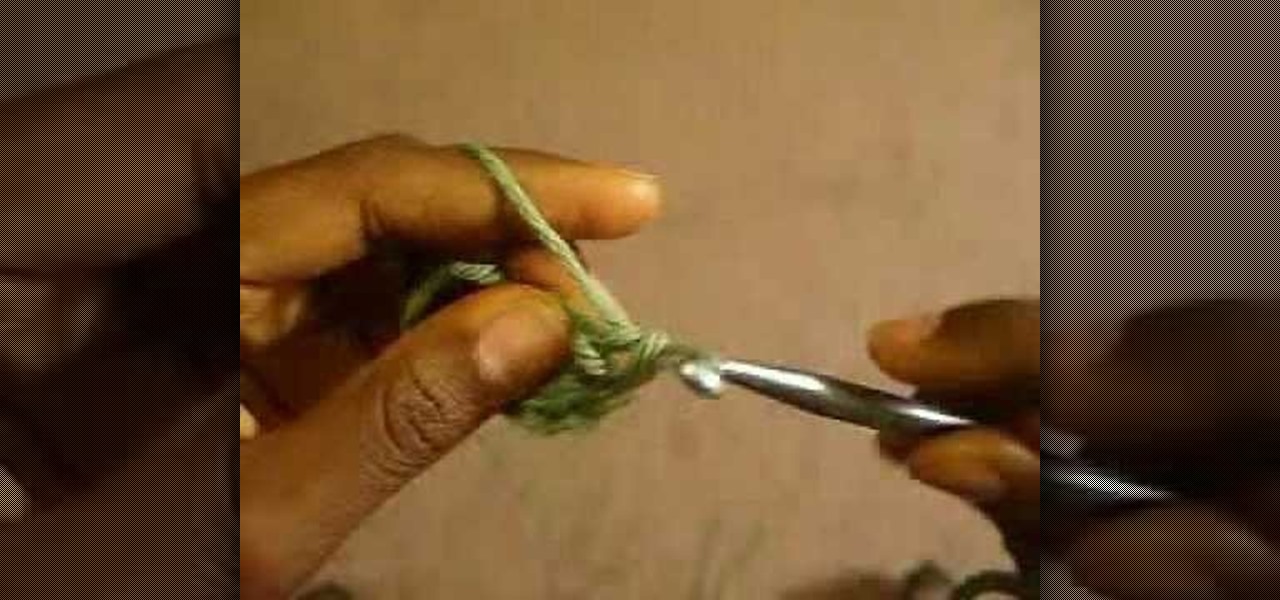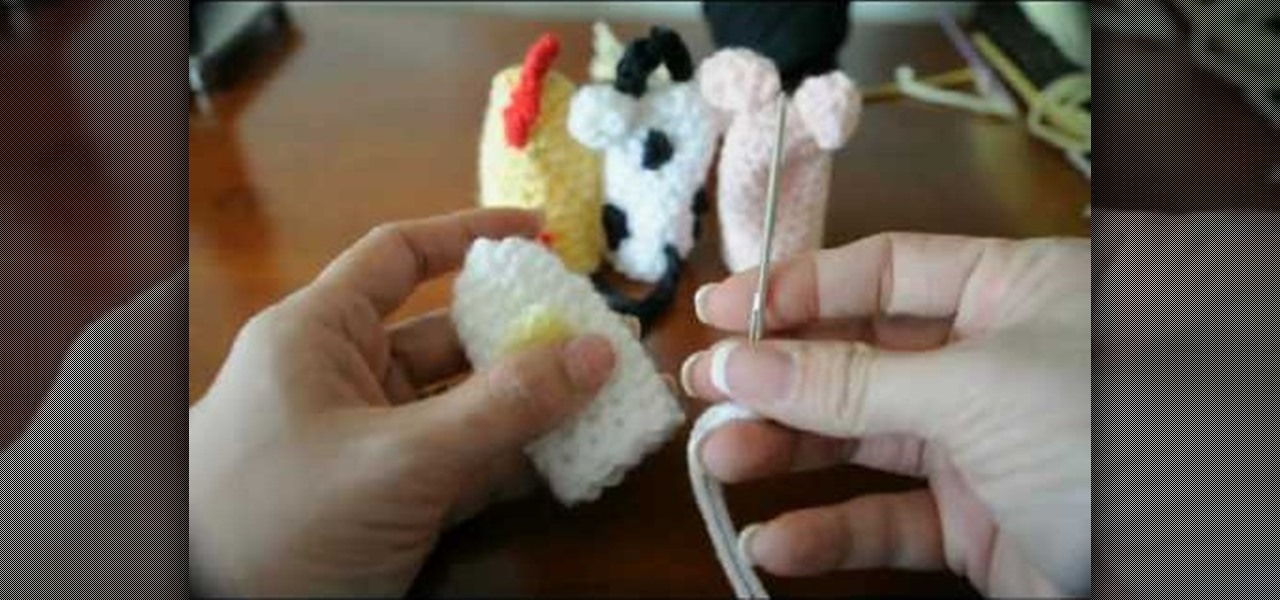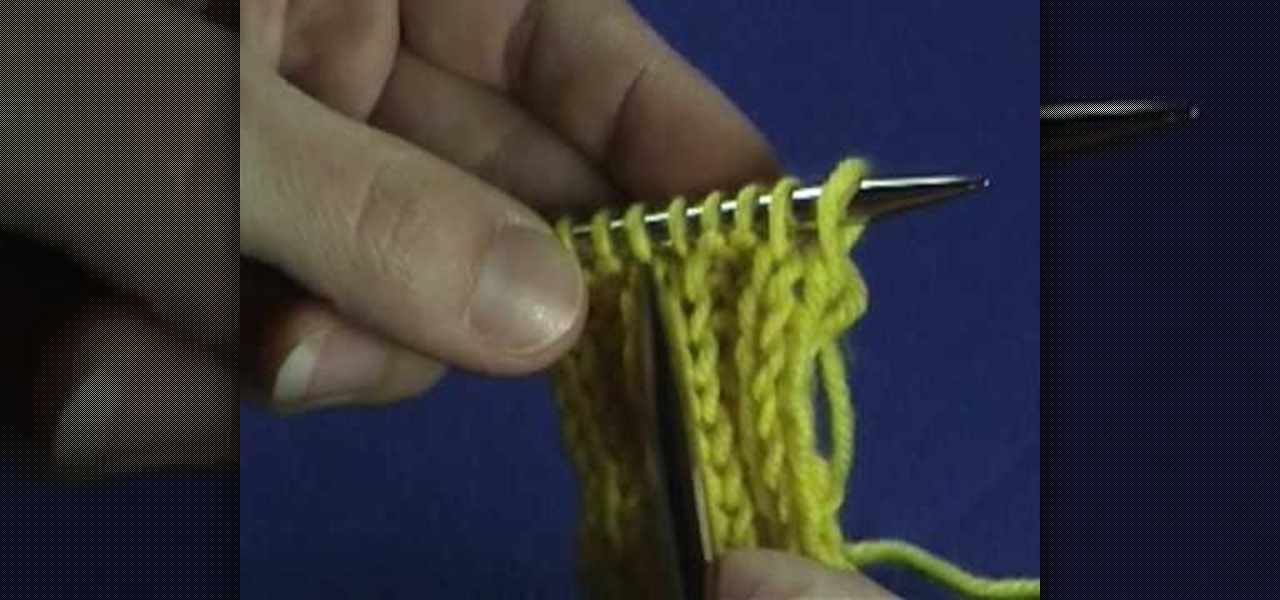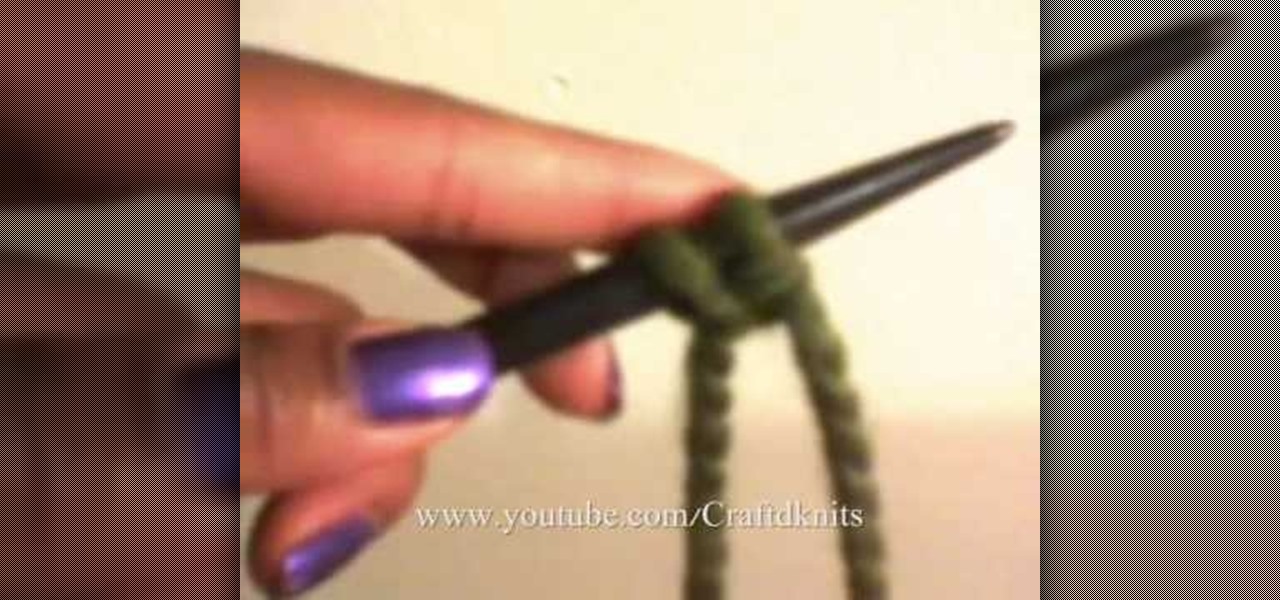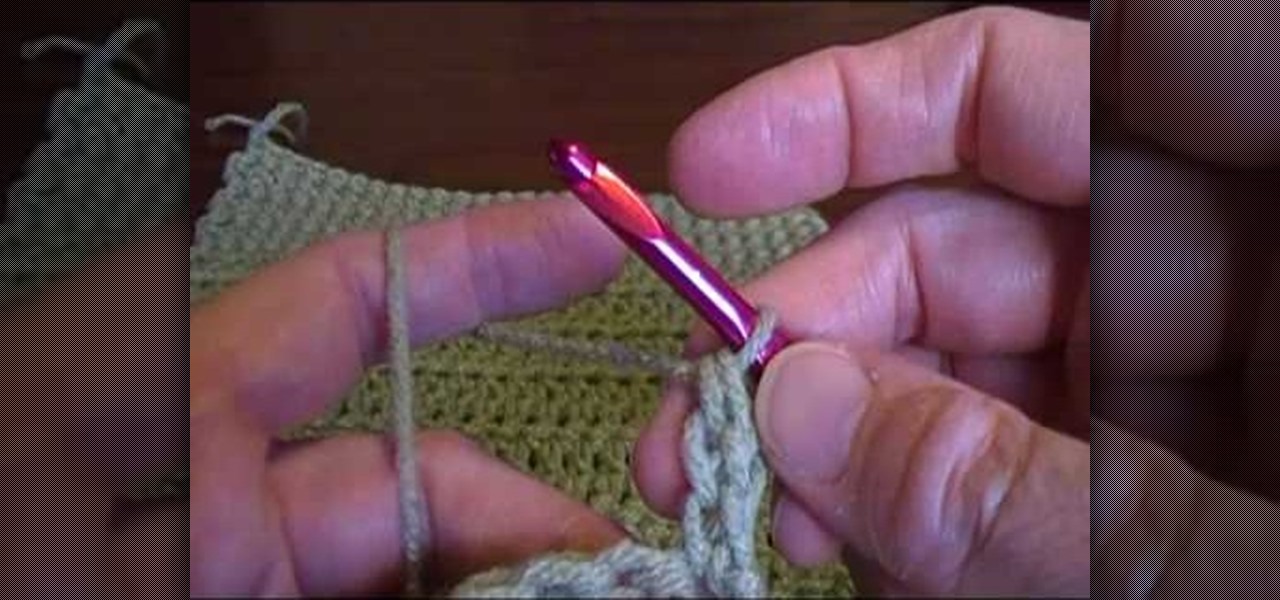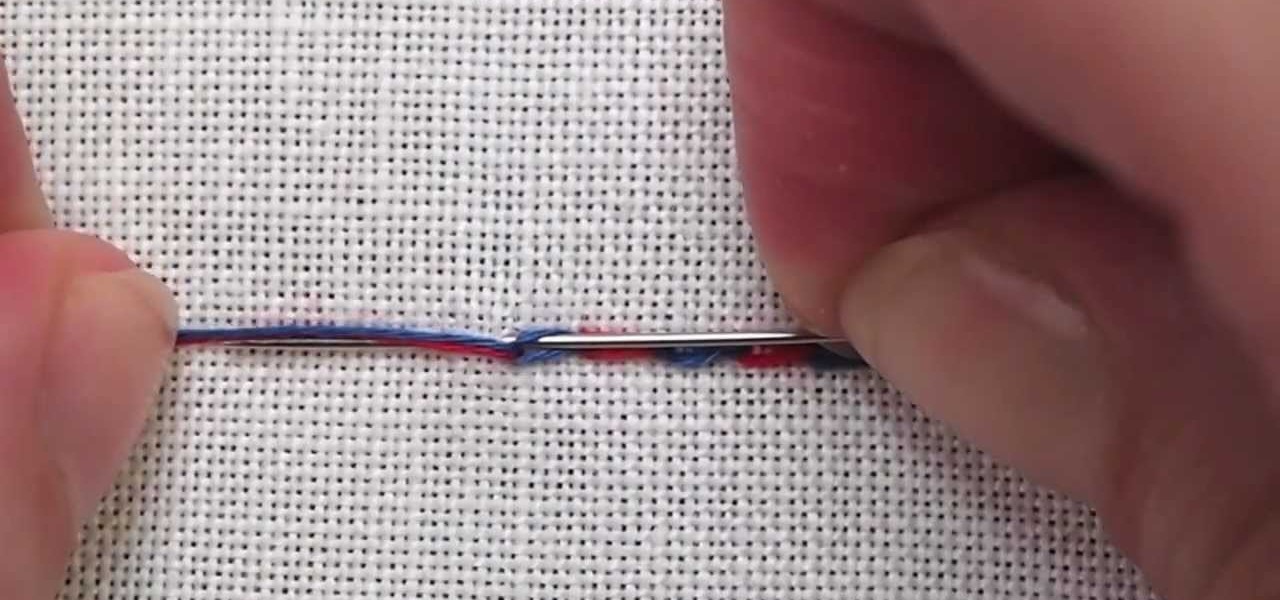
The chain stitch is perhaps one of the most common stitches in hand embroidery. By itself, it's pretty versatile. Add all the variations, and you can do just about anything with the chain stitch! Here's the alternating or checkered chain stitch. Watch this video from Needle 'n Thread to see how it's done.
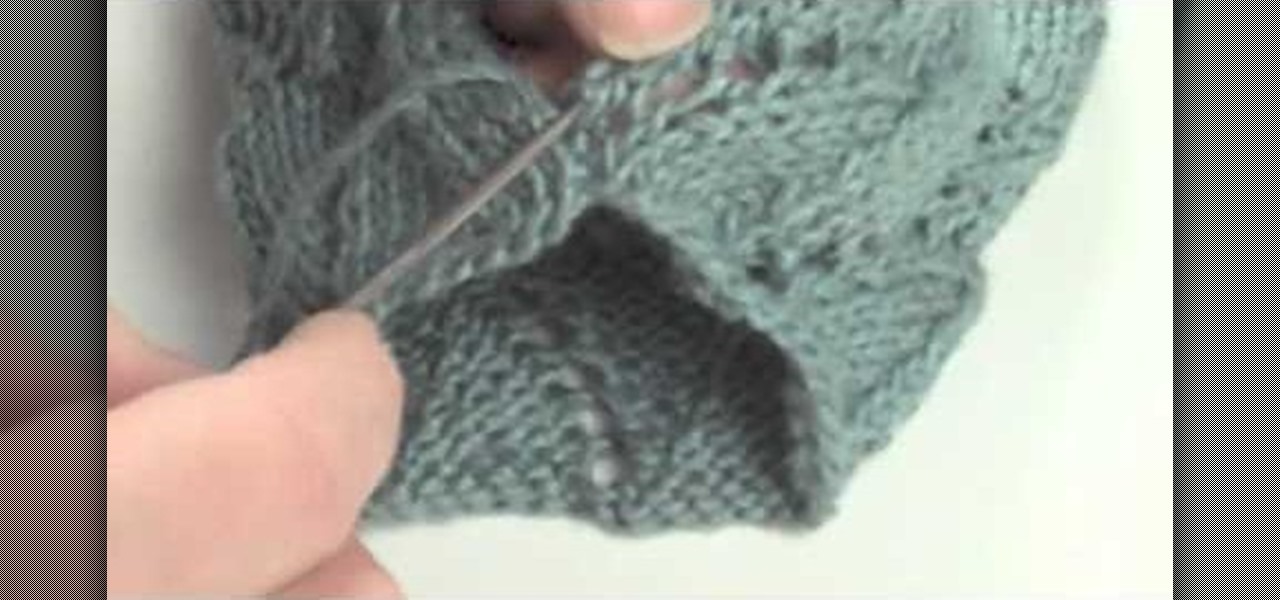
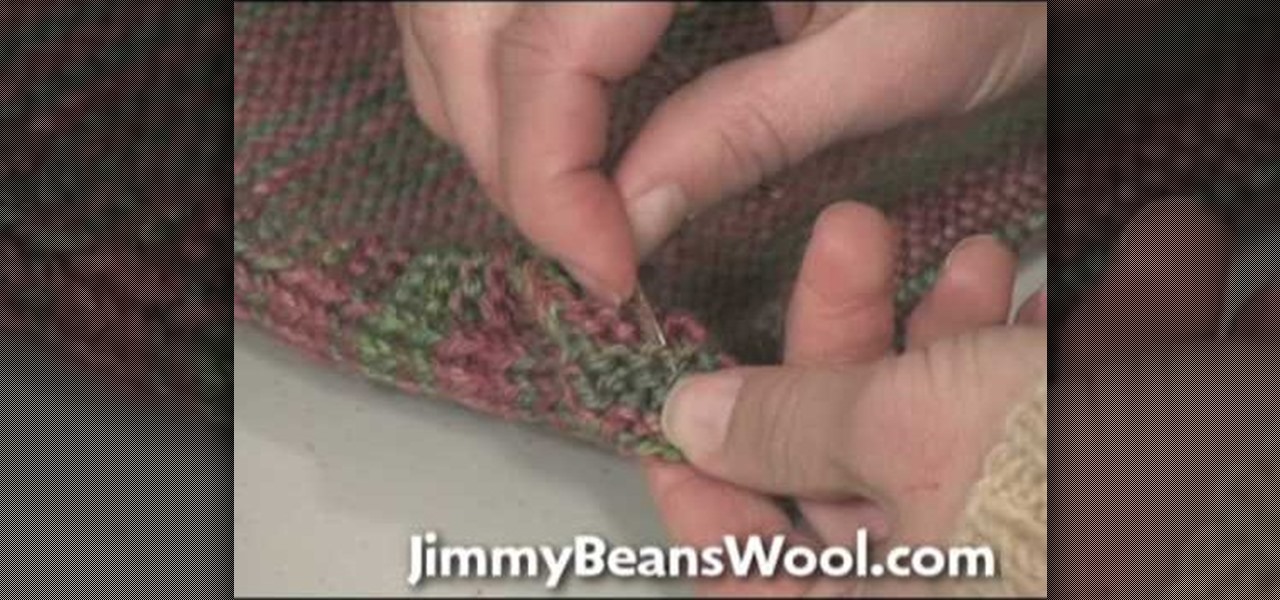
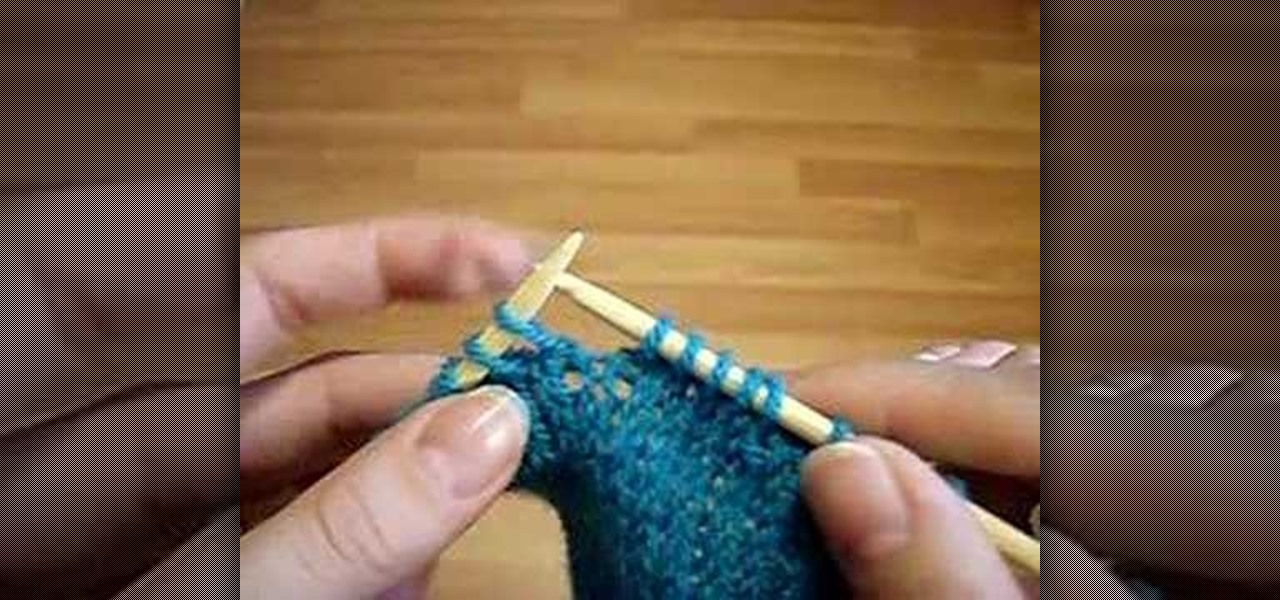
In this tutorial, we learn how to do the mattress stitch. First, lay the pieces flat and thread yarn tail onto the needle. Next, you will anchor the yarn to the bottom edge of the opposite piece. Then, go back through the side and find the tunnel of horizontal bars, one stitch in from the edge. Continue to do this around the stitches to combine them together. Keep alternating sides and just do one bar at a time to get the best results. You can do two bars at a time if you are comfortable with...
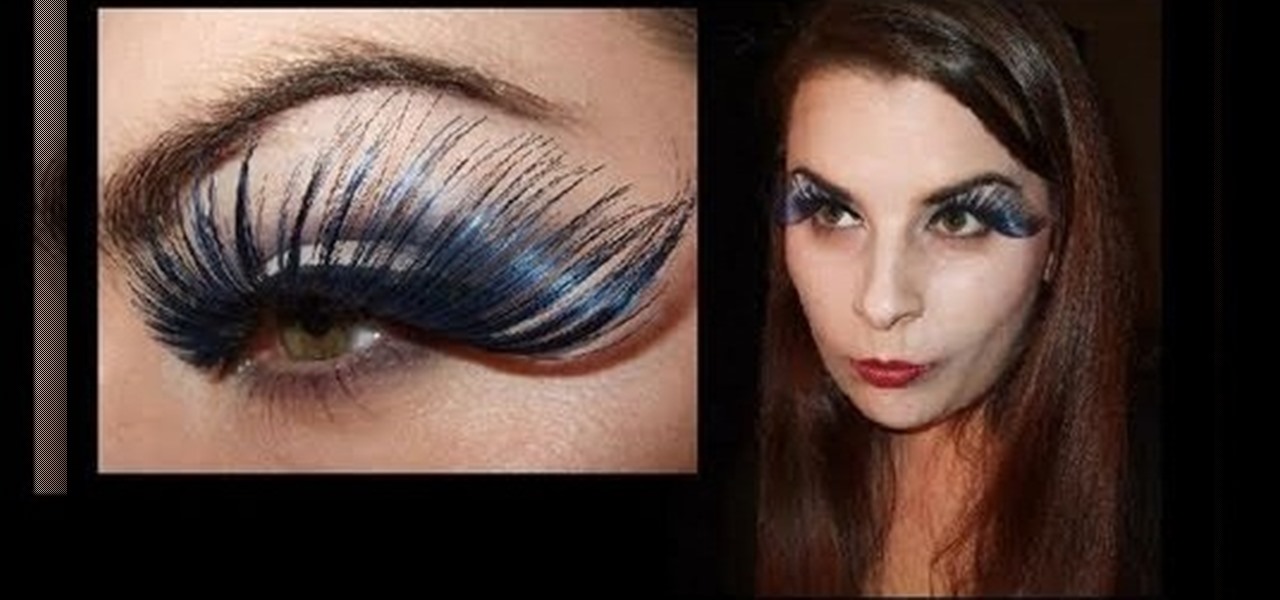
Dolls give us the heebie jeebies. Like gnomes, they have this lifelike look to them and to their eyes that's almost TOO lifelike, like the kind where they'll come alive at night and slash your throat (okay, maybe that's just us).
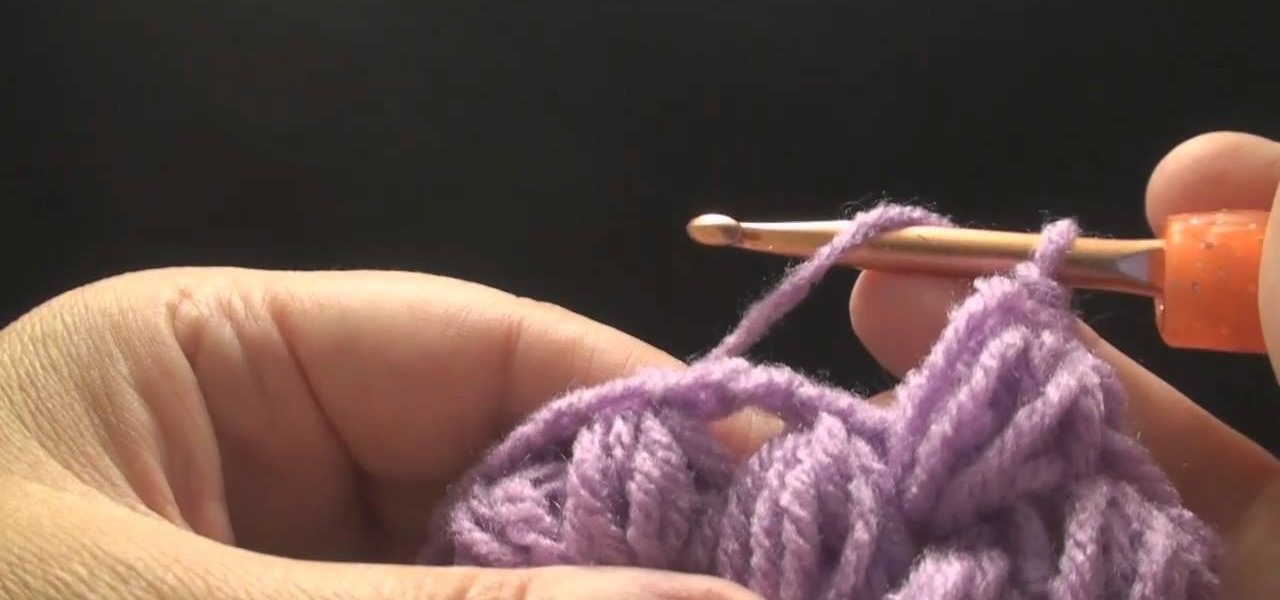
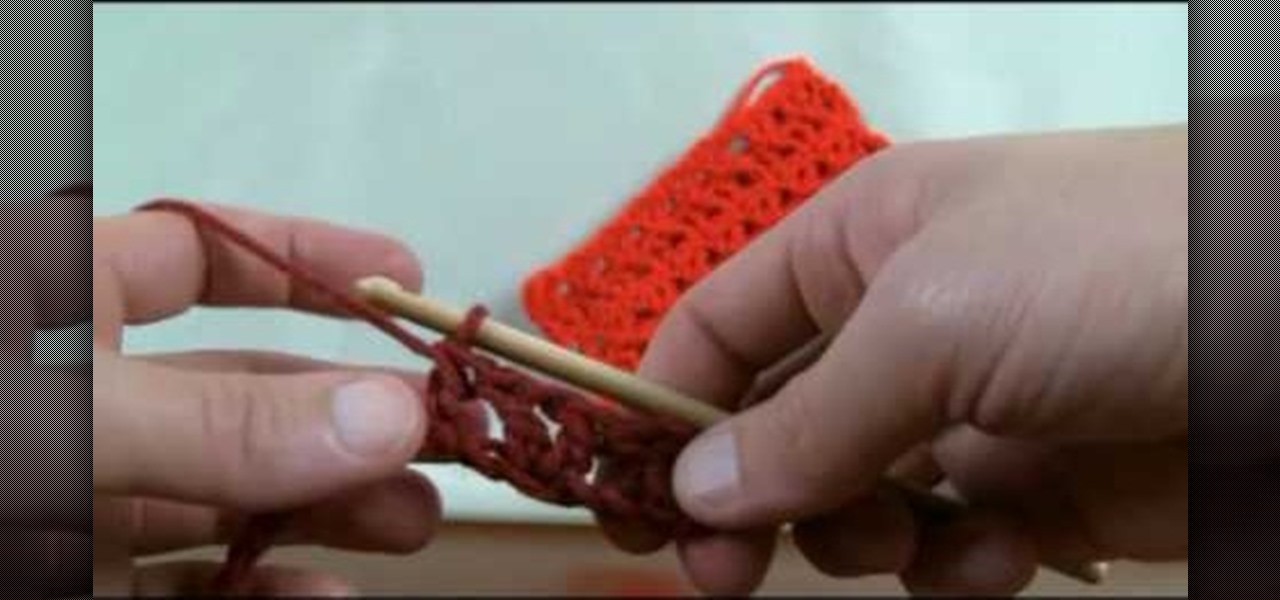
Puff stitches are soft and pretty crochet puffs of yarn, which you can add as an embellishment to scarves, mittens, hats or anything else you want to add a bit of puff to. This tutorial shows you how to do the decrease, or finish off your puff stitch.
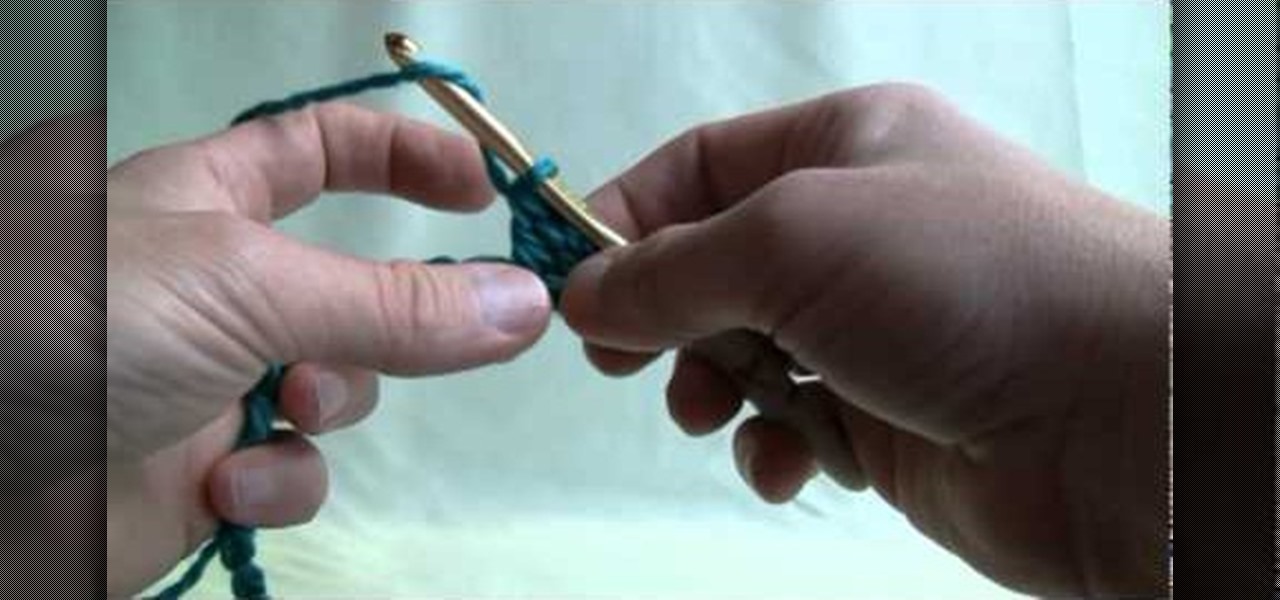
For people who are completely new to crochet, this tutorial series shows you everything you need to know to get started. From going over the basics of yarns and needle sizes, and then showing you how to execute a few basic stitches, this will get you started on your first project in no time.
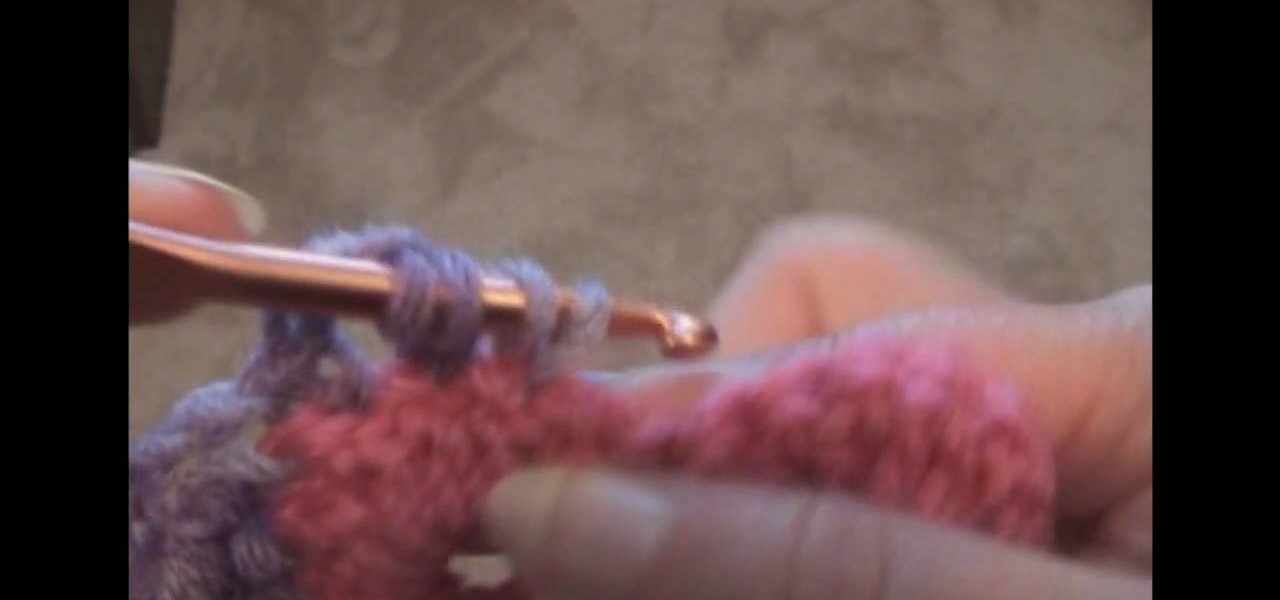
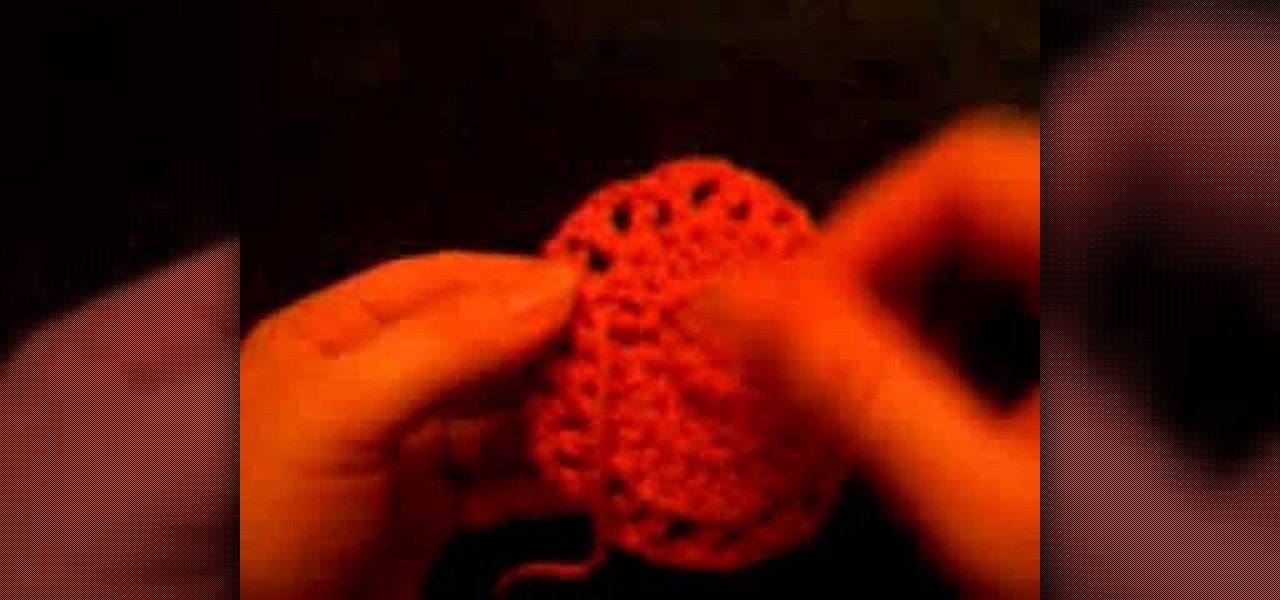
In this tutorial, we learn how to crochet a round shell Catherine's Wheel left-handed. For the first round you will start by doing four single crochets after the slip stitch. After this, do seven double crochets, then a single crochet followed by seven more double crochets. Make two more chain stitches, then a single crochet and three double crochets. After this, start the next row which will be a chain stitch, then three double crochets. Next, you will do seven double crochets, followed by a...

In this video, we learn how to start a beanie. During this, you will increase the number of single crochet stitches in a chain. Start off with a chain three, then join them by crocheting a single stitch in the first stitch you made. Do this by pushing the hook through and pulling the yard over, then pulling through. After this, you will have a circle. Start to crochet inside of this by using your circle and inserting the hook into the circle. Crochet around the tail of the circle, then yarn o...

In this tutorial, we learn how to crochet a beanie hat. First, you must place the yarn around your fingers, then thread through the needle with a slip knot. After you do this, grab the yarn and move the string through the slip knot to make a chain stitch. The next type of stitch you will do is a seam stitch, where you will find a hole and grab the string, then bring the needle through so you have two loops around the needle, then bring it back through the hole. You will continue to do these s...

In this tutorial, we learn how to make knit stitch markers. First, knit to the middle, doing two stitches together, then flip stitch over. When you get to the middle of your item, place your marker on the stitch to keep track of where the loops are at. You can purchase a knit stitch marker from a variety of different craft stores. Use this as often as you'd like, especially if you need help finding the gap when you are creating something. Set this aside when you are finished, and make sure yo...

In this tutorial, we learn how to do an arrowhead stitch when embroidering. Start off by pushing the thread through, then pulling it under, then back through at a diagonal angle. After this, thread it back through, making the same angle on the opposite end. As you continue to do this, you will start to see arrows forming after two stitches. Place the arrows one in front of the last to make the stitch complete. When you are done, you will thread the needle through the bottom and tie it. After ...

In order to do a bloody makeup look for Halloween, you will need the following: deep red blush, deep shadow Mac paints, eyeshadow, contour shadows, theatre blood, and eyeliner.

In this tutorial we learn how to crochet a duck finger puppet. In order to make the bill, start with three stitches on the front where you crochet a front loop to work with. Start with the open end facing you, and pull a loop up with your yarn, like a slip stitch. Now, chain one and single crochet into that on your first stitch. Single crochet in the next stitch and in the last one as well. Now, go into the center stitch and single crochet in that making a point at the beak. Now, slip stitch ...

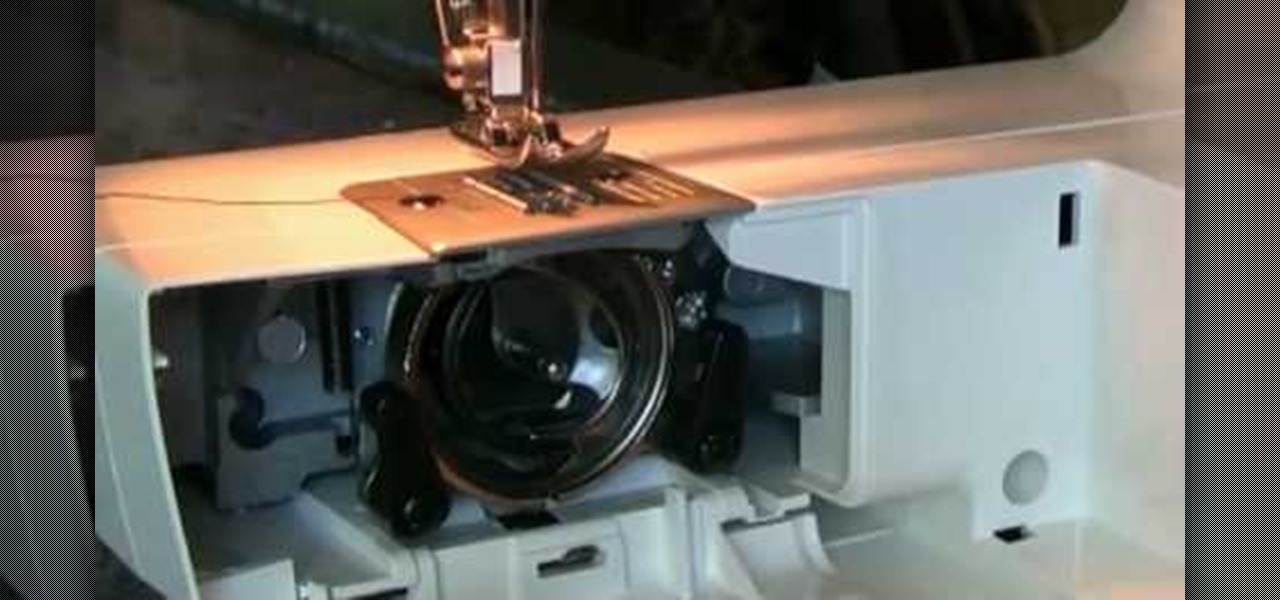
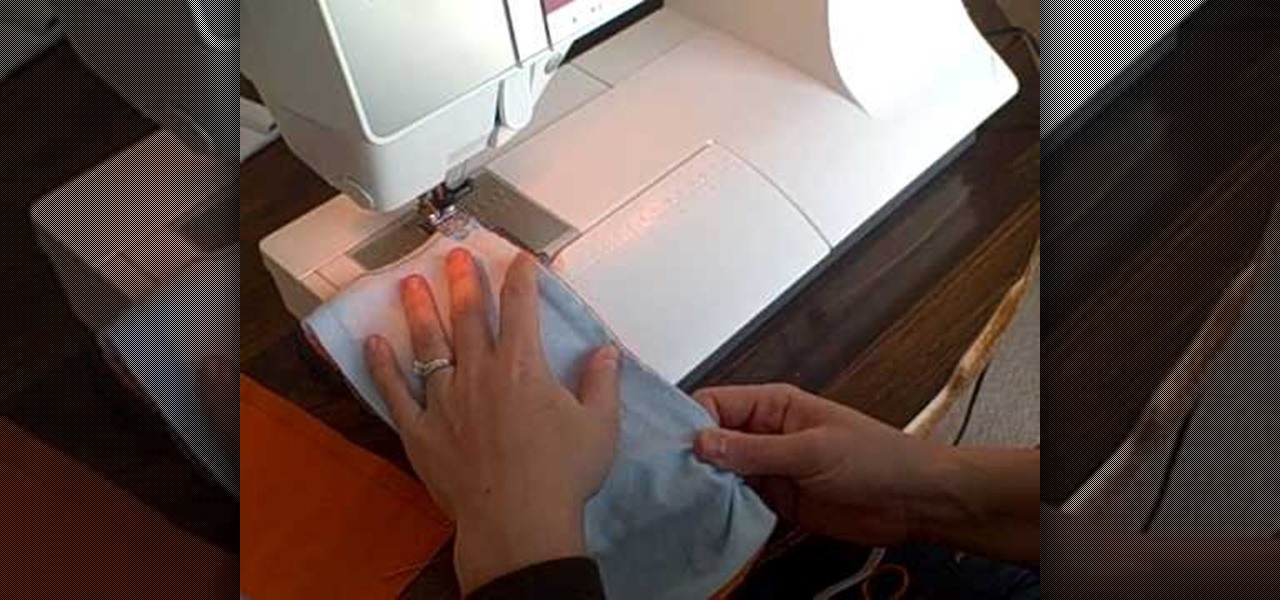
Many habitual sewers like to sew by hand if possible for smaller projects, since all it requires is some finger dexterity, a needle, and some form of thread. Sewing machines can create stitches and embellishments of great beauty, but as with all electronic devices sometimes their constituent parts have complications. The bobbin, which holds the thread beneath the machine, is one of those pesky things sewers have to deal with.

V, the masked and rather offbeat/tortured hero from the movie "V For Vendetta," had a strange obsession with a particular letter of the alphabet, embellishing all his clothing and gear with a great big letter "V."

In this tutorial you will be walked step-by-step through how to make a super easy pin cushion bracelet using a bottle cap. This project DOES NOT require a sewing machine. The only stitching involved is a few hand stitches.

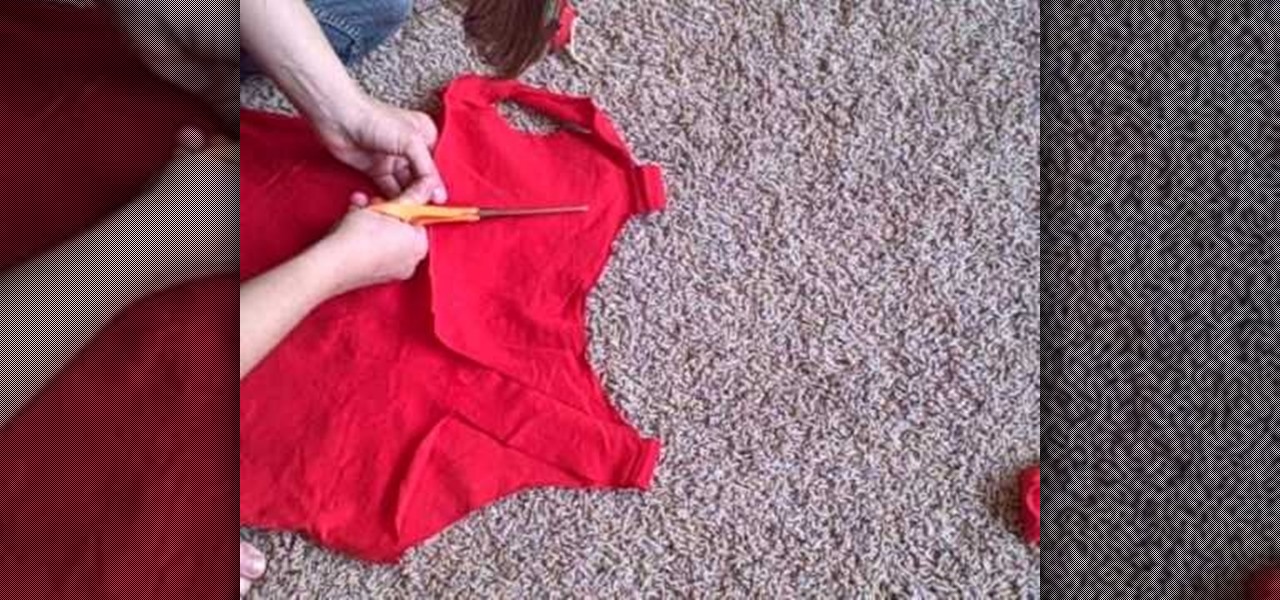
Are you a fan of the CW's "One Tree Hill"? Profess your love for this long-running television hit by creating this character-inspired tank top! Based on a reconstructed tank worn by Peyton during a fight with Lucas in the fourth season, this shirt is really lightweight for summer and you can layer it on top of another tank top if you need the extra warmth.

This video shows us how to weave in ends when knitting. Here are the following steps: Step 1: Take a needle specially meant for wool thread and scissor.

This video is a tutorial on sewing both polybraid elastic and lastin elastic. Polybraid is a very sturdy fabric elastic, while lastin is a thin, clear, very stretchy elastic, good for use in diapers. It is important to buy name brand lastin elastic to ensure good quality.

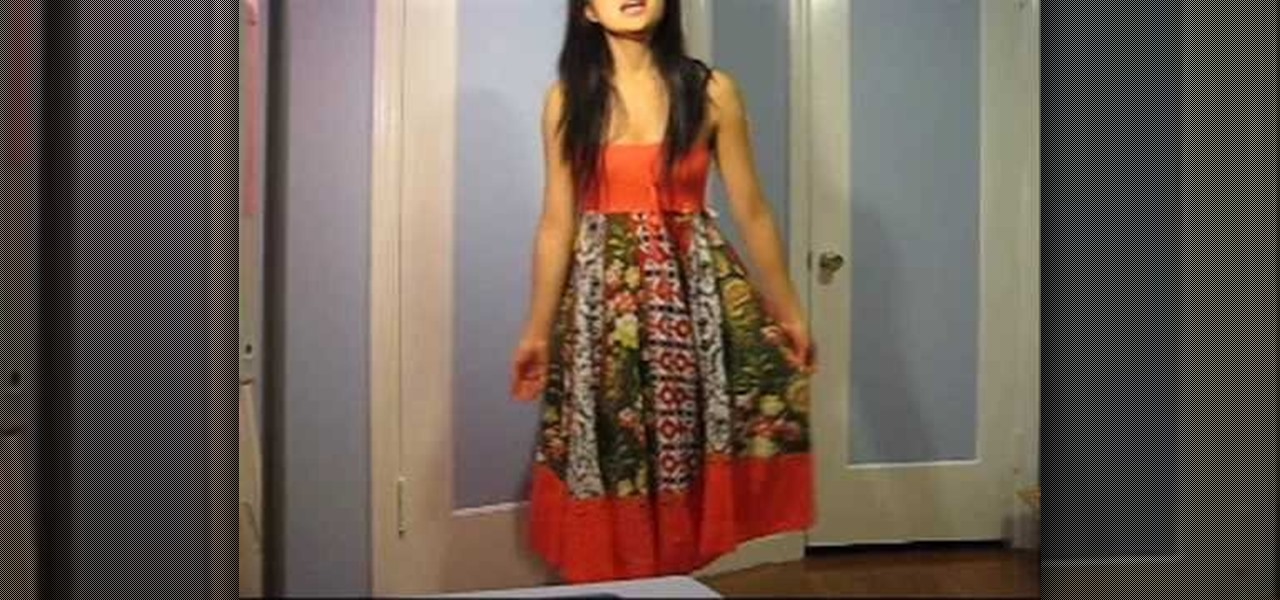
This video shows how to alter an oversized dress into a summer dress and a scarf. Do you have a dress that is an awkward length? Depending on how tall you are an otherwise cute dress might need some alterations to look best on you. The dress used in this video has a strip of fabric going from the knee almost all the way down to mid-calf. Removing this strip of fabric was easy to do by simply pulling out the stitches. This simple move turned a frumpy gown into a cute sun dress. The leftover st...

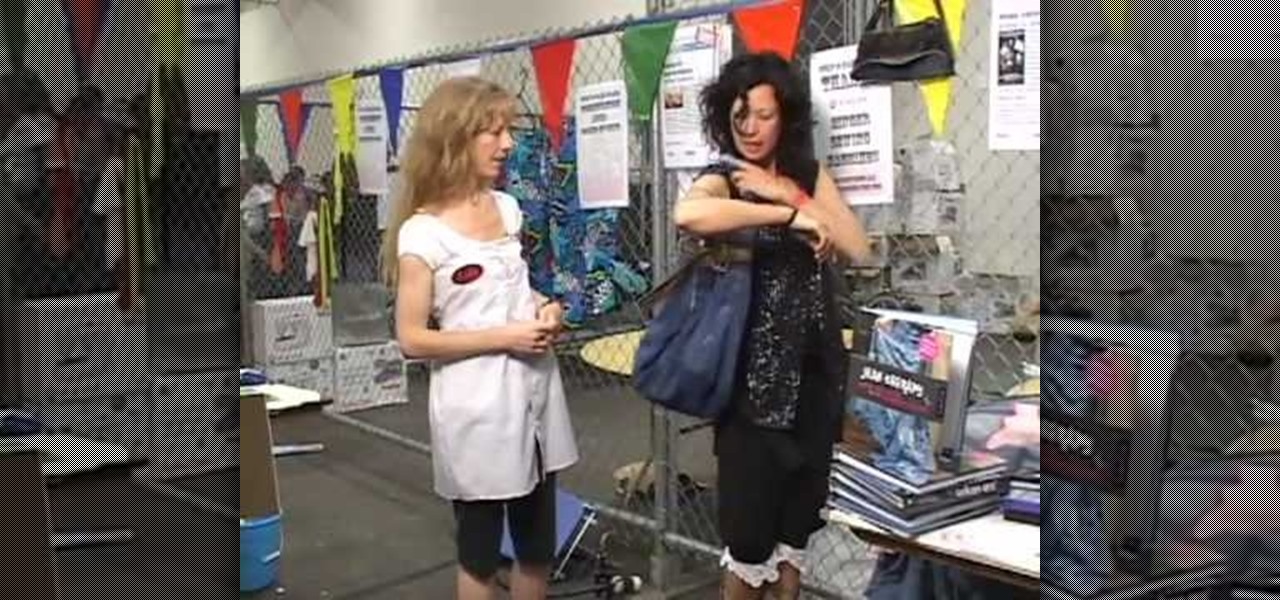
Learn how to recycle and reconstruct your denim jeans: Craft side Look, Learn and Create with Stefanie Girard and Jean Therapy with Scathe G. Allison demonstrate how to recycle and reconstruct your denim jeans. You can make a bag out of your jeans by using the leg as the strap. Customize jeans by adding patches to the legs and ruffles to the bottom. All the projects use simple sewing machines and stitches and don't require extra tools. A skirt can also be made by sewing together 14 pairs of d...

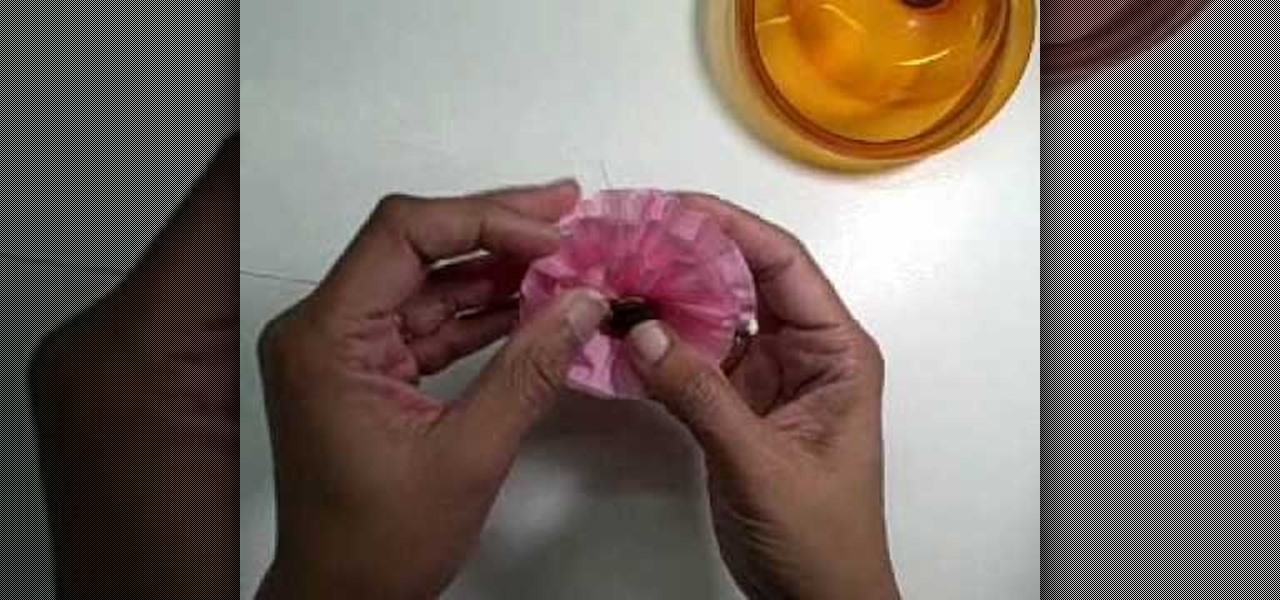
Becca from Amazing Paper Grace demonstrates how to make crepe paper flowers. The supplies needed are a roll of crepe paper, scissors, a ruler, and a sewing machine or needle and thread. Measure a yard of crepe paper and trim it narrower if you want a smaller flower. Use the sewing machine to sew a straight stitch along one edge with the longest stitches. Pull the thread to gather the paper so it curves around to form a flower shape. Layer the curves around in a spiral to form the flower. Feed...

Crochet the half-double stitch with these easy steps and achieve that beautiful design you've been longing for. Insert your crochet hook to the two loops found at the end of your cross stitch. Yarn over your stitch and make three loops wrapped around the crochet hook. Always count the number of stitches that you do and continue step number 2 to the rest of the yarn. Skip the first loop at the end of every row and insert your hook on the second loop. repeat the process until your desired desig...

Watch this video to learn how to sew by hand! You need scissors, thread (or floss), a needle, and fabric. First, stick your threaded needle through the cloth and pull the thread through. To make a running stitch, push it back through to the opposite side. Your stitches should look like a dashed line. For a whip stitch, keep pushing the needle through the fabric from the same side each time, near the edge. It will wrap around the edge. To tie it off, push the needle back through the loop of a ...

This video involves making the distinction between two different types of stitches that are used in knitting. To be more specific, the video explains how to differentiate between a knit stitch and a purl stitch. The video is a part of a series of videos that deal with knitting; the speaker mentions that the subject at hand was touched on in a previous video. The speaker explains that is important to understand the difference in knitting so you can keep track of your work. The speaker explains...

The video opens up with the young, perky and energetic woman from CraftDknits talking about her first "Fall Fashion Line" for knitting which is a Zigzag pattern. She shows how to knit the correct stitch and number of knitted stitches on her correctly sized 13 inch Rosewood knitting needles. Plus 1 large big Eye Needle with 2 skeins of correct weight Lionbrand Thick and Quick yarn.

This video is for, the more advanced crocheter. The instructor uses terms and demonstrates stitches that will require a basic understanding of crocheting and an intermediate skill level. The instruction given in this video is very easy to understand. The video quality is clear with a close up shot of the needle and yarn. This allows the viewer, to see how each stitch is done. The instructor does the same step many times. This will allow you to practice the same stitch many times without havin...

You repeat stitches each round, so once you get the basic sequence down you can do the whole thing. This is an easy pattern to crochet once you learn it and you can apply to lots of different projects with your crochet ventures. Not only that, you can make a fashionable hat without paying trendy prices at the mall! Learn this once and you can save money forever. This video will show you how to crochet a beanie for a man.

Follow this quick video demonstration to see how to knit a shaker rib stitch. The shaker rib is also known as the half fisherman, and that's because it's not as bulky as the fisherman rib. During this process, you'll even see how you can knit one below, or k1b.

If you have been curious about the Brother KE-100 electric motor drive, this video will explain some of it's features and demonstrate how it works. Basically what the motor drives does is replace the movement of your own hands, or even more simply put, it can't change stitches, increase or decrease, but just simply moves the knitting carriage back and forth. Watch this video knitting tutorial and learn how to use the Brother KE-100 motor drive knitting machine, including how to use the Brothe...

This video shows you how to weave in your ends on a project when you really don't have stitches to weave into. Instead of weaving it onto the edge, in case of continuation, it can be woven back into the crocheted stitches. Watch this video crocheting tutorial and learn how to weave in a hidden end to a double or triple crochet.

Improve crocheting skills by creating solid motifs. This how to video is a crocheting tutorial that shows how to create a three sided solid motif. Crochet several of them, bind them together and create larger handmade projects. Learn these basic stitches by following along with these simple step by step instructions.

This video will show how to slip stitches both for purl and for knit, and how to slip stitches if the pattern is a little vague. These instructions provide basic knitting how-to instruction for those just starting out.

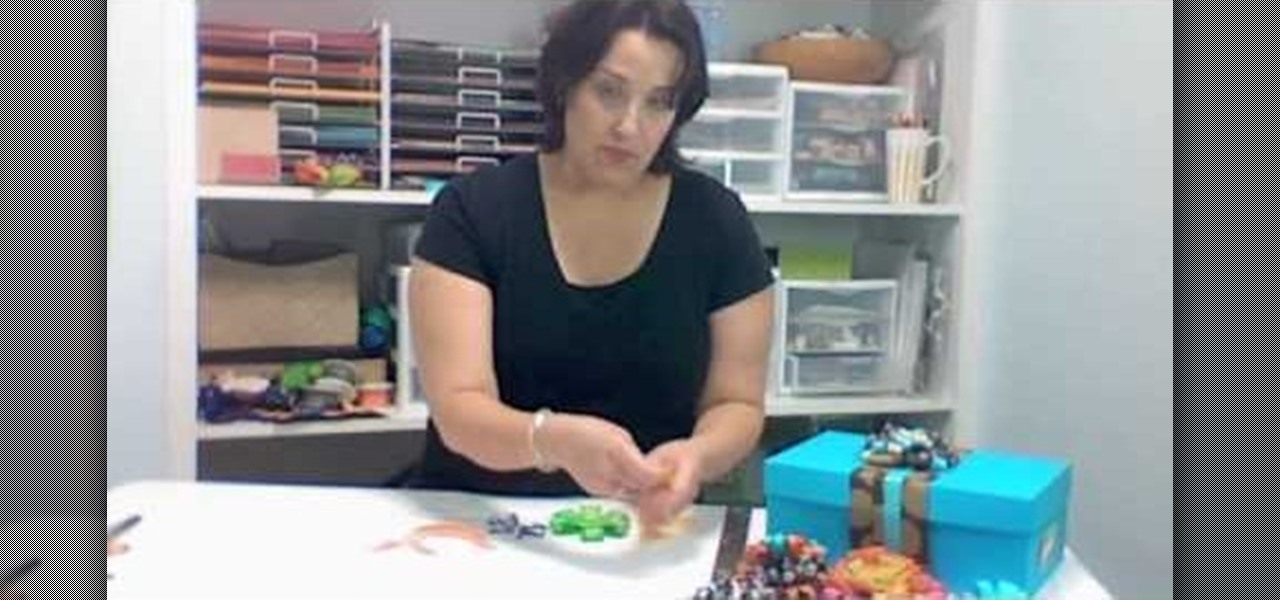
Leah for May Arts Ribbon shows how to make a flower loop bow. The following items are needed for it: Needle and thread, scissors, May Art Ribbons and a ruler. Buttons or flowers may also be needed to put on top of your bow as per your selection.

This is a video on how to weave in ends on kniting. First take two ends at a time, tie the new color and a half not around the current working color, and tie them. The thread the end onto the yarn needle, and go througha few of the yarn stitches. Next give it a little pull to make sure nothings coming loose. Go up to the next yarn ends, and do the same thing. What you have to make sure you do is weave the yarn through light colors. Also make sure the knots are secure, and are not going to com...

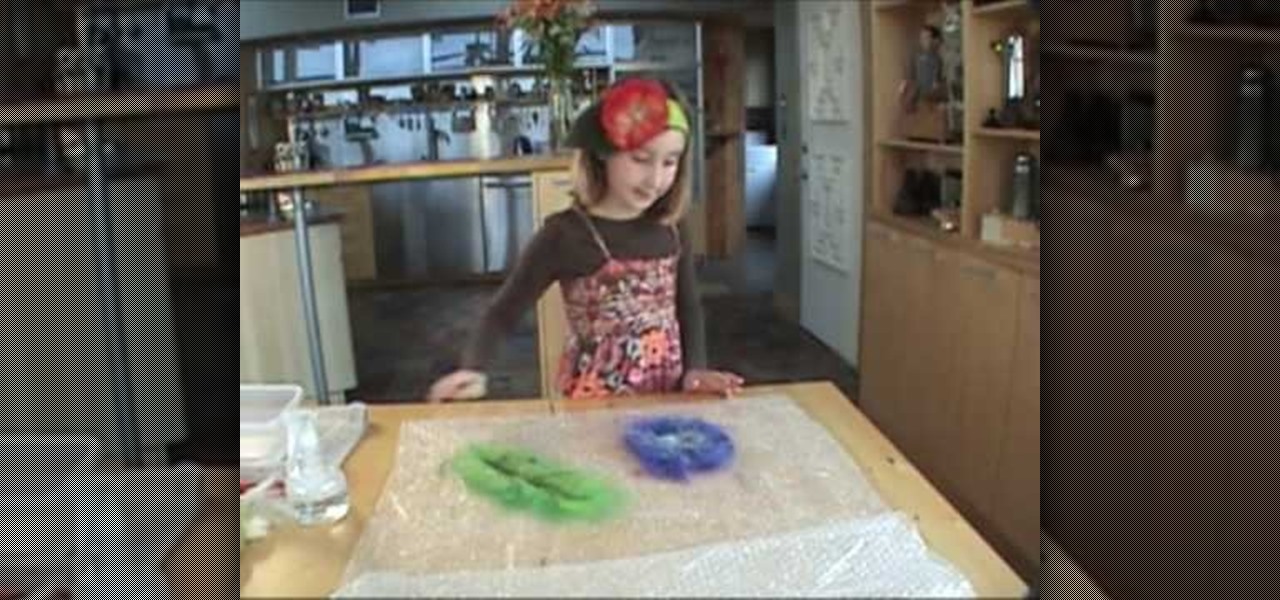
This is a demonstration of making a felt flower accessory for your head bands, waist band and even for your clothes. You will require wool fibers, bubble wrap, felt sponge rolling pin, washing bags and a container of hot water and a spray for soap water. First loose fibers are taken of the color you prefer for your flower and laid in one direction to the size and shape of the flower. Then a second layer is laid at right angle to the previous layer. Some strand of fiber is twisted and laid on ...

Do you have an old pair of jeans hanging around? Maybe they don't fit anymore, or perhaps they are out of style? With a few stitches, you can turn that ugly old pair of pants into a stylish corset top.

Follow this simple step by step video demonstrating a series of stages involved in crocheting a kids beanie cap. Prepare the tools you are going to use, which will be mainly a hook for crocheting and woolen thread. Since the beanie cap is intended for kids one should choose a nice lively color. The first step is to make sure to tighten the first stitch. Afterwards make six consecutive stitches, and then make a loop by twisting it over. Pull the string through the slipknot and pull inwards. Yo...

Whether you want to save money by making your own clothes or you just enjoy working with fabrics, choose the best sewing machine so your projects turn out great.

Even if you never took home ec, you can create simple projects by learning the basics of sewing machine use.

Your sewing machine needs bobbin thread to create overlock stitches, so keep your machine going by learning to fill your bobbin.


