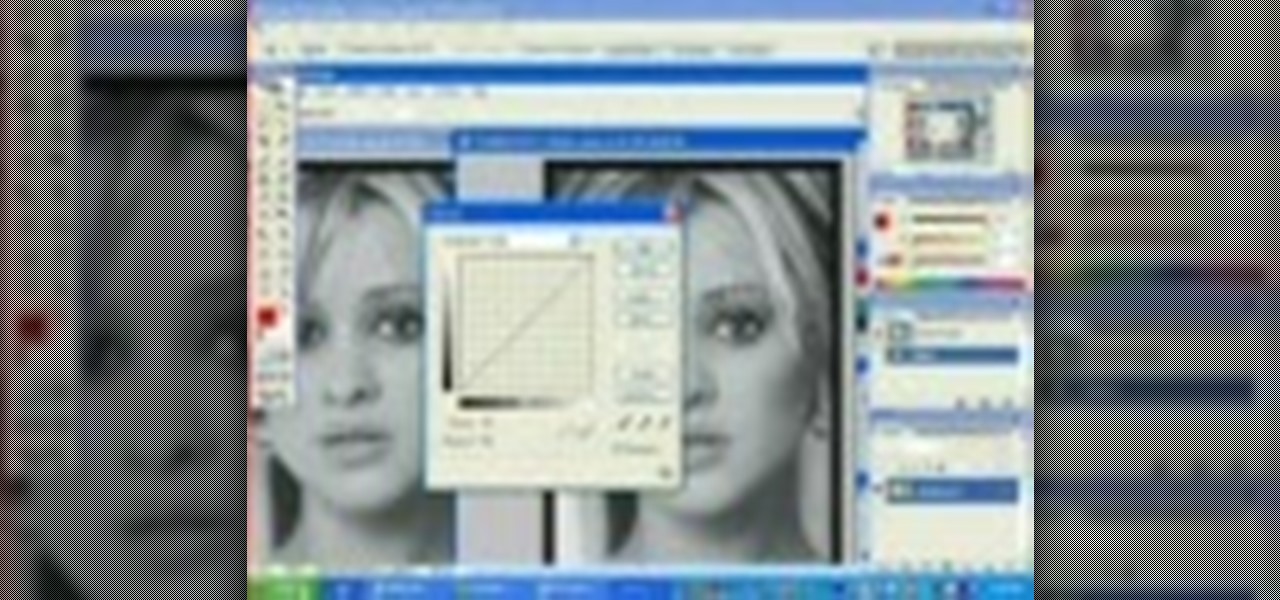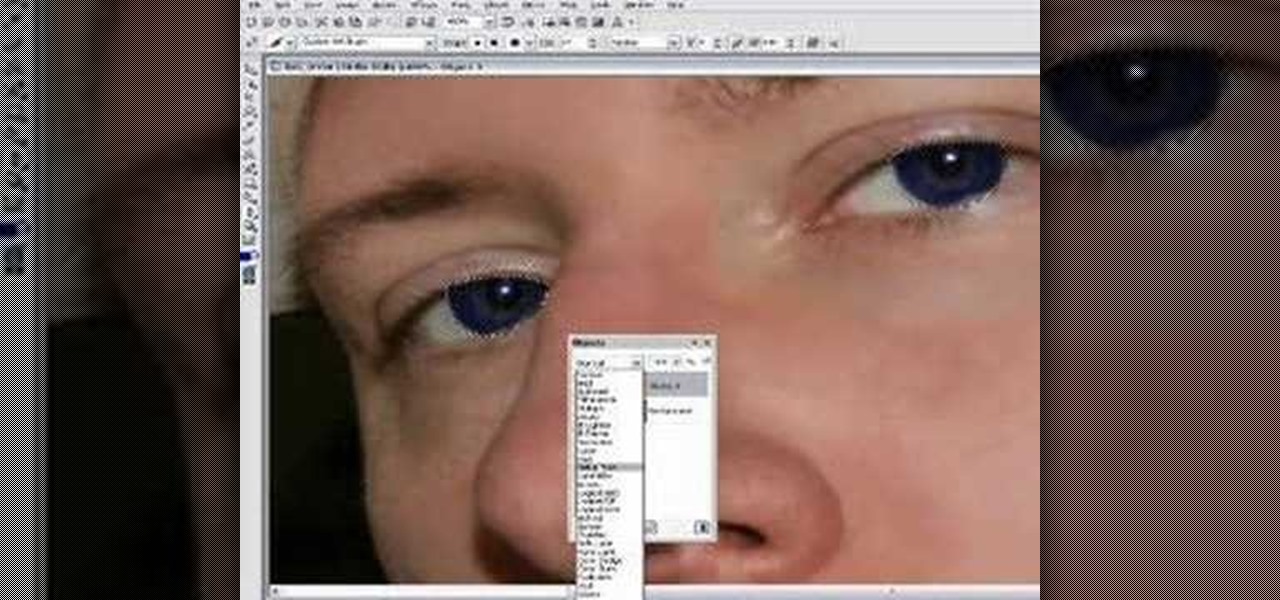
In this Software video tutorial you are going to learn how to change eye color in Corel Photo Paint X3 with masking. Select your picture and the 1st thing you will do is to create a mask around the eyes. Select the standard paint brush tool. Adjust the picture so that it is large enough and both the eyes are visible. Now press Alt and hold down to select the entire eye. Do the same for the other eye also. Then go to subtractive mode and fix the outer edges of the iris of the eyes. Now select ...
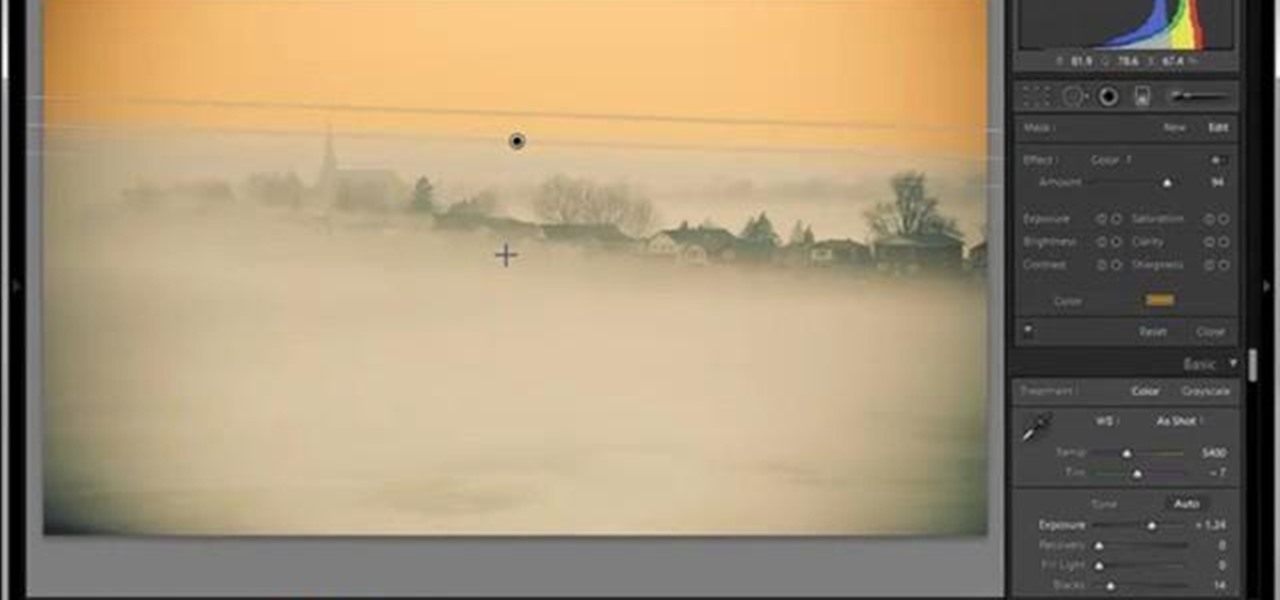
In this tutorial, Yanik Chauvin teaches us how to create an old-style looking photo starting from a grayish, underexposed one, using the software "Lightroom". He starts by creating a virtual copy of it, and then he adds a Camera Calibration preset named Camera Landscape and increases the exposure. After that, he crops the image removing the blank parts of the photo, and adjusts Contrast, Blacks and Clarity to strength the image borders.

This Software video tutorial shows how to organize images in Lightroom with multiple cameras. Kerry Garrison will explain how to do this by adjusting the time offset of all of the images from one camera. You can take a shot in the beginning and synchronize the rest of the images. There is a tool in Lightroom to accomplish this. Select the live drawing mode, then go to the grid mode and the meta data bar should be displayed on top. The different cameras used in the shoot are listed there. If y...
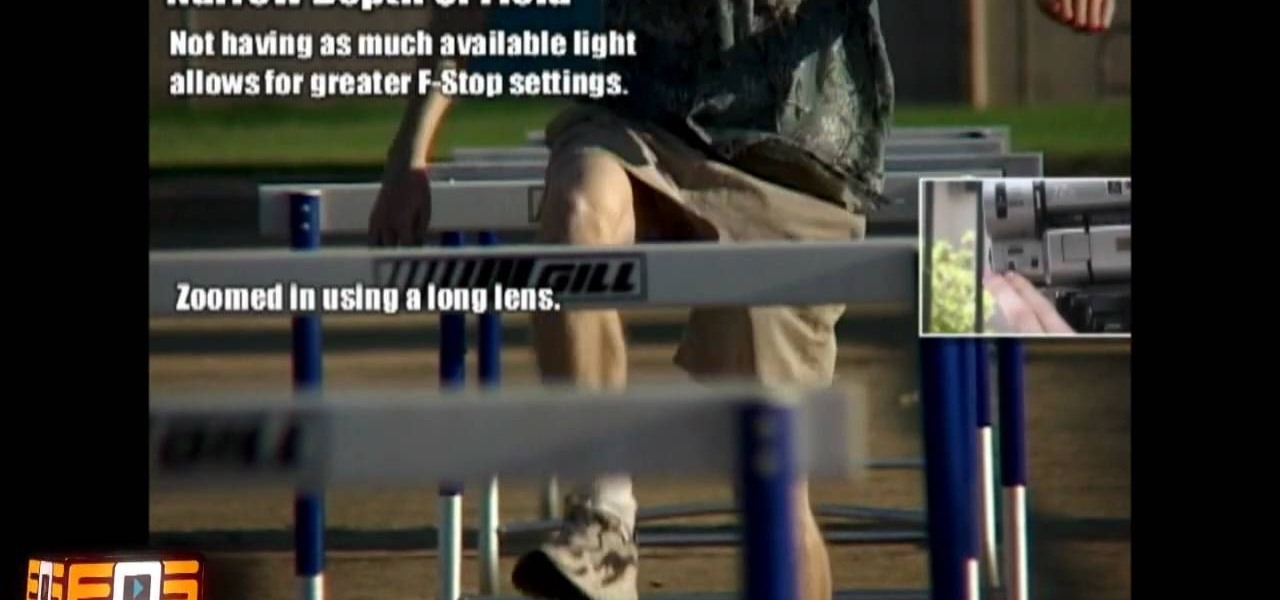
In this Film and Theater video tutorial you will learn about depth of field and how to adjust it. Depth of field means how many objects are in focus in the frame at one focus setting. If the depth of field is large, more objects at various distances from the camera are in focus. The first factor is the amount of light. If the light is good, more objects will remain in focus. On the other hand if you zoomed in with a long focal length lens the depth of field will reduce and lesser objects will...

This video shows how to improve light in a room for different moods and effects. You will see how the lighting will fit the design of different
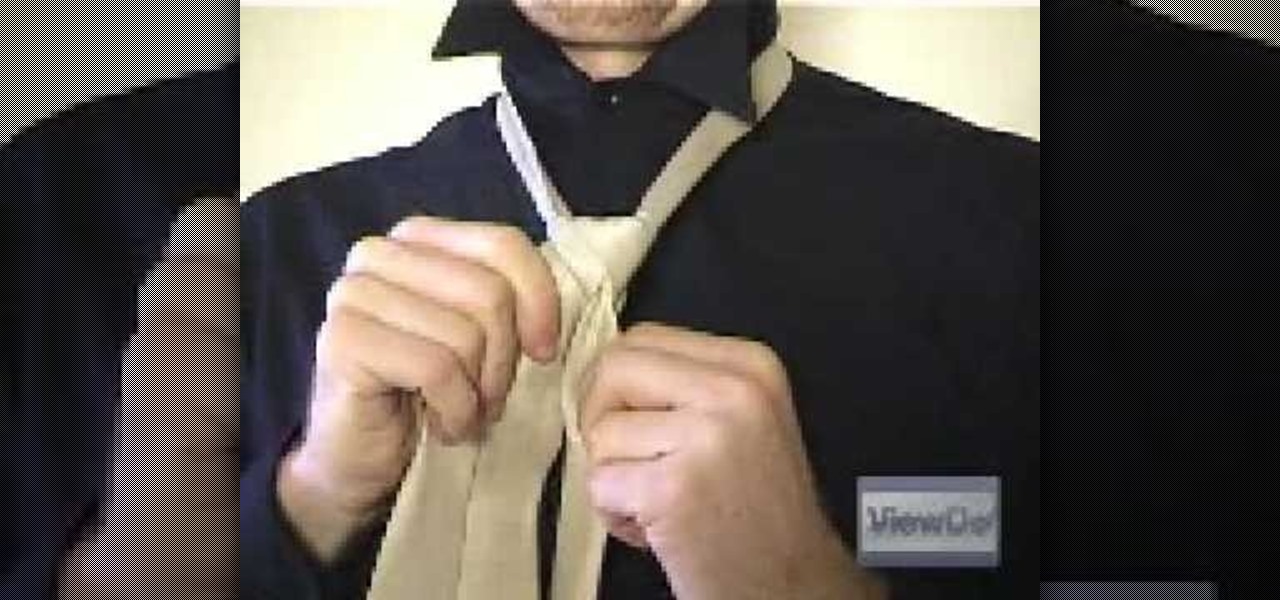
This video demonstrates how to tie a double Windsor knot, which is the neatest and most uniform looking tie knot. This knot can be tied in a few steps. First flip the shirt collar up and drape the tie around the neck as shown. Make sure to adjust the tie length so that the narrow end is just above the navel ring. Cross the wide end over the narrow end, pull the wide end back up the loop you just made, wrap the wide end behind the narrow end and back through the neck loop as shown. Pull both e...

In this video from solvingtime we learn how to remove objects from photos using Paint. To get this program go to to install it. He uses the clone stamp tool to remove things. First he zooms in on the object he wants to remove using the magnifying glass. Then click the stamp which will switch to the clone stamp tool. Use the bracket keys near the letter P on the keyboard to adjust brush size. Then while holding the control key click once on an area near the object you wa...

This video displays a 2010 Toyota 4Runner, modeled with seating for seven passengers. In the tutorial it shows a few of the basic adjustments that can be made to the seating. You can adjust the seat to recline to your comfort level and move to seat forward and backward. Unlike most 4Runner model this one comes with an additional back row of seating. This can be accessed simply by pulling the bottom lever of the backseat and pushing the seat forward.

This video shows you how to adjust the second-row seats in a 2010 Toyota 4 Runner. The 4 Runner comes with a 40-20-40 split folding second-row seat. To fold the second-row seat, pull up on the strap to pivot the bottom of the seat forward, then push the head rest into the down position. Lift the lever on the outside of the seat to fold the seat back forward. The seat backs recline by leaning forward and pulling up on the lever and leaning back to desired position. The seat also has a center a...

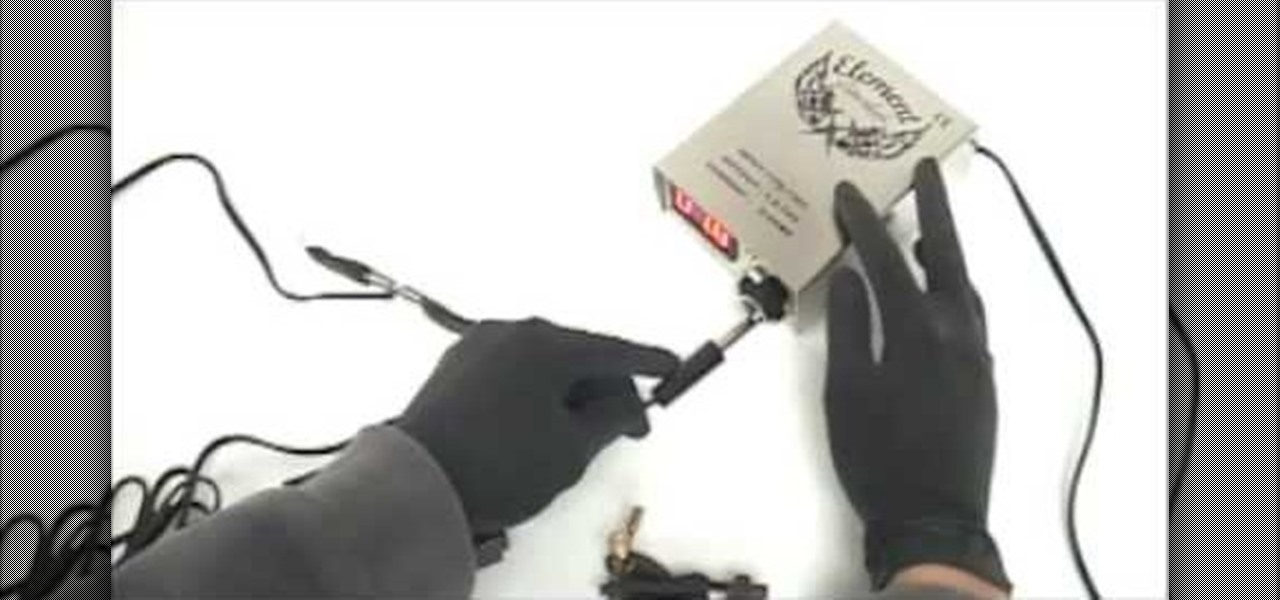
This video describes the process of tuning a tattoo machine. The video starts by explaining the different parts of the tattoo gun. The presenter shows the different settings for the contact screw. For doing outlines the contact screw should have a gap the width of a dime. If you are filling a tattoo in with shading, then adjust the gap to the width of a nickel. The presenter then hooks up the tattoo gun to the power supply and adjusts the voltage to eight volts.

Learn how to do a rotation in geometry with this video! First step is to pout the pencil into the compass. Adjusting the pencil and compass needle is same. Suppose you want 165 degree size circle. Measure the reading with compass in protractor. Note the point and adjust the compass. After place the sharp end of the compass at the point and rotate the compass the circle will enabled. Next use protractor. We see 75 degree acute angle. Place the protractor on the line and mark the reading we wan...

Jeff Ritter from the PGA shows you how to eliminate your slice by focusing on your swing shape. The way this is done is by eliminating any bad waggle from your gold swing. In order to correct this you take two balls. The first ball is set behind the tee about a foot back. A second ball is then placed a little further back by about two inches and close to your position. The first ball is noted as the inside ball and the second is noted as the outside ball. What you do from here is on your back...

Creative Ice Design describes how to change the color of a car in photoshop. The tutorial shows an easy and quick method to change the color.

Do you have a stubborn sliding door? Does it stick or get off track often? Learn how to fix your sliding door problem with help from this video which teaches how to repair and adjust a sliding patio door for smooth operation.

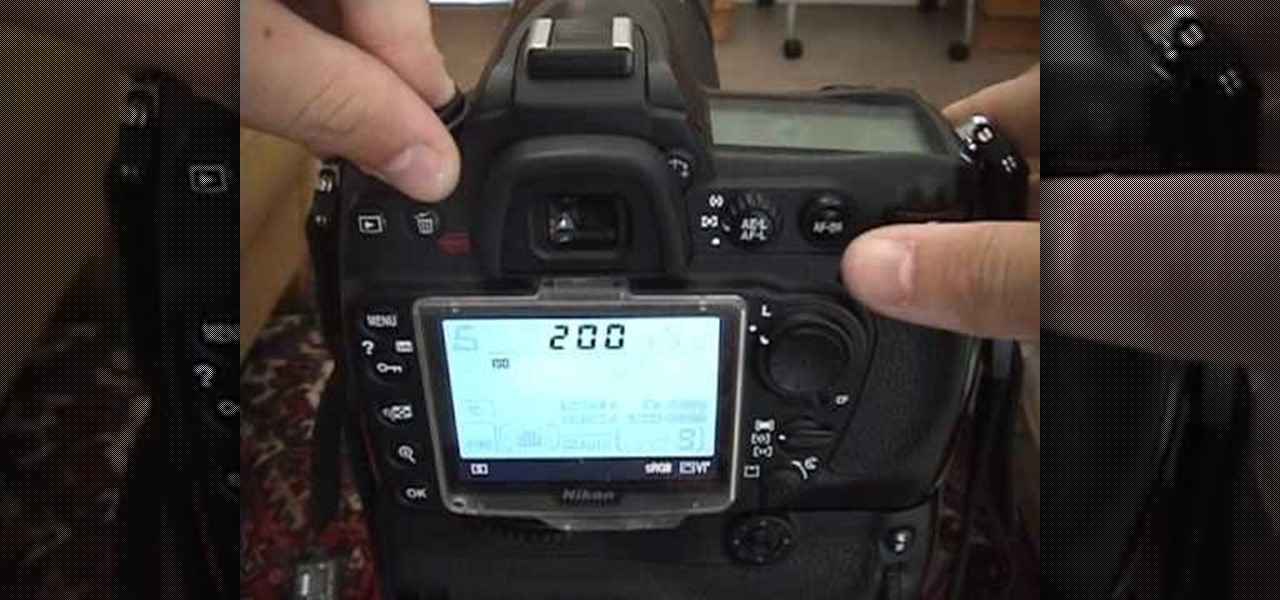
This video gives viewers an overview on how to use the manual settings of your DSLR camera. Aside from the Auto setting, your DSLR camera has the P-mode which is the program mode, S-mode which is the shutter priority mode, A-mode which is the aperture priority mode and finally the M-mode which is the complete manual mode. P-mode or program mode is more like the Auto-mode in your camera. You can't control your shutter speed and f-stops (aperture) however; you can manipulate the other settings ...

These last few months have been a Lollipop lovefest, and I'm not talking about the candy. Android's latest OS has been exalted for its embrace of Material Design, and we've certainly given Lollipop its fair share of coverage as well; check out all its new features and ways to make older devices get some of the new look and feel of Android 5.0.

The new HTC One and Nexus series devices have already replaced their physical navigation keys with soft keys, and it's inevitable that we'll see more and more of this on future mobiles. Samsung continues to buck the trend entirely, but no manufacturer as gone as far as to remove the volume rockers.

Open the Adobe Photoshop program. Choose a picture with a head shot. This maybe something that is already in your pictures folder on your computer, downloaded from the internet or transferred from your flash drives, and those photos you may have scanned and saved in your computer.

Watch this video tutorial to learn how to do polyphasic sleeping. How often have you said, “If only there were more than 24 hours in a day!” By learning to polyphasic sleep—meaning breaking up a night’s sleep into a series of shorter naps—you can squeeze an extra whole day out of the week.
Check out this excellent Wonderhowto World devoted to stress!

Is stress genetic? No it is not. How we deal with stress is not genetic. Is how our parent’s deal with stress that we adapt form them. Many parents have busy schedules and might not have the time to talk to their children about their own problems. Yet there are some parents that think teens and children might not be dealing with stress. We might also not have any emotional support by our own parents and they do not under stand us. We also do not have “realistic” expectations from our parents....

HTC claims to have improved the One M8's battery life by 40% over its predecessor, but there is always room for improvement.

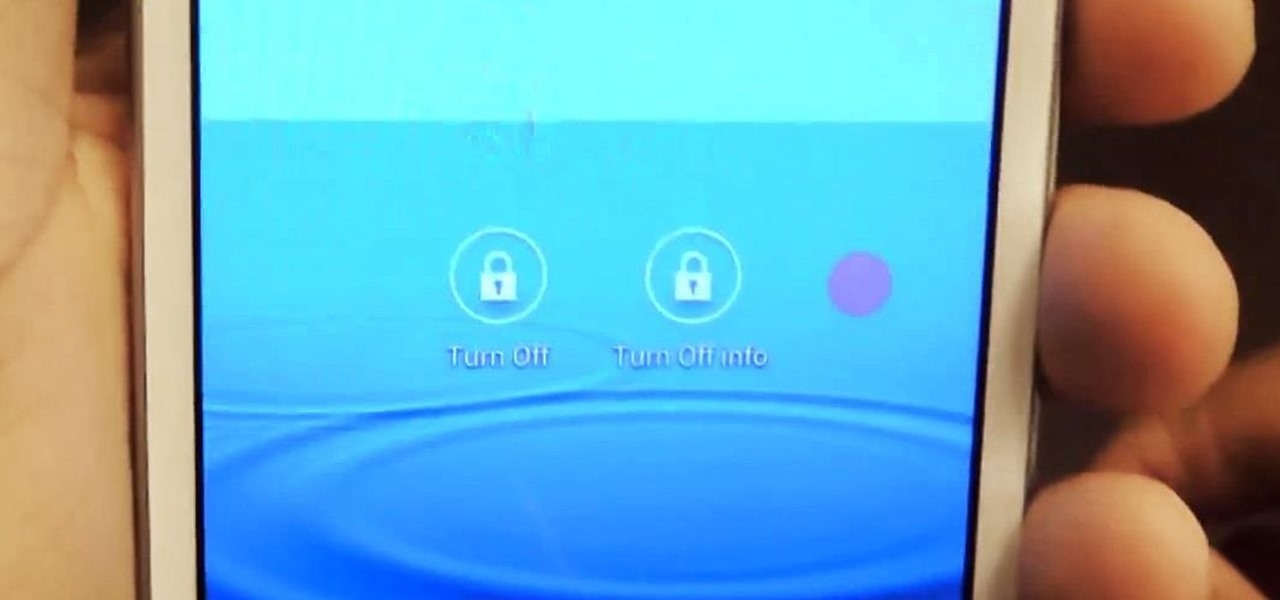
Sometimes, you just don't want to hit the Power button to turn your screen off. In the current age of touchscreens, you've got to wonder why we even have physical keys anymore.

If you can make yourself a cup of tea just by turning on your faucet, you need to lower your water heater. You’ll help the planet and save money on your heating bills.

From the settings application on your Samsung Instinct mobile phone, you can adjust screen sensitivity, brightness, and ringtones, among other things. Set the general features of your cell phone for ultimate convenience. Watch this video cell phone tutorial and learn how to adjust the settings on a Samsung Instinct. Adjust the settings on a Samsung Instinct cell phone.

In this video you will learn about adjusting curves in Photoshop. Curves can be used to adjust the over-all contrast or tonal range, and color. These changes can be made with with great precision, and can dramatically improve even photos that appear unusable. This video is geared towards beginner users. Adjust curves in Photoshop.

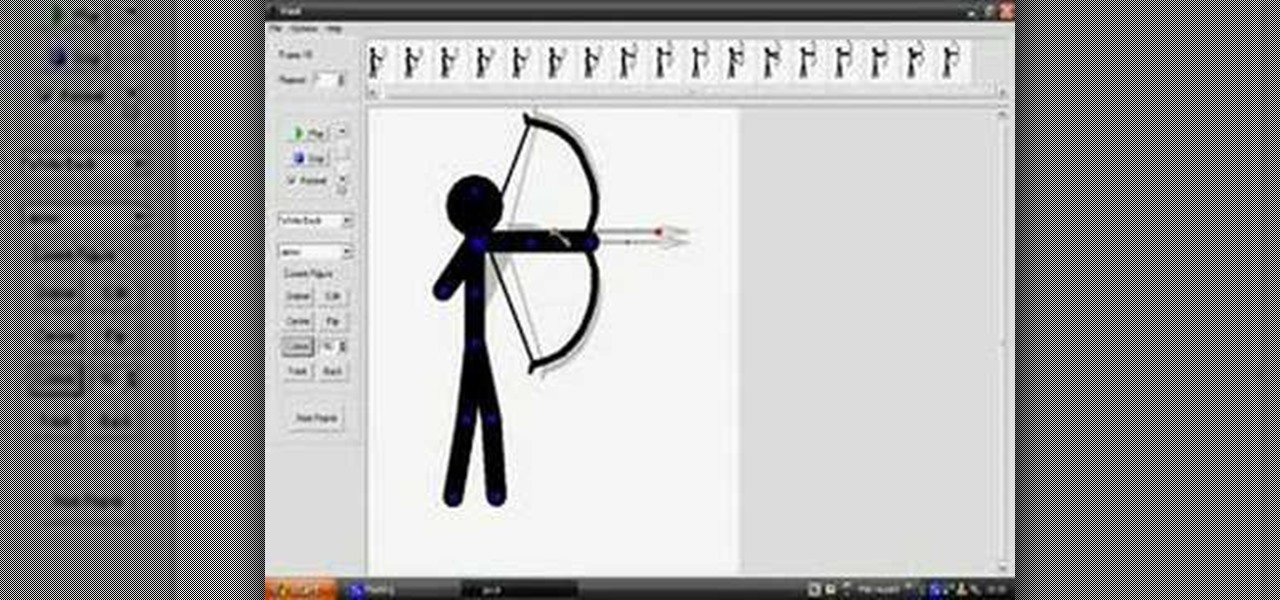
In this Software video tutorial you are going to learn how to shoot a bow in Pivot. Open Pivot and select a stick. You can adjust the size of the working space. Adjust the position of the stick in to an arrow shooting position. Then put a bow in his hand and move up the arm to a horizontal position and move the bow in a similar manner. For every new position, click on ‘new figure’ and then adjust the position. While stopping, make the gaps smaller. Now start moving up the other arm. Then move...

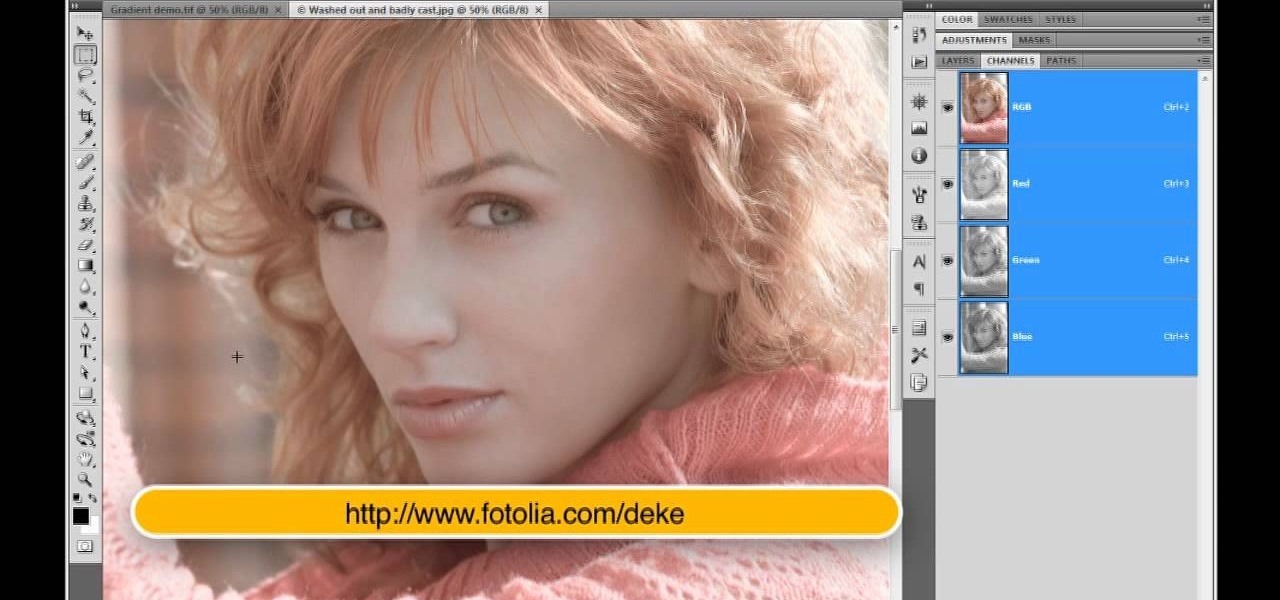
Deke McClelland explains what the Levels and Histogram commands can do in Photoshop in this video tutorial. Levels allows you to adjust the luminance levels allowing you to adjust the contrast and colors within each color channel of an image. Thus, Levels allows you to adjust the individual colors that can be found within a gradient. This command is very similar to the curves command but to a less powerful extent. It is also more efficient than the curves command. The Histogram is another col...

Looking to impress the ladies with your singer voice? Most of us could only sound like Barry White by gargling cockleburs. But you can pull off a throaty, soulful resonance with the right kind of practice.

Even if you never took home ec, you can create simple projects by learning the basics of sewing machine use.

Stressed, sad, or just feeling blah? There are lots of ways to improve your mental health. Watch this video to learn how to get out of a slump, and improve your mental health.

Whether male or female, being able to give someone a massage is great for making that certain someone like you just that much more, or helps to relieve stress in a stressful situation for them. If you only seem to be making them feel uncomfortable when you do it, you're probably doing it wrong. In this video you will learn how to perform a basic back and shoulder massage with tips for location and set up.

Instructor Brian Maffitt gives a fast-paced recipe for creating a Saturn-like ring of text around an orange. Brian gives the Stroke, Path Text, and Basic 3D filters a good workout, stresses the importance of pre-composing, and tops it all off with an inverted mask. This is a great "fake-3D" effect you'll be glad to add to your arsenal. So come on...orange you going to watch this clip?

To reduce stress on internet bandwidth during the COVID-19 pandemic that the novel coronavirus is causing, Google decided to set YouTube's default video quality to 480p. That said, even when you could stream at HD quality without adjusting anything, you still couldn't switch the default to whatever you liked. We have a few methods on hand to help you change that.

In stock Android Oreo and below, the volume rockers change ringer volume by default unless audio is currently playing. In order to adjust media volume when media isn't playing, you have to tap the down arrow next to the ringer volume slider that appears at the top of the screen to see the option. Now, Android 9.0 Pie has flipped things around, giving media volume the limelight.

Like Russian Matryoshka dolls, the features on the Galaxy S8 and S8+ often have hidden components within them that add to their functionality. The phone's flashlight is a great example of this since there's a hidden shortcut within the "Flashlight" Quick Settings tile that lets you adjust its brightness level.

Samsung's latest flagship devices—the Galaxy S7 and S7 edge—both sport an interesting new feature called Always On Display, or simply AOD. When enabled, this feature keeps the clock, date, and other bits of information visible at all times—even when the screen is off.

If you've ever taken apart an electronic device that uses physical buttons, you already know why these types of input methods are destined to fail. The rubberized contacts used in physical press-and-release buttons like those of a gamepad or keyboard are incredibly frail and can easily wear out over time.

The importance of body language is stressed from an early age: watch those around you, and you'll know what they're thinking. While you might be skilled at deciphering the messages of crossed arms, slouched sitting, eye movements, and hand gestures, the key to understanding those around you is a little less obvious.

Not every mod you add to your Android will revolutionize the way you use it, but many of them can make things a little more simple and convenient for you on a regular basis, like sliding across the status bar to adjust brightness or swiping the screen to put your display to sleep.


