

How To: Hack Restaurant City EXP (12/04/09)
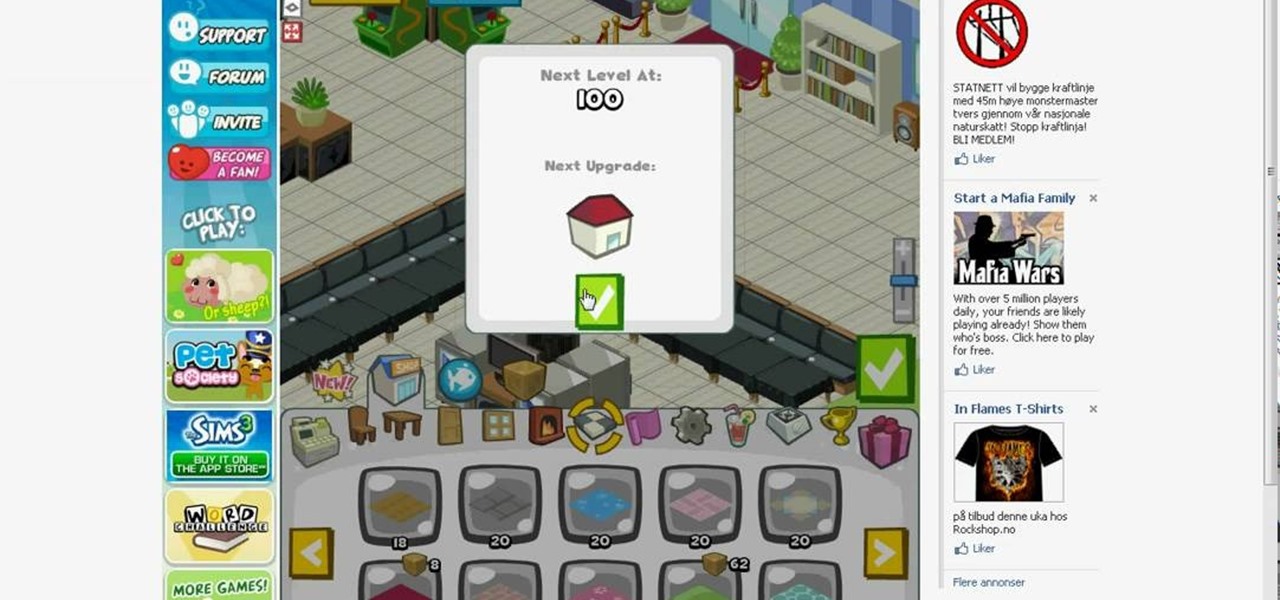
First download Cheat Engine 5.5. Once you have CE 5.5, you're ready to hack Restaurant City experience. EXP is hard to earn, but not with Cheat Engine… hack it.

First download Cheat Engine 5.5. Once you have CE 5.5, you're ready to hack Restaurant City experience. EXP is hard to earn, but not with Cheat Engine… hack it.
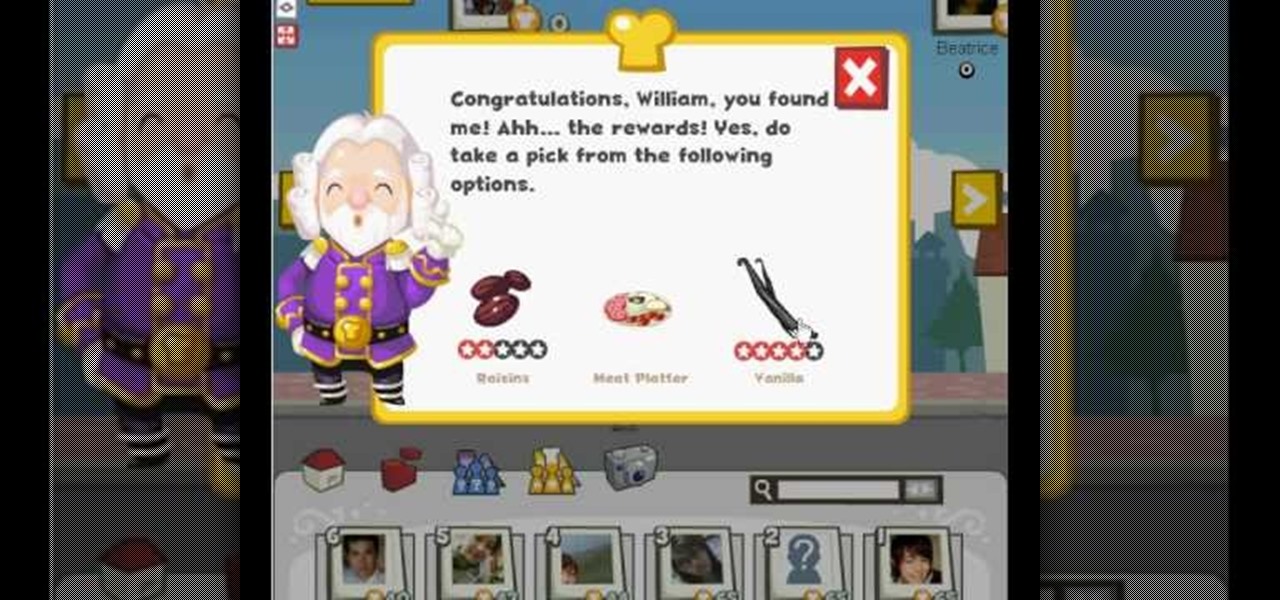
With this Restaurant City hack, you'll find the Gourmet King and get a choice between the following rewards; raisins, met platter, or vanilla. It's pretty simple to do, as long as you have Piaip's RC Hack v2.22.
Restaurant City is a Facebook game that allows you to create and manage your own virtual restaurant. Watch this video tutorial to learn how to hack Restaurant City money (11/12/09). You need Cheat Engine 5.5 and the hex is: 00000039840FD285.
Lighten up your office with this quick and easy prank. You Will Need
Learn how to teach your dog to high-five. Make your pooch the hippest dog on the block by teaching him how to greet you with a high-five.
Make sure your winter wardrobe survives the summer by putting it away properly. Learn how to store your winter clothes.
Watch this video tutorial to see how to build a fun foam boffer sword! These boffer swords for any of your larping needs!

People like Ralphige and The Jerky Boys have elevated prank phone calls to an art. Here’s how you can get in on the fun.

Secret Ingredient host Mark Law and Denver chef Jean Philippe Failyau of Osteria Marco take the mint out of the mojito and add it to a fresh summertime salad of cherry tomatoes, fennel, red onion, cucumber and mint, served over seared halibut. Follow along in this cooking how-to video as Whole Food's Market shows you how to prepare this delicious seafood dish. The tomato, fennel, cucumber and mint add a refreshing taste to the seared halibut.

Learn how to do Smith wide inverted pull ups with a hold at the top. Presented by Real Jock Gay Fitness Health & Life.

After you have installed the roof trusses, you need to trim the overhangs to prepare for timber fascia boards. Watch this video tutorial for a demonstration on how to mark out truss overhangs for cutting in preparation for fascia.
Zombies need not be disgusting, rotting undead creatures that only spook and terrify on Halloween. If you want to go as a zombie this year but don't care for the whole rotting skin bit then check out this tutorial for creating a prettier zombie look.
If you're not into pork, you probably won't like this particular recipe, and if you're not into raw meat, you may want to avoid this, too. Because this video recipe covers a meal that requires Parma ham, which is ham that is eaten uncooked. You could always dive in and try it out anyway, because it's well worth the experimenting! Plus, there's prawns, fresh salad and lemon juice.
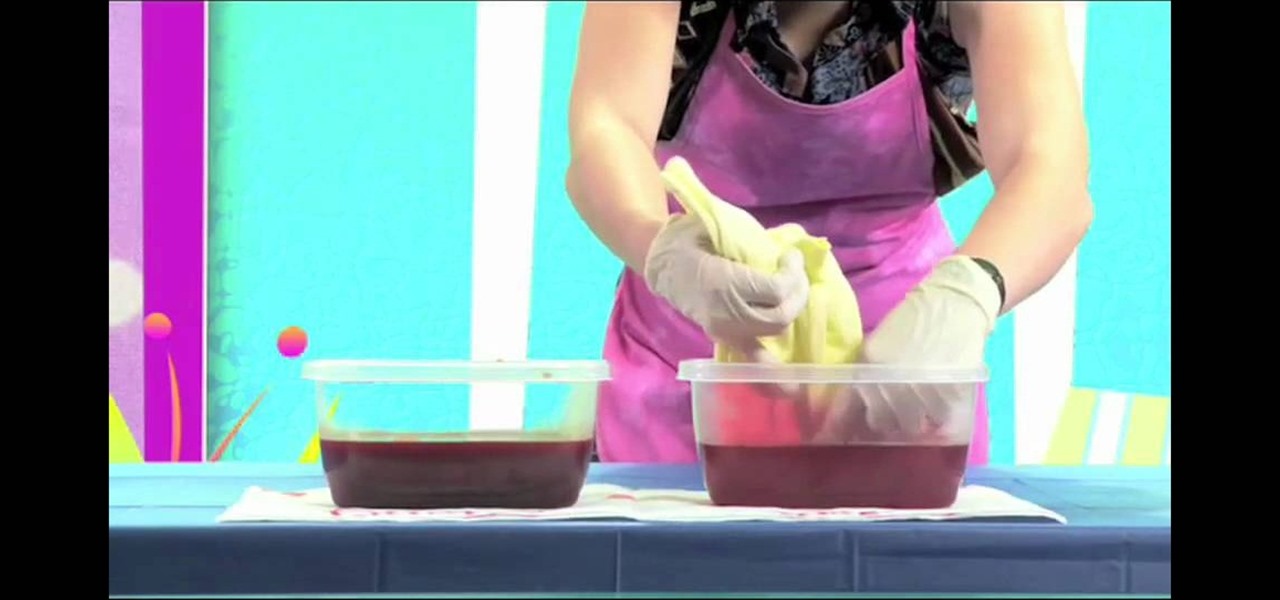
For a no-wax batik dying method for your own clothes designs, you will need the following: a T-shirt, foam stamps, a medium, dye, parchment paper, fabric marker, cold water, a microwave, plastic wrap, and a pen.

In this video, we learn how to apply a glitter makeup masquerade mask for Halloween. Start off by applying primer to the eyes, then a dark pink eyeshadow up to the crease. Next, apply purple to the lower lids, blue to the crease, and white underneath the eyebrow. After this, take a darker blue to the outside of the eye and blend together with the pink in the middle. Next, apply the blue shadow to the lower lash line, then apply eyeliner on the top and bottom of the eye in black. Now, you will...
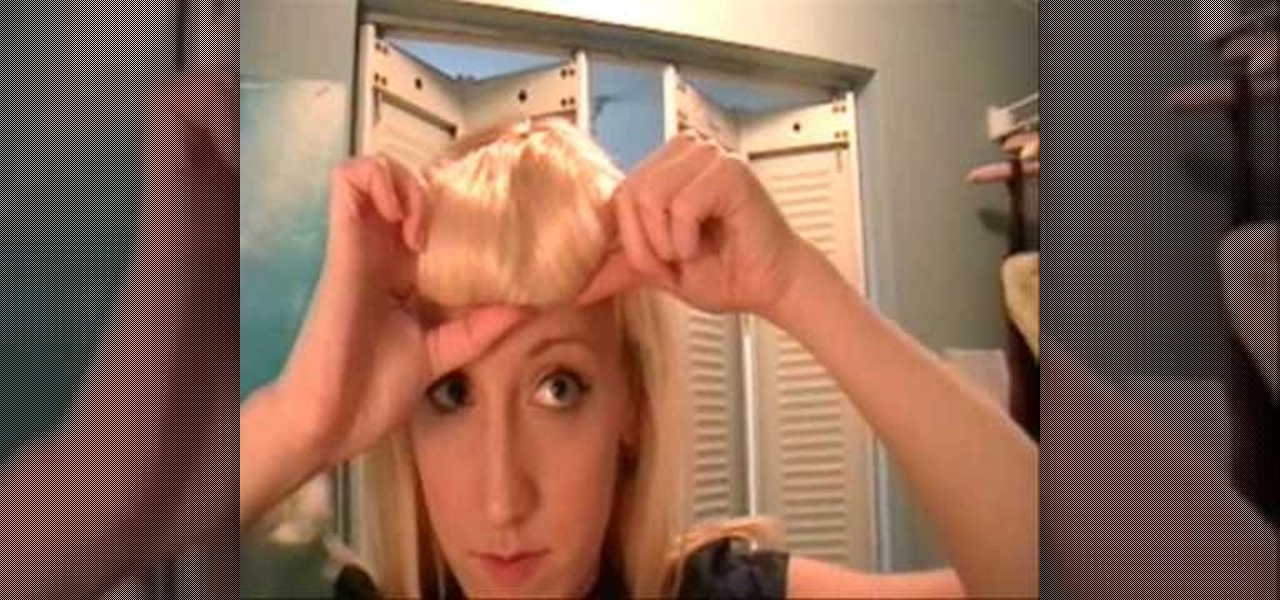
Now, rolled-up bangs may not be a good choice for going clubbing (at least not if you're trying to catch a cutie's eye in a positive way) or for work, but work great for Halloween if you're dressing up as a movie star or teeny bopper.

In this tutorial, we learn how to make a stylish Halloween bag tag. You will need: ink blending tool in black soot color, black paint, orange paint, white card stock, stencils, cutters, scissors, and glue. First, place your white card stock underneath the stencil, then cut out the shape of a house. After this, mark lines in opposite directions onto the shape. After this, you should have the shape of a spider web. Next, add the ink pain on the top to highlight the spider web and you will be ab...
How many stitches does your crochet art have? How can you tell? Why would you even want to know how many stitches are in your crocheted sweater or crocheted hat? Knowing how to count your stitches is a fundamental step in learning to crochet – assuming you want your finished product to be the right size and shape.

Almost 125 million people worldwide suffer from what is known as psoriasis, the skin disease that's marked by red, itchy, and scaly patches that are hurtful, if not visually god-awful. There can be a little hope though for psoriasis sufferers. Though you can treat and control psoriasis, characterized by dry scaly patches of skin, the progress is often erratic and cyclical, so be patient and consistent in executing these steps.
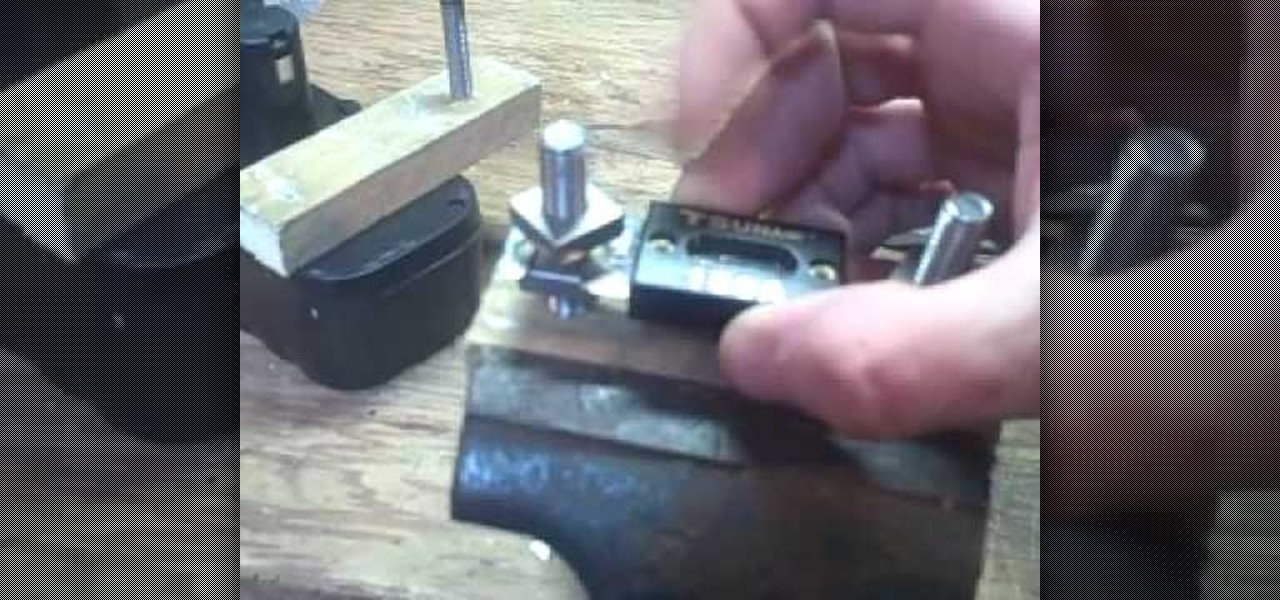
If you have ever found yourself working on a car project at your home and ran out of fuses, this tutorial is for you. Instead of going out and paying around $30 to $40, make your very own. It's wasy and saves you time and money.

This video tutorial from izbyfl shows how install Google Chrome and enable its plugins in Ubuntu. First download application from here: http://www.google.com/chrome/intl/en/eula_dev.html?dl=unstable_i386_deb.

How to dice Onions ( easily and quickly)
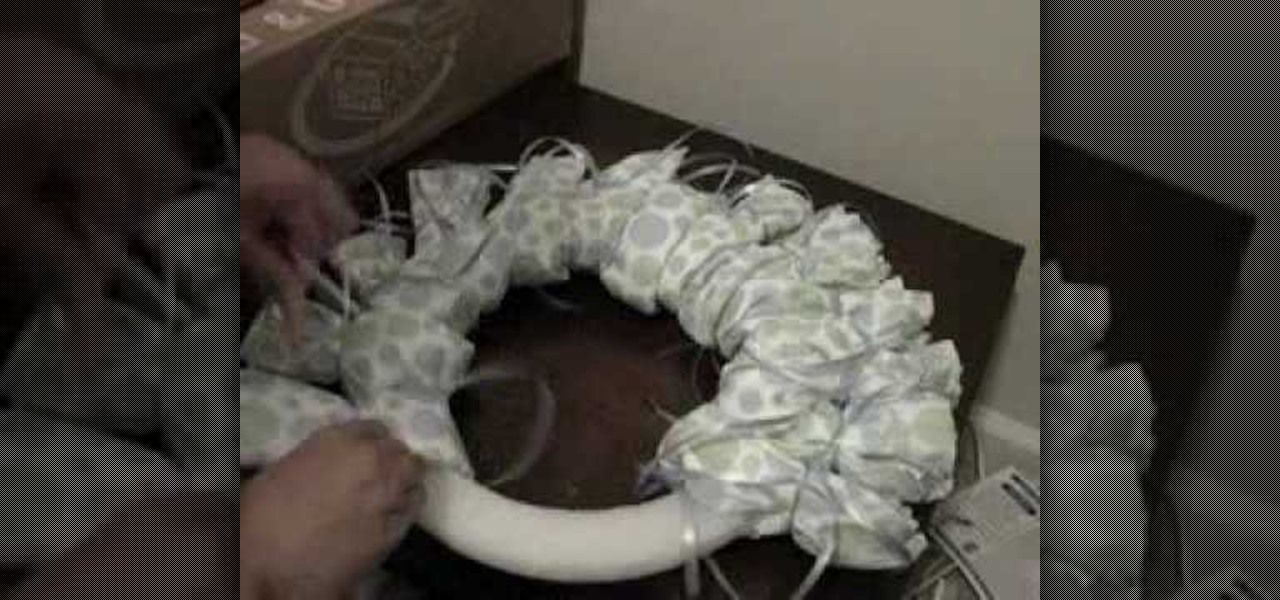
Notthecoolmom gives a craft lesson on how to make a diaper wreath for a baby shower. To make the wreath you will need the following materials: a package of 56 size 1 diapers (preferably with a design of some kind), a Styrofoam wreath, a spool of ribbon, and rubber bands (optional). Start by laying your diapers around the wreath to get an idea of spacing. Be careful not to make your wreath too full. You don't have to use all of the diapers it depends on the size of your wreath. To put the diap...
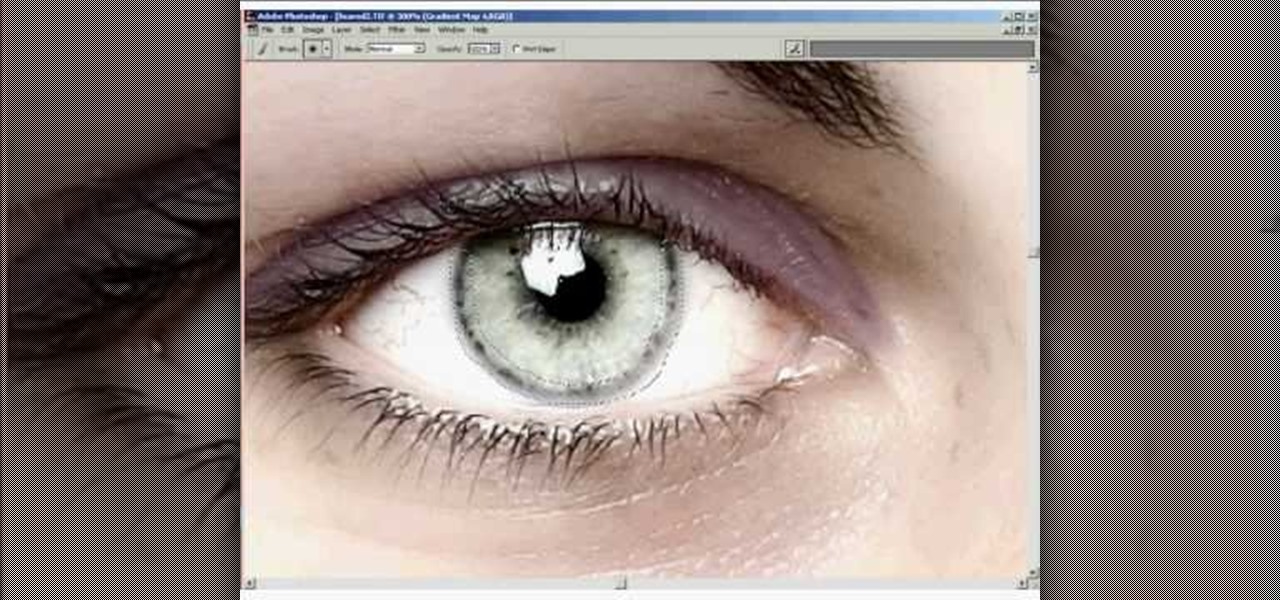
If you want to retouch or add digital make up using Photoshop you should first erase and cover up any blemishes you see on the surface of the skin. This can be bruises, blemishes, or even acne marks and bumps. Do this anywhere you feel necessary such as the face or on the body. Using the lighten tool, you can also lighten the eye color as well as the whites of the eyes. Next, you can also adjust the texture and color of the lips. You can also shift the color saturation of the picture to add r...
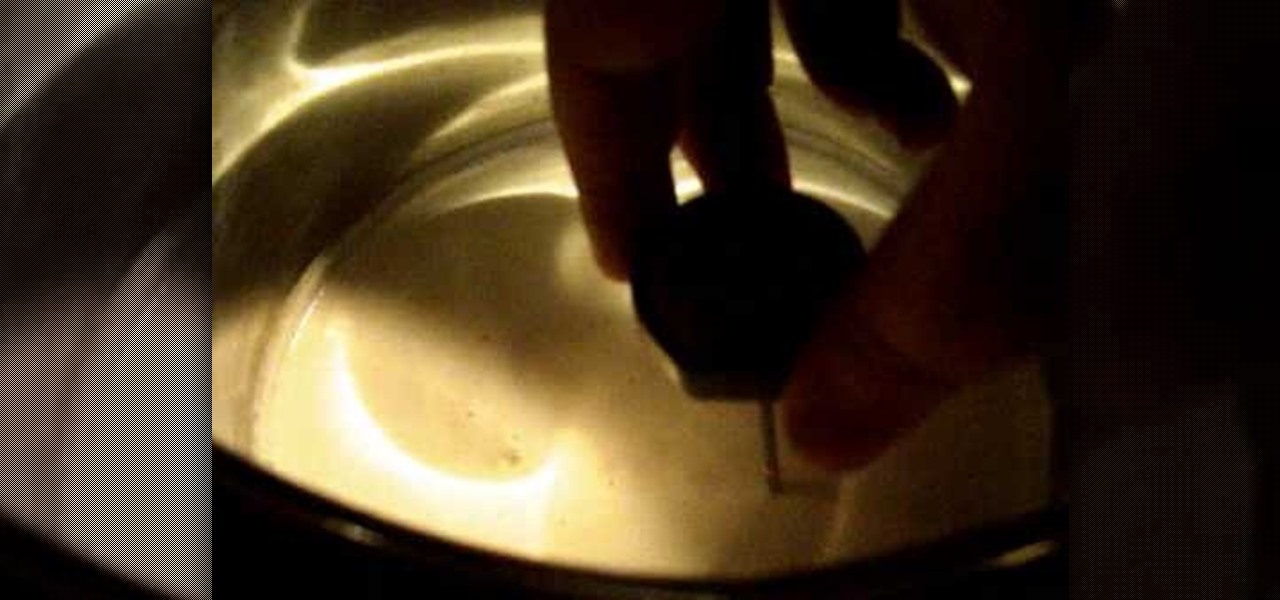
In this video Miss Betty Rocker shows you how to make ricotta cheese at home. You will need cheesecloth, ¬O gallon of 2% milk, 2 ¬O cups of buttermilk, and a pinch of sea salt. Start by getting a colander, preferable a metal one, and a large enough container for it to fit in. Cut and unfold several sheets of cheesecloth to drape over the colander. Pour the 2 ¬O cups of buttermilk and ¬O gallon of 2% milk into a large pot on the stove. Heat the mixture on medium high to bring it to a boil. You...
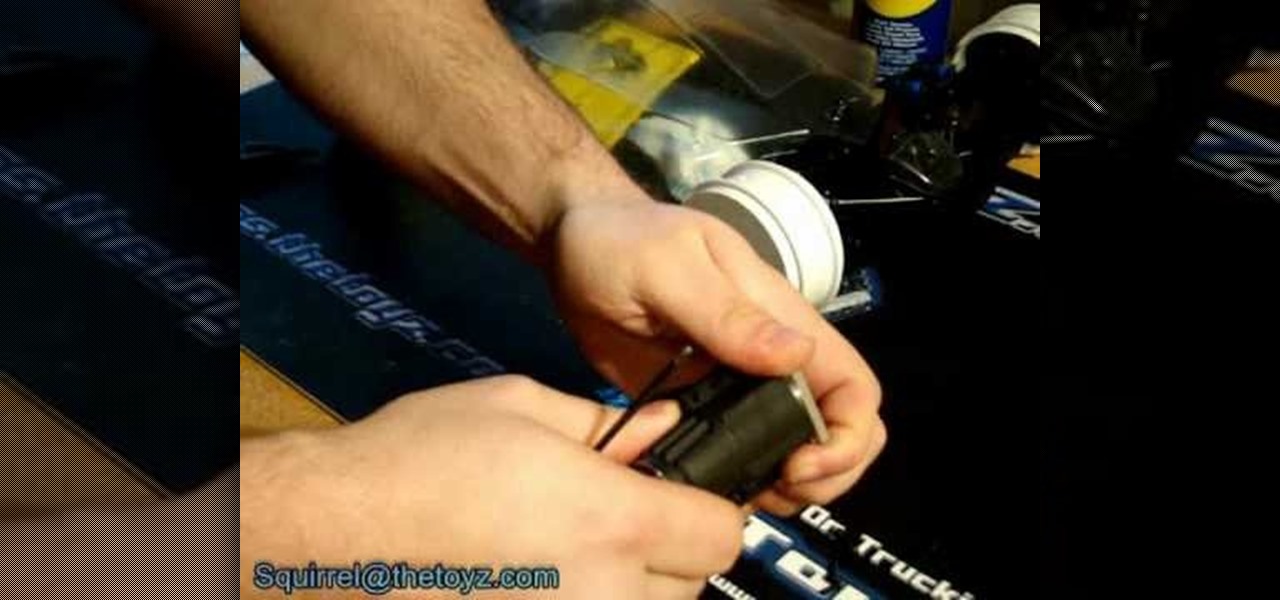
Starting with the cooling head you are going to have many different screws that could require a screw or a hex. After the screws are removed you can easily lift the cooling head from the engine. The plate underneath should pop right off along with the sleeve and the shim. Make sure you keep the sleeve and shim together. The starter will off once the screws are removed for it as well repeat the process for the backplate. Rotate the piston and this will allow you to pop the sleeve off. To remov...

In order to make a Two Pocket Card, you will need the following: double sided large card stock (8 x 4), precision trimmer, a ruler, tape, or glue, a pencil, and a ruler. Fold it in half, widthwise. Open it up and fold it lengthwise. Open it back up.
This video shows us the method to make cottage cheese at home in the European way. You can stop this process at the half way mark and separate the liquid to get yoghurt. You can whip or blend it and add some fruits to make it tasty to eat. Use 3 and a half percent homogeneous milk. Unprocessed and unpasteurized milk is the best for this purpose. Take 1 or 2 tablespoons of sour cream and add to the milk. Cover it with a cheese cloth and put it in a warm place for 2 days. Put the soured milk go...

Channel Pullip teaches how to make a round doll dress. To accomplish this, you'll need fabric. In the example she used sailor color themed material. You'll need lace and trimming, an elastic band, and velcro for closure. To start, cut the fabric to 17cm x 3cm, fold in half and sew to a tube shape. Then you'll turn it inside out and fold both ends in. Cut a 10cm piece of the elastic band. Then, sew the band to the material. You've just made the dolls headband. To make the top of the dress, you...

First of all you have to draw the rough sketch using light color lines. You have to draw blocks to the size of helmet, chest, two arms, legs and boots. Now start from the helmet and draw the outline. Draw the glass for viewing. Draw the lines as shown on the helmet. Also darken the spots as shown. Now draw the chest guard. Draw the lines to make all the different straps and marks over the armor. You also have to draw a tank at behind. Make the arm and the gloves. Now draw the outline of a gun...

This video tutorial from Mark Dusting shows how to create and edit wiki page in Wikispaces. To start, open internet browser and go to www.wikispaces.com.
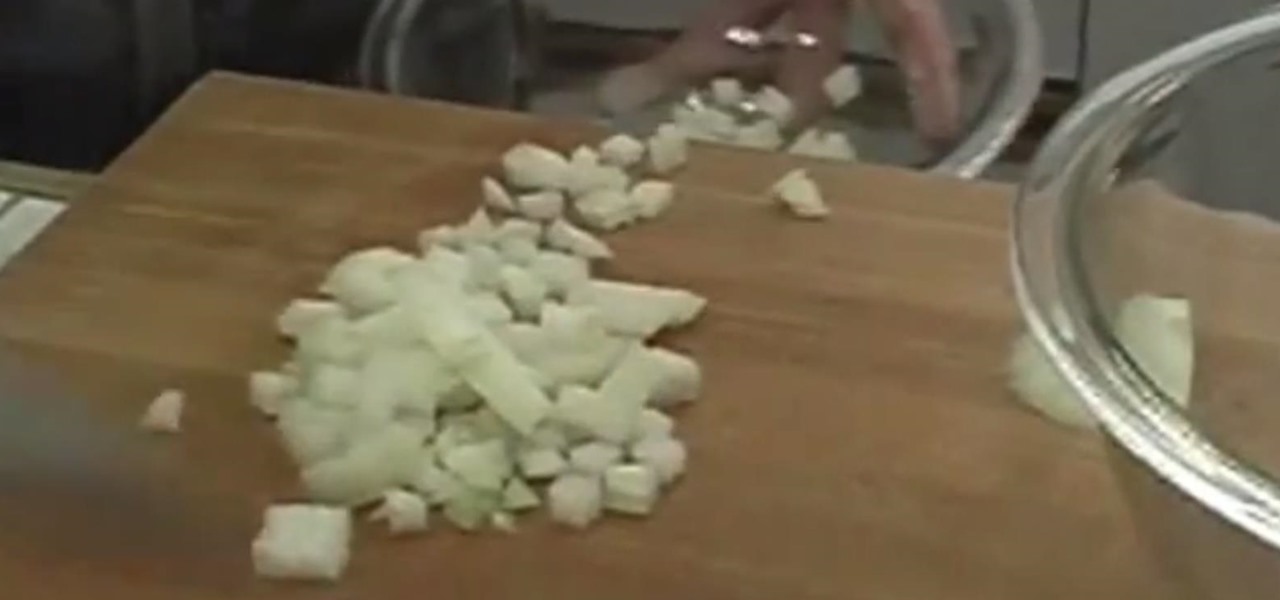
Michael Andrew, from Meals Americana, gives us some interesting tips on dicing an onion without tears.
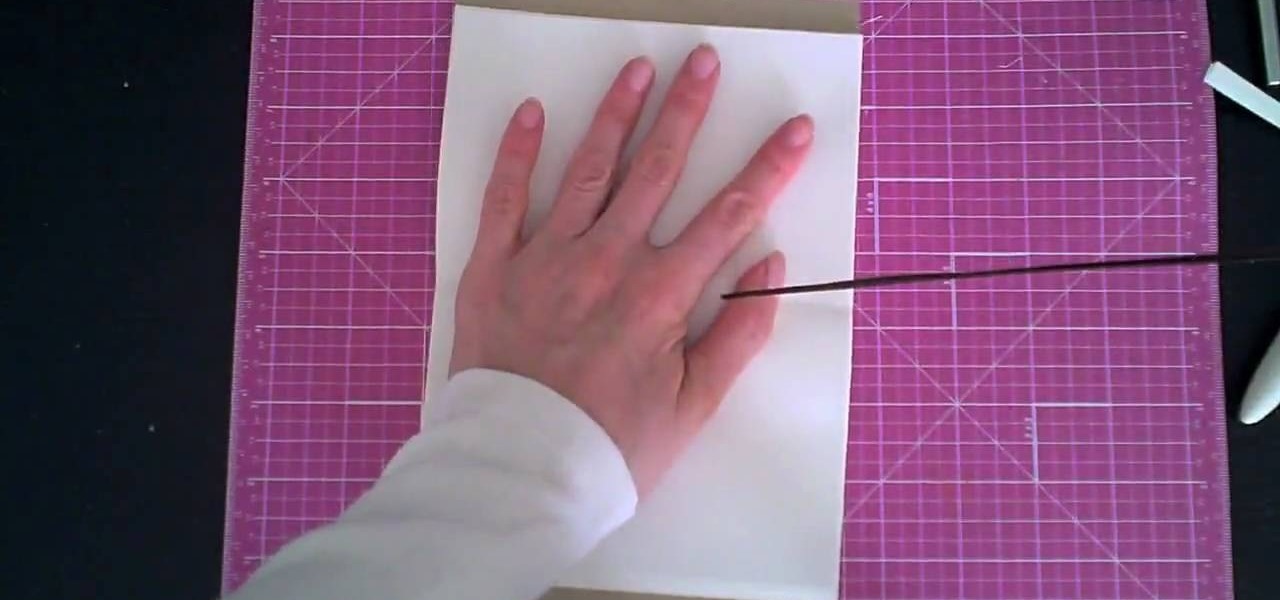
This video demonstrates how to make a notebook with ribbon binding. Take a stalk of plain white paper and it would be 5 1/2" long and 8" wide. Fold it in half. Trim off the excess with a ruler. Then align the edges of the white paper. Put this in a cardstock which is 8 1/2" wide and 5 1/2" long. Cover rapid around the white paper stalk to make sure that it the spine is bounded. Take the grid ruler and center it and mark the center and also 1" from the center at each side to the left and right...

First of all you have the draw the outline sketch of the body. Draw the head, neck, shoulders and then the upper portion of the body. Now draw the long hair. You have to darken the eyes and the eyebrows. Now darken the outline of the face, hair, ears and the lips. Now draw the collar in the neck. Draw the tie below the collar. Then you have to draw the front portion of the shirt with buttons. Draw the collar of the coat and the top pocket. Now darken the outline of the cat and then draw the c...

In this Arts & Crafts video tutorial you will learn how to make a stained glass picture frame. This video is from Artists Resource. You will need a Marabu GlasArt kit, some white spirit, a china graph pencil, scissors, a ruler, sheets of scrap paper, lead tape and a picture frame. Take the frame and remove the clips. With the ruler and china graph pencil mark off and draw 6” squares. Rub off the center lines with a tissue. This is where the photo will fit. Next you fill the squares with the g...

Tiling always looks so easy when you see it done on a straight wall! But how do you do it with a crooked wall? Use a Measureright Pro to get the angle right. So if you've tiled from a straight right angle and you're just reaching the 'odd' shaped spaces between your last row of tiles and your crooked wall, you can use the tool to mark your final row of tiles so that when you cut them, they will fit right into the irregular shaped spaces between your final row of tiles and the slanting wall. T...
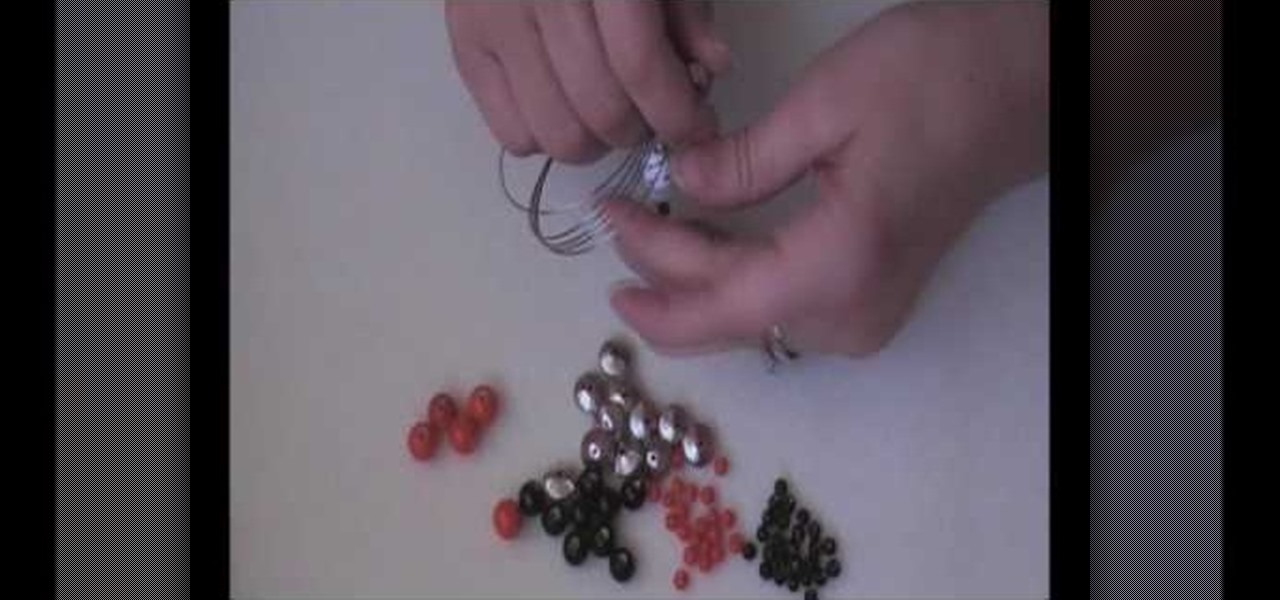
For this project you will need some 4 mm orange beads, acrylic spacers, 4 mm black glass beads, 8 mm black glass beads, 10 mm orange glass beads, memory wire, headpins & skull charms. You also need pliers that include bent nose pliers, chain nose pliers, round nose pliers and memory wire cutters. Ordinary pliers become blunt when used on memory wires. In the first step cut some loops of the memory wire depending on how many loops you want to have on your wrists. Now take a skull charm and a 4...
Julie Figuera shows how to make a no-sew ballerina or princess tutu for little girls. 1. Get a 1/2-inch wide satin ribbon. Cut the ribbon about 20 inches long. 2. Measure 20 inches from each end of the ribbon. Tie a knot on the 20-inch mark. 3. Unfold a yard of tulle and roll, making sure there is no wrinkle. Cut the ends of the tulle to make it even. 4. Measure every 3 inches and cut. 5. Take each cut piece of tulle. Fold it in two and cut. 6. Take the smaller piece of the tulle, fold it in ...
Looking for a new way to jazz up your traditional scone recipe? This video might have the solution you've been looking for. The addition of sour cream is sure to mix things up and add a new twist to your baking adventures.
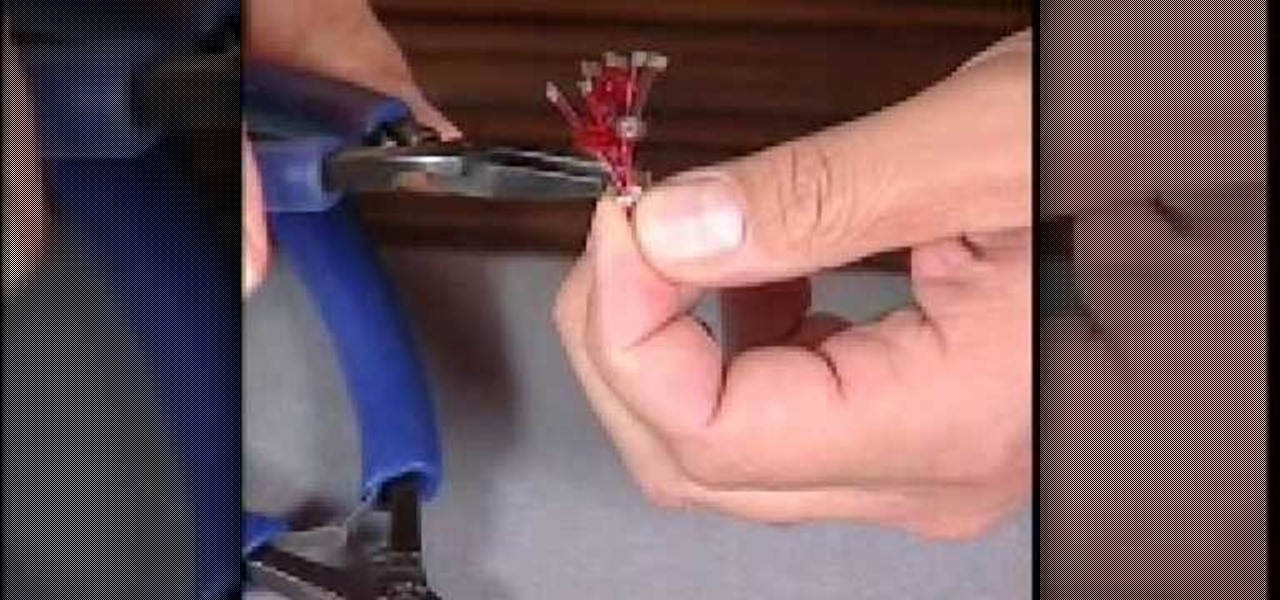
Mark Nelson accompanied by Rio Grande demonstrate by the start where you need a wire with stiffeners to it of various colors. 3 pieces of different colors of wire each 2 ½ inches long is needed for the earring. Pick a clamp where you can pass the 3 wires twice. First push it half way once and put the other end back in the hole and pull the ends through. This can also be done in an asymmetric way. Now you add 6 beads in any combination of colors. Use it in a 2 mm length and then cut off the en...