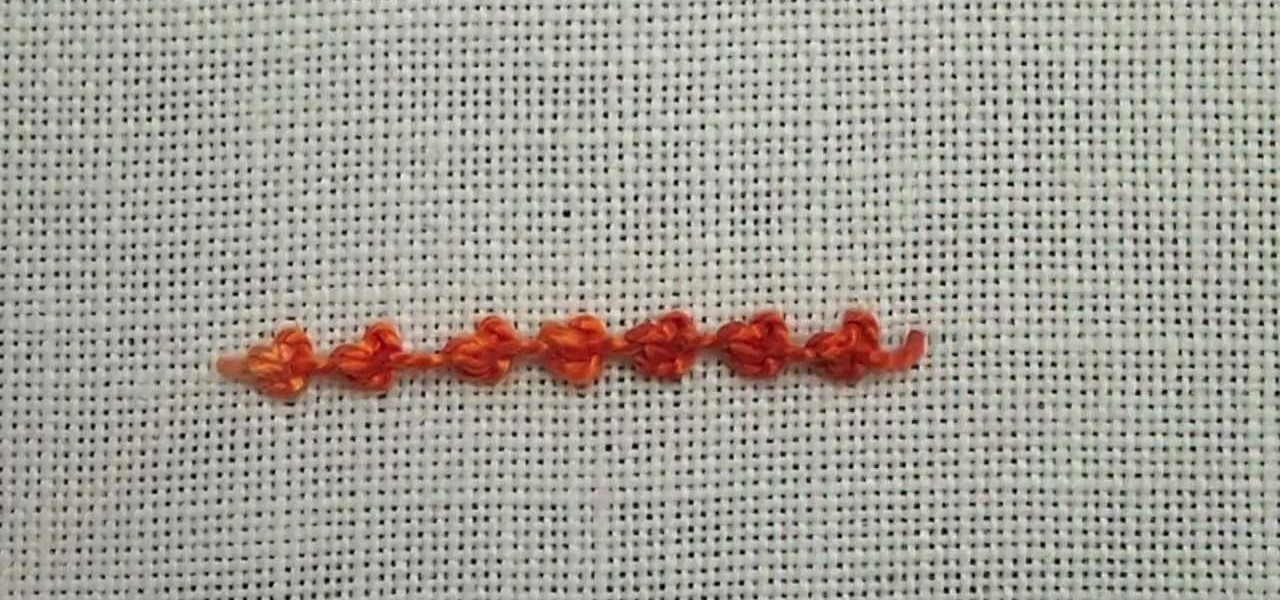
Here's another video tutorial from Needle 'n Thread for hand embroidery stitches - this one is for the Palestrina stitch. Palestrina stitch is used for outlining or filling and is common in both Jacobean designs as well as in Mountmellick embroidery, the latter because it gives a highly textured line or fill area.
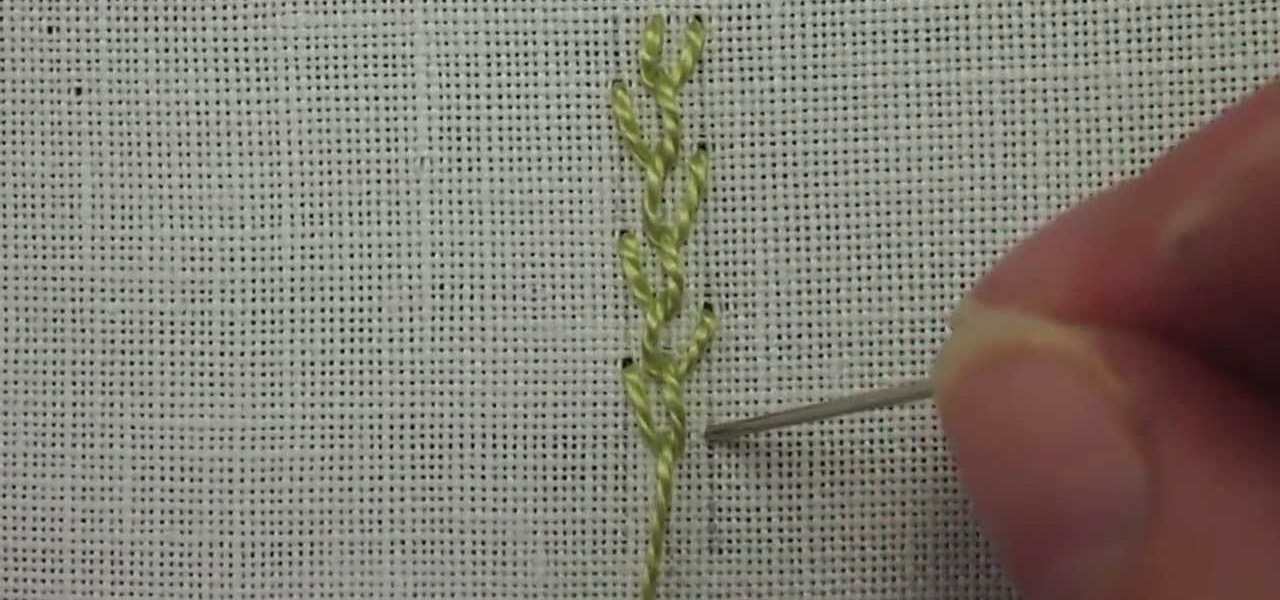
The feather stitch is an easy stitch for hand embroidery. It's worked vertically, from top to bottom in a kind of back-and-forth, right-and-left motion. You can use the feather stitch in hand embroidery for edges and borders, it's used often in crazy quilting as a seam embellishment, and it also makes a good foundation of foliage or stems in flower designs, in Brazilian embroidery, and more. Watch this video from Needle 'n Thread to see how it's done.
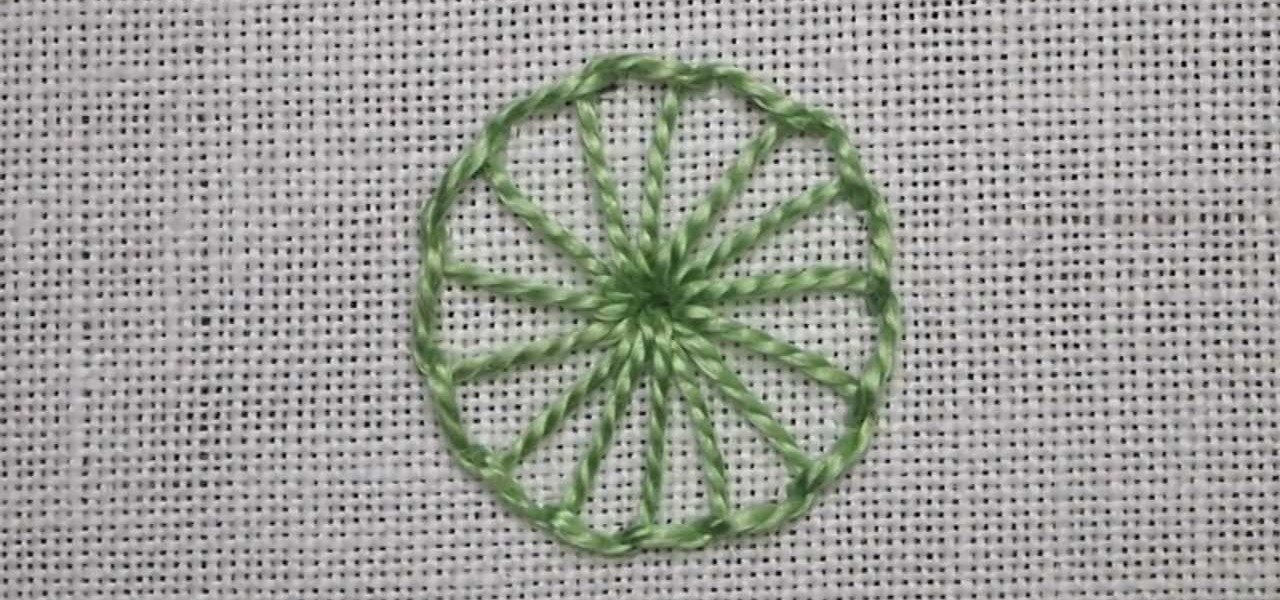
Once you know how to do the buttonhole stitch, it's just a matter of "working it" a bit to master variations of the stitch. In this video from Needle 'n Thread, you'll learn how to work a buttonhole wheel, which can be effectively used in all kinds of embroidery - especially flower-like accents and for adding texture to designs.
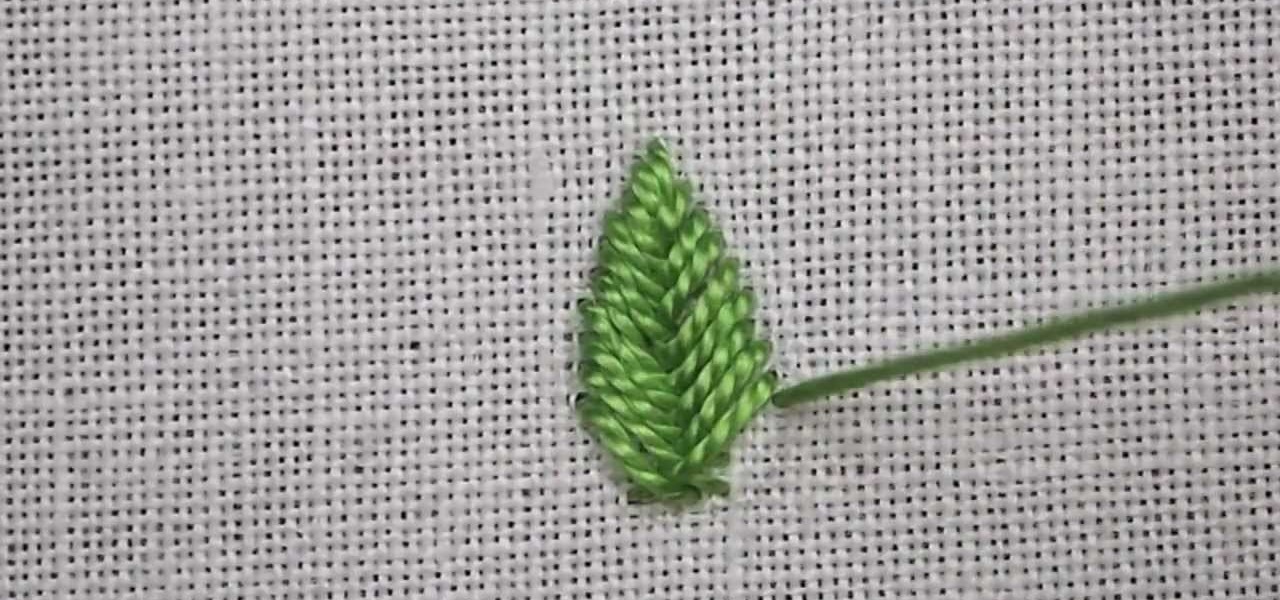
As you'll see in this video tutorial (from Needle 'n Thread), the fishbone stitch is an easy embroidery stitch to use for filling in leaves (and other shapes, too). The stitch is a good stepping-stone to satin stitch, as it requires you to keep a neat edge on the outside of your design.
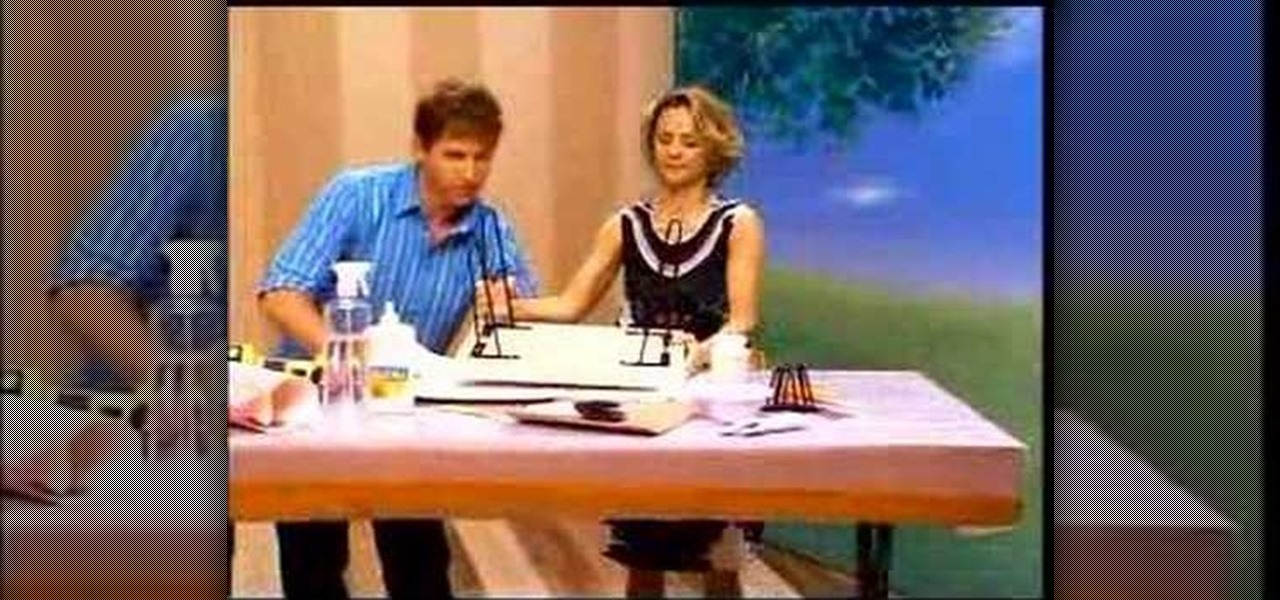
Learn to decoupage tables from an famous ex-New York fashion designer. Todd Oldham, now a master of home design, shows Amy Sedaris, from Strangers with Candy fame, the frisky steps to decorate the surface brightly.
While breadboarding may seem like some odd combination of snowboarding and consuming the fluffy pastry at the same time, it's actually just the technical term for using a construction base to build a prototype electric circuit. Breadboards are solderless so they're great for circuit design and are reusable.

Learn basic techniques of creating value steps using graphic pencil. Great for art and design foundation students.

This presentation entitled: Pollinate Chain Reaction was produced by Mike Goedecke and Kane Roberts at Belief Design. There are many tips contained within on how to maximize your creative potential. Great to help inspire anyone in a creative field.

A five minute film on how to make your own edible robot. Edible robotics is an exciting new field of research into robots as food and prey. This research was supported by Robo250, the Robotics Institute at Carnegie Mellon University, the Mattress Factory and MAYA Design, Inc.

Got an old pair of Nikes or other sneakers lying around? Learn how to customize your shoes and paint your own designs and graphics on them. You'll need acetone to treat the sneakers and water-based acrylic paint.

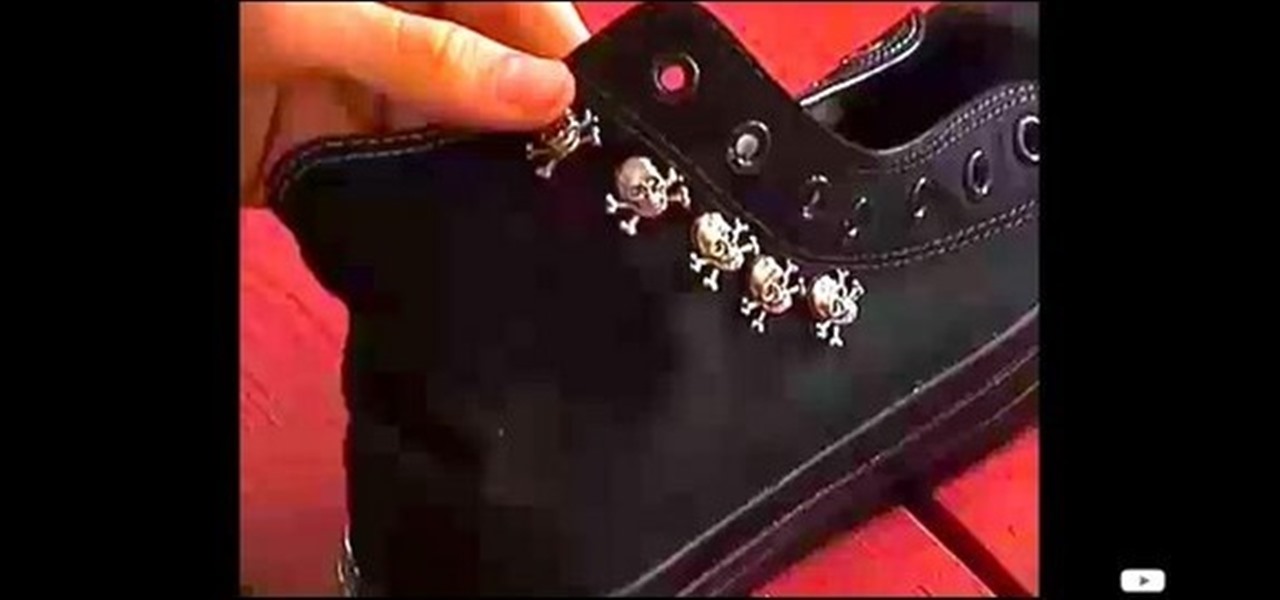
Designer Andrew Hanson shows you how to take an old pair of Chuck Taylor's shoes and add your own personal designs and flair to them.

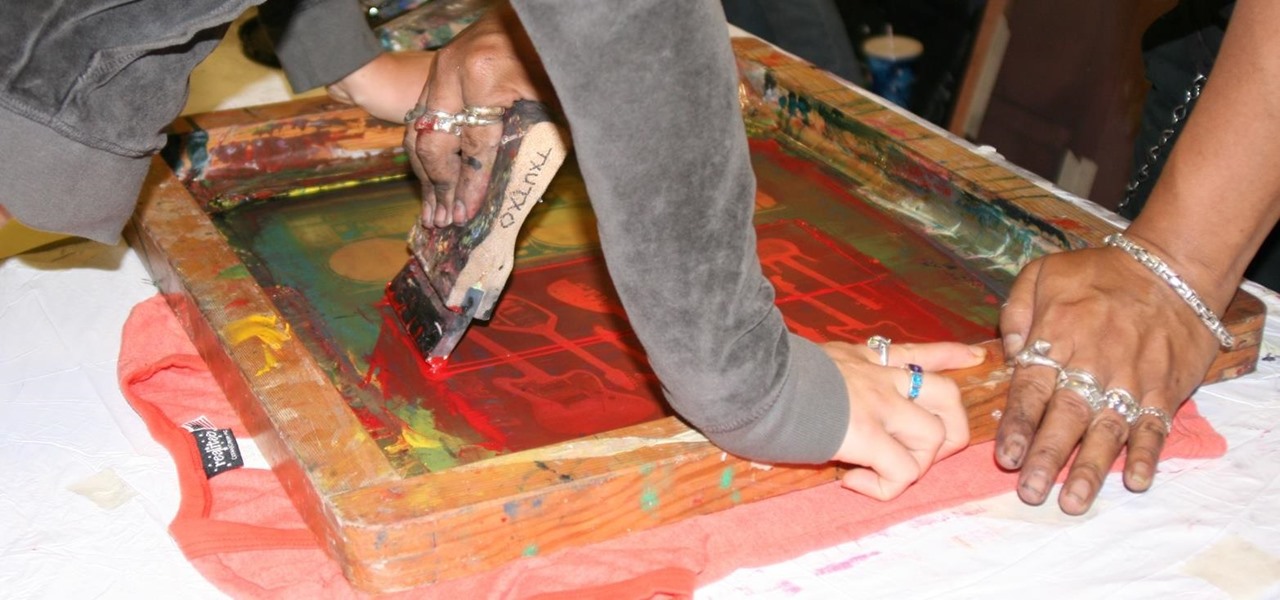
Corrine from ThreadBanger shows you how to screen print your own designs at home onto a t shirt.

Want to make our own t-shirt designs? Learn how to create stencils to make your own custom t-shirts

This video looks at some of the issues around constructing sundials. Included are step by step instructions for building a horizontal sundial and instructions for setting it up. This activity supports both science and math curriculums. A good project providing an opportunity to use protractors and rulers. The sundial example in this video is designed for use at latitudes close to 45 degrees north.

In this video tutorial you will learn to use custom shape clipping masks in Photoshop CS2. The masks offer you great control over your design. This example involves the use of layers and layer style.

Learn how to make wall art that will spruce up your home while keeping a low budget. Pink of Perfection has provided this great horse stencil for you to use, but be creative! The great thing about stencil art is the freedom of using different designs or making your own.

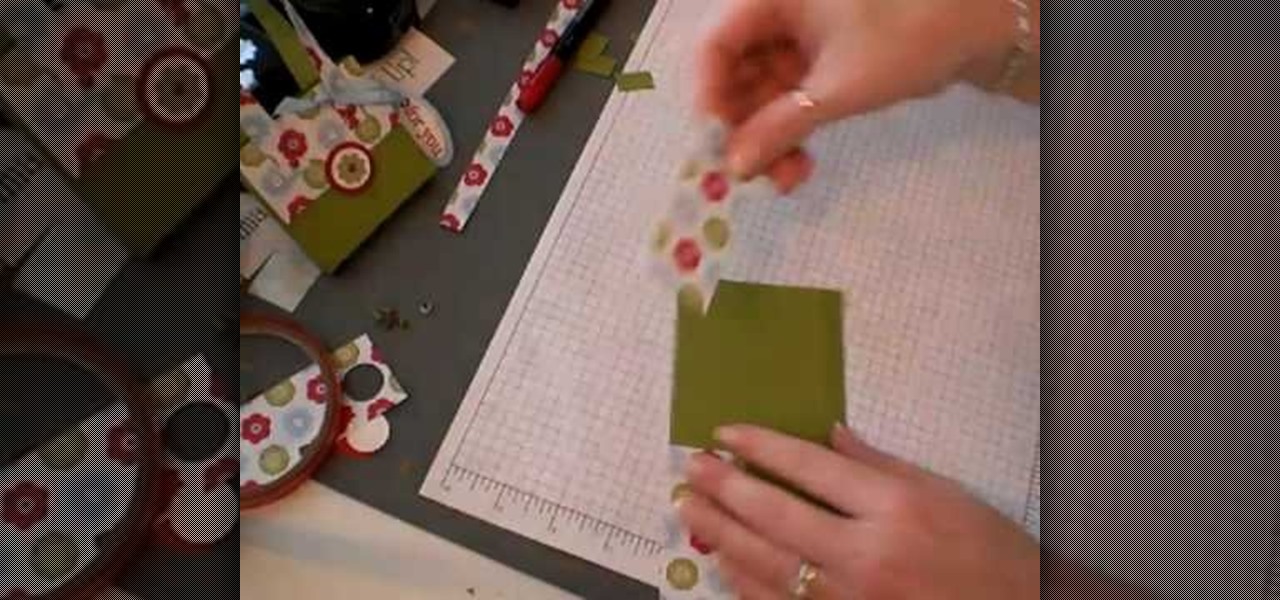
Learn how to create and design your own paper handbag.

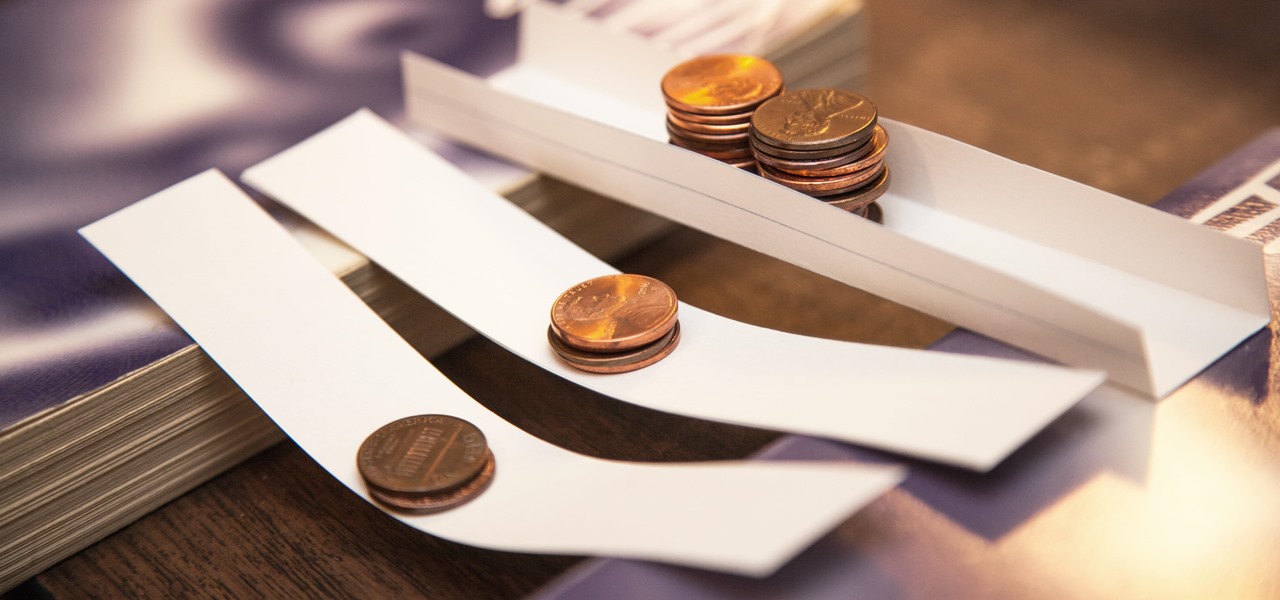
Every day we pass bridges, whether it's a foot bridge, a highway overpass, a span over water, or a viaduct over a valley. We pass on these structures without even thinking of the engineering genius that went into their design and construction, let alone the science behind their strength.

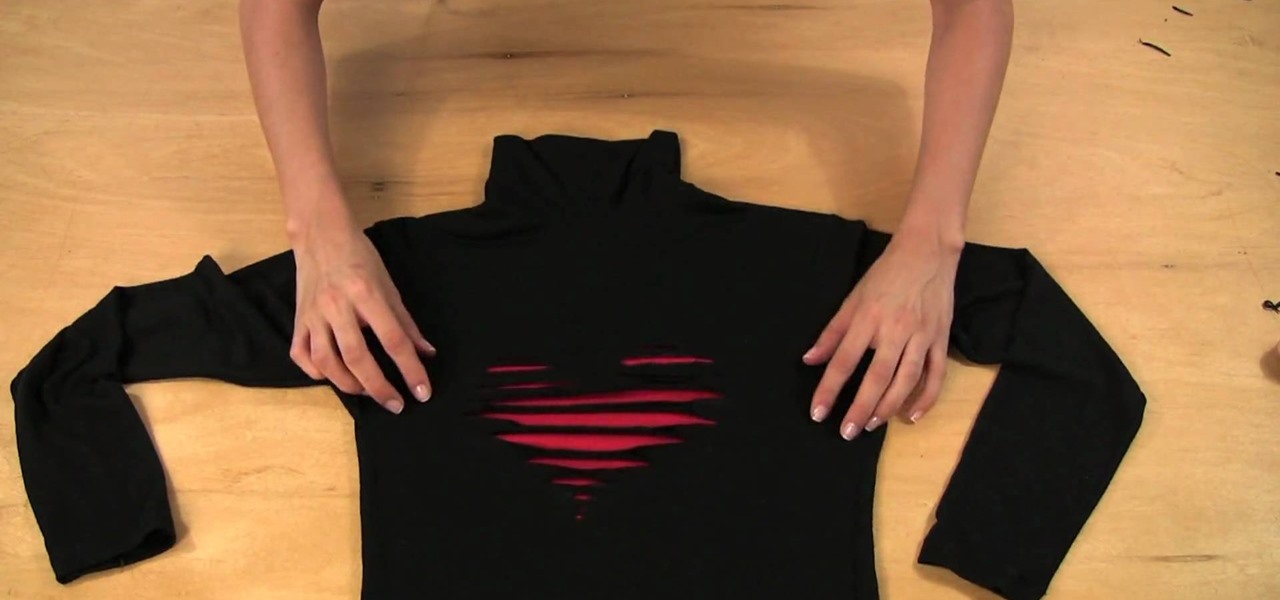
St. Valentine's Day is coming up soon in February, but do you have a special outfit planned for that special someone? Well, even if you don't have a valentine, this tattered heart black shirt will show the world you care. See how to make a tattered heart Valentine's Day T-shirt in this video from GiannyL.

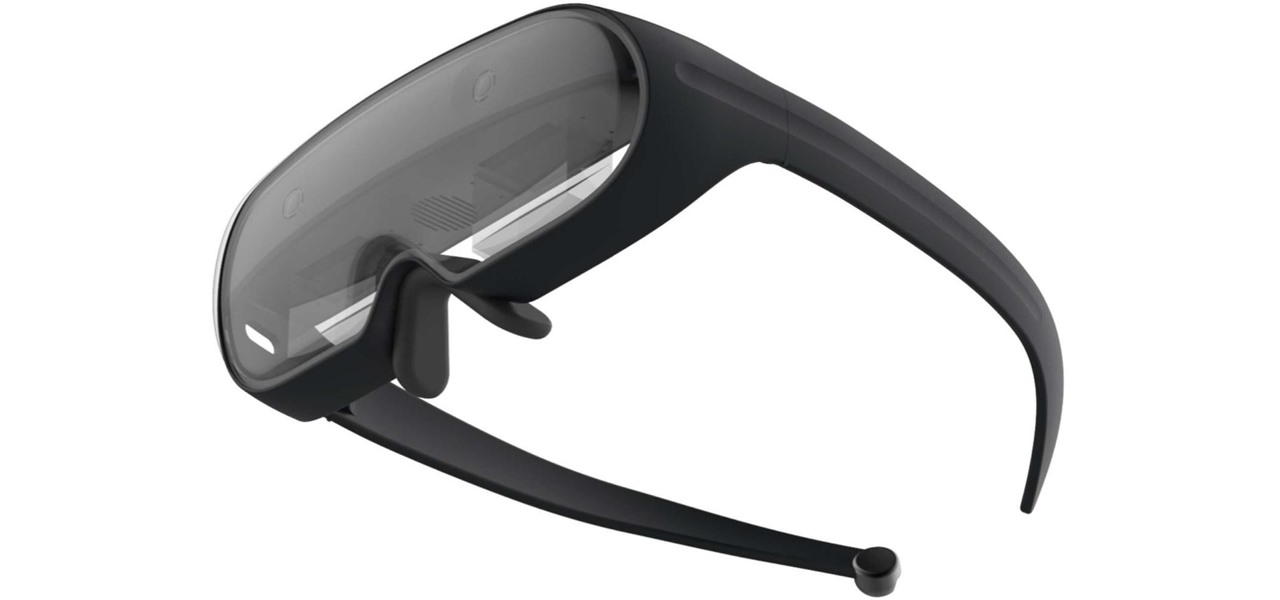
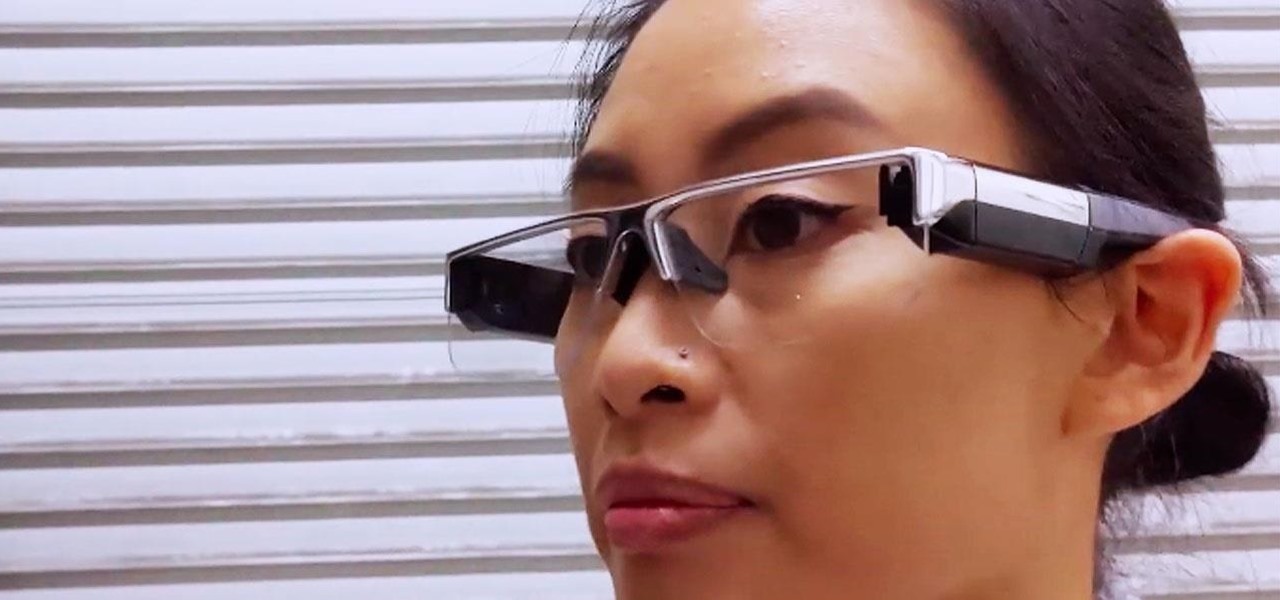
Just as Apple, Snapchat, and other tech giants are working on augmented reality wearables in the race to replace smartphones for the future of mobile computing, so is Samsung.

Designing and manufacturing waveguides for smartglasses is a complex process, but DigiLens wants us to know that they have a software solution that partially solves that problem.

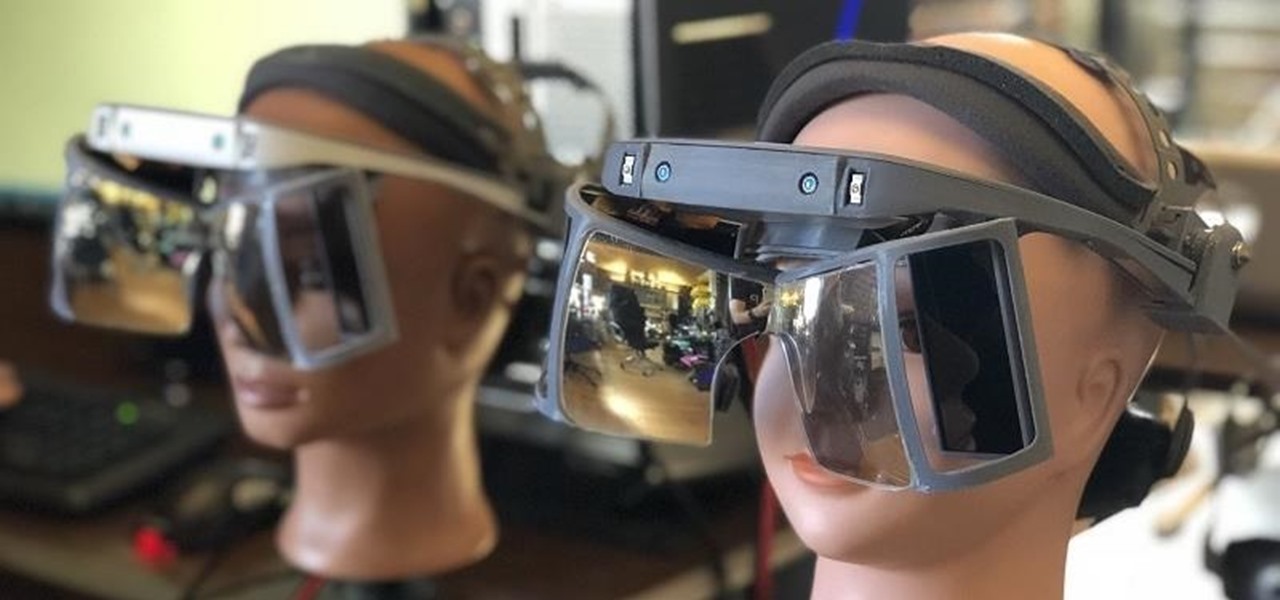
Less than two months since unveiling Project North Star, Leap Motion has released the reference design that will allow developers, makers, and even manufacturers to build their own augmented reality headsets based on Leap Motion's work.

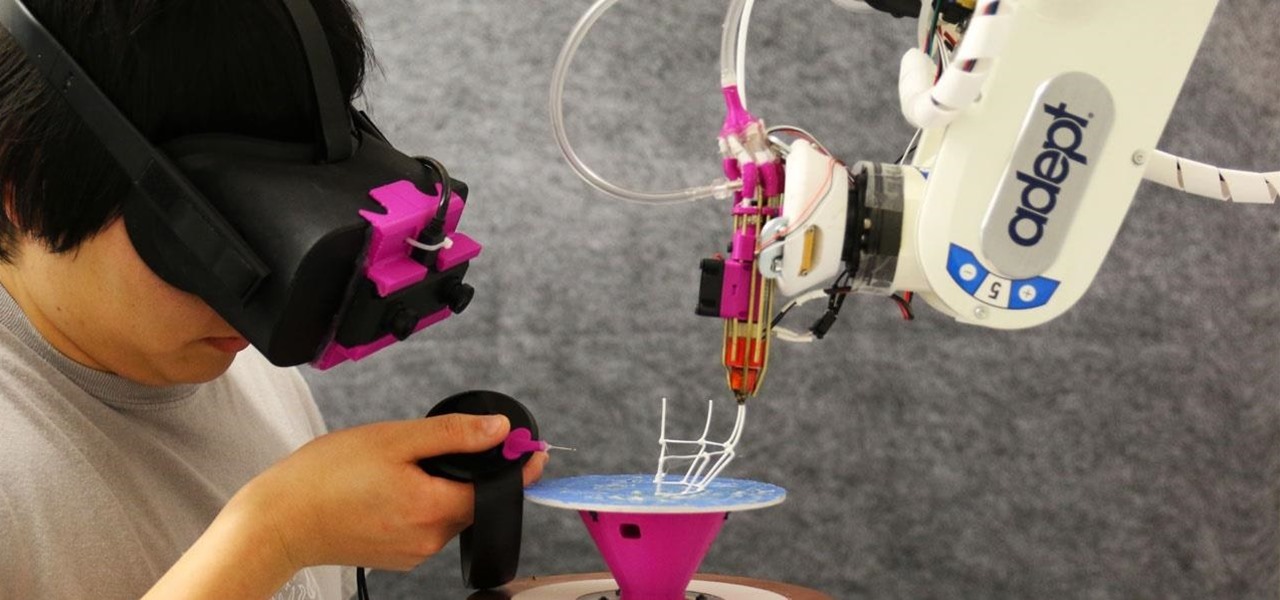
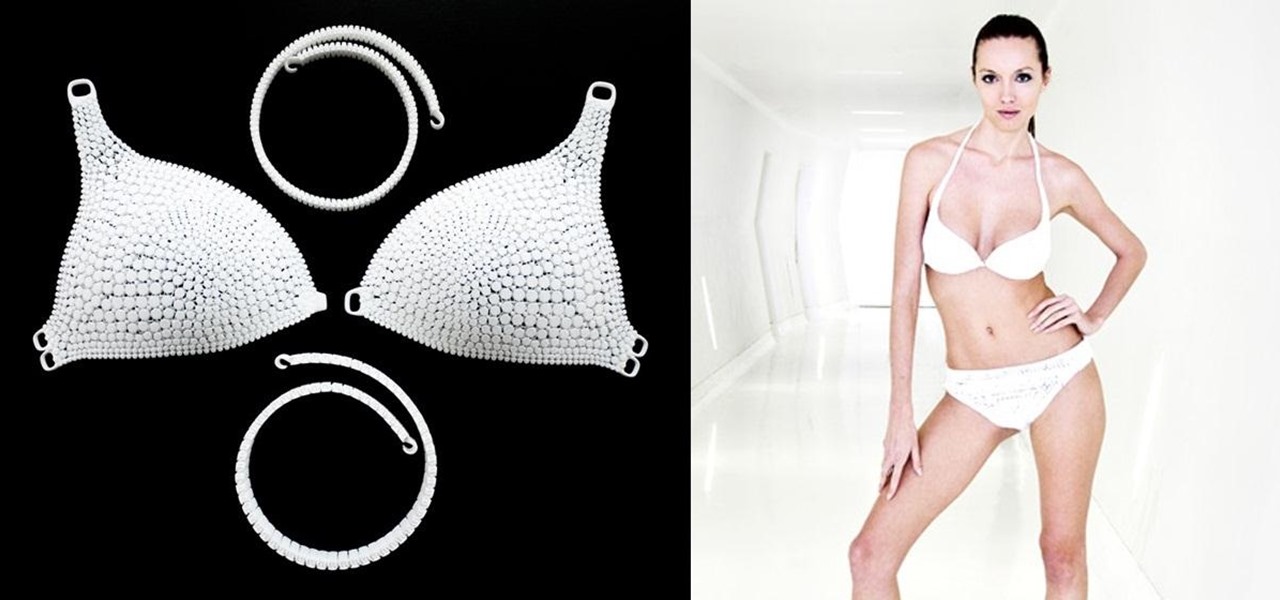
We've seen a number of unique mashups of augmented reality with other bleeding edge technologies, but somehow it took until 2018 for someone to come up with a now obvious complement to AR: 3D printing.

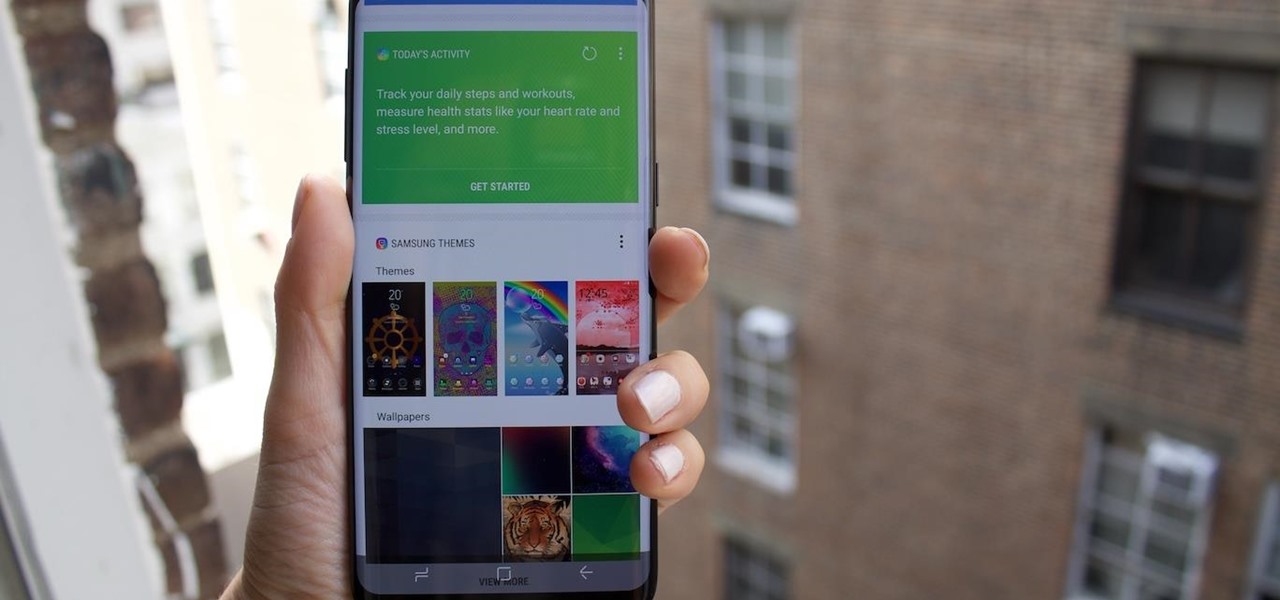
It looks like Samsung was thinking about slapping a little nub of a home button on the Galaxy S8 and S8 Plus. This is according to a patent published by the European Trade Mark and Design Network, uncovered by Android Headlines. Despite having a nearly bezel-less display on their latest flagships, the South Korean manufacturer apparently considered modeling the design after last year's Galaxy S7 and S7 Edge.

Once mixed reality technology is more widely available and realistically priced for consumers, using the tech to create the illusion of a larger space, will likely be a favorite use for mixed reality in places where real-estate is expensive, people tend to live in smaller homes and work in tighter offices.

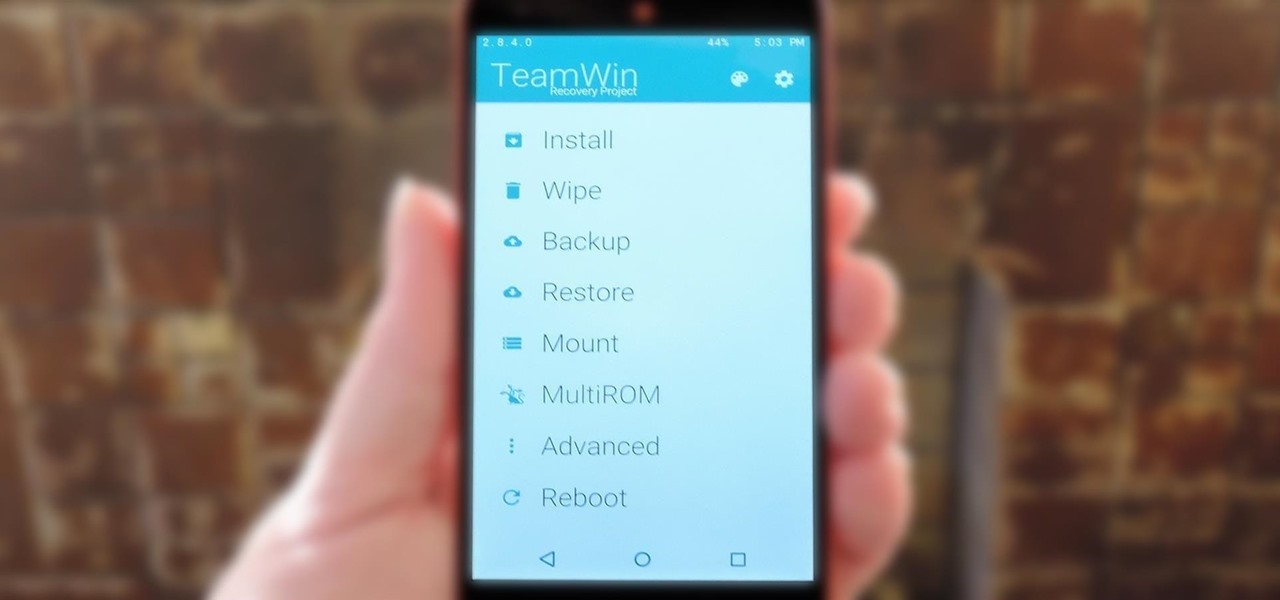
TWRP is hands-down the best custom recovery out there. Its interface, on the other hand, is... well, let's just call it utilitarian. The guys over at Team Win made sure that their product was robust, functional, and easy-to-use, but they didn't put a tremendous amount of effort into polishing the looks.

Android's new Material Design language is truly a thing of beauty. Slated to make a full debut alongside the upcoming Android "L" release, the vision and simplicity of this UX design recently won Gold Prize at the annual User Experience Awards.

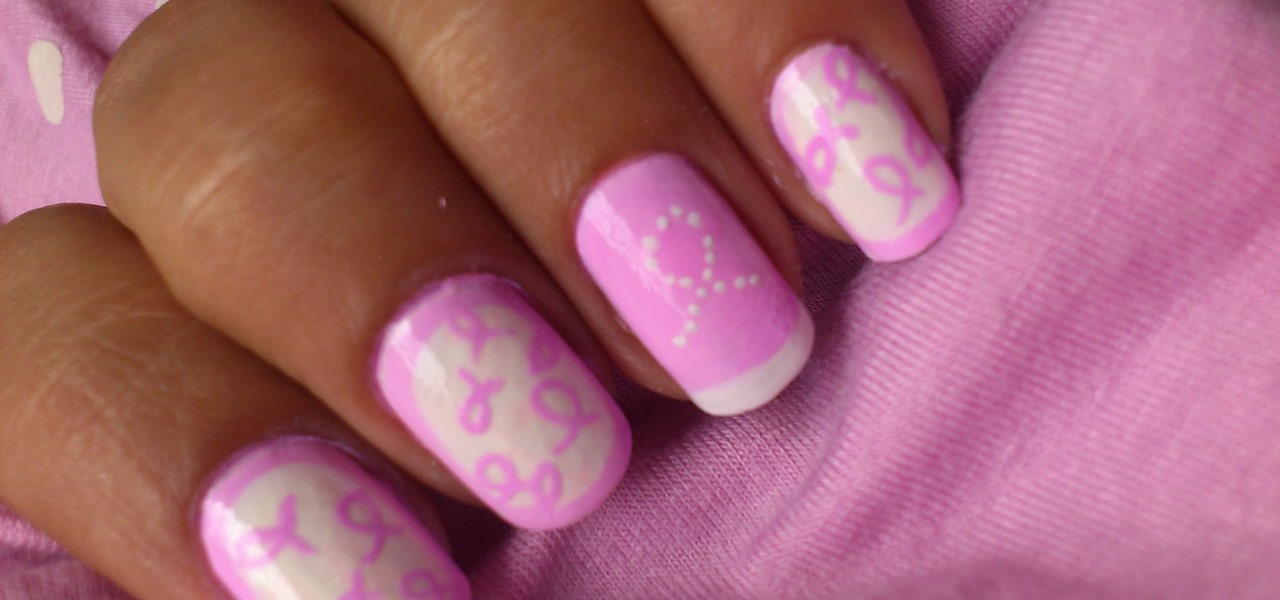
Breast Cancer Nails Art Designs 2012-- Awareness Ribbon Nail Polish Tutorial no decals or stickers

Whether you're making a poster, drawing a logo or designing a website, the font you use can make a huge difference in any visual design, and the ones available in most word processors can get pretty boring. There are thousands of sites online where you can download free fonts, and even a few that let you design your own. Here are some of the best.

3D printing has been around for a while, but until recently it was used mostly for prototyping and research. Now, with technological advancements, it seems like everyone is using 3D printers, from crime scene investigators to garage hobbyists and hackers. Below are some of the most innovative uses people have come up with so far.

In this video we learn how to decorate a ceramic lamp base with Simon Leach. First, grab a small paint brush and then apply paint to it. Once you have this, start to paint your chosen design onto the pot. Painting a leaf or a plant will be the most appropriate for a large jar or lamp base. Use a brush that will move along the pot and create unique lines. Go all around the pot until your design is finished. Let this dry and then rinse your pot off when you are done. Let your personality shine ...

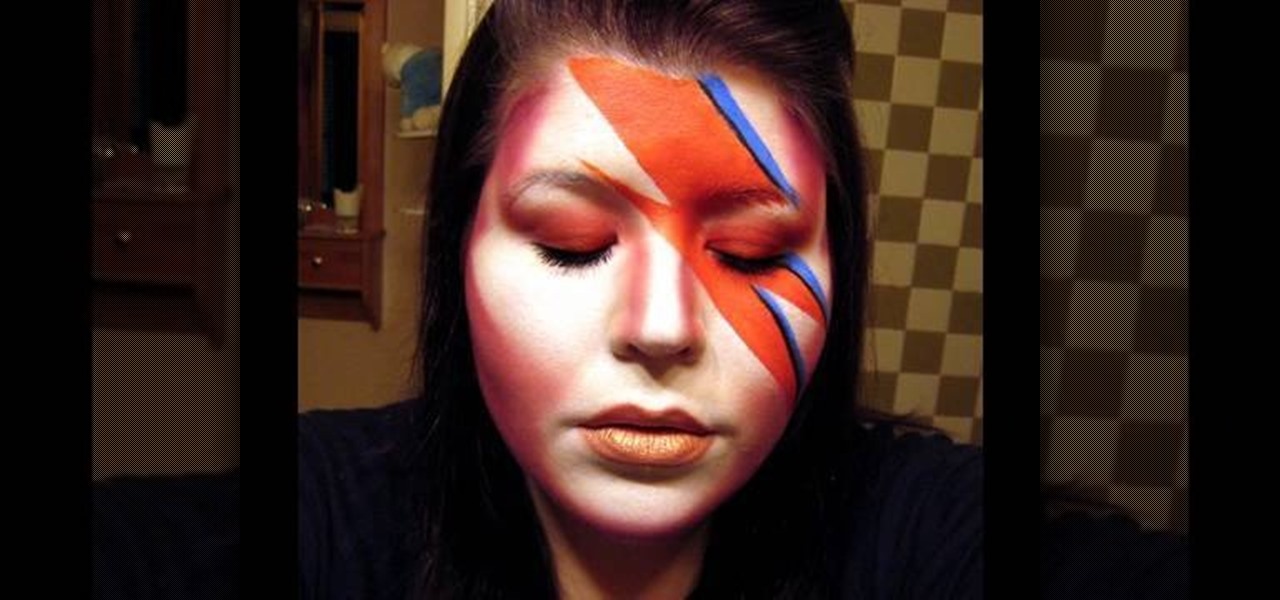
In this video we learn how to do Bowie-like inspired makeup. Start off by applying white makeup to the face all over around the lips and on the bridge of the nose. From here, apply red color to the side of the face and on the right eyelid going up to the corner of the face. Then, contour the nose with this same color, connecting the sides to each other. Now, apply red paint and blue paint to the face to create the design that is on the left hand side of the face. Once your design is finished,...

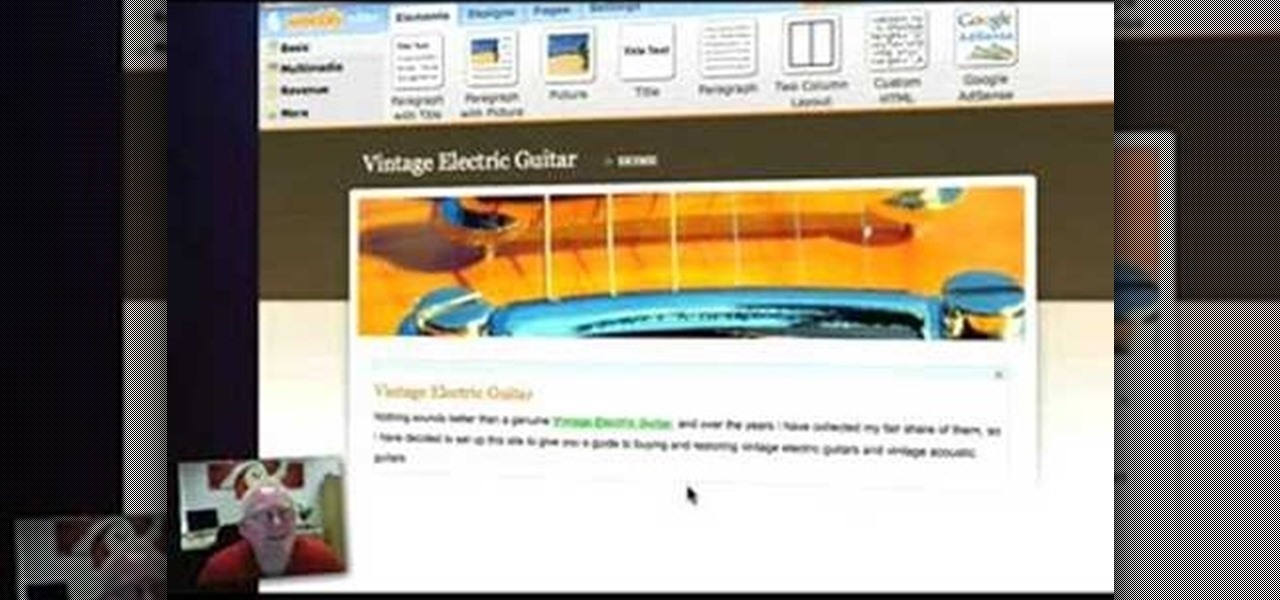
In this video, we learn how to set up a Weebly website. This can be used to build a complete site with multiple pages. First, go to Weebly and enter in your information under the sign up now text. Next, click the sign up button and enter in the Captcha phrase. After this, title your new site and continue on until you see the tabs at the top of the screen. Elements, designs, pages, and settings will all be listed. Go through the designs until you find one you like, then settle on that. Once yo...

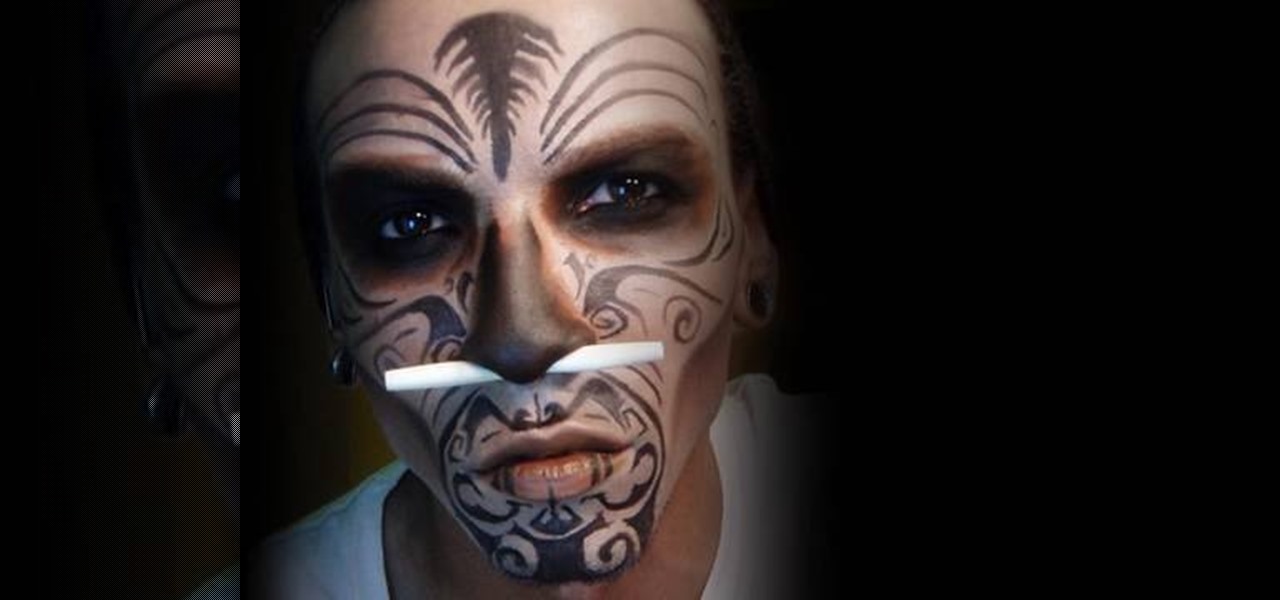
In this video, we learn how to transform into a witch doctor for Halloween. Start by using a white foundation all over the face, avoiding the eye and eyebrow areas. After this, apply bronzer to the cheekbones. Next, apply a black or dark brown color on the entire eyes, smudging it on the edges. Next, apply brown lipstick on the lips and mark lines with black paint on it. When done with this, start to draw a tribal design on the chi, then underneath the nose. Define the cheekbones further with...

This is silk screen production, the cheap and easy DIY way! In order to make this easy silkscreen for making cool T-shirt logos and designs, you'll need some acrylic paint, paintbrushes, cheap net curtain (patterned or plain), vinyl sign sheets, blackboard (or cork board), and some fabric paints to paint with. Also, you'll need a CraftROBO precision cutter. Soon, you'll have your very own screen-printed tee shirt, thanks to your very own homemade silkscreen.

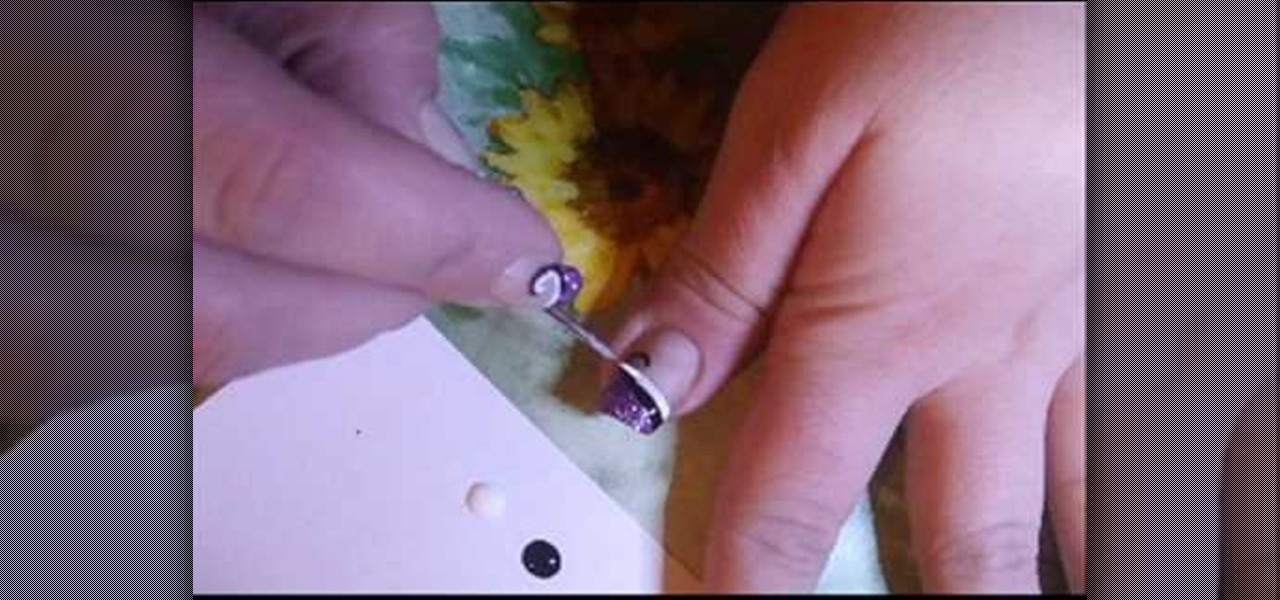
In this video, we learn how to create a white, purple, and black swirl nail art. Start off by applying purple glitter to the side corner of the nail. Next, draw on a black thick line underneath the purple, followed by a swirl at the end of the line. Then, take white nail polish and make the same line underneath the black line. Make sure you let the black dry before you paint the white on underneath it. When all colors are dry, apply a clear coat of nail polish over the designs. Now your swirl...

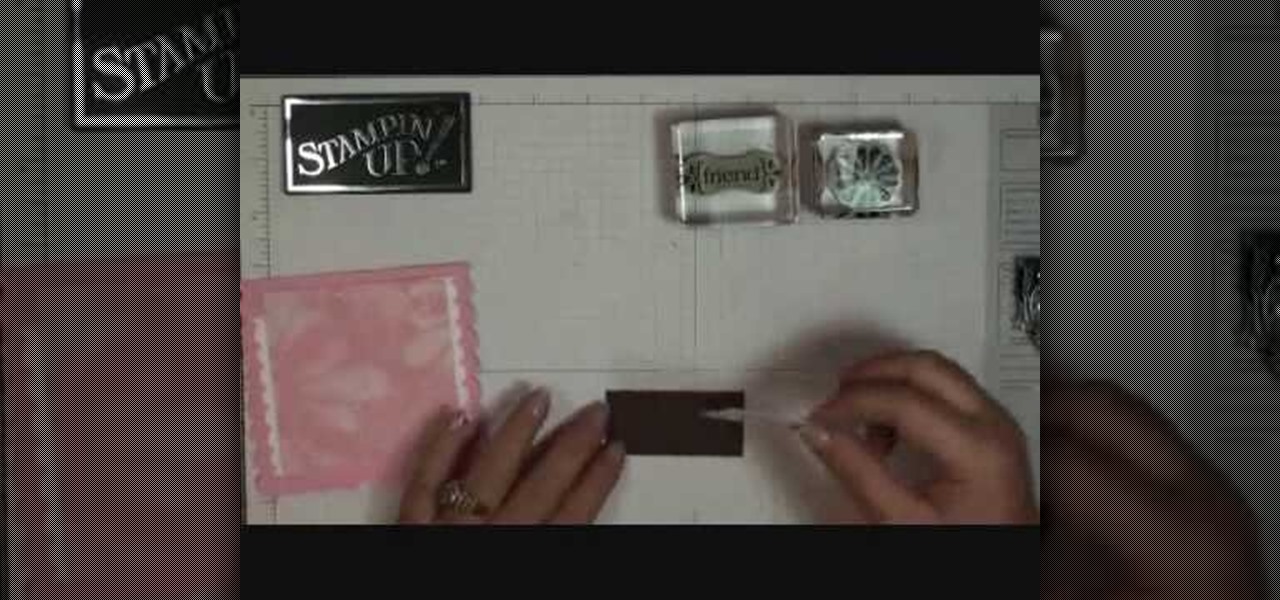
In order to make a scallop square card with Stampin' Up, you will need the following: a big shot, a large scallop square # 115950 Bigz Clear die, stamps, adhesive, design paper, mini glue dots, decorative ornaments, and card stock.

In this tutorial, we learn how to paint your nails with blue glitter and black nail polish. You will need: blue nail polish, clear nail polish, blue and black acrylic paint, chopped thin brush, glitter, dotting tool, and a small flat brush to do this. First, paint the tips with blue polish, then use the small brush to stick the glitter onto the nails, patting it on thick. Next, add a clear coat and let the nails dry completely. Now, put the chopped brush into black acrylic and make a swirl de...

Have you always secretly harbored a love for urban design or architecture but your parents made it clear to you that they would only financially support you through school if you studied pharmacy? We know your situation sucks, but just because you can't get a degree in urban planning doesn't mean you can't sketch out designs of beautiful cities.


