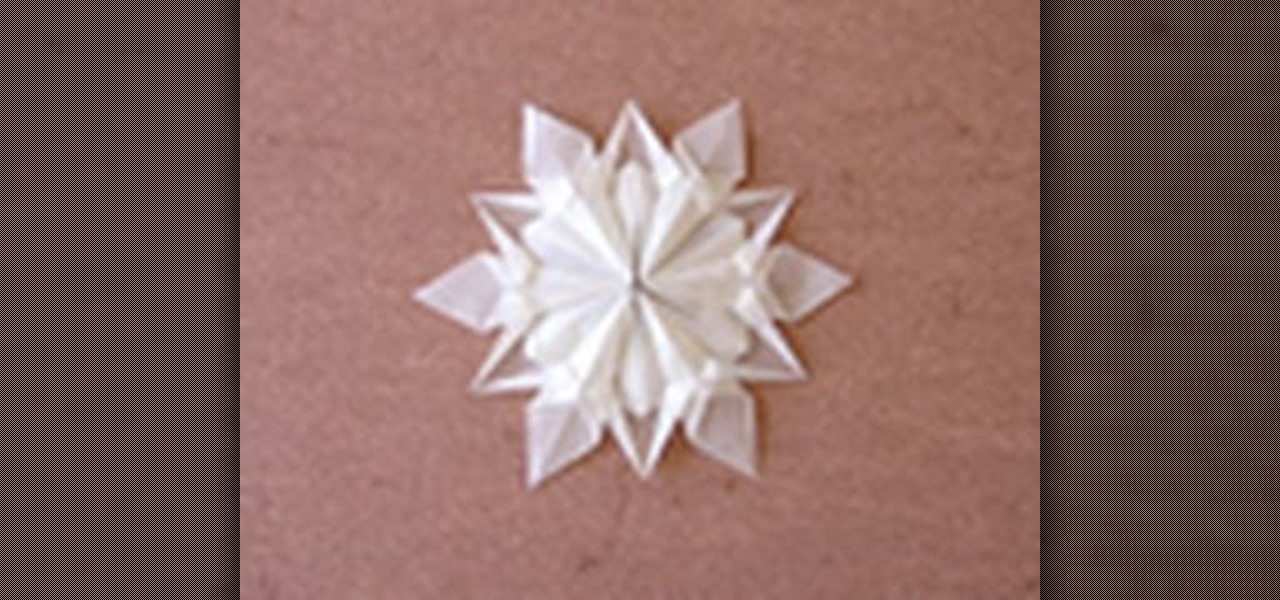
For all you origami fanatics out there... Why not try this project on for size? In this two-part video tutorial, learn how to origami a pretty impressive snowflake designed by [www.origamidennis.co.uk/ Dennis Walker]. For this project, the recommended paper size is a hexagon with a side length of 10cm (approx. 4in).
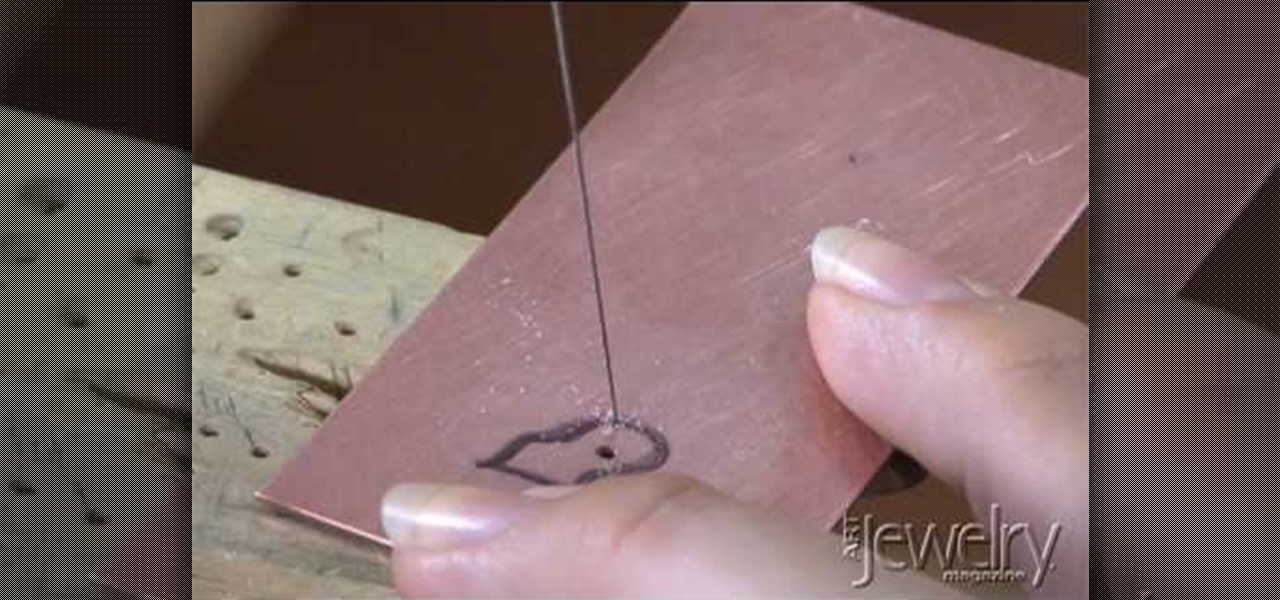
Jewelry making tips from Addie Kidd. This video gives a step by step detailed guide on how to pierce a piece of metal for jewelry making, using a saw and lubricant. This video shows Addie putting a piece of metal that she has a design drawn on, onto a saw blade and cutting it out, using a synthetic lubricant to keep the saw flowing (you can use bee's wax instead). In this video Addie threads the metal onto a saw blade and uses this to cut out a design she has designed and sawing around to mak...
Adobe Bridge -- why should you use it? That is one of the most frequent questions for Adobe Design users. Most don't even know what it is. This entire video explains some of the great reasons why you should actually use the Bridge. By the end of the video, you should be a die-hard Bridge user. Don't use the plain old regular file browser!
Using GoLive CS2, you'll learn how to create some CSS-based rollovers. This is really an easy way to create some rollovers, using CSS, which is an incredibly useful and powerful way to style and design your website pages. In this GoLive video tutorial, learn how to style not only your links, visited links, and active links using CSS, but you will also see how to give your links a rollover or hover style as well. You will quickly see how much more you can achieve by styling your links using CSS.

If you're the publicity/graphic design person for a fraternity then trust us, you'll be using this Photoshop design A LOT. Wheter you need this realistic looking beer bottle for a banner, invitations, or for decor at a party, it looks very professional.
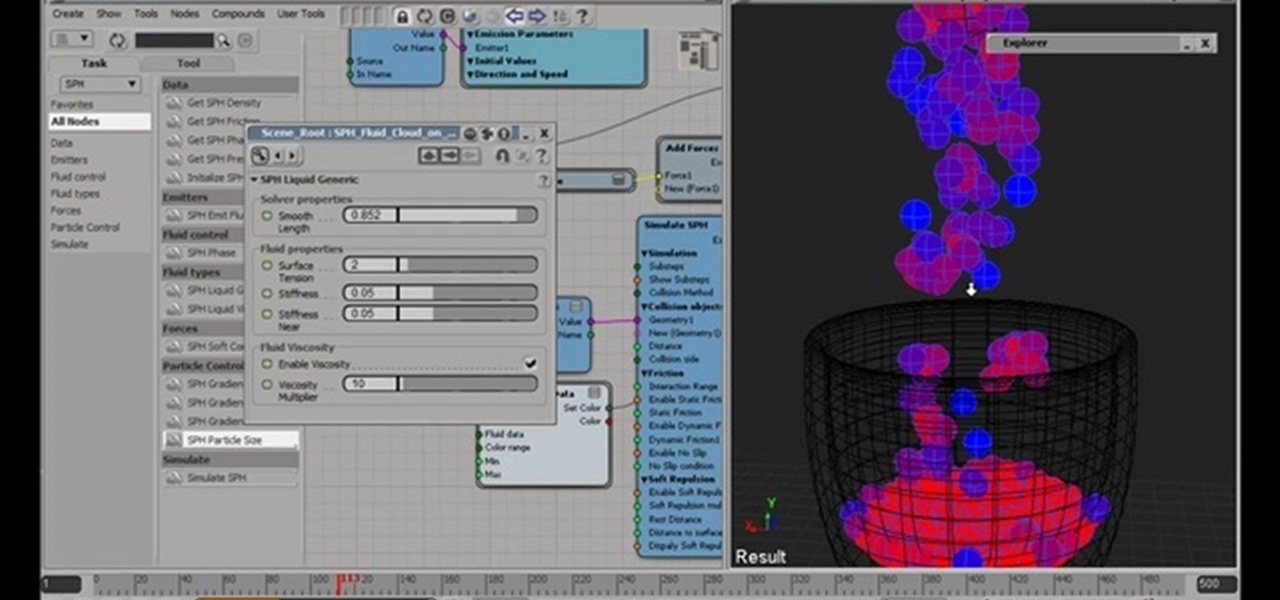
This is a tutorial on the SPH fluids nodes. This is a particle-based distributed fluid simulator application designed for Hewlett-Packard Scalabe Visualization Array. This application uses volume domain distribution among the nodes.

In this episode of Web Design TV Paul Wyatt shows you how to create a horizontal drop down menu in Dreamweaver CS3 using an Ajax widget. Drop down menus are a huge part of web design and website development, so if you use Dreamweaver to develop your sites, get familiar with Spry Widgets and using them to create drop down menus.

Design your own font characters for windows, using a hidden application in windows xp. Try it now!

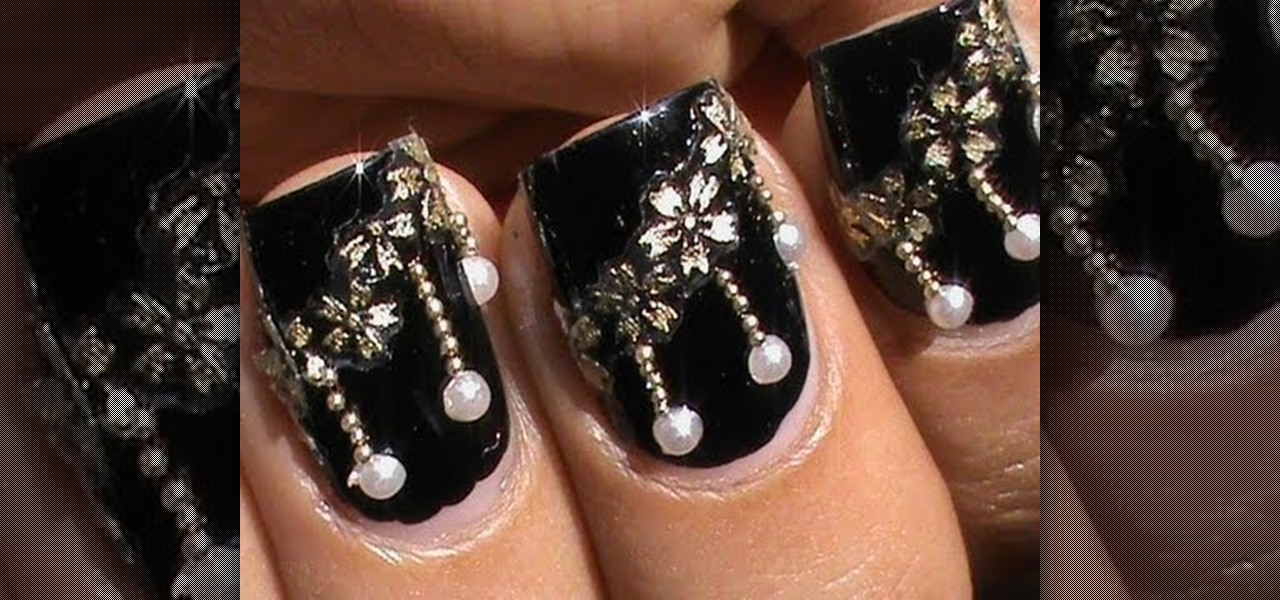
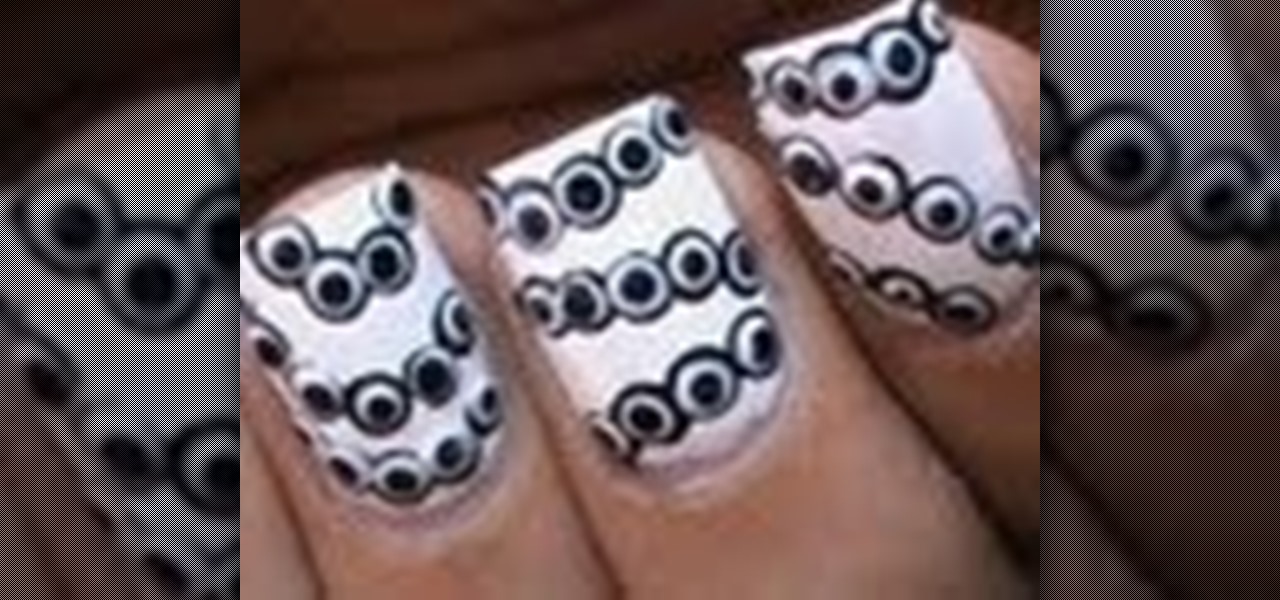
This video describes how to create intricate nail painting designs. The first step is to choose a background color. You can either choose a lighter background color so the darker designs you paint over it will stand out, or a darker background color so the lighter-colored designs will stand out. For this specific design consisting of 3 flowers and a few dots, the former will be used. Next, take globbing paper and glob it with some white polish. Use a nail dotter to apply the polish from the p...

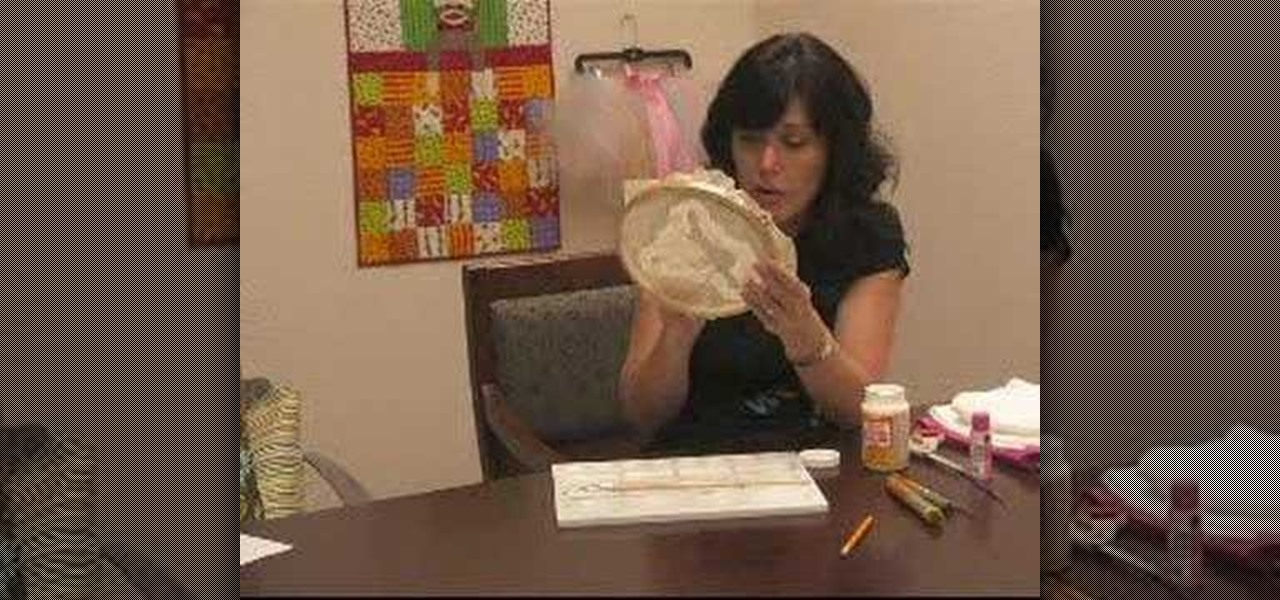
This video by Wowzzydot shows us an easy way to silk screen/stencil a garment. Using either a t-shirt or baby onesie, you can decorate it in the style of our choice. She clearly tells you the supplies you will need, embroidery hoop,sheer fabric, such as a curtain panel, paint and stencil brushes, scissors, Mod Podge or any water solvable glue. Also textile paint or ink and of course, the garment to be decorated. The first step is to cut the sheer fabric about an inch larger around than the ho...

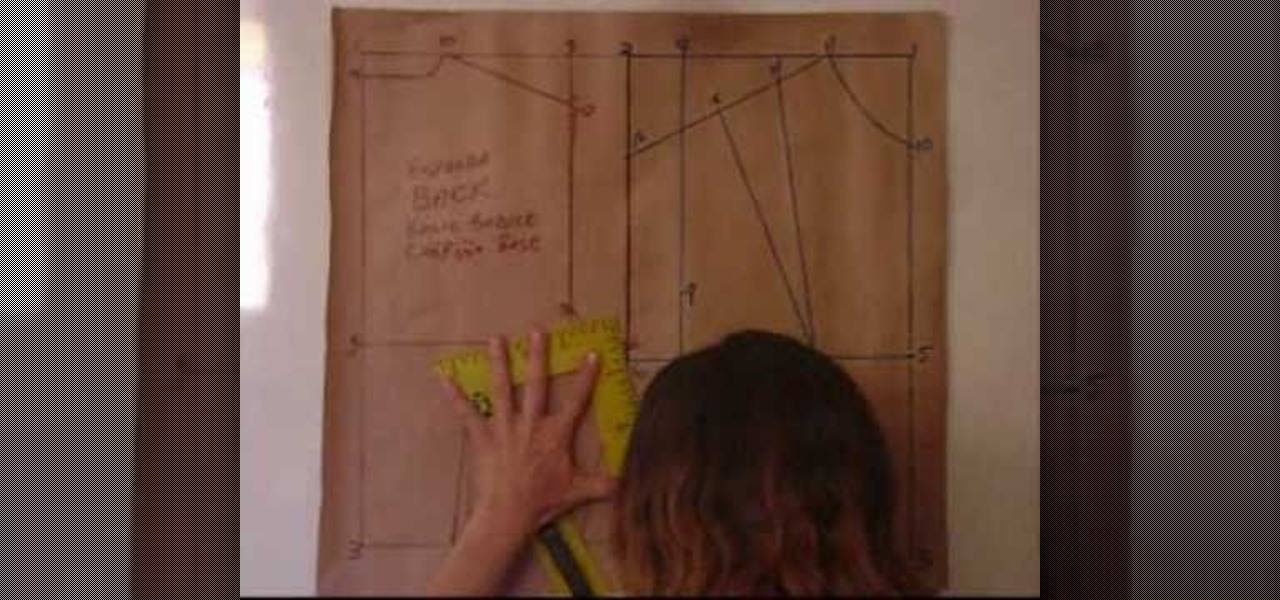
A bodice pattern is very helpful for anyone who wants to design a T-shirt, blouse or other clothing top. This entails learning to draft up a basic bodice pattern. For a quick beginners t-shirt however, you can merely take a rough impression straight from your body. Demystify patternmaking by learning a more intuitive approach to clothing design. Lessons 1:, "How to Make a T-Shirt and Lesson 2: Adding the Sleeves.

There are a lot of things out there in the design world that people have seen and liked, but didn't know how to make. LIke vector lights. Watch this Illustrator video tutorial to take a look at those cool glowing, color changing, fading, bright, neon-like, fanning spread of glowing colors. Maybe there's no specific name for them, but for now, refer to them as 3D Light Ribs. You can use these in photographs, illustrations, composites, print work, web design, and maybe even a logo or two! You w...

Paper embossing stamps a design into the paper, but doesn't allot for any color. Ink and chalk can both be applied to an embossed design for color and to bring out the shape of the embossing. Ink can add vibrant color, while chalk adds a soft finish to the embossed design. Watch this video tutorial and learn how to use ink and chalk on embossed paper.

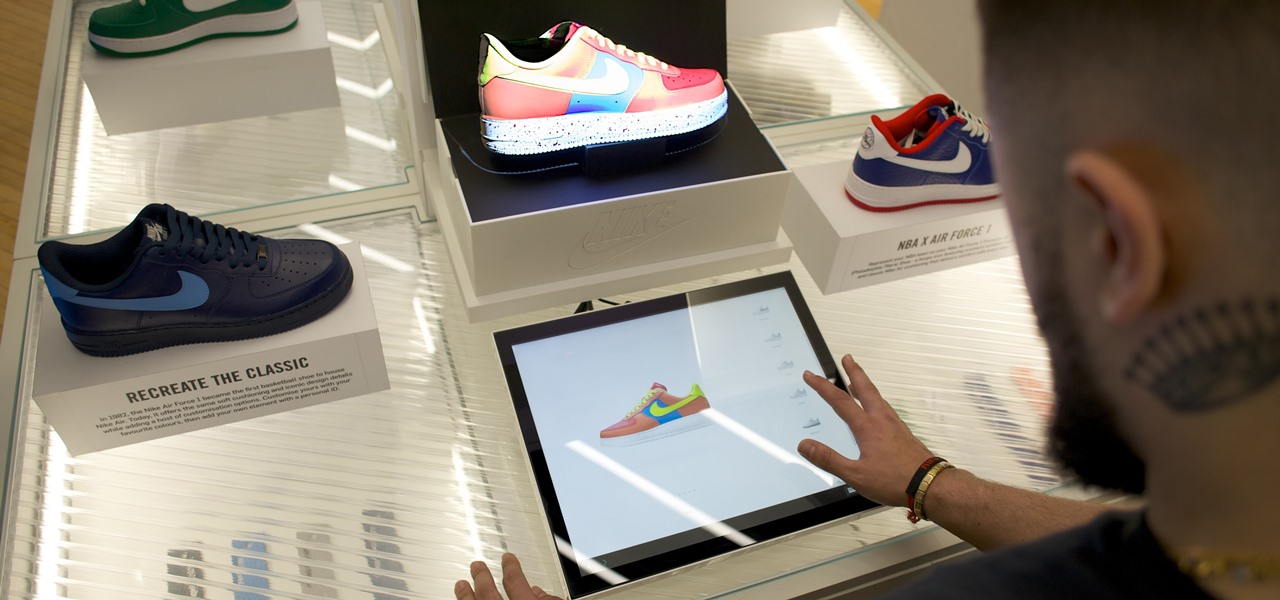
Nike has launched an augmented reality design tool at its Niketown store in London that lets shoppers customize sneakers and see their designs on a real product.

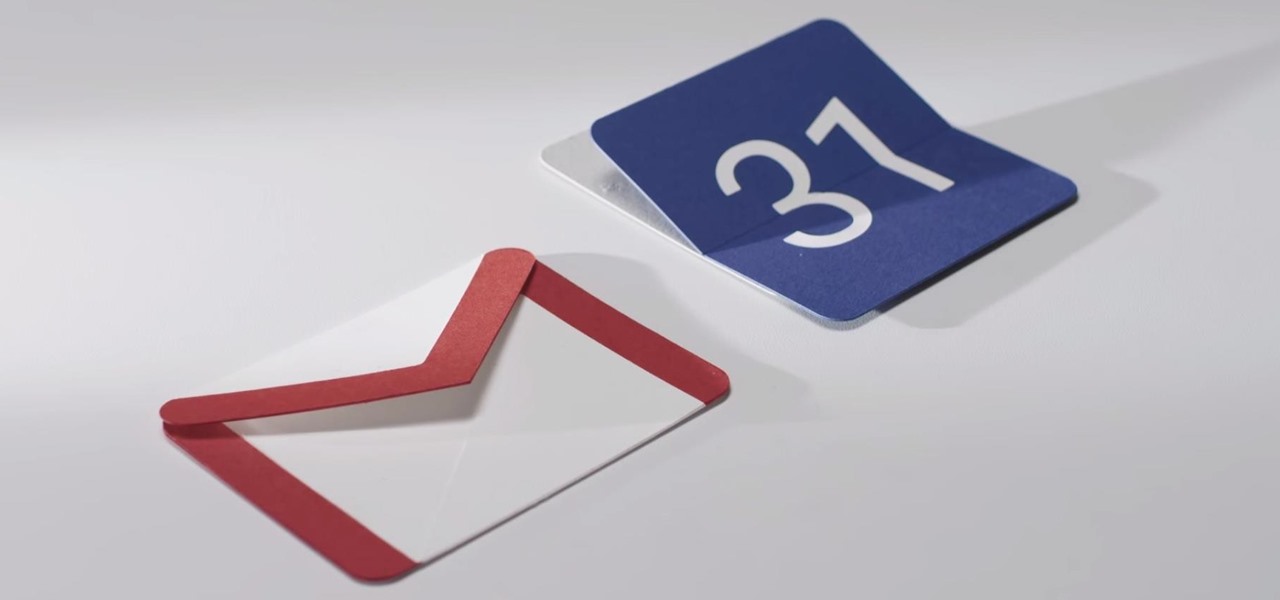
Google's Material Design guidelines have finally brought some consistency to the look and feel of Android apps, bringing most of the user experience on par with what you would see on iOS. However, some developers are still using non-compliant home screen icons, even though Material Design calls for specific padding, size, and layouts.

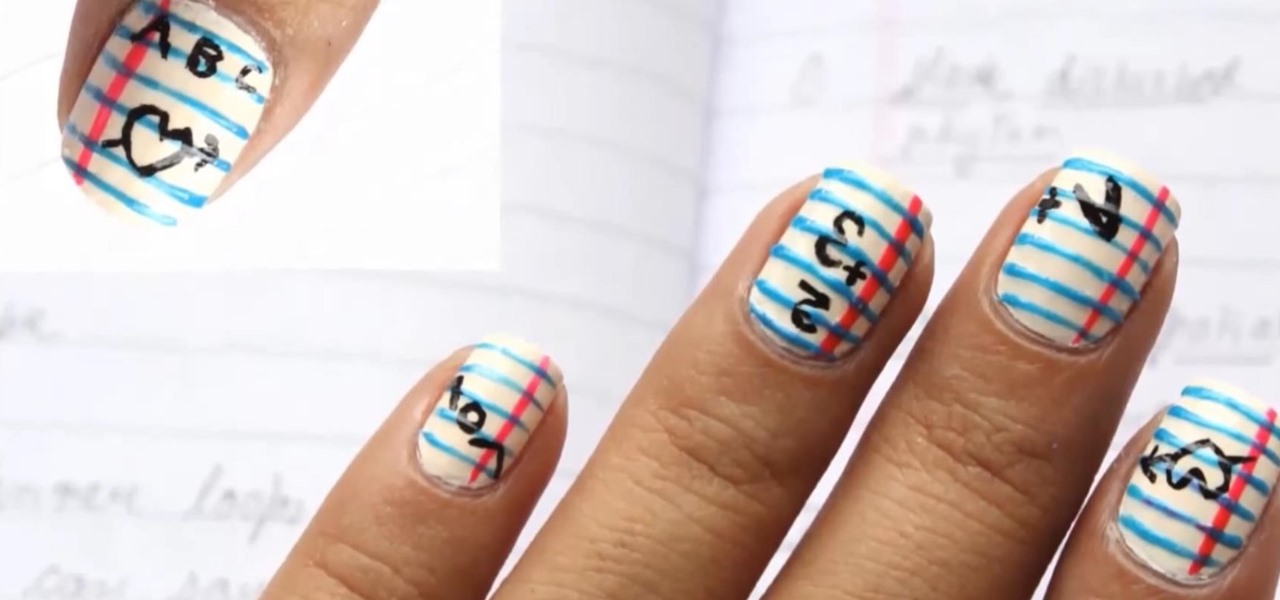
Looking for some nice and easy back to school nail art designs? Here I have created one such look for you all, using cute nail polish colors and some acrylic. This look is very easy to create and can also be worn on special school events like teachers day, or for college nail art designs on college events!

Let me start by saying something controversial: I despise the gluten-free fad. I think gluten is delicious (I go through at least two loaves of bread a week, with a healthy dose of pretzels and pasta in there as well), and I think many of the health myths surrounding gluten are either fabricated or hyperbolic.

I have a personal rule when it comes to an app's interface: If it doesn't follow Android's design guidelines, it was probably written with Apple's iOS in mind first and foremost.

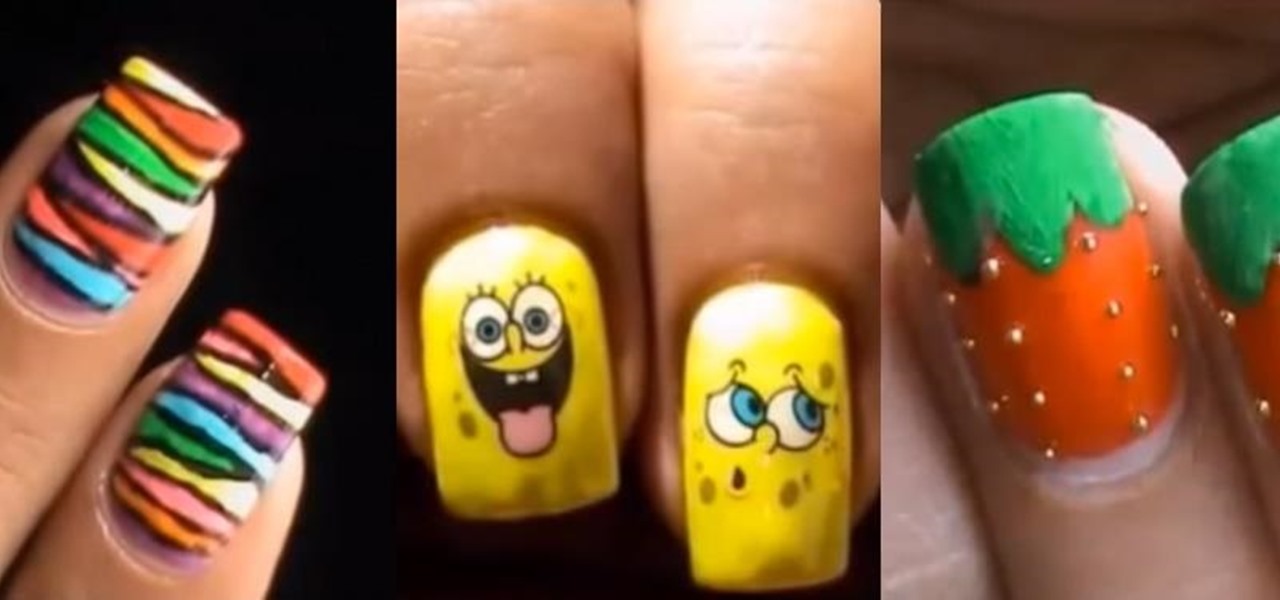
Hello, everyone! Today's video is about how to do nail art for kids! If you are looking for fun and easy nail designs for kids, here is a collection of not one, not two, but three awesome nail art ideas for kids nail art designs that can be tried by all!

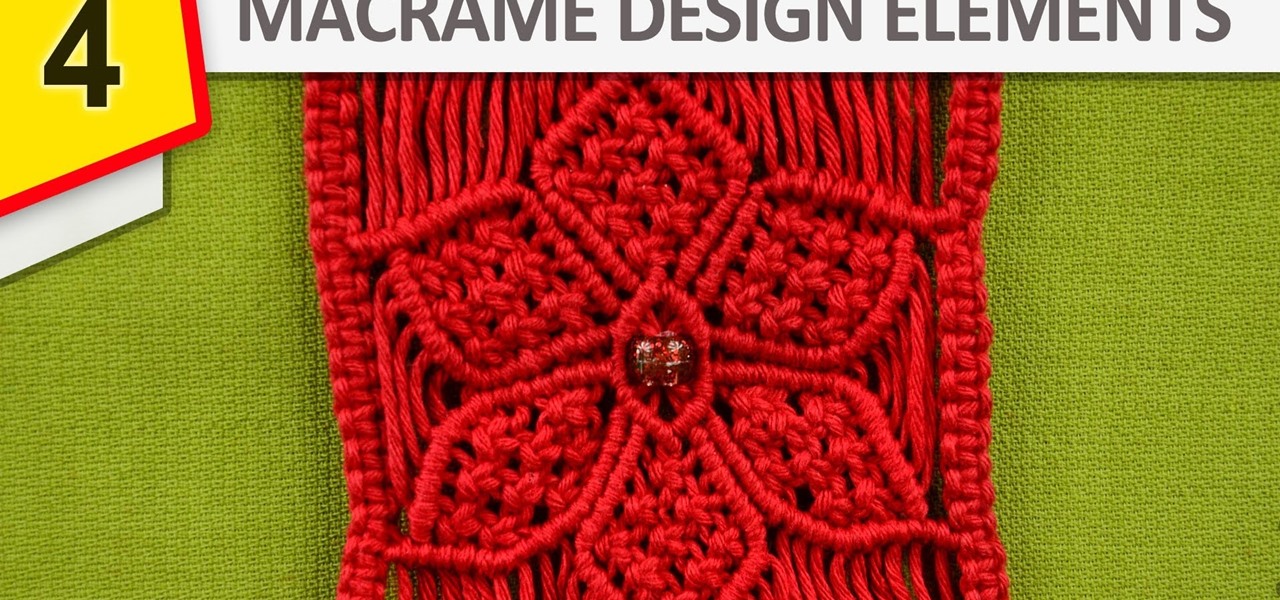
How to make Macrame flower - Useful Design Elements for your macrame projects.

In this web design tutorial learn how to use web design clip tool to crop photos in Xara Web Designer. Also this web design tutorial will cover how to add photos to text panels as well.

Learning how to use other text panels in the designs gallery. This website design tutorial will teach you how to add a note panel, numbered panel and one additional text panel.

his HTML Web Design tutorial will help you learn how to use the HTML bold and italics tag. A explanation of the emphasized and strong HTML Web Design Tags will be explain as well.

In this web design tutorial we will show you how to protect yourself from losing your work just in case the program malfunctions, computer crashes or you accidentally forget to save document and so on. I highly recommend you utilize this Web Design Tutorial especially if you are working on large websites for clients.

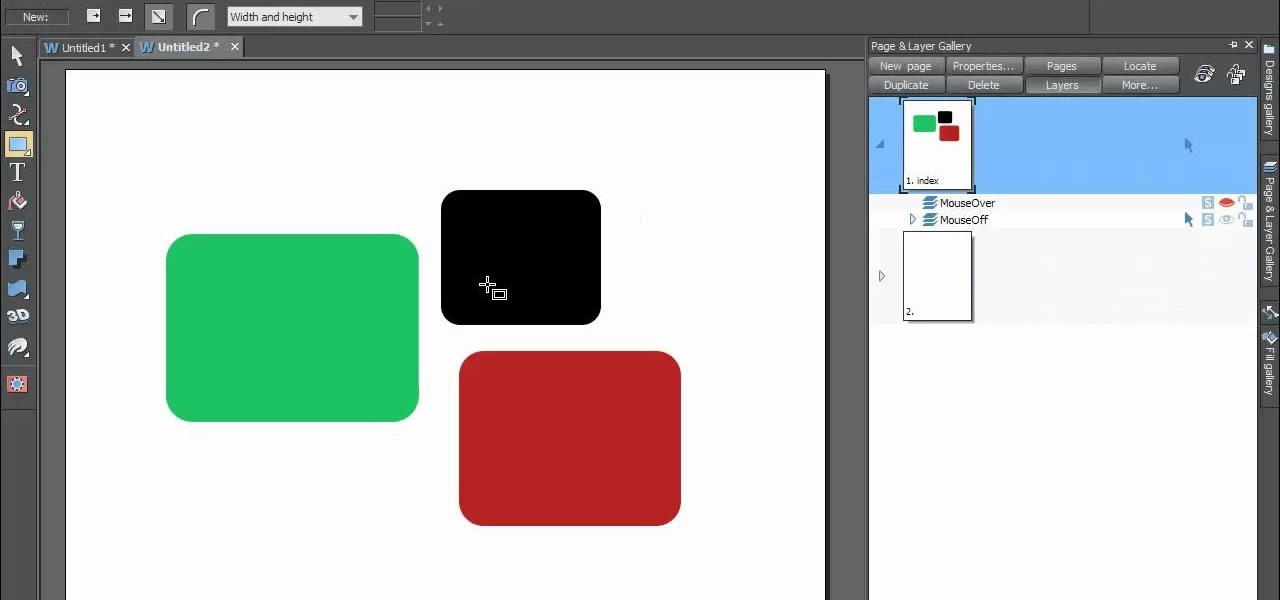
In this web design tutorial you will learn how to manage web design layers efficiently by using solo mode, hiding layers and locking layers. This Xara Web Designer tutorial will show you the importance of using these features to manage your website design.

In this web design tutorial Learn how to create a multi-page document, duplicate and create new pages and edit page file names. This Web Design Tutorial for Xara Web Designer is really important because it also covers why you should never change the "index.htm" file name for your homepage.

This is a very simple and quick nail design that looks so stunning ! Video: .

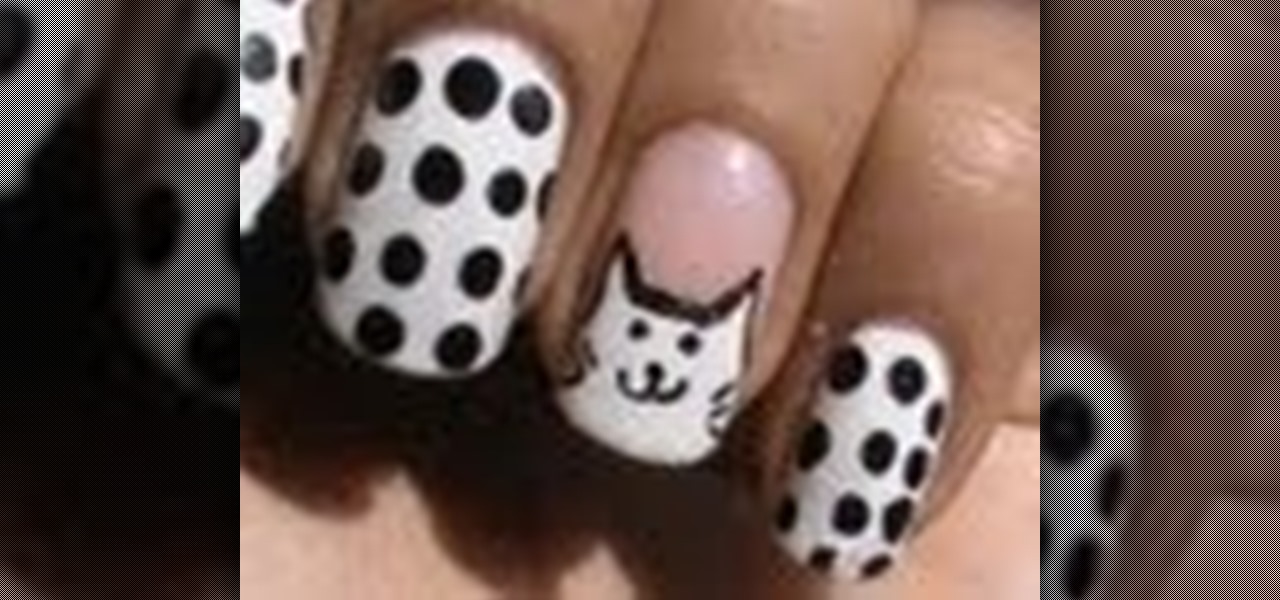
This is a very fun and happy cat nail design that I wanted to show how to create through the following nail art video :

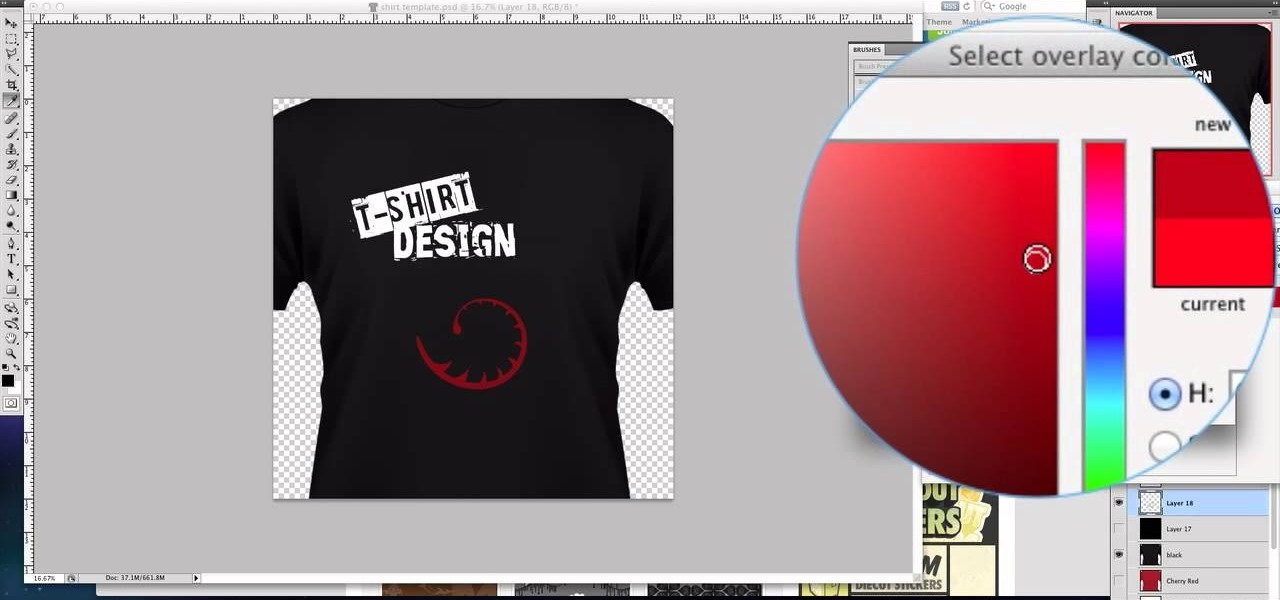
How to design a graphic t-shirt using Photoshop

This is a very easy and yet catchy looking nail art design that I really wanted to share in a tutorial with you all girls out here ! Check out this video and please let me know what you think !

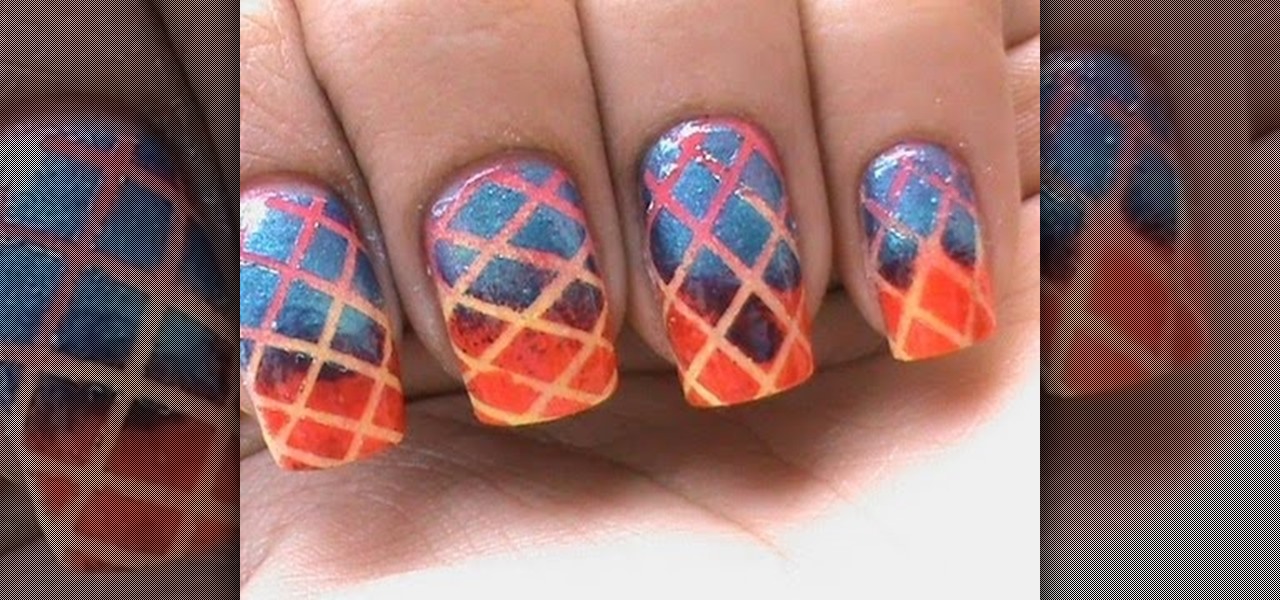
This nail design kind of reminds me of sunrise as well as of sunset at the same time! This nail art is not only incredibly stunning, but also so very easy that you would not believe it! I have shared the video link below for you to have a look and decide what you think of this nail polish design in gradient look for yourself!

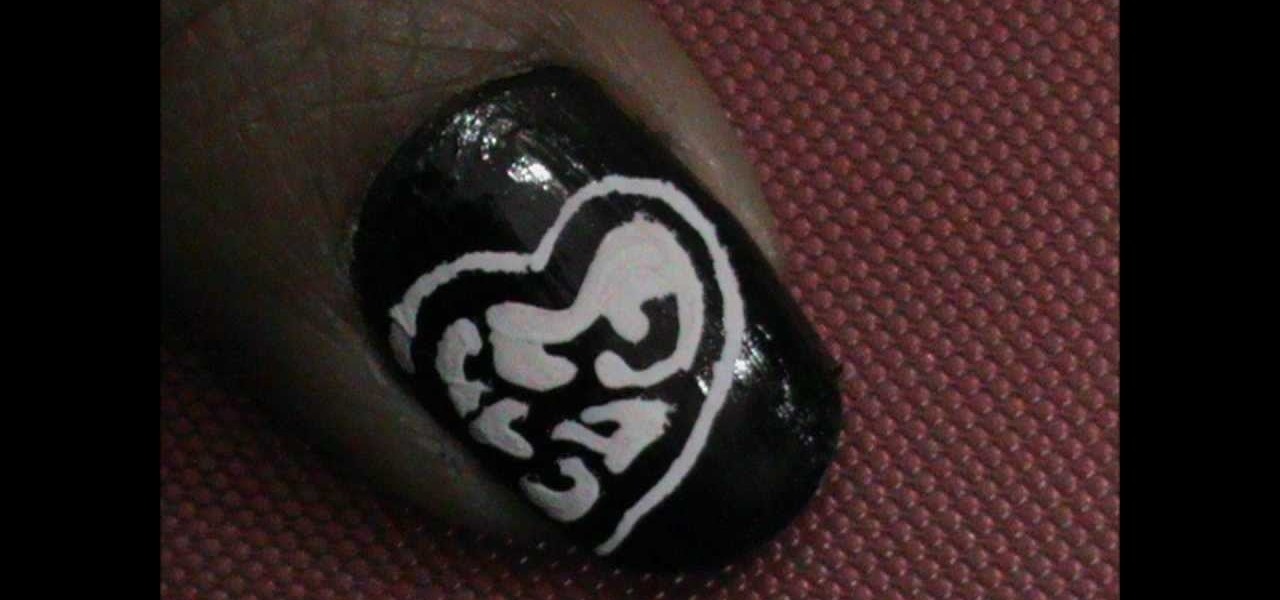
This is one of my personal favorite designs from last year, that I wanted to share with you all for this year's valentines day !

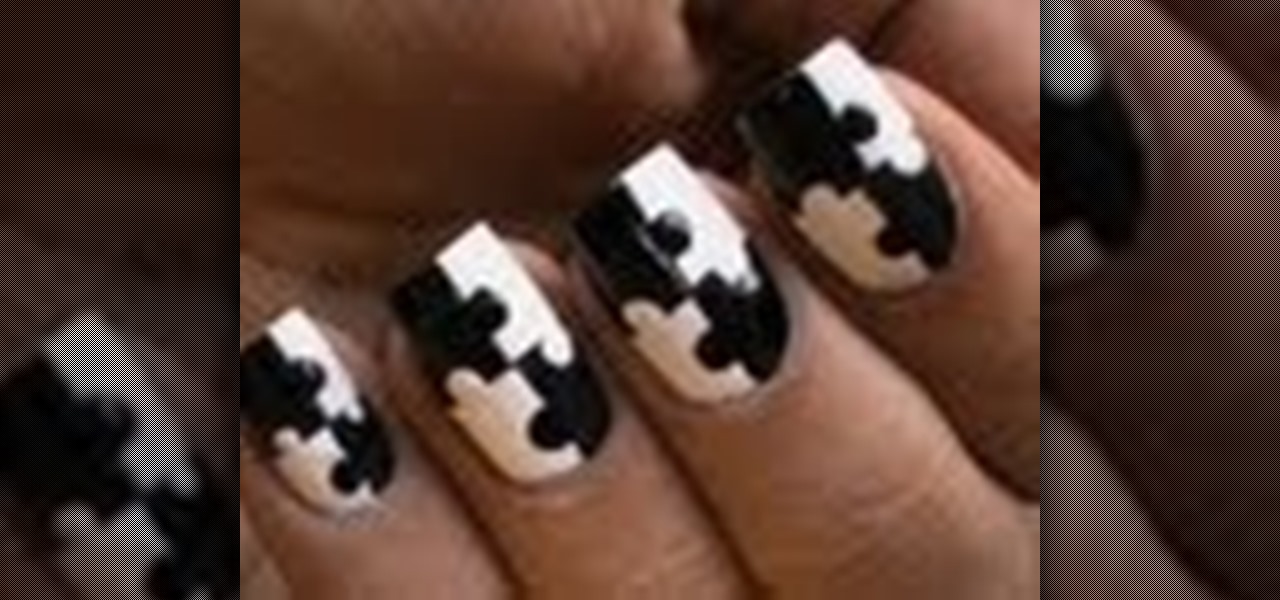
This is a very interesting puzzle nail design that I did the other day ! It is super easy to create and uses a combination of matte nail polish and glossy nail polish to create a light crisp effect !

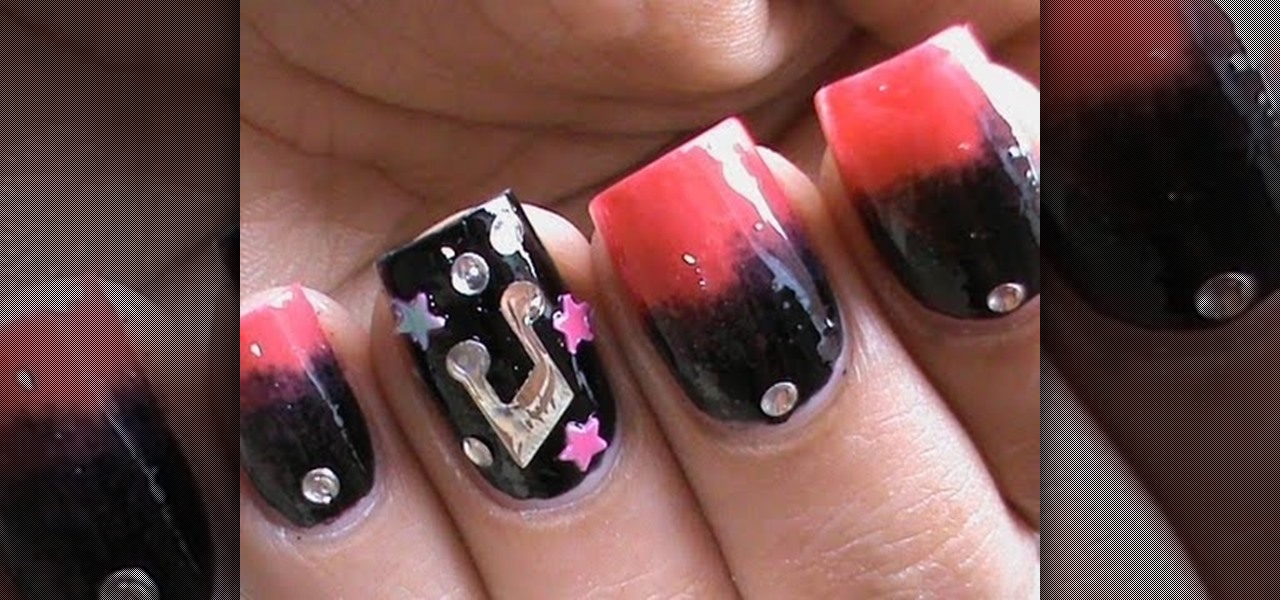
This is a super cute girly pink punk nail design that is done in the backdrop of pink and black gradient - ombre nail art style!

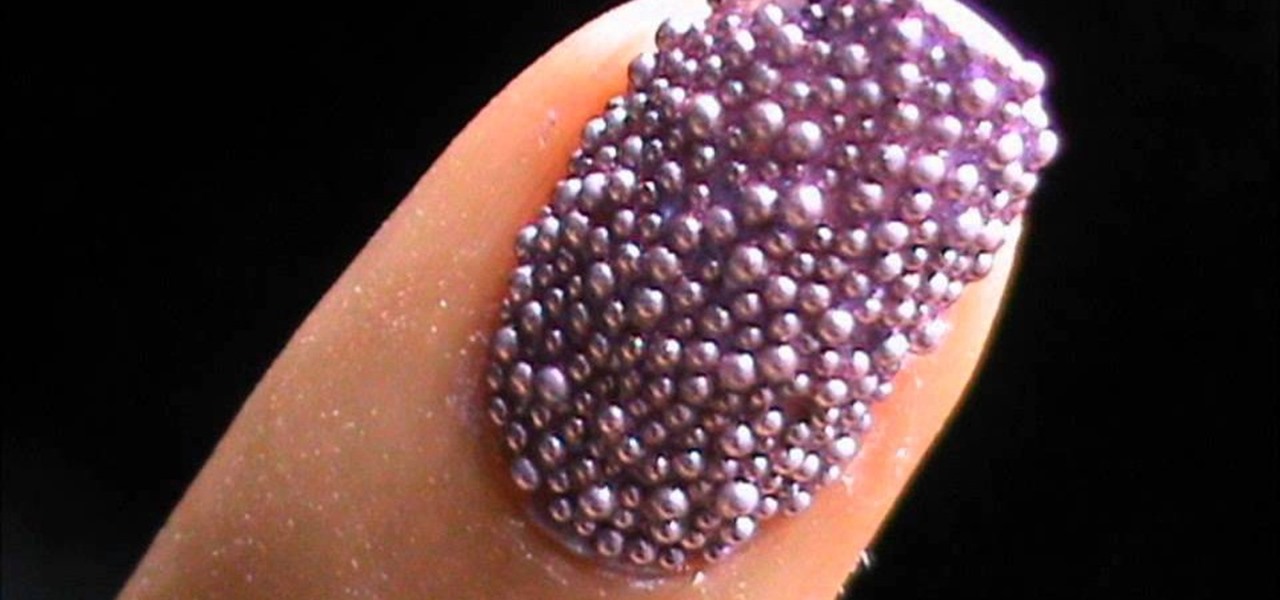
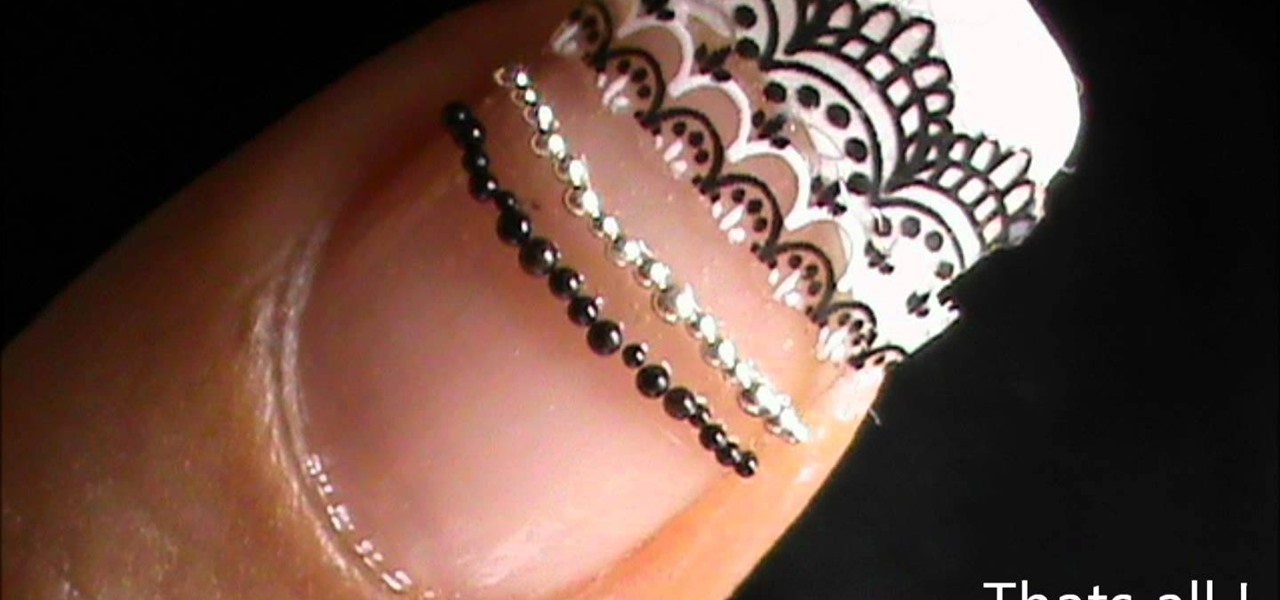
Check out this step by step nail art video tutorial for beginners to do at home , to learn how to do this exquisite caviar nail art manicure design at home for both long nails and short nails !

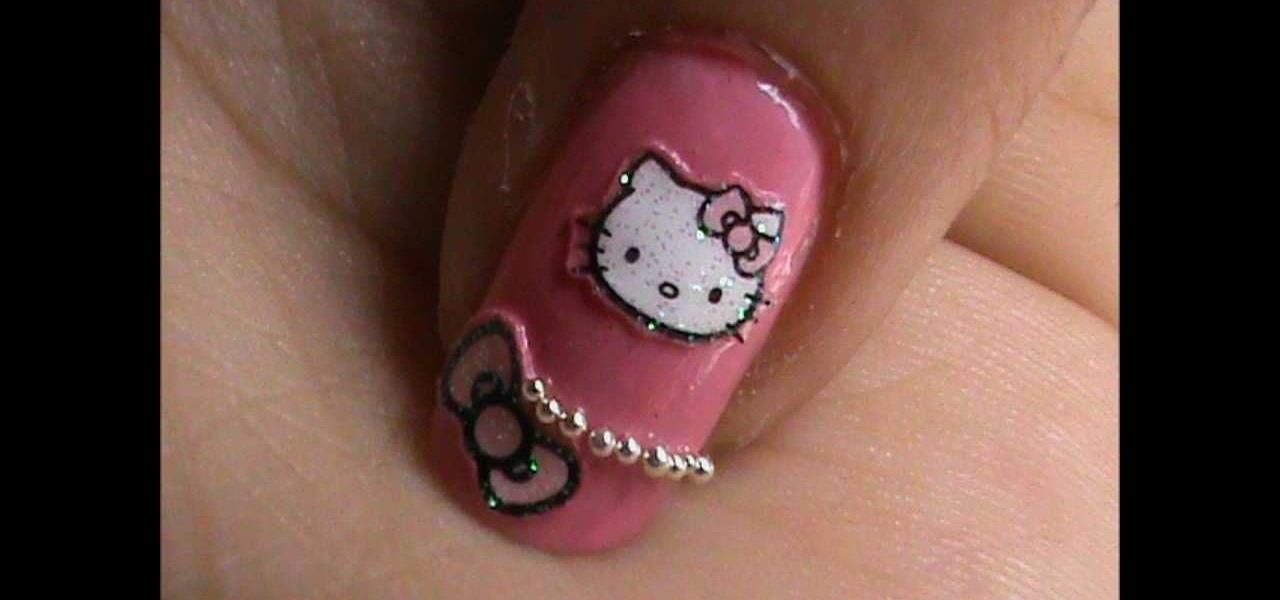
Check out this step by step nail art video tutorial for beginners to do at home , to learn how to do this exquisite hello kitty nail art manicure design at home for both long nails and short nails !

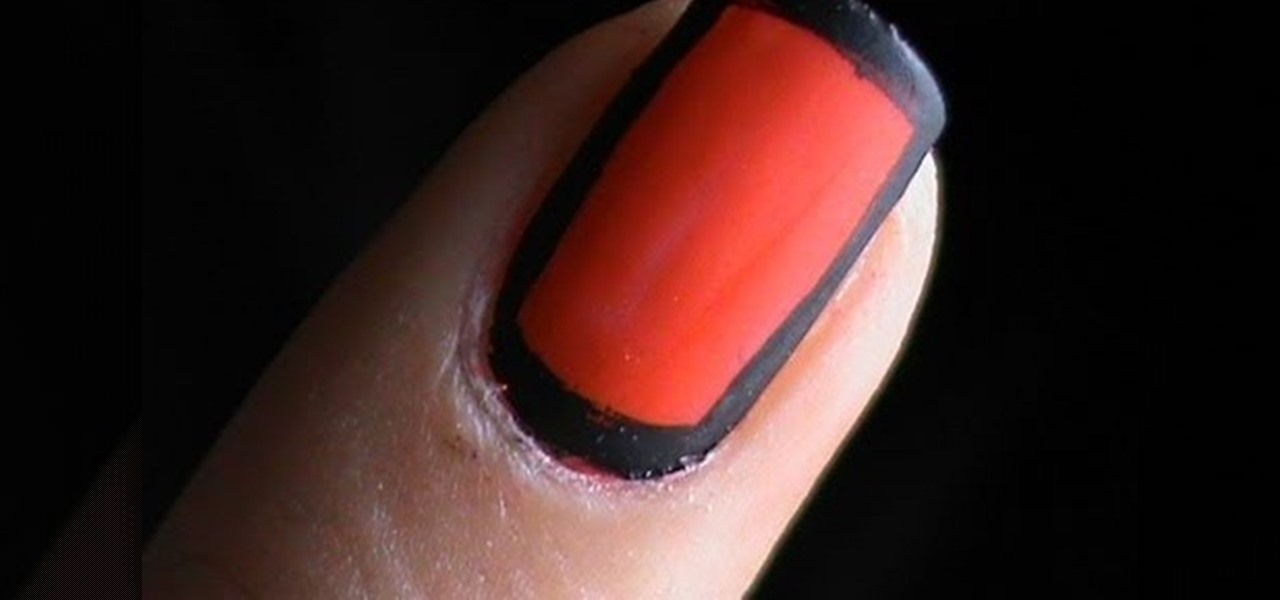
Check out this step by step nail art video tutorial for beginners to do at home , to learn how to do this exquisite border nail art manicure design at home for both long nails and short nails !

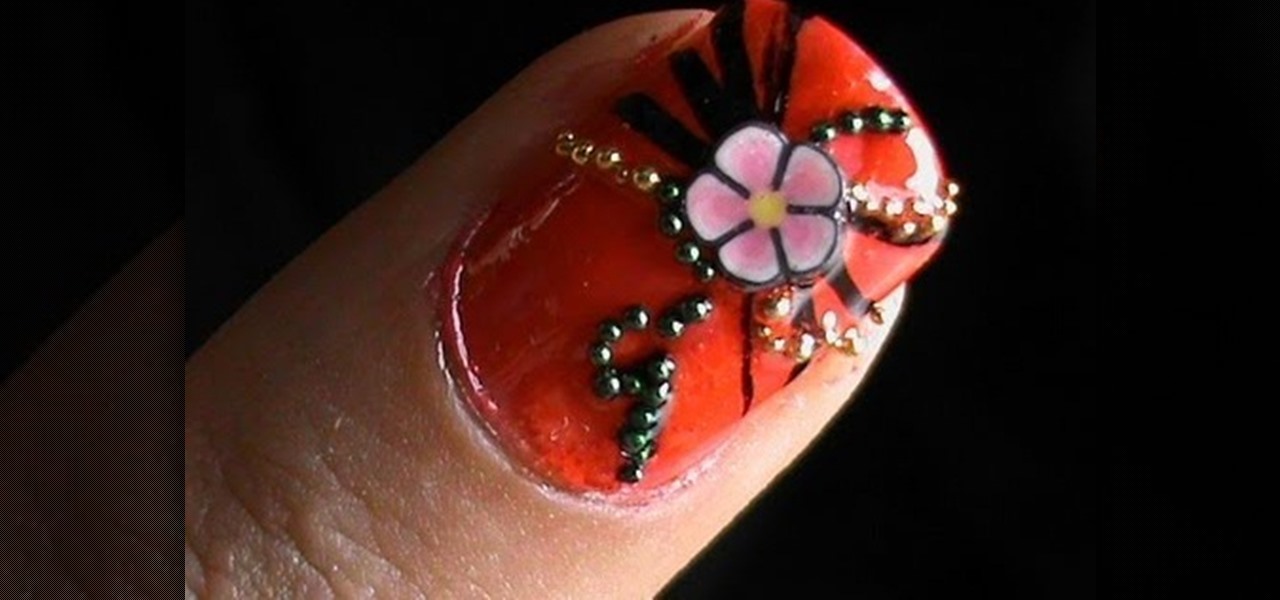
Check out this step by step nail art video tutorial for beginners to do at home , to learn how to do this exquisite fimo flower nail art manicure design at home for both long nails and short nails !

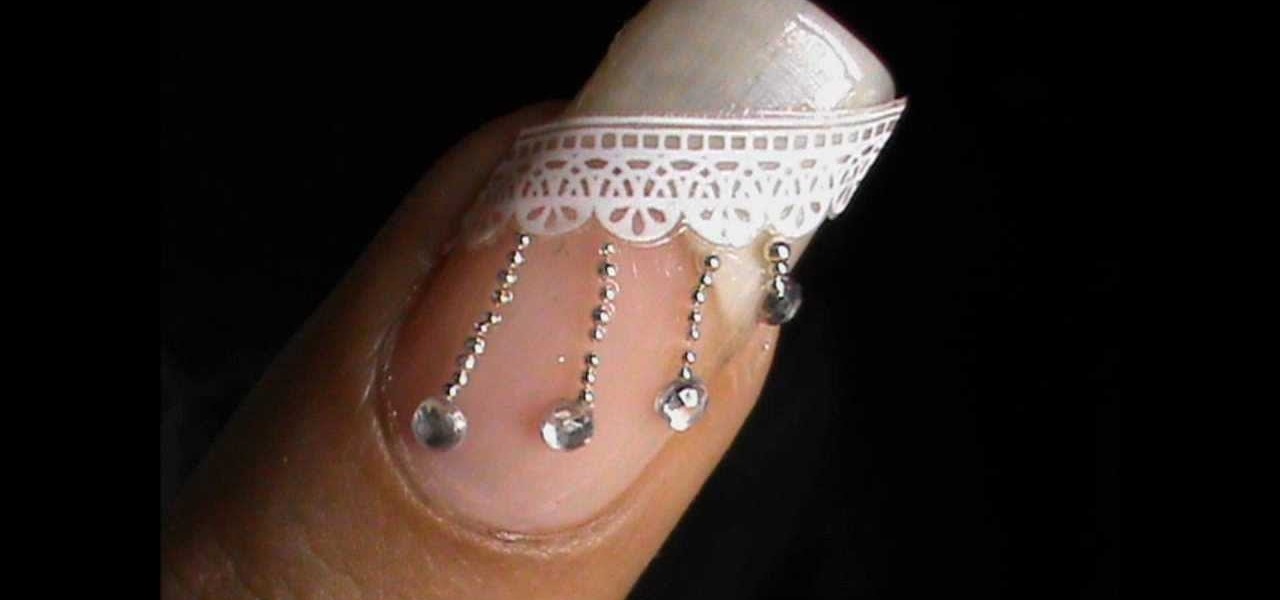
Check out this step by step nail art video tutorial for beginners to do at home , to learn how to do this exquisite lace nail art manicure design at home for both long nails and short nails !

Check out this step by step nail art video tutorial for beginners to do at home , to learn how to do this exquisite lace nail art manicure design at home for both long nails and short nails !


