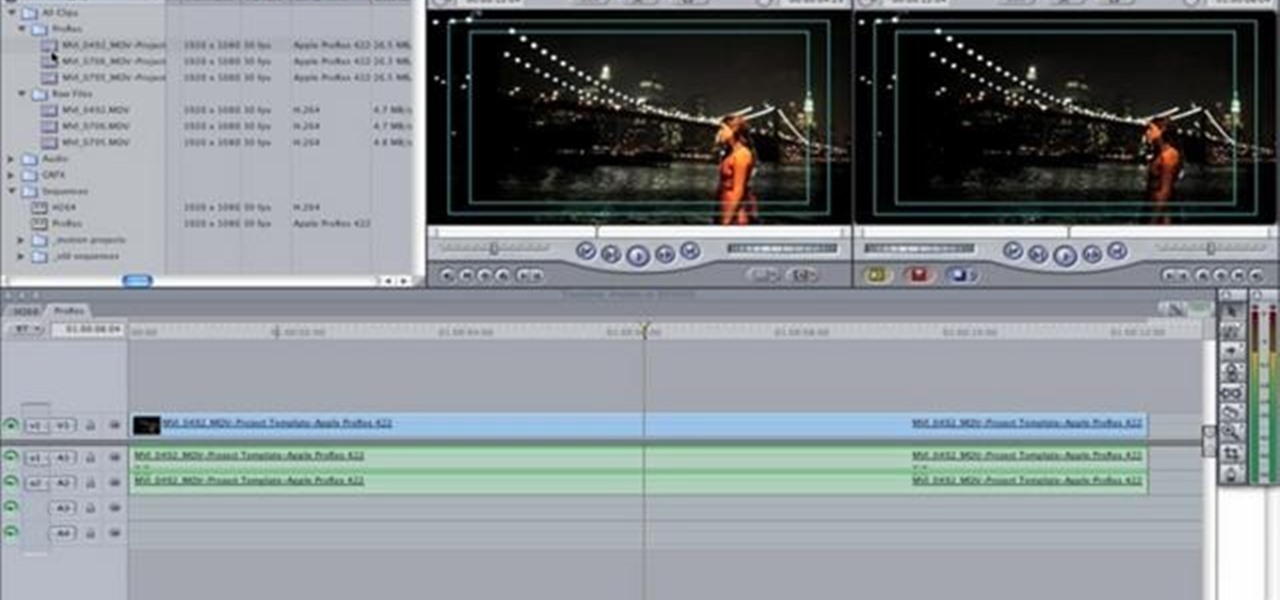
In this clip, learn how to convert photo shot on a Canon EOS DSLR camera to Apple ProRes for convenient editing in Final Cut Pro Studio. Whether you're new to Adobe's popular motion graphics and compositing software or a seasoned video professional just looking to better acquaint yourself with the program and its various features and filters, you're sure to be well served by this video tutorial. For more information, including detailed, step-by-step instructions, watch this free video guide.
In this two-part video tutorial, you'll learn how to use Magic Bullet Colorista to color grade and color correct your digital video when using Final Cut Pro Studio. Whether you're new to Adobe's popular motion graphics and compositing software or a seasoned video professional just looking to better acquaint yourself with the program and its various features and filters, you're sure to be well served by this video tutorial. For more information, including detailed, step-by-step instructions, w...

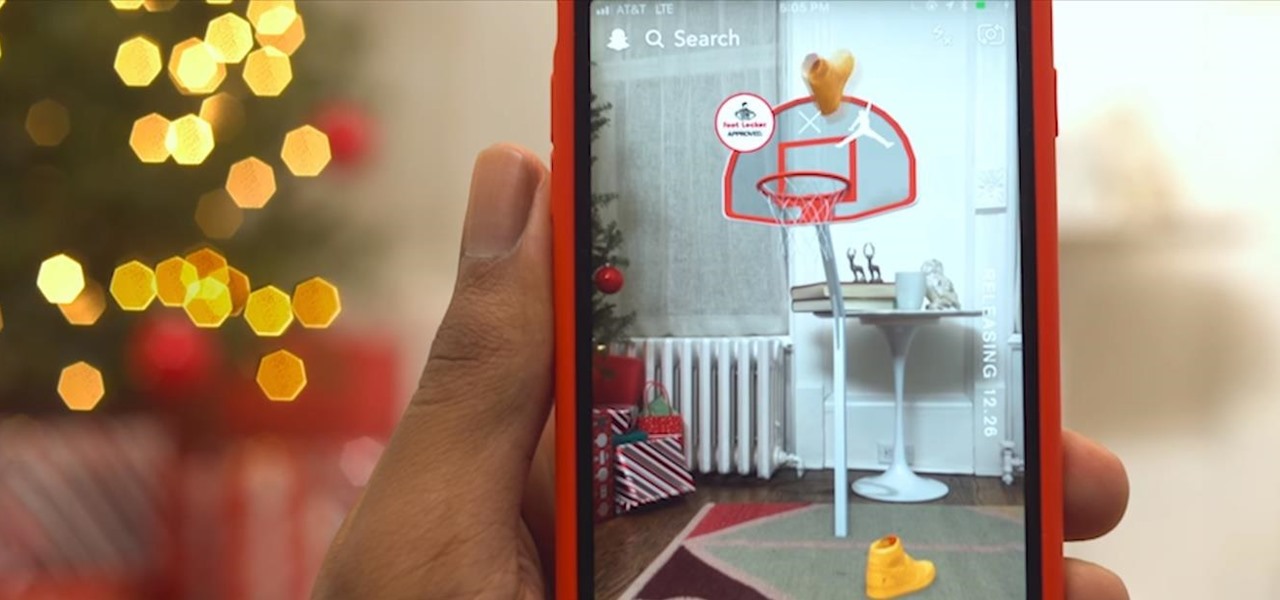
After hosting an augmented reality experience using its Snapchat Landmarker technology at the Statue of Liberty, Snap is now giving creators the opportunity to create their own Lenses with Lady Liberty.
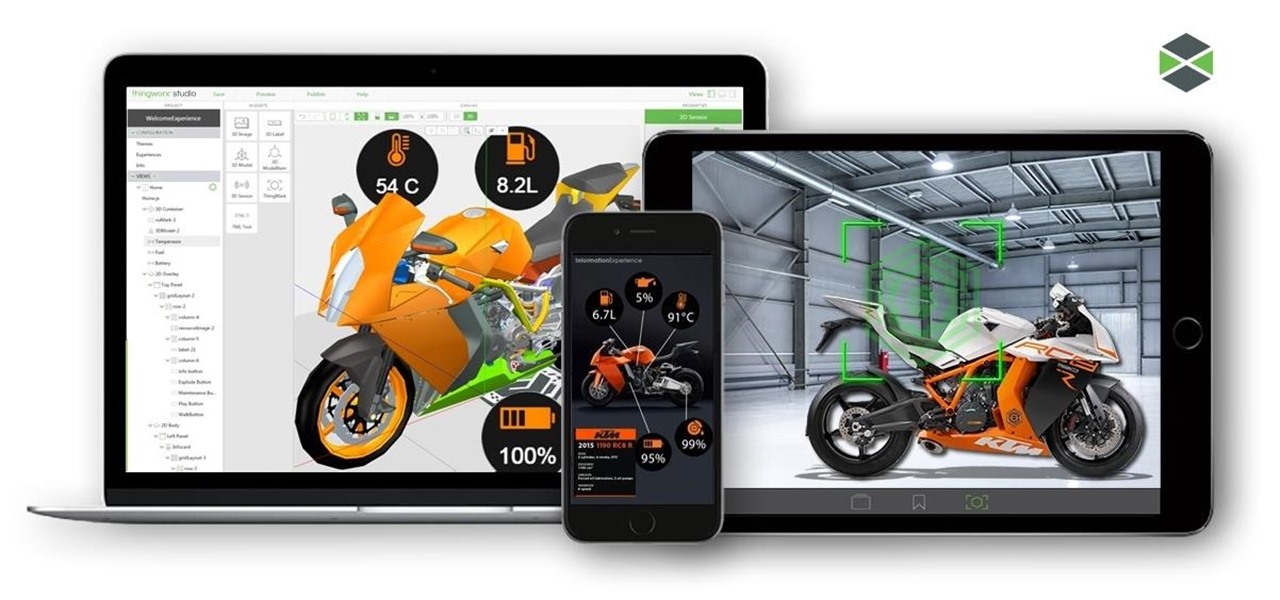
For companies wary of the temperature, PTC just made it easier for them to dip their toes in the waters of augmented reality.
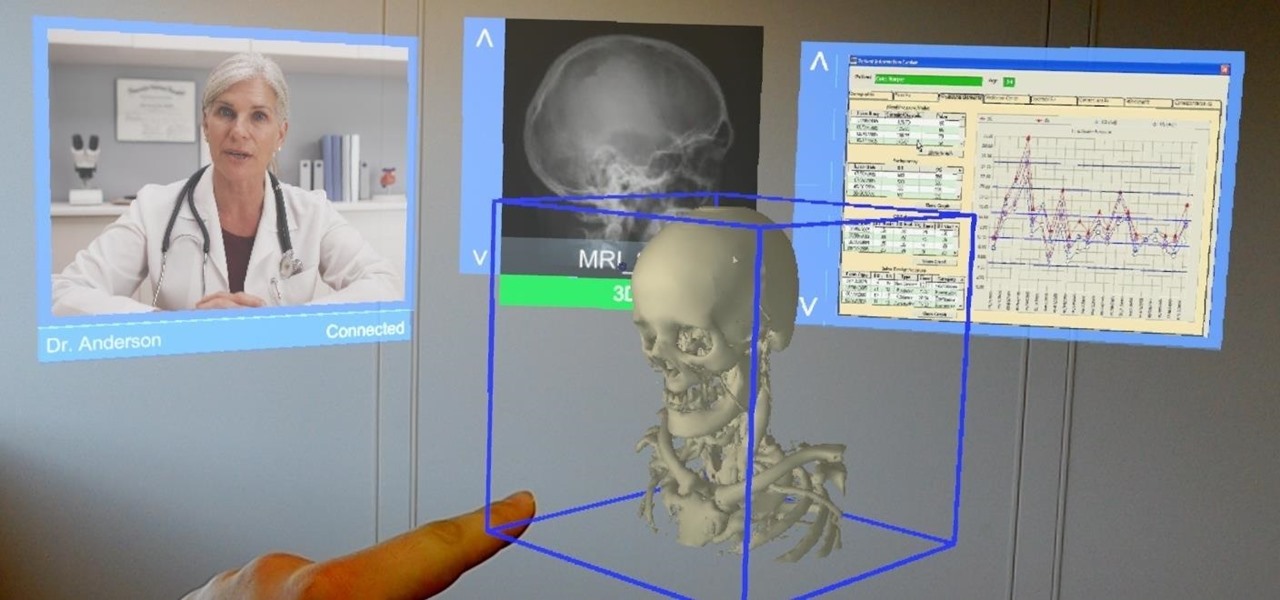
Augmented and mixed reality developer Arvizio is working on a suite of software solutions for enterprises that will extend HoloLens capabilities as a full-fledged collaboration and conferencing tool. The company will demonstrate its Mixed Reality Studio suite to attendees at the Augmented World Expo, which begins later this month in Santa Clara, California.
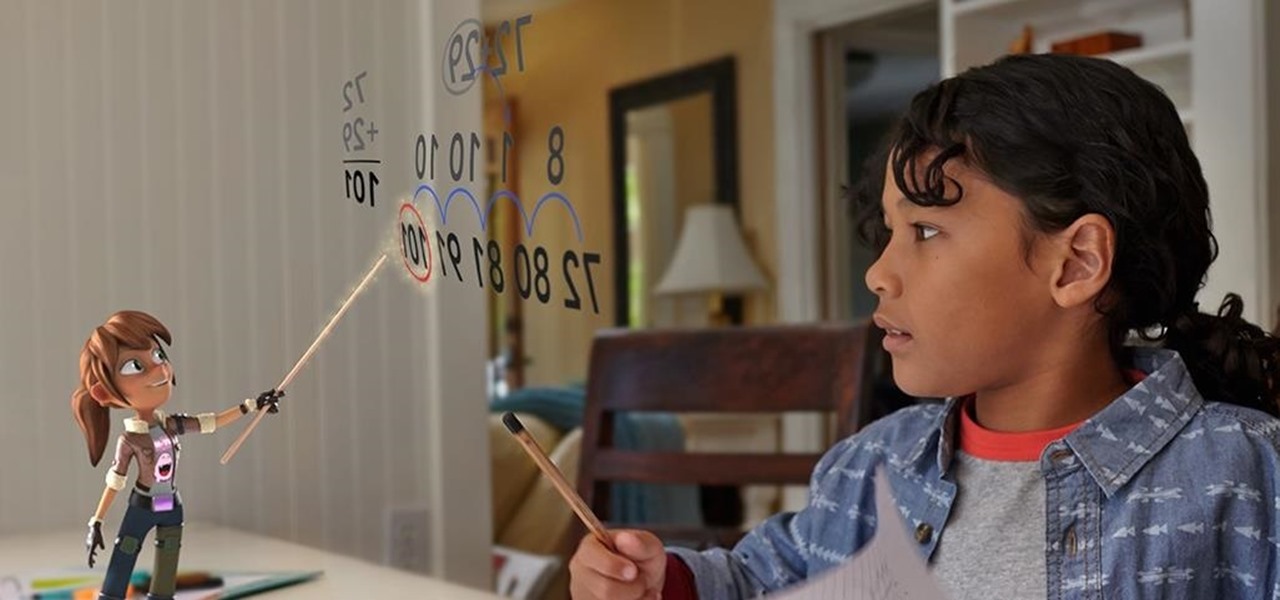
Magic Leap is no stranger to hype and speculative advancement—when their name pops up in the news, all focus turns to them. And the company is making news again this week, with the knowledge of an acquisition of a startup founded by former Apple employees, and by hiring animators from an Emmy and Oscar award-winning studio.

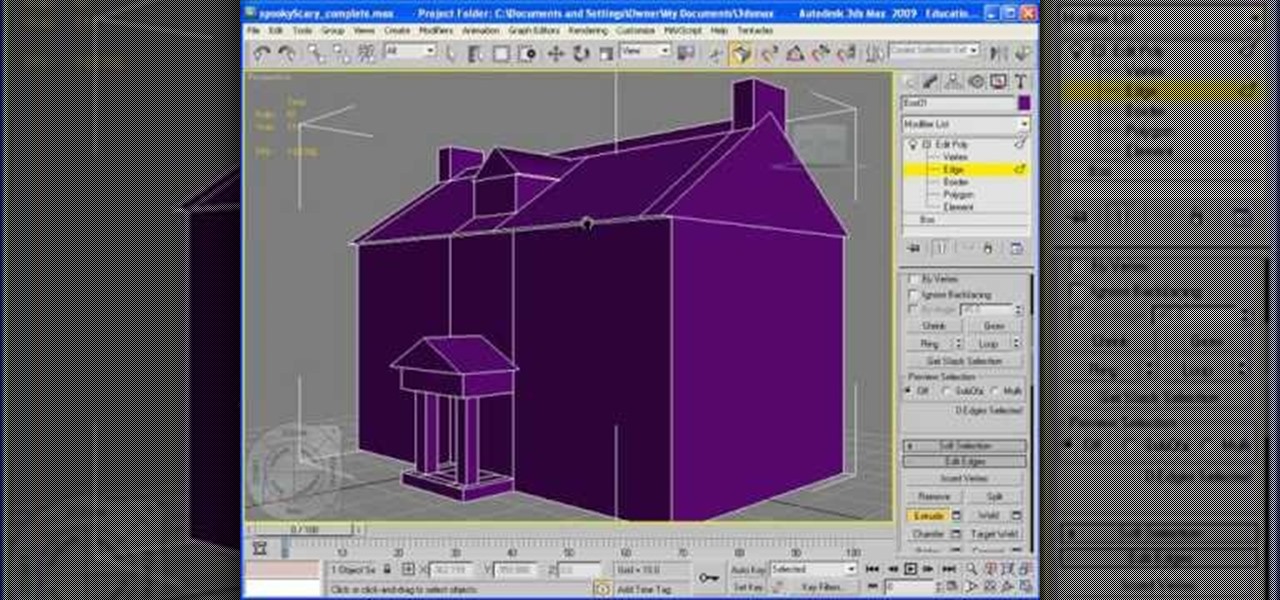
In this video, we learn how to add texture to a model house in 3D Studio Max. After you have created the model, press 7 on your keyboard. This will activate a new menu telling you how many polygons are in your model. Then, edit the edges and remove them so you have less polygons. After this, save the model under a name you want, then select everything on the model. Go to the parameters and click "edit". Now, go to mapping, then flatten mapping. The presets should be fine, then click "ok" and ...

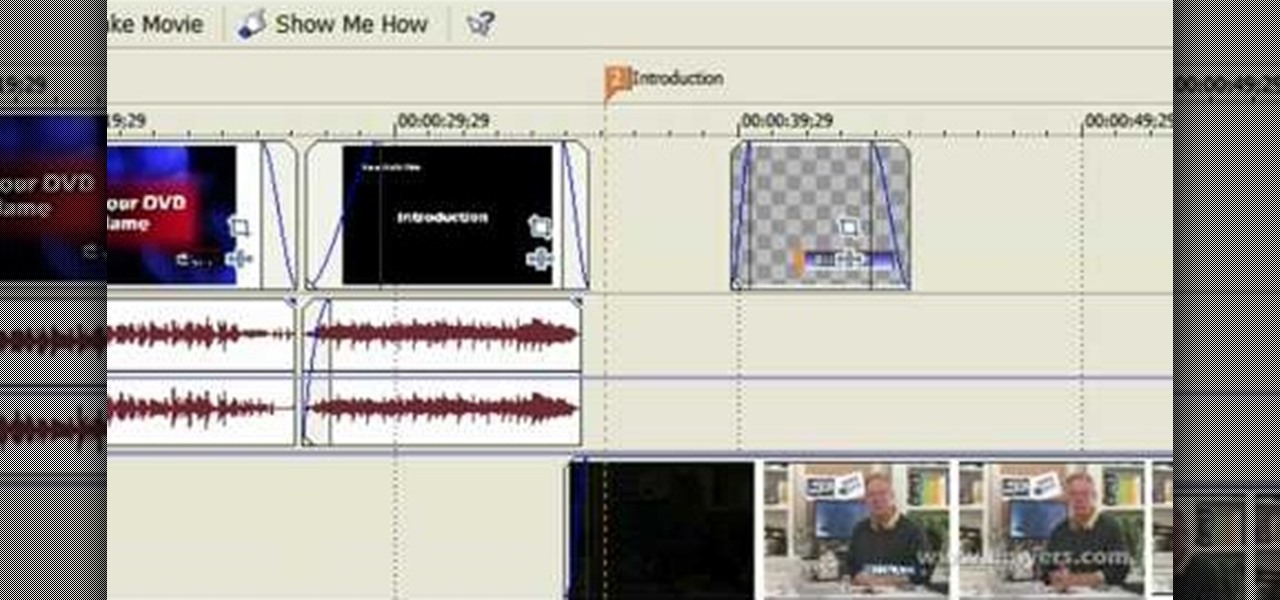
You can overlay your videos in Sony Vegas Movie Studio. First drag the picture of TV set in the timeline and drag it to the whole timeline and then place your video above it as showing in the video. Now click on the pan/crop icon and select the picture of TV set. Now resize your window and set your video in the TV set as showing in the video. Now you can play your video but it pops up as the video plays so to fade in your video, you just need to do is to drag the corner of your video as showi...

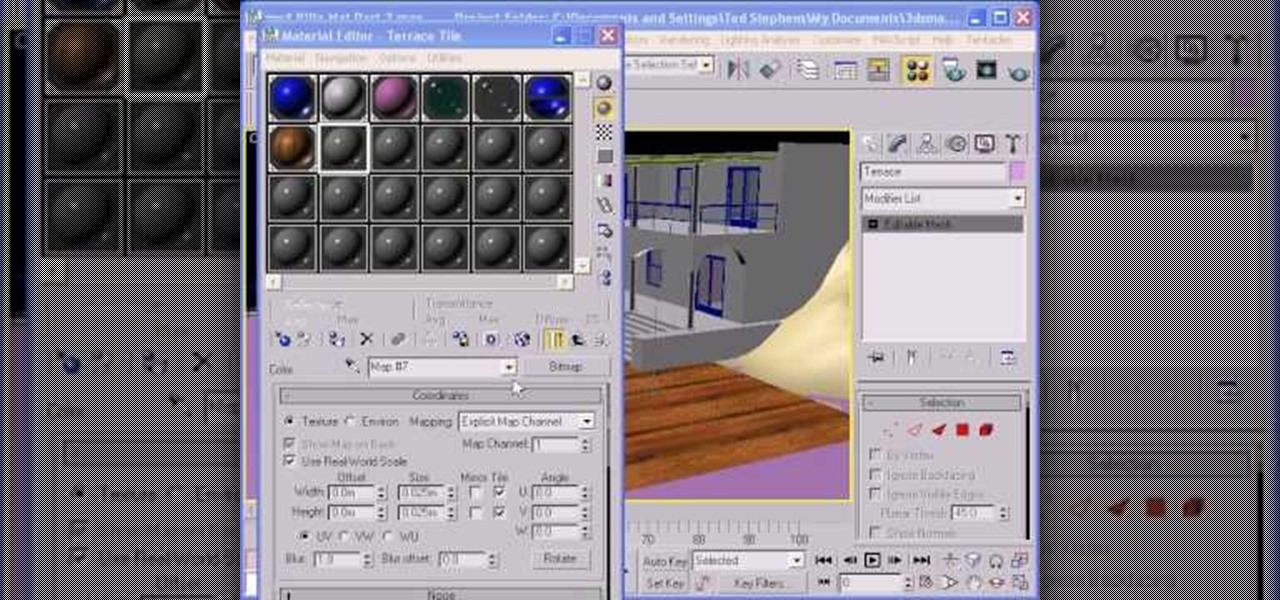
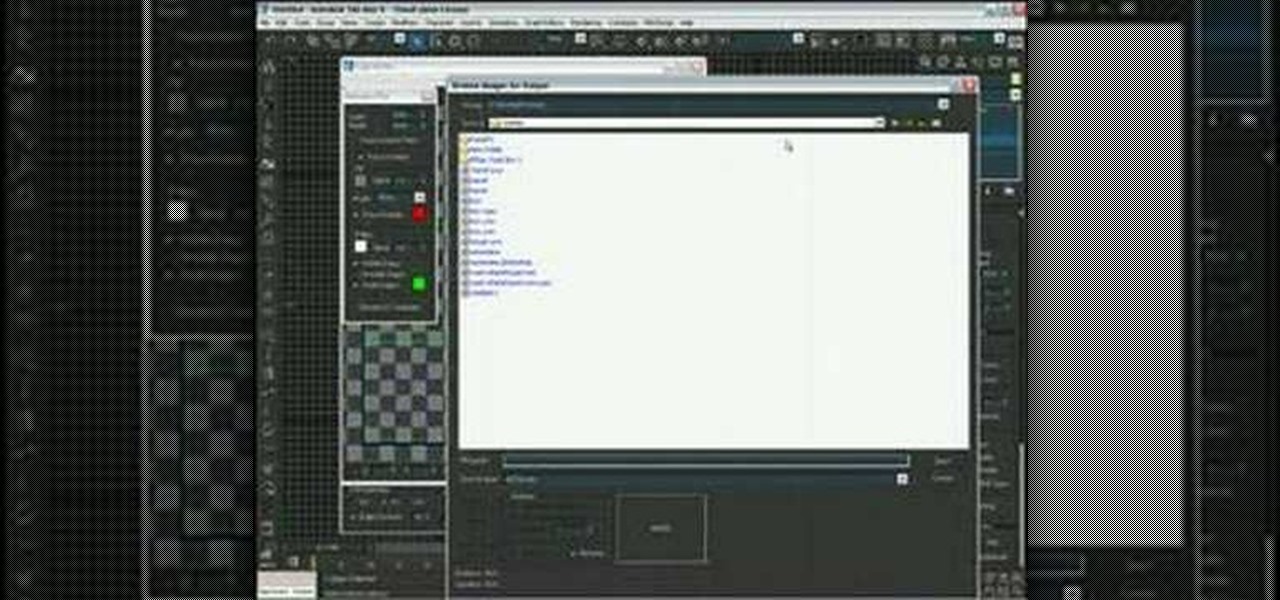
In this video, we learn how to use custom map or UVW map in 3D Studio Max. First, go to the material editor and add a custom map to it using a hardwood deck. Change the material to cedar fence, then change the size as you would like it. As you continue to edit the different surfaces in the picture, it will preview it for you in the main screen. You will be able to see it customized how you would like it to be as you edit it. The material editor can be changed in design and renamed to help you...

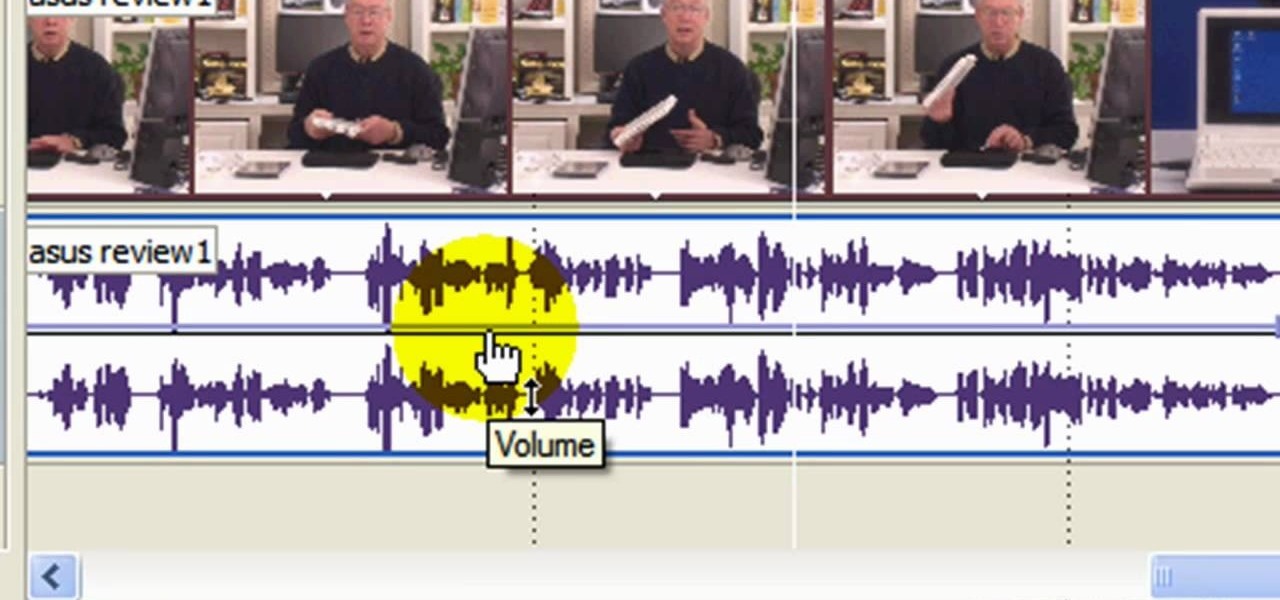
In this video tutorial, viewers learn how to use volume envelopes in Sony Vegas Movie Studio. Begin by importing the audio track into the time line. Then right-click on the audio control panel, go to Insert/Remove Envelope and select Volume. This will place a purple line through the audio track. Users are able to control the volume by moving the line up or down to increase or decrease the volume. Users are also able to select certain points by creating starting and ending points in the audio ...

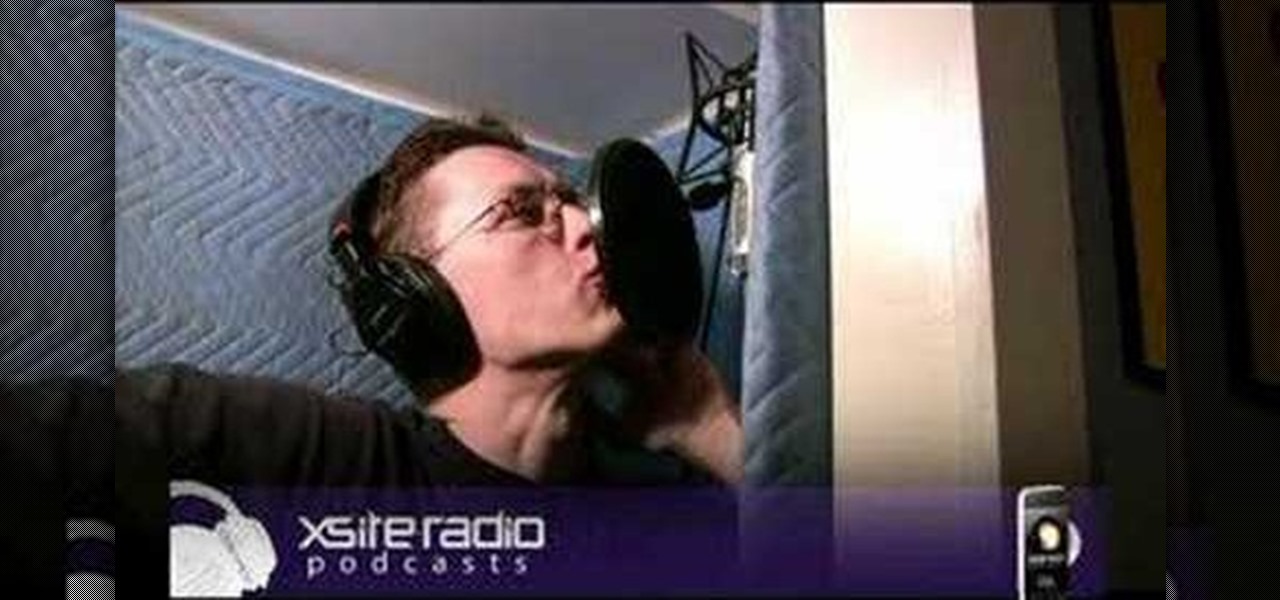
In this tutorial, Mike from XSite Radio, tells you everything you need to know to make a successful video podcast.

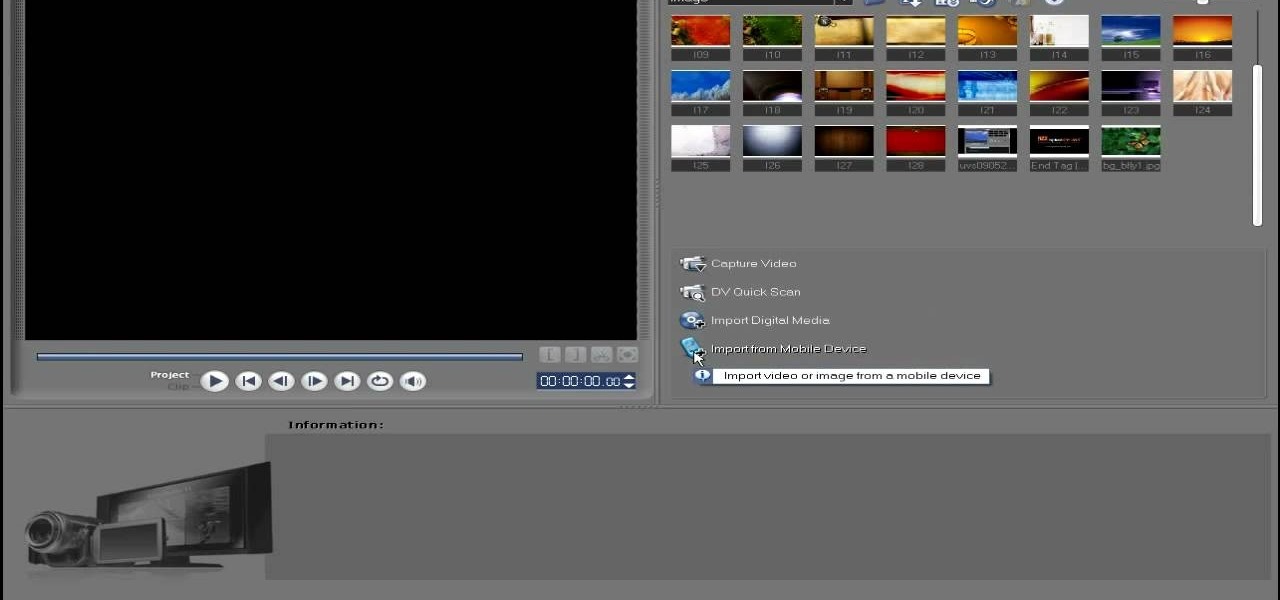
In this video tutorial, viewers learn how to import media from devices in Corel Video Studio. Begin by connecting your mobile device to the computer. It can be any device with a memory card or hard drive. Open the program and click on the Capture tab. Click on the option, Import from Mobile Device and select the device that you want. Select the file(s) that you wish to import and click OK. The program will then import the media to your selection window. This video will benefit those viewers w...

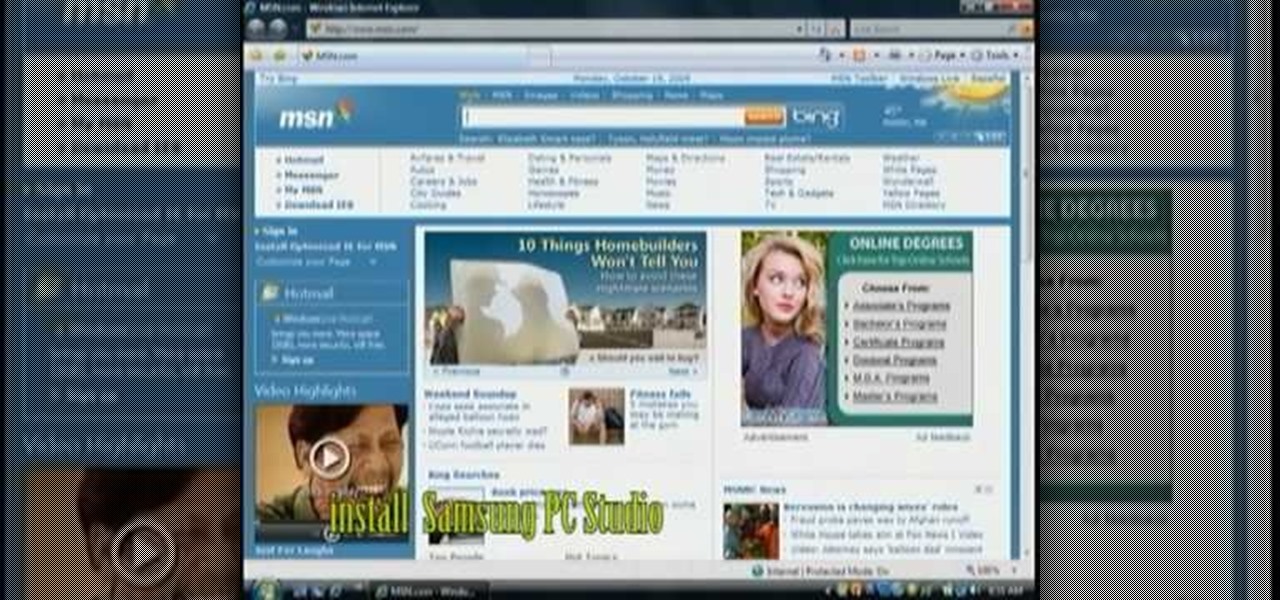
If you're a MetroPCS user and would like to tether your phone to your PCS to use it as a modem, this video will show you how it's done. First of all, hit the subtitles button to make sure you're getting the instructions in english. Next, you'l want to go here to get the Samsun PC Studio link tool which will let the connection be made. Enjoy!

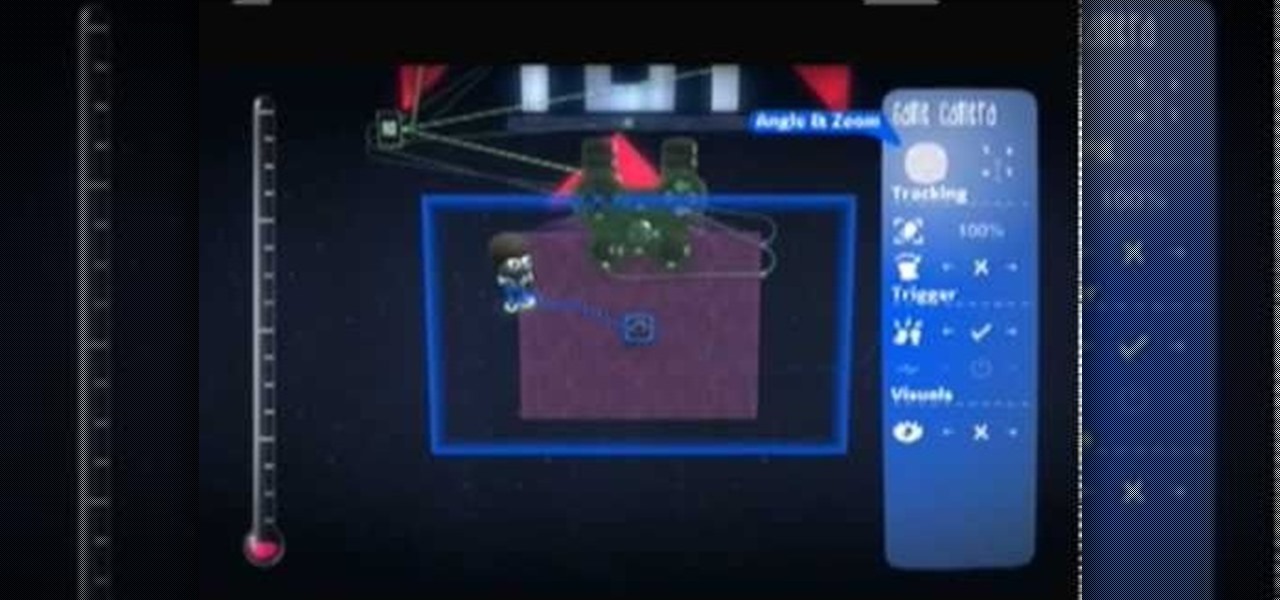
The first thing someone sees when they start a video game (after the studio cards and legal info, technically) is the start menu. Having an intuitive, attractive one is a great way to affect people's first impressions of you game, in LittleBigPlanet 2 and elsewhere. This video will teach you how to make an awesome two-piece selection menu for your custom game and guide players exactly where they want to go.

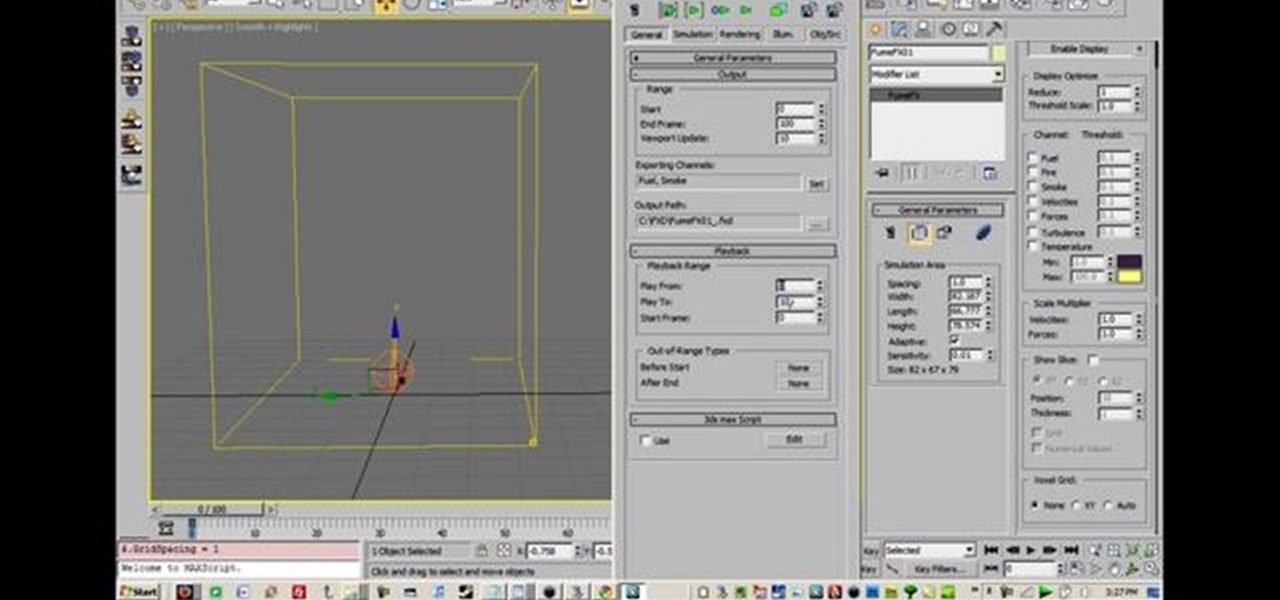
This tutorial will work for most any 3D rendering program, such as Houdini, 3ds Studio Max or Maya. Learn how you can replicate the dynamic look of fire, smoke and explosions. Create digital fire and other fume effects with your computer.

In the studio world, and the ensemble scene, you're going to be handed ALOT of sheet music, sometimes it has only a few notes for a specific melody, and sometimes it's a whole lot of notes for the entire song. Knowing how to read these notes are important, and it can be very daunting at first, but if you practice every day anybody can read. In this video you will learn the basics of reading the notes on the staff with the note names for the treble clef.

If you shoot in a studio, or if you find that you're getting a black bar and are having a hard time freezing motion when shooting, this video will be a great help. In it, you will get a full lesson on what sync speed is, flash duration, camera curtains and more to help you capture motion without getting a black bar or other nasty effects.

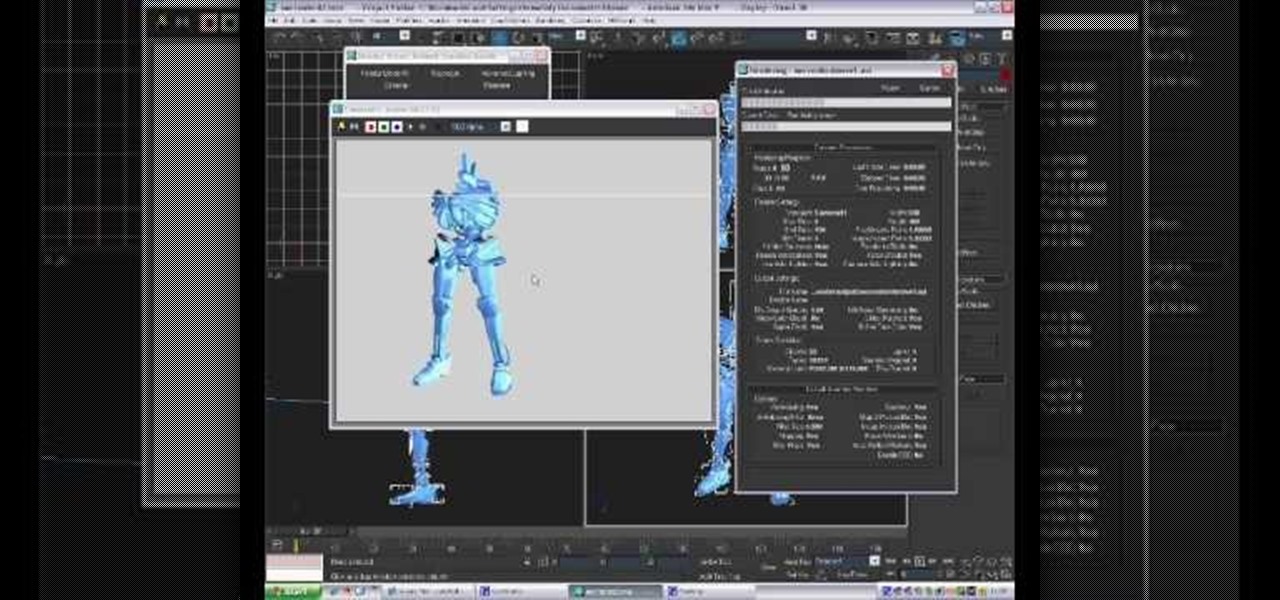
If you want to demonstrate your 3D model on a turntable or create some other sort of short animation with your models without having to use more specialized software, you can render an AVI video inside 3D Studio MAX. This video will show you how to do this quickly and easily, assuming that you already know how to animate your character. Now, let the world see your beautiful 3D work!

Touch up your digital photographs for studio-quality images. Whether you're new to Adobe's popular image editing software or simply looking to pick up a few new tips and tricks, you're sure to benefit from this free video tutorial from Tutvid. For more information, and to get started creating pixel-perfect images yourself, watch this graphic designer's guide.

In this video tutorial on Adobe Photoshop CS3, we will cover using channels to cleanly cut out complex hair selections of both brunette and blonde hair on a studio style background and an outdoor scene. You will learn a lot about how to select things in Photoshop using the techniques displayed in this video, which will aid you in selecting many different things, not just hair.

Podcasting has become the radio phenomenon of the modern age. Kevin Rose and Dan Huard explain why podcasting is so popular and they show how to set up a basic podcast environment from the hardware you'll need to the uploading process. Also, get an exclusive look into Leo Laporte's (of This Week in Tech fame) advanced podcast studio!

In this video the instructor shows how to upload High Definition HD videos using Camtasia Studio. Here the instructor shows how to upload the videos that you recorded using Camtasia in HD to YouTube. Now to generate a HD video you will need to record in high resolution like 1280 by 800 pixels. Now record the video at full screen. Now after recording you will have your HD video. Open the video in Camtasia and add the clip to the time line by right clicking it and selecting the option from it. ...

Photoshop Mama is here to make all your software tutorials you want to post on YouTube so much better! She shares info on the products and where to get them and also covers how shes produce vids and specifically her post production procedure for saving vids for upload to YouTube.

After closing its 2017 financial books on a high note, Snap, Inc. is planning to ride the momentum of its augmented reality products into the new year. That's the main takeaway following the company's 2017 earnings conference call, which was held on Tuesday.

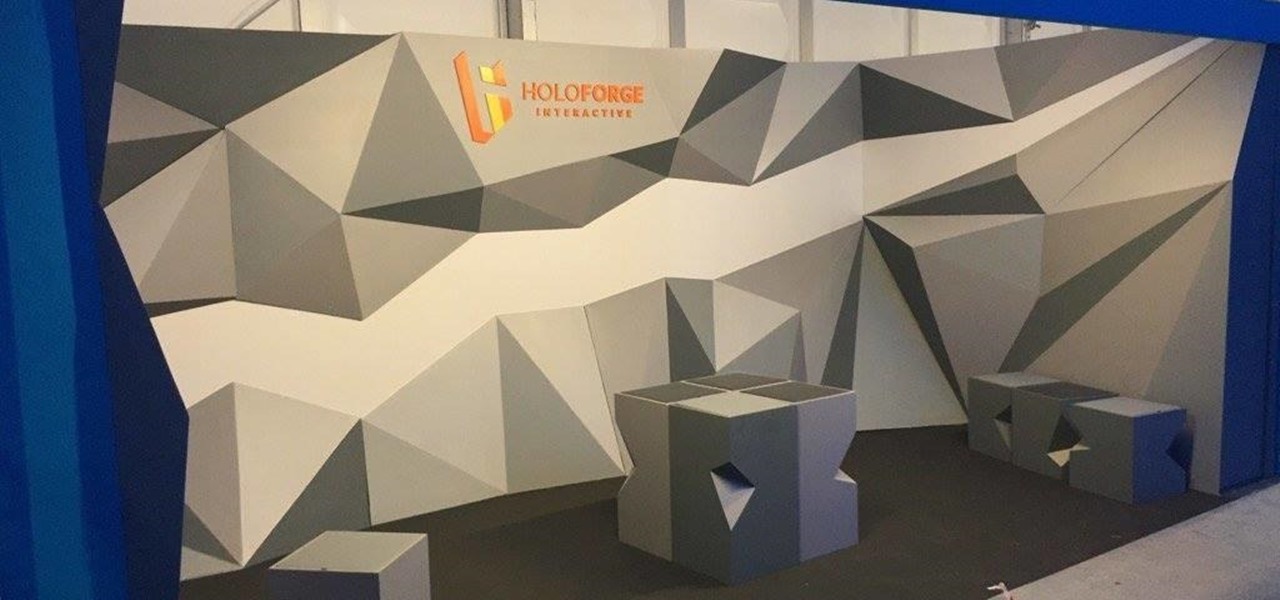
Asobo Studios, one of the first companies to partner with Microsoft on HoloLens development, is applying their expertise towards building applications for various business verticals through their internal HoloForge Interactive team.

In this video, we learn how to make beats using FL Studio. First, load in the different beats that you want and then find where the tempo is at. Take the tempo down to around 90 and then find the different editing tools you have. Use the editing tools to change the sounds that you load into the program and then change when they play according to when you load them. You can change the tempo, bass, and volume for each of the different instruments, depending on what you want to achieve. When don...

In this video, we learn how to apply normal maps in 3D Studio Max. First, go to the cylinder button and name it. Then, change the radius and height how you would like them. After this, select "extended primitives" from the drop down menu on the top. From here, enter in the diameter and sides for the round hose and then select the diameter of the cylinder. This will create a cylinder but with the look of a hose instead. Use the bottom toolbar to edit the sizes of the map and then save this whe...

In this video, we learn how to use the UVW unwrap function in 3D Studio Max. First, go to the UV modifier wrap and select all the faces. Once here, edit the parameters and then go to the mapping menu. After this, you will be able to change the object as you would like. After you are finished with this, save your object to your computer in a spot you won't forget it. You can create several different layers and change the colors as you prefer. You can completely customize your experience on thi...

In this video, we learn how to edit with Sony Movie Studio / Vegas Video. You will be able to see all your tracks to open up when you are in the program. First, open up all the elements you will need in your media pool. After this, add in transitions from each of the different slides and add in music as well. Place the slides next to each other to easily create the transition without getting the different slides confused. Play the preview to the slides to see how they look as you are creating...

In this video, we learn how to mix your song in Studio One. First, press the F3 button to show all the instruments you have and then you can click on those to change the settings of how your music sounds. Create different noises and change the beat delay to create a unique sound. After this, you can change the one, beat, volume, bass, and anything else you want to in your song. You can use the compressor to change effects, then adjust any other settings that you would like! When finished, sav...

In this tutorial, we learn how to do UVmapping with 3D Studio Max. Open up your image in the software, then go to "unwrap UV". Scroll down to edit and you will be able to see the basic scale. Grab the mass and scale it down, then use your element turn on to select the different pieces. The UV mapping will now turn a different color and show you where you have edited it. Continue to do this throughout the entire program. Make sure you have all other programs closed while you are doing this, an...

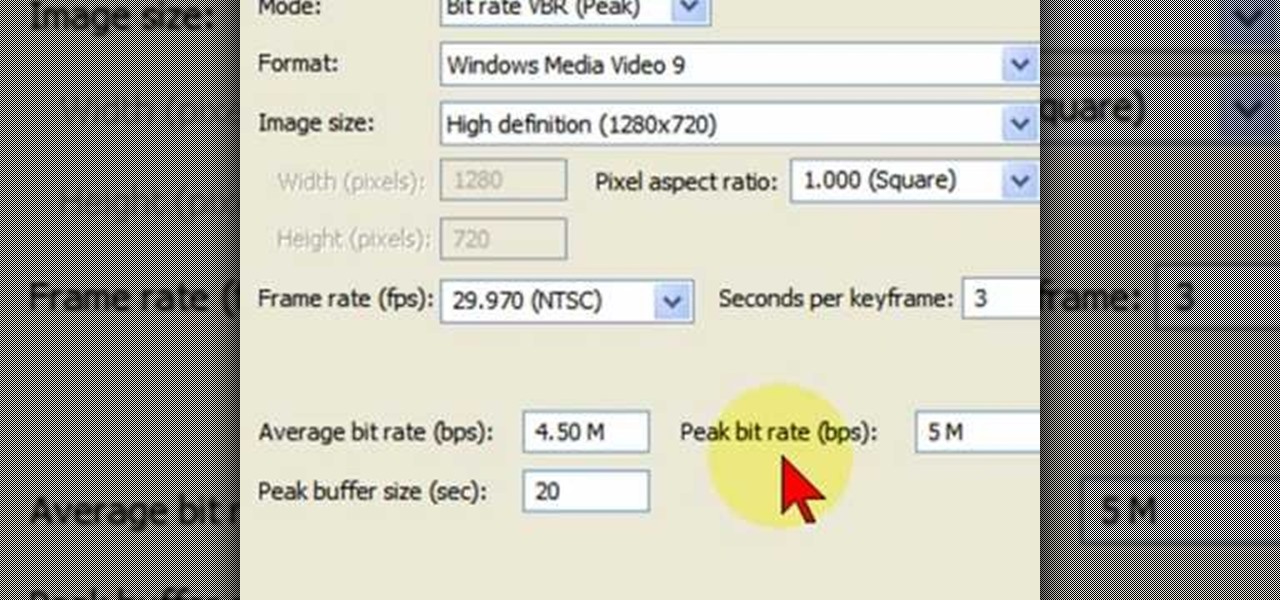
In this video tutorial, viewers learn how to render high definition videos in Sony Vegas Movie Studio. Begin by clicking on File and select Render As. Then select the file type. Now click on Custom. In the Audio tab, set the mode as CBR, format as Windows Media Audio 9.2 and attributed to 128 k-bps. In the Video tab, set the mode as Bit Rate (Peak), format as Windows Media Video 9 and image size as High Definition (1280x720). Now save the template. This video will benefit those viewers who en...

This video tutorial is in the Fine Art category which will show you how to use & understand studio flash. Right in front is the flash ring. It controls the direction of the flash. The most important buttons are the up and down button that controls the power of the flash. Five is the lowest power and it goes up to ten. Starting with five it goes up by one stop increment. You don't need to use any of the other buttons. All you need to do is to turn on the flash with the ON / OFF button, point i...

In this tutorial, we learn how to add a title in Pinnacle Studio. First, click drag and drop your movie into the movie screen and then click on the "edit" tab. Now go to the left hand side and click on the "text" button. Go for a standard title, or whichever you prefer and click and drag that into the video screen. It will now be in front of your video. Double click the video screen and then edit the text to say what you would like. Next, click out of this and add a transition from the right ...

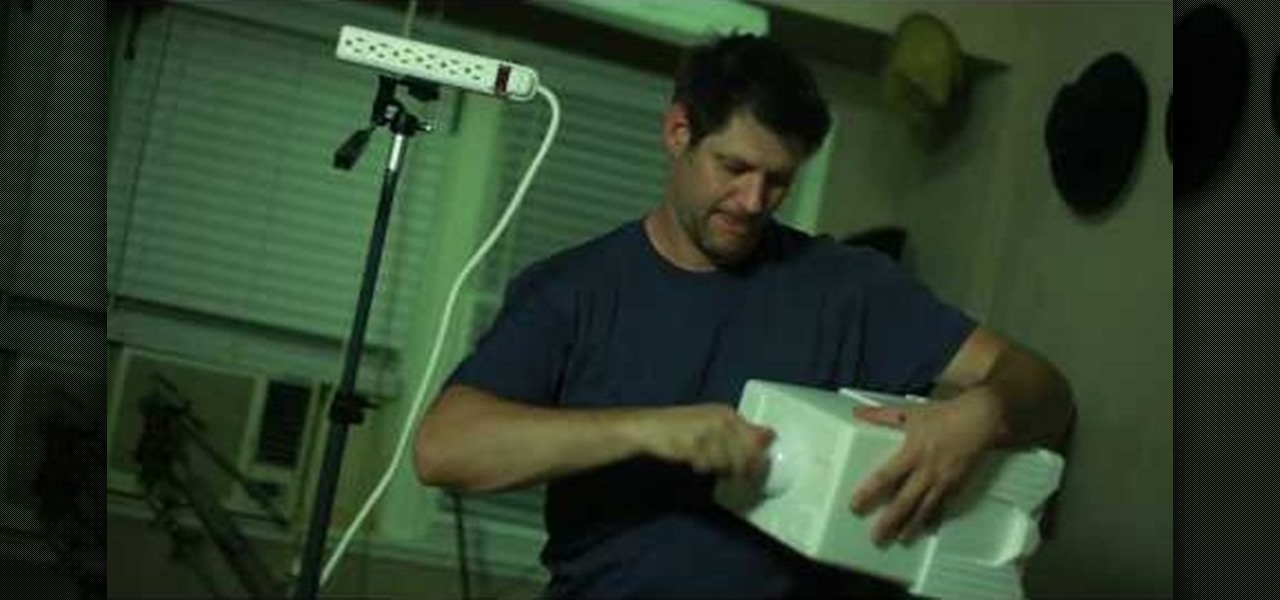
This video shows how to make a studio softbox light for under 20 dollars. It is made with items found around the home or easily acquired. The author takes us through the process in a step by step manner. It starts with a cheap camera tripod upon which a plastic electrical outlet strip is attached using either a screw or strong plastic adhesive. An electrical plug with a light socket attachment is plugged into the strip to allow the light to be attached. A small cooler with a hole cut in the b...

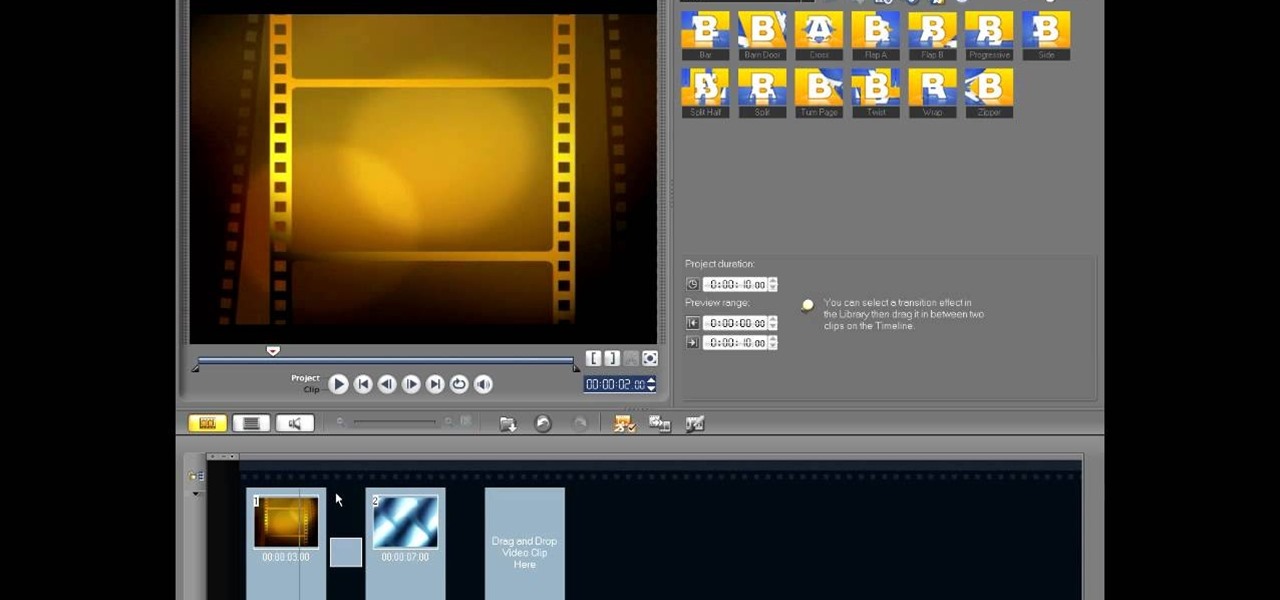
In this video tutorial, viewers learn how to edit in storyboard mode in Corel Video Studio. The storyboard mode is an alternative view for the time line. To switch to storyboard mode, click on the film strip icon above the time line. Storyboard arranges your project by element. To add a new element or transition in storyboard mode, click on the Edit tab and select the element or transition that you want by dragging it to the storyboard. This video will benefit those viewers who use Corel Vide...

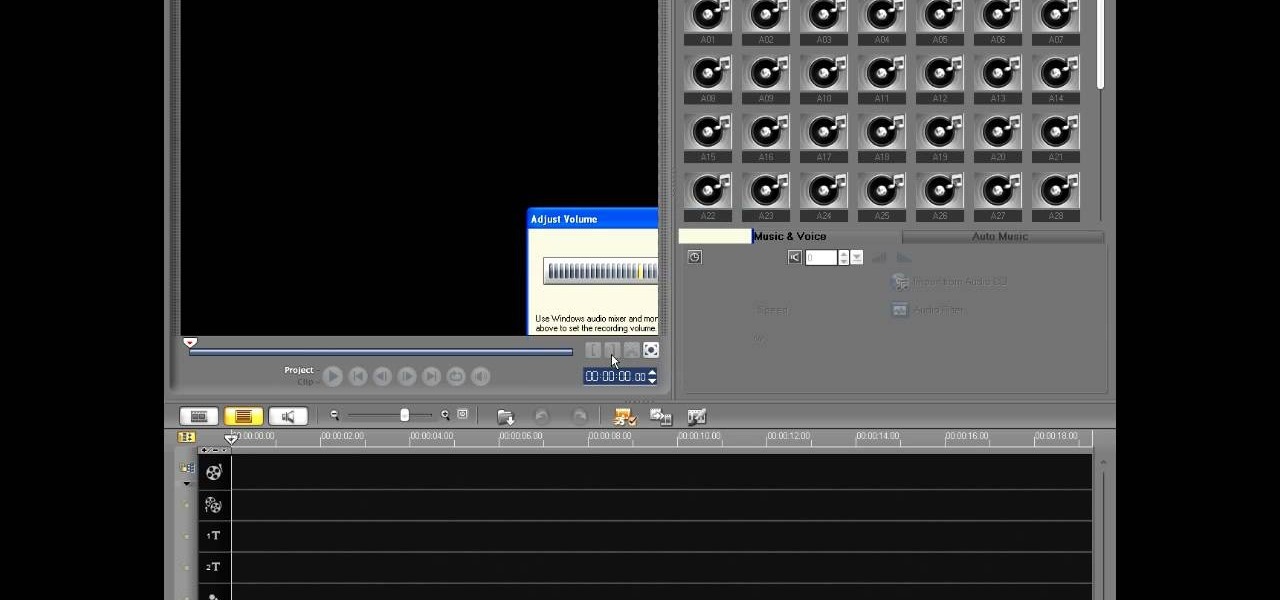
In this video tutorial, viewers learn how to record voiceovers in Corel Video Studio. Begin by plugging your microphone into the computer and open the program. Click on the Audio tab and click on Record Voice under your audio media library. A dialog box will appear that allows you to test and adjust your microphone. Begin speaking into the microphone. If you can hear yourself and see the yellow bars move, then your microphone is working properly. Now click on Start to begin recording and clic...

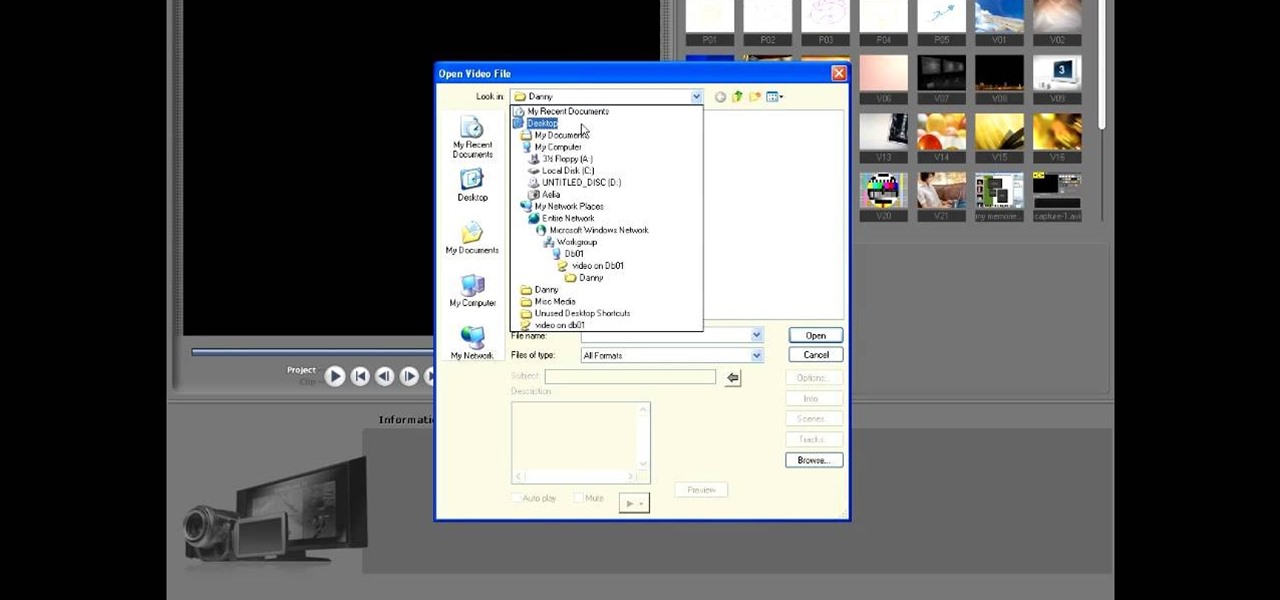
This video tutorial from toptenreviews presents how to import media from a hard drive into Corel Video Studio library.First you need to start the application.From top menu click on Capture tab. Normally you would select one of the four options to capture media: Capture video, DV quick scan, Import digital media, Import from mobile device.These options are below the library. But in this case you will need to click on the folder icon above the library.This action will bring up a dialogue box wh...

This video discusses how to add a sound effect to your video in Pinnacle Studio. You first select the video you wish to add the effect to and then, on the left hand side, select the sound effects button. It looks like a loudspeaker with a few lines coming out. The options include humans, gunshots, animals, instruments squeaks to name a few. You then have a variety of different sounds from that genre of effect. Select one and then drag the effect to the time bar when you want to have the effec...

This tutorial explains how to save your work in Pinnacle Studio. The first step is to go to "File". Next is saving projects by using the drop down menu from the top left corner of the program. When you save your project it does not mean that all the video files will be saved. In fact, all the original files have to be stored in the exact same place so this will work. To save your new project you have to go to movie and make and output format like Vdix or VCL.


