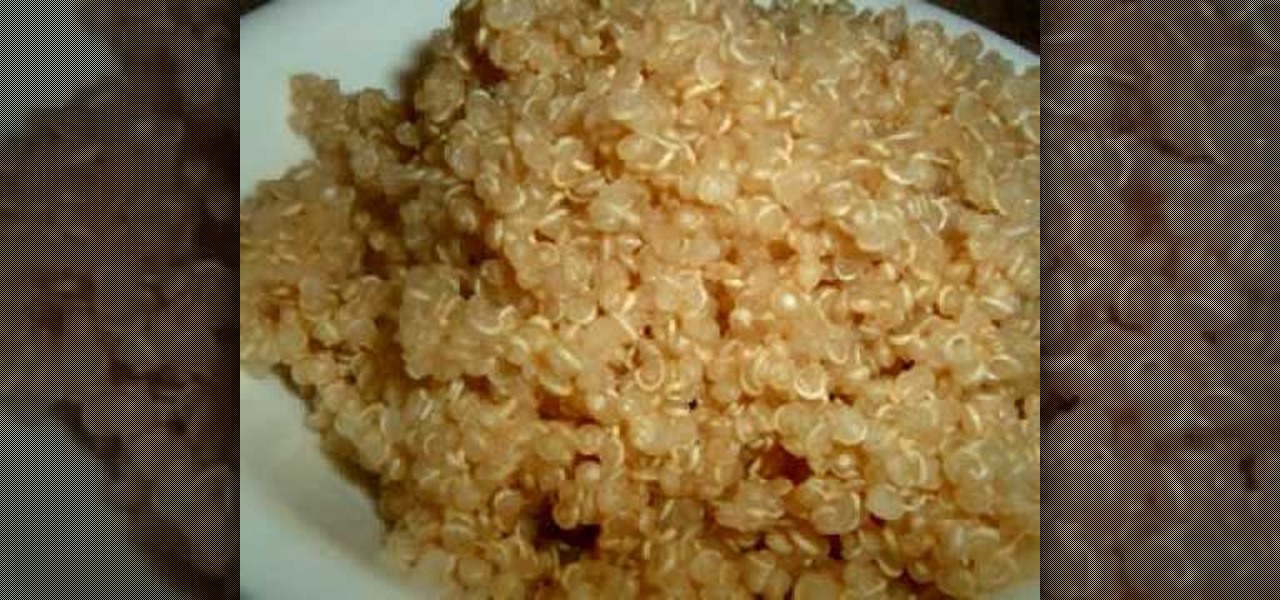
Cooking quinoa is similar to preparing cous cous. Both are grains and both will soak up the water or broth you place them in to become warm and fluffy. If you have never had quinoa before, you should definitely give it a try. This delicious grain is one of the most healthy things you can feed your family.
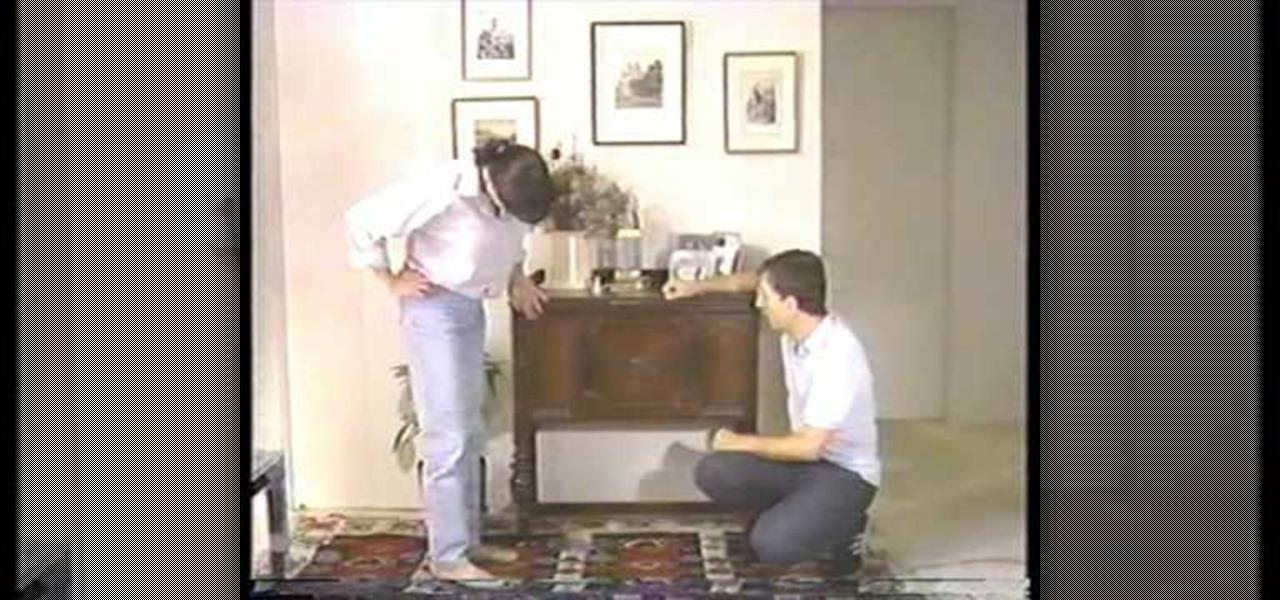
There are always two sides to every argument. Usually when it comes to furniture, one side is for throwing it out or selling it to buy a newer more enjoyable looking piece, while the other side may want to keep it. Is there a way to compromise? You bet there is! When it comes to old looking or antique furniture, you can easily refinish it to make it look brand new and fit the style of your room. This tutorial will show you how to easily refinish antique furniture in a snap! Enjoy!

One of the distinguishing aspects of Trafficmaster Allure vinyl flooring is that it requires very little effort to cut the pieces to whatever length you need. All you do is score a line across the piece, then fold it in half! It snaps cleanly into two new pieces. This quick video features a man remodeling his office cutting a piece himself in only 26 seconds, using only a ruler and a knife to score the wood before he folds it.
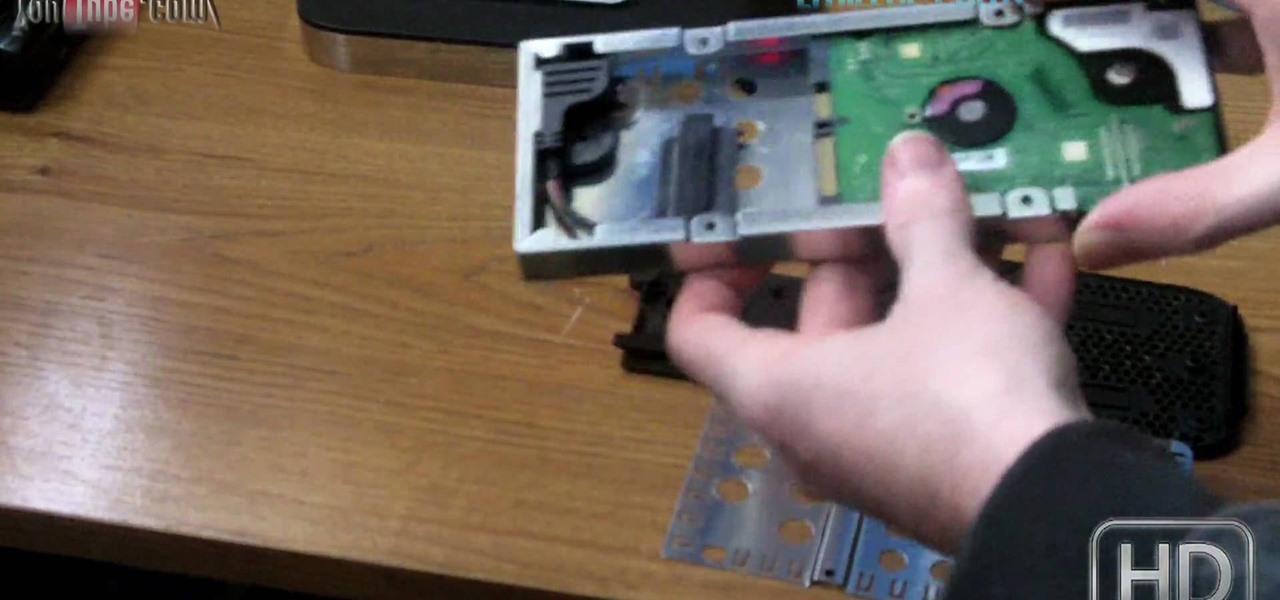
If you have an extra Xbox 360 just sitting around along with an extra hard drive, this video may be of interest to you. It's an easy task when it comes to swapping out different sized hard drives. If you have the right tools and right supplies, it can be a snap. So if you have everything that's needed or need to know what to get, check out the video above for those and more. Good luck and enjoy!
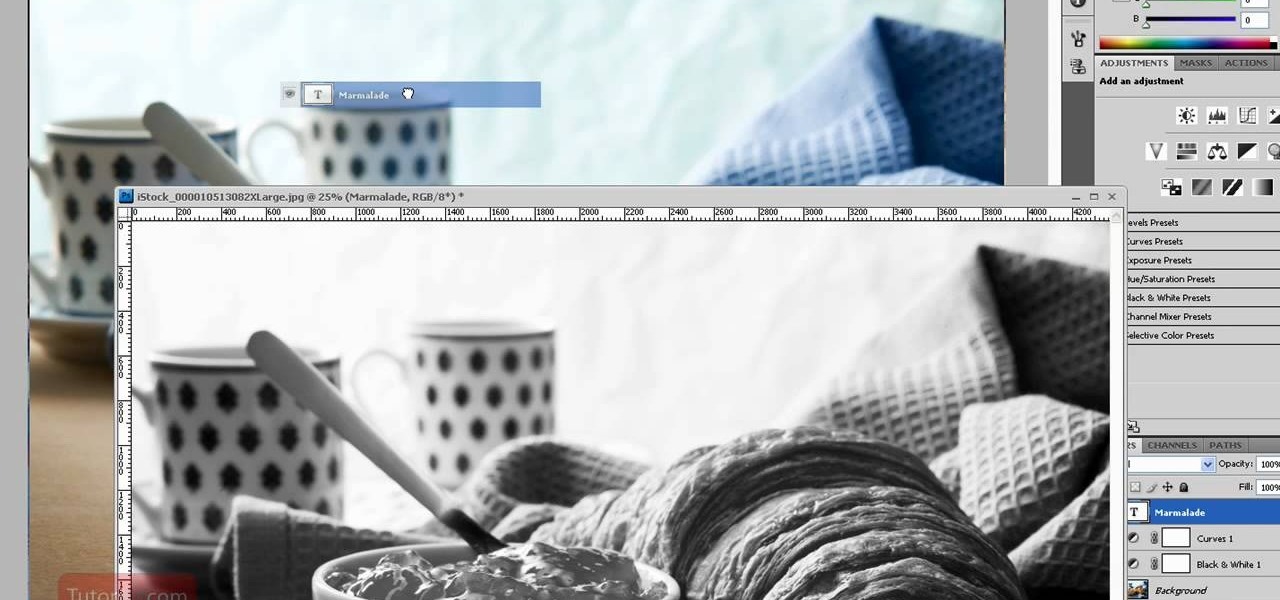
Photoshop is one of the most powerful and widely used program out there on the market. Not only can people use it to make their own photos look better, but they are able to take other pictures and images and enhance them to whichever way they want. That can be seen as both bad and good. Somtimes, to do so it involved using the layers and moving a picture to a new image. In this tutorial, you'll find out how to move a layer to a new image using Photoshop. Enjoy! It's quick, easy, and will be a...

Are you a major networker with a cell phone full of digits? Are you horrible at remembering names and often times look at incoming calls with a look of confusion? There's a way to remember them from this day forward. Once you get a number, snap a picture of them and set it up as their caller ID. When calling, their photo will appear giving you a hint who it is! In this video courtesy of Best Buy Mobile, learn how to set a photo as caller ID.

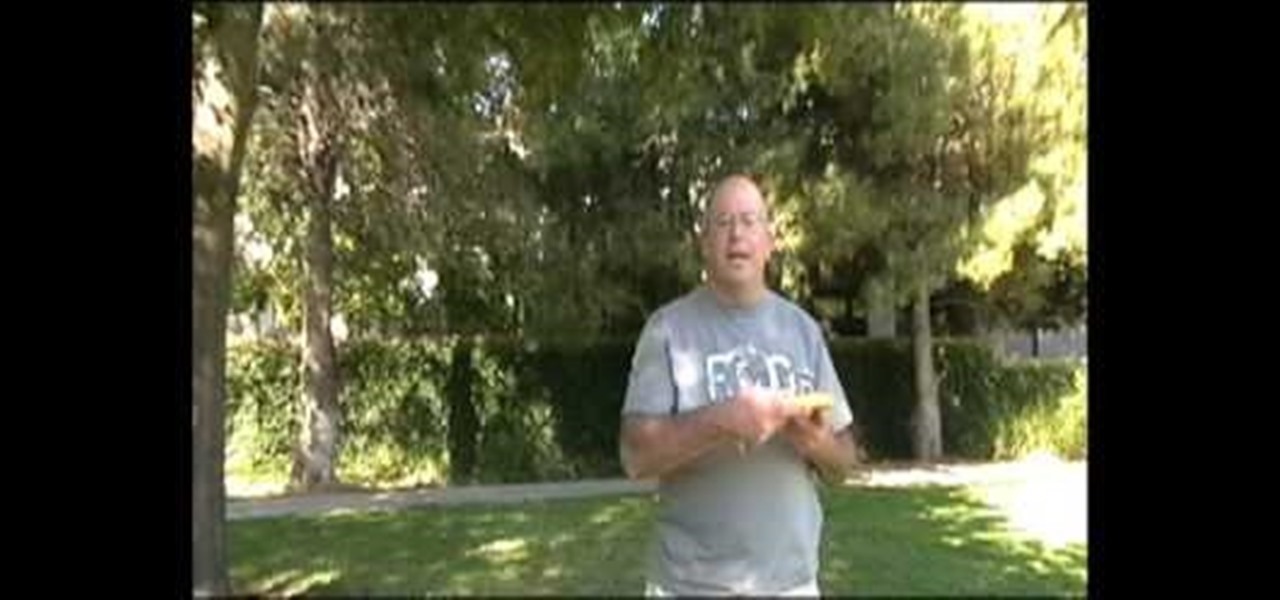
This is a demonstration of how to throw the frisbee the correct way.The idea of frisbee developed in a college campus in 1920 where students use to throw empty pie tins after eating the pie made by Frisbee Pie Company.Frisbees are available in the retail market for about $3.00.The convex side of the frisbee has ribs and edge is rounded.The frisbee is held in the palm with the thumb on top,over the ribbed portion,the index finger is kept along the edge and rest three fingers below into the con...

This is a video tutorial describing how to make a doll outfit that includes a half top and a skirt. The first step is to gather what you will need. You will need 2 pieces of fabric, some elastic band, and then something for closure such as a hook and eye, a button, or a snap. Then to make the top you need to cut a 12.5 cm by 6 cm rectangle, then fold the fabric and sew the length and the width, leaving 0.5 cm edges, then turn the rectangle inside out and sew up the opening. Next sew the elast...

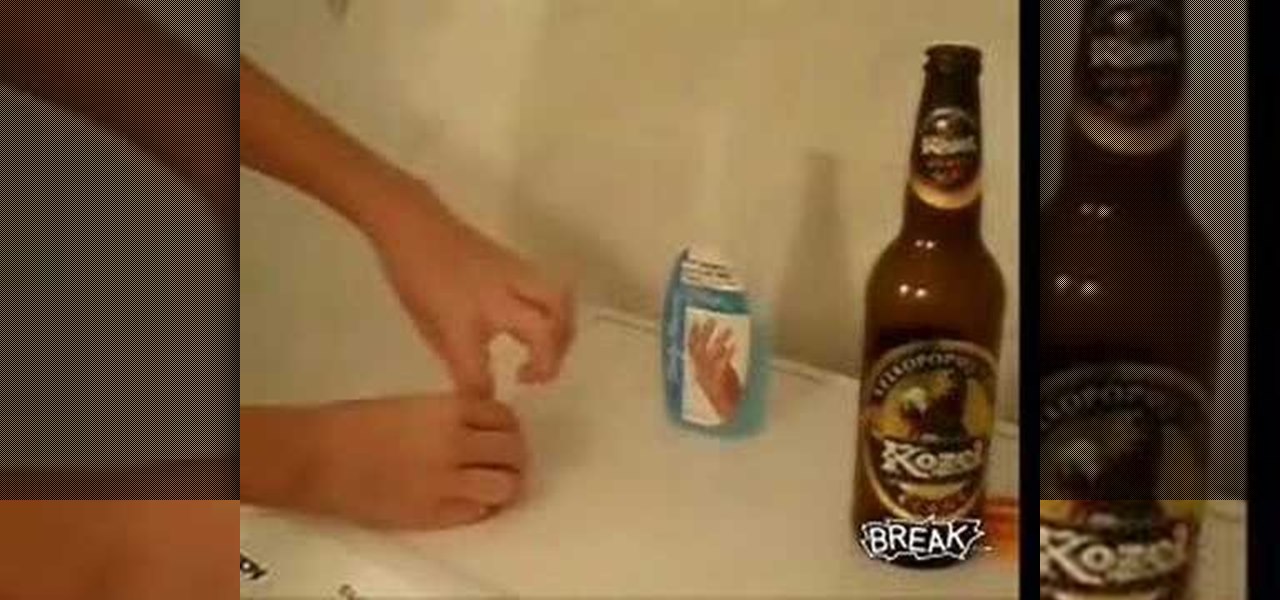
This video describes the process of cutting a beer bottle in half. First a piece of string is tied around a glass beer bottle to gauge the proper length that the string should be. Next, excess string is cut off and the tied string loop is slid up and off of the bottle. Next, the cap of a bottle of nail polish remover is unscrewed and the cap is filled with nail polish remover. The string is then wadded up and dipped into the nail polish remover for a couple seconds. The string is slid back on...

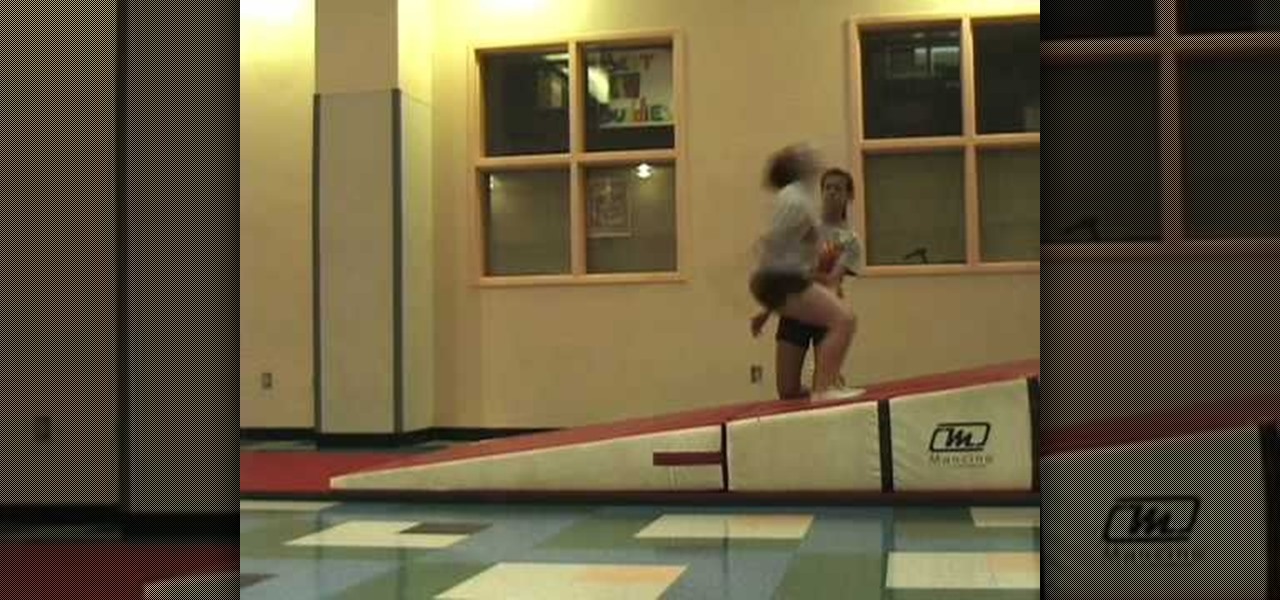
In this how to video, you will learn how to perform a back spring. This is also known as a back hand spring. Start on a wedge mat and have a qualified spotter present. Next, swing your arms back and keep them locked at all times. Bend with your knees when you jump back and up. When in handstand position, push up with your shoulders and snap your legs down. Keep trying until you get comfortable with it. Once your are, move down the wedge and keep practicing the move. Now try the move without a...

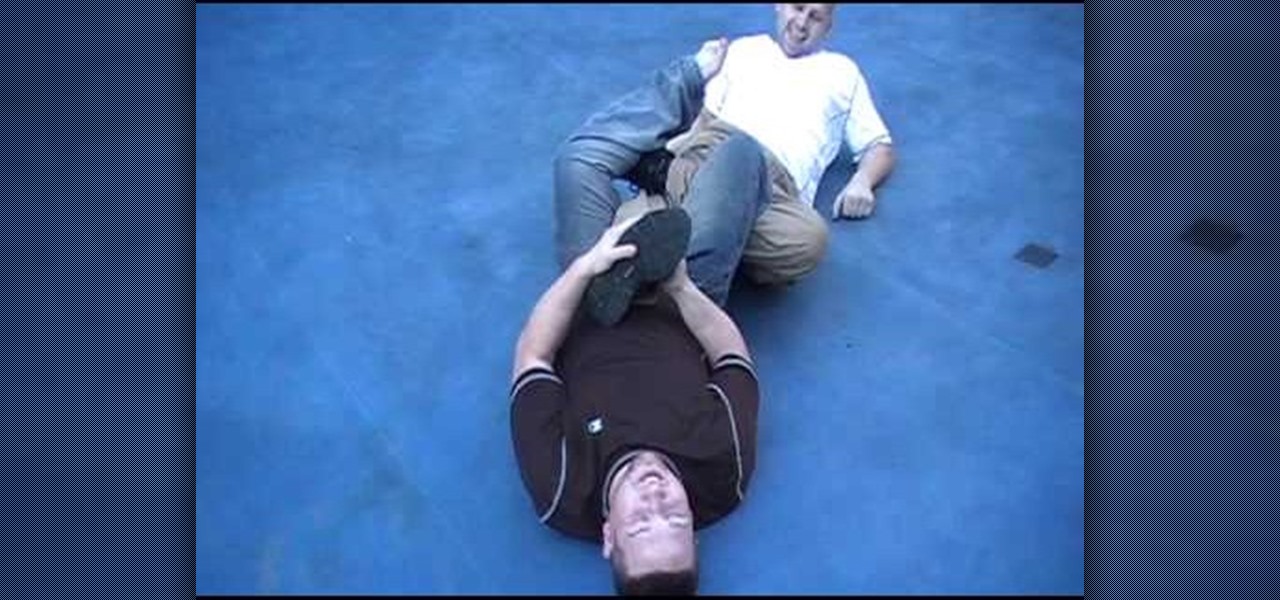
Professional Wrestler John will show you how to perform a Figure-4 leg lock, step by step. He first leads in with a Snap Suplex to put his opponent on the ground, and then demonstrates a proper Figure-4 Leg Lock. John then talks you through the entire process, while demonstrating. He first instructs you to grab your opponent’s left leg, lift their foot up, and step in with your right foot while bringing your left foot over their hip to their other side. Extend and bend their knee, and then br...

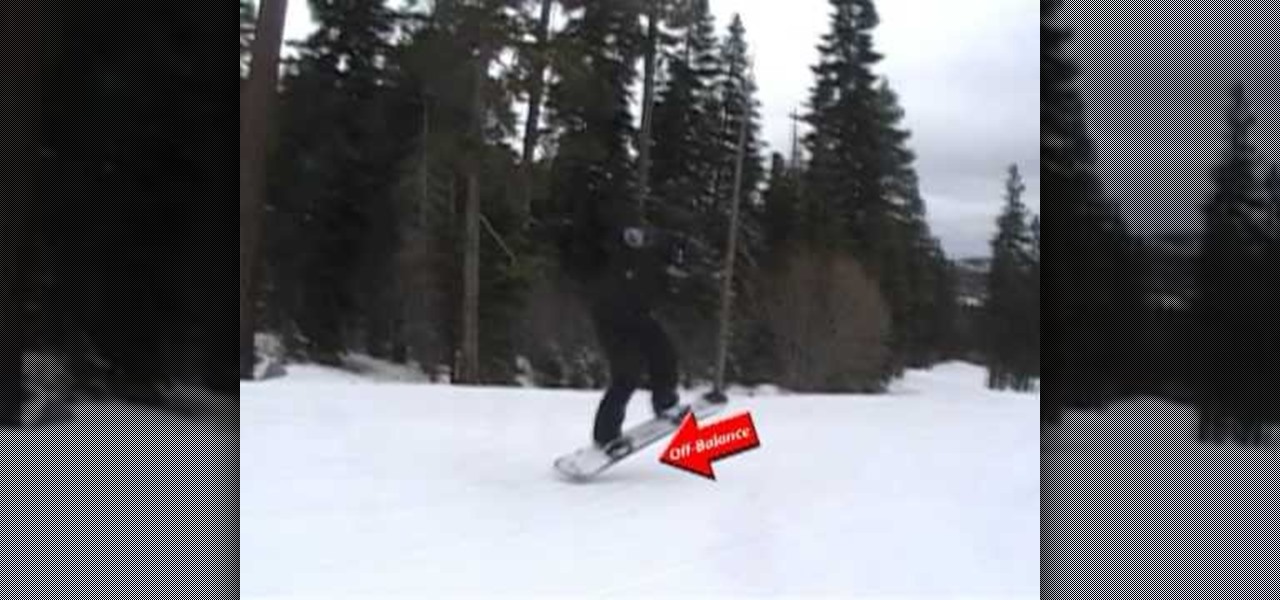
Sierra Snowboard demonstrates how to pop an ollie on a snowboard. An ollie is a basic but mandatory trick when riding a snowboard. When popping up on a snowboard do not jump off of your toes. If you jump off of your toes it is not considered an ollie. Make sure that you also do not jump off of your heels. First, keep your body square and balanced so that you are parallel with the board. Be sure to bend at the knees and not at the waist. Quickly shift your weight to the back foot. Load up the ...

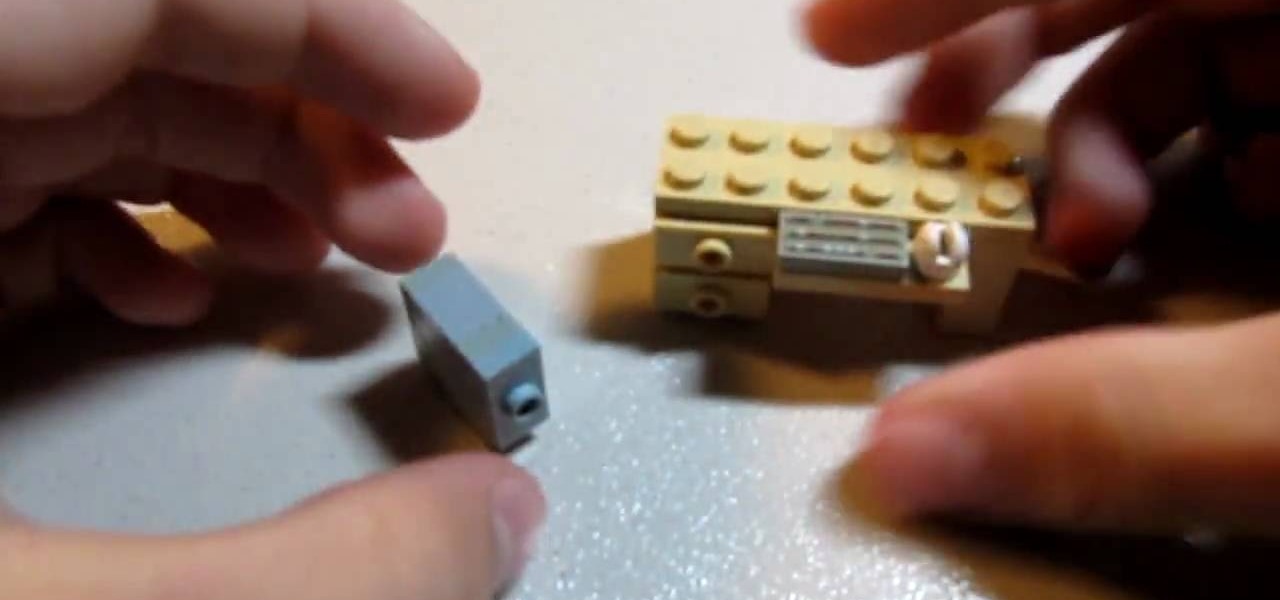
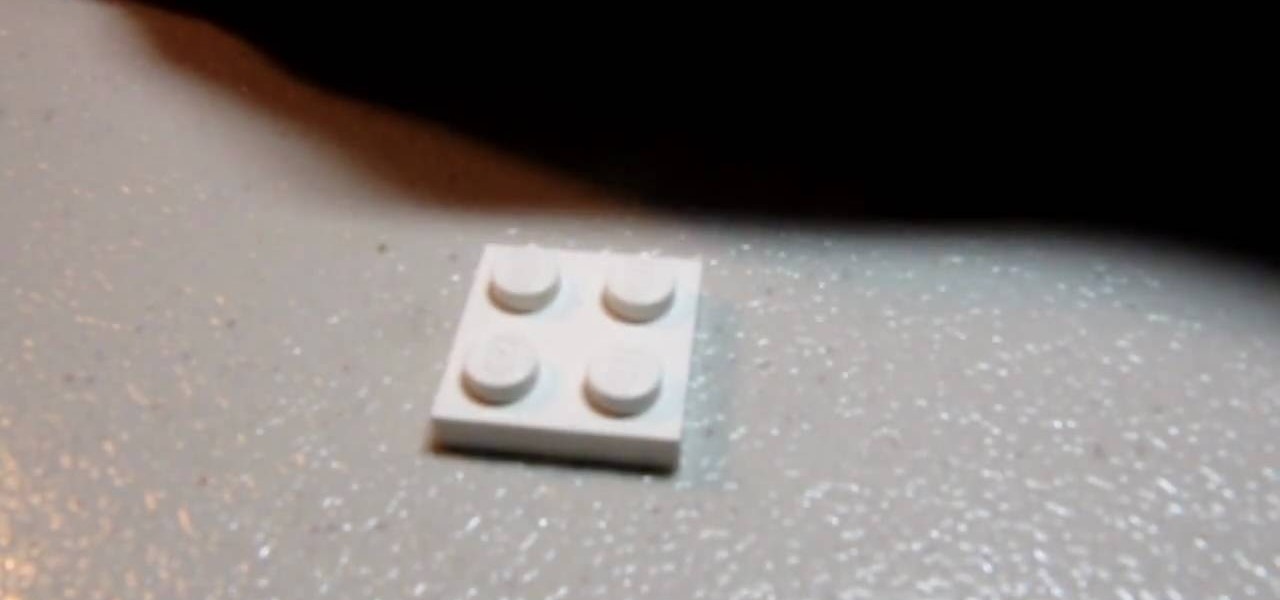
In order to construct a LEGO computer tower case, you will need 6 bricks: 2 1x2 smooths with the dot in the center, 2 1x2 thins, 1 1x1 chunky, and 1 1x1 with a hole in the middle. First, take both of your 1x2s and stick them on top of the 1x1s. You'll want the hole facing outwards on the side. Next take your other 1x1 and snap that on top. Now take the 1x2 with the dot in the center and attach that to the front. Then take your remaining 1x2 with the dot in the middle and connect it into the h...

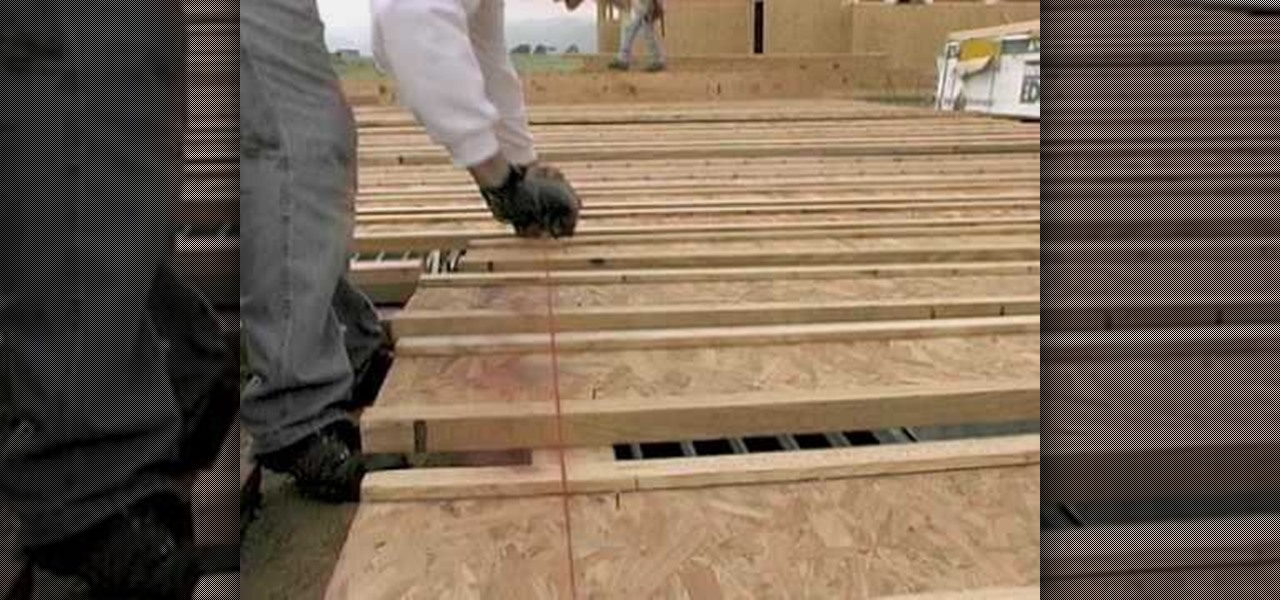
Fine Homebuilding with Jim Anderson demonstrates how to cut floor joists to length. Inspect the rim line to know where to set the joists. Set the joists to the layout on the rim line using a two man team. Tap a nail into the joist to keep it from moving around. Instead of standing the joists up to square them, cut them on both ends. Line the chalk line up with the rim line and snap the line across the joists to mark them. This will simultaneously measure and square them. Finally, line the joi...

This video shows you how to do a back hand spring reverse rebound/step out. The first thing to do this is to learn how to do a handstand snap down. Which is a handstand but quickly come back down. The next thing to do is put one foot down and cross the other foot behind it then twist your body in that that direction. After that you do a back handspring which is a back flip but you put your hands on the ground and push yourself up thin twist the other way. Then you just combine them together a...

Building a LEGO sink is not difficult at all. You will need only 6 simple parts: 2 1x2 thins, 1 2x2 thin, one sink element (this is kind of rare so if you're not able to find it, you may have some trouble making the sink), and 2 1x1 right-angle elevated bricks. Starting with the 2x4 thin, stack the 2x1s on top of each other and place them on the end of the 2x4. Now take the elevated bricks and snap them on the other end. Finally, attach the sink element so it is facing the elevated bricks. Th...

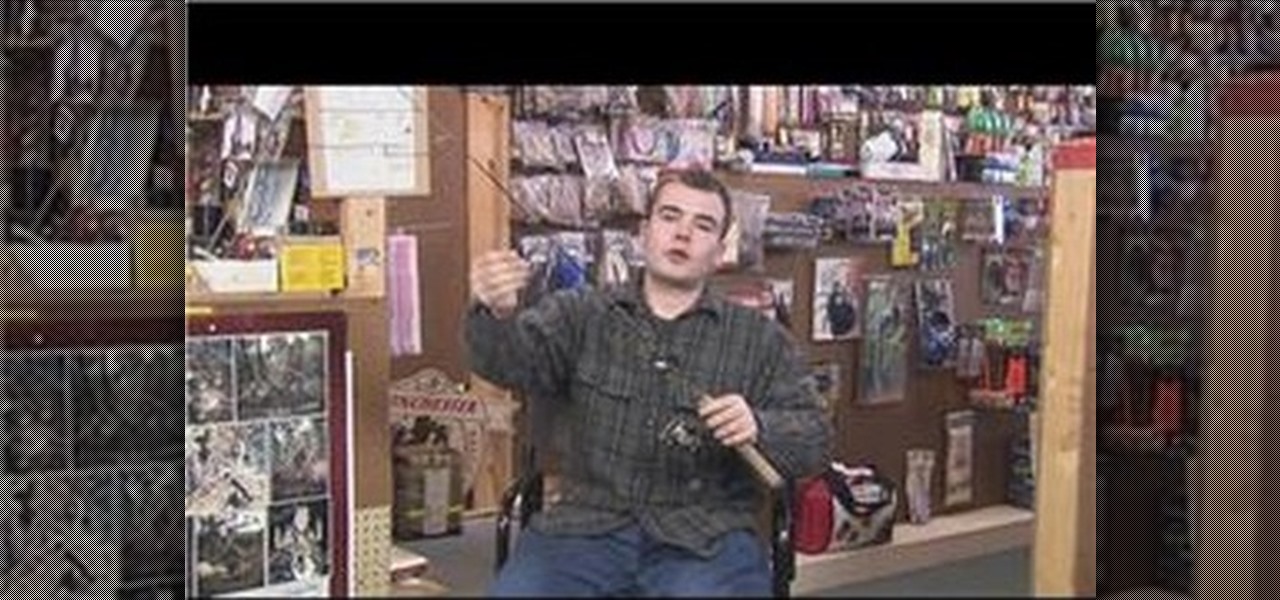
Trails demonstrates how to set up a spin cast pole when fishing for trout. In a traditional spin cast pole, look for an ultra light set up of 4. 5 to 5 feet long. Find a pole that has ultra light action with a 4 pound power pro and a 4 pound carbon leader. Don't go overboard with the pound test on the line with the leader material because it will make the trout shy and you will get less strikes. You can even go down to a two pound test on the leader. For trout, use small gold spoons and small...

This is a guide that will show you how to make a bow out of everyday items. First, you want to find a curved branch outside that's nice and thick so it won't snap. Also, if it's connected to other branches just saw them off, and then remove any smaller twigs or leaves from the branch. Then take a small knife and whittle down any nubs or small leftover pieces, then if the branch isn't bent to your requirements just bend it or use a vice to bend it to our liking and your bow staff has been crea...

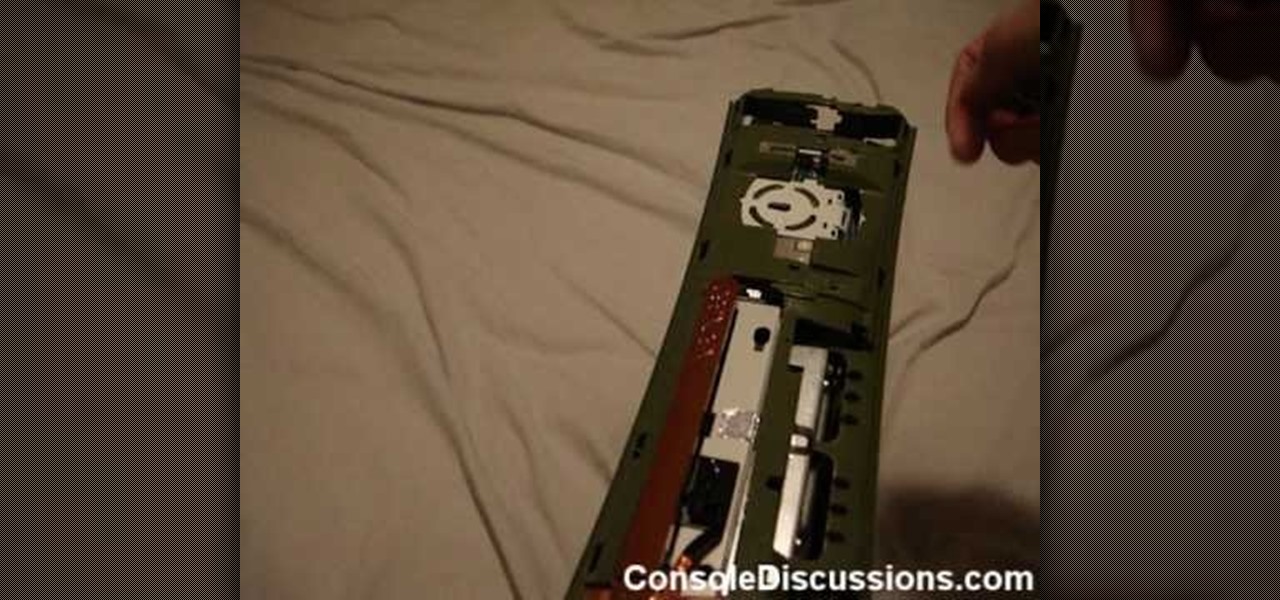
If you've ever wondered how to safely disassemble your Microsoft XBox 360 gaming console for modification, Johnny McKinney of Console Discussions will walk you through the basics. All you need to get started are a T10 Torx screwdriver, a small flathead screwdriver, and an XBox 360 console. Johnny gives you a step-by-step tutorial of which screws to remove, and the order to remove them in. The first step is to remove the sides of the case, as well as the venting grills. After all of the side p...

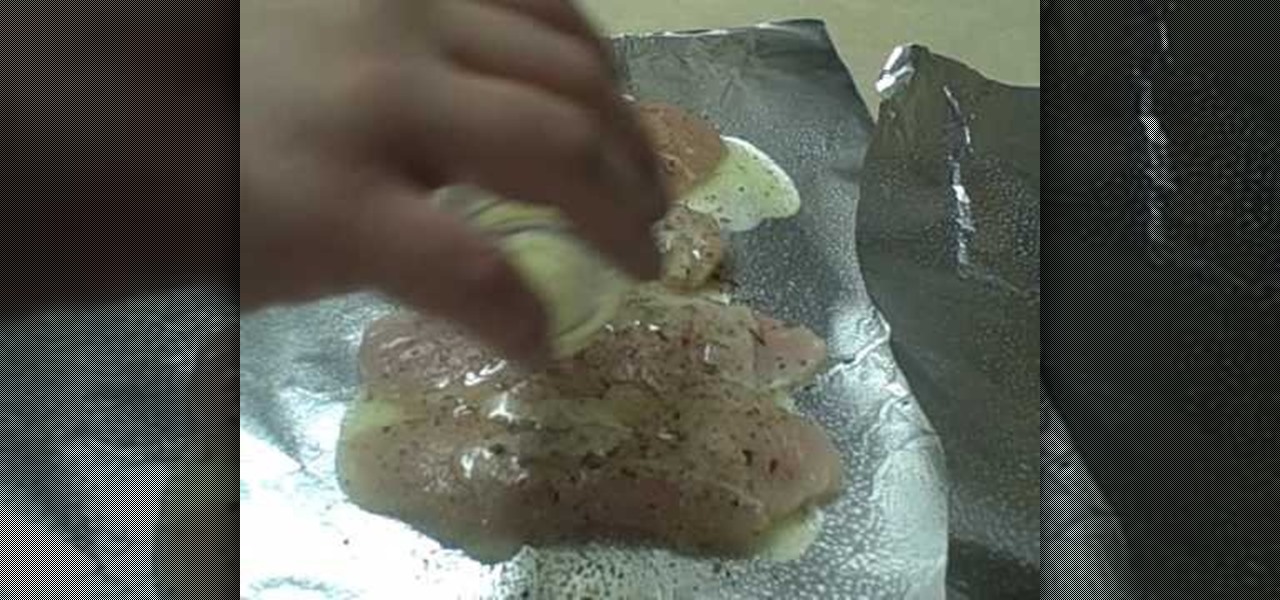
Kitchen Improv #3 shows us how to make some simple and delicious oven roasted chicken breasts. Roasting the chicken breasts wrapped in foil makes clean-up a snap. Just cover two pieces of foil in Pam spray and place chicken on one piece of foil. Put some simple seasonings on the chicken (oregano, parsley, basil and red crushed pepper) and some melted butter. Place the second piece of foil on top and fold over all four sides twice to keep everything inside. Bake at 400 degrees for 20 minutes. ...

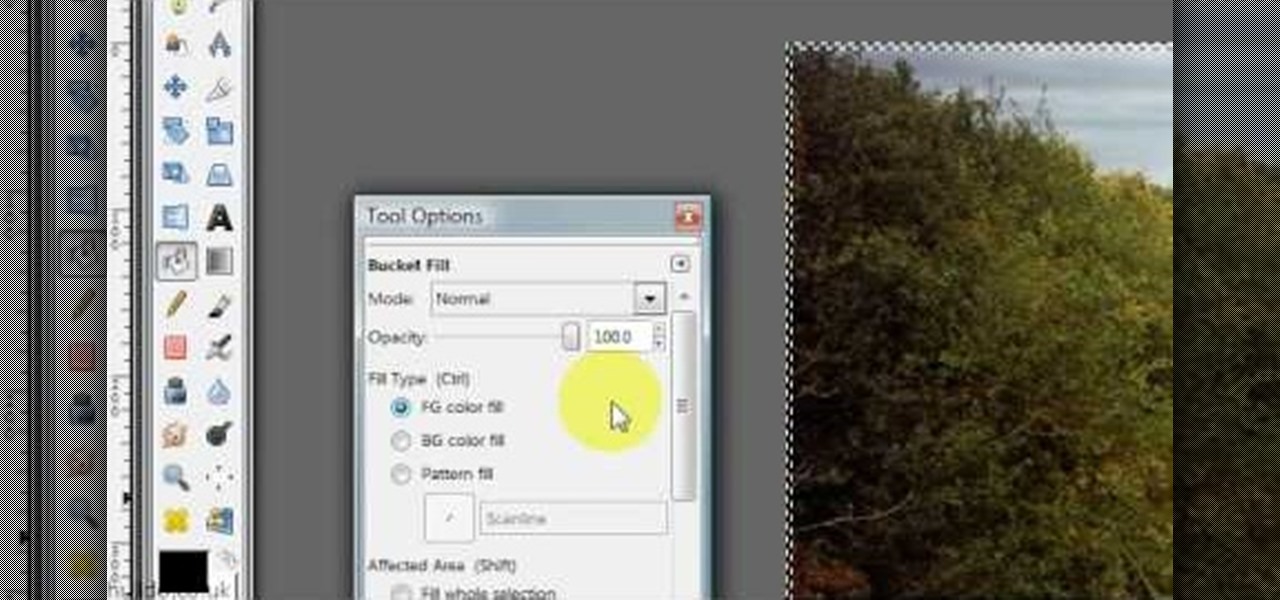
Hulldo teaches you how to give your images a widescreen border using GIMP. Open up a picture and the click new layer. Next go to select - border and make it 3 pixels. Go to tool options and use black for foreground fill. Select none and create a new layer. Go to view and make sure snap to canvas edges is ticked. Go to rectangle select tool and go to its menu. Then select 640x30 pixels. Fill that layer with black and select none. Duplicate this layer. You place this one on the bottom and you a...

This is a step by step video tutorial that shows you how to make a delicious barbecued chicken meal in a snap! There are many different ways to cook barbecued chicken such as in a pan on the stove, on a kitchen grill, or on an outdoor barbeque grill. In this video Betty will walk you through the steps to bake your barbecued chicken in the oven. First you will have to sprinkle your chicken with olive oil, meat tenderizer, and fresh ground pepper and bake at 400 degrees for 1/2 an hour. Next ba...

This quick and easy tutorial is going to show you how to curve ball like many of the professional baseball players you see do. To begin you want to take a baseball in your dominate throwing hand and hold it so you have your middle finger on the seam where the two seams come closest together. If done correctly you should have your index finger just outside of the seam, it should be to the all the way left or right of both seams not in between. Now, just take your regular pitching motion and in...

Candid photographs can capture a picture worth a million words... If taken correctly, that is. In this photography tutorial hosted by Click Here Photography, learn how to take candid photography and achieve the best results. Equipment, how to set-up, and additional props are gone over. Learn how to experiment, when to snap, and what lenses are best when trying to capture a stunning candid photograph. Enhance your next candid photo with help from this tutorial.

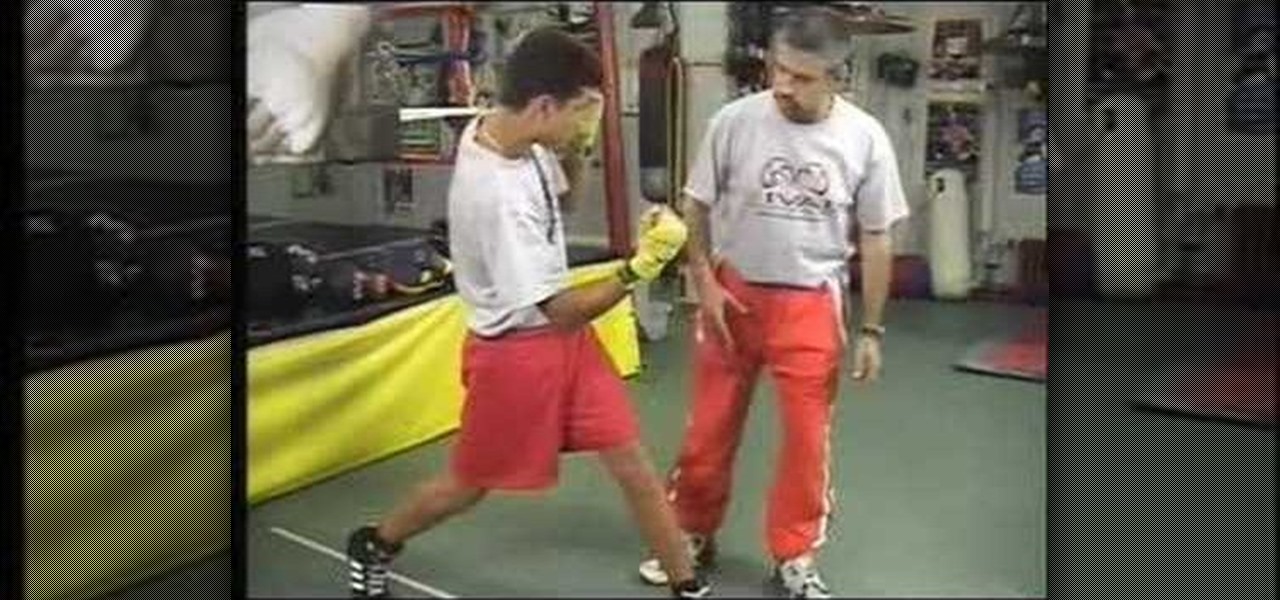
In this video from Rivalbox, we learn how to throw a right uppercut in boxing. Timing is very important when throwing it. This is thrown when the opponent is trying to box low. Bend the body a little to side, throw the jab, and rip the shot up underneath with the right hand. The power of the shot comes from the shoulder not the elbow. It involves a snapping of the shoulder as the shot comes up under. Viewers of this video will learn how to throw an effective right uppercut in boxing.

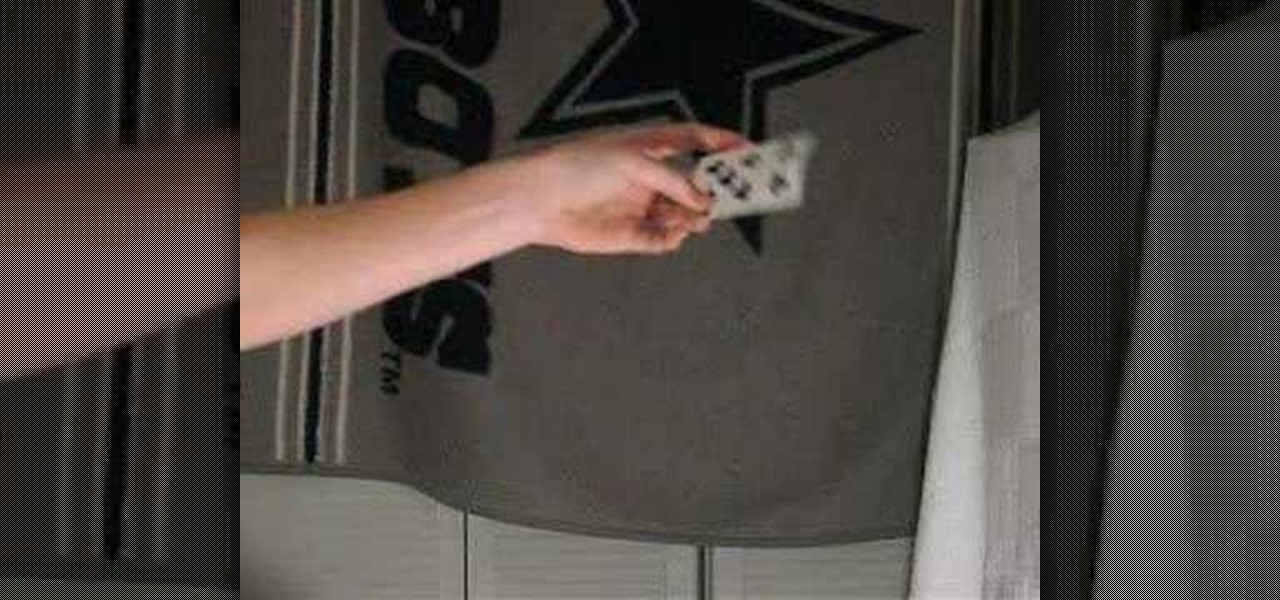
This how-to video is on how to perform the front and back palm card trick. In this video the person shows viewers how to conceal a playing card using one hand. The narrator explains everything from the precise finger placement for the concealment of the card, to revealing the playing card to your audience. He teaches viewers how to hide the card at all times and make it appear in a snap without anybody ever seeing your card. This video on how to perform the palm card trick will show even amat...

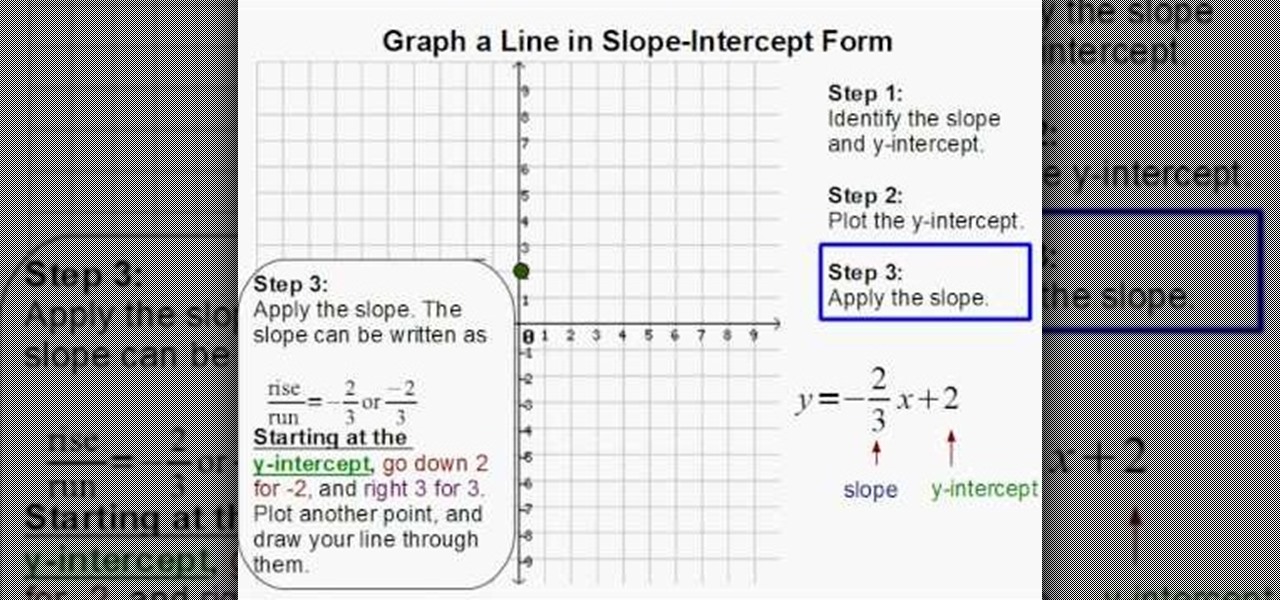
Graphing a line in slope-intercept form is easy in simple after watching this video. In this math tutorial, you'll be guided step-by-step how to graph a line from an equation in the y=mx+b format. The steps include determining the slope and the y-intercept, plotting the y-intercept on the graph, and finally applying the slope to connect the points. The video guides you through the entire process by illustrating and demonstrating all the necessary steps, thus making graphing a snap.

Need to learn how to make a screen shot? This instructional video takes you step by step through three different methods of taking the image on your screen and into a program so you can print it. This will take you through three different ways to get a screen shot, how to use the on screen keyboard and use the program MW snap. All three methods are free to any Microsoft user and paste the image into another free program MS Paint.

This video demonstrates the installation of laminate flooring. He shows which side of the board is the top, and shows how the tongue and groove enable the boards to snap together. The tools he uses are a tapping block, a metal pull bar, a hammer and a measuring tape. The flooring is installed by laying the boards down and tapping them into place. The video goes on to show two guys installing the floor in a living room in real time. This is a good do-it-yourself project that doesn't take very ...

For quarterbacks who want a competitive advantage over their opponents, Dub Maddox shows, how to throw a football using playaction. Maddox reiterates throughout the tutorial the importance of set, show, snap, and sell when learning the handoff of the football. With a step-by-step live-action tutorial and real game examples, Maddox shows ,how the four key steps are used in games. Those four key terms provide the foundation of mechanics that a quarterback must exercise on every run play if he o...

This video shows the viewer how to hang dry wall easily and efficiently. In the video the creator uses a utility knife to score the sheets he will be using to construct the wall. He then snaps the sheets and finishes the cut with his utility knife. He uses a dry wall lift to hold the sheet in place before he screws it to the wooden frame. He specifically fastens the screws working across the sheet - not fastening the corners first. This stops the sheet from buckling due to errors and allows i...

Hetal and Anuja of Show Me The Curry think we are wasting too much asparagus. They give us tips on what to do with all the leftovers. -First make sure the tips are nice. -Wash it. -Take the thicker end at the bottom and simply snap it off. -Peel the outer edge of this piece. The outside is rough and chewy, but the inside is still good. -You can save this piece for later use, or throw it in soup. Follow these instructions to save asparagus and money!

Have you ever wanted to make your own personal coloring book? With the Epson Artisan all-in-one printer, a project like this is a snap. Make some coloring books based on your digital pictures. Have your kids color in their memories of the last trip to Disneyland, or the silly photo of themselves goofing off in the bathtub. These personalized coloring books make great gifts for everyone!

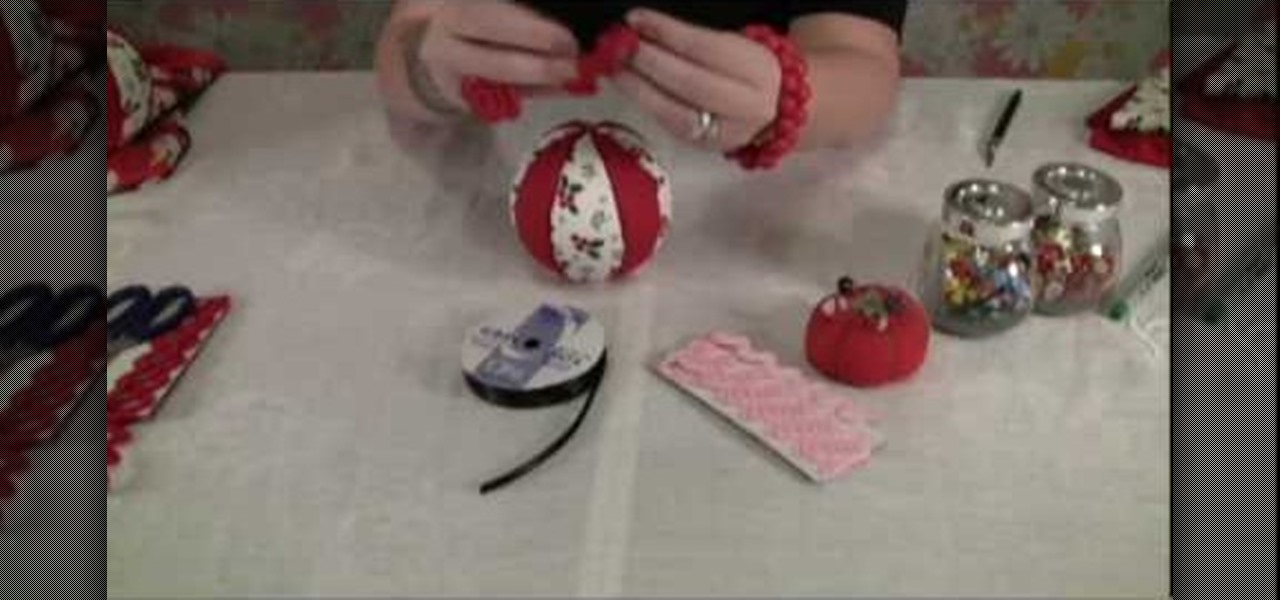
Check out this video to learn how to make some easy fabric ornaments for Christmas. Decorating will be a snap, not a pain, when you take advantage of the scraps you have lying around from past projects. Let your holiday spirit out!

Crafting these sugary treats is a snap. Learn how to make your own lollipops at home. You Will Need

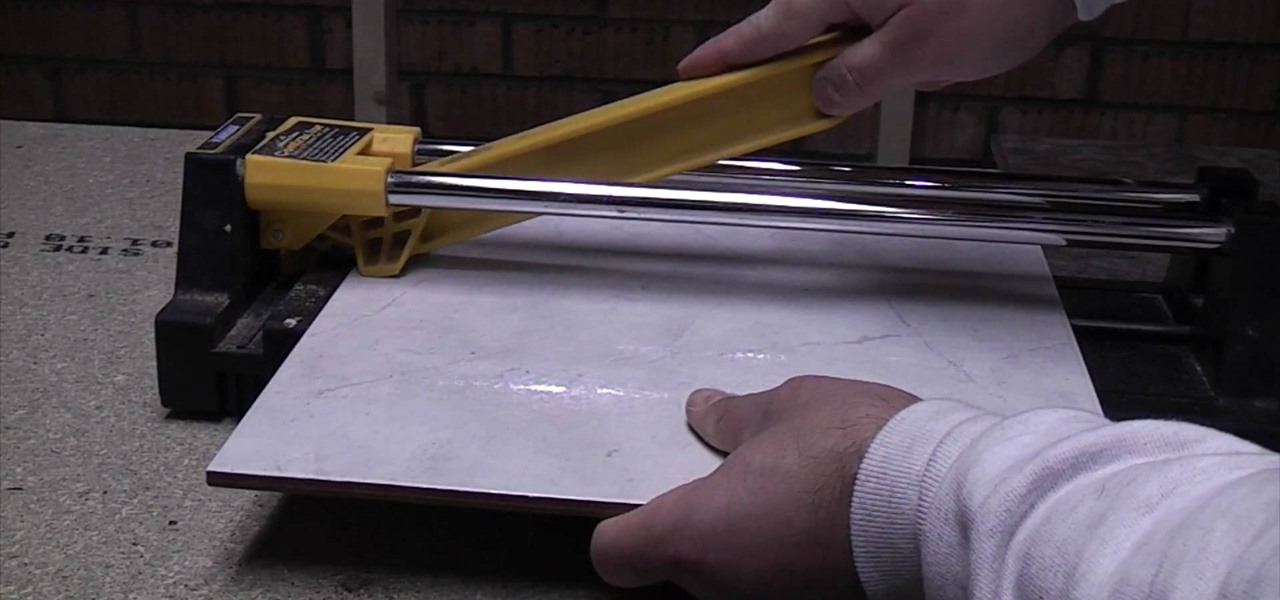
Cutting floor and wall tile with a tile cutter should not be a difficult job. For any successful tile cutting job, the steps are roughly as follows:

Cutting floor and wall tile with a tile cutter should not be a difficult job.

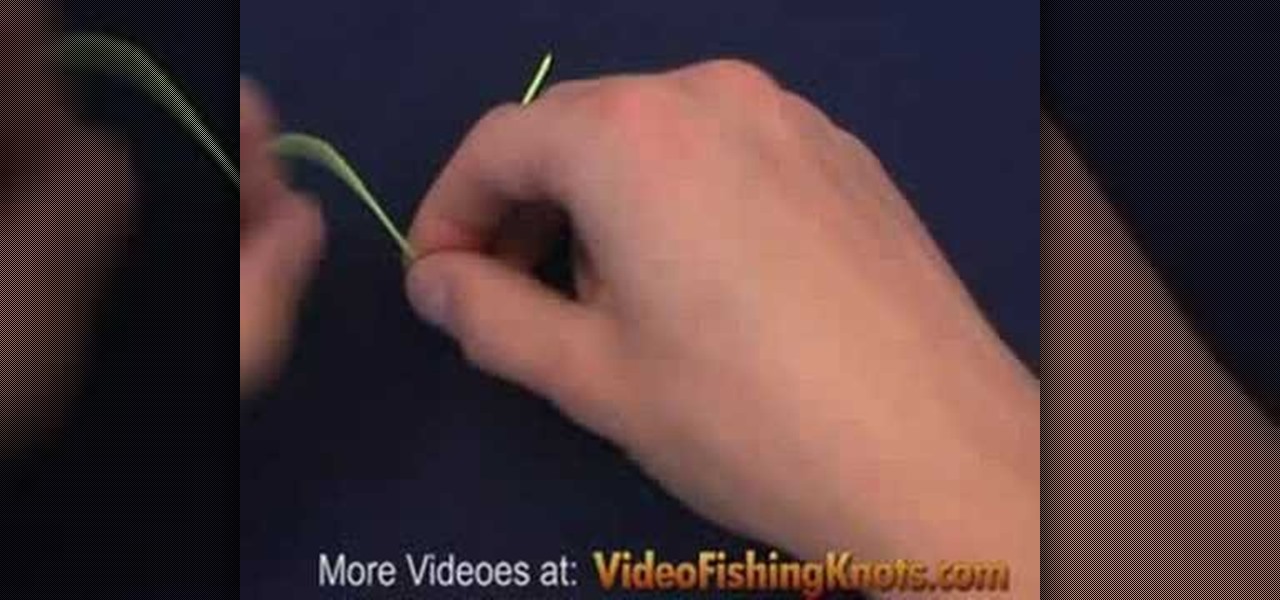
The Rapala Knot is the knot that the Rapala brothers recommend to use with Rapala lures. The Rapala Knot attaches the lure with a loop at the end of the line. The loop will allow the lure to move freely and naturally. The Rapala brother also emphasize that the line is attached directly to the eye of the lure without the use of a snap or swirvel. Again this is to insure a natural movement. Follow along with this HowTo video tutorial to learn how to tie a rapala loop the next time you go fishing.

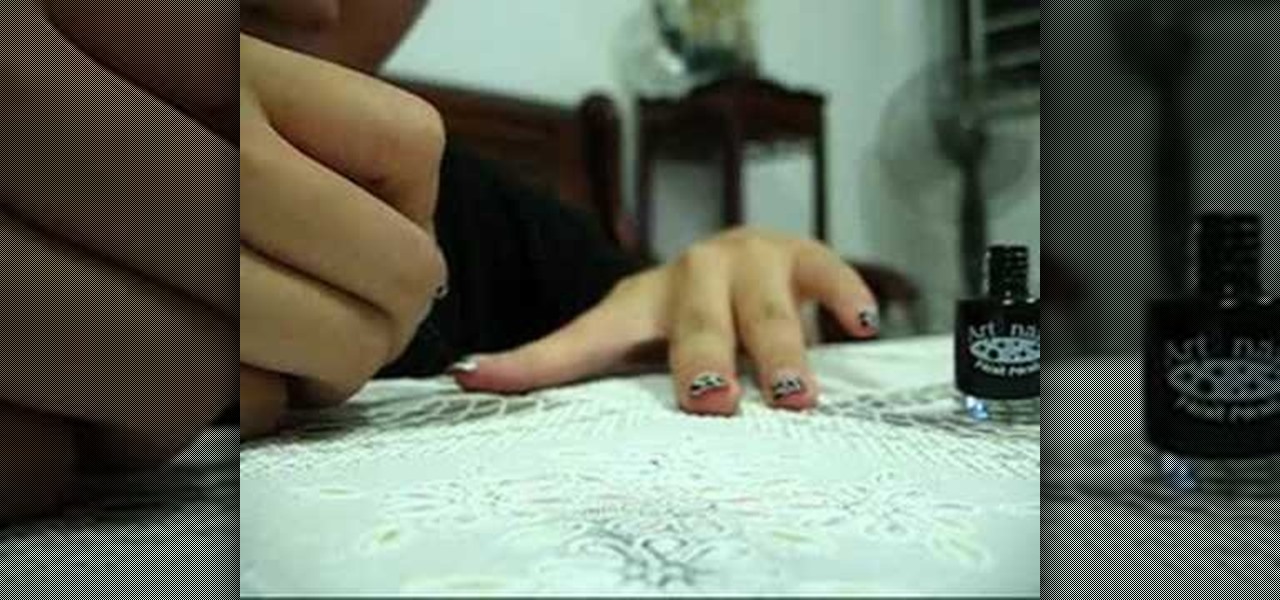
Need a change from your boring French manicure? Learn how you can paint this glittery leopard print nail art with this tutorial. You will need a base coat (Orly calcium base coat,) normal plain transparent tape or you can use those premade french manicure nail stickers, white nail polish, black nail art polish

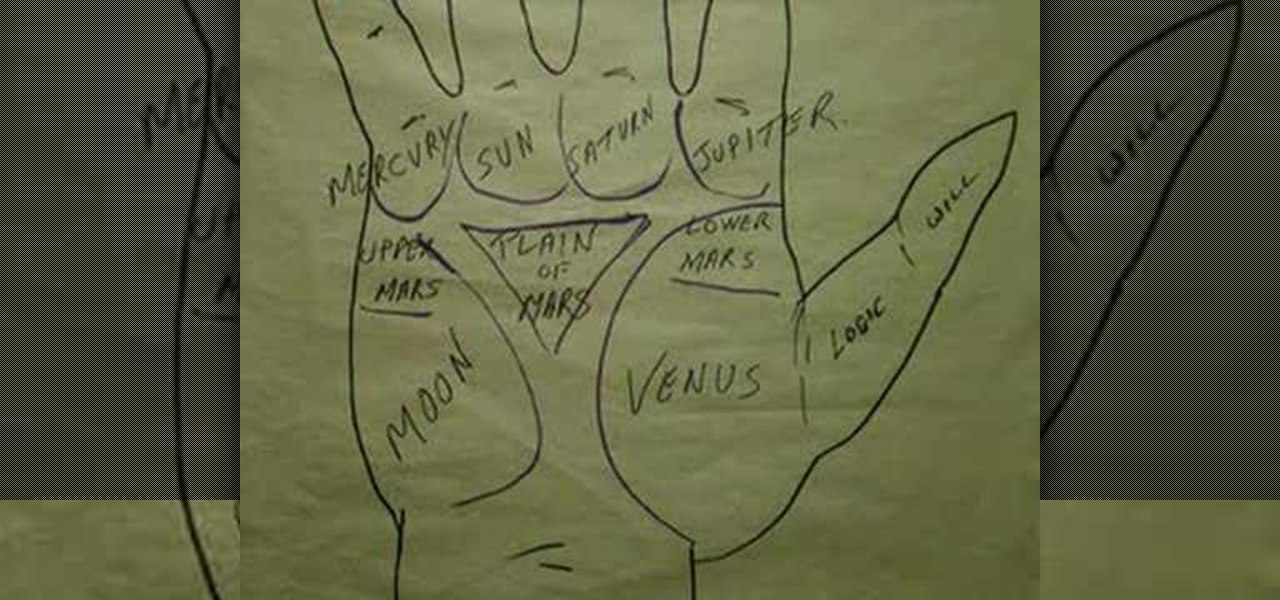
Palm reading can be complicated because chirognomy, the study of the mounts of the hand, sometimes contradicts chiromancy, the study of the lines of the hand. For that reason, it's best to do a reading as a whole. In this particular video palmistry tutorial, Peter John explains the significance of the thumb, highlighting the areas on a detailed map of the hand. Watch this instructional palm-reading video and learn how to interpret the meaning behind the thumb.


