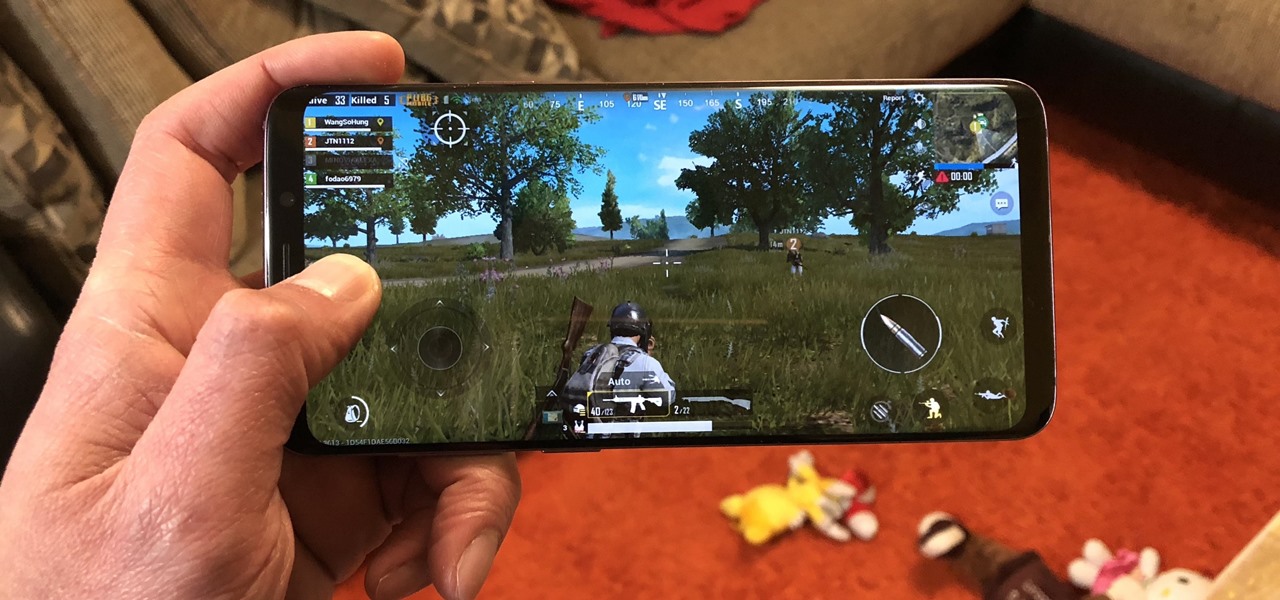
PUBG is currently taking the mobile world by storm, and it's easy to see why. The game has breathed much-needed life to the multiplayer shooting genre, primarily by adding an element of sheer terror as you scavenge for weapons in a hostile environment. With new players continually joining in on the fun, many players are looking for ways to gain an edge.

Peach trees and other related plants are susceptible to the devastation caused by fire blight, a contagious bacterial disease. Once contracted, infected trees have to be burned to contain the disease and prevent spread to nearby trees. Increasing resistance to antibiotic treatment has sent scientists in search of alternative ways to deal with the bacteria and prevent its catastrophic damage.

From time immemorial, human beings seem to be at odds with one another. When these differences become so heated and unresolvable, it eventually erodes into physical violence. This violence has manifested into some of the most horrific exercises in human history, things which every school child is aware of and none of which we have to recount here. Although humans have been cruel and violent for a very long time, the 20th century may have epitomized that behavior. With two World Wars and many,...
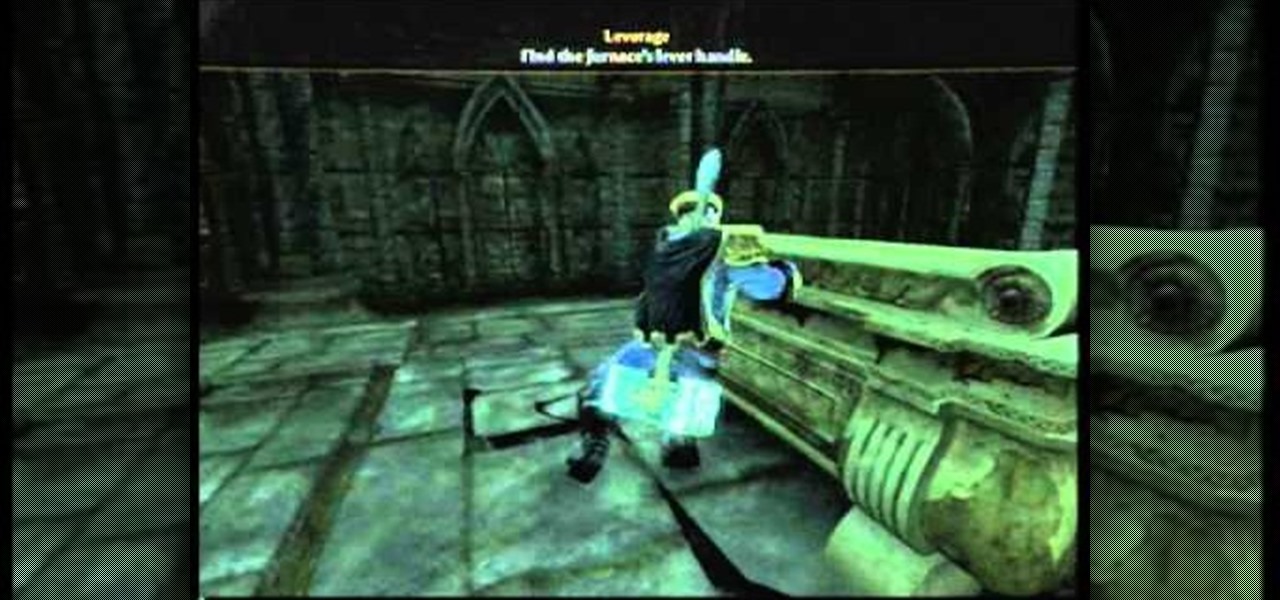
The Dark Sanctum Achievement in Fable 3 is a practical and fun one to unlock, and you need to do it to get The Tenderizer, one of the better legendary weapons. Watch this video for a walkthrough of how to get the Dark Sanctum, starting from the quest called "Leverage"
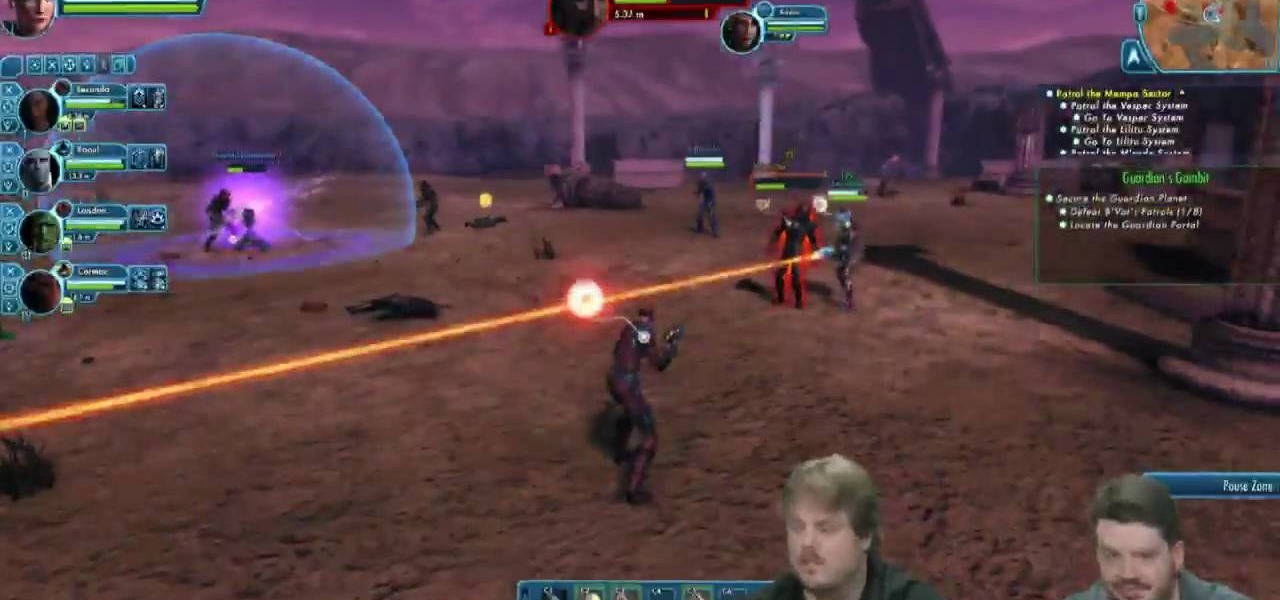
Don't be just another red shirt! Here's a detailed tutorial showing you how to engage in ground combat when exploring a planet. Make sure you've equipped the right weapons and know how to use their expose and exploit functions!
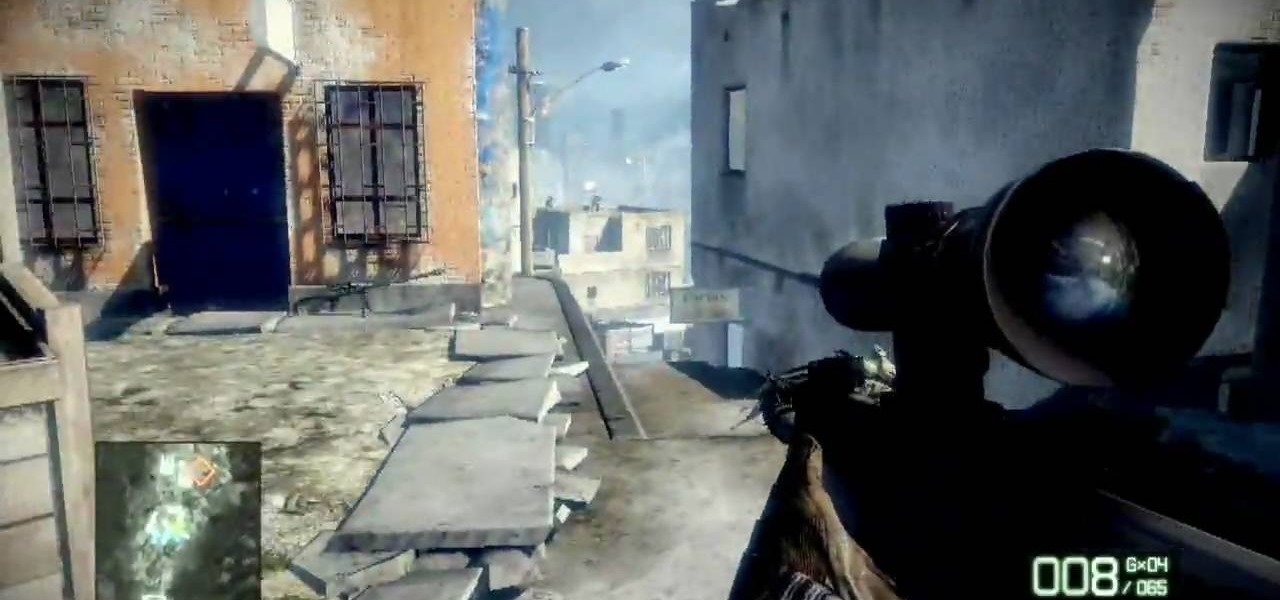
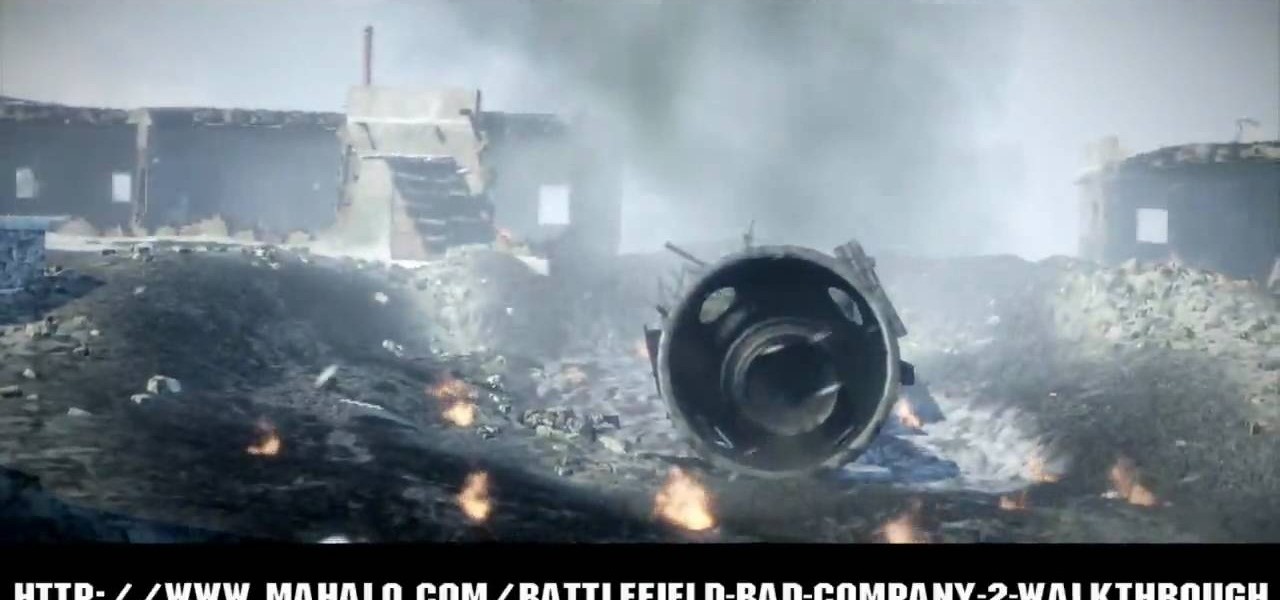
Check out this guide to Battlefield Bad Company 2, the mission entitled Zero Dark Thirty. Find the M-Com Stations and destroy them, but stay alert for all enemies. Watch this video walkthrough to learn how to complete the Zero Dark Thirty mission in Bad Company 2 on the PS3.

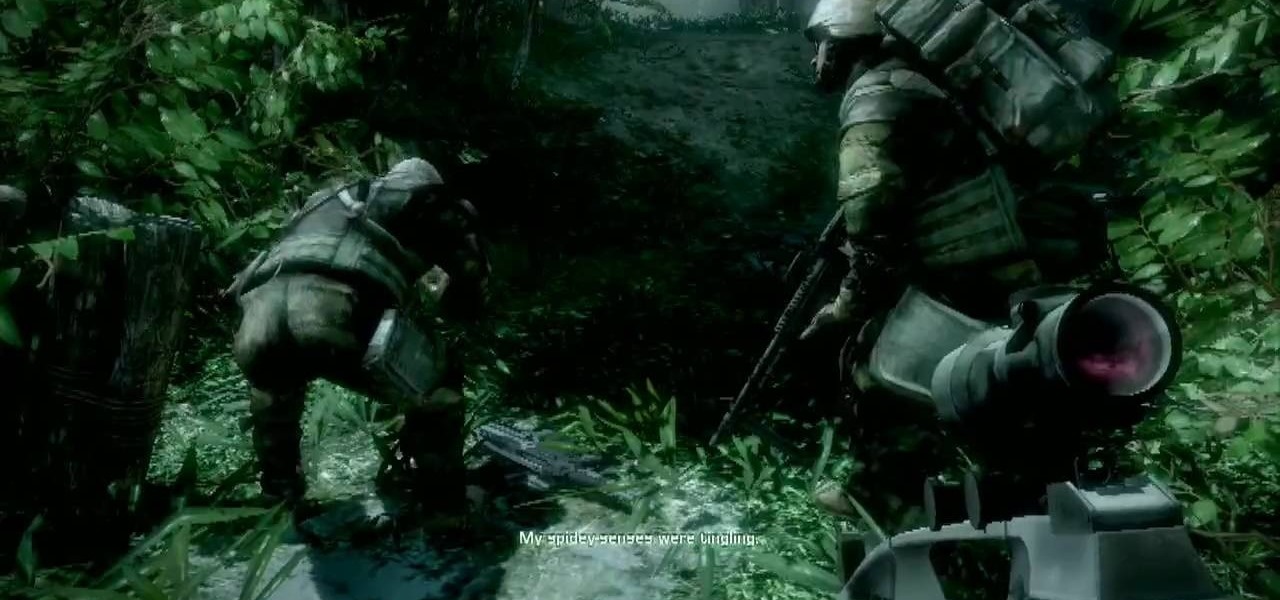
Things are really heating up now with that the Russians are putting on the pressure in Battlefield Bad Company 2. This time your helicopter gets hit by an RPG and you need to put it down and make your way through the clearing in the jungle. Destroy all the M-Com Stations, and nobody can die. Watch this video walkthrough to learn how to complete the No One Gets Left Behind mission in Bad Company 2 on the PS3.

The first thing you need to do in this mission on Battlefield Bad Company 2 is to hop out of the copter and get in the sand buggy and head to your marked location. You'll need to locate and head to each station on the map: Bravo Base Station, Charlie Base Station, and Alpha Base Station. After that, complete the Triangulation Point. Watch this video walkthrough to learn how to complete the Sangre Del Toro mission in Bad Company 2 on the PS3.

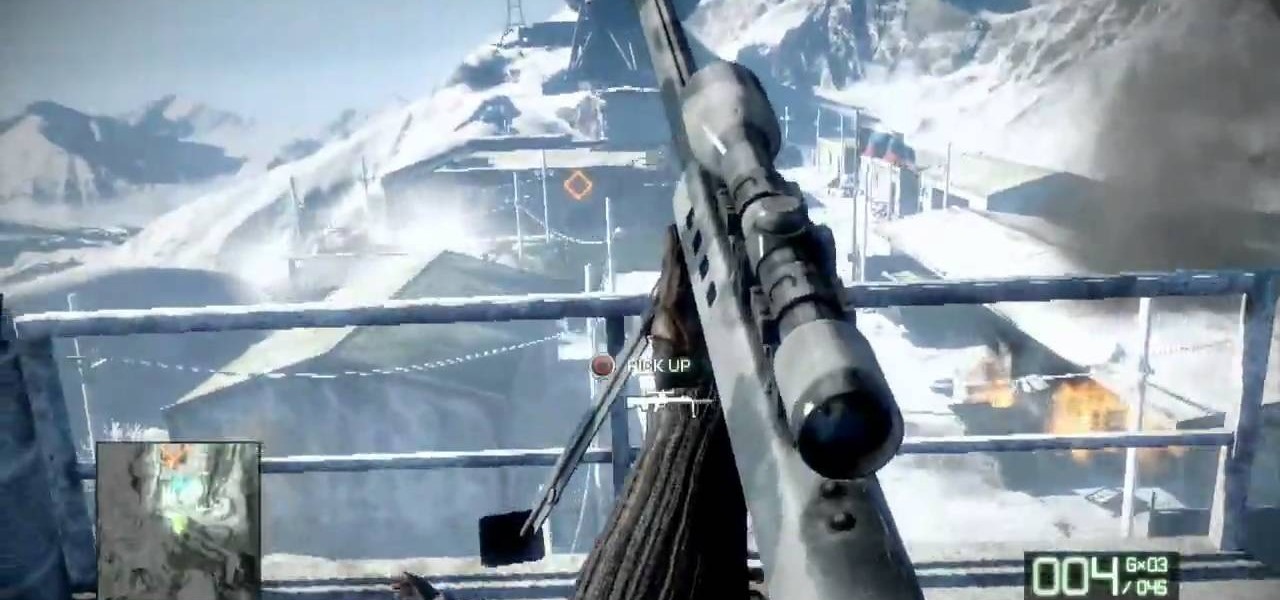
Make your way to the crash site in this mission on Battlefield Bad Company 2. You'll need to protect the crashes satellite from RPGs and enemy fire. Then you need to destroy yet another M-COM Station, so make sure you're ready. Watch this video walkthrough to learn how to complete the Snowblind mission in Bad Company 2 on the PS3.

Crack the Sky in this mission on Battlefield Bad Company 2. Use the minions on the helicopter to to take care of your enemies below, and once you kill them all, the copter will drop you off where your real mission starts. Make sure to destroy the M-Com Station. Watch this video walkthrough to learn how to complete the Crack the Sky mission in Bad Company 2 on the PS3.

In Mission 4 (Chapter 3) of Battlefield Bad Company 2, you need to first take care of the sniper. You can only fire the sniper rifle during the thunder, or you'll automatically lose the mission. So make sure you have sniper sensibility in this mission. Watch this video walkthrough to learn how to complete the Upriver mission in Bad Company 2 on the PS3.

This is the third mission in Battlefield Bad Company 2 called the Heart of Darkness, where you need to follow your unit through the ruined village. But first you have to survive the helicopter ride with the hippy pilot. You need to destroy the M-COM stations to succeed in this mission. Watch this video walkthrough to learn how to complete the Heart of Darkness mission in Bad Company 2 on the PS3.

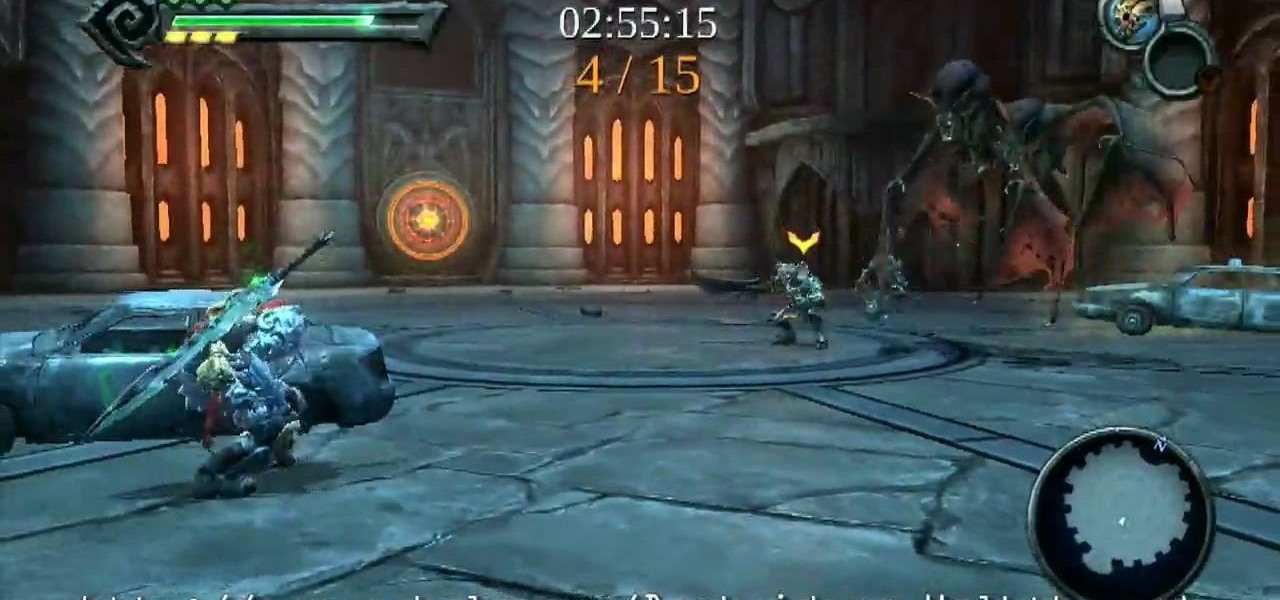
Get ready for car throwing in this Shadow Arena Challenge in the Drowned Pass on the Xbox 360 game Darksiders. You need to enter the Shadow Realm and defeat four portals to free Vulgrim.

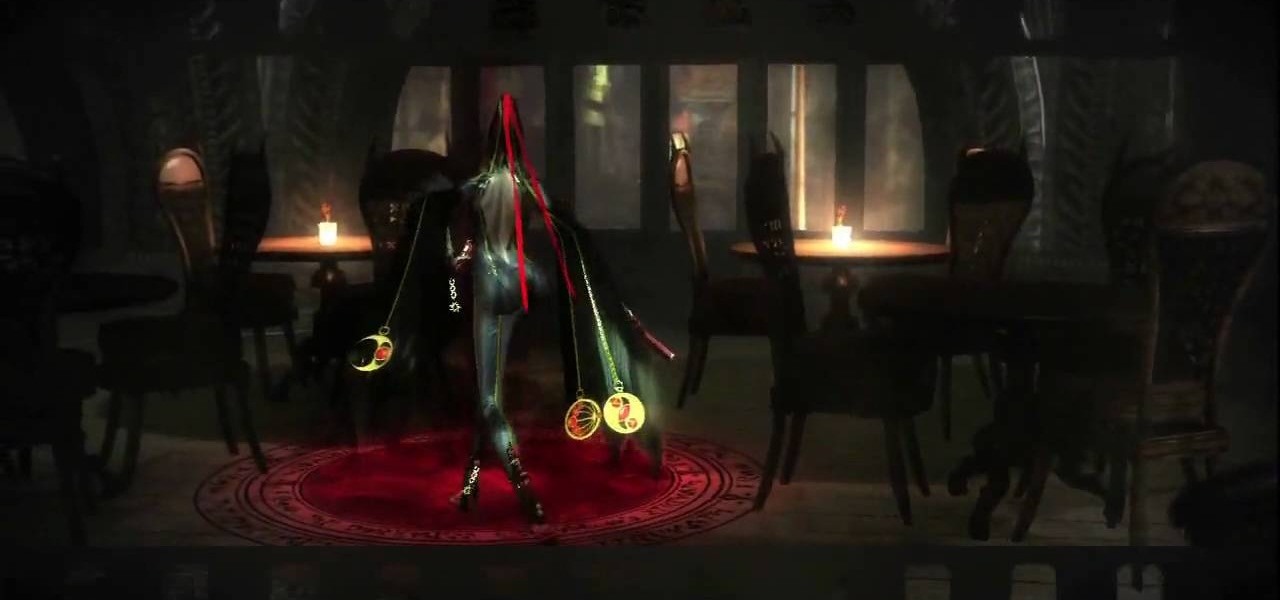
Complete five verses in this level of the Xbox 360 game Bayonetta. In Chapter 8 - Route 666, prepare for some hard battles. The first verse fight takes place on the back of a moving truck. There are two enemies with health bars on the same truck where you start. On other nearby vehicles you'll find minor enemies with ranged weapons who will shoot at you. If you fall off the truck you'll be killed. For more info, watch the whole gameplay.

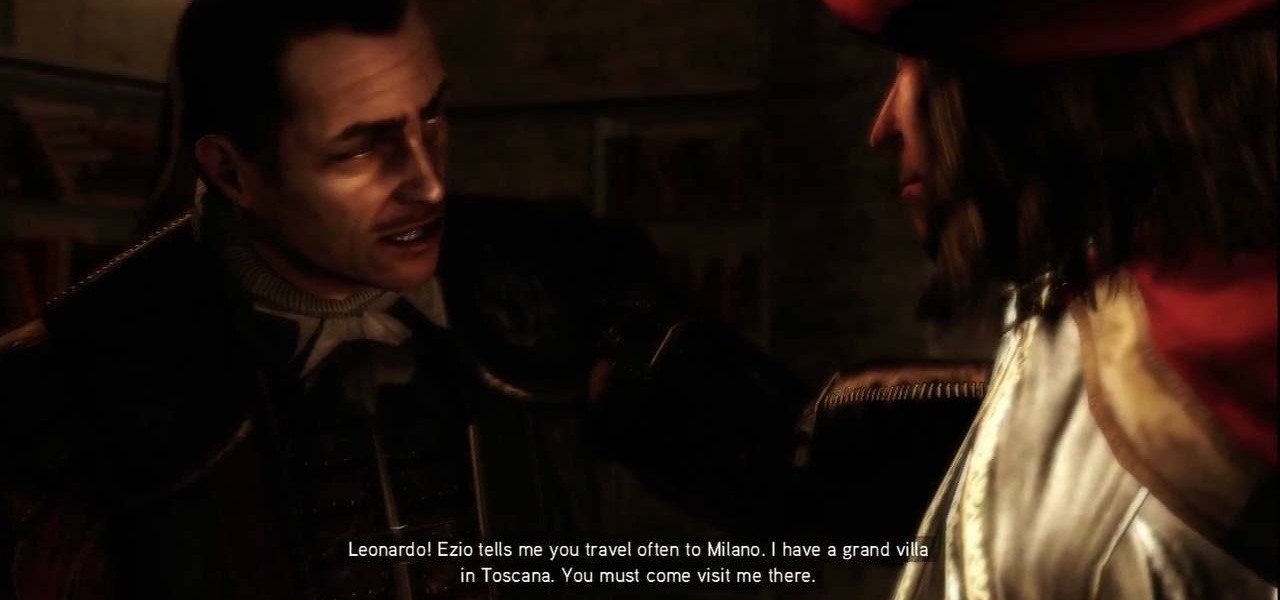
The Battle of Forli: This is downloadable content that fills in the missing pieces and has Ezio defending the town of Forli from the Orsi Brothers. There are six new memories and Leonardo's flying machine makes a return allowing players to fly it across Romagna. Ezio is joined by Machiavelli and Caterina Sforza to protect a Piece of Eden from the Templars. For more info, watch the whole gameplay.

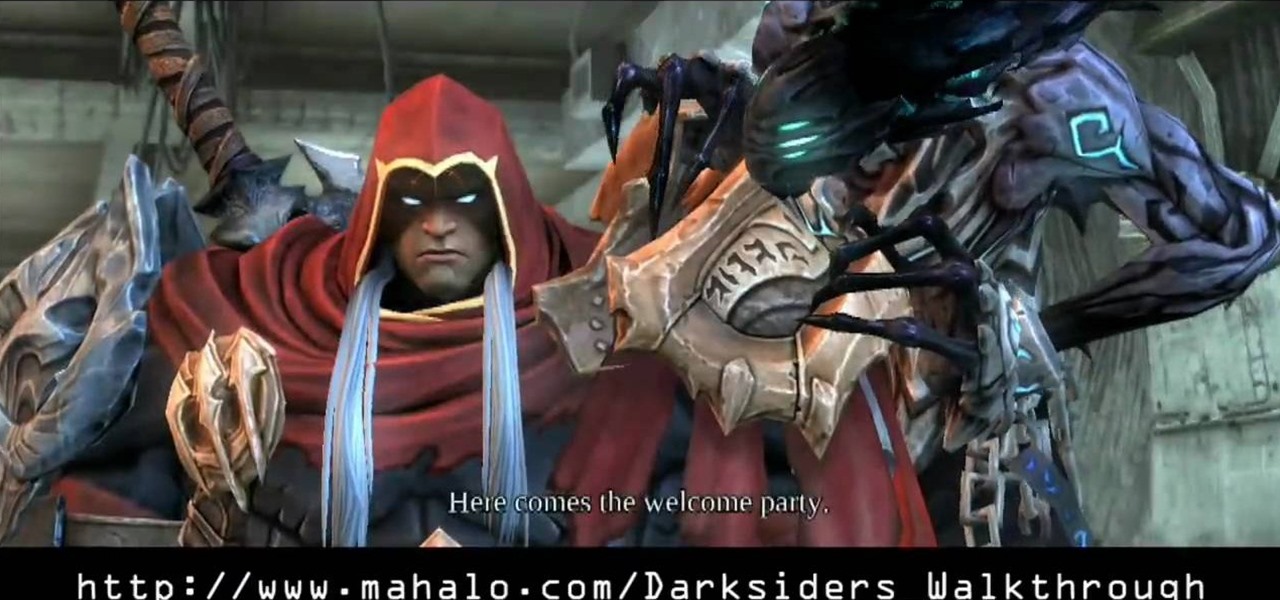
This lengthy walkthrough covers a lot of ground in the Xbox 360 game Darksiders. Learn all you need to know about the Crossroads, including the Seraphim Hotel, the Crossroads, and the Library. War and the Watcher land in the parking garage of a hotel. Smashing cars and other objects can earn you a few extra souls. When you are ready, climb the Demonic Growth to the second floor and explore the far corner to discover a Soul Chest. These blue souls are worth collecting as you will be able to ex...

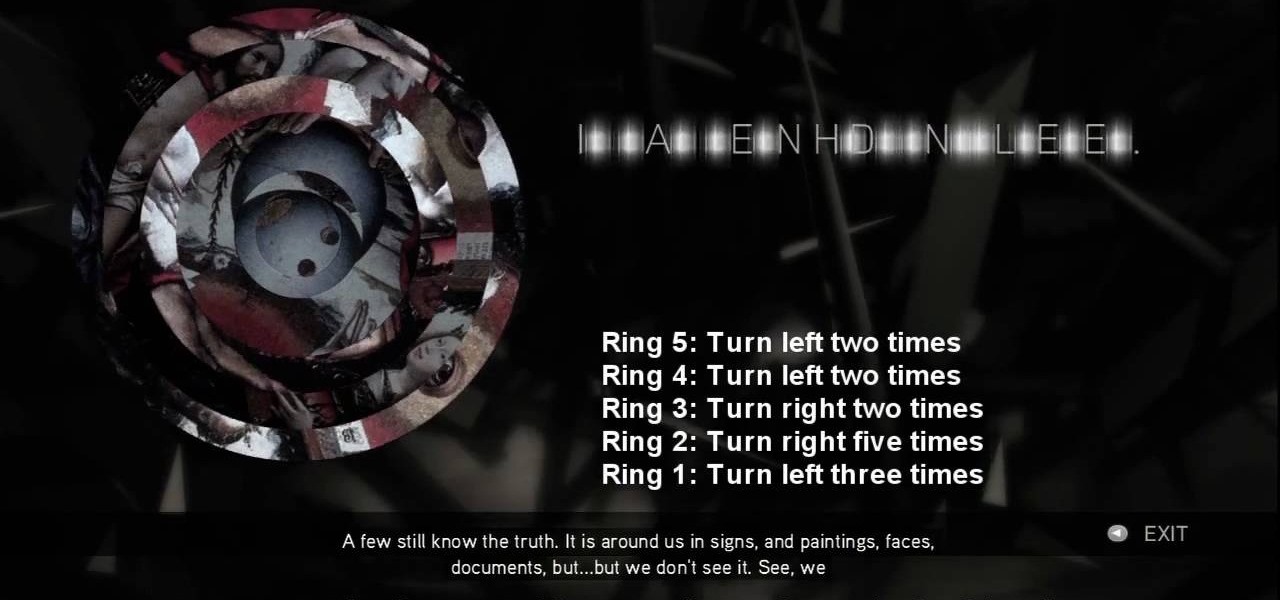
No need to figure out the 20th puzzle, entitled "The Origin of the Species", in Assassin's Creed 2. Here's the answers! Puzzle wheel: Start by turning the fifth ring right ten times, then turn the fourth ring left twice. Then rotate the third (and first) rings right twice, the second ring right five times and the first ring left three times. Image 1: Highlight the eye at the top of the painting. Code wheel puzzle: Ignore the numbers and focus on the Assassin motto: “Nothing is true, everythin...

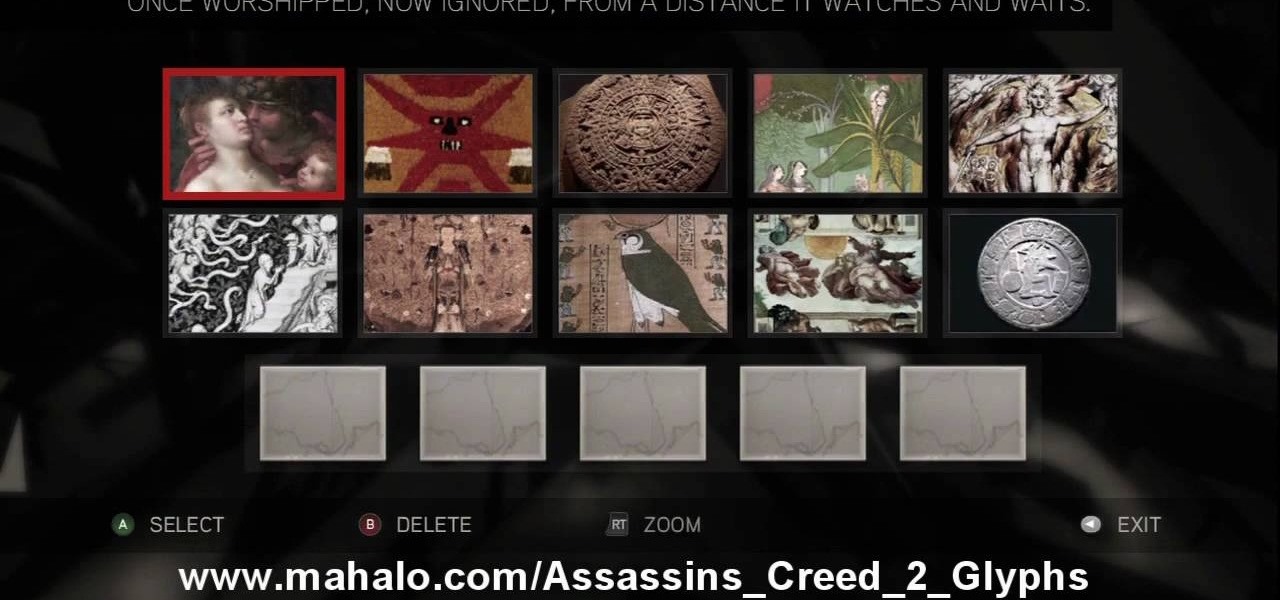
Here's the answers to the 19th puzzle, titled "The Fourth Day", in Assassin's Creed 2. Image set: What used to be worshipped by every primitive culture under the…? That’s right, the sun. Pick the five images that focus on it. Image: Find the tiny image of Earth in the lower-left quadrant of the sun. For more info, watch the whole gameplay.

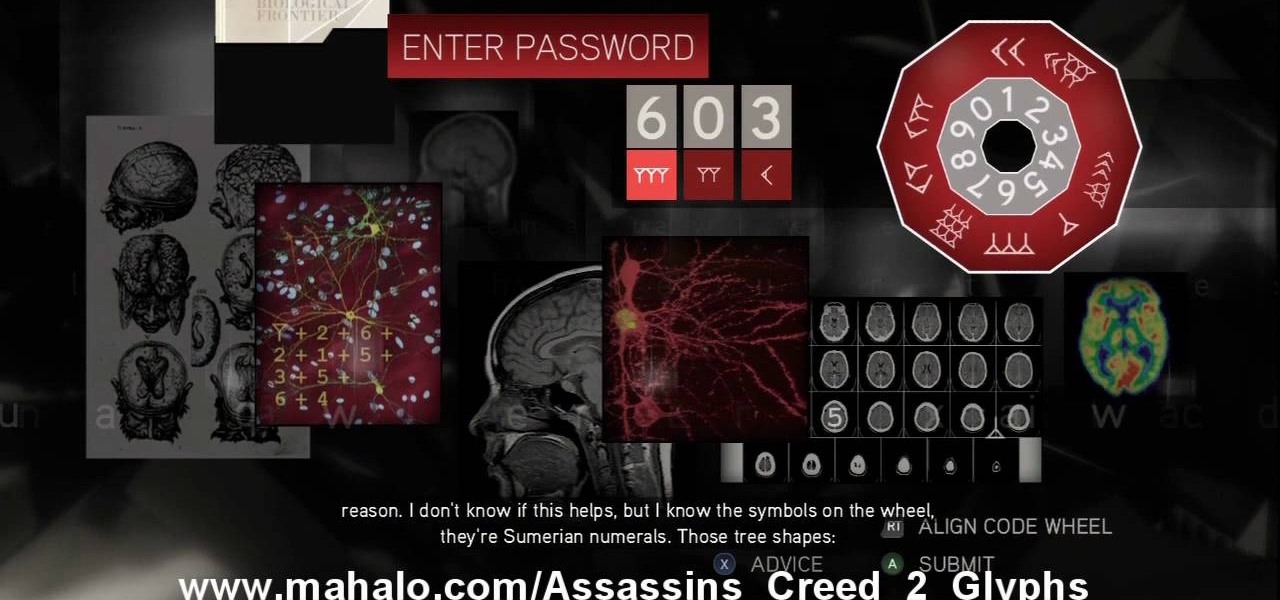
The 18th puzzle is called "Synapses". See how to solve it in Assassin's Creed 2. Code wheel puzzle: Your first clue is to line up 5 with a single tree-looking symbol. The key here is the weird-looking equation on the left, which offers a hint as to the progression of the symbols.

Figure out the 17th puzzle, entitled "The Bunker", in Assassin's Creed 2. Code wheel puzzle: Here’s a tricky one; your clues are “<” and “2,” and the only advice you’ll get from your handlers is that maybe there’s “something we can count” on the strange symbols. In this case that “something” is the number of times each symbol bends sharply. Don’t expect consistency across the wheel on this one; just take a look at what symbols flank the blank spaces and pick a shape with the number of bends t...

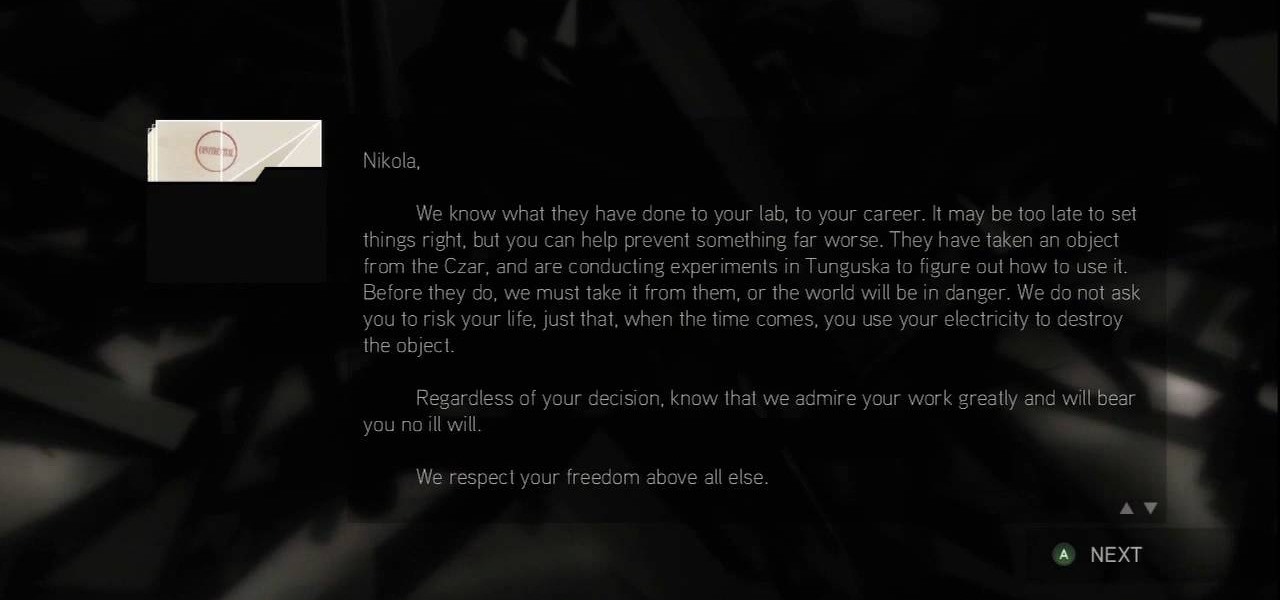
This one's pretty easy. Here's the solution to the 16th puzzle, entitled "The Cavalry", in Assassin's Creed 2. Image 1: Just move the cursor to the word “Tunguska.” Image 2: Move the cursor onto the staff and drag it onto Tesla’s photo. For more info, watch the whole gameplay.

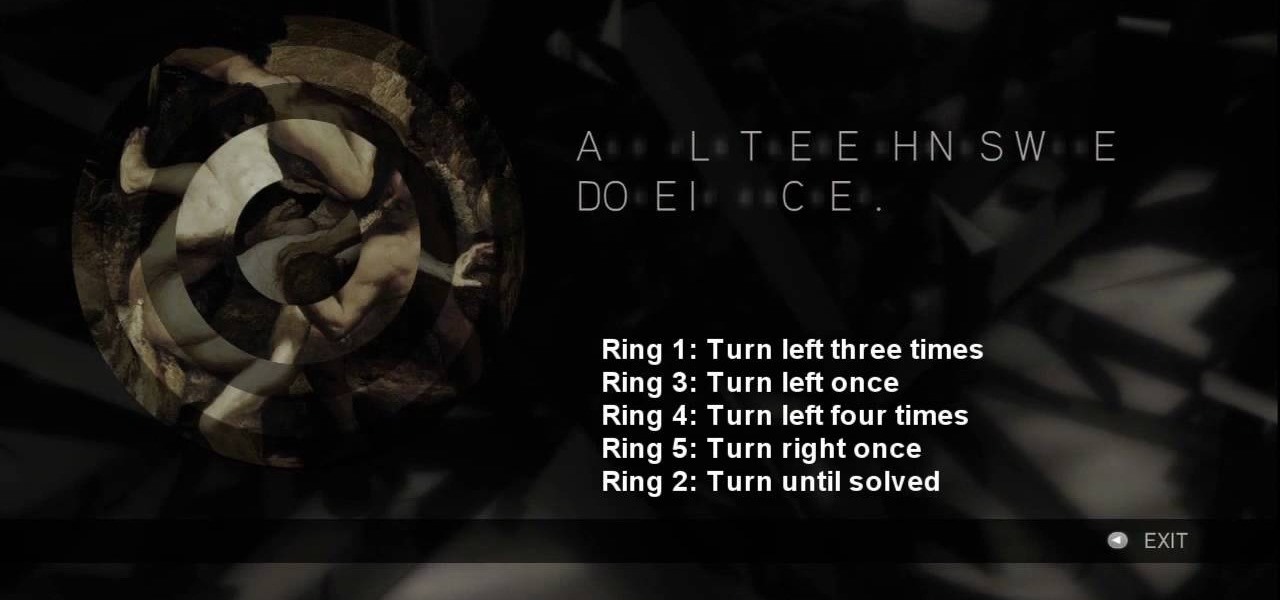
Get all of the info on the 15th puzzle, entitled "Guardians", in Assassin's Creed 2. Puzzle wheel: Seemingly every other ring is linked here, so we’ll cut straight to the chase: Turn the third (and fourth) rings right twice, the fifth (and first) right four times, the fourth (and first) right five times, the fifth (and first) left five times and the second left five times. Finally, move the fifth (and second) rings right five times. Image: Another gimme – just move the Assassin logo over the ...

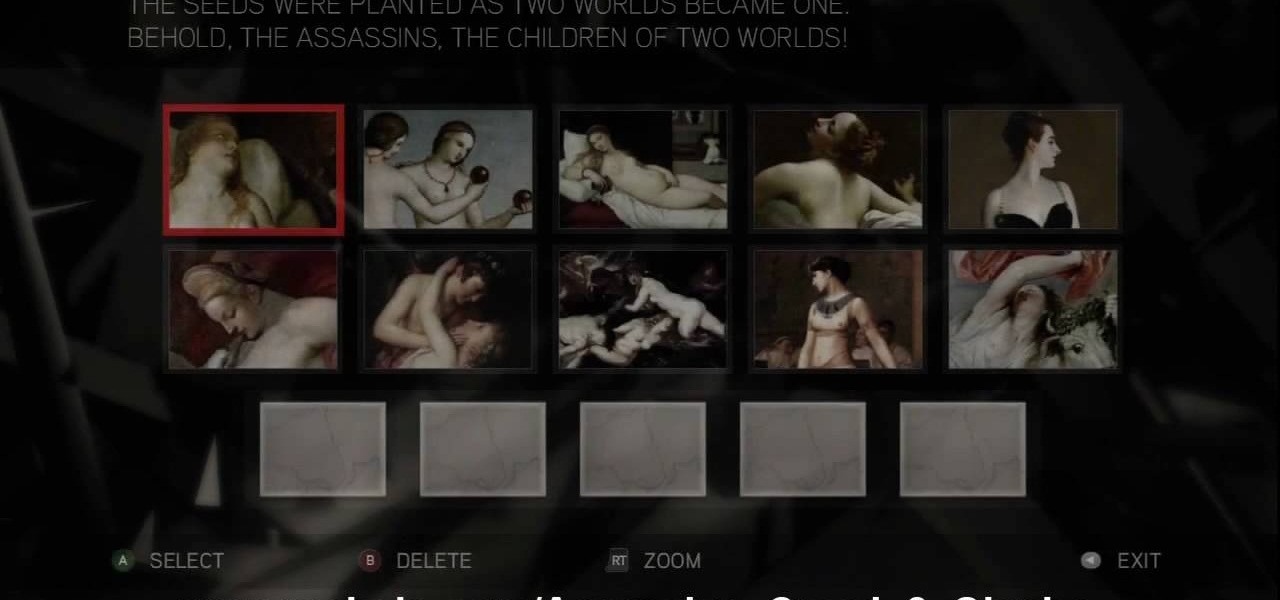
The 14th puzzle, entitled "Bloodlines", isn't really that hard in Assassin's Creed 2. Set 1: Highlight the images that depict women and gods in amorous entanglements (especially if those gods are disguised as animals). For more info, watch the whole gameplay.

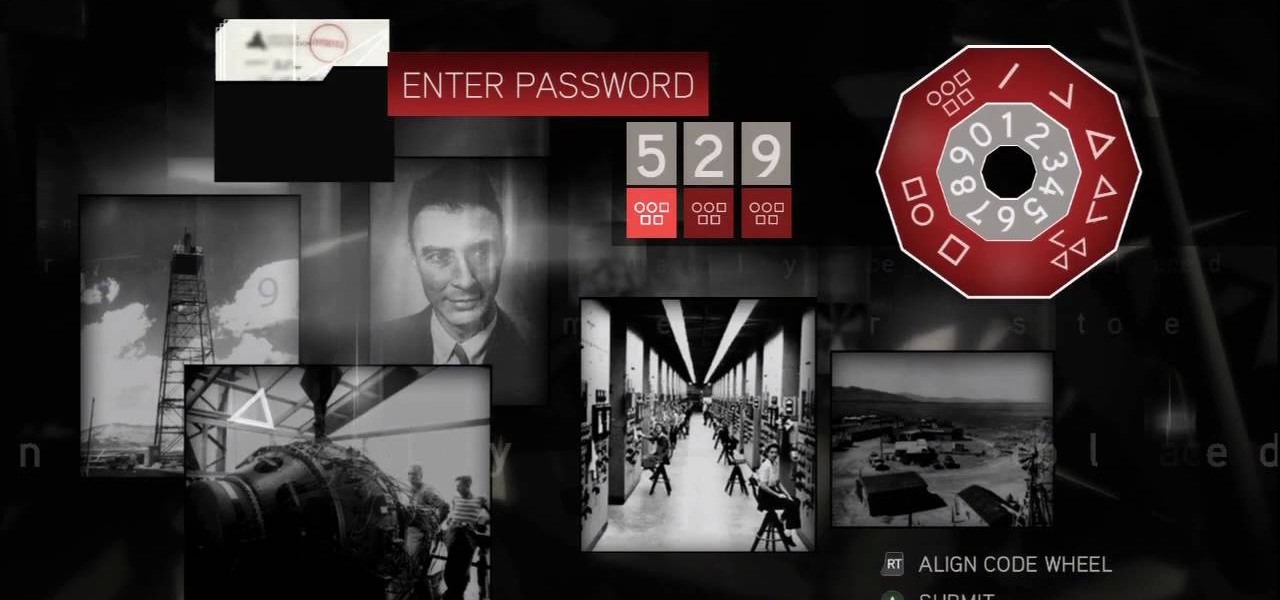
Solve the challenging 13th puzzle, entitled "I Am Become Death, the Destroyer of Worlds", in Assassin's Creed 2. Code wheel puzzle: This one’s even trickier than the last one; starting with the hint that 9 (next to the tower) equals “triangle” (up and to the left from the bomb), you need to figure out which symbols would fill in the blank spots on the wheel, going by the symbols next to them. Image 1: Just hit the button. It’s not hard. Image 2: Use the Geiger-counter clicks to guide you. For...

This is the 12th puzzle, entitled "Titans of Industry", in Assassin's Creed 2. Code wheel puzzle 1: The key here is in the “4=1” on the blueprint at the left of the screen. Line up the red 4 over the gray 1 and input the following code: 917240. Image 1: This one’s the opposite of the light-bulb “puzzle” from before – just move the dollar sign over the bulbs to extinguish them. Image 2: Highlight the glowing ball at the center of the image. Code wheel puzzle 2: Your hints here are the “2” on t...

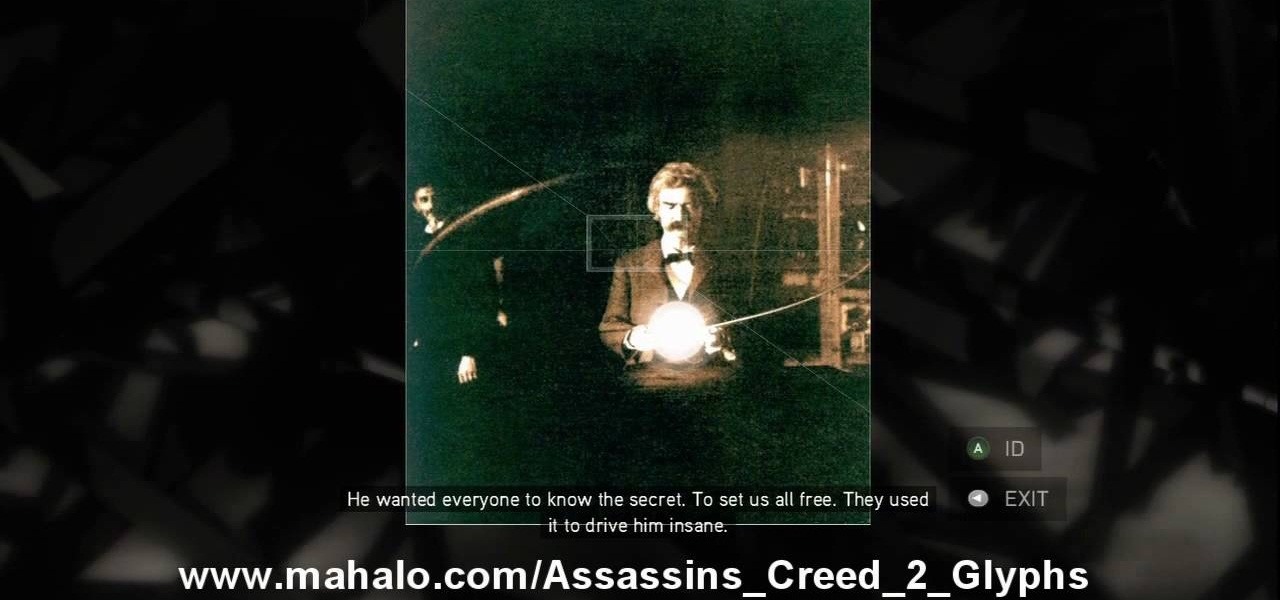
Find out how to solve the 11th puzzle, entitled "The Inventor", in Assassin's Creed 2. Image 1: Just move the lightning bolt over the bulbs to bring them to life. Image 2: Highlight the area just at the base of the tower, between the two windows, to find this hidden image. Image 3: Move the pointer onto Tesla’s lap. For more info, watch the whole gameplay.

Figure out the 10th puzzle, Apollo, in Assassin's Creed 2. Image 1: Highlight the lunar lander just down and to the left of the moon. Puzzle wheel: Another linked-ring rotation puzzle. Your job here is to align all the channels; do this by moving the fifth ring to the left six times, the second ring to the left four times, the fourth ring to the right three times and the third ring to the left five times. Then snap the first ring into place. Image 2: Move the cursor down between the flag and ...

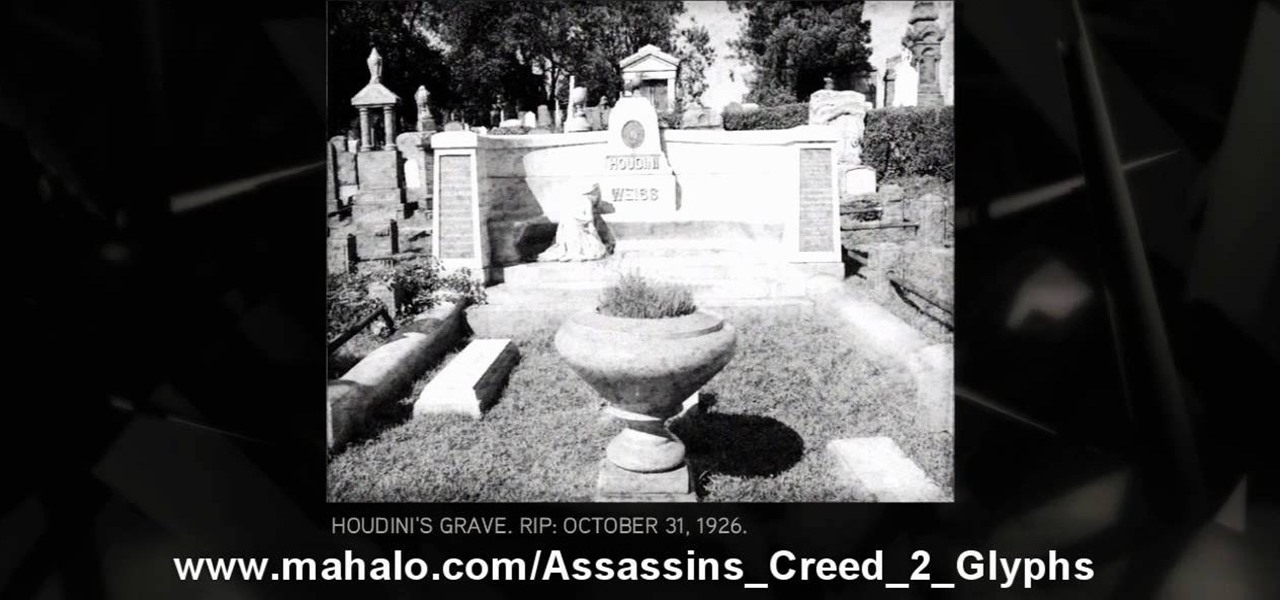
Execute the 9th puzzle, called Hat Trick, in Assassin's Creed 2. Image 1: Move the cursor onto Houdini’s torso. Image 2: Move the cursor over Gandhi’s heart. Code wheel puzzle: Your hint here is pretty obvious; there’s a big, glaring “6=1” next to Oswald’s picture. So move the red wheel so that the 6 is over the gray 1, and plug in the corresponding numbers. For more info, watch the whole gameplay.

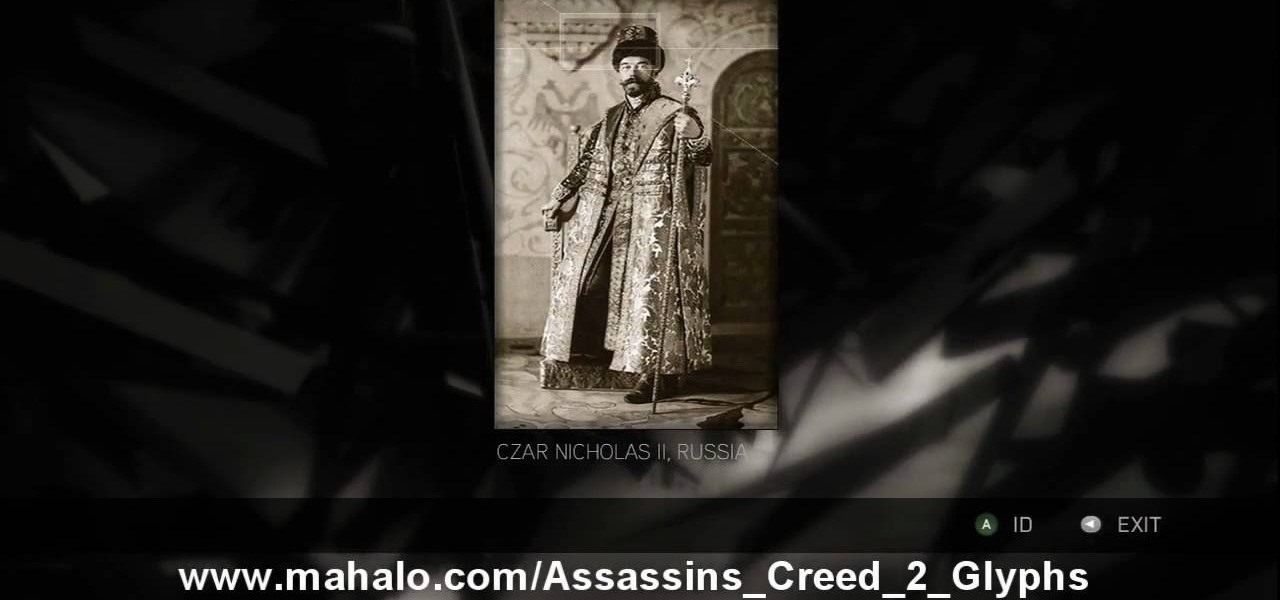
Learn about the 8th puzzle, titled Martyrs, in Assassin's Creed 2. Image 1: Highlight Czar Nicholas’ staff. Image 2: Highlight Joan of Arc’s sword. Image 3: Move the fireball to Joan of Arc’s portrait. Image 4: Move the photo of Rasputin onto Czar Nicholas’ portrait. For more info, watch the whole gameplay.

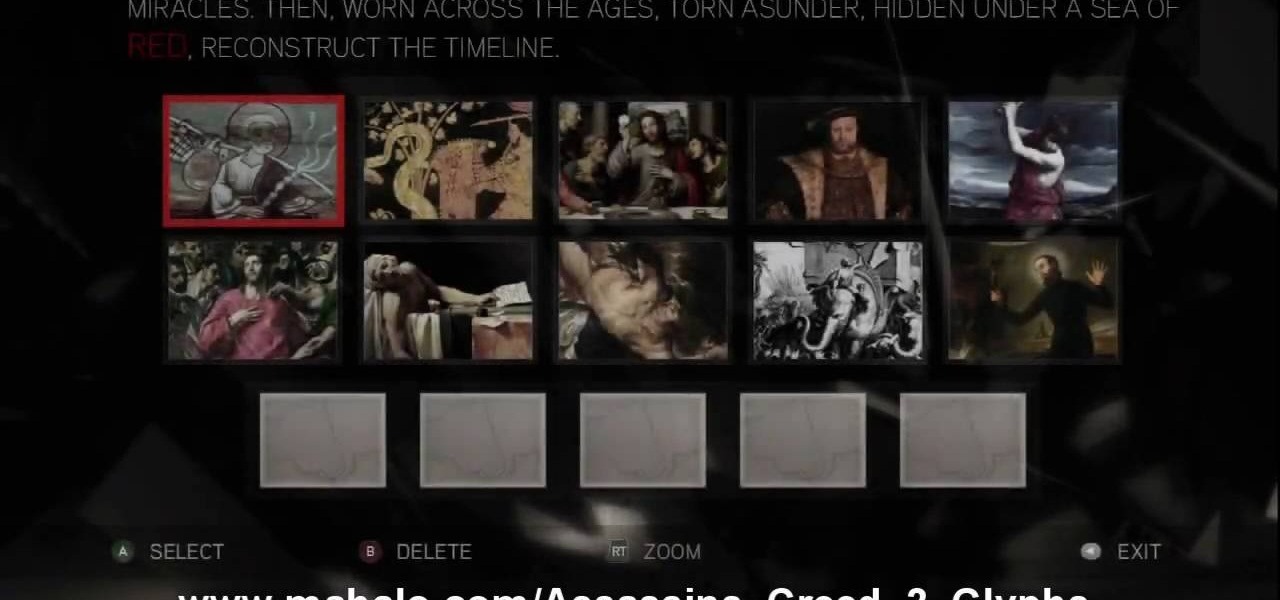
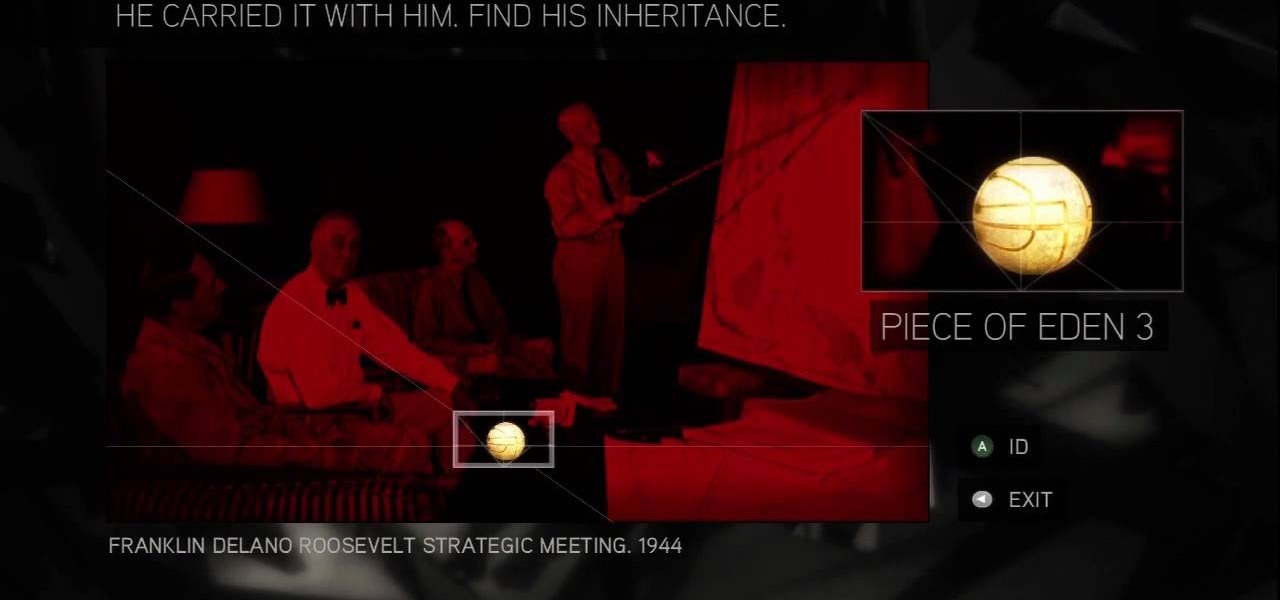
This is about the 7th puzzle in Assassin's Creed 2. Keep on seeking, and you should find… in the first image set, the key word here is "red", so pick the images in which that color shines the brightest. In the second image, highlight the area to the right of Jesus’ hips to reveal a Piece of Eden. For more info, watch the whole gameplay.

See the key to the sixth puzzle "Brothers" in Assassin's Creed 2. This is where things start to get tricky; while the first batch of ring puzzles were simple, these link some of their rings together, so that you can’t move one without moving another. For more info, watch the whole gameplay.

Find out the solution to the 5th puzzle in Assassin's Creed 2. For set one, the hint here is “cut,” so pick the five paintings that feature swords. For set two, what do the people in these paintings lean on? That’s right – pick out the images that feature staffs. For more info, watch the whole gameplay.

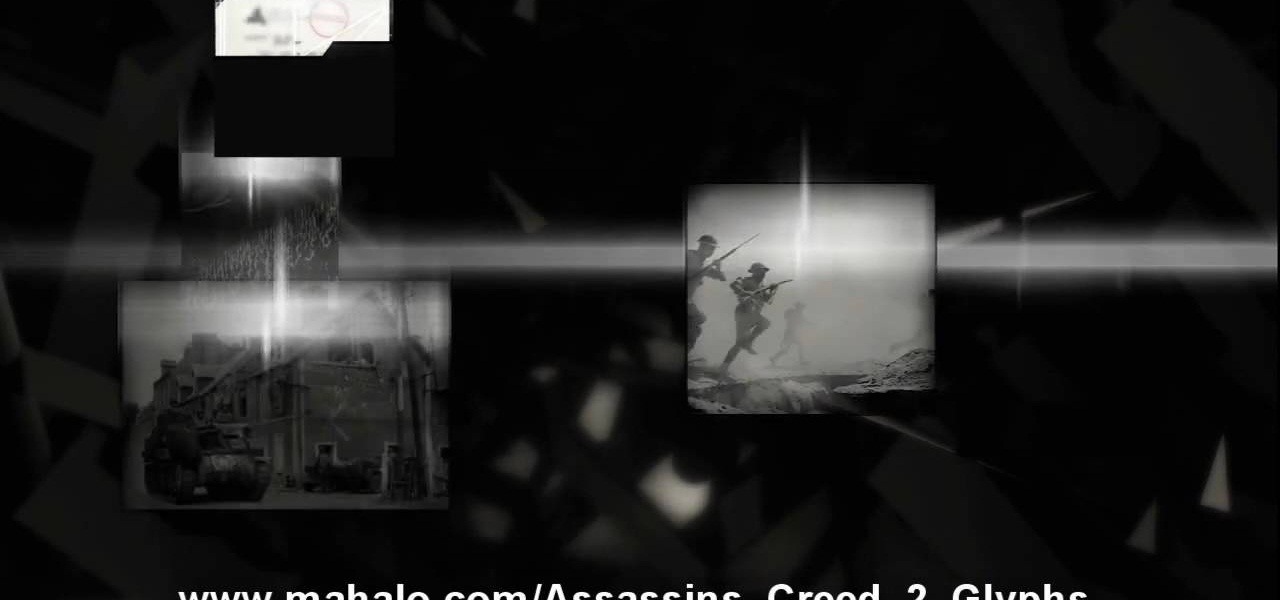
Get the answers to the 4th puzzle in Assassin's Creed 2. This is just another hidden-image puzzle. Find them in the barrel of the bazooka, on the helmet of the soldier crouching in the background, on a rifle held up just to the left of the officers, and in the hand of one of the monsters. For more info, watch the whole gameplay.

Find out about the third puzzle in Assassin's Creed 2. Another simple one – just highlight the spot in each image where the Apple is hiding. You can click around at random and maybe find a couple of hidden messages. For more info, watch the whole gameplay.

Try your hands at one of the first puzzles in Assassin's Creed 2. “Core?” “Pick?” That’s a dead giveaway right there. Just pick out all the paintings that contain apples. For more info, watch the whole gameplay.

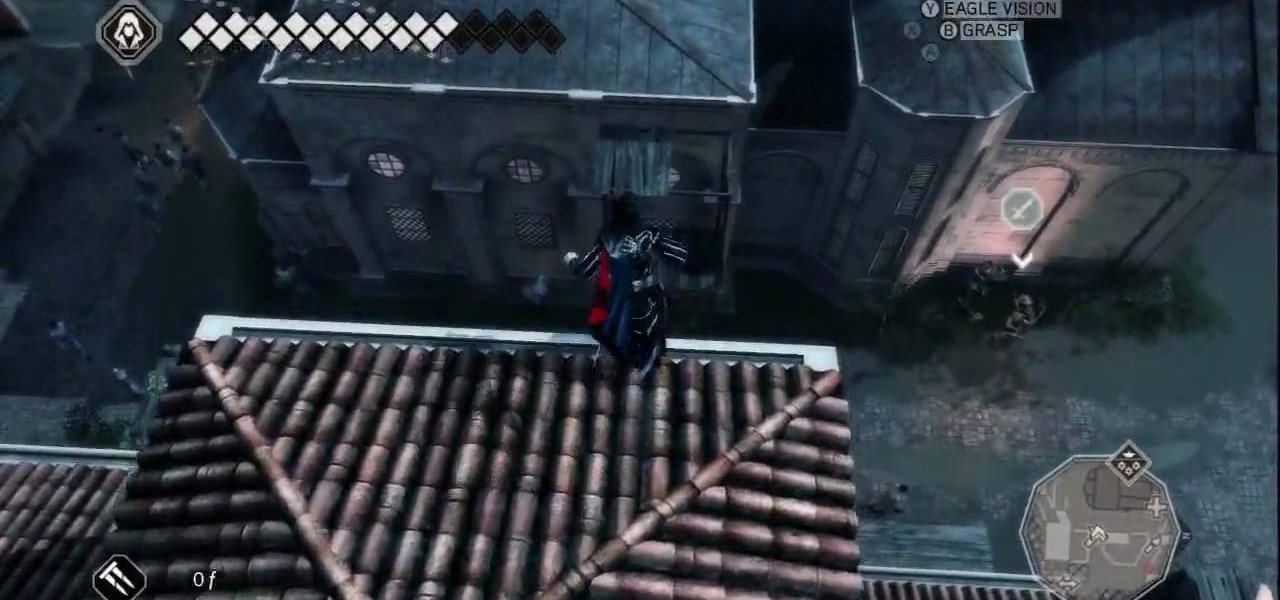
Visitazione's Secret: This is Tomb number 6. The grave of all graves. The entrance to the tomb is on top of the first level of the building's roof. You can pretty easily climb the building on the eastern face and then shimmy around to the north face and continue up. There's a small nook where the building's tower meets the first level of roof, and in there you'll find the entrance.

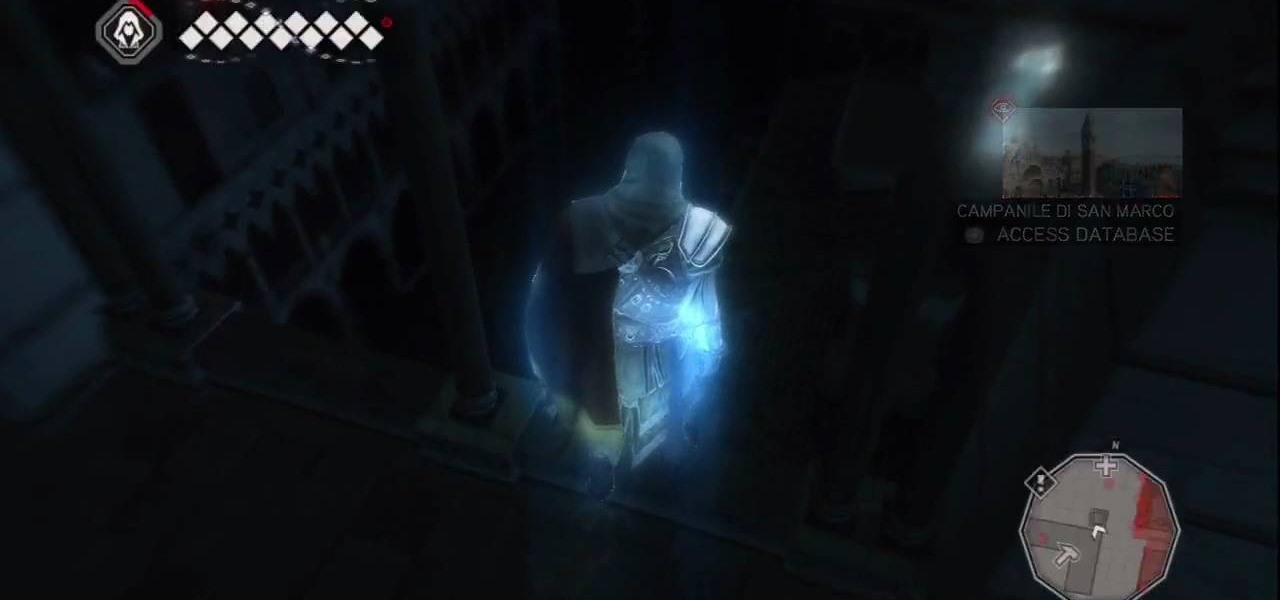
San Marco's Secret: Tomb 5 is not easy, so be careful. Getting into the Basilica without the use of Leonardo's flying machine is tricky. However, chances are that you've already penetrated the massive building's defenses in the mission If at First You Don't Succeed.... But if you haven't yet completed that mission, here's how to get to the tomb's entrance.

Ravaldino's Secret: The entrance is sort of tucked away behind a tower on the other side of the city's water way to the west. Jump in the water and swim around the north end of the tower and you should find the entrance pretty easily. It's just off the water.

Torre Grossa's Secret: The entrance is on ground level, and it's not hard to find. Look for a vaguely-narrow arched hallway just off the street and look for the entrance on the wall to the right.

Il Duomo's Secret: Super simple. The entrance is on the north end of the Basilica Santa Maria del Fiore. It's on street level, and really anyone could open it but only you're smart enough.


