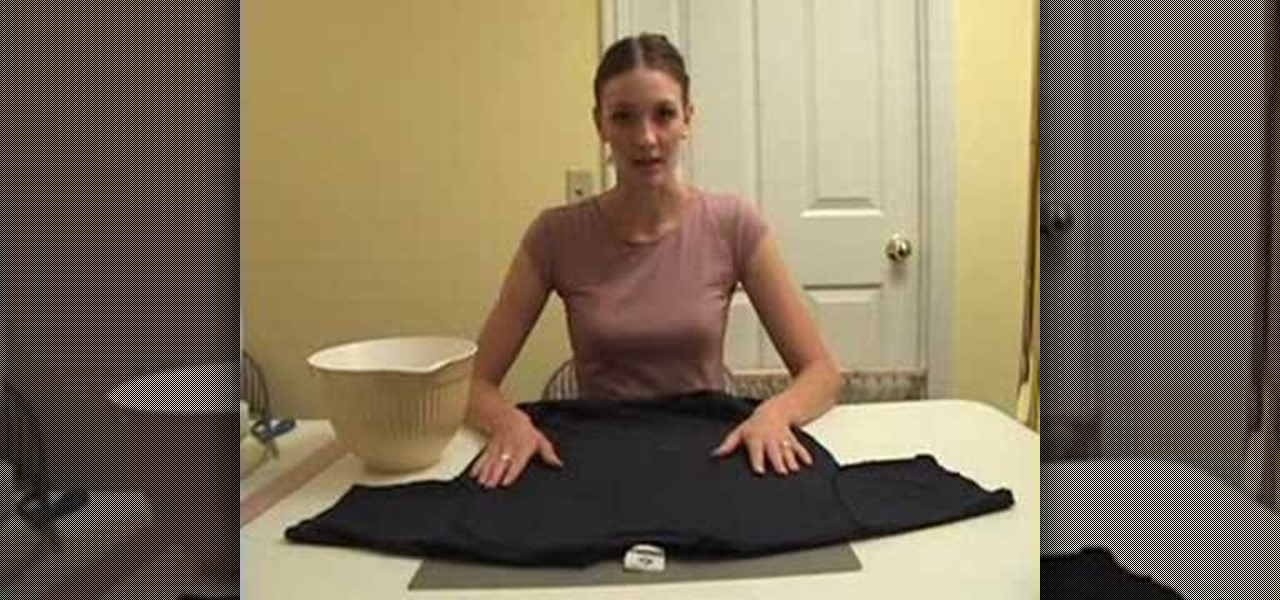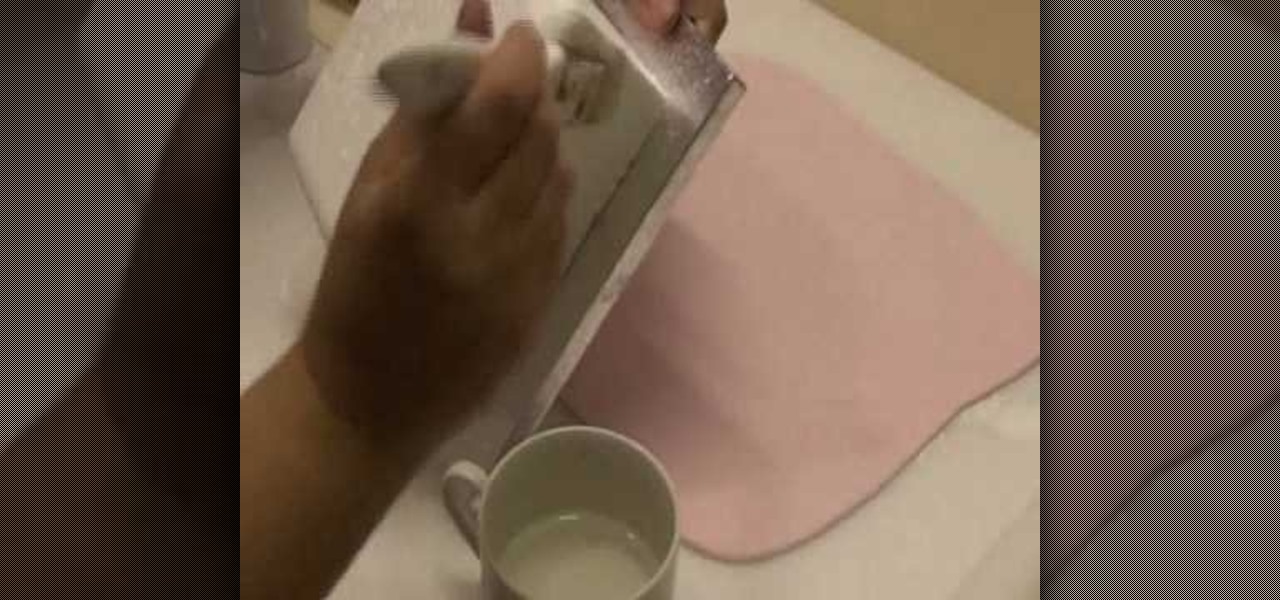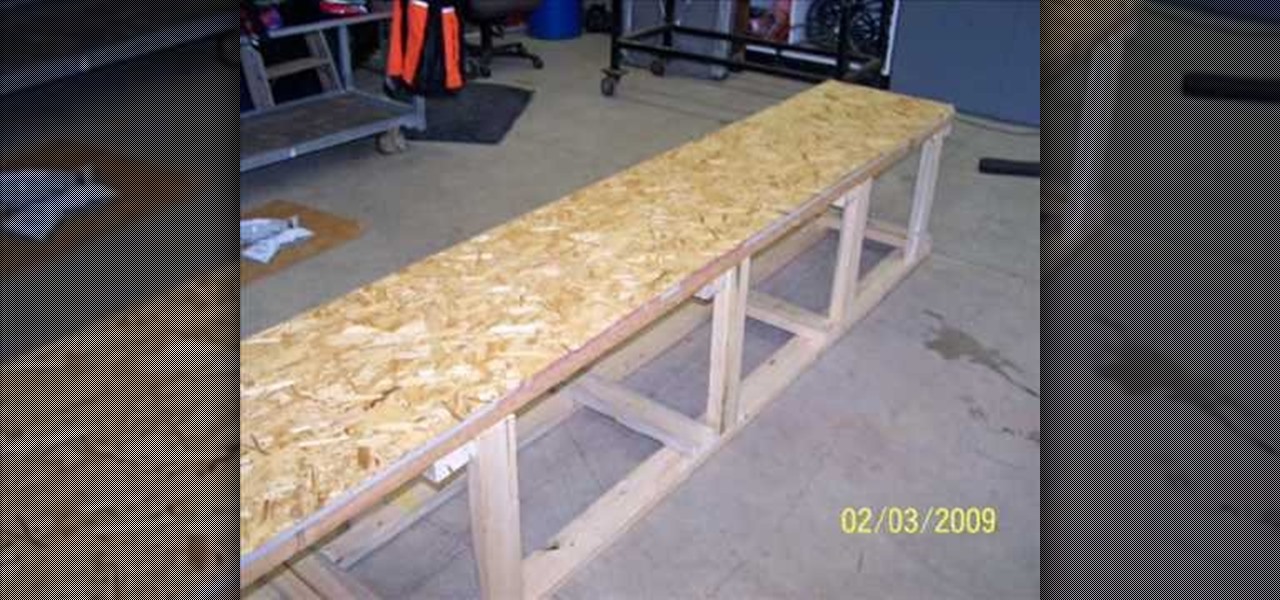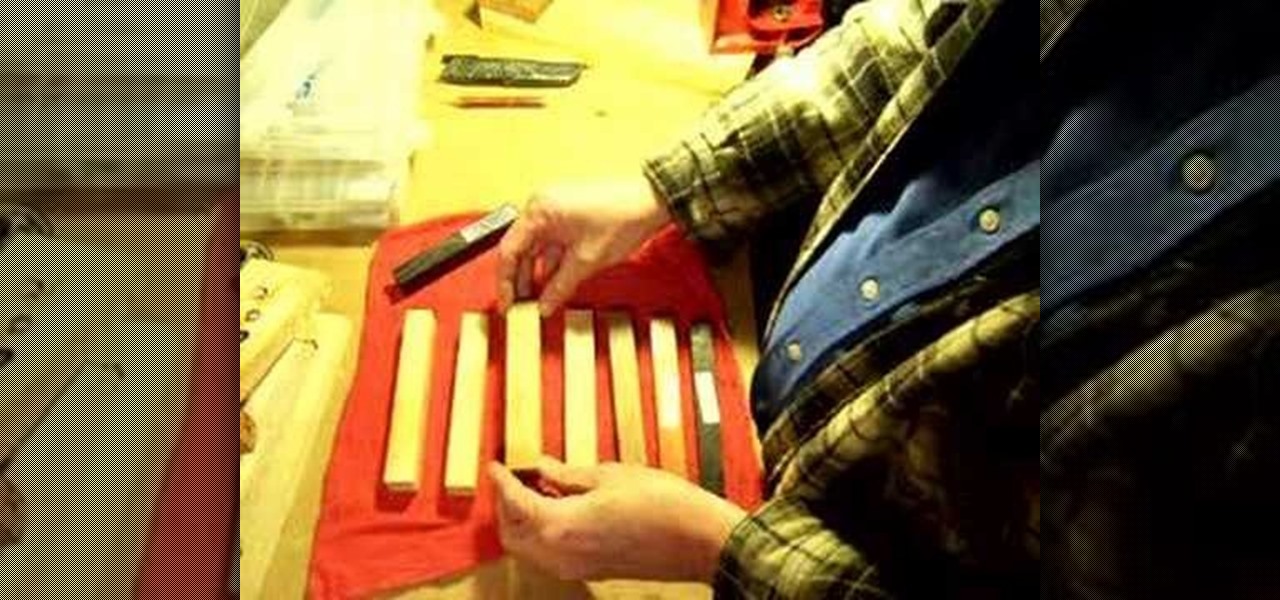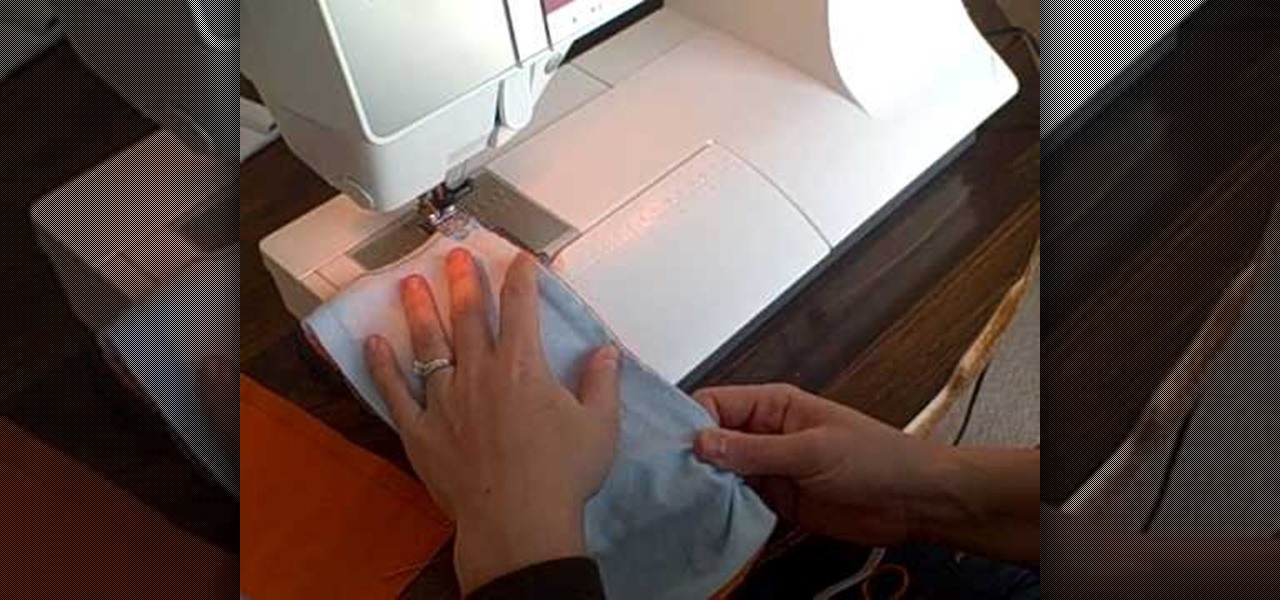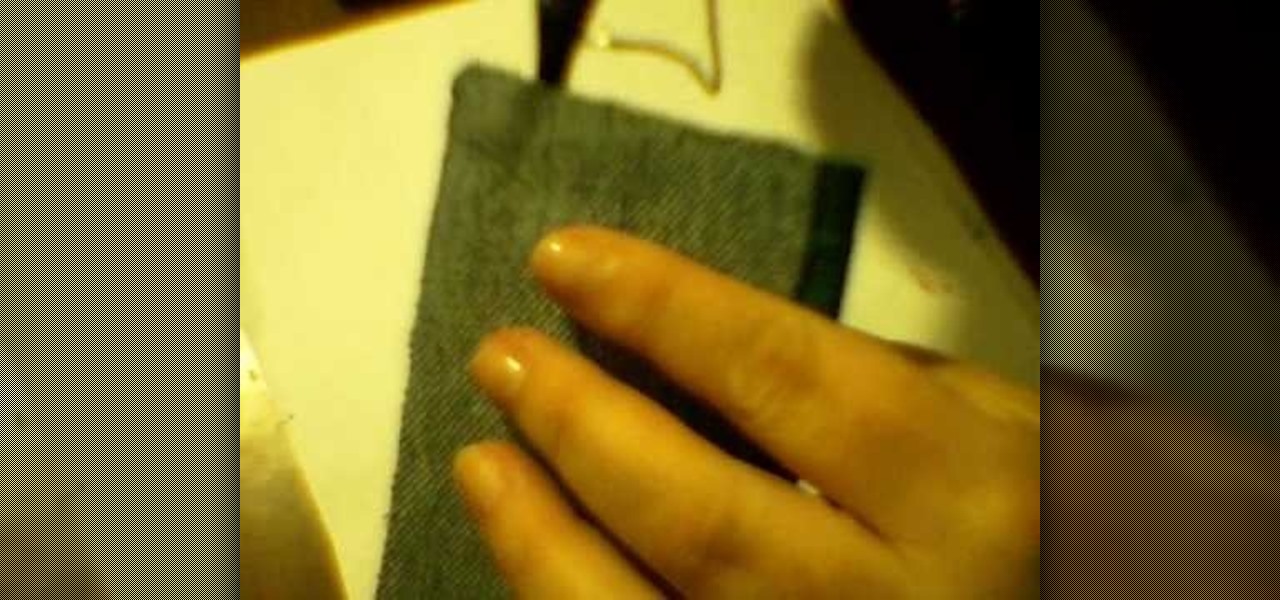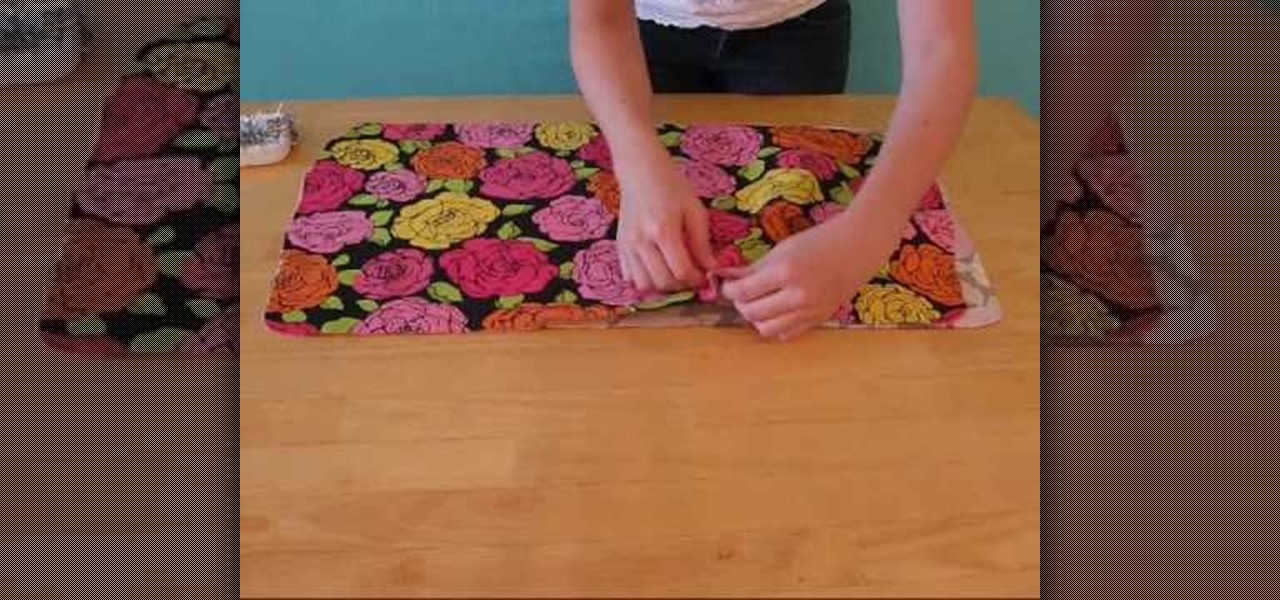
Forget about spending too much money at a retail store for a new bookbag when you can make your own! Go back to school in style - your own personalized style - by making your very own purse to carry your books in. Use fabrics & accessories to customize your book bag to fit your style. Materials you will need to complete this bookbag include:
Did you know your fine furry friend can get Lyme disease too? Giving your dog a once-over tick check will not only protect him from infection, but can help keep you and your family safe too.
Project management covers a lot of processes needed for project completion. Among the many functions in managing projects, one of the most important is resource management. It is an aspect of project management which deals with various project management resources like human, materials, equipment and costs.

What's the best way to learn how to tie an efficient and sturdy pashmina/shemagh? Why, ask someone who ties one every day, of course. Take a gander at this helpful tutorial to learn how to tie one of these babies on your head quickly from your Middle Eastern instructor.
In order to poach an egg, using plastic wrap, you will need the following: eggs, a bowl, plastic wrap, and a saucepan.

Having zippers on your clothes can be much better than having buttons or anything else. They're sturdy and can close up any gap with one swipe. If you plan on making your own clothes from scratch, it's important to know how to sew zippers onto your clothing.

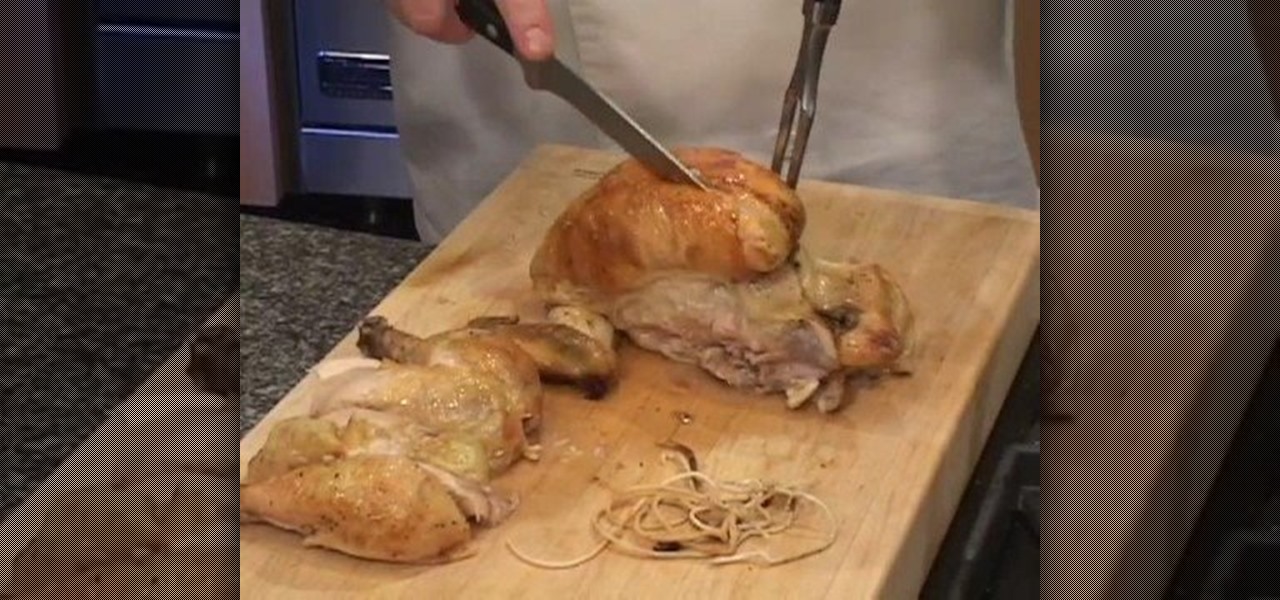
Kat Malone shows how to carve a roasted chicken. Once you remove the twine, set the chicken on its side on the cutting board. To accomplish this, use a chefs fork and a sturdy knife. Stick the fork at the point where the thigh and drumstick meet. You'll then pull on the fork and cut around the leg. Twist your wrist and the leg should fall out of the socket. Cutting through the joint of the leg will seperate the drumstick and thigh. Repeat the same steps on the other side. turning the chicken ...

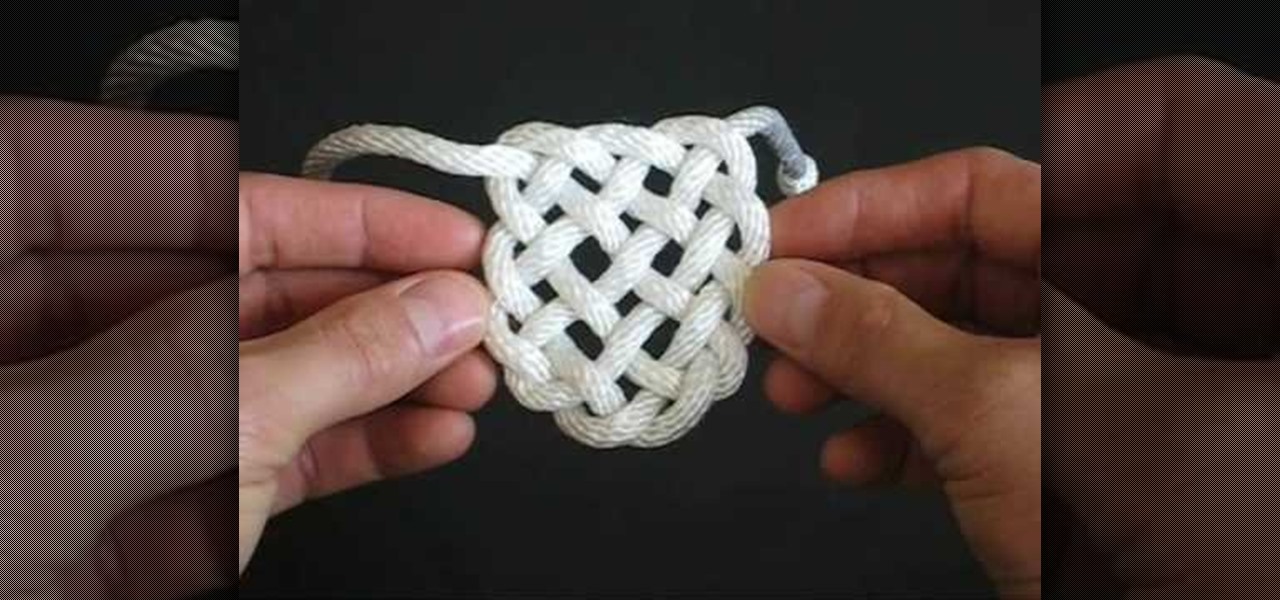
The Panel Knot can be used for a number of different occasions. These knots are a great decoration piece and can be done with different styles and colors of rope to get a splash of life in your home. These knots can also be used as an accessory to any outfit. All you need is a piece of sturdy rope, your hand, and about 3 minutes to learn this great trade. This can also be a great activity for your family to enjoy making together.

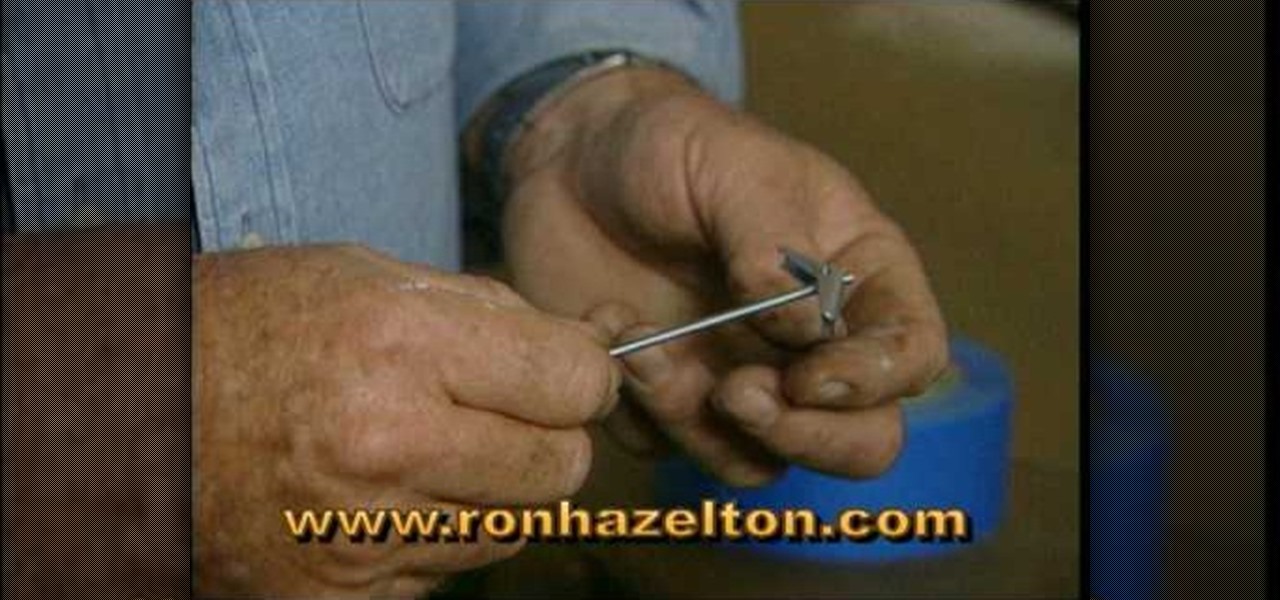
Ron Hazelton shows the most secure way to hang heavy mirrors or art on plaster walls using toggle bolts. Attach a sturdy hanging wire to the piece if necessary. Draw a level line on the wall where the top of the piece will go. Stretch the hanging wire taut and measure the distance between the wire and the top of the frame. A two-bolt system will keep the piece level. Drill two holes this distance below the wall line. Using masking tape prevents the plaster from chipping. Fold the toggle wings...

Triceps extensions for seniors target the triceps muscles of the upper arm to build muscle mass and tone. Learn how to do triceps extension exercises for seniors in this strength training video. Take action: use sturdy chair, keep back straight and abs tight, use light weight, lift elbow and hold in place, lower the weight, extend 7/8 of full potential, and contract triceps. Tom Clifford, the instructor in this how-to video, has a degree in physical education, fitness and health from Eastern ...

This video demonstrates how to construct a sling shot out of a soccer ball. You will need an old soccer ball or tire tube, a "Y" shaped stick, and a pair of scissors. Slice the soccer ball open to remove the rubber lining. Next, cut two thin strips of the rubber lining. Cut out one hexagon shaped piece of leather from the deflated soccer ball. You can use this for the sling shot pouch. These visual guidelines depict how to use these materials to construct a sturdy slingshot in a matter of min...

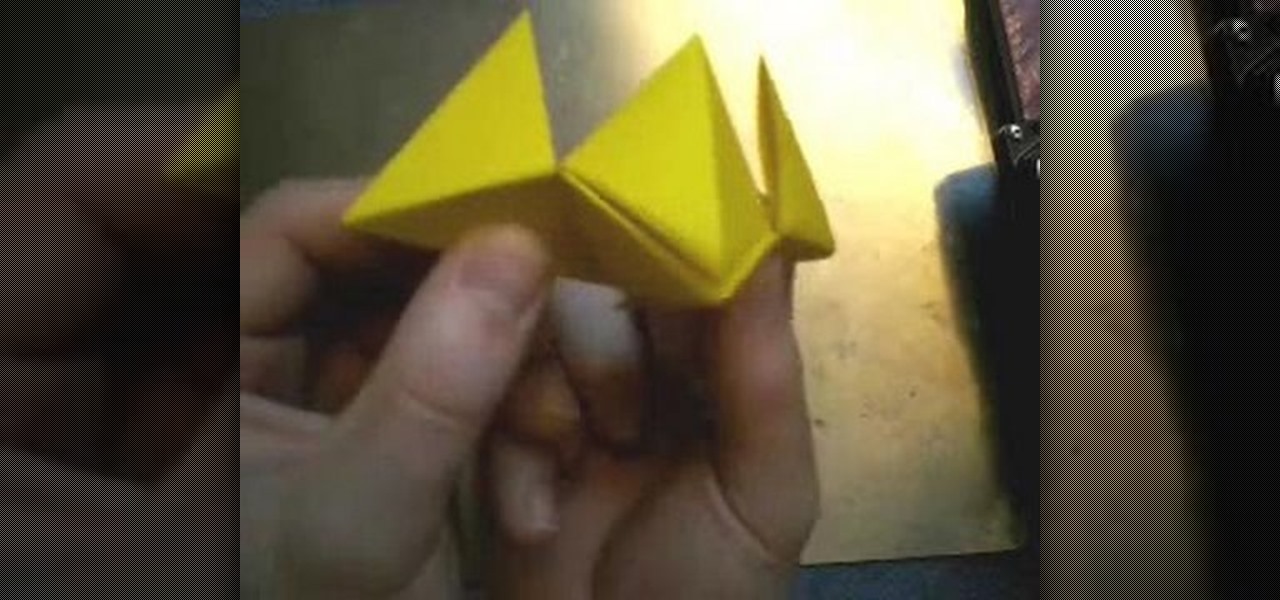
Because who wants to mess with all those wires, programming and power sources? You can make your own origami robot out of paper or cardboard! Though it probably won't do as much as a real robot would, it's nevertheless a fun project to do! All you need are a few sheets of paper (you can also used cardstock or a thin cardboard, depending on how sturdy you want your robot to be). Then just follow the steps in this tutorial!

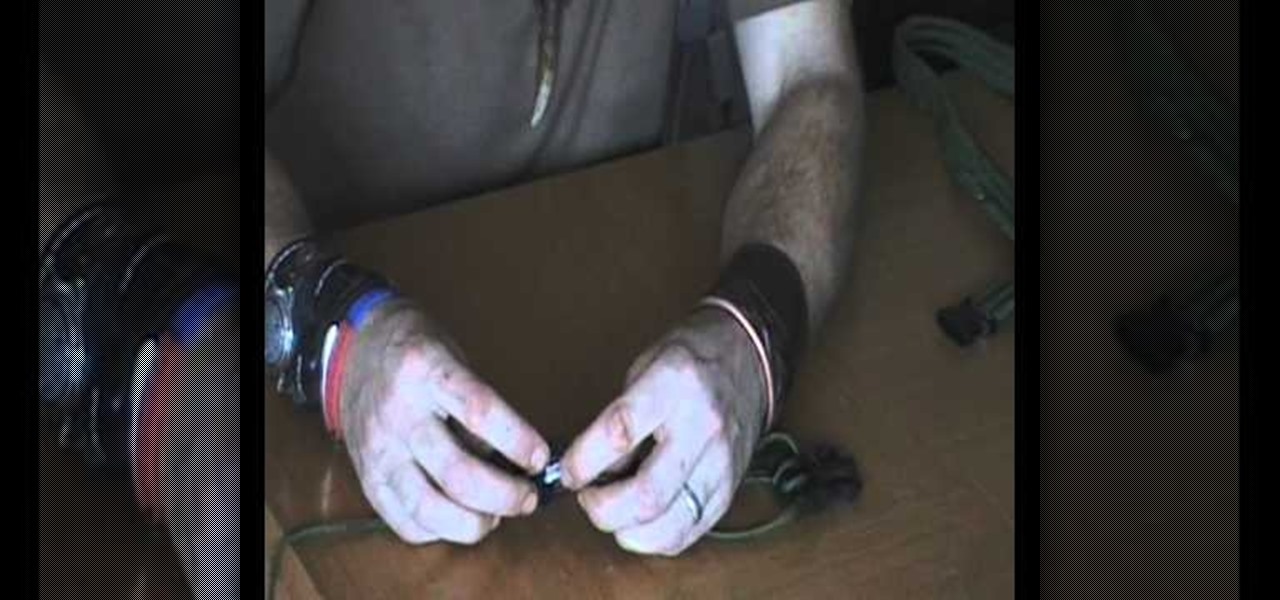
All you need is a single long piece (at least fifteen meters) of sturdy paracord, as well as a clasp for either end. You can also use this technique to make a rifle sling or something else for which you will need a long length of woven paracord. The knot itself is not difficult - just watch carefully and make sure you've given yourself enough time to finish this project. A great project to make for yourself, or the survivalist in your life.

In this tutorial, we learn how to fit a dry lining back box. This is very easy to install, and the sides will grip the wires on your light. First, determine where you want your switch, then mark a quick line using a sturdy level. Next, you will cut out a hole in the wall the size of the box. After this, push the box into the wall. Then, you can add in the light switch to the box and secure it with the wires that are inside. This will finish up this project, just make sure the wires are place ...

In this tutorial, we learn how to install a zipper into your knit. The first way you can do this is to take it to a tailor and they will do it for around $15. To do this by hand, grab your piece that needs a zipper and then steam the edges. After this, take a sewing needle and start to sew the zipper underneath both sides of the edges of the piece. You can also use pins to place into these so it stays in place. Do a backstitch also, to help make the zipper more sturdy and stay on longer.

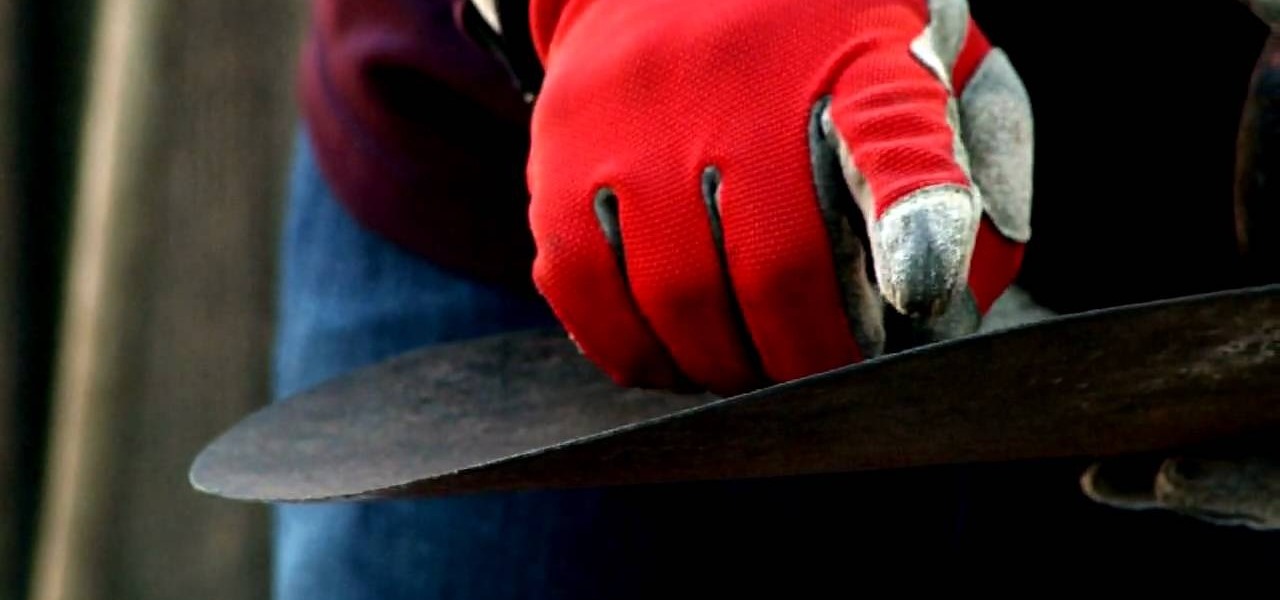
In this tutorial, we learn how to maintain your tools for extended usage. First, get a good sturdy brush to clean off all the crusted on dirt from your tool. The dirt will promote rust and deteriorate your tools. Once it's cleaned, also make sure it's dried off from anything that is wet. Also set the tool on a flat surface or table to remove rust off of the tool. You can also sharpen the sides of the tools or shovels so you are pulling out any kinks and making it sharp and more useful. Once f...

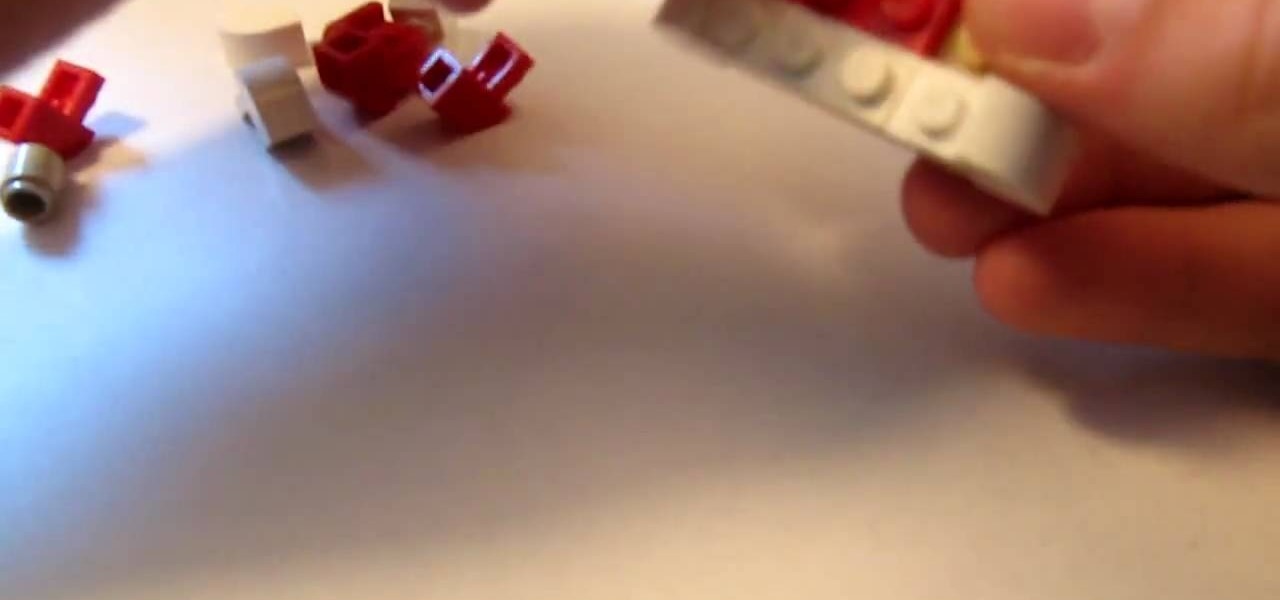
When you're making a restaurant, or a house, or any other somewhat modern Lego model, one way to make the interior (or exterior for that matter) come to life is by making furniture, and what better way to start than with a table with a striped table cloth on it? In this great video you will find out what parts he uses and then go through the assembly process all the way to the final project! Pay close attention though as the placing of some of the bricks are absolutely crucial to the model co...

Are you a big fan of origami but scared to try it out yourself for fear that your creations will turn out more like balled up pieces of paper than strong, sturdy shapes? We hear you.

When we were five years old, there was nothing better to do at recess than to whip out a bag full of popsicle sticks of all sizes, some glue, and then piece together the pieces as if solving a puzzle. We'd make forts, bridges, and even stick people.

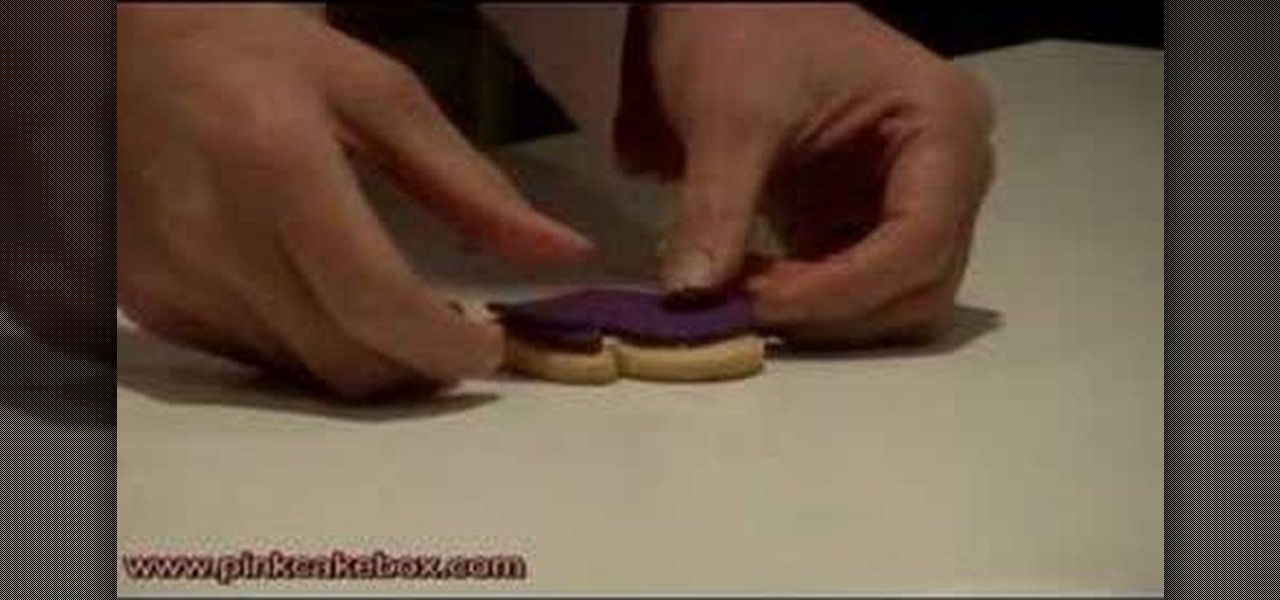
Fondant is one of a pastry chef's favorite substances because it's so versatile. You can use fondant to coat a cake with an even, smooth surface, you can shape fondant into little adornments like fish and ladybugs, and you can even employ fondant to decorate cookies.

A plastic bag made out of plastic bags that's stronger than its constituent parts and reusuable for shopping trips? How did we not think of this before? While there's been a green movement recently to upcycle "junk" or "trash" into something usable, like old t-shirts into grocery bags, the idea was always to turn something into something else entirely.

Got a pile of old clothes collecting dust in the corner of your closet? Before you get the incentive to finally donate that lump to the Salvation Army, consider reusing some of those seemingly "useles" clothing.

When it comes to fondant, practice really does make perfect. The sugary mixture hardens to a sturdy yet soft consistency when set out to dry, but in its pliable stage it's often easy for things to spin out of control and to make terrible folding and tucking mess-ups when you're attaching a fondant cover on a cake.

In this video, we learn how to make a snowboard box. The box will be 10 ft long by 1.5 feet wide and 2 feet tall. For the box structure, make small cube like structures that are surrounded by large boards holding them up. Screw all the pieces of wood together, then cut out your plywood and place it on the wood to make a shell. Check to make sure the box is sturdy by standing on it, then place plastic on the bottom of the wood to keep it away from snow or rain. When finished, use the board to ...

If you're thinking about what kind of project you can tackle with a lathe, ever thought about making a pen. You can make a great looking pen using many different kinds of wood. It all depends on what you want it to look like.

There are so many beautiful birds that fly around. This video shows you how to draw those birds to your yard by making a pinecone birdfeeder.

If you plan on making any kind of cabinetry or beds or anything else like that, having a dado blade is a useful and handy tool. What this does is make a u-shaped cut into your piece of wood that is perfect for combing two pieces together to form a sturdy, solid joint. So if you want to find out more about dado blades and how to install and use one check this tutorial out. Enjoy!

What are you doing this Cinco de Mayo? If you are celebrating this tequila filled holiday, you will no doubt have tons of fun with these maracas.

In Part 6 of a series of video clips, `ClickHerePhotography` gives tips on how to select the right tripod for various outdoor environments and conditions like snow, rain (hail and thunderstorms), mud, dirt (dust) and waterbodies (river,streams or oceans). It is important to use a sturdy tripod designed to withstand the elements. After using the tripod for the day, it is essential to clean it. For instance, sand or salt water will weardown the legs of the tripod if left for long periods of tim...

Try to use the same brand of spray paint throughout the project, read the instructions, follow them. Different brands may have different instructions, this is why we advise against mixing brands. Begin by lightly sanding your project with 600 grit sand paper, anything lower can potentially scratch your project. Use a sturdy tape to cover the parts you want to leave unpainted. Use a very light coating of primer, sand it with 600 grit sand paper (lightly). To add 'special effects' to the job, u...

In order to mud and tape the corners with new drywall you, you will need spackle, a sturdy ladder, and a putty knife. Scoop out a dollop of spackle (i.e. mud) with your putty knife. Place your putty knife where the ceiling and the wall meat. Spread the putty evenly, as you extend your arm left to right or right to left. Make sure that you apply putty all the way up to the corner.

This video is a tutorial on sewing both polybraid elastic and lastin elastic. Polybraid is a very sturdy fabric elastic, while lastin is a thin, clear, very stretchy elastic, good for use in diapers. It is important to buy name brand lastin elastic to ensure good quality.

Digsart demonstrates how to make a wallet from a pair of blue jeans. First, with a pair of scissors he cuts out the back pocket of the jeans. You can paint the pocket with acrylic paint to give it a more sturdy feel. Once they are painted, he dries them out by placing them on plastic bottles. Once the paint is dry, he cuts a slit in the middle of the pocket, creating two sides for change and bills. Then, using a hot glue gun and Velcro, he glues the Velcro patches onto the pocket. Once the Ve...

In this how-to video, you will learn how to take apart a Blackberry 9700 Bold. First, set the Blackberry on a sturdy and flat surface. Next, pry off the bottom front plate with a non-metal tool. Remove the battery and place it aside. Next, unscrew the front plate with a screw driver. Be sure not to lose these screws. Now, carefully pry the front bezel off. The keyboard pad will come off as well. Now, remove the screws around the area where the screen is. Once this is done, you can easily remo...

The lady shows how to make the steadicam arm to work with glidecam stabilizer. The steadicam arm is made such as only a steadicam can be fitted on that. The video describes how to make the usable for glidecam with three simple tools ,a 10 ounce hammer ,a long nose player and a flathead screwdriver. First take out the circular clip with which the post is secured with the screwdriver unscrew and pull the post out .Using the hammer straighten the post .The post will have a scratch but the straig...

Nine inch storage shelves are spaced and constructed in a practical way. It shows the right screws. This requires a drill some wood. The viewer is shown how to make a good back brace for the shelves. It shows how to make the shelving unit level. You learn the screw head must be flat. You are also shown how to put in a good support for underneath the shelves. It shows the center support being constructed. He shows how to set the shelves up so there is support from all sides and to make the she...

This is the video about how to perform a single cast on. To work this open cast on you'll need one needle a couple of sizes larger than the needles you'll be using to knit with (or alternately, two needles held together) and a spare length of sturdy yarn several times longer than the length of the finished cast on. Make a slip knot with the working yarn and place it on the needle. For this cast on you only need to leave a short tail -- you'll be working with the yarn coming from the skein. Ho...

Heat the oven to 450 degrees F. Remove the roast from its packaging and place it in a sturdy roasting pan.

Personalize your drinking glasses by etching names and messages on them. Your guests will be so impressed!

Picture this: You're putting together your new desk or bedframe from Ikea, you go to drill in your final screw with your power drill, and the screw just keeps turning. The hole is stripped, and your brand-new piece of furniture is far from sturdy. What to do? This wuick how-to video clip by professional do-it-yourself Ron Hazelton has the answer. Three different options, actually. Watch this video home improvement tutorial and learn how to fix a stripped screwhole.


