

How To: Make your T-shirts a little bit cooler
This week, the thread heads teach us how to make our t-shirts cooler, by cutting slits all over them. Not only are they stylish, but they make you look like Wolverine just attacked you. Awesome!

This week, the thread heads teach us how to make our t-shirts cooler, by cutting slits all over them. Not only are they stylish, but they make you look like Wolverine just attacked you. Awesome!

I have these great pictures now how do I hang them in a fun and stylish way? Different arrangements, leveling and height play important roles in this decorating essential.

Duct tape is so versatile. You can make incredibly cool things out of tape. Duct tape is cheap, tough and sturdy. In this tutorial, learn how to make a very cool project - a top hat! Look just like a punk rock Abe Lincoln with this tall top hat made from duct tape. Get creative - try different colored tape and make fun designs!

Those of you who have been a part of the Null Byte community for even a short while know that I sincerely and firmly believe that hacking is the most important skill set of the future.
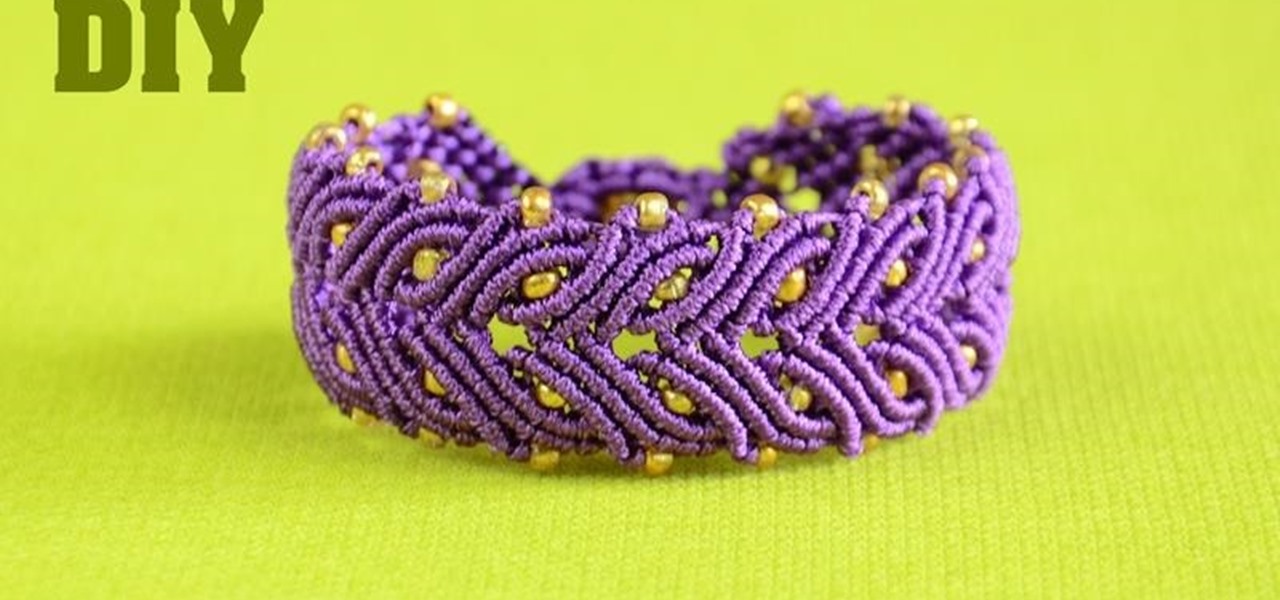
Macrame Laurel Leaf Bracelet Tutorial. This stylish bracelet would make a lovely addition to your jewelry collection.
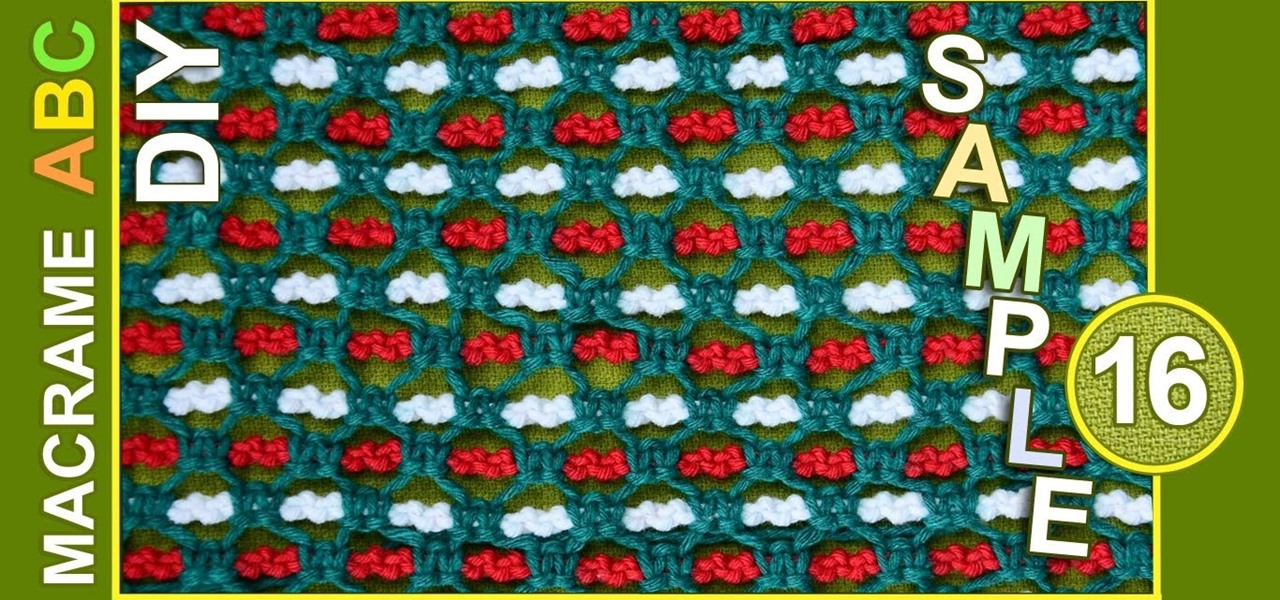
Simple and interesting pattern sample for your macrame projects. From this pattern you can make stylish handmade coasters, tablecloth or something other that you like. In this Macrame sample we used Square knot. Macrame design elements for various useful macrame projects.
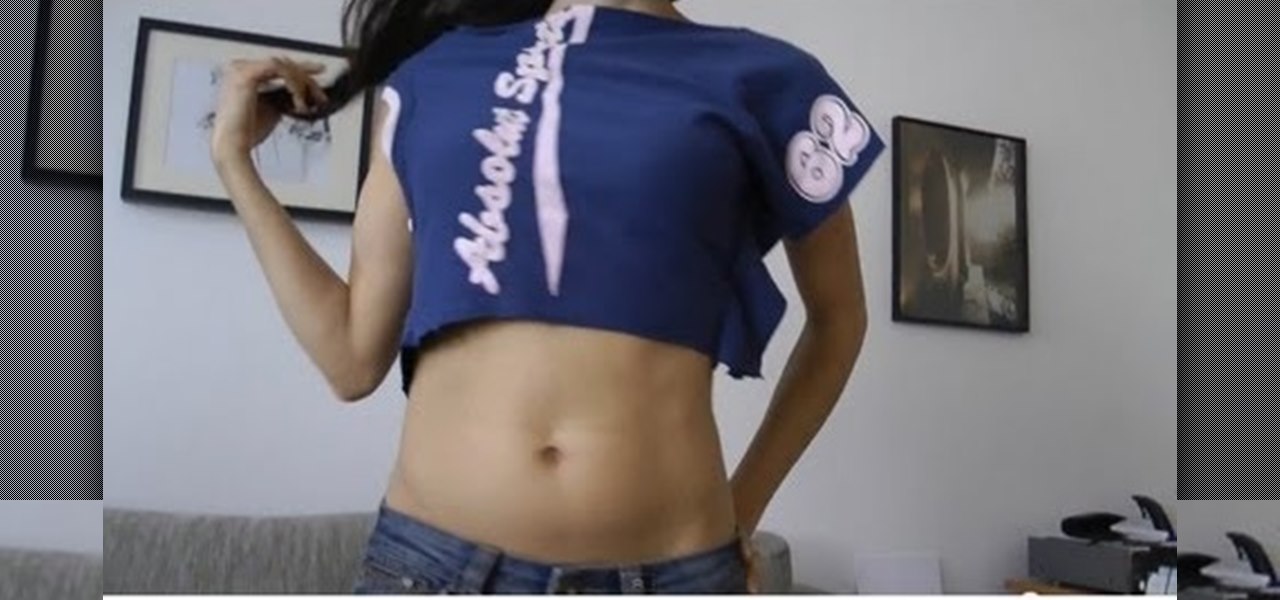
In this video im going to show you how to make a new style of your old unused Shirts. more videos are coming soon
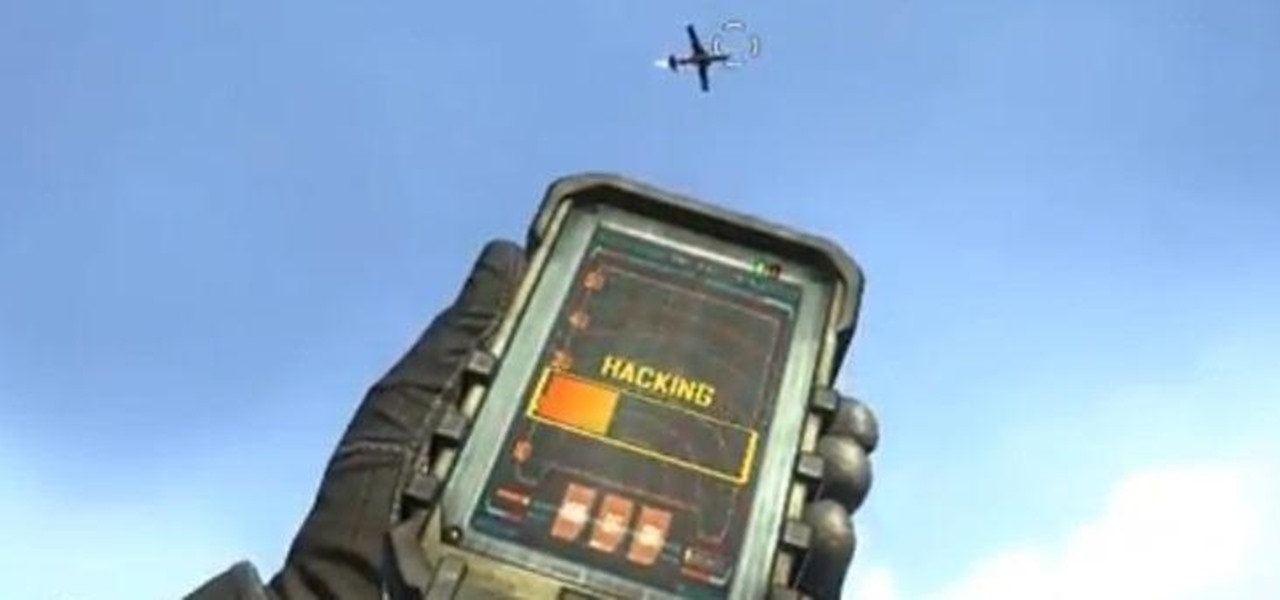
Creating a class in Black Ops 2 is kind of like an art form. Every player has an insane amount of options for creating a character for all sorts of situations. Combining perks, with secondary weapons, and attachments allows for a wide range of killing options. But in order to unlock a lot of these perks and attachments, you need to gain XP. Gaining XP and collecting tokens is the lifeblood of the online gaming experience.
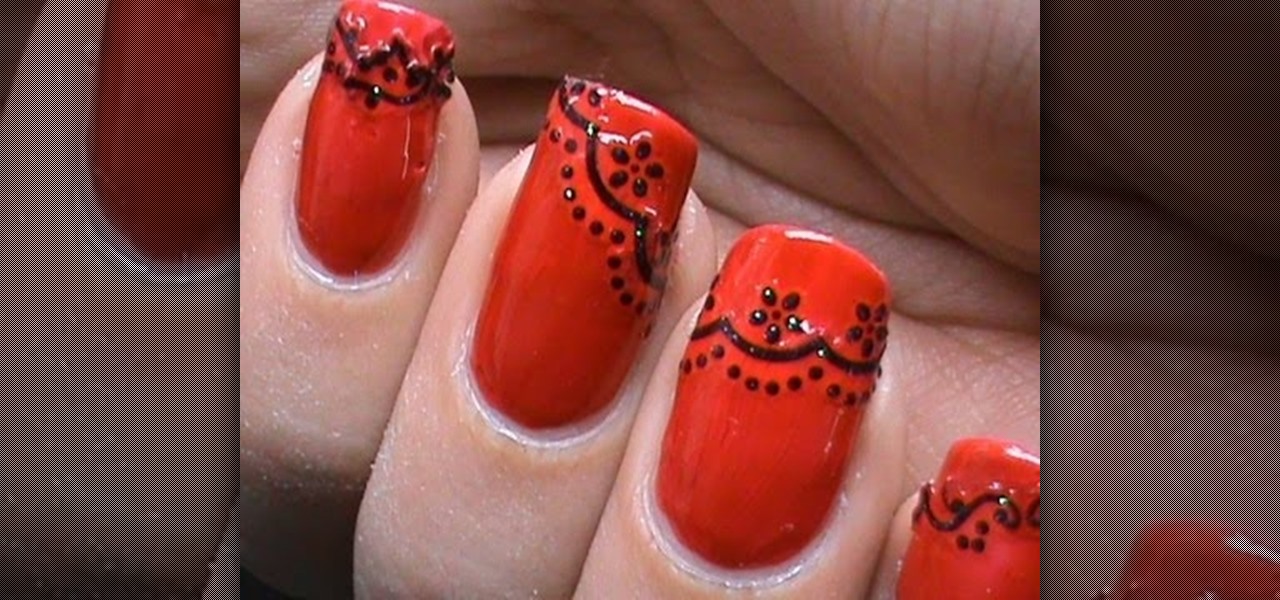
Check out this video to learn how to do these super stylish lace nails! Video: .

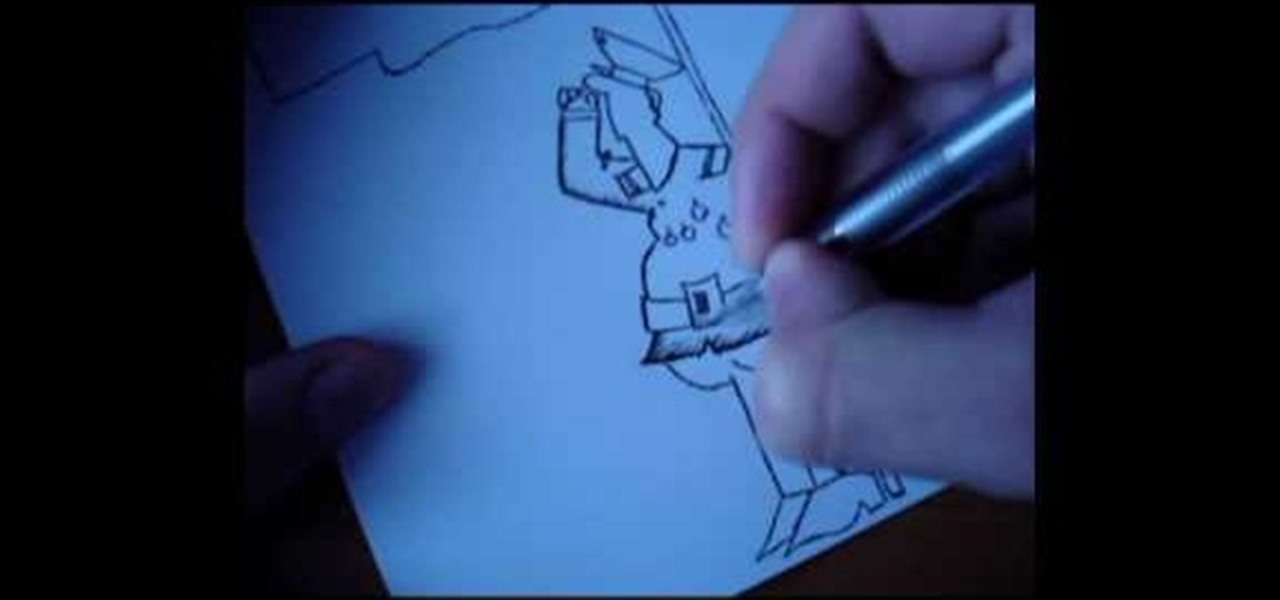
This video contains different techniques to draw Naruto Sage Mode. The first step is to draw the basic outline of the characters face along with the ears and nose. After completing the basic outline the eye outline and details are then placed. The Lips and nose are drawn third to finish the basic features of the character. Dark shading around the eyes must be completed to give Naruto sage mode more realism and detail. The hat is one of the last parts of the character created involving a simpl...

In this tutorial, we learn how to draw the cartoon vampire character Alucard. Start out by drawing the outline of the face, along with the hat and the collar as well. Then, draw in a cross in the teeth, with just the upper teeth and fang showing. Then, draw in all the details of the face, along with the hat details. After this, color in the skin and then the rest of the clothing around the face and on the body. Color in the background as well, with black and reds to create an eerie glow with ...
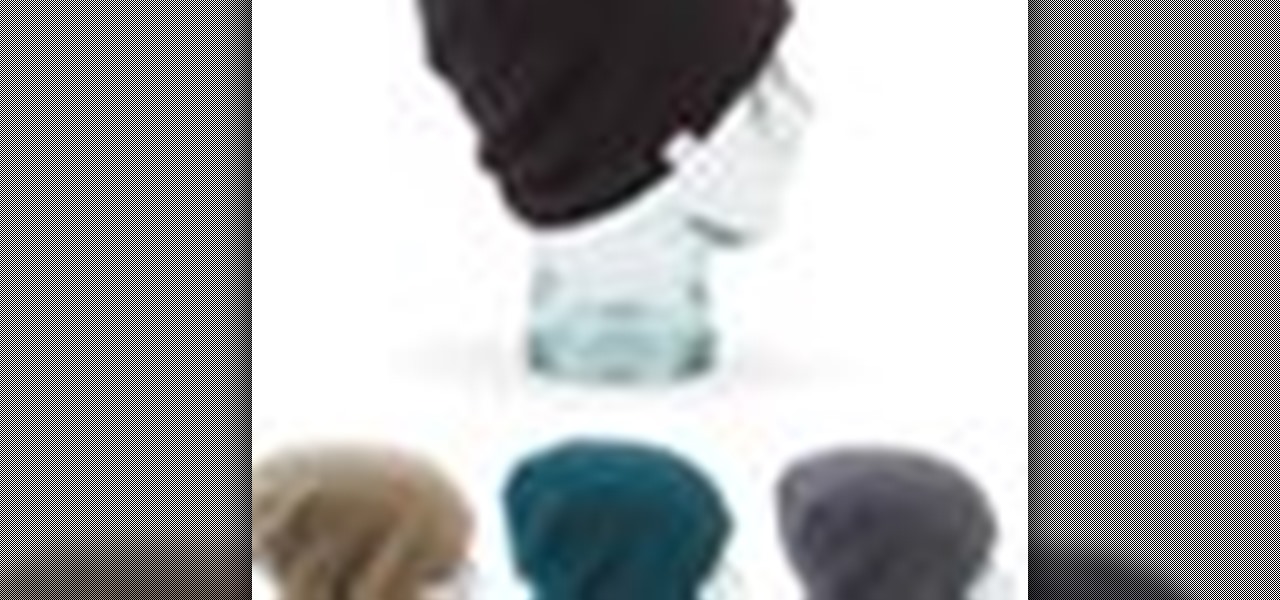
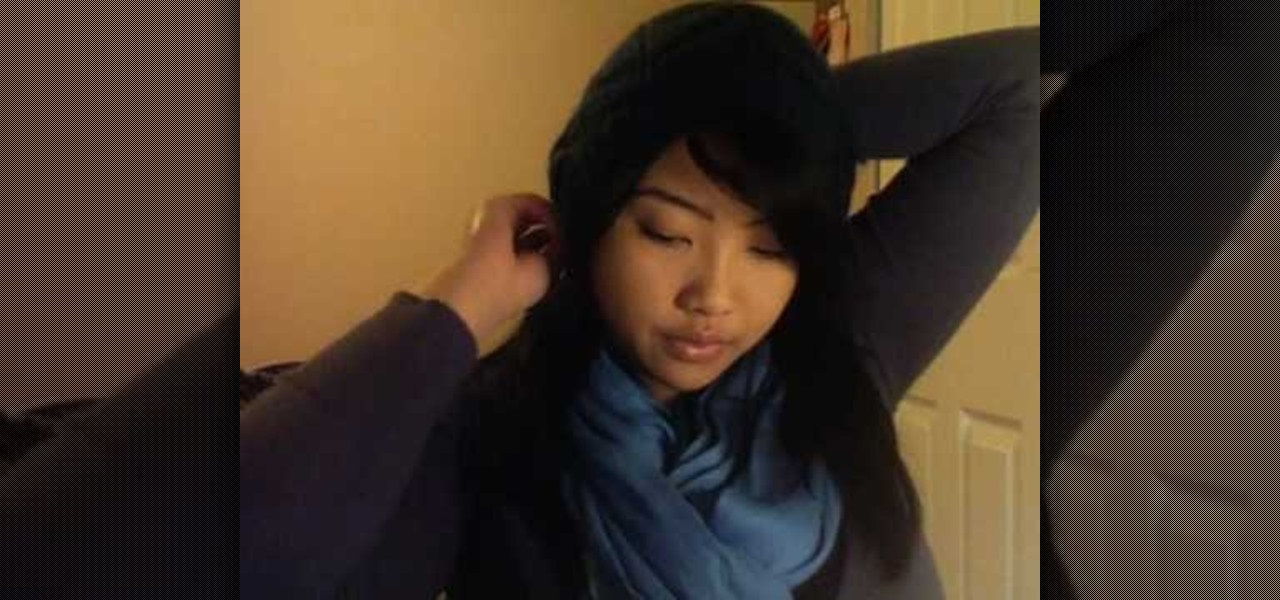
Do you have a beanie and just can't figure out how to wear it? Then this video is the right one for you! With this, we learn how to wear a beanie 18 different ways! The first way is to wear it flat on your head. Or you can wear it as a fedora. A girl can wear it with her bangs hanging out, then you can wear it with the cap sticking out for a "robin hood" look. You can pull up the sides of it to create a half hat or you can wear it to the side. Any way you choose to wear the hat, just let it w...

In this tutorial, we learn how to make a clown punch using Stampin' Up! products. You will need: a red scallop circle, green key punch, orange scallop circle, heart shape, circle, oval, red circle, flower, black eyes, and a yellow small circle. After you have these punched out, make the hat out of the green large and oval shapes, then apply the flower to the top of the hat. Next, glue the circle behind this, then cut up the orange and red scalloped circles to create hair on the sides. Next, a...
No self-respecting Halloween celebration would be complete without a fair share of caramel apples and witch-themed goodies for kids and adults alike to nom on.
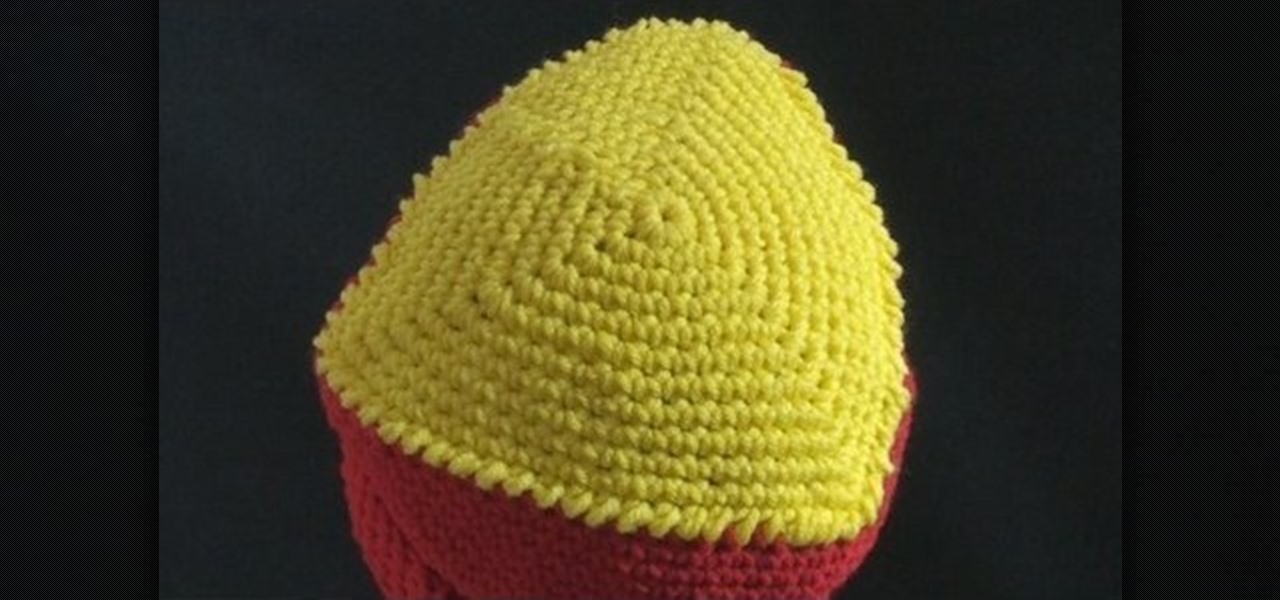
In this video, we learn how to crochet a triangle-shaped bikini beanie hat. First, crochet nine single crochets through a simple loop. After this, join with the beginning single crochet and work a single crochet three times. next, work one single crochets in each of the next two, then three single crochets in the next stitch. Now, go join with the first single crochet. Continue to go around until you have a large circle shape, going down on the sides to make the entire beanie shape. After thi...
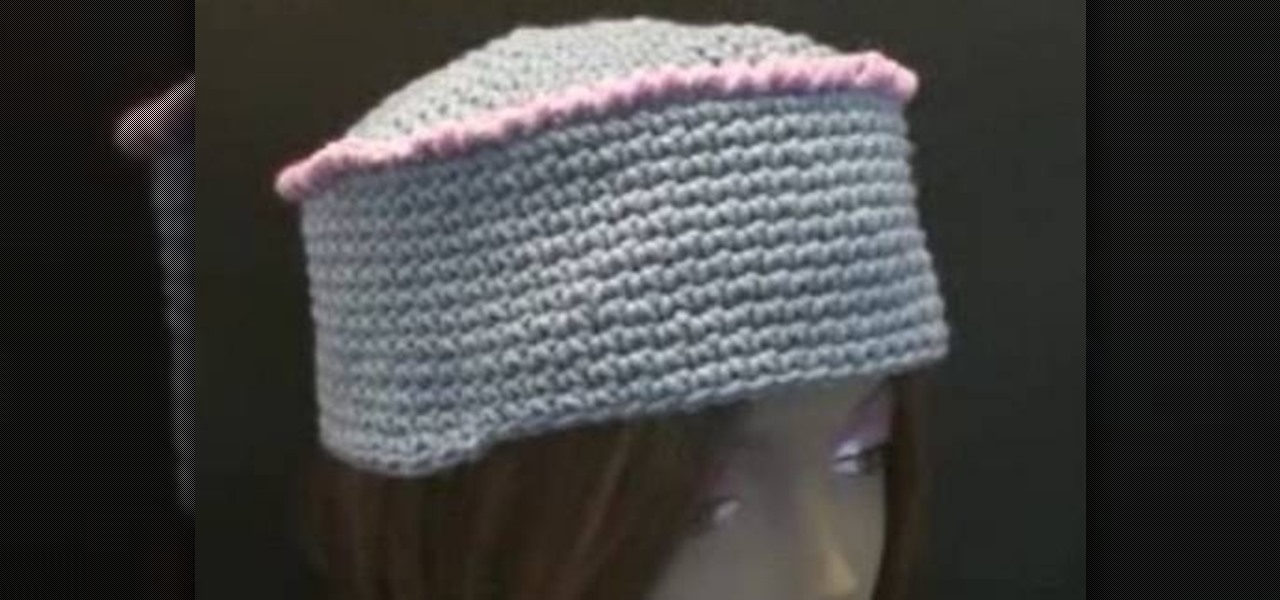
Would you like a touch of mod and whimsy all in one? Then this hat is perfect for you because it strikes the perfect balance between the two. Made of cozy, soft blue yarn, embellished with a pretty pink border, and done up in a sort of inverse bowl shape, this is not your everyday baseball cap or beret.

In this tutorial, we learn how to crochet a beanie hat. First, you must place the yarn around your fingers, then thread through the needle with a slip knot. After you do this, grab the yarn and move the string through the slip knot to make a chain stitch. The next type of stitch you will do is a seam stitch, where you will find a hole and grab the string, then bring the needle through so you have two loops around the needle, then bring it back through the hole. You will continue to do these s...

In this tutorial, we learn how to make a stylish Halloween bag tag. You will need: ink blending tool in black soot color, black paint, orange paint, white card stock, stencils, cutters, scissors, and glue. First, place your white card stock underneath the stencil, then cut out the shape of a house. After this, mark lines in opposite directions onto the shape. After this, you should have the shape of a spider web. Next, add the ink pain on the top to highlight the spider web and you will be ab...

In this tutorial, we learn how to draw azure kite. Start off by drawing the face, then draw on the hat and the upper body. Next, you will want to outline the rough draft that you first made and start to add in details. Color in the hair and the hat, as well as the skin and the outfit. Add in wrinkles and buttons on the clothing as well. Add in the eyes to the face and include the nose, mouth and ears. Place the tattoo on the side of the face, then add in shading on the entire body. When done,...
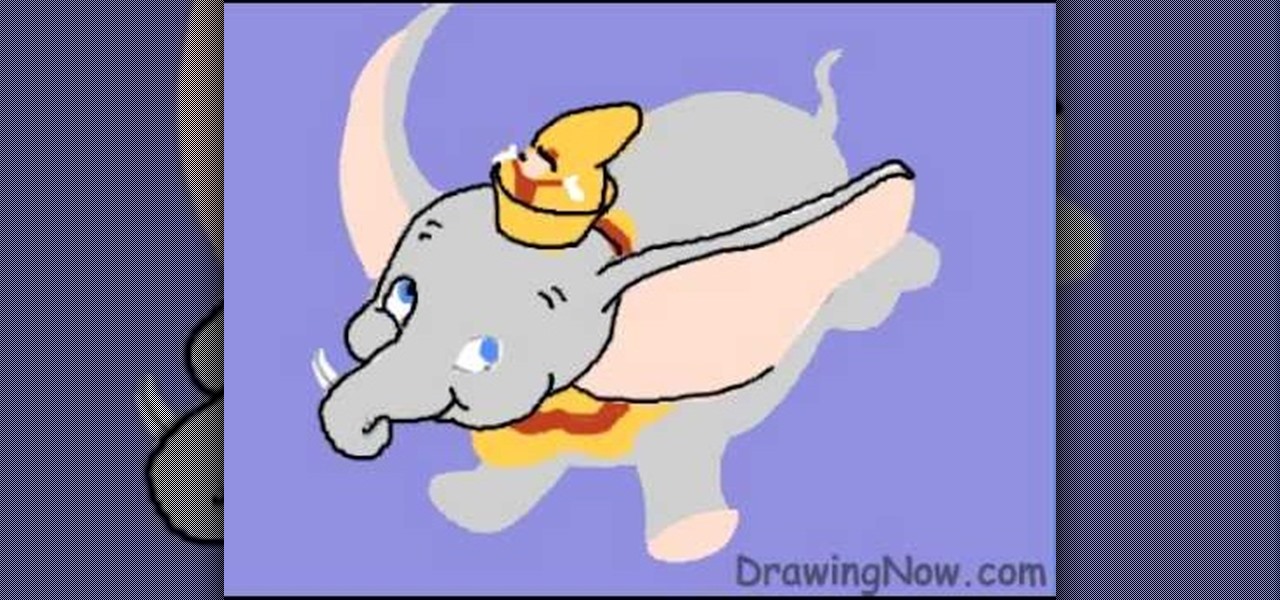
In this tutorial, we learn how to draw Walt Disney character, Dumbo. First, draw the ears flying out in the air, then draw the head outline around it. After this, draw in the trunk outline, the eyes, and the hat. Next draw in the body and legs of the character as well. Next, color the background of the drawing and then start coloring the character in with gray. Next, use a paintbrush to outline the body, then add in any details you see fit. Color in the inside of the ears and then color in th...
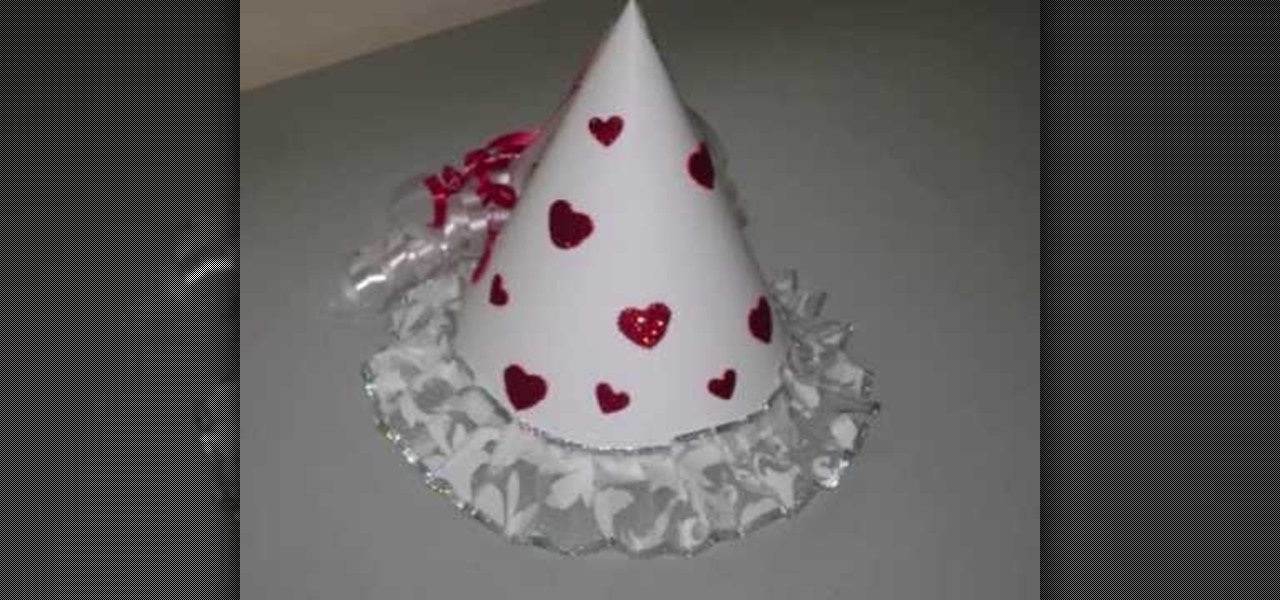
In this video tutorial, viewers learn how to make a fairy princess hat. The materials required for this project are: white cardboard/postcard, glitter stickers, glue, white lace/ribbon, red and white thin plastic ribbons and scissors. Begin by folding the white cardboard into a cone shape and glue it together. Trim the bottom of the cone. Then scrunch the lace ribbon to an accordion style fold and glue it to the bottom of the cone. Now decorate the cone with stickers or paint. Then glue the r...

In this tutorial, we learn how to draw Blair from Soul Eater. Start off by drawing the head, hat, and body with a light pencil. Next, draw an arm going down from the body. These will be basic construction lines that you will draw over with a thicker pen later on. Start to establish the eyes and eyebrows, as well as the nose, mouth, and chin. Add details into the picture, then start going over your lines with a darker pen or pencil. Start to add in details that you feel make the character look...
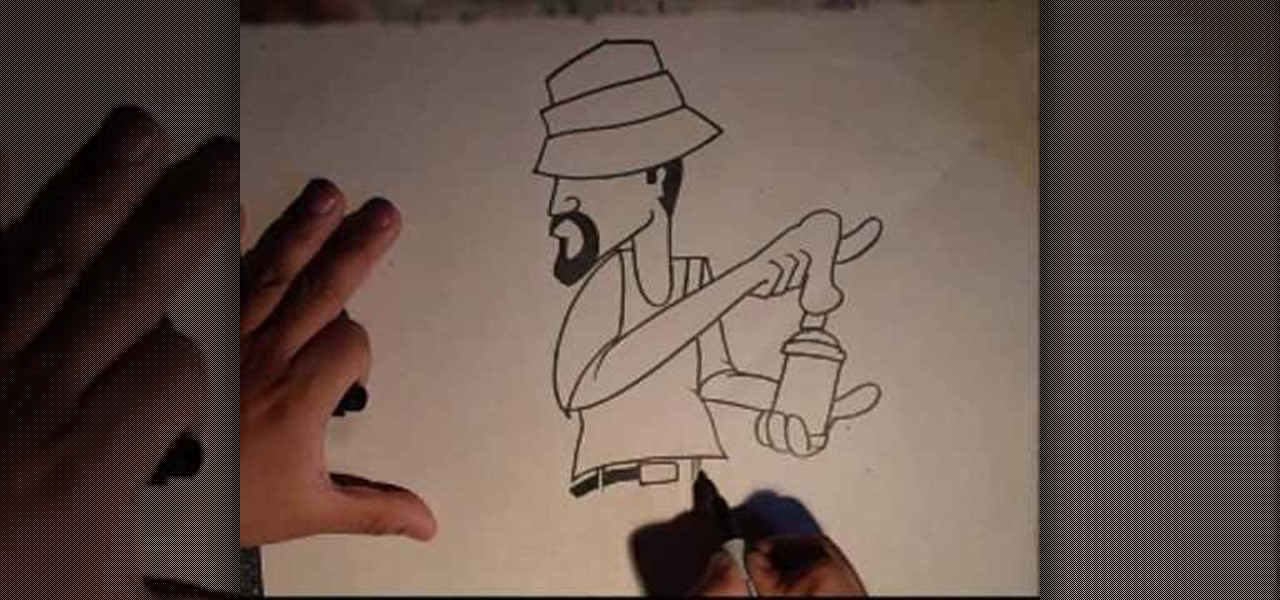
In this video, we learn how to draw a cholo graffiti character. Start out by drawing the hat, then draw the face underneath the hat. Draw a mustache and beard around the mouth and hair on the back of the head. Next, draw a neck going down from the face, followed by an arm and the chest wearing a tank top. Make the hand on the arm hold a spray paint can on the top and the other hand hold the can at the bottom. Next, draw a belt and jeans onto the character. Draw jeans that are oversized for th...
In this video, we learn how to wear a beret securely. This is used to keep the beret on your head so it doesn't fly away. To do this, you will need the beret and bobby pins. First, place the beret onto your head and style your hair around it so it looks how you prefer. Next, grab your pins and place then inside the beret holes onto your hair. Use a couple of the pins to make sure the hat and hair are connected and secured tightly. When finished, move the hat slightly to make sure it is secure...

We don't know why you wouldn't like to make a pom pom. After all, they're cute, chubby, and make anything they're attached to - keyrings, the tops of berets, air - look absolutely adorable. But then again, they do take a lot of patience to make.

If you want to use Greasemonkey and Stylish to edit javascript you can go to Userstyles.org and you can change and edit your mainpage/homepage such as Google. On greasemonkey, you can apply extra functionality to sites and web pages. Using javascript you can post a code and animate the images or web results. The images will fly and dance around the screen using this particular javascript. Also, go to userscripts.org to get various Greasemonkey scripts to customize various sites. Such as, you ...
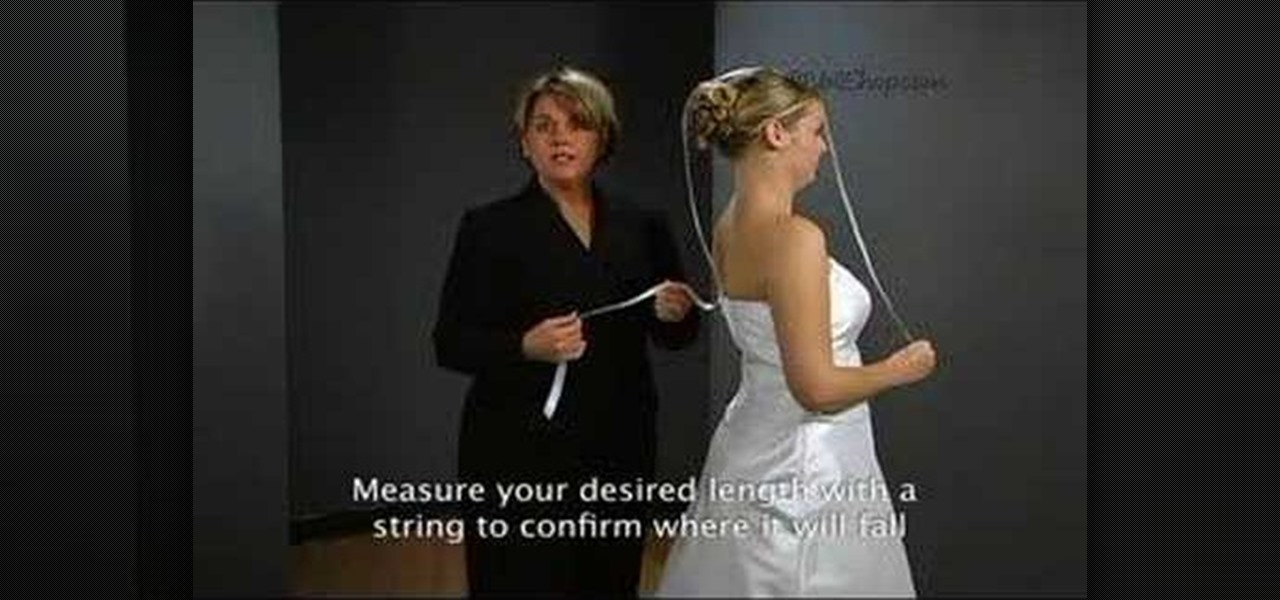
Drop veils are the sheerest veils offered. They drop over your head. There is no comb and no gathering at all. They are attached with hat pin. The veil is draped over the head and if you had a head piece the veil is draped over that as well. Then you take the hat pin and you just weed it in and out between the hair and the veil several times. Now after the ceremony all you have to do is remove the pin and the veil is removed without ruining the hair. To measure for the drop veils take a piece...
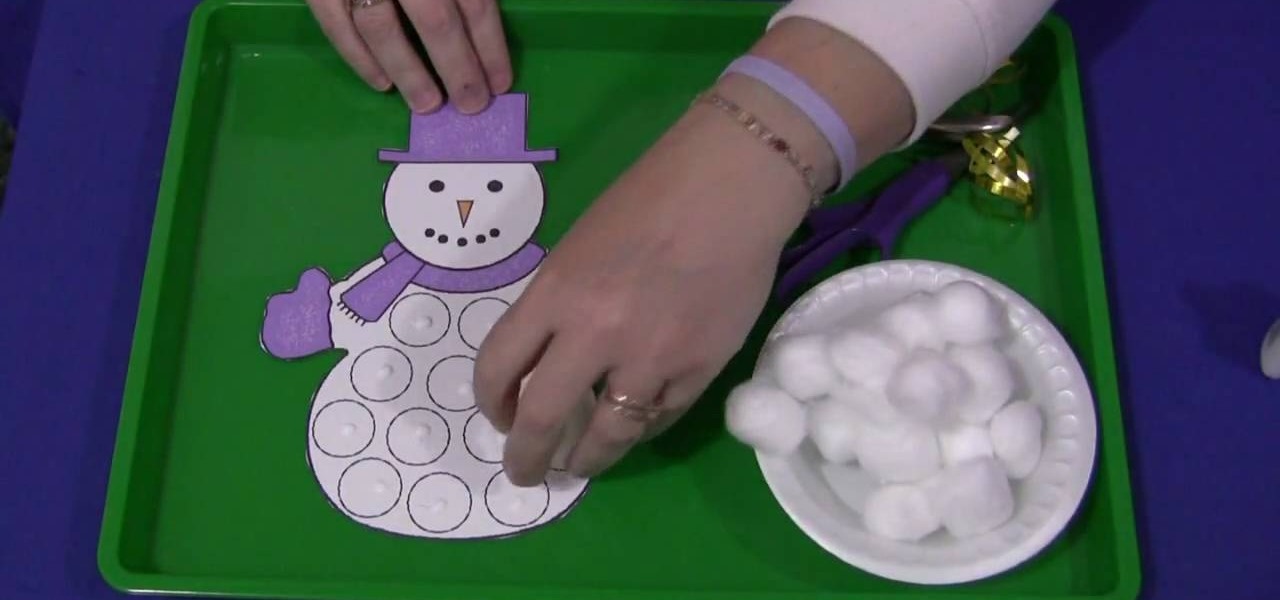
Shelley Lovett from ChildCare shows us how to make a cotton ball snowman. This is a great activity for developing fine motor skills. The snowman comes in a several variations, there is a snowman that has circles on its tummy so that children would have to try and place the cotton balls inside the circles. There is a snowman that comes in black and white so that the children could decorate the snowman's scarf, mittens and hat. Now on the plain tummy snowman, you'd just apply glue all over the ...

This video shows how to make a bay girl and boy head made of clay. The first thing you need to do is get a small round ball of clay that is a skin color color. Then you get the small black beads and place it firmly on the ball they will act as the eyes. Then make the eye creases on the side of both eyes. After that you add the other physical features like nose, mouth, ears, and eyebrows. The last thing you do is fold two square pieces of clay into the shape of a bow then place it on the top o...
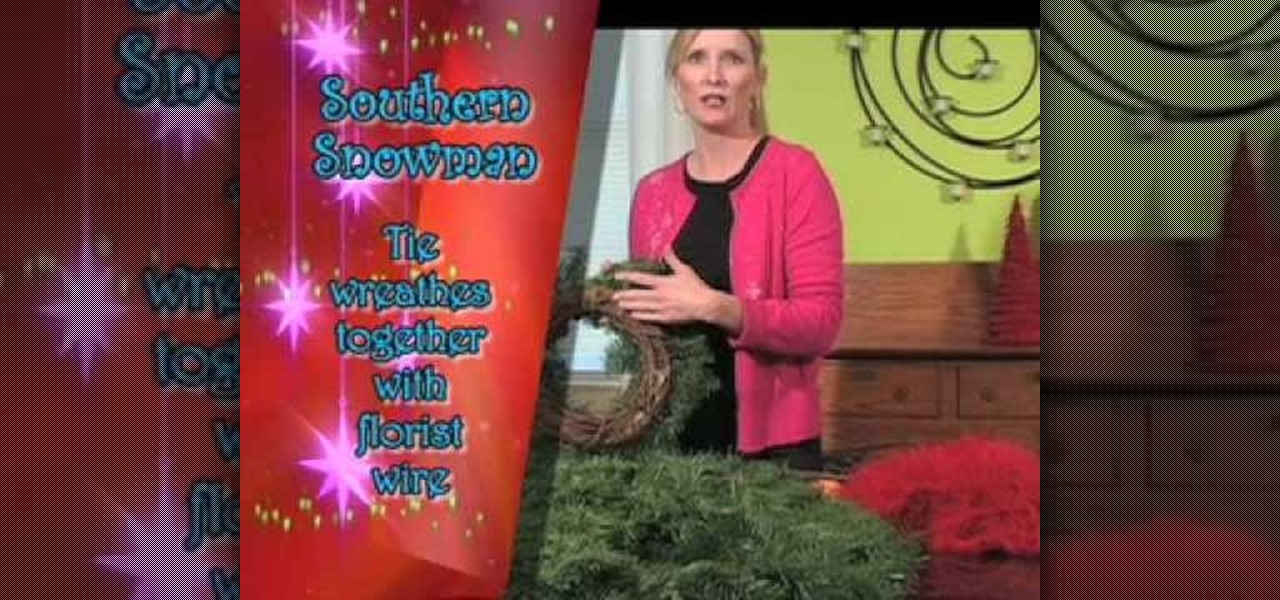
First the item list is as follows: three wreaths (small, medium, and large), two sticks, gloves, a scarf and a hat. You will also need some wire to hold the wreaths together, and the arms to the body. The first step is to use florist wire to tie the bottom, largest wreath to the medium wreath to form the lower section of the snowman. Then you repeat the same process for the head to the body. You then put a colorful hat, the scarf, and gloves and you have yourself a wreathy snowman.

Do you believe in fairy tales and those wicked witches? Let’s draw our conceptual witch. First we need a paper and a pen. Let’s start with a hat (typical one).Then draw the basic shape of the head with eyes, nose and mouth as well as the hair curls. Then start with the detailing i.e.; shadows and highlights on the hat and the face. You can even do it with a pen. This will help in creating your sketching art work.
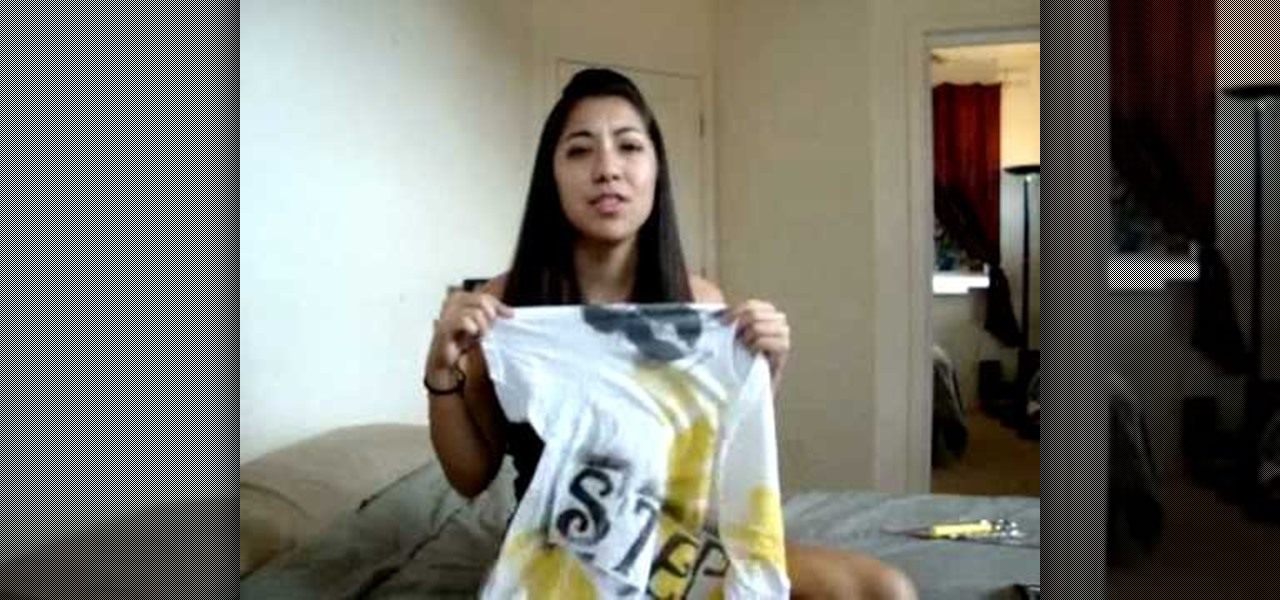
Reconstruct your T-shirts into more stylish attire with this video! The materials you'll need are a T-shirt, scissors, a ruler, and a pen or pencil. First cut off part of the sleeves (this part is optional.) The next thing is to cut the neck all the away around the front and back, cutting off the border. Now it's time to cut the bottom of the shirt right under the hem, underneath the stitching. Keep what you've cut to use for the ties for the shirt. (You can also use string or ribbon.) Measur...

Getting no respect at the grill? This week to help Celebrate the Memorial Day Weekend we're showing you how to make your own Chef Hat and Apron out of some old bed sheets.
This video tutorial demonstrates how to draw a cartoon soldier or police officer. Begin with outline of an elongated face. Right above his nose, draw a small brim of his hat. Continue with the brim, adding the hat band and the top of the hat shaped somewhat like a bowl. In front of his face, draw his arm bent upward so his hand is appearing to salute. Add in shoulder patches. Next, draw his other arm bent in at his side. Add his belt buckle at the center of his waist. Now draw medals and acce...

Paul teaches how to make a paper hat. The supplies you'll need are a piece of paper and a measuring device. !. Fold the paper in half. Measure to make sure its half. 2. Fold the paper so hat the unfolded side is up. 3. Fold the side as if you're making a triangle. You don't want to fold it up all the way because you want to have leftover space for an opening. Do the same for the other side. 4. Fold a flap down and crease. Make sure you go all the way across. 5. Do the same with the other side...
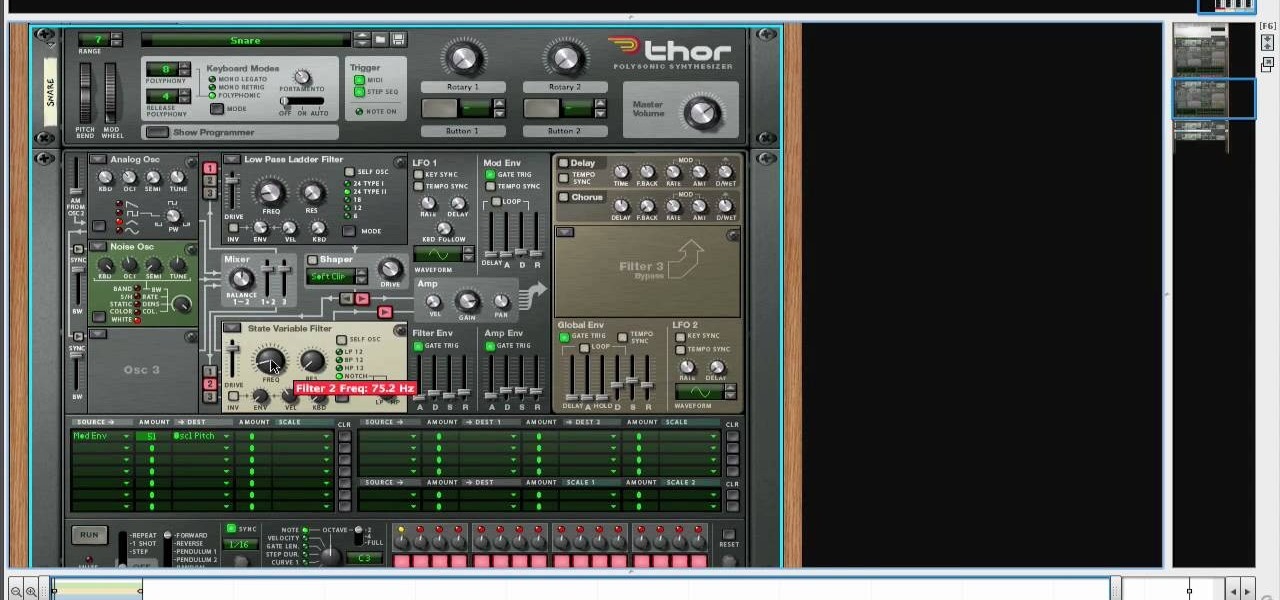
Create drums sounds using Reason's Thor synthesizerYou can use the Thor synthesizer to make a kick, snare, hat and clap sound.Kick:Use the analog oscillator with triple wave form octave3. Set the source to mod envelope 45 destination oscillator 1.Use a very short attack to K and release time. You get the short effect of pitch. Try different oscillator types to get different textures.Snare: Use the same basic patch that we created for the kick. We will keep it as the basis for most patches for...
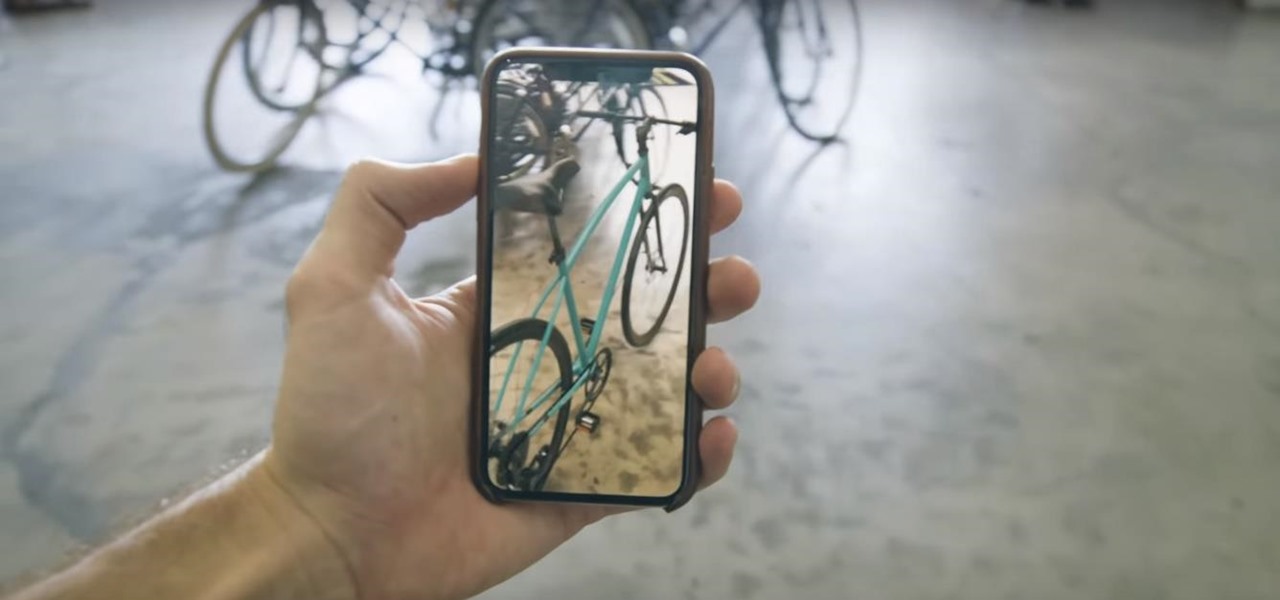
Two companies armed with web-based augmented reality tools, Vertebrae and Shopify, are ready to help online retailers boost their sales.
It used to be that the best kind of swag was T-shirts and hats from your favorite music artists, but now the symbol of casual insider cool falls to the tech companies, and Snapchat has just joined the ranks of branded apparel purveyors.
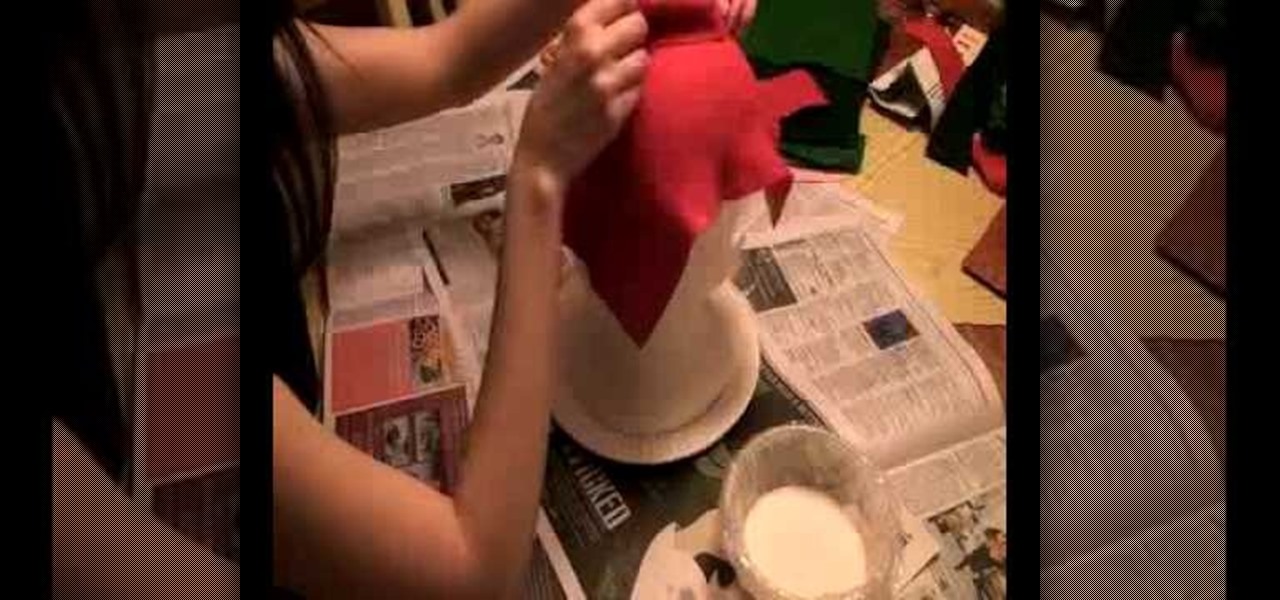
This video tutorial is in the Fine Art category where you will learn how to make a hat out of felt. You will need glue, silver wrap, a plastic bowl, pins, felt and a mold of the head. Take a red felt and cut out a big square piece, a small triangular piece and four curved shapes as shown in the video. Now cut four curved strips from each of pink, light green and dark green felt. Pour glue in the plastic bowl, add equal quantity of water and mix well. Take the square piece of felt and dip it i...
The witch is the blue-chip stock of Halloween costumes — reliable return, low risk. You Will Need