In this tutorial, we learn how to draw a simple cartoon dinosaur. Start by drawing a rectangle and give it eyes on the upper right hand corner, then nostrils. Start drawing a body that has a jelly bean shape. Now, create small arms on the side of the body, that are smaller than the rest of the body. These arms should have a cylinder kind of shape to them. Now, draw some legs onto the bottom, using large cylinder shapes and little pointy toes. There should be adequate space in between each of ...
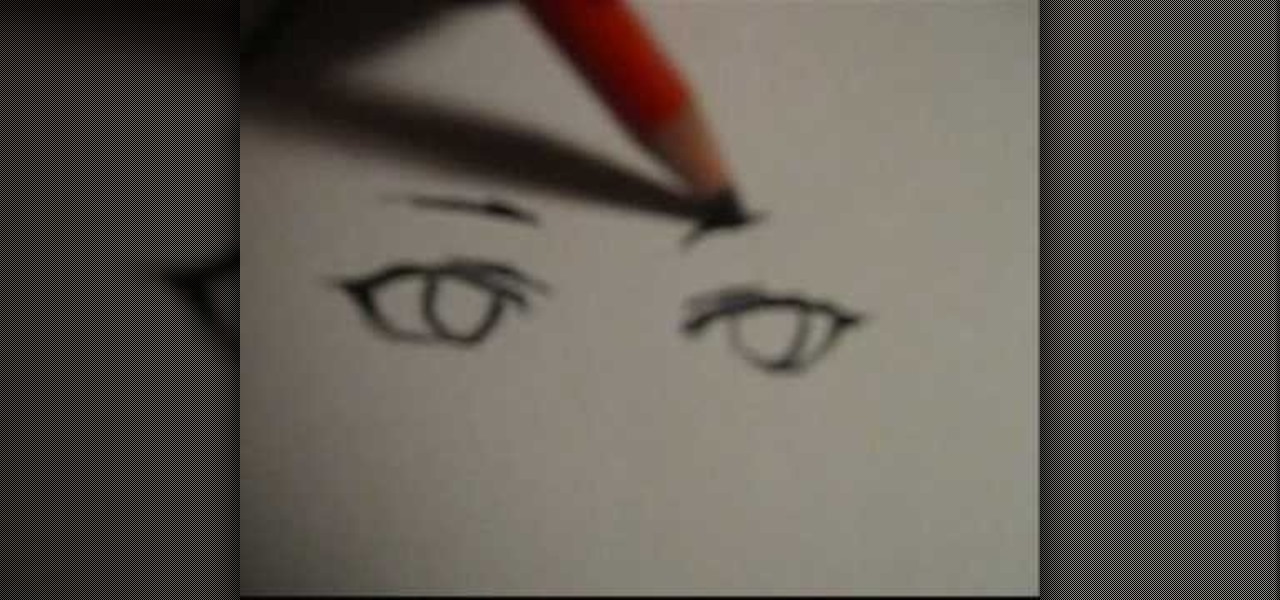
In this tutorial, we learn how to draw four types of manga eyes. The first style if for a female and they are cute eyes. Start with a half circle curved downwards, then draw a small line underneath the eye. Draw a small line above the eyes and then use a thin pencil lines to make the pupils. Make the pupils large and add a slight light in them to make them appear larger, then add on eyelashes. For serious female eyes, draw smaller eyes that have a v-shape to the edge of them, with serious eye...
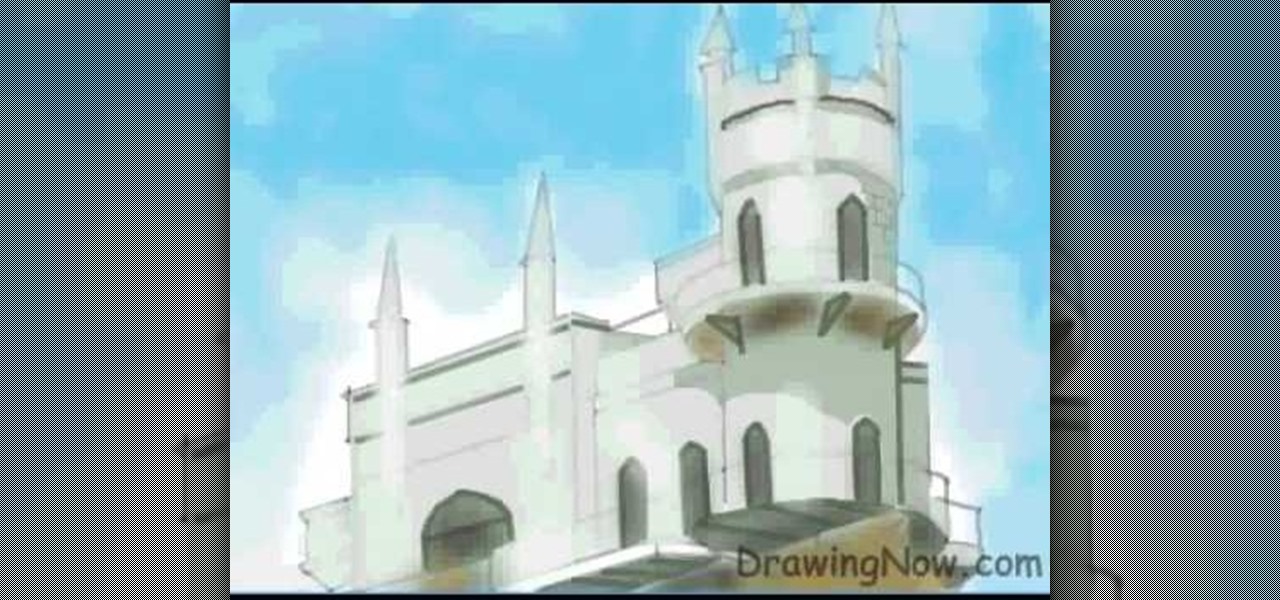
In this tutorial, we learn how to draw a castle on a sunny day. Start off by drawing the base of the castle, so you know where it will stand. Then, draw in the pillars and the top of the castle going up. After this, draw the body of the castle where the main entrance is. Now, start adding more details to the building, adding in the windows and doors, as well as the points on the top and stairways. Then, color the entire castle gray and add in bricks. Shade the doors, windows, and other areas ...
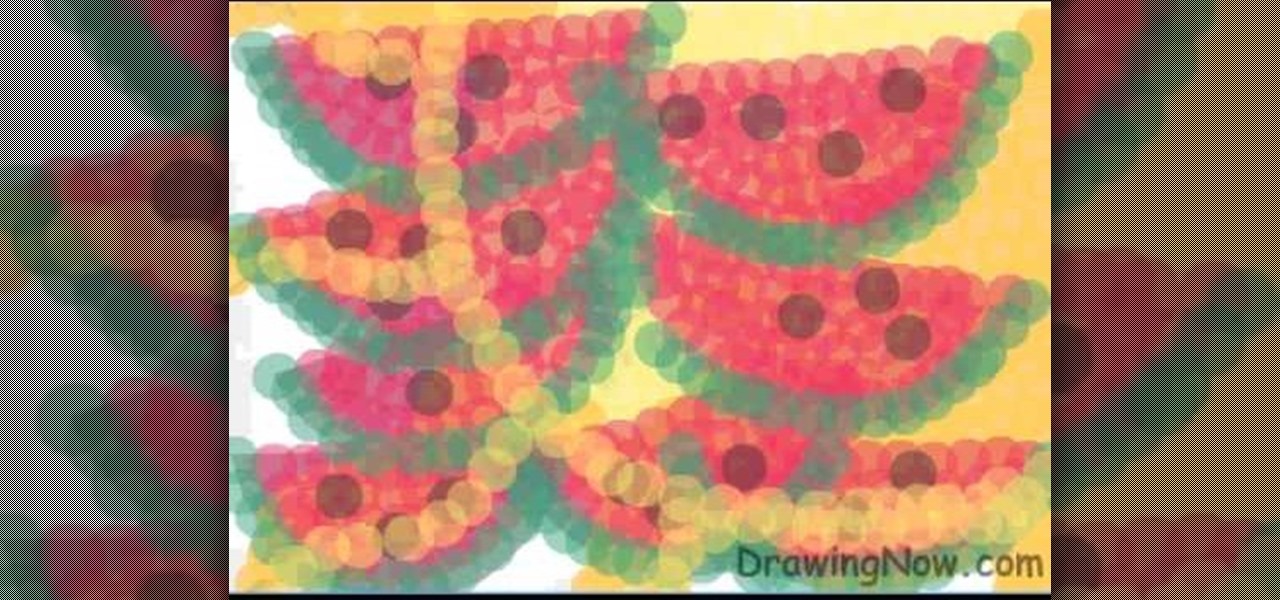
In this tutorial, we learn how to draw abstract watermelons. First, draw a circle, followed by wavy lines coming out of it just like the sun. Next, draw half watermelon shapes all over the picture you just draw. Now, fill in the picture with yellow circles on the inside of the circle shape. Use a dark yellow/orange for the second half of the circle to the bottom. After this, use the orange to fill in half the wavy lines and then use red to fill in the other half and make large half watermelon...
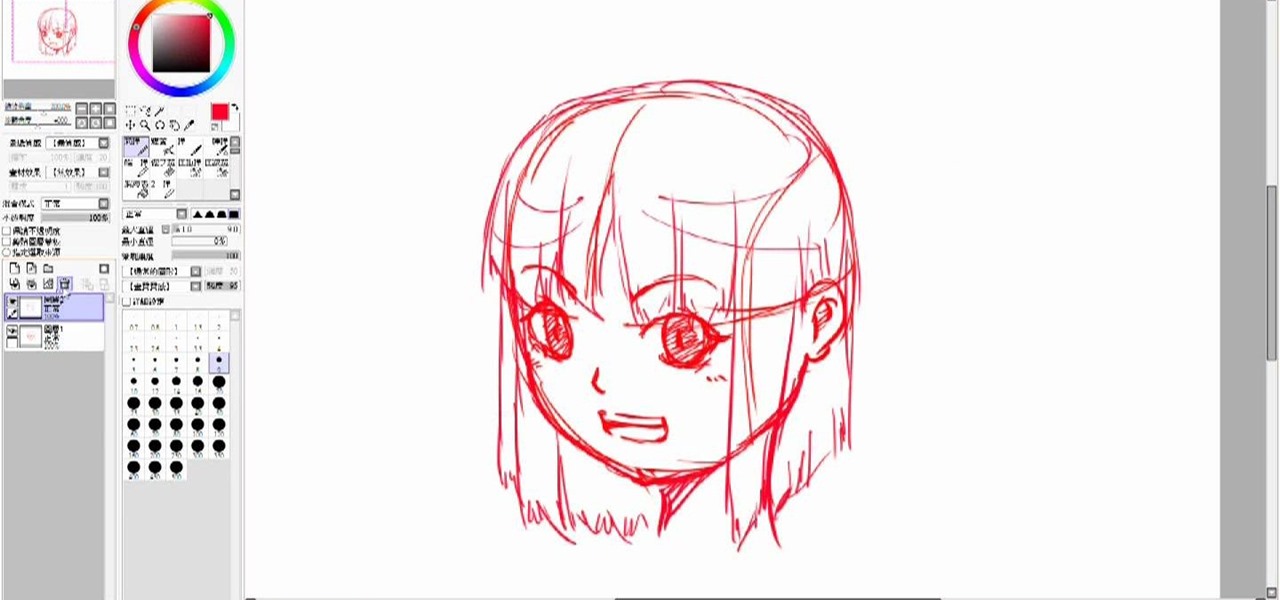
In this tutorial we learn how to draw a manga face. Start off by drawing a circle, after that add a cross in the middle as a reference point for where to draw the eyes, mouth, and nose. After you do this, you can start adding in further details to the face to make it look more realistic. Don't forget to add in lines on the face for wrinkles and pupils to the eyes. Ears should be placed on both sides of the head and don't forget to draw in hair as well. Outline the pictures with a darker brush...

In this tutorial, we learn how to draw Blair from Soul Eater. Start off by drawing the head, hat, and body with a light pencil. Next, draw an arm going down from the body. These will be basic construction lines that you will draw over with a thicker pen later on. Start to establish the eyes and eyebrows, as well as the nose, mouth, and chin. Add details into the picture, then start going over your lines with a darker pen or pencil. Start to add in details that you feel make the character look...

In this video tutorial, viewers learn how to draw the black Spider-man in Adobe Photo-shop. Begin by drawing the shape of Spider-man and then scan it. Now extract the ink from the white page. Then change the ink from black to white. Make the background black. Then fill the entire figure of the character in black color, using the pencil tool. Now create a blue layer over the entire image. Add white to the eyes and center spider symbol. Finish by adding details and a spider web in the backgroun...

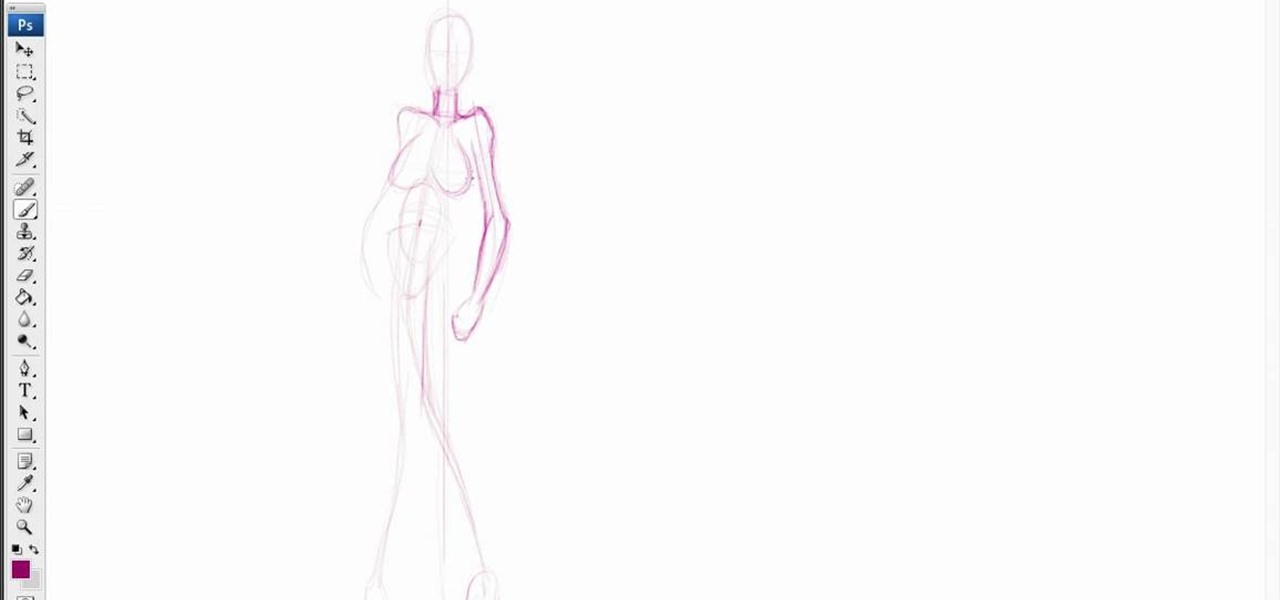
Fancy comic books, but don't have the skills to make them yourself? Comic book artists do nothing but draw all day, so it's no wonder they're good at it. But you may need a little more help, and this five-part series will help you along your journey into developing comic characters, specifically the female variety. Photoshop is used in the videos, but you don't need a fancy drawing application to get started. Just pull out the old paper and pencil and follow along. There's a ton of great info...

Though it's not typical for idrawgirls to focus on the male gender, don't count this tutorial out if you're looking for good instructions on how to draw a zombie. This male zombie is being drawn in MS Paint, and you can watch the drawing take place while listening to the commentary on what's being done and what needs to be done to create the living dead. But don't fret, there is a wonderfully drawn woman right next to the horrific zombie, so it's not that far of a departure for drawgirls.

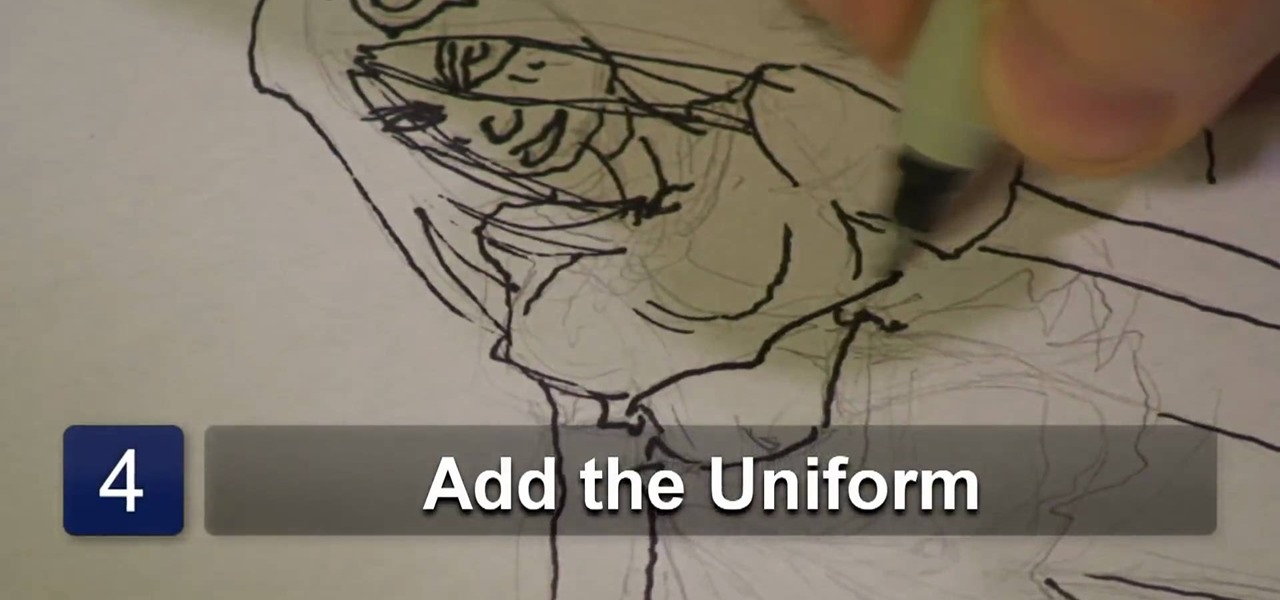
In this video tutorial, viewers learn how to draw anime women with weapons. Users will needed paper and a pencil. Begin by sketching the basic form, how you want the character to stand. Then draw the weapons that the character will be holding. Now add in the facial features and detailed hair. Add some extra details, such as some accessories. Then give the character a uniform to wear. Finish by adding all the details to the entire character. This video will benefit those viewers who enjoy draw...

This tutorial from Drawing Now demonstrates how to draw a bridge, one of the most common items in landscape drawing and one for which proper use of perspective is crucial. Watching this is sure to improve you art skills.

At first glance, this drawing looks like nothing special, just an odd design of lines, but then you notice the two bolded lines. They look like they are different sizes, but are they? No! They are the exact same length. Tricky… very tricky.

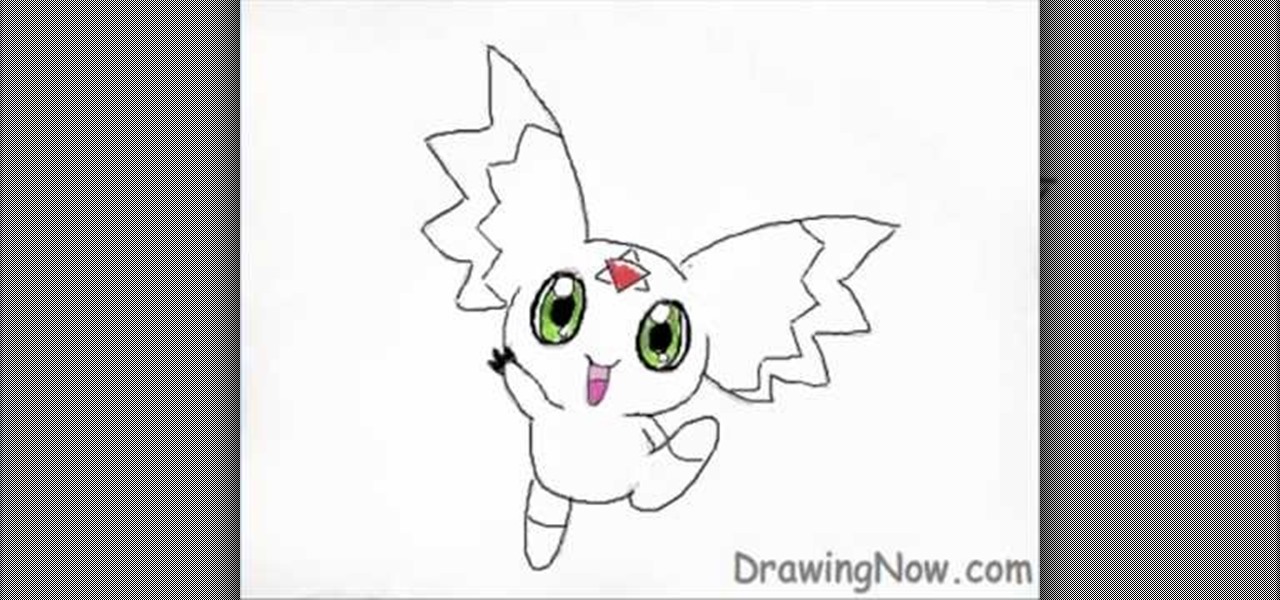
In this how to video, you will learn how to draw Calumon from Digimon. First, start off with two circles for the head and body. Next, add the ears and oval shapes for the feet. From here, you can trace these shapes to create a more accurate depiction of Calumon. Go into the face and two ovals for the eyes. Draw two ovals inside the ovals for the pupils. Fill it in with black. You can also add a circle at the top of each eye to create a highlight. Next, draw a border in the interior of the ear...

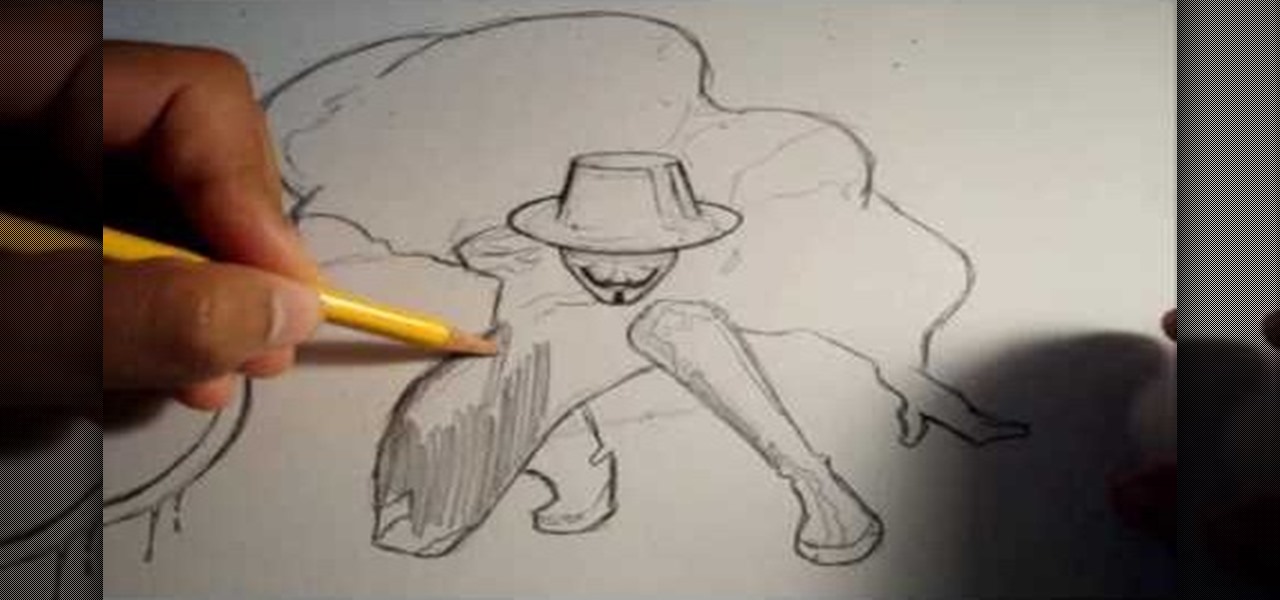
In this how to video, you will learn how to draw V for Vendetta. First, start out with the legs of the character. Draw the outline as if the character is squatting. Next, draw the outline of the cape and the hands. Next, draw the face of the character. Note that he wears a hat. You can also fill in his mask. Note that the mask has a mustache and a grin. Once the outline of the character is complete, add the basic details of his suit. This includes the areas of the highlights and shading. Make...

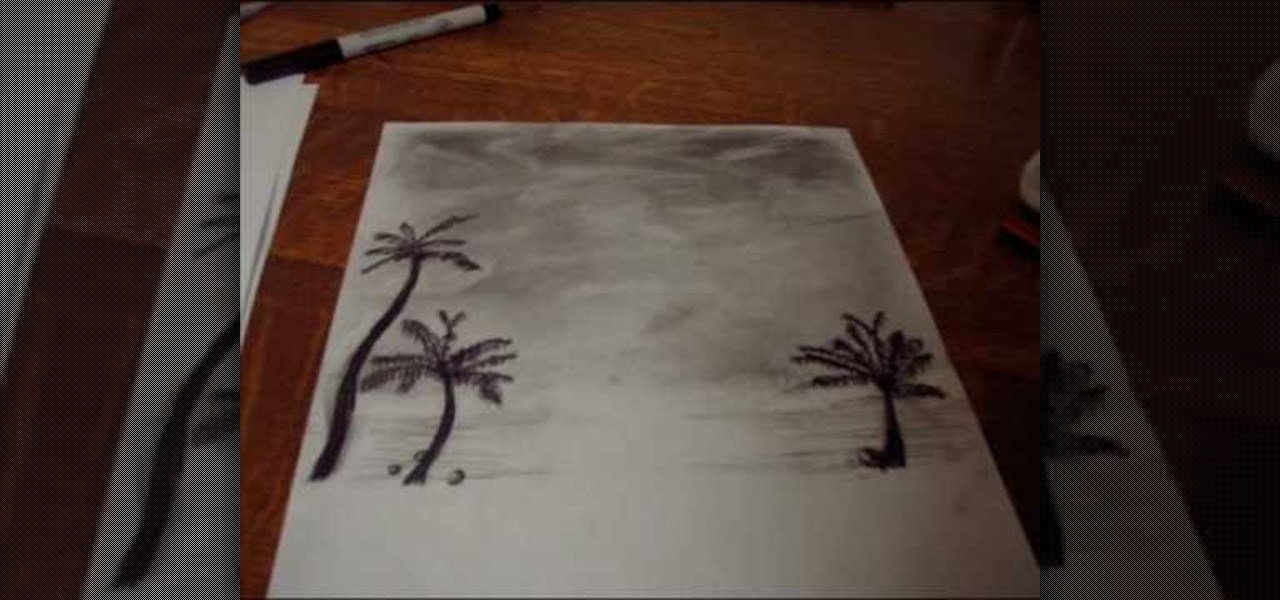
In this how-to video, you will learn how to create a drawing of a palm tree setting. First, you will need two pieces of paper, charcoal, and cotton. Use the one piece of paper to add charcoal to your cotton. Next, cover the piece of paper you are using for the drawing with a wash of charcoal. Next, use an eraser to create images of clouds. Next, draw the palm tree with the charcoal on the lower half of the paper. Add as many palm trees as you feel necessary. Finish the drawing by doing the fi...

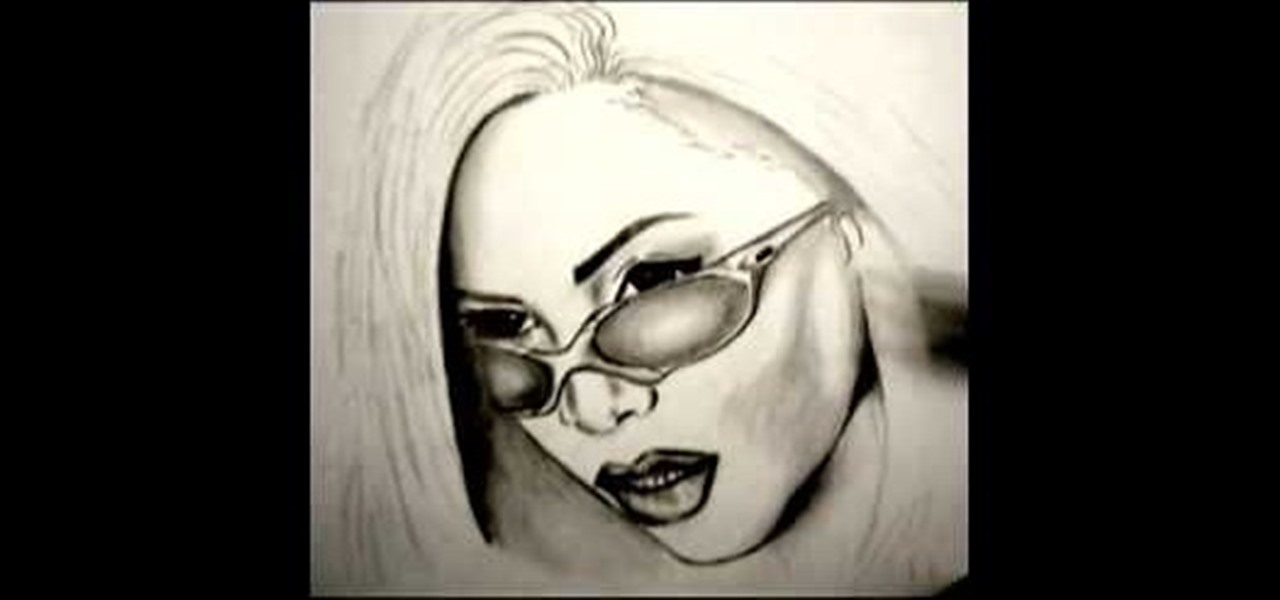
First of all you need to draw the complete outline sketch by drawing very light color rough lines. Now you have to take your pen to start sketching the outline. First you have to start by drawing the sun glasses. Now draw the left eye. Now you have to draw the right eye, nose, the lips and the teeth. Now you have to draw the hair. Make the hair long. Then you have to darken the eyes and the eye lines. Now darken the eyebrows. Then draw the screws of the sunglasses at the side and then shade t...

In this how to video, you will learn how to draw a cartoon fish. First, draw a circle for the body. Add a curly fin at the top and bottom. Next, draw a triangular shaped tail at the back. With the basic outline finished, draw in the details of the face, such as the eyes and pointed mouth. Re-trace the outline of the fish with a bumpy line. Next, draw in bubbles near the mouth. Draw details in the fins such as lines running through them. Add some texture lines through out the body. Once this i...

In this how to video, you will learn how to draw a violin. First, start off with the shape of the basic shape of the body. Next, draw the neck of the violin and the tuning pegs at the top. From here, you can draw the bridge, shoulder pad, and the F holes of the body. Next, fill in the outlines of the body. Color in the bridge and the neck with a black color. Now you can fill in the body with a brown color. Create highlights by selecting a lighter shade of brown and painting it at the right sp...

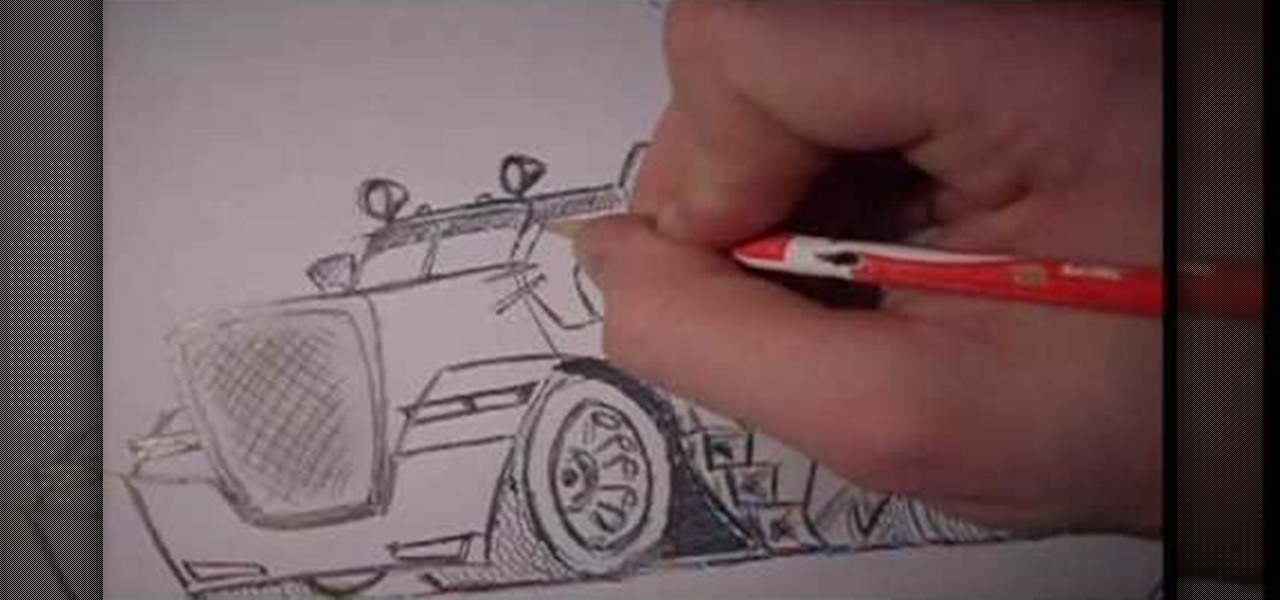
This video demonstrates how to draw a caricature of a truck. Begin with a rectangular shape that is slightly bigger at the top and has rounded corners. This will be the grill. Create an inside border. Below the grill, draw a front bumper. At the top corner of the grill draw a rectangle that is divided into two halves and shade the top section of each half. This is the windshield. Draw hatch marks in the center section of the grill. Above either side of the bumper add narrow divided rectangles...

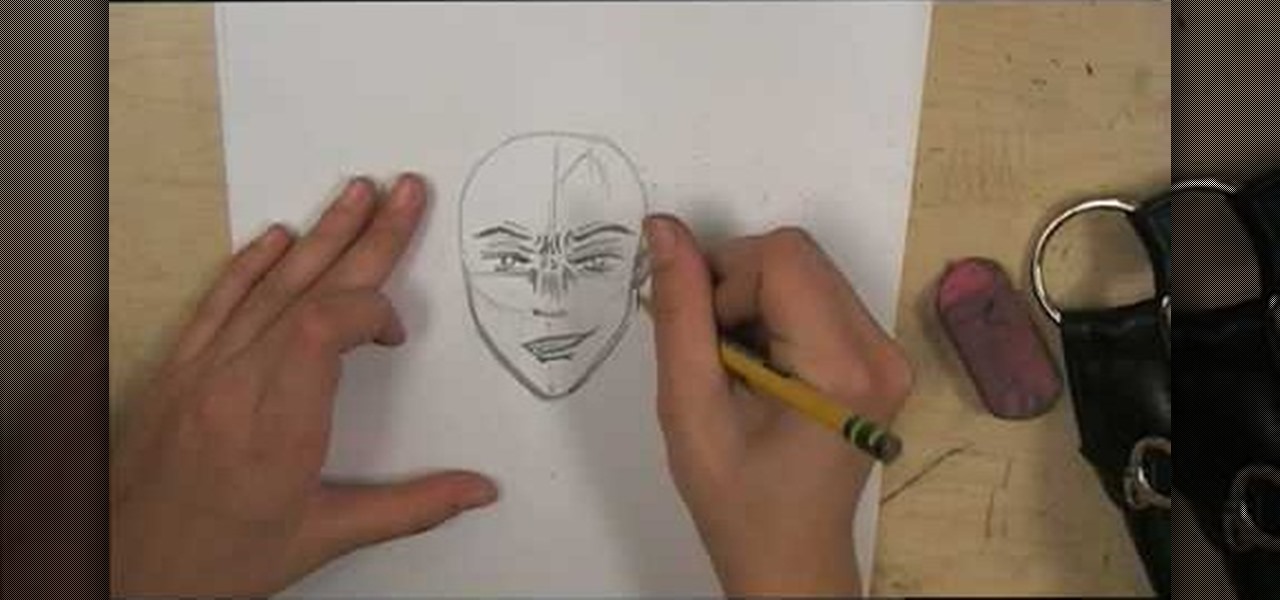
This video is about drawing a horror anime.The materials required for this are a large sheet of paper,a pencil and an eraser.To create the anime, you need to fist draw the skeleton, then do the eyes followed by the eye brows. You should add more details to the face as this would help in creating the nose.Switch over to the mouth,then the ears and the hair.After you are finished with the head,erase the inner circle and start drawing the neck.Then you have to draw the shoulders and the collar b...

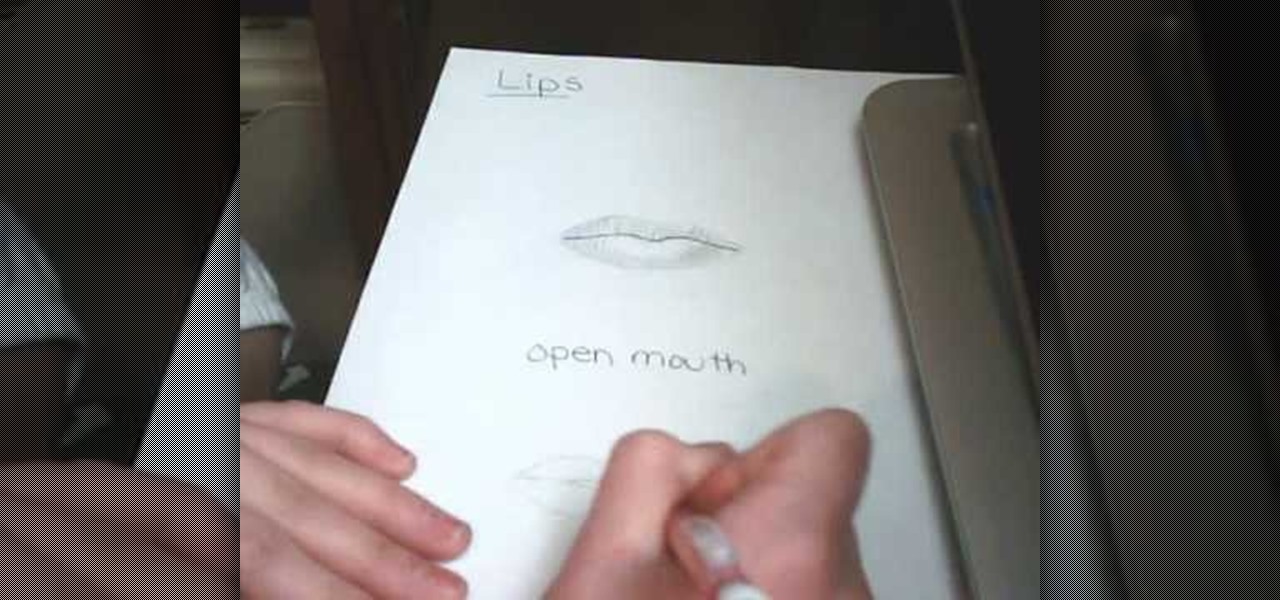
If your drawing a face and get to the mouth region and don’t know where to go from there then watch this video to see how you can shade in lips. Fist you’ll draw the basic lip outline. Depending on who you’re drawing the lips might be fuller or thinner. The tricky part it the shading. The shading is to show depth in the lips. You’ll want to give a shine in the middle to greater depth. Next you’ll want to try drawing a partially open mouth.

Seven easy basic art methods and steps to drawing Anakin Skywalker. The first 1-3 steps illustrates the basic drawing methods for the human head shape, and line placement for a basic human head. The fourth step illustrates basic drawing of the eyes, nose, mouth and ears. Step five illustrates the basic shading around the eyes, nose, ears and mouth. Step six illustrates how to add the shaping and styling of the hair and facial features. The final step illustrates how to shade the hair. It also...

How to draw a face with guide linesIn this video we are about to see how to draw a face with guide lines. Even though the tutorial don’t get into the full details of how to draw a face it guides us with the basics. To start with is drawing the outline of the face and the guide lines. The focus mainly is on placing the eyes, nose and lips on the right spots. The center vertical line to cut the head to two halves and horizontal line in the middle for our eyes. Draw horizontal lines for the nose...

In this video he just draws a simple picture of boo. It maybe takes two or three minutes to make the sketch. First you just draw a circle roughly, and add ears to that. Next add tongue which is very long and outside of the mouth. You just have to give importance to the teeth in this drawing to make your sketch great. Next you just add teeth, which is wide. Next make the teeth highlight. Next draw two small circles like eyes and highlight it with the pencil. Next make the rough sketch into the...

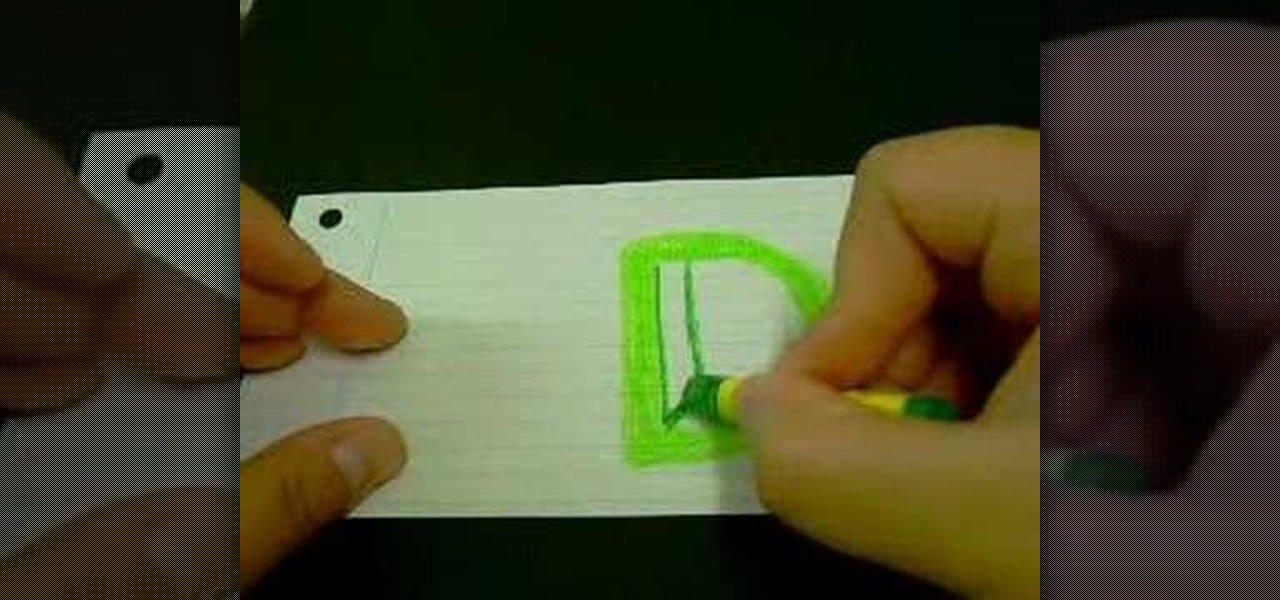
Drawing the letter D as a 3D block letter is easy and fun. To start simply draw the D like you normally would. Next, you need to draw another smaller D inside the first D. From there, draw another D on the outside of the first D. Color in the 3 stacked Ds with your first color. To continue, choose a darker version of your original color. In the bottom left hand internal corner of the D draw a short line that extends at about a 30 degree angle in reference to the bottom of the D. From the end ...

Ian shows us how to draw Yoshi from the Mario Brothers video games. First, you draw three quarters of a circle, for the snout. Next, on the top right edge of the circle, before the opening you've left, you draw two ovals on top of it for the eyes. Next, finish out the circle (snout) by connecting the bottom end with back of the farthest-right eye, using a outward-bulging line. Draw a smile at the bottom of the circle, then fill in the eyes with a black oval in the bottom right corners of both...

In this how-to video, you will learn how to draw Ned Flanders from The Simpsons. First, start off with the basic outline of the body. Use simple shapes for this. Next, fill in the eyes, hair, nose, mustache, ears, and mouth of the figure. From there, you can move on to the details of the clothing such as the collar and cuffs of the sweater. Finish with the shoes and the fingers on the hand. The basic outline is finished. Now, go in and erase the simple shapes from the drawing and fill in more...

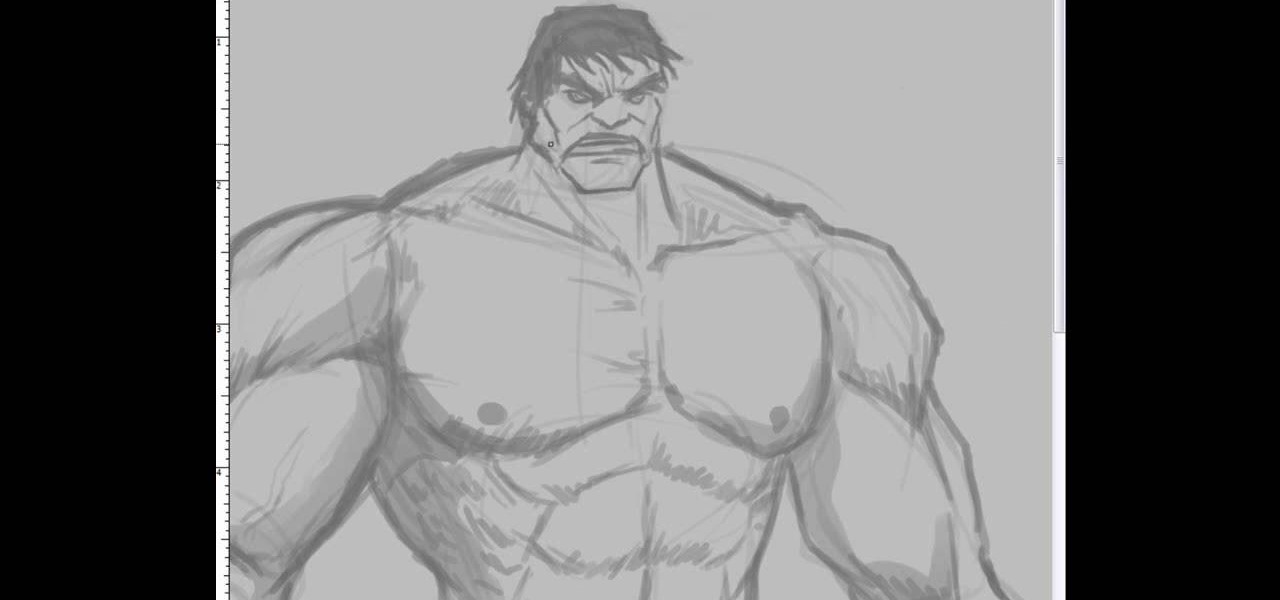
This video illustrate us how to draw the incredible hulk. Here are the following steps:Step 1: First of all take a sheet of paper, pencil and pencil color.Step 2: Now draw a square with round edges representing the face of the hulk. Within the face draw eyes and a big mouth and hairy eyebrows.Step 3: Now from the bottom of the circle draw an oval with wavy structure on it showing the six-pack abs of the hulk.Step 4: Now from the down side of the abdomen extend two legs with muscular legs and ...

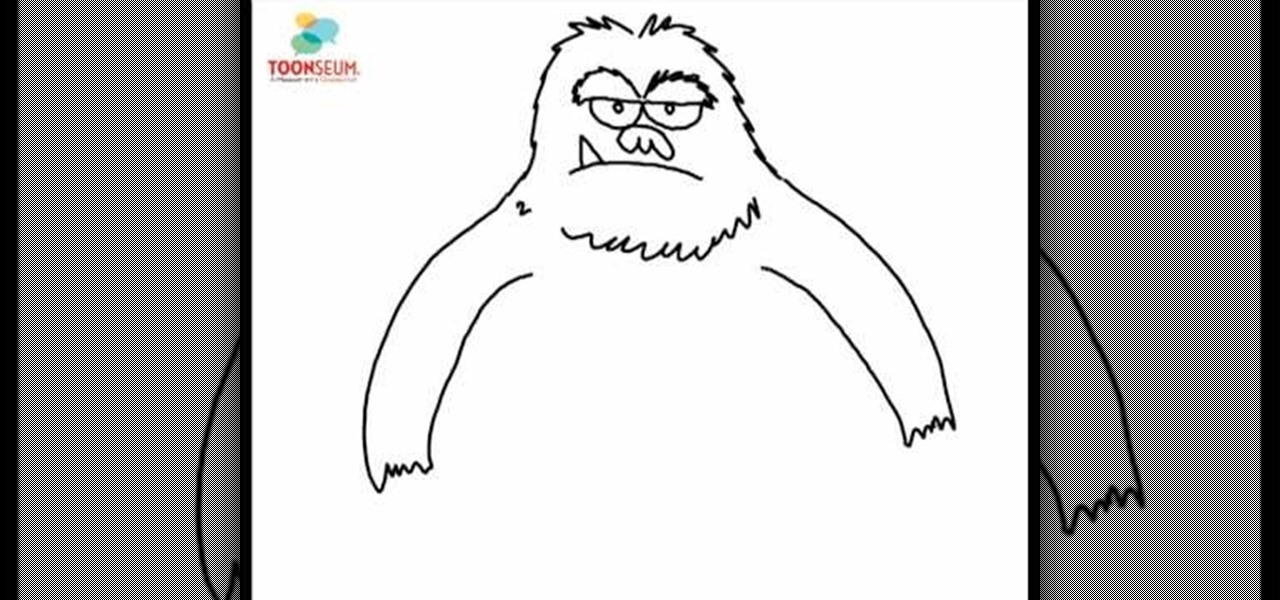
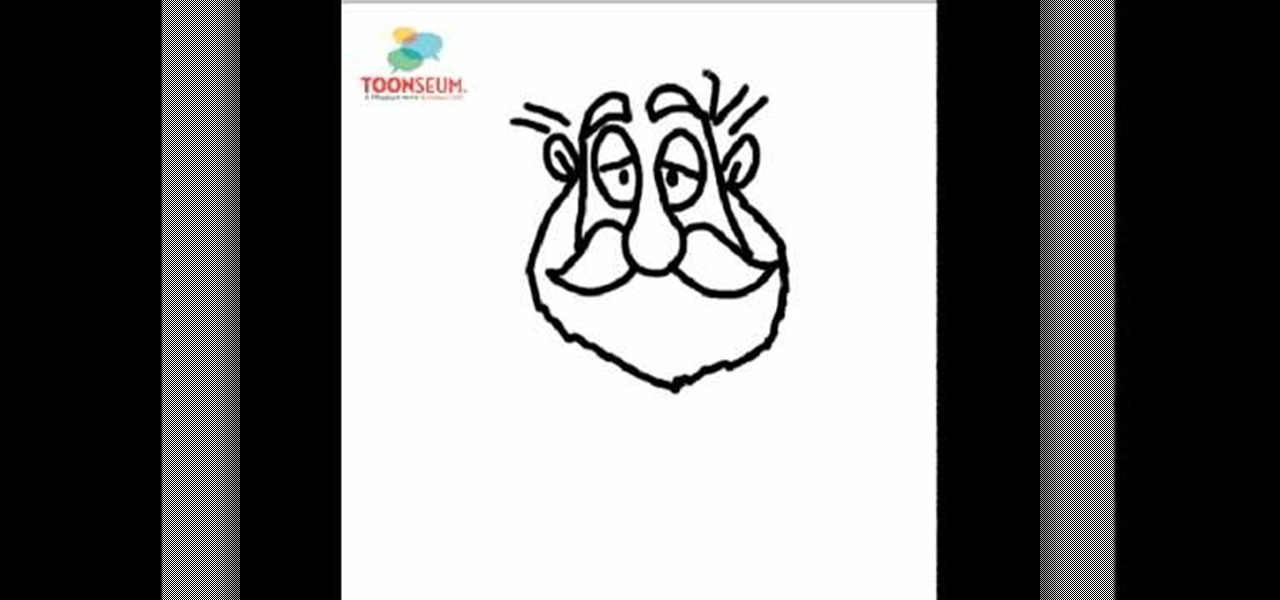
In this video, Joe Wilson, executive director of TOONSEUM explains how to draw a sasquatch. He starts with the eyes, by drawing a B letter on it’s side. Next he draws a pair of pupils and eyebrows. Next, he creates a nose, and a mouth. In order to make the sasquatch look angry he places a triangle shaped tooth sticking out from the mouth. After this, he starts creating the head and body outline. With this finished, he adds hands and feet to the sasquatch. After tweaking the expression a bit, ...

This video from fahimuk teaches you how to easily draw a very realistic looking Corvette. Fahimuk takes you through the drawing step by step and shows the drawing when it is sketched all of the way up to when the car is finally completed and in color. He goes very slow and is very explanative in his video. Even though the video is without sound it still adequately shows how to draw a very realistic looking car. The final product of the car is in full color and fahimuk even shows you how to co...

This video demonstrates how to draw a fairy quickly and easily. We are taken through a simple step by step process that begins with the simple drawing of several geometric shapes. Using these shapes as a guide we are shown how you can quickly flesh out the distinct shape of a fairy by rounding off edges and adding small details here and there. We are also shown how drawing the hands should not be a daunting task as you are given a simple example to follow. There are several examples of minute...

You don't have to be the greatest artist to draw a Scotty dog. As a matter of fact its very easy. You'll begin with the nose. Draw the nose in the shape of a pebble. Draw a line across and shade underneath. The eyes are exactly the same, but slightly turned up. The cheeks are down, slightly zigzagged and up. Next is the tongue. This is simply a u with a line drawn down the middle. The ears are also down, zigzagged and up, doing this for each ear. To draw the hair on top of the hair, again, yo...

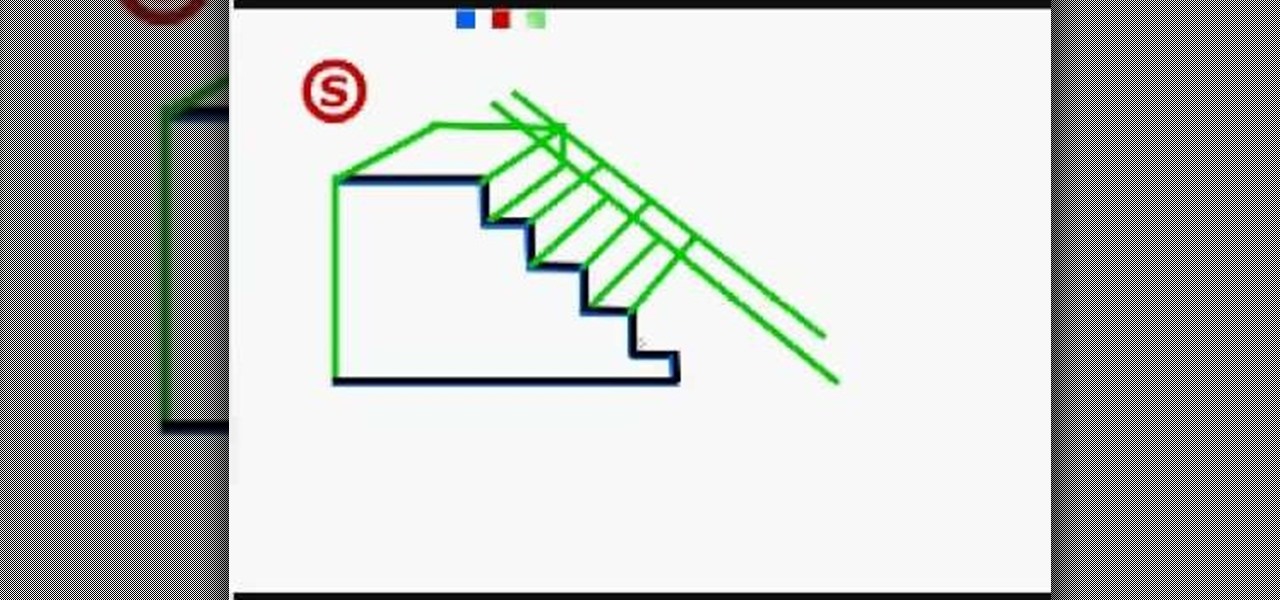
This wordless video shows how to draw a staircase in 3d. Start by drawing the steps in one dimension. Extend two lines at the top of the stairs the width you want the steps to be. Draw another line between them to make a square. This creates a landing. Draw two lines downward and parallel to the steps from the line at the top of the stairs. This will create a rail and a second base. Then extend lines from each jut of the one dimensional steps, stretching the lines alternately to the base and ...

This video shows the viewer an easy way to draw Father Christmas or Santa Claus. The drawing demonstrated is a line drawing but could easily be colored in. The method shows starts by drawing a bulbous nose connected to the eyes. The moustache and the eyelids are then followed by the beard and ears. The hat and eyebrows finish off the top of the face. The mouth is simple and smiling. The body is relatively crude and the legs are very small in comparison to the head. The overall effect is very ...

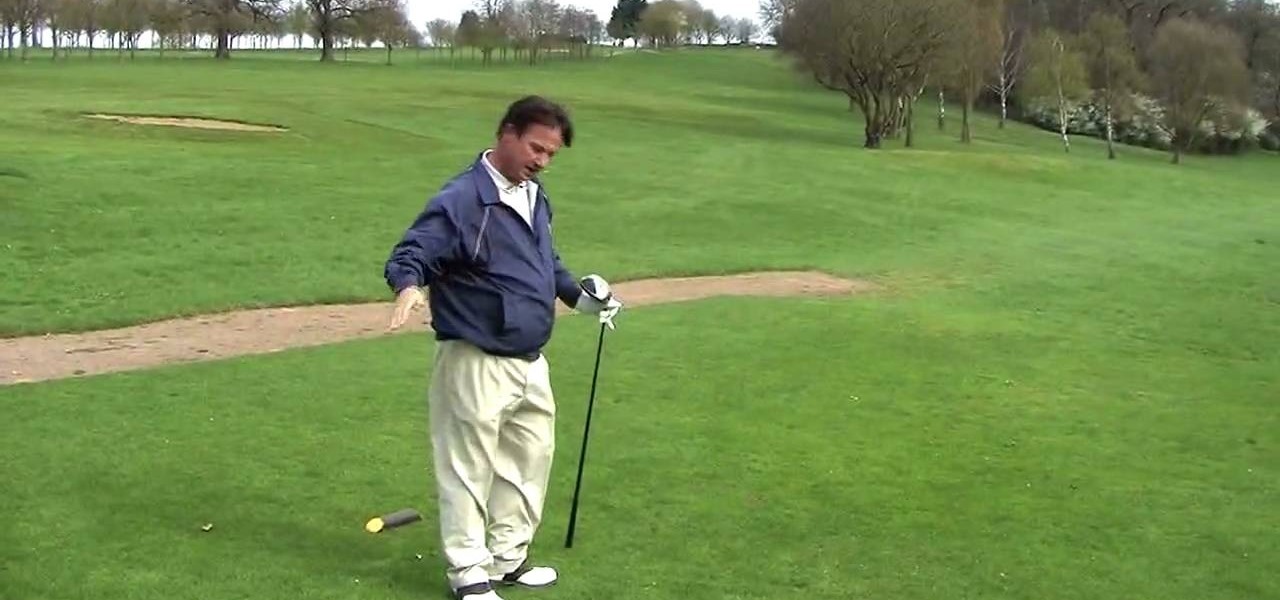
Mich Baker of Bogies to Birdies demonstrates how to draw and fade your ball in golf. To draw the ball, first set yourself up in the fairway. You want to close yourself down by aiming right down the fairway when drawing the ball. Set yourself up for a fade by deliberately using a driver. Instead of coming in to draw the ball, come out and across for the fade. When fading your ball, set yourself up so that you are really open. Aim down the left side of the fairway. To fade the ball, keep the ba...

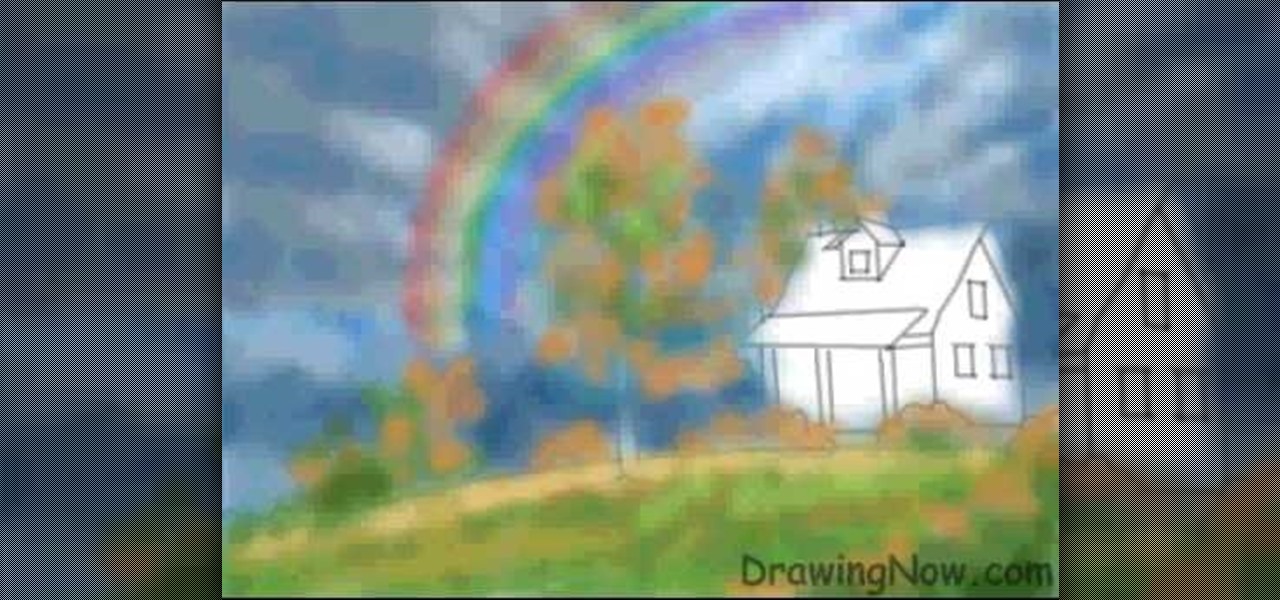
This video is all about how to draw a rainbow. The picture is drawn using a computer paint tool. In a blank white page they started drawing the outline for the trees, shrubs, house.

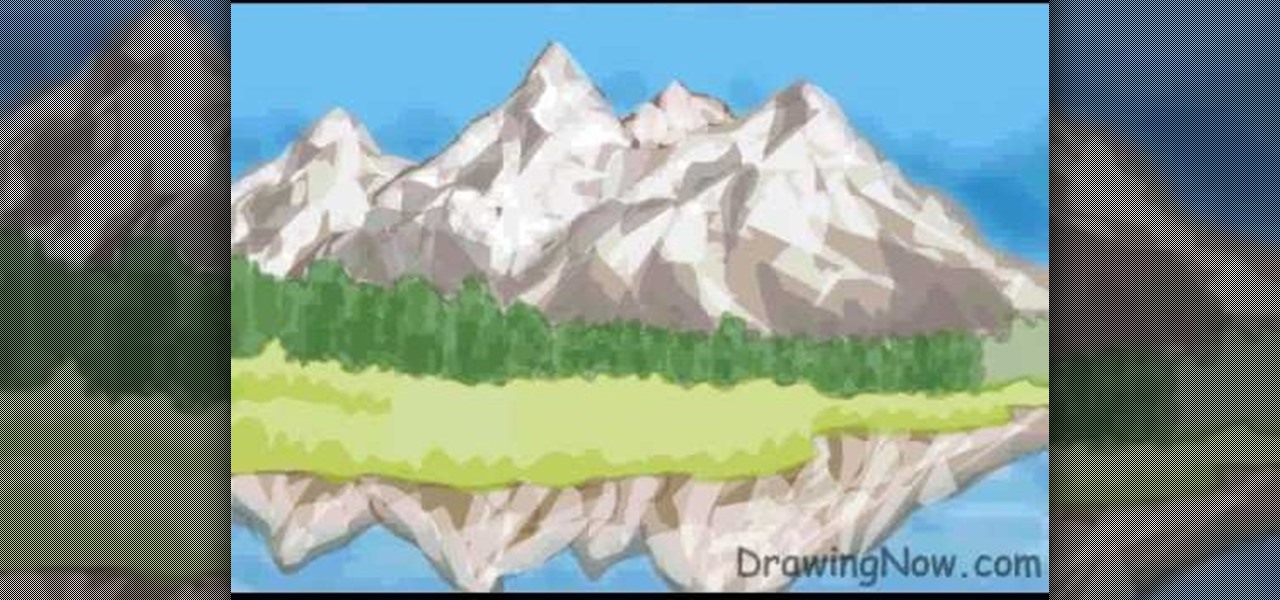
DrawingNow teaches you how to draw a mountain scene. You start with simple triangles on top of each other, which will serve as the sketch for the mountains. Use horizontal squiggly lines, which will act like a sketch for trees and water. You can color the sky blue to get that out of your way. Color each mountain a different shade of brown and make regions of white on the tops, to simulate snow. Then you have to color in the water and the mountains that are reflected in it. Next, draw grass ne...

This video will show you how to draw the character Pein from Naruto Shippuden. The first step is to draw an oval to begin his head. Then you want to add guidelines for the headband and hair. His face angles down, so you want to factor that in when drawing guidelines for the eyes, nose and mouth. You'll want to use a black pencil to fill in the details. You can erase the guidelines with white pencil. Follow the directions in this video and you'll have a great drawing in no time.

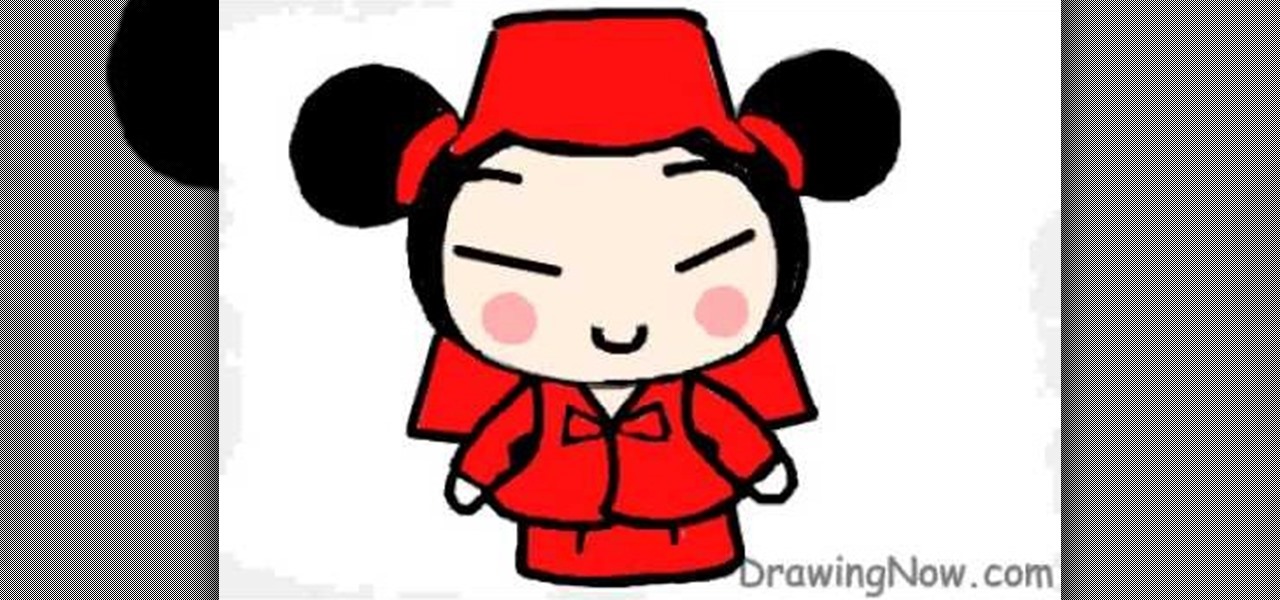
This how-to video offers you a simple, straight forward lesson about how to draw one of the simplest and funniest anime characters ever seen in a cartoon. She is none other than Pucca. The video consists of a simple walk through that shows you how to draw this unique character line by line. Starting from a simple white background, you slowly progress by drawing the silhouette, followed by the clothes, facial expressions, tiny details and in the end a simple, elegant pink background. If you fo...

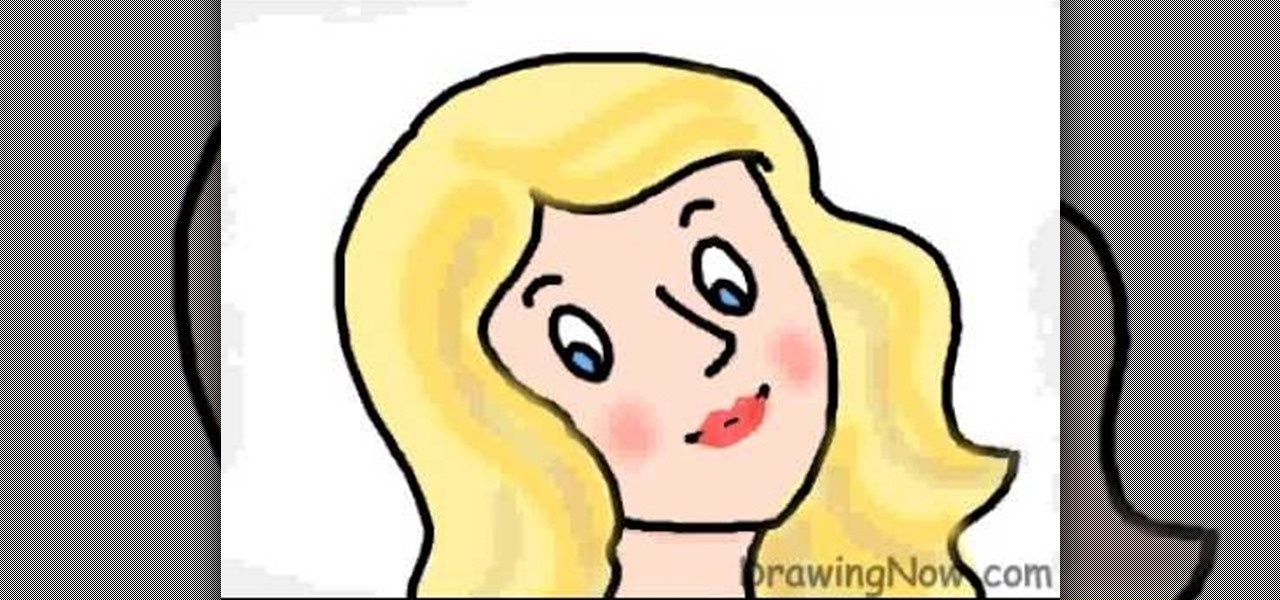
DrawingNow teaches you how to draw a cartoon mom on a computer in Microsoft Paint or any other drawing program. You start with a basic oval, but tilted to one side. Then, add the contour of the long hair. Next, you can start adding details to the face. Draw a nose and two equally spaced ovals with circles inside each one. These will be the eyes. Draw eyebrows and full lips. Now that you are done with the sketch, you need to color it in. Use yellow for the hair, blue for the eyes, a pink flesh...


