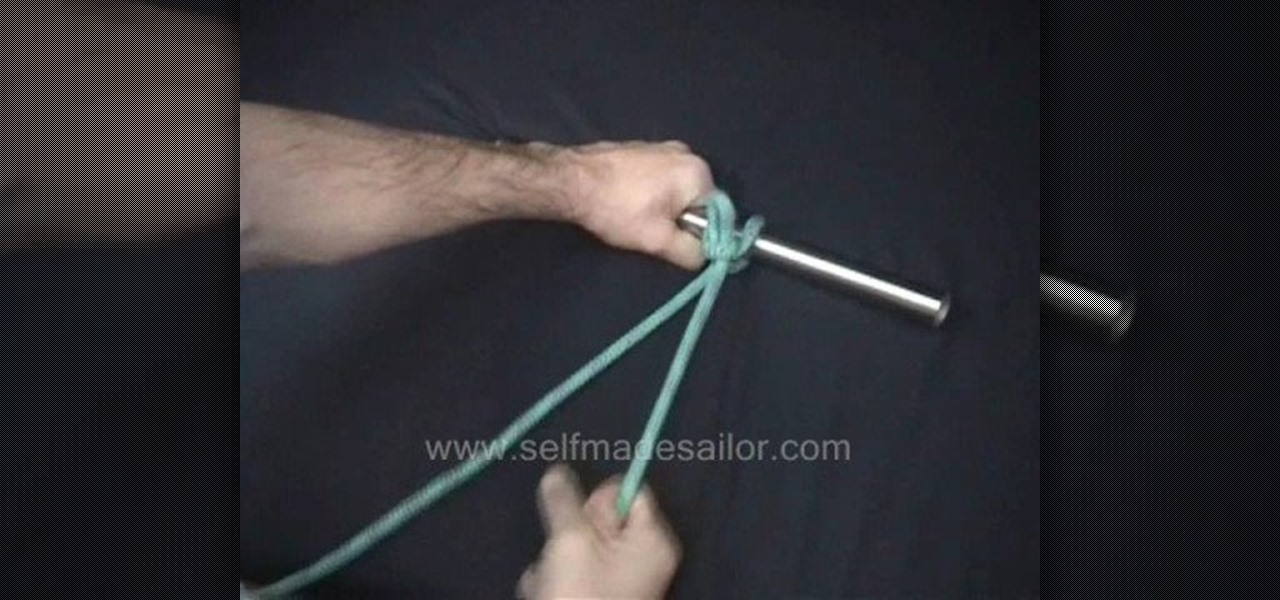
Learn how to tie a Draw or Thief Hitch - a means of securing a rope with two standing ends - one end is load bearing, and the other can be pulled to release the knot. I used this knot extensively for raising the mast on my first trailor-sailor - Tie this above the spreaders, stand the mast up, then pull on the release line to untie it without having to climb aloft. This knot can be used in sailing, boating, general use, camping and bondage.
The phenakistoscope is a predecessor of the flip book, but don’t worry: it’s easier to make than pronounce.
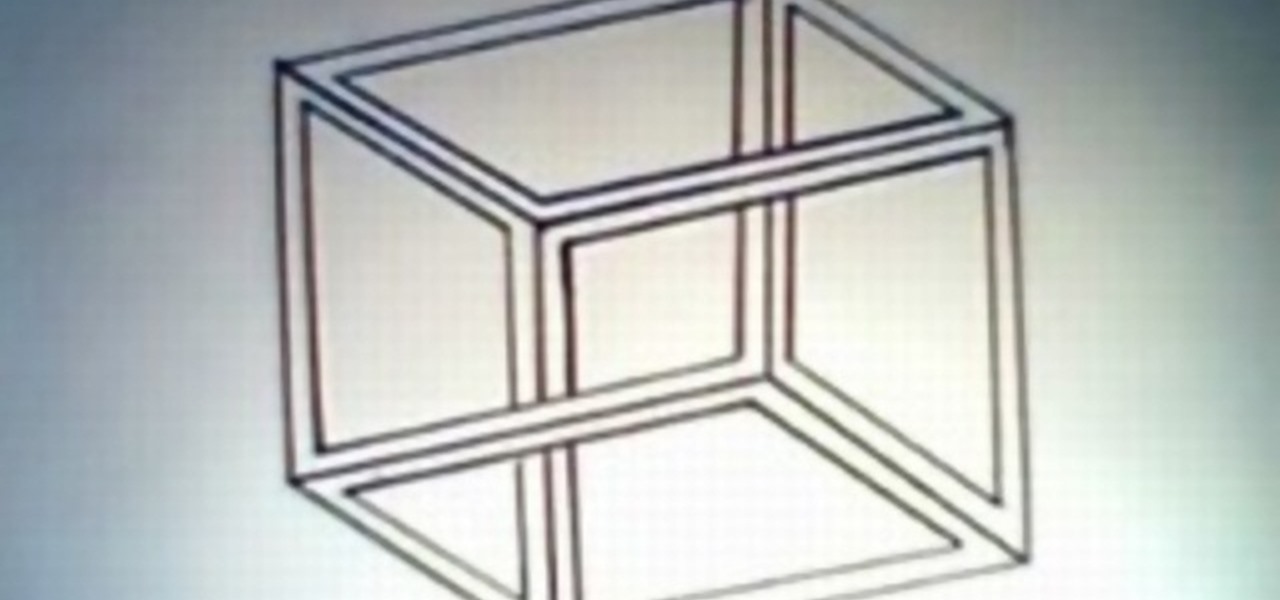
Draw it your self! with pen and paper, in the best style of M.C. Escher. Amazing three-dimensional impossible object. Takes only 2 minutes and produces this illusion object.
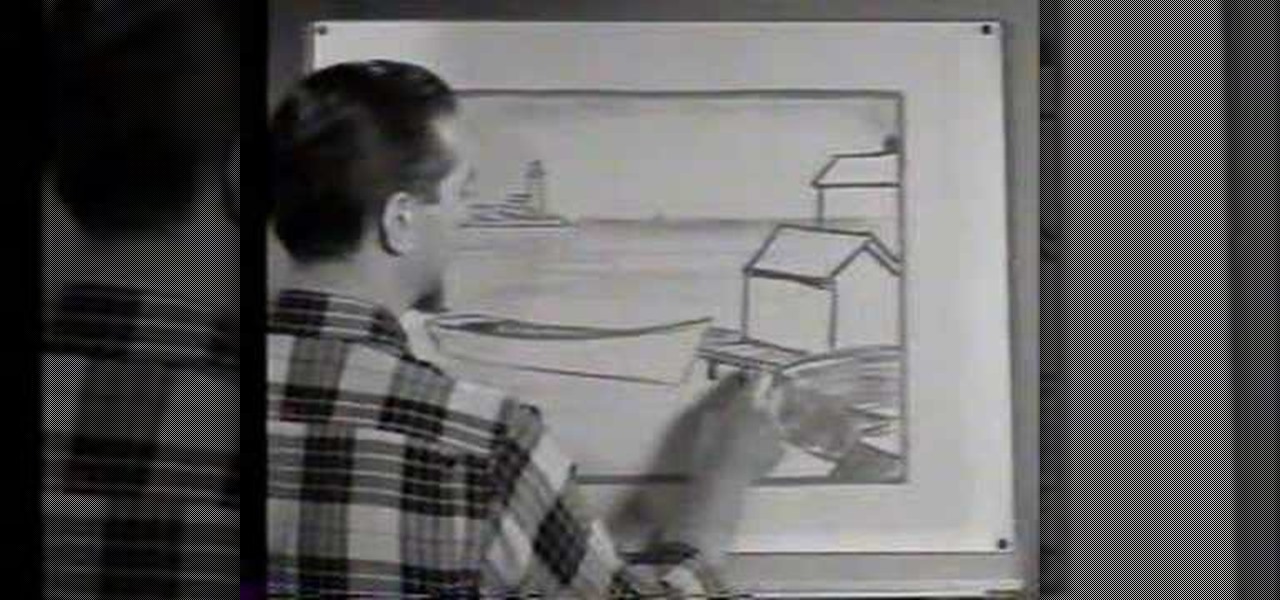
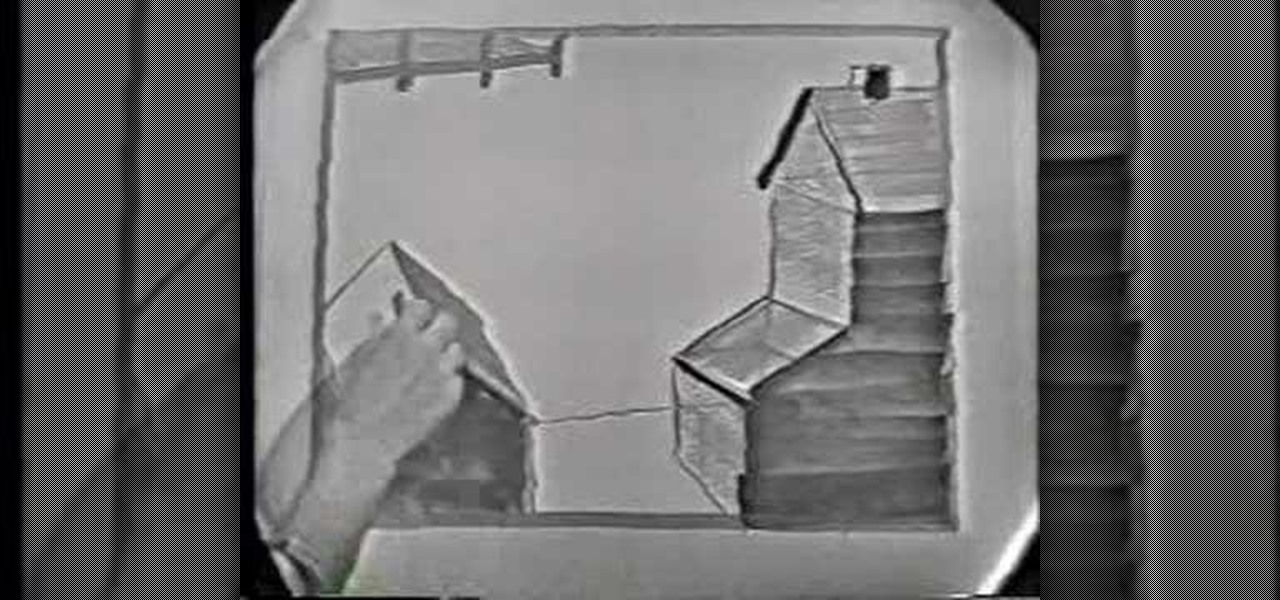
Jon Gnagy, "America's Original Television Art Teacher," guides us through a drawing tutorial for a Seaport Village. This video lesson was first broadcast over fifty years ago, in 1956. Watch this video sketching tutorial and learn how to render this quaint seaport fishing village landscape picture.
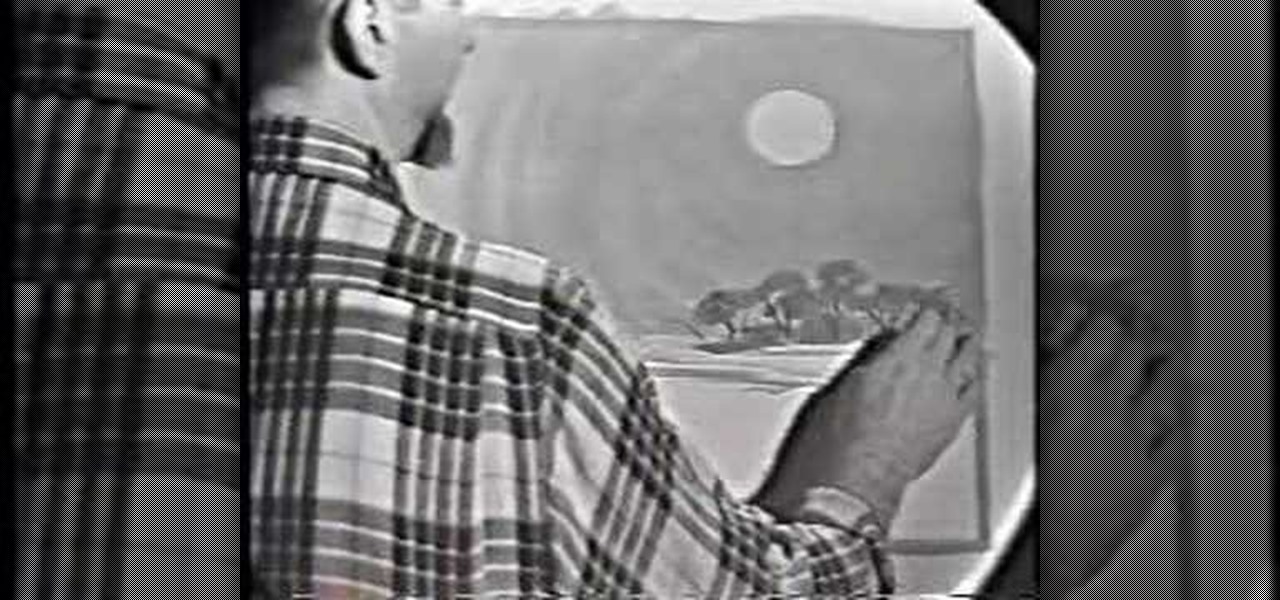
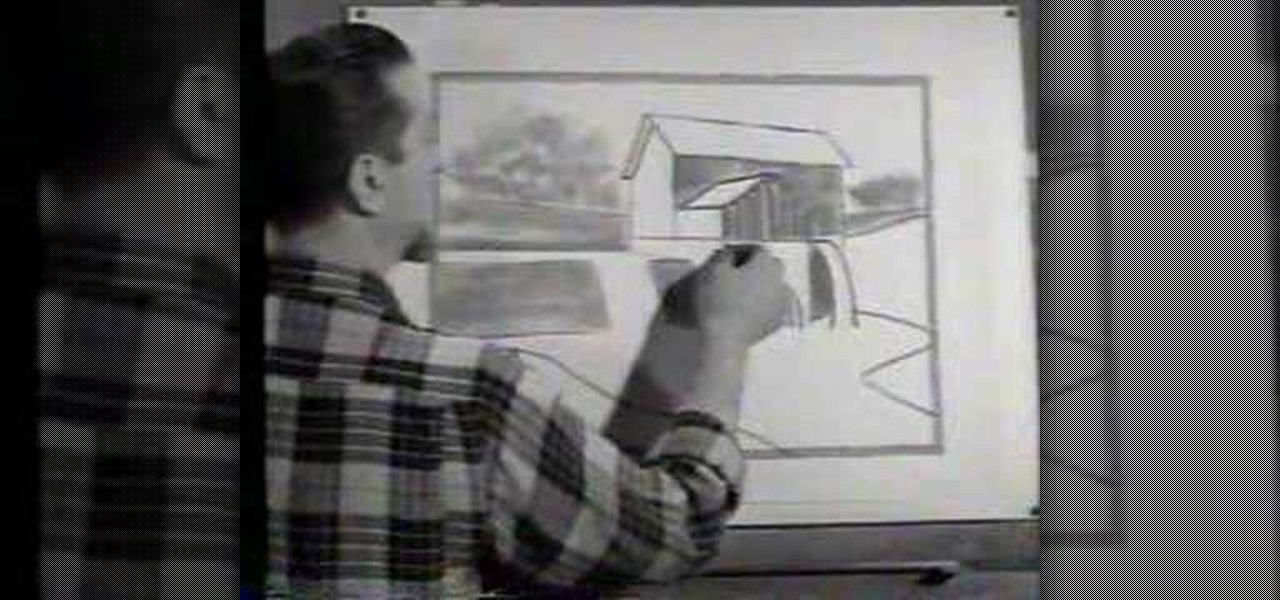
Jon Gnagy, "America's Original Television Art Teacher," guides us through a drawing tutorial for an Old Oak Tree. This video lesson was first broadcast fifty years ago, in 1956. Watch this video sketching tutorial and learn how to render this oak tree night-time landscape picture.
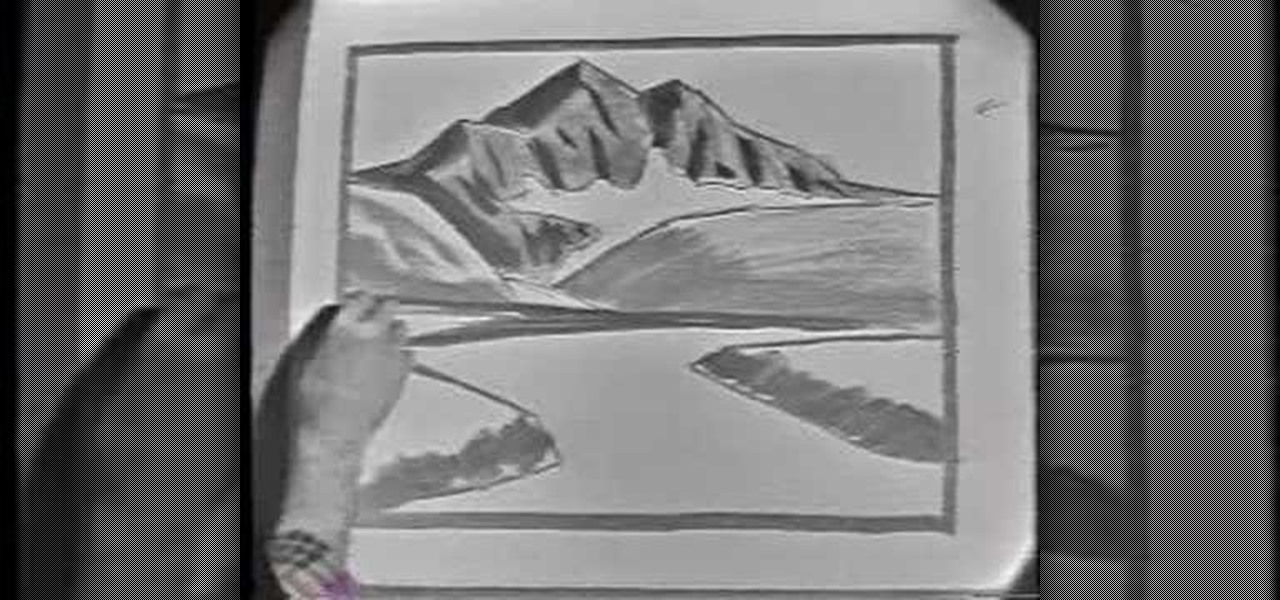
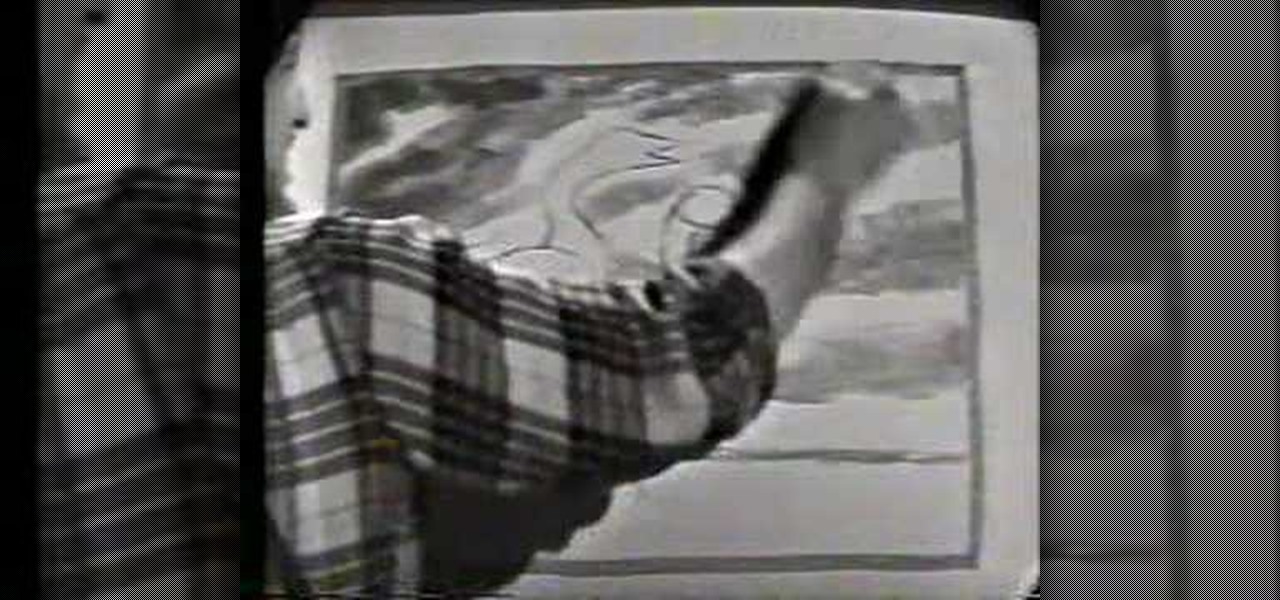
Jon Gnagy, "America's Original Television Art Teacher," guides us through a drawing tutorial for a Mountain Lake. This video lesson was first broadcast over fifty years ago, in 1956. Watch this video sketching lesson and learn how to render a mountain lake landscape.

Jon Gnagy, "America's Original Television Art Teacher," guides us through a drawing tutorial for a Harbor Scene. This video lesson was first broadcast over fifty years ago, in 1956. Watch this video sketching tutorial and learn how to render a harbor marine landscape.

Jon Gnagy, "America's Original Television Art Teacher," guides us through a drawing tutorial of a pair of a horses. This video lesson was first broadcast fifty years ago, in 1956. Watch this video sketching tutorial and learn how to render a bucking bronco Western landscape.

Jon Gnagy, "America's Original Television Art Teacher," guides us through a drawing tutorial for a grist mill. This video lesson was first broadcast over fifty years ago, in 1956. Watch this video sketching lesson and learn how to render a grist mill landscape.

Jon Gnagy, "America's Original Television Art Teacher," guides us through a drawing tutorial of a pair of Canada Geese. This video lesson was first broadcast over fifty years ago, in 1956. Watch this video sketching tutorial and learn how to render a Canadian goose landscape picture.

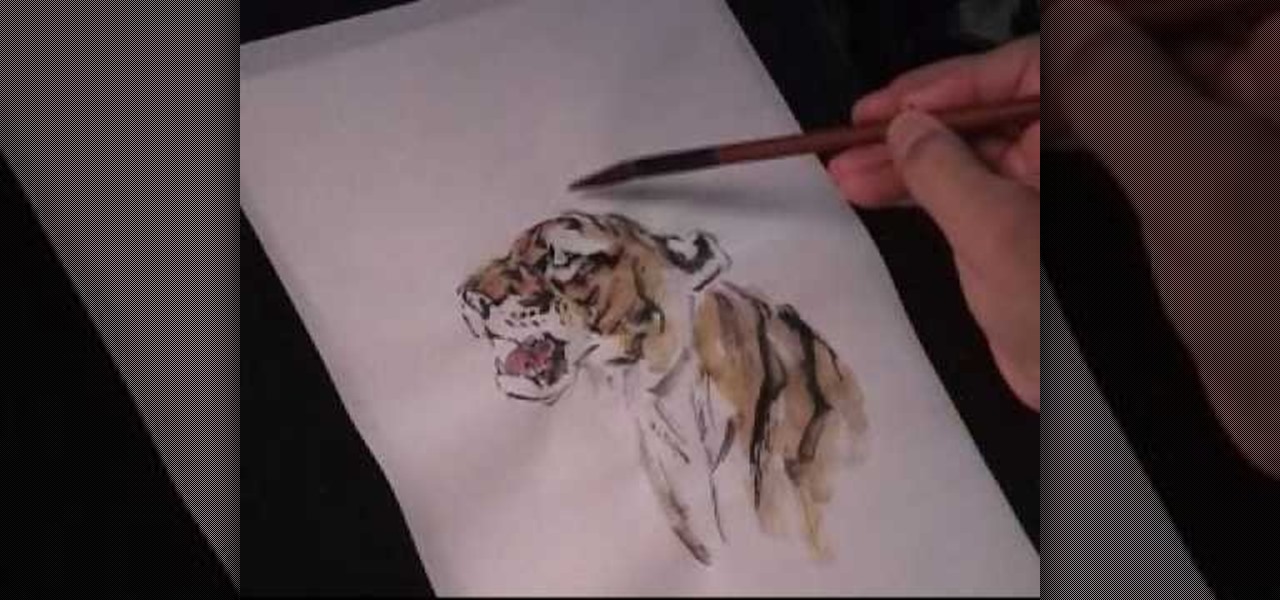
Watch this instructional painting video to draw a roaring tiger with India ink and water color on Chinese rice paper. This fluid style of painting takes lot of practice and does not allow for mistakes. Every brush stroke counts. Get out some newsprint to practice painting these ferocious tigers.

This video shows how to aseptically draw blood from a major vein in the arm with the help of a tourniquet.

Have you ever wanted to use a Tesla coil to draw a fixed arc on a two liter plastic soda bottle? Who hasn't? Well, see how to do it, right here!

Check out this video to see "Miki Falls" manga creator Mark Crilley as he presents a tutorial on drawing "chibi" faces, with a special emphasis on rendering emotions.

See how to install part number 7903 the Draw-Tite weight distribution assembly for our 1200 pounds tongue weight and 12000 pounds trailer weight. This video uses a Dodge Ram Pickup but it can be used on any truck.

Learn how to sketch and color a cute cartoon rabbit. This drawing tutorial is done in Photoshop.

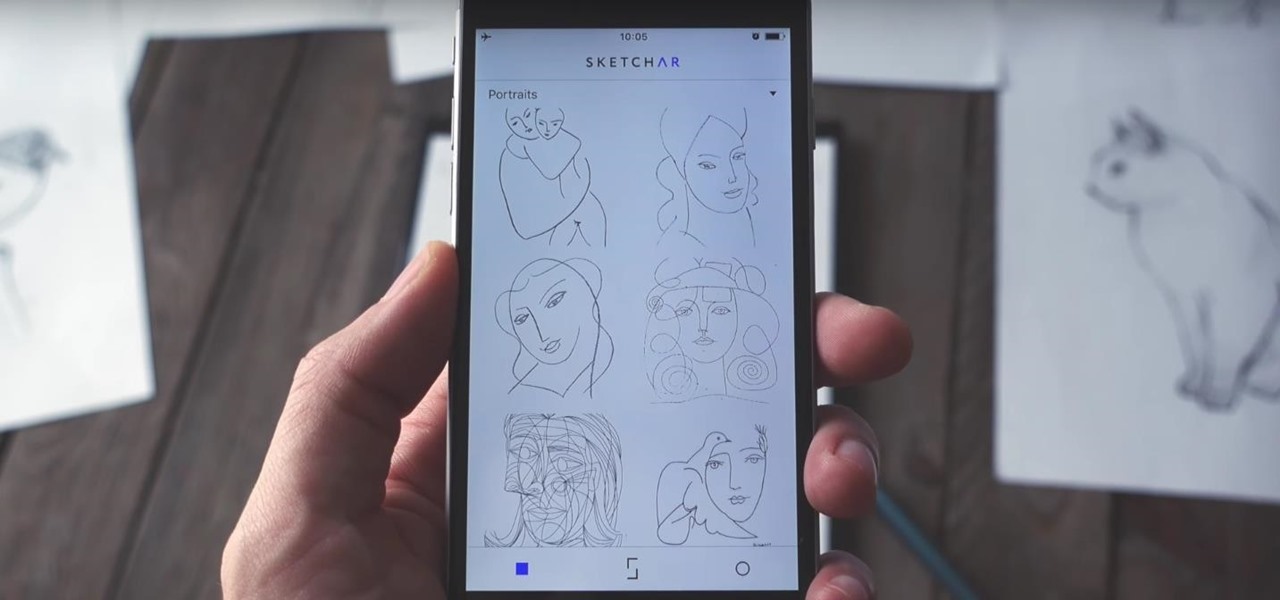
Get ready to draw like Leonardo da Vinci, or, at least, trace like him. A new augmented reality app, SketchAR, is the first mobile app that uses AR to allow users trace an image on real paper. The Lithuania-based company describes their product as "an application through which the user sees a virtual image on the surface of which they are planning to trace a sketch."

In this video im painting one of my fashion drawings

How I draw hair from Dragonball Z. Specifically Goku's hair style. I go over the entire process of what I'm thinking about to what shapes Iook to construct. This goes along with my videos on how to draw goku, gohan art tutorial, piccolo drawing video. How to draw fantasy is the best subject. Please leave me feedback on other things to go over. Thanks. And for my videos go to : http://howtodrawfantasyart.blogspot.com/

How to Draw the Devil. This is the second video in a series. I draw the devil in the first video. in this video I'm going over shading techniques that i use. Easy things to draw are sometimes complicated. Drawing sites teach a lot. I talk all the way though this.

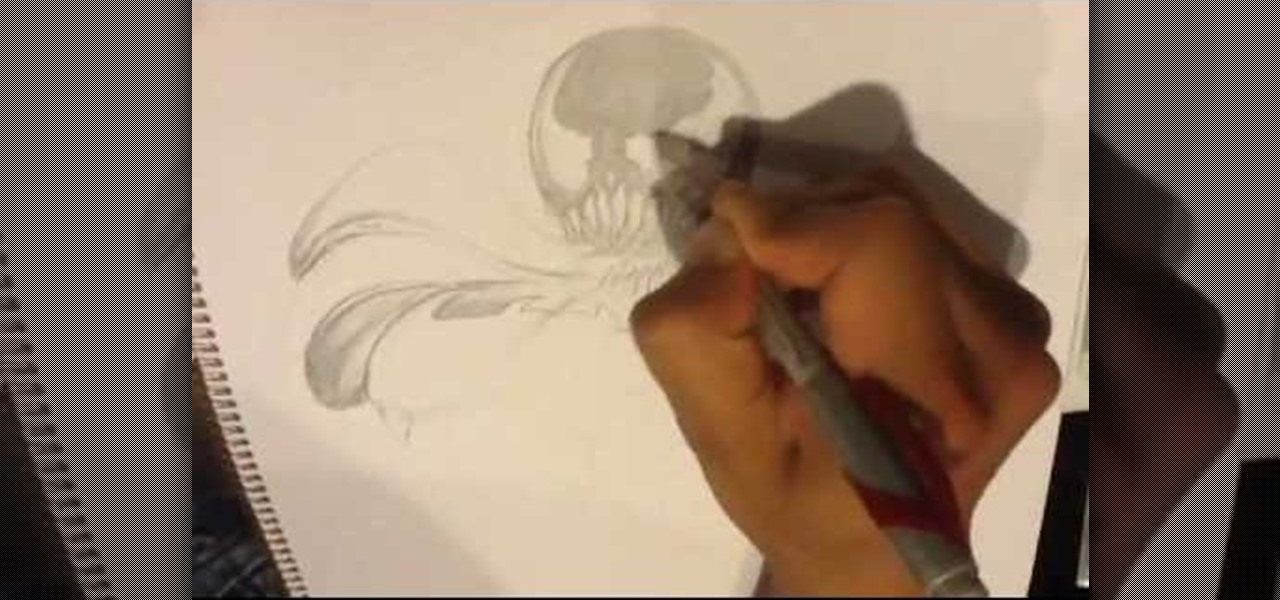
I'm drawing venom. I had the urge to draw venom after seeing the new spiderman movie. I hope they put venom in a movie properly one day. Venom is one of the easy things to draw. he is on so many drawing sites. no sound on this video, trying that out. Let me know if you think its too quiet. Vemon Character Copyright Marvel Entertainment.

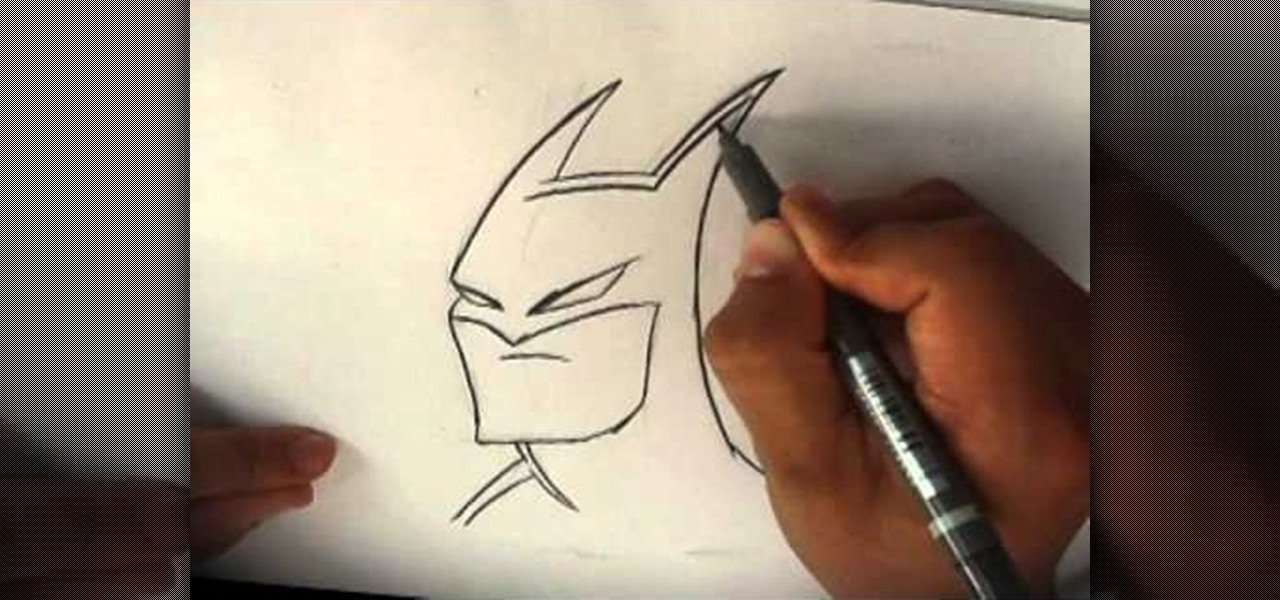
In the following article I'm going to go over how to draw the dark knight. How to Draw Batman, basically. I;m gonna go into the Bruce Timm deign. The reason for that is I feel he is very noticeable, and I feel is easier then other versions. This is the same version of batman that was in the Animated series in the 90s. Good source if you like art tutorials, fantasy art, how to draw fantasy art videos, etc. In some cases this version can be one of the easy things to draw. Watch the video below ...

Miandza teaches us how to sketch a street. You start with a horizontal line and two diagonal lines, all intersecting in the middle. You then start to add parts of buildings, in perspective. You continue to use the lines as reference and add more buildings. Then start doing trees and people. Also add pavements and start doing details on all objects. You finish by drawing the sky and the birds. The final scene is still a sketch, but has lots of details and uses the perspective to look natural.

Watch this video to learn how to make an urban neighborhood drawing. Start by sketching the road splitting into two direction. Remember that as things are farther a way they are smaller in appearance. Put in some vegetation where you are not going to put building. Next sketch in the buildings. At first just put the outline of the buildings. Then add detail on the building such as windows and doors. Think at what point in the sky the sun is at and add shadows on the sides of the buildings acco...

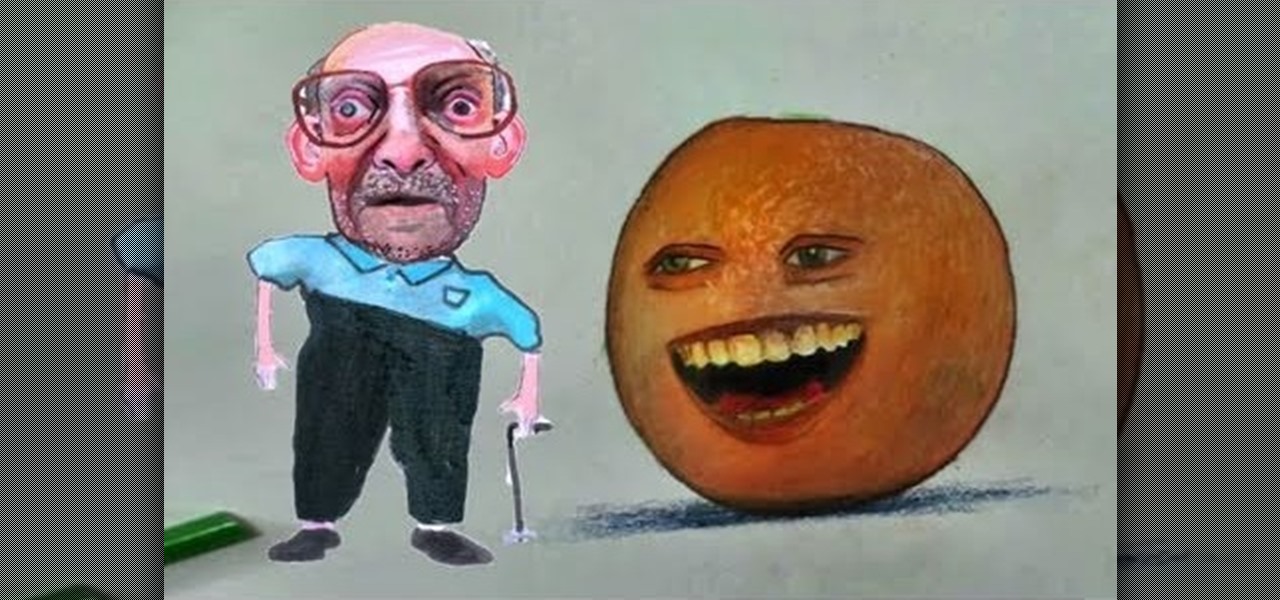
Animation tutorial not included. Be warned, this is a very annoying tutorial. You will learn how to draw the Annoying Orange step by step, starting with a pencil and then adding ink and colored touches near the end of the project.

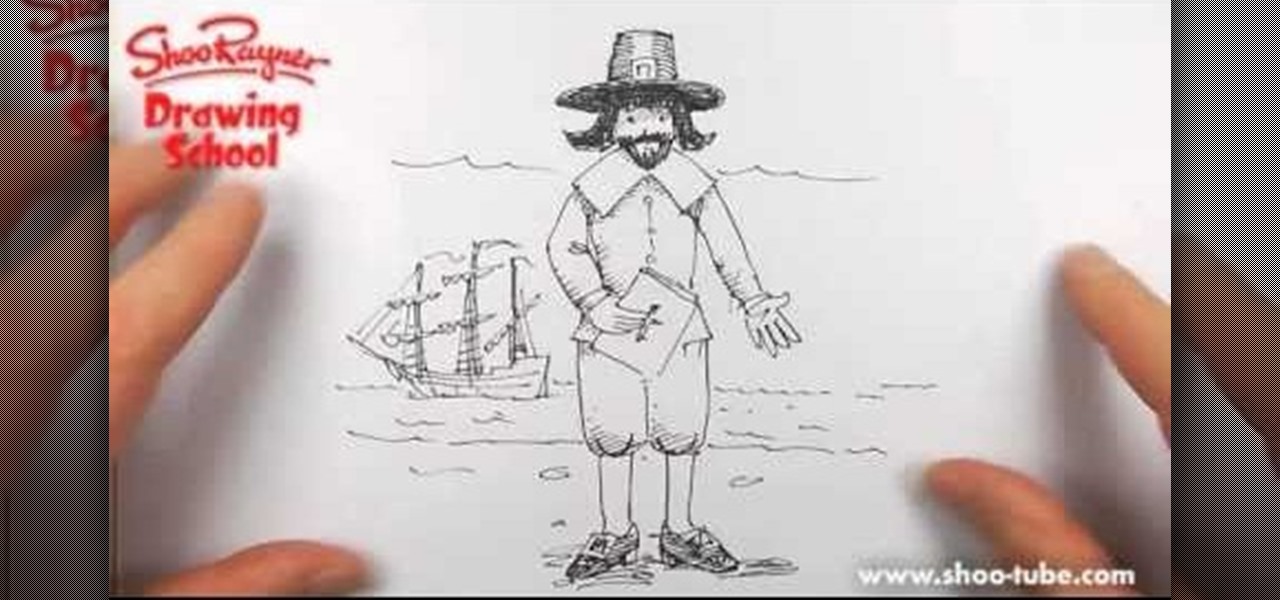
You can use this project for any sort of school project, decoration, poster, invitation or other Thanksgiving themed craft. This easy tutorial shows you how to draw a simple sketch of a pilgrim father, complete with buckled hat and shoes!

In this tutorial, we learn how to make a butterfly pop-up card. First, draw a butterfly on the middle of a paper and then draw flowers and smaller butterflies around it on the sides. After this, fold the card in half so the drawing is stick out and cut along the top and the bottom of the butterfly. From here, color in the entire character and then fold inwards and pop the middle out. After this, stick the insert into the card of your choice. Then, glue it down and you will have a cute butterf...

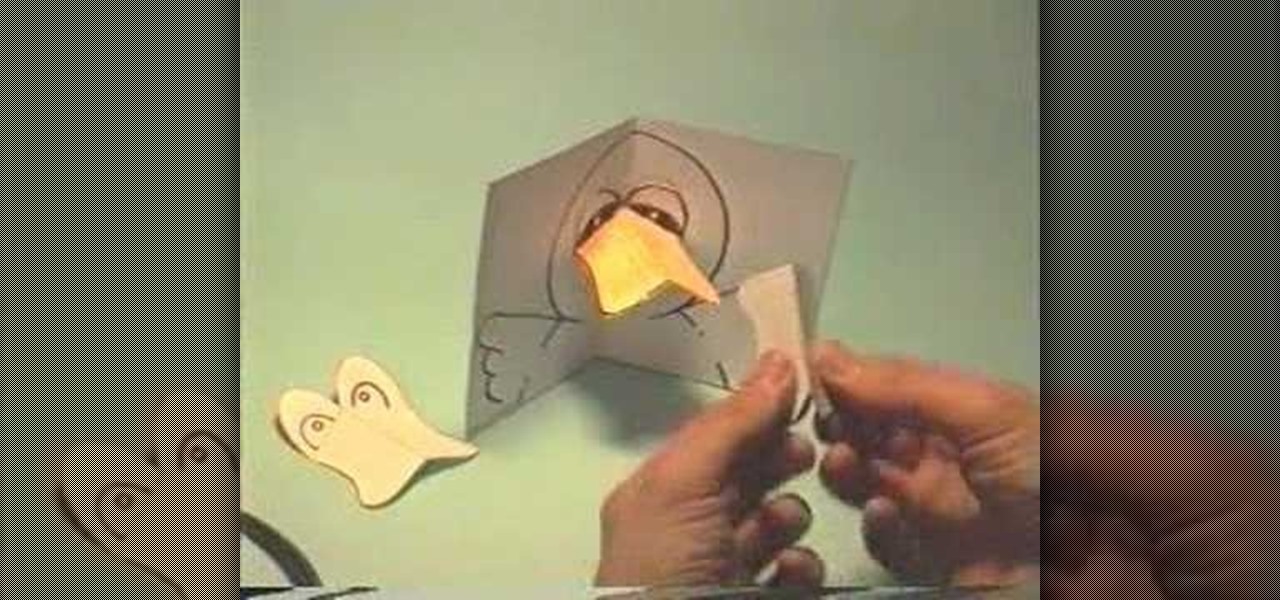
In this tutorial, we learn how to make a little duck pop-up card. First, draw a duck on a 4x6 piece of paper. Simply draw the big head with the wings coming out at both sides. From here, fold it in half so it closes together. Then, make another small piece of paper that has the eyes drawn onto it and the beak colored in. Place this on the duck to get it in the right spot. Then, adhere it with glue on the top part and fold it in again. Now, when it opens up in the card, the beak will pop up, e...

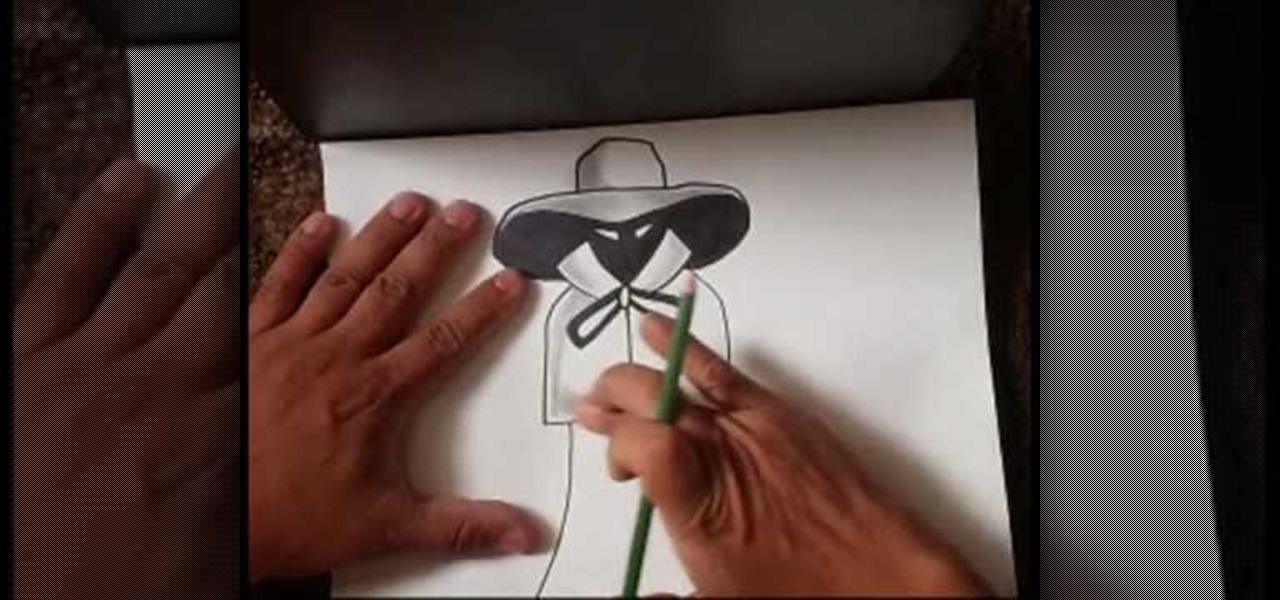
In this tutorial, we learn how to draw a scary character. First, draw the outline with a hat and a cape. After this, use your pencil to color the inside of the hat and the face (except the eyes) completely black. From here, you will shade in the hat by blending in the pencil with your finger. From here, you will color in the bow on the front of the cape and then shade in the sides and the top and bottom of the cape. Use your finger to blend in the pencil and then smudge it around the front of...

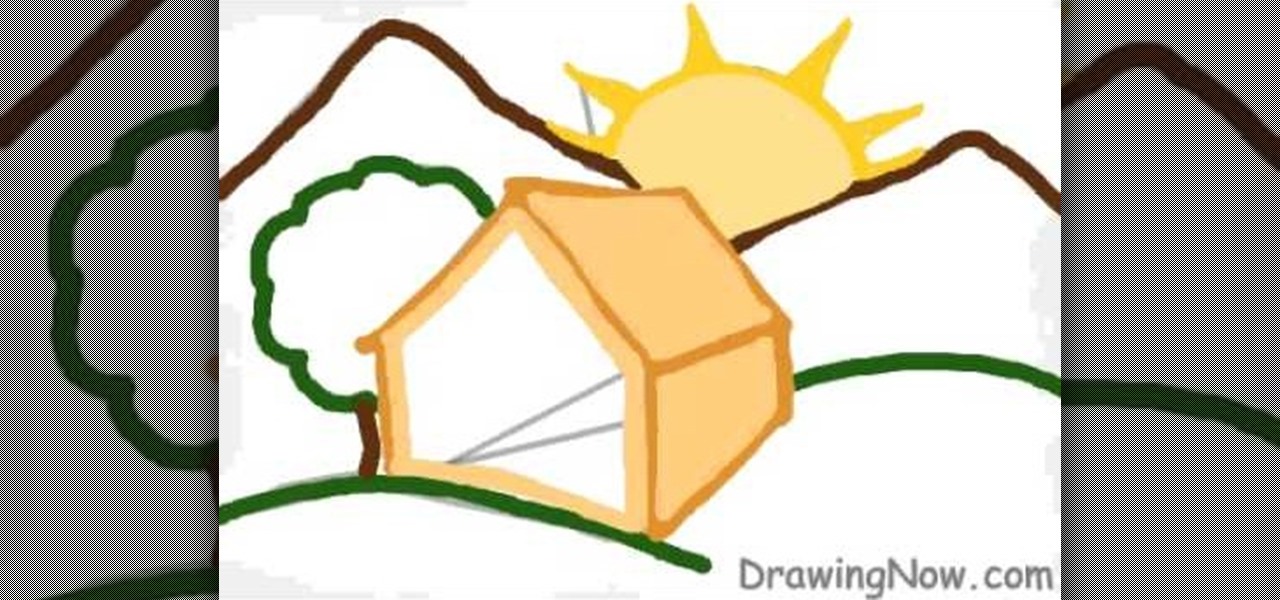
In this video, we learn how to draw a cartoon cottage scene. Start out by drawing the outline for the house, a tree, the sun, and mountains. After this, add color to the mountains and everything else in the scene. From here, color in the sun and then start to create the cottage. Make sure to add details to it, like a roof and a door and windows. Then, color the ground green to make it look like it's set out in the wilderness. Once finished, add in shading to make it look more realistic and th...

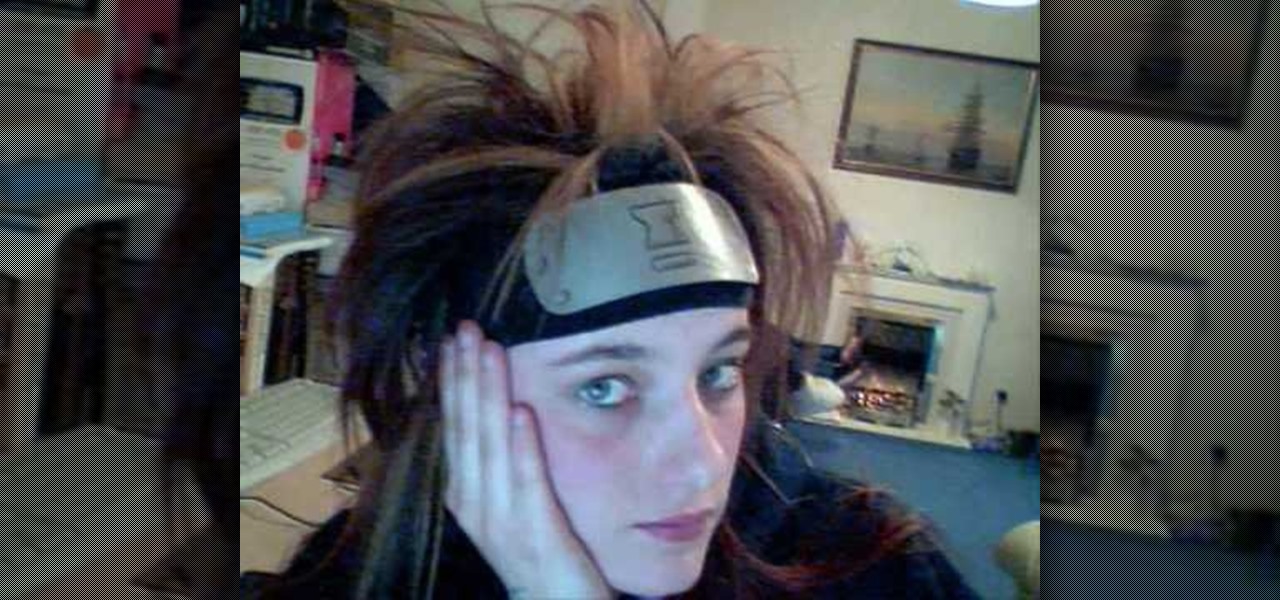
In this video, we learn how to make a decent Naruto headband. First, get a paper plate and figure out how big you want it, draw on the template so you can see it through the paint. Then, apply metallic paint with a paint brush using the template you drew as a guide. Next, you will wait for it to dry and then cut it out. Round the edges like it's a real headband, then draw on the hair band the village insignia. Once finished, glue this to an old sock and wait for it to dry. Then, you can attac...

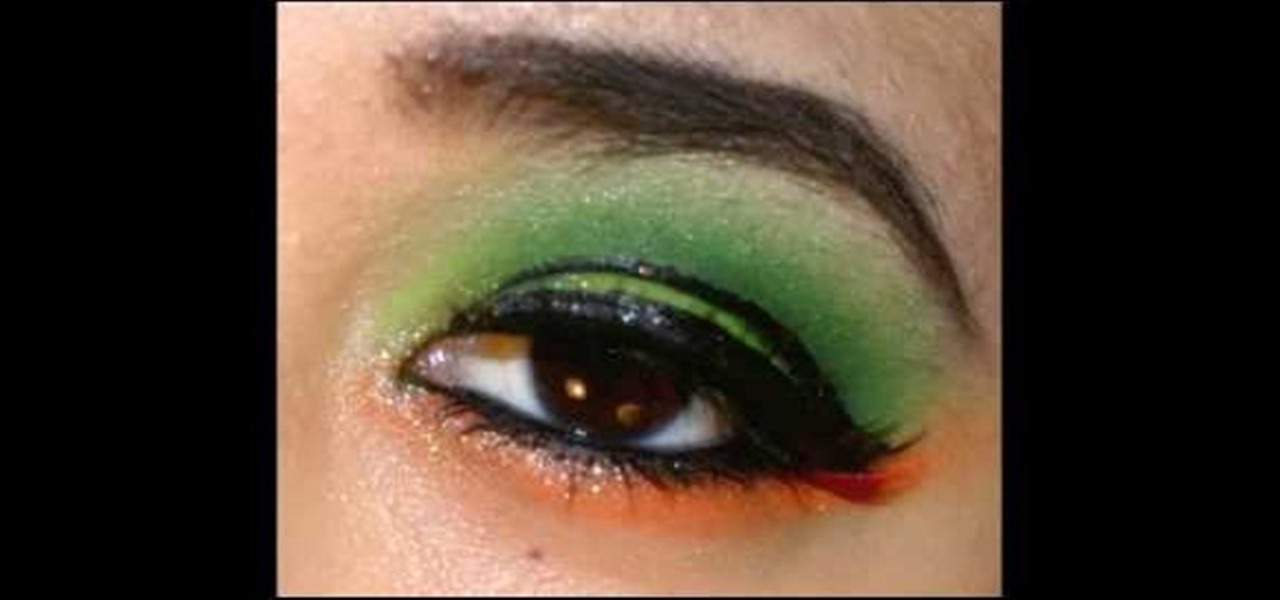
In this tutorial, we learn how to create a neon green and orange look using Kryolan UV. To start, you will brush a shimmery and sparkly white eyeshadow underneath the eyebrow on the brow bone. From here, apply a light green eyeshadow on the eye and into the crease. From here, apply a darker green shimmer shadow to the crease of the eye and blend it into the outer corner. Then, apply a sparkly orange eyeshadow on the bottom lash line, from the inner corner to the outer edge, meeting with the g...

In this tutorial, we learn how to add 3D effects and shading to graffiti letters. To start, you will draw a simple letter with a pencil. Then, take one point under the letter in the middle and draw a darker outline. Next, you will draw an outline around the first outline to make it look 3D. Next, you will shade in the area in the middle of the letter and anything that is in between the first letter and the second. After this, you will add in lines and additional detailing to make the letters ...

This Photoshop tutorial has a very specific purpose - to teach you how to draw a woman from the back who is wearing jeans, a skirt or even nothing at all. Master the curves of a woman's backside using the techniques outlined in this video.

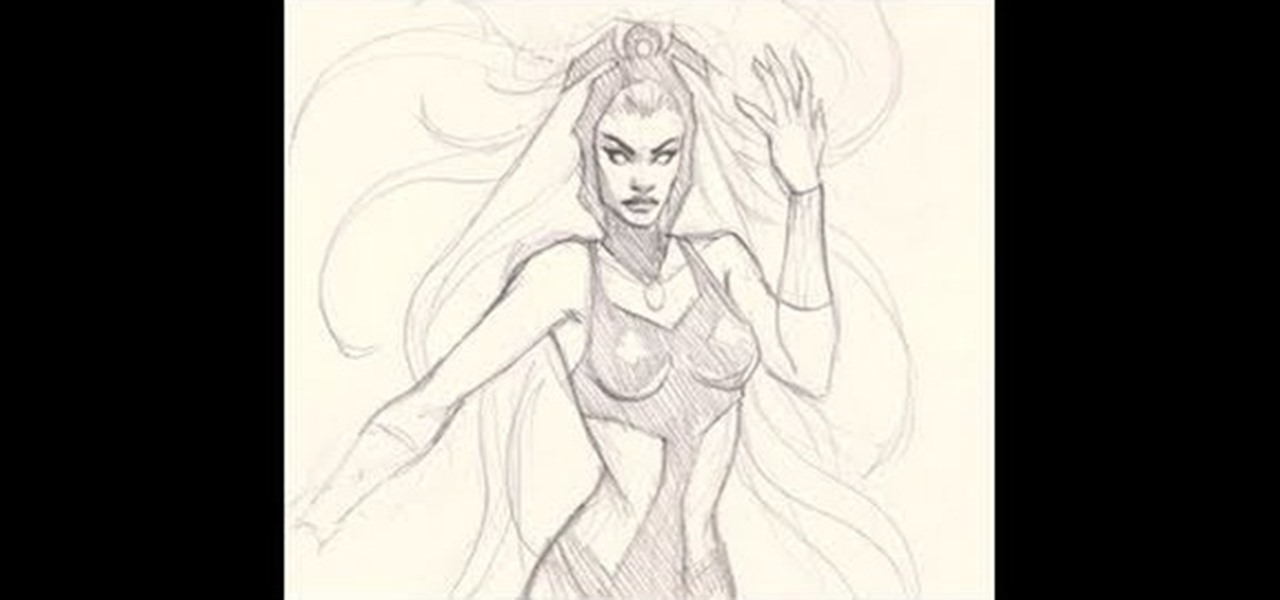
Storm is a popular superhero in the X-men comic books who has control over the wind and weather, and this tutorial shows you how to draw a pencil sketch of her. You'll become an artist like Stan Lee in no time!

This video focuses on drawing the hands of anime girls. It also covers foreshortening, and how to accurately depict hands when using this technique. Use this technique when you want to emphasize your character's hands, such as when she gets into a fight.

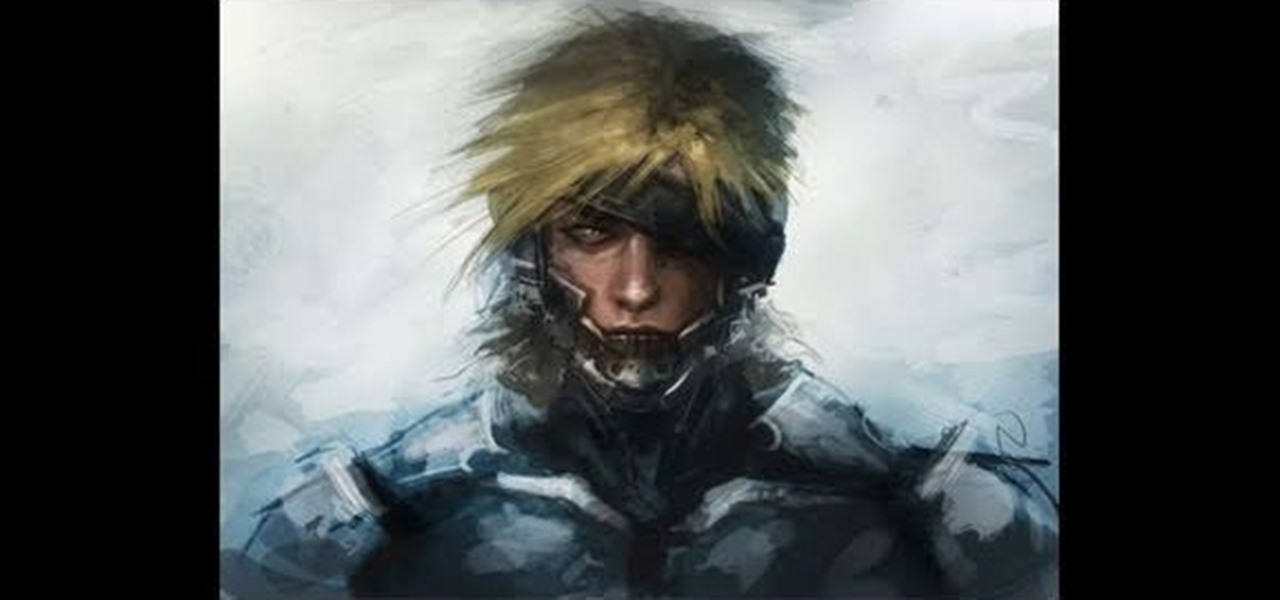
This tutorial shows you how to use your favorite drawing or art program (like Photoshop or GIMP) to create your own digital painting of Raiden, a character from the popular video game Metal Gear Solid. After creating the basic sketch, this video shows you how to create your own painting.


