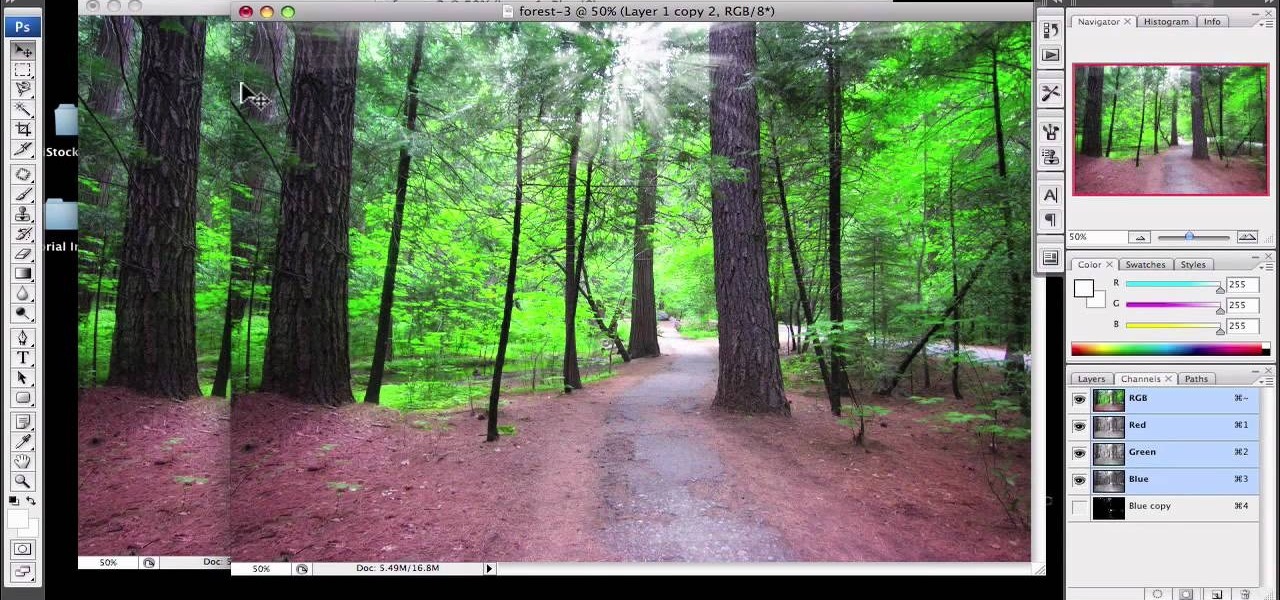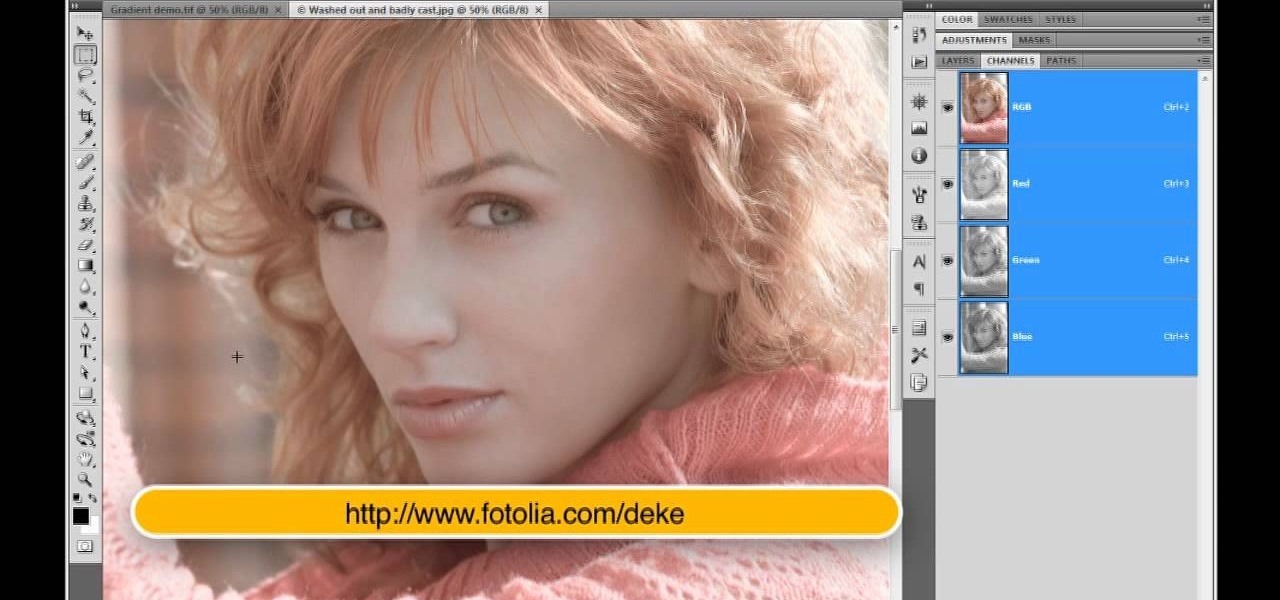
In this video, we learn how to add ray so flight through trees in Photoshop. First, open up Photoshop and open up your picture. Now, go to your channels and choose the one with the most contrast by looking at all of the options. Now, duplicate the layer and go to "image", "adjustments", and then "levels". Now, make the image a lot darker, looking at the image preview as you go. When finished, click "ok", then select this layer and press "control", then click". Go back to the regular image, th...

Learn how to make a "Resident Evil"-style Biohazard Virus with nothing except the brush tool and layer effects in Photoshop. Use adjustment layers to create extra grain and contrast to your made from scratch hi-res microscopic bacteria and learn more about those brush tool options you didn't know about.

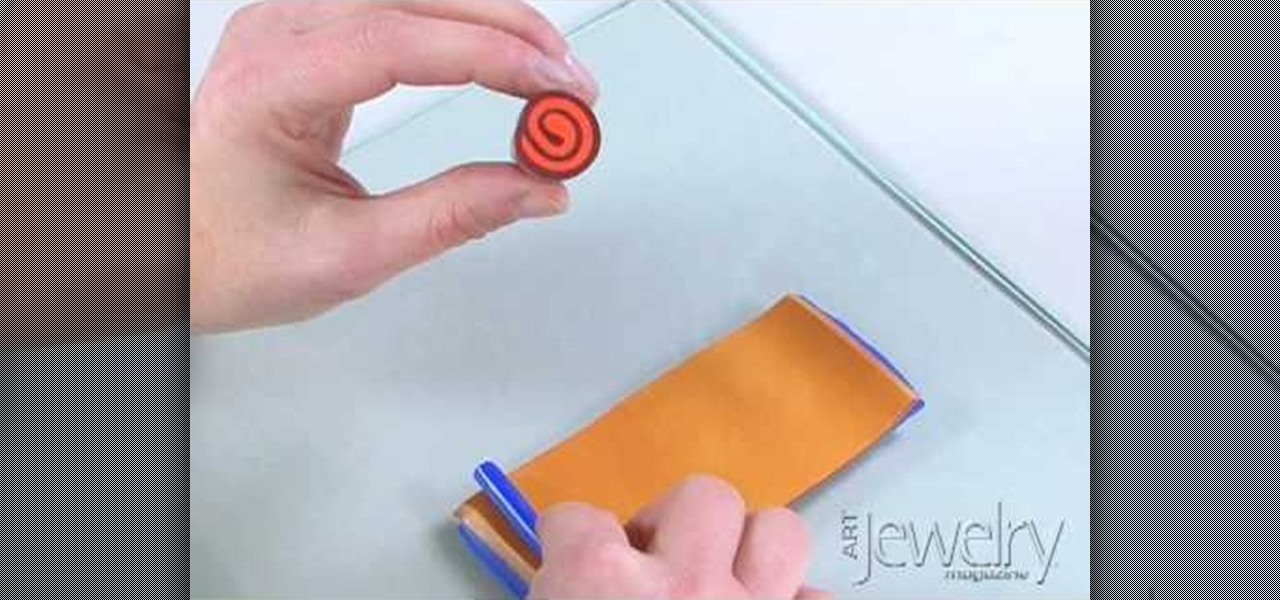
Jill Erickson from Art Jewelry Magazine demonstrates how to make a Jellyroll cane with polymer clay. Condition two different colors of clay by running them through a pasta machine set on medium. Then, trim off any rough edges. Stack the clay on top of each other and place a little bit of pressure on it to confirm the two layers. Using a blade slightly bevel the edges. Slide the blade underneath the two layers of clay for easier handling. Place a think snake of clay in the contrasting color on...

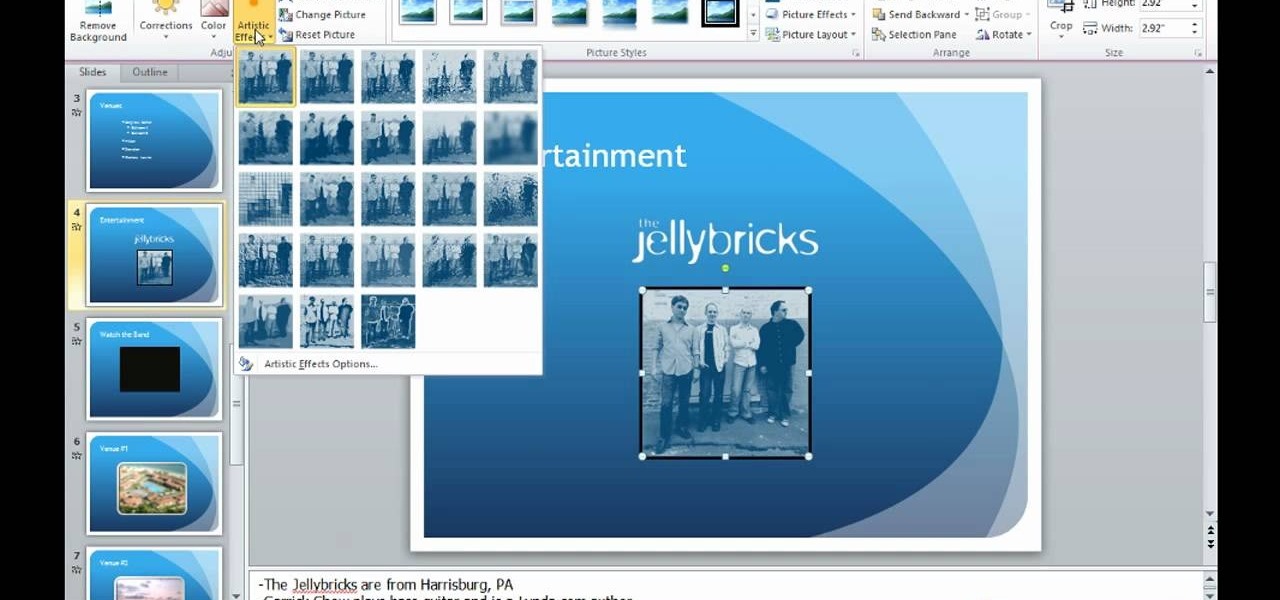
This video describes how to edit images and videos in MS Power Point 2010. For example, we will take a slide with picture added. If you want to edit the picture, first go to the "Picture Tool" button and click on the format tab. If you want to change the contrast and sharpness of the picture use the "Corrections" menu, and to change the saturation, tones, and to do recoloring we can use the color option tab, and then the "Artistic effects" which can be used to see a real time preview like usi...

Poison Ivy is a villainess in the Batman comic books, a seductive femme fatale with poisonous blood and the ability to control plants. She makes excellent inspiration for a Halloween costume. Make you sexier and more beautiful. Hair: Poison Ivy is portrayed as a beautiful redhead, contrasting with the green of her outfit. Buy a red wig or use hair dye to dye your hair red. Body: Purchase a cheap green leotard, bodysuit, or swimsuit, along with 30 or so fake ivy leaves. Using a needle and thre...

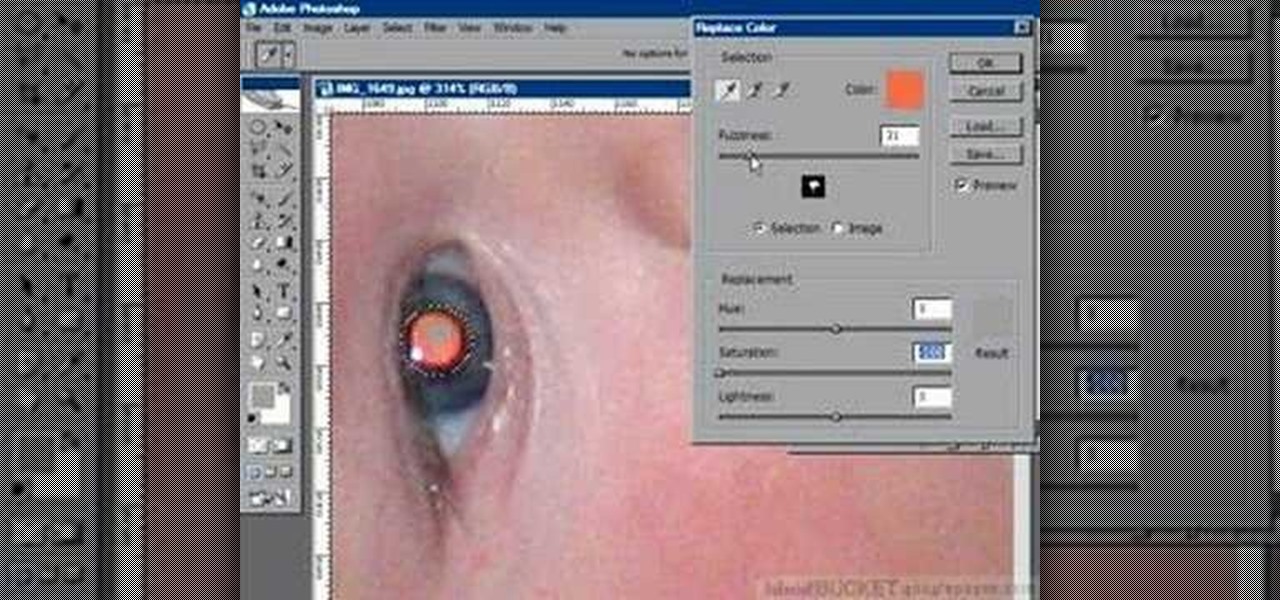
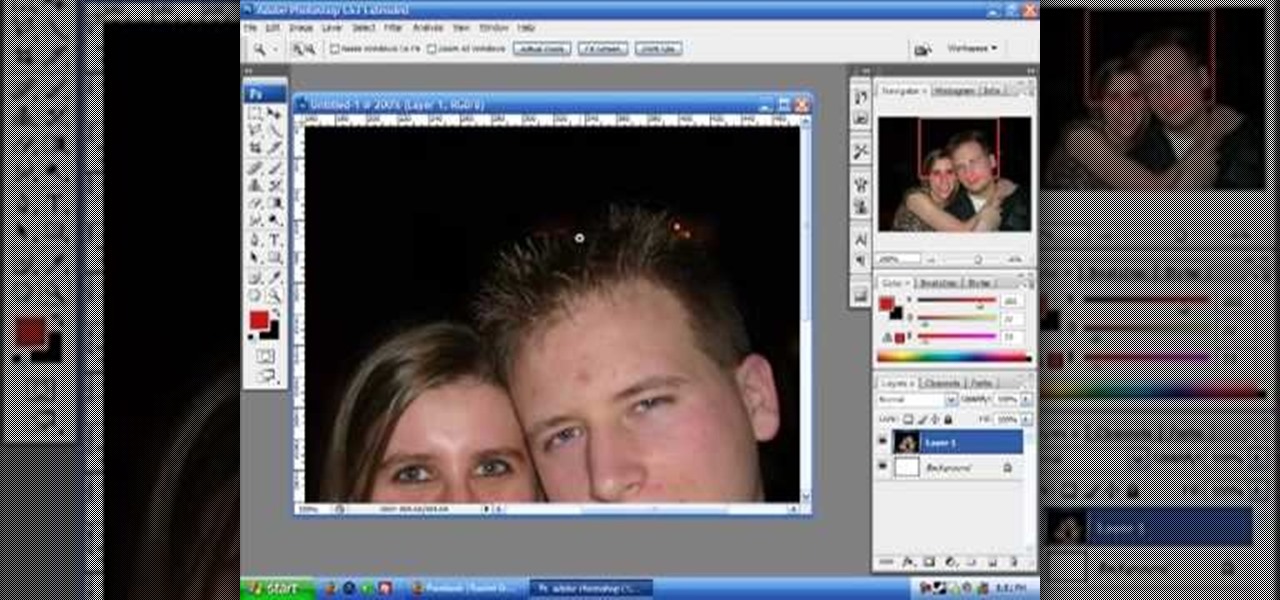
If you have a photograph with an extreme red eye problem, then you will have to take steps above and beyond using the built-in red eye reduction tool in Adobe Photoshop. In extreme cases, red eye will actually contain colors outside of the red spectrum of light. Since the red eye tool only works on this spectrum of light, you will have to manually fix extreme red eye by working on tools that are effective across all different wavelengths of light. The most effective tool at your disposal in t...

Pixel Perfect is the "perfect" show to help you with your Photoshop skills. Be amazed and learn as master digital artist Bert Monroy takes a stylus and a digital pad and treats it as Monet and Picasso do with oil and canvas. Learn the tips and tricks you need to whip those digital pictures into shape with Adobe Photoshop and Illustrator. In this episode, Ben shows you how to create fabrics in Photoshop.

Pixel Perfect is the "perfect" show to help you with your Photoshop skills. Be amazed and learn as master digital artist Bert Monroy takes a stylus and a digital pad and treats it as Monet and Picasso do with oil and canvas. Learn the tips and tricks you need to whip those digital pictures into shape with Adobe Photoshop and Illustrator. In this episode, Ben shows you how to apply localized correction in Lightroom 2.

Check out this DIY video tutorial from Curbly, the best place to share pictures of your home, find design ideas, and get expert home-improvement advice.

This software tutorial shows you how you can blend three differently exposed images using Photomatix, and then demonstrate how to use some basic Photoshop techniques to touch-up the resulting image. [Note: the Flash overlay in this video doesn't sync completely with the audio; pausing for a second and then resuming it fixes the problem.]

Just like Instagram, Photoshop Express for Android and iOS has its own set of filters you can quickly apply to any photo. It's simple, fast, and more customizable than using Instagram's pre-made filters. The options in Photoshop Express allow you to edit and change your filters to be exactly to your liking. Then, you can even save those edits as your own custom filters.

Picture this: You finally get that awesome angle, the perfect selfie. You can't wait to post it on your Instagram, except there's one problem — it looks a little flat and the colors just seem off. Maybe it's the lights? Or maybe your new smartphone camera isn't as good as you thought? How are your friends getting those beautiful photos they've been posting on social media?

The video is a demonstration of how to decorate a cake for a baby shower decorated to look like a baby bib. For the cake recipe, use a cake mix and add 2 teaspoons of freshly grated orange zest, 1 cup orange juice, 4 eggs and 2 tablespoons vegetable oil and bake it the normal way. For the filling, 1 cup of cold milk, 1 package of vanilla instant pudding, and two teaspoons of orange zest and fold in two cups of Cool Whip. Level the cake by cutting the top off and cut it into layers. On the bot...

If you want to paint shadow lines on a model care you should first realize that you can pair this technique up with any other technique you want to for different effects. Shadow lines occur when the out lines get thick and it provides a contrast to make something pop out. Shadow lines will focus on the light source. You want your shadow to be realistic so you want to think about where you light source will be. To paint on shadows lines, focus on where the light source is coming from and darke...

1)Open image, go to channel. Look for the channel that gives the most contrast by going through them one by one.

Spice up your seafood stew with some Irish flair. The Irish aren't just good for producing good beer (Guinness), but they can cook, too. See how to make some delicious Irish seafood stew.

Ron Watson of Positive Vibe dog training studio in western Michigan with Frisbee Foundations and Dog mantic Dog Training TV explains how to do vault, stall, and rebound discrimination dog training. First, add value to a barrel by using eye contact. When the dog goes to where the reinforcement happens, feed it treats. Then order the dog off the barrel. When the dog jumps up by its own volition, then you know the technique is working. Then, set a linear vault by saying, top, and tossing the tre...

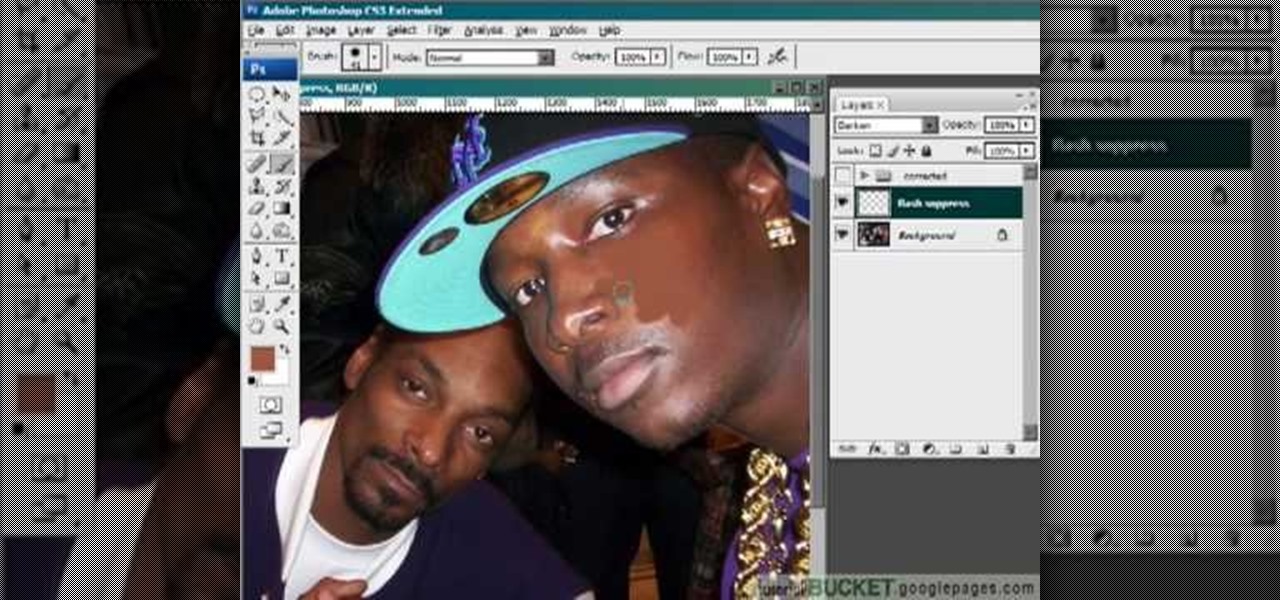
This video gives detailed instructions for removing a hotspot or flash reflection in a photo by using layers and masks. Start by adding a new blank layer and naming it something like Flash Suppress. You will use a special blending mode for this layer called darken. With your paintbrush you will loosely paint out the hotspot, having selected the color tone that you need with the eyedropper tool. Later on you can use layer masks to clean this up. Adjust the opacity of the layer until you have t...

Watch this knitting instructional video to learn how to do a knitting provisional cast-on. A provisional cast-on is usually worked in a contrasting waste yarn so the cast-on stitches can be easily removed later. The live stitches are then recovered so you can knit down from that point without the joining line you'd have if you picked up stitches along the edge. There are several provisional cast-ons; this is the one I like the best, because I find it to be the easiest to work. You'll need a c...

Cooking bacon in the oven is far superior to pan frying.You can have flat perfect bacon without the greasy mess. You also don't have to keep an eye on it in the oven like you do in a frying pan.

Google and Apple are working to enable augmented reality content for the web, but startup 8th Wall has managed to launch a web AR platform that works on mobile browsers now.

HTC is heading in a strange direction lately. Instead of releasing just one flagship in the spring season, they released two top-tier phones, with one having last year's specs and both having last year's design. They were also supposed to manufacture both the Pixel 2 and 2 XL, but Google was unimpressed by the HTC-made Pixel 2 XL and looked to LG for the bigger device. Now it seems, HTC isn't finished yet.

With the recent launch of the LG V30 and the Pixel 2 XL, LG has reintroduced the world to POLED. This display tech was showcased at CES 2015 and billed as a rival to Samsung's AMOLED displays, then promptly disappeared from the market for two years. But now that two of the biggest flagship phones this year are using the technology, many folks will be wondering what makes POLED different.

There's not much you can do to customize the look and feel of your iPhone's home screen, at least when it comes to official options provided by Apple. But thanks to a new bug discovered by YouTuber iDeviceHelp, you can now hide text labels for app icons and folders on your iPhone or iPad, and this hack doesn't even require a jailbroken device.

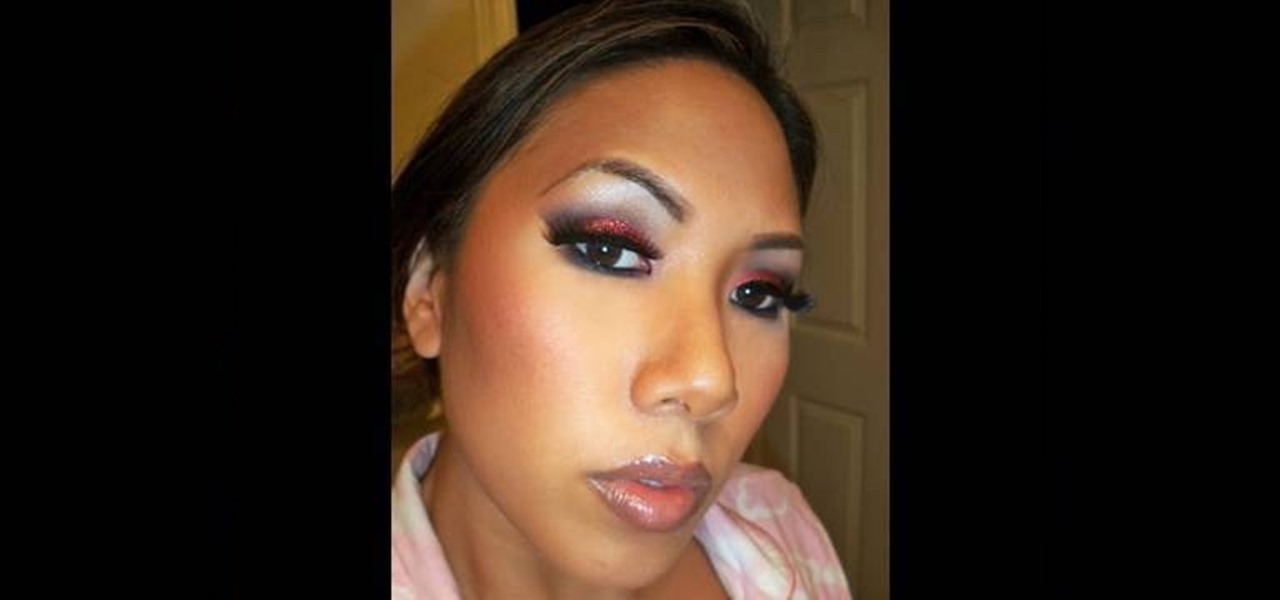
In order to re-create Nene Leake's glitter eye makeup look from the Real Housewives of Atlanta, you will need the following: lipstick, blush, false eyelashes, eye shadow, primer, foundation, tape, powder, glitter, eyebrow pencil, lip gloss, lip liner, and black eyeliner.

Drawing Japanese schoolgirls is one of the staples of manga-style art. Here, the drawing instructors at Drawing Now demonstrate how to draw Konata, one such character from teh manga series Lucky Star. Here are step-by-step instructions from the artist:

This video tutorial from burnworld shows how to use Wondershare DVD ripper on Mac computer. To start, open the application. Click Load DVD. Browse for DVD you want to rip.

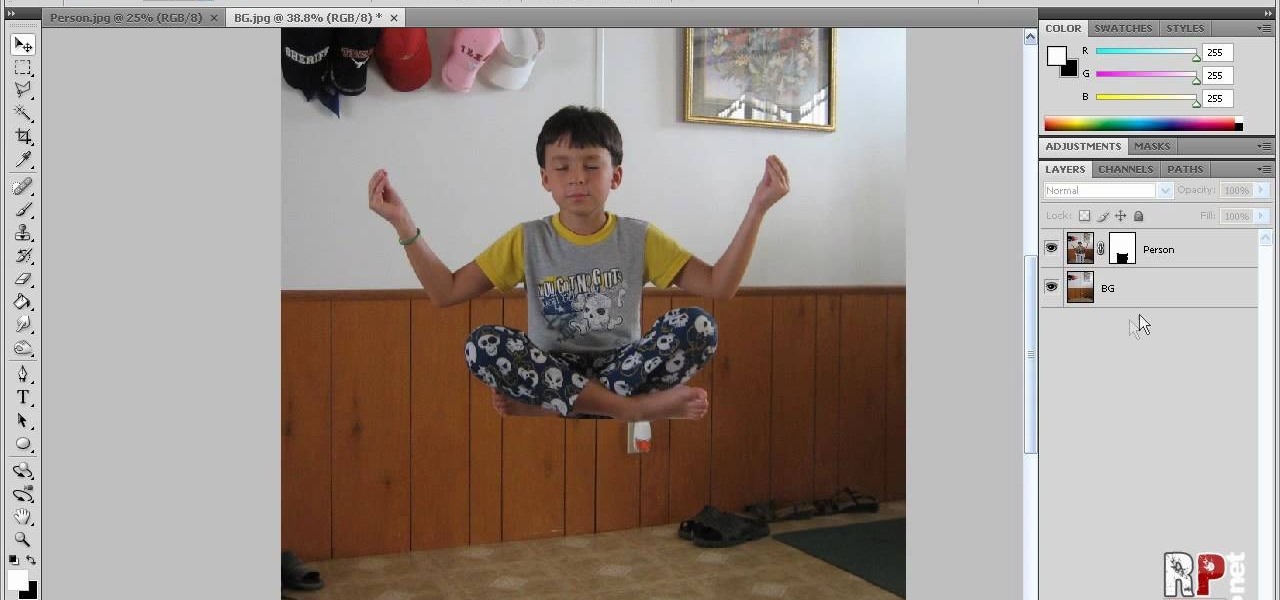
This video tells us the method to perform a simple levitation trick using Photoshop. Take the photo of the background and the person sitting on some object posing as if he or she is levitating. Select the 'Move Tool' and hold the 'Shift' key down. Drag the picture on to the background and release the shift key. Select the layer containing the person and go to the mask tool. Select the foreground color to black. Go to brush tool and set the 'Master Diameter' to 70 pixels and the 'Hardness' to ...

This how to video will show you how to remove blemishes and do other touch ups in Photoshop. First, open the image you want to touch up in the program. Now, choose the polygon tool and select the background of the image. Now, go to adjustments and change the brightness and contrast. You can also add a blur in the filters. Use the smudge tool to touch up any errors from using the blur filter. To fix blemishes, use the patch tool. Select the area you want to fix and drag it to an area of simila...

In this how to video, you will learn how to swap faces using Photoshop. First, find two images that you want to swap. Select the lasso tool and trace around the face in the first image. Copy and paste it into the second image. From here, line up the eyes to the face. Next, you will have to match the face to the head by going to the hue and saturation window. Check the clipping mask before changing the settings. Next, adjust the settings until the face matches the skin color. Next, go to the b...

This video is a Microsoft Word 2007 tutorial on working with pictures. To insert a picture in your document, click on Insert and select Picture, then find the picture, select and insert it. To resize the picture without distorting it, click and hold on the corner circles. You can adjust Brightness and Contrast by using the various choices within these settings. The Recolor setting gives you a number of options for changing the coloring of the picture, such as sepia, black and white, or graysc...

This video demonstrates how to stitch a blind hem. A blind hem does not show stitching on the outer side of the garment, like a pair of pants or a shirt. If you turn the garment you do see the stitching. The reason you don't see the stitching on the outside of the garment is that it's not complete stitching. Depending on your machine it is actually a half of a zigzag stitch and then 3 or 4 strait stitches repeated down the seam. The only stitch that shows is the half a zigzag stitch. Before y...

Deke McClelland explains what the Levels and Histogram commands can do in Photoshop in this video tutorial. Levels allows you to adjust the luminance levels allowing you to adjust the contrast and colors within each color channel of an image. Thus, Levels allows you to adjust the individual colors that can be found within a gradient. This command is very similar to the curves command but to a less powerful extent. It is also more efficient than the curves command. The Histogram is another col...

Decorating using tissue paper is an inexpensive and it is much prettier than streamers. To make tissue paper flower, all that you need is tissue paper of your color. Have two shades of color for contrast to make it more attractive. Cut the tissue paper into half. Take eight sheets and cut them half which gives you sixteen sheets. Take six to eight of those and lay them on top of each other and make corners match up. Now take the tissue paper and fold it over half inch to one inch and then fol...

In order to achieve the Kat Von D look, first you must use eyebrow liner that gives off a strong presence. Next, a matte brown palette should be applied to three quarters of the eyelid; the remaining quarter will be used for the highlight. A pencil brush should be used (or cotton swab if you don't have a pencil brush) for eyelining the edge of the eye. A matte black color is then applied to the outer corner of where the brown was applied, to add more depth. (Try your best to blend the colors)...

Stumped on what frame to use for your favorite piece of artwork or photo? The perfect frame will make your painting, photograph, or piece of artwork stand out on your wall. Here's how to find an ideal match.

Don't just use a belt for keeping your pants up, use it to give you some style! As important an accessory as a handbag, a belt doesn’t just hold up your pants or pull in your tummy. Change your look by creatively matching your belt with your outfit.

Eagle Lake Woodworking, hosted by John Nixon, offers great do-it-yourself guides for building your own furniture, especially in the American Arts and Crafts style, and turning your garage into an amateur woodshop. Search Eagle Lake on WonderHowTo for more carpentry tutorial videos. From Eagle Lake Woodworking on this specific lesson:

A boyish figure is easy to dress: It's the shape high-fashion designers create for! Here's how to maximize the impact.

Whether your plane made a crash landing or your ship got lost on a three-hour tour, now you're stranded on a remote island. Here's how to get help.


