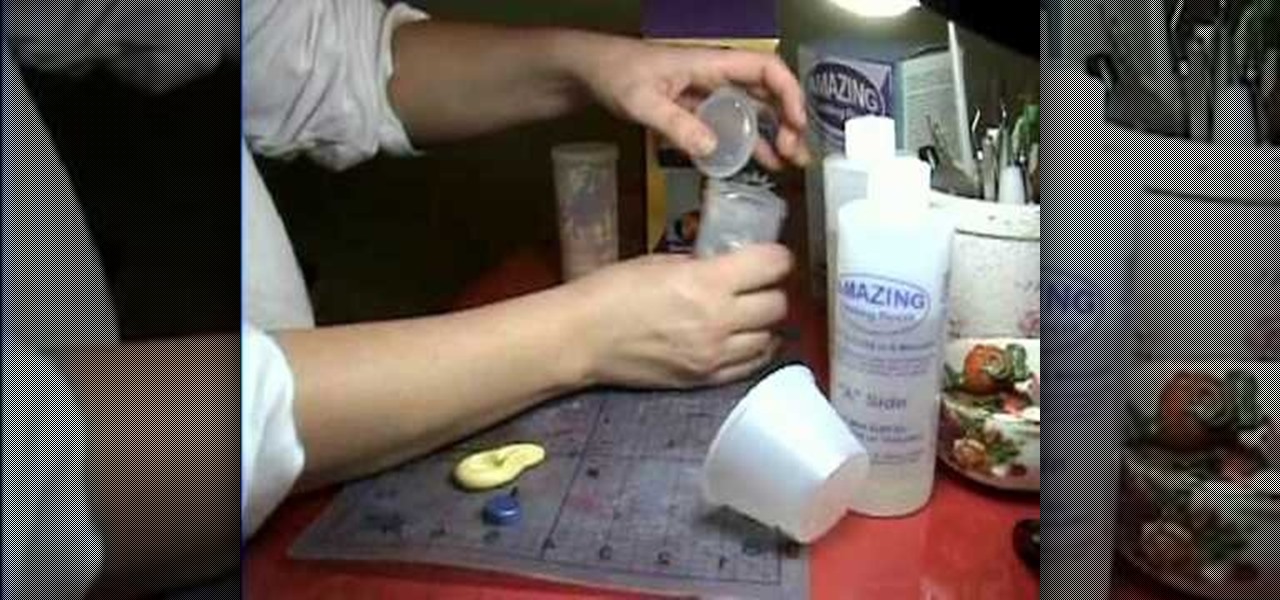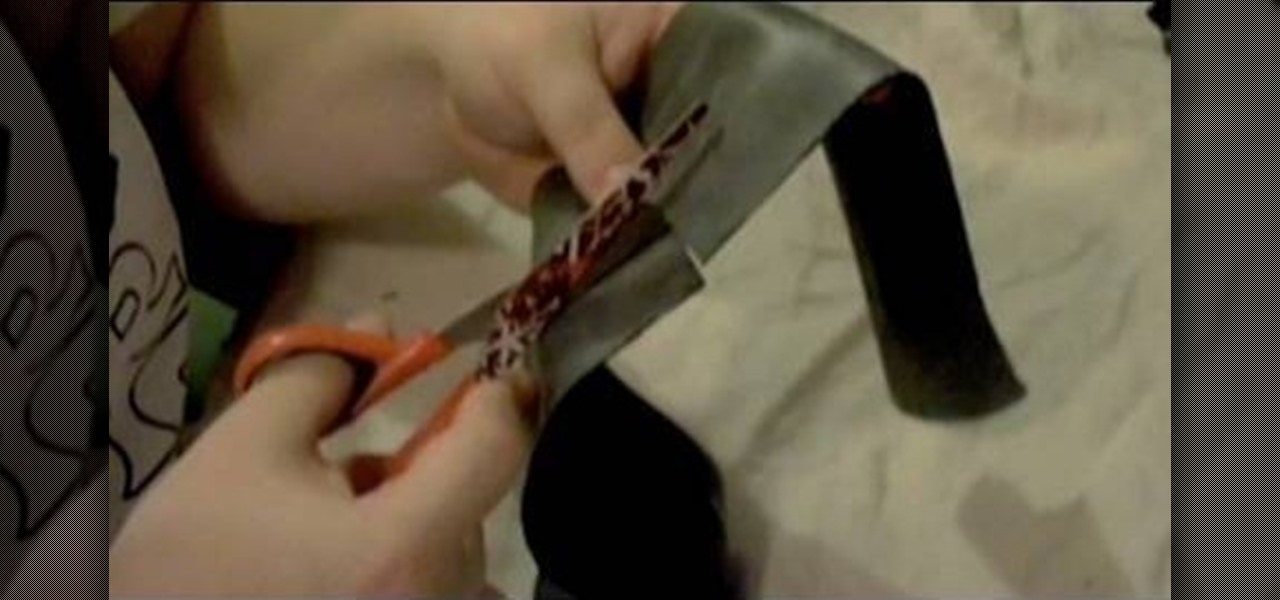
In this video hostess Charlotte instructs us, on how to make "Inner Tube" Bracelets, a rock style associated accessory. Employing either Black Plastic, Leather, or even Tape. Creating these alt accessories requires only scissors and a needle and thread of some type of adhesive to attach the clasp or fastener that will allow you to attach it to your wrist. With a few simple Scissor cuts along the material's length to create a design. Charlotte shows us exactly how it is done with helpful tips ...
Sometimes it's more than just inconvenient when your electronics lose power. Sometimes, losing power could be dangerous. Never worry about a dead cell phone again! Charge your portable electronics by harnessing the power of the sun.
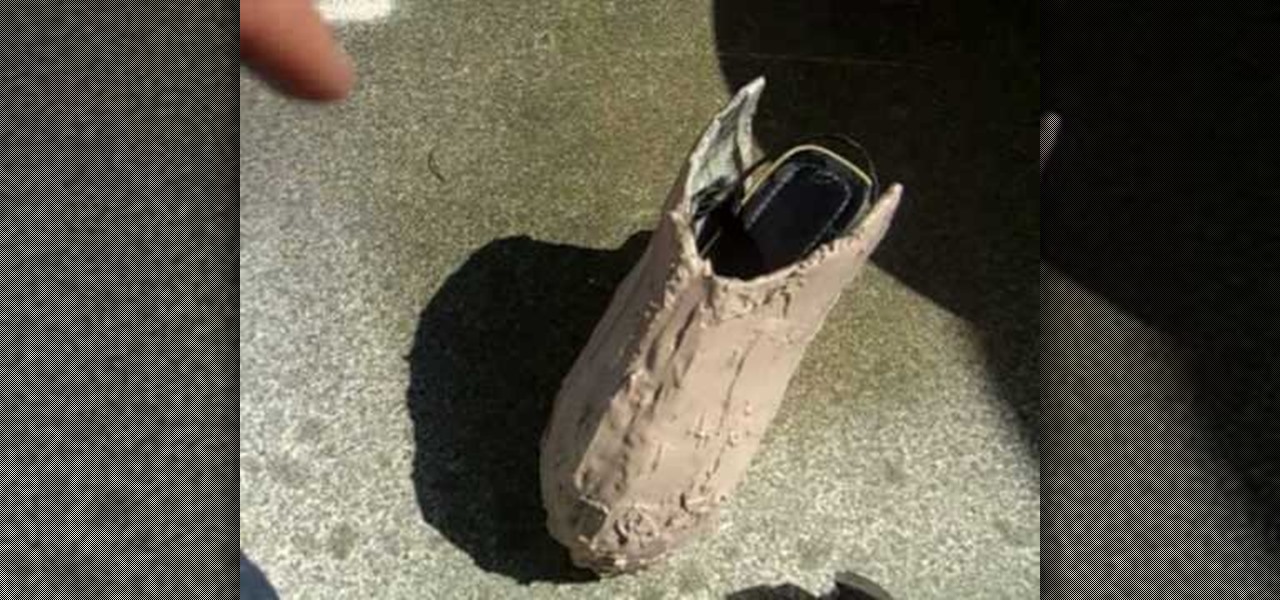
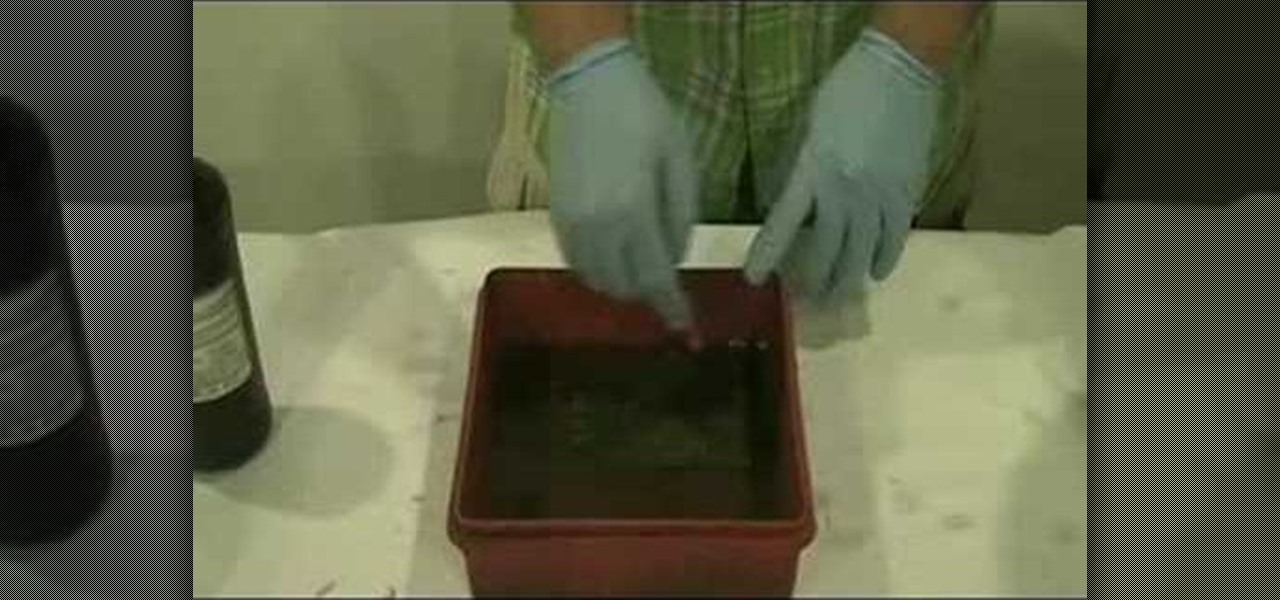
Interested in using fiberglass? In conjunction with the 405th, an online e-zine dedicated to Mjolnir Armor costuming for the Xbox Halo video game series, this tutorial shows you a step by step process of how to layer fiberglass on the inside of a costume mask. Materials needed include latex gloves, respirator or ventilation mask, fiberglass resin, fiberglass cloth, scissors, and a foam brush. Be sure to give up the cash for a great ventilation mask... some of these materials can be toxic to y...
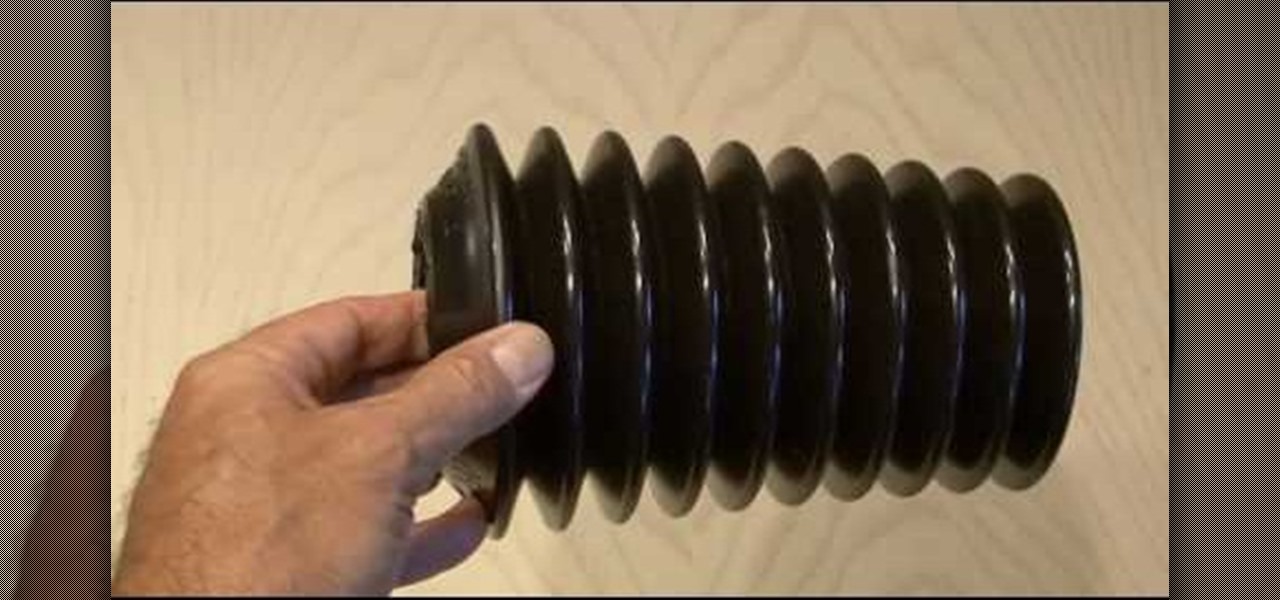
Kipkay from Make Magazine shows us how to create a photographic illusion, making things look smaller than they really are with tilt-shift photography. Materials needed include rubber plunger, an oversized lens, a plastic body cap, a single lens (or digital single lens) camera, a hot glue gun, a sanding file, and a disposable object for a plastic backing, such as a VHS tape case. With this great tutorial and a little work, create the illusion of a miniaturized world with this photographic tech...

Multi-touch input has been spreading throughout a huge variety of devices, from phones to all-in-one PCs. However, most multitouch (table) displays that can function with your computer tend to be fairly expensive, so with this project we're going to make our own display, that can run on any operating system, and reuses some useless everyday materials.
You've organized your materials and chosen your book. Now it's time to get down to brass tacks. . . and tapes, stamps, stickers, cardstocks, markers... Watch this how to video to learn how to make your own scrapbook.

A place to sit and relax can add greatly to the enjoyment of your backyard, garden or flower beds. A garden bench is one answer and also a fun workshop project. Garden benches, as seen by the examples here, can range from classic designs requiring a fair amount of materials and woodworking expertise to simple slab benches that require little effort, can be built from scrounged materials and add a “rustic” appeal to yards. In this DIY video tutorial, you'll find step-by-step instructions for b...

Installing wall tile is basically the same procedure as installing floor tile. And it offers the same advantages: flexibility of design; a wide range of colors, materials and patterns; and if installed correctly, years of durability. Ceramic or porcelain tile makes an attractive backsplash behind sinks and stoves, or encasing a bathroom or shower. It's a strong and easy-to-clean material that offers great decorative advantages for areas exposed to water, while resisting moisture intrusion and...

This video demonstrates how to create an artwork using ordinary aluminum foil from your kitchen. This technique is good for those people who have no inspiration of what to paint but want to be creative. This collage technique is a fun way for beginners to experiment with textures, composition and color. Materials used in this video are aluminum foil, a glue stick, Bitumen (a material used as primer for painting on metal without rusting), collage or textured paper, spray paint, acrylic paint, ...

Get tips on how to make your home more eco-friendly, especially if you plan to renovate it.

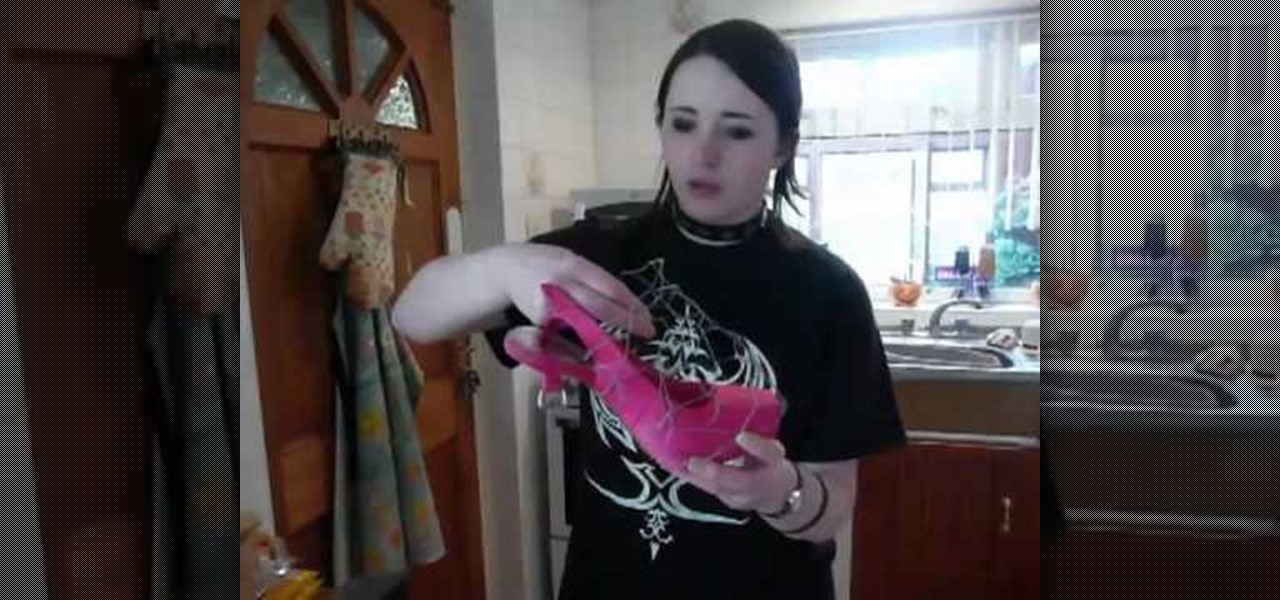
They are made from a pair of comfortable wedge sandals, and are very durable. Materials used:

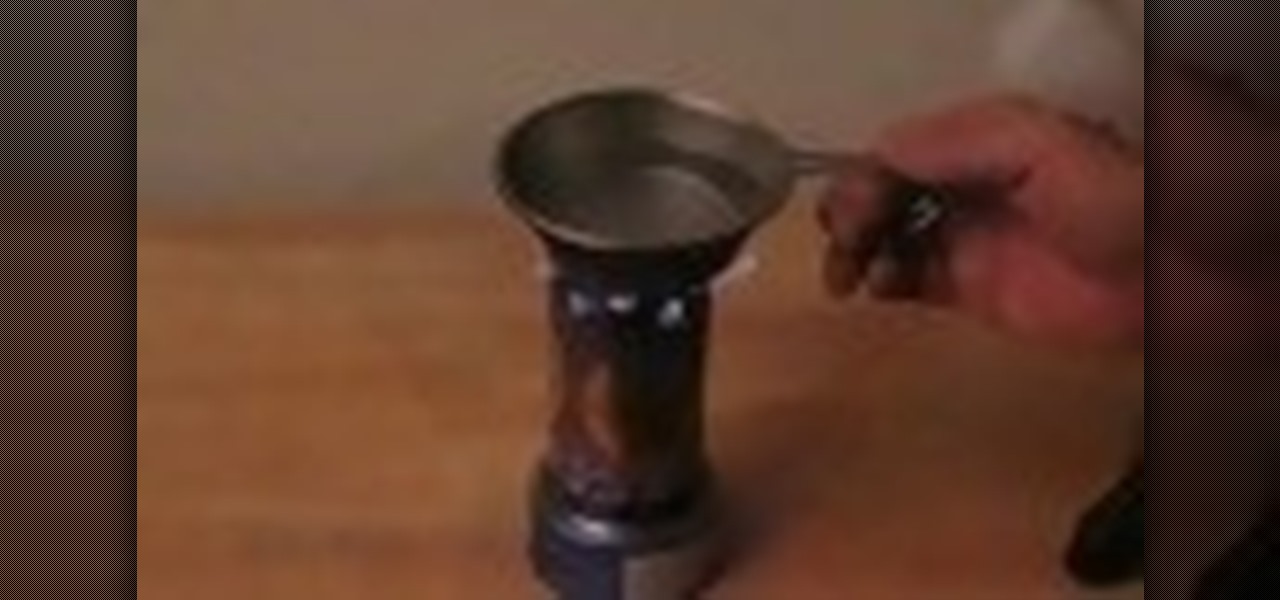
In 2 minutes you can make a stove from household materials that you probably already have. Learn this great survival trick by watching this how-to video. You will need rubbing alcohol, a soda can, a sharp knife, and a food tin. Watch this video tutorial and learn how to build a survival stove out of an aluminum can.

Time flies. Particularly when it's projected. The magical box in this how-to uses light and mirrors to project the image of a working clock face on any wall. To build your own working clock projector, you'll need the following materials: a mirror, a jeweler's loupe, a clock and a flashlight. For detailed, step-by-step instructions on the assembly process, and to get started on this Daliesque hack yourself, take a look!

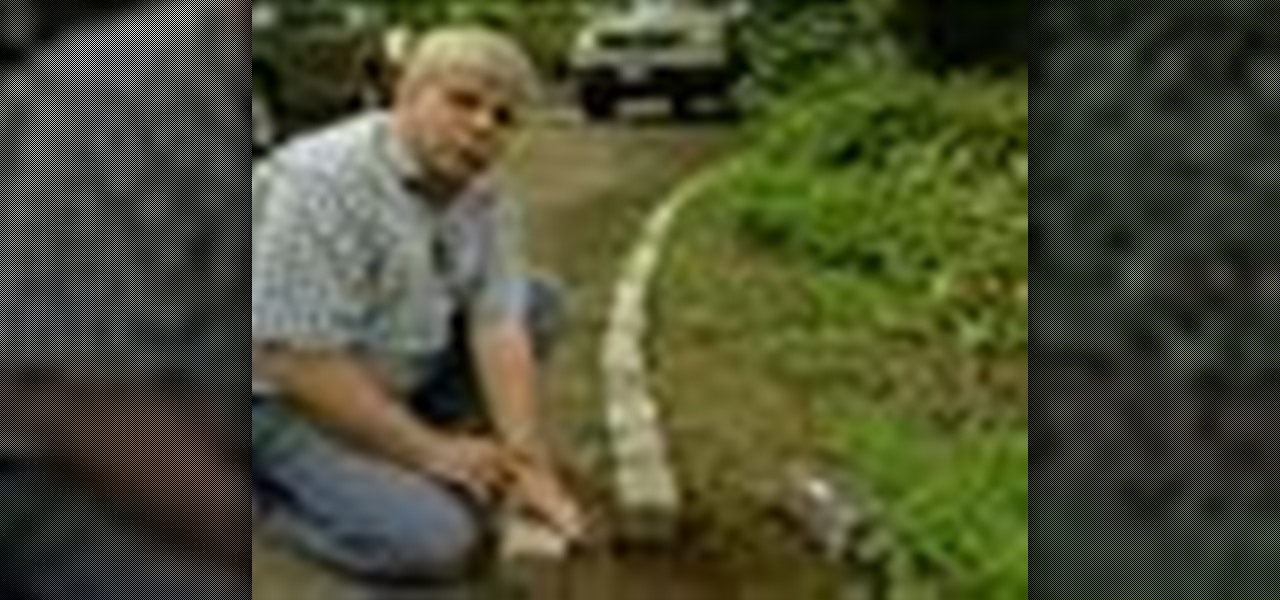
Tim Carter demonstrates how to use recycled cobblestones. Cobblestone can be used to edge gardens, driveways and walkways. These paving stones make a great border.

It's no secret, artists are broke. That's why they're referred to as "starving artists". One day these artists will achieve unimaginable success, but for most of their lives, they'll be struggling to survive… struggling to keep their vision alive. That's why they need to work cheap. And that's why they stretch their own canvases, not buy pre-made ones or have the hobby shop do it. If you’re a starving artist, save a few bucks, hone your carpentry skills, and stretch your own canvas.

This video demonstrates how to sew a blind hem stitch to make Roman shades. This stitch is very easy to do. You need a sewing machine that has a blind hem stitch already programmed in it and a blind hem foot. The video shows two different kinds of blind hem foot for two different sewing machines. The one for Viking machines is used here. Fold and pin a one inch hem on your panel, making sure that the pins are pointing off the edge of the panel. Lay your panel on the machine with the hem side ...

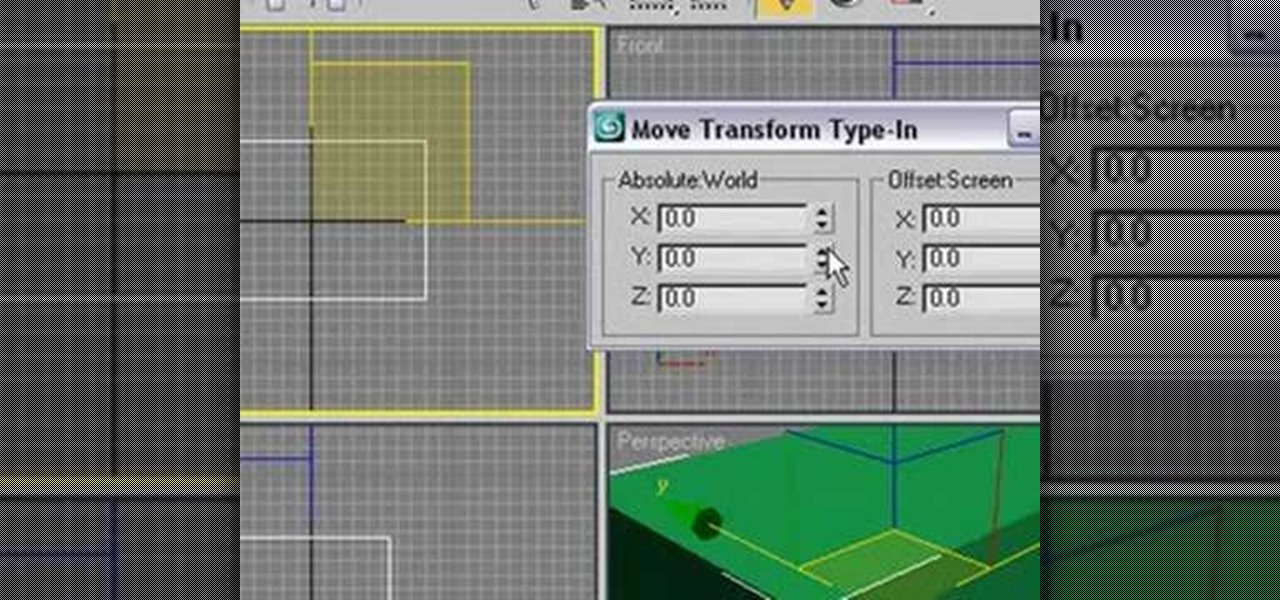
This software tutorial series teaches you how to box model in 3DS Max. Specifically, you will learn the basics of box modeling in 3D Studio Max, then box model a jet and animate it for PaperVision3D.

Google's been using their "Material Design" look in Android for years now, but a change is coming up with "Material Design 2," their updated version focusing on new colors, icons, and spacing. Whether it'll be called "Material Design 2" or not remains to be seen, but you can try it out right now in Google Chrome on your Android device right now.

Samsung's recent TouchWiz rebranding didn't really change much — the skin is still as bloated as ever, and the UI still uses tacky accent colors. But while you can't fully remove TouchWiz without rooting, there are ways to make it look a lot better.

There were over 1.2 million changes made to Android when the OS got updated from KitKat to Lollipop, but a minor front-facing modification has many users in an uproar.

Android's new Material Design language is truly a thing of beauty. Slated to make a full debut alongside the upcoming Android "L" release, the vision and simplicity of this UX design recently won Gold Prize at the annual User Experience Awards.

With Google's latest version of their mobile OS, Android L, the most notable aesthetic difference is the newly introduced Material Design concept that will soon be ever-present through the interface. The objective of this bold design is to create "hierarchy, meaning, and focus," as described by Google, and the deliberate choices of color and white space "to create immersion and clarity."

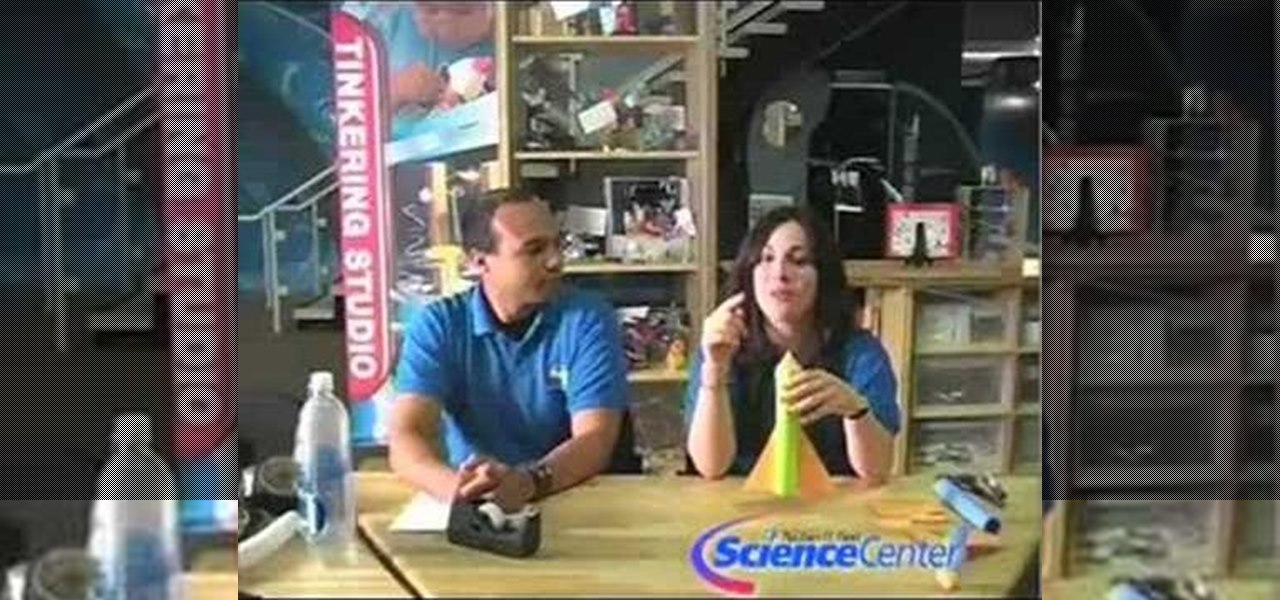
In this video, we learn how to build your own stomp rocket out of household materials. Materials you will need are: plastic bottles, bicycle inner tube, 2 feet PVC pipe, duct tape, masking tape, and file folders or card stock. Now, take your PVC pipe and roll paper around it and tape it. Then, remove the paper from the pipe and tape it more so it's completely closed. Then, make your nose cone for the rocket. Place this and the wings onto the rocket in your choice of colors. Then, make the lau...

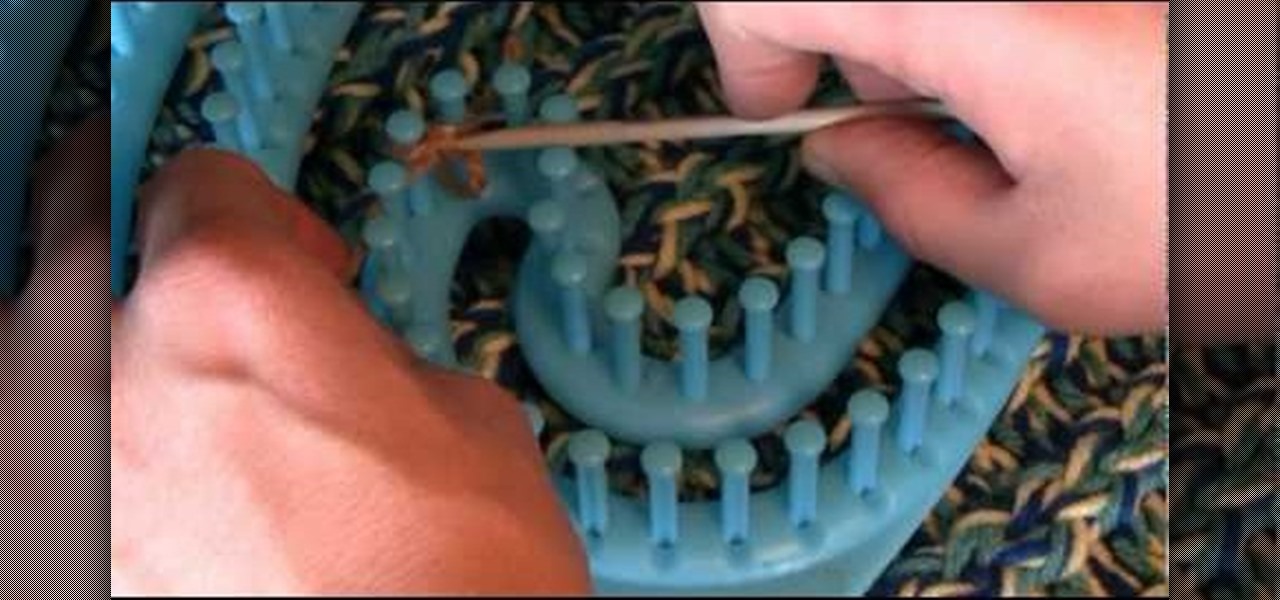
In this video, the author teaches us how to cast on with serenity: wrap your material around twice, grab the back and then up (around your fingers) forming a slipknot. To start off, we will focus on the inside of the loom, pulling the material towards the outside (using a grochet hook). Take needle between two pegs, pulling material through and put the needle down and pull up (rotating towards you) and repeat. This forms a tier duct and if this is done properly, you should be able to do this ...

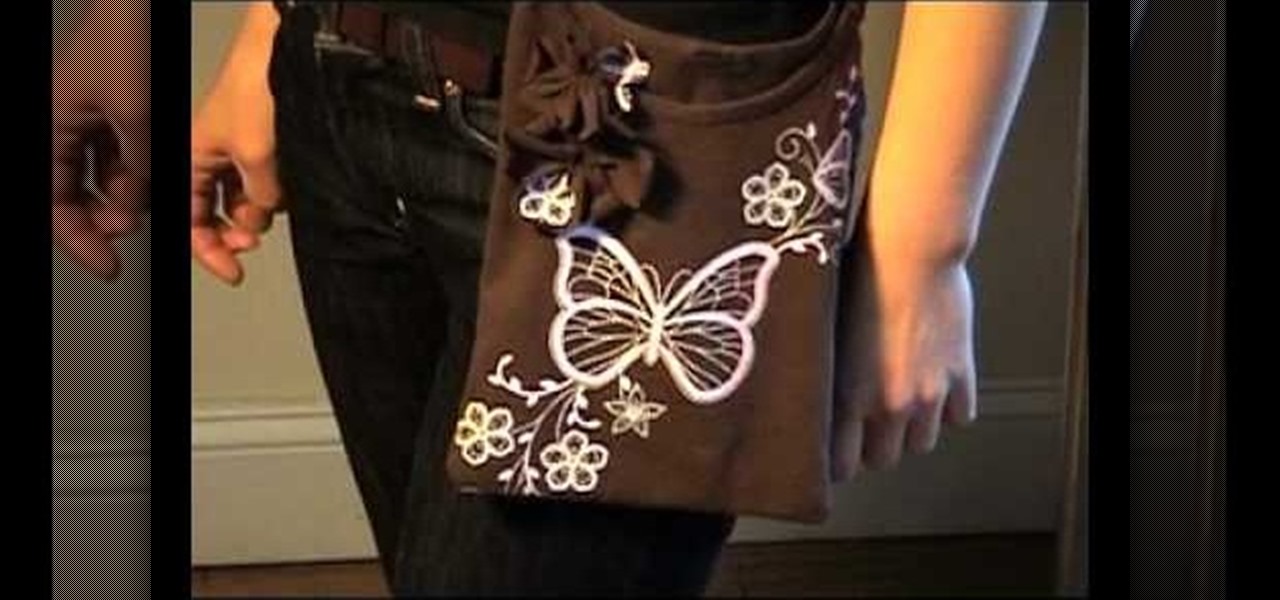
Shiho Masuda demonstrates how to make a T-shirt pochette using recycled materials in this video. You will need an old T-shirt, gardening twine (or leather strap), needle and thread, a ruler, a scissors and a pencil. First, sketch the dimension of your pochette on the T-shirt, staying about 1 inch from the sides of the collar. Next, cut along the lines (save the excess material). Flip the T-shirt inside out and sew the sides together, leaving 1 inch at the top for shoulder straps. Now flip the...

In this how to video, you will learn how to create a little chick with punches. You will need a 1 3/4 circle punch, a 1 1/2 circle punch, a 1 1/2 circle scallop punch, and a small square punch. You will also need a pink and yellow material to cut from. Cut out one piece from the 1 3/4, one from the 1 1/2 circle, and two pieces from the 1 1/2 scallop circle. Take one piece of the scallop and take the 1 3/4 punch and punch the side out. Take the punched piece and place it on to of the other sca...

This video demonstrates how to make a miniature ceramics mold using resin. The object being made is a small saucepan for a doll house. A product called "AMAZING Mold Putty" is used. It is non toxic and can even be used for food. It comes in two tubes. One is yellow and one is white. Take a blob from each tube and make sure they are of equal size. Blend the two blobs together. You must work fast because the material becomes completely hard in 30 minutes. You probably have only three or four mi...

Dawn5377 teaches you how to create a flower brooch using the Big Shot tool. Start with the flower folds bigz die. Apply pieces of material over each flower and cover it all with a piece of acrylic. Pass it through the Big Shot tool and you will have flowers made of that material. Now use the basket and blooms bigz die and cut small circles with the process described above. Fold the flowers in half and create groupings of 3 or 4 flowers with different textures. Use a punch hole to cut pieces o...

Do you have an old pair of jeans hanging around? Maybe they don't fit anymore, or perhaps they are out of style? With a few stitches, you can turn that ugly old pair of pants into a stylish corset top.

Looking to make a special scrapbook? You've got the "scraps"—now you need the book. Before you rush out and buy the first flashy binder that grabs your eye, put a little thought into what you really need.

Knitting with the wrong needles is like playing soccer with a bowling ball –you’ll end up frustrated and disappointed.

Making a PCB is very simple; it does not consume a lot of time and the results look professional. After watching this step-by-step how-to video, you will be able to make your own PCB in your workshop using just a few inexpensive materials.

If you're looking to make some unique footwear from paper mache, this video will teach you how. The term for these shoes is hooves, and they will definitely turn heads as you wear them down the street.

Paracord, or parachute cord, is one of the most versatile ropes out there. Originally made for parachute suspension during WWII, it is now used for everything from tying knots during a camping trip to weaving sturdy bracelets as a fun DIY project. The tutorial featured in this video is the latter.

Sometimes, hand sewing is a better idea than machine sewing - or maybe you just don't have a sewing machine, but still want to sew a few things. This tutorial shows you the materials and techniques you'll need to get started hand sewing.

Follow along in this instructional video as Jeri Ellsworth demonstrates how to fabricate and install the passenger side bracing on dirt track racecar being built from a 1981 Camaro. The materials and tools needed for this project include a 1 3/4 x .120 tubing, an "Affordable Bender" bender, a Millermatic welder and a Hypertherm 43 plasma cutter.

Learn to fabricate the halo and window posts with some tubing and a Millermatic welder into a dirt track racecar being built from a 1981 Camaro. The materials and tools needed for this project include a 1 3/4 x .120 tubing, an "Affordable Bender" bender, a Millermatic welder and a Hypertherm 43 plasma cutter.

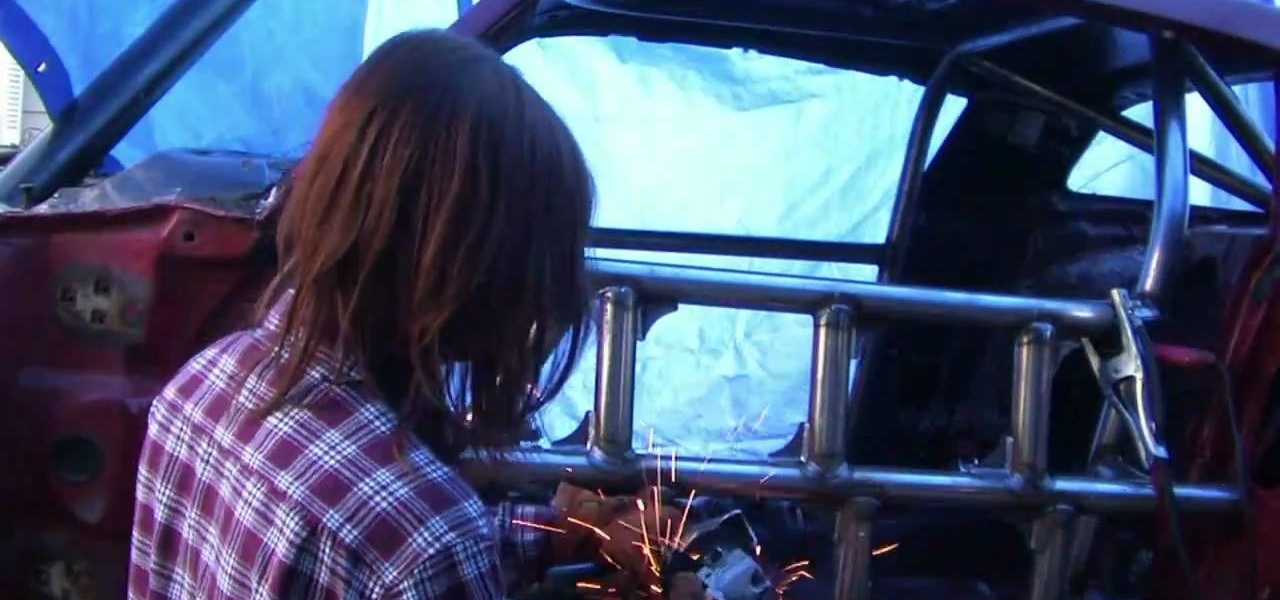
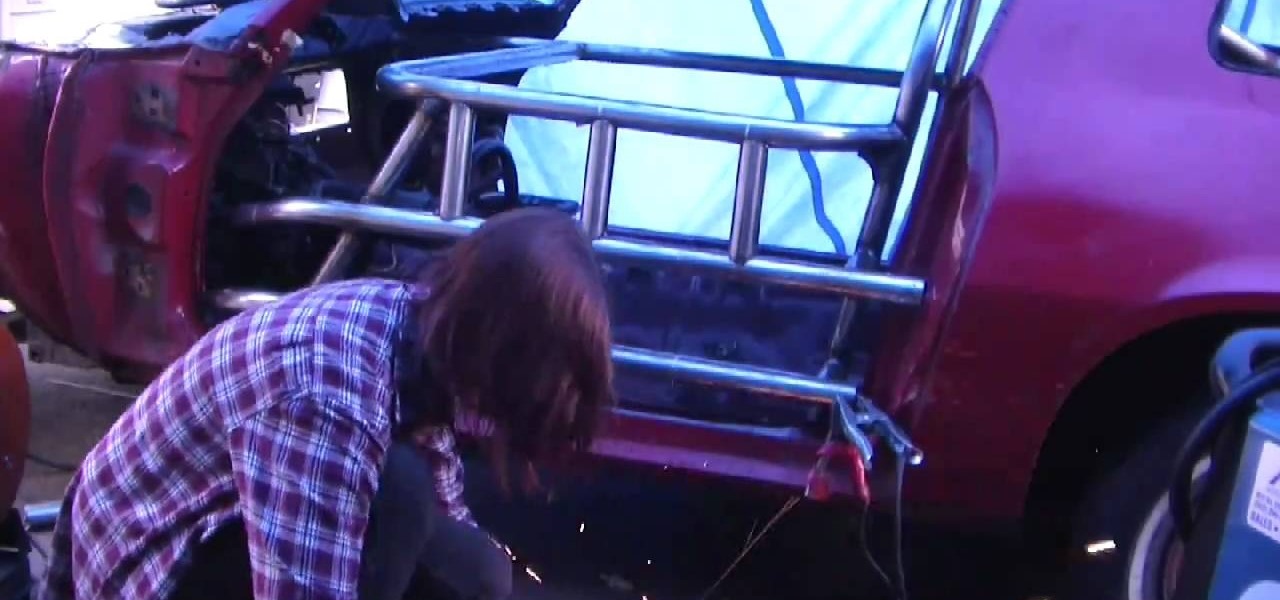
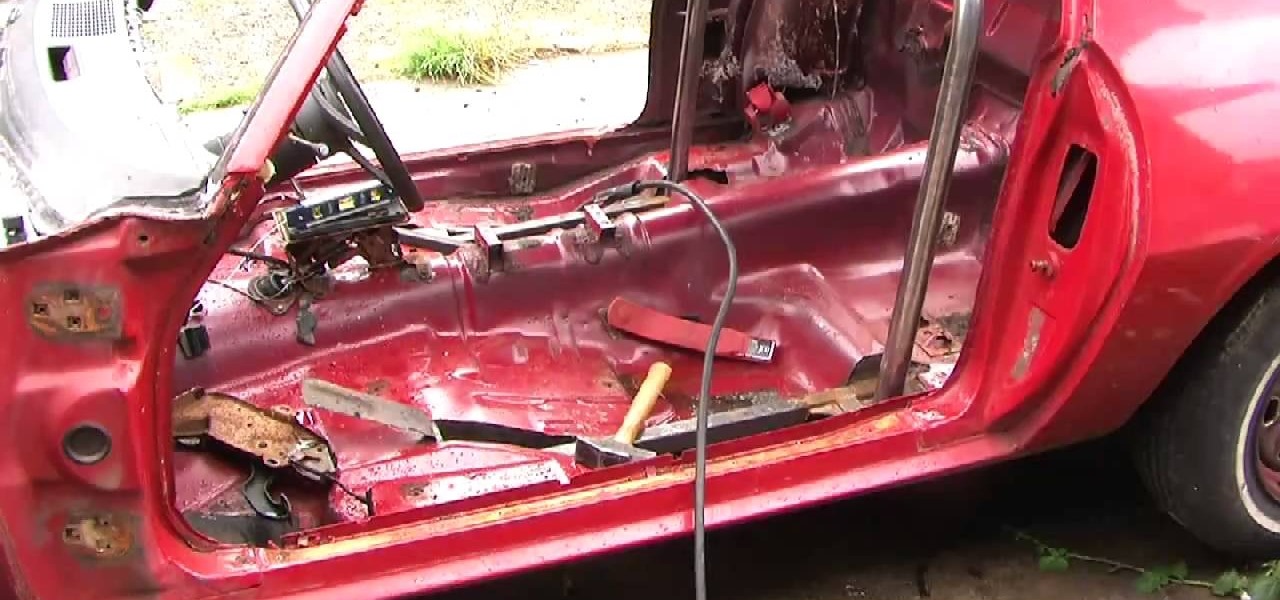
Fabricate and build door bars (aka sissy bars) for a full tube chassis 1981 Camaro racecar by following along in this instructional video with Jeri Ellsworth. The door bars are being built for a very rugged car, designed to withstand a large amount of side impact. Tools and materials needed for this project include 1 3/4 x .120 tubing, an "Affordable Bender" tubing bender, a Millermatic welder and a Hypertherm 43 plasma cutter.

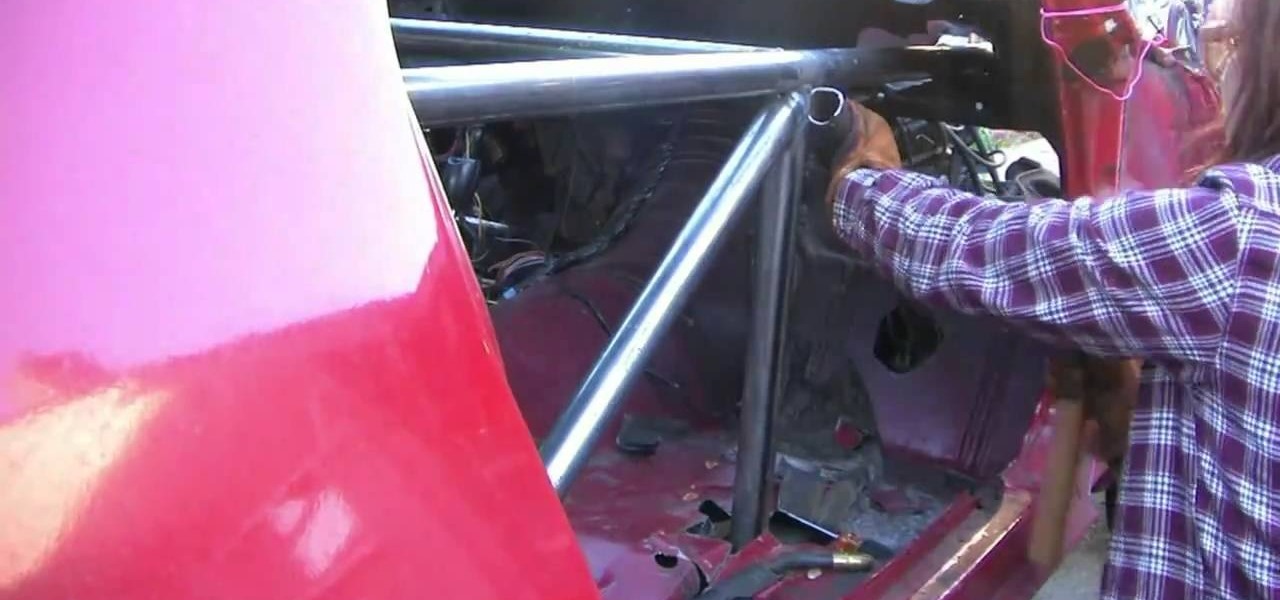
Learn how to fabricate and install a rollbar into a 1981 Camaro being converted into a racecar. In this video, Jeri Ellsworth bends and cuts tubing into a rollbar and welds it into place. Tools and materials needed for this project include 1 3/4 x .120 tubing, an "Affordable Bender" tubing bender, a Millermatic welder and a Hypertherm 43 plasma cutter.


