In this tutorial, we learn how to change an IP address in Windows Vista. First, open up cmd on your desktop and a new window will pop up. When the black window comes up, type in "ipconfig". You will now see your IP address, leave this window open and open up the control panel. Once in the control panel, click "view network status and tasks", then click on "view status". After this, click "properties" then click "internet protocal version 4" and click on "properties" again. Now, type your IP a...

The first step is to select a photo of a black, glossy car. Using the Lasso- polygonal tool, select the outline of the car. Once the image outline is complete, the dots animate around the image. The next step is to deselect the areas on the car where the chrome paint is not required. To do this, follow the same procedure as above holding the ‘Alt’ key (a minus sign appears next to the cursor). Once the selections are done, go to ‘Image’ menu, select ‘Adjustments’ and click on ‘B...

This video shows you how to make delicious prawns with a garlic butter sauce.You will need 30 tiger prawns,3 cloves of chopped garlic,1/2 of

In this how to video, you will learn how to draw a Cookie Monster cupcake. First, draw two circles for the eyes. Follow this with a furry texture oval shape for the face. Add a mouth with a cookie in it and draw the bottom as a cupcake wrapper. Draw the pupils of the eyes. Next, color the face a blue color. You can draw the cookie inside of the mouth a brown color. Use a black color to outline the areas around the mouth. Fill in the chocolate chips of the cookie with a darker brown color, and...
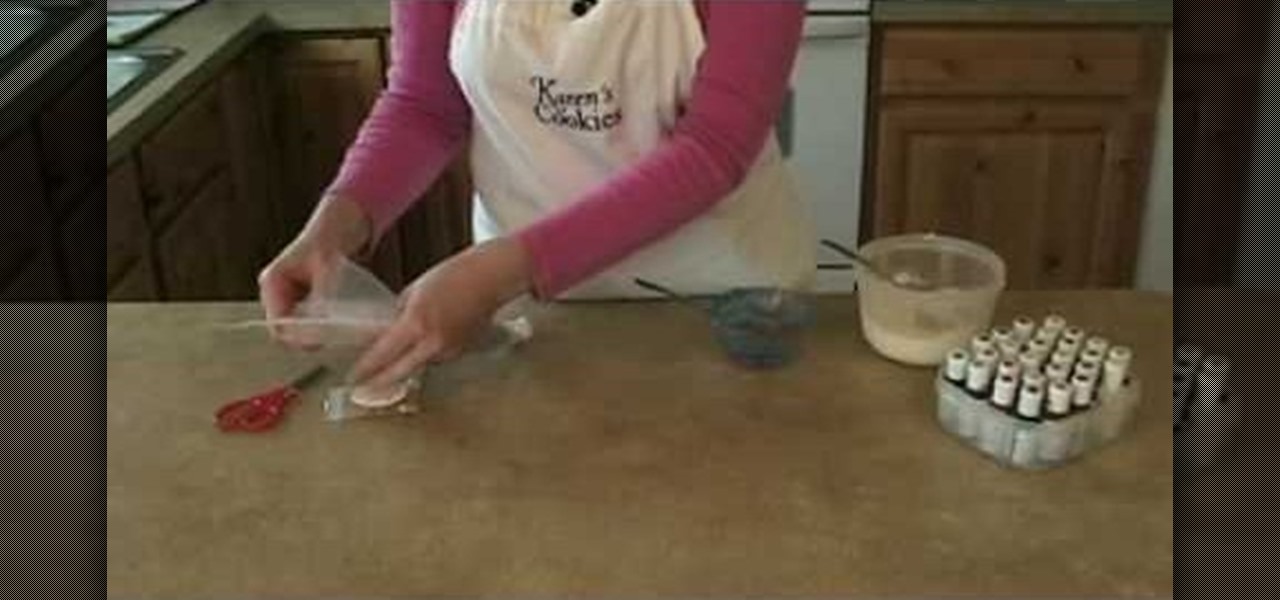
Karen shows you how to mix your colors and fill your bags. This example uses red blue and black. Begin by mixing blue. Start with royal blue coloring and add it to your frosting and mix it well. Dump the colored frosting into the middle of a sheet of plastic wrap. Roll it up in the plastic wrap, twist the edges, and now you have a little pouch with your frosting. Now take a bag with a coupler, and stick the plastic pouch of frosting in it. Pull it tight and rubber band the top of the bag, the...
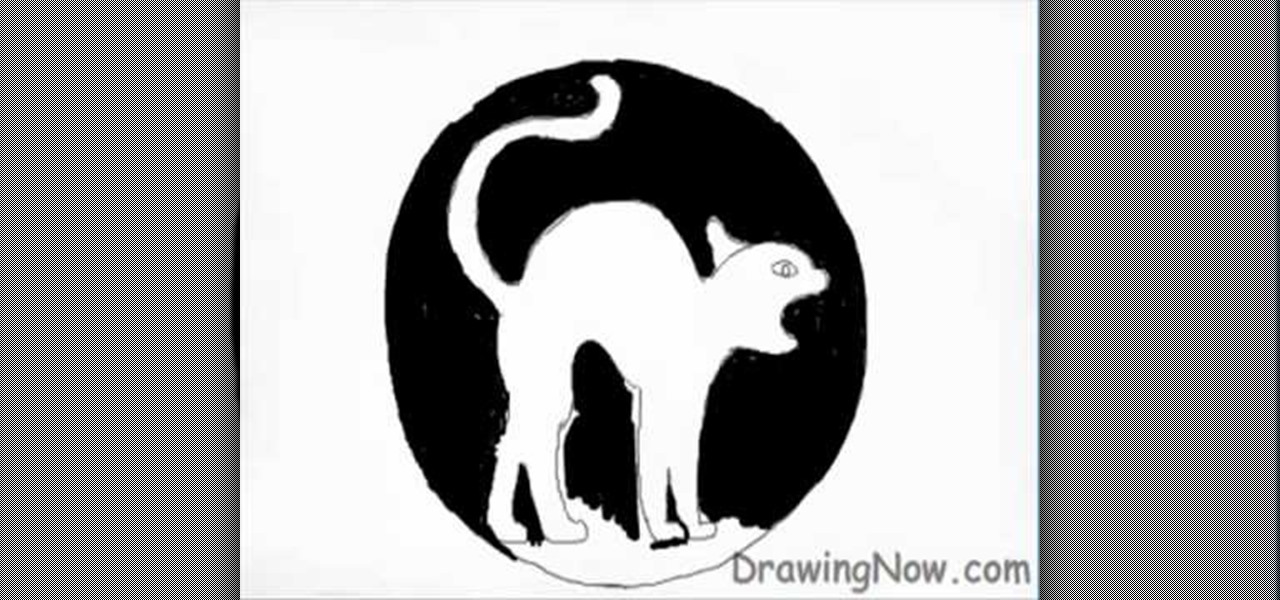
We are shown how to draw a Halloween cat in a several easy steps. First A large circle is drawn. Then in the middle a cat is drawn with an arching back, tail held high. After the cat is completed the background around the cat is filled in with black, giving a silhouette illusion. After the background is completed in black, small details are drawn in white. The fur of the cat, whiskers on the face, hair raising on the arched back and even a gleam in the cat's eye. After this the drawing is com...

River City Graphix Tutorials demonstrates how to make a reflection in Photoshop. First, fill the background layer with black. Then, select the text tool and a color of your choosing. Type the words that you would like to reflect. Next, duplicate the layer to make a copy of the layer. Hold shift and bring it down, setting it on the bottom of the other layer. Select the rectangular marquee tool, right click to get the free transform tool. Right click again and then flip the image vertically. Se...

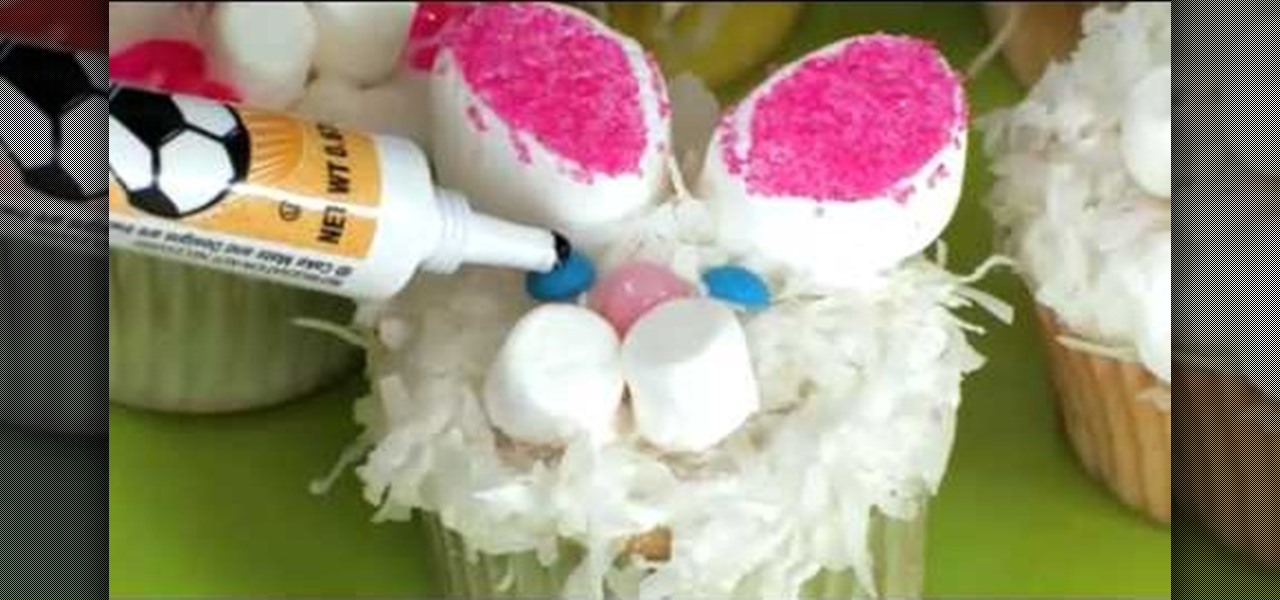
This Family Fun video shows how to make very cute Easter Bunny cupcakes. This is a great project to do with kids. You will need some cupcakes, white frosting, shredded coconut, pink decorating sugar, pink jellybeans, small round blue dot candies, marshmallows, and pink and black decorating gel.

Manjula will be demonstrating a great recipe for asparagus and ginger. It is preferred to be used as an appetizer or salad.

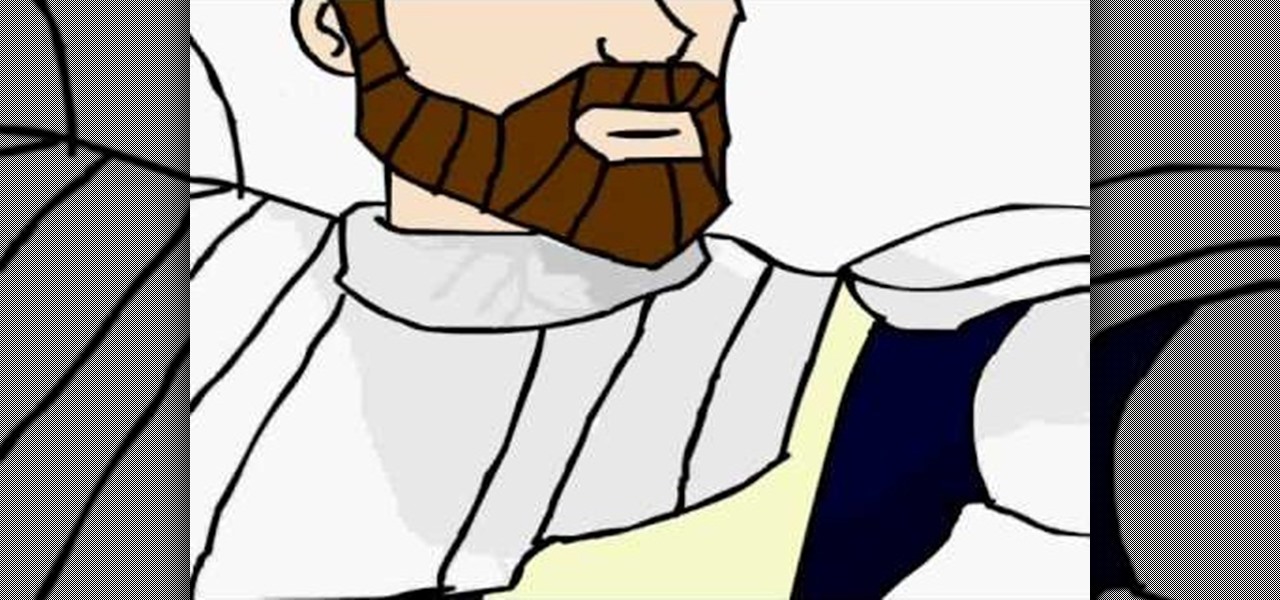
This artist shows how to quick paint/draw Obi-Wan Kenobi utilizing his mouse and pc. He starts out with a rough sketch of his character, making a black outline of his figure. He then goes back over his initial sketch with blue lines, cleaning up the lines, making them smoother. Once the blue lines are completed, the first black line sketch is erased and the blue lines smoothed out even more! Piece by piece, color is applied to each part of the character. It is placed roughly at first but smoo...

TooSmartGuys teach viewers how to hack their iPhone using Black Ra1n and Sn0w. First, if you have a jail broken iPhone you should back up your apps by downloading a program called App Back Up. Now, plug your iPhone in and let iTunes load. Allow it to update and you should see the iTunes icon on your phone and the cord picture. Open up Blackra1n and click the button that says make it rain. Your phone reboots and there will be a new app on there called blackra1n. Launch this app and you can put...

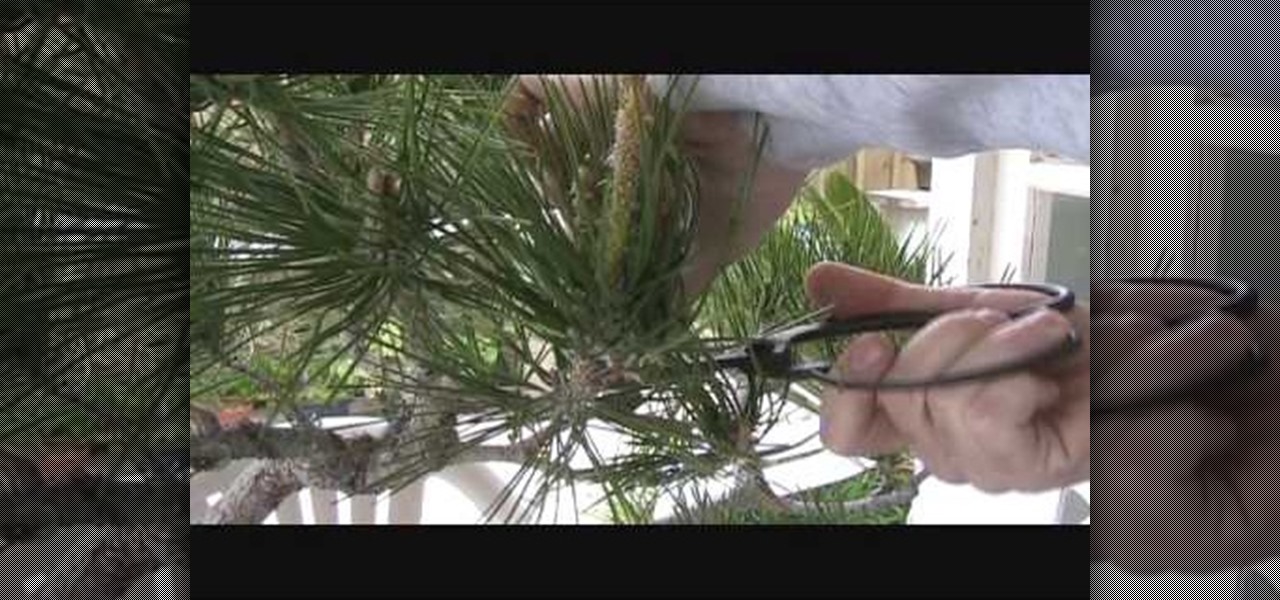
In this Home & Garden video tutorial you will learn how to prune & clean a Japanese black pine bonsai for spring. First you got to prune off the branches that you don’t want and allow only the branches that you want in order to design the tree. After about a year of pruning off the branches cut off the studs created by the left over branches so that the area is flush with the rest of the trunk. Then cut off any dry stubs around the foliage. Next cut off the foliage that is growing out of the ...

This video teaches you how to achieve an eye catching stained glass nail art effect without attending a nail salon. To achieve the striking effect, one needs between 4-7 nail polish colors, and a fine lined nail art nail polish in black. Beginning with the base color, one applies the desired outlines for the "panes" using the nail art brush. Once that is dry and you are satisfied with the outlines, you can begin applying your desired colors to the "panes" achieving the effect of pieces of sta...

Hi everyone, happy new year. Today we will be repotting a Japanese black pine bonsai tree with Charles M. We will first check the health of the pine tree by checking the fungus cultures. It is a healthy tree if there is a lot of fungus. We will first prune some of the roots to be used in the new soil. We will loosen up some of the roots to be able to repot it. We will make sure not to throw away any fungus cultures to make sure to preserve the tree. Enjoy the video on how to repot a bonsai tree.

This video illustrates how to make a temporary tattoo with black eyeliner. This process includes the following steps.Step 1Take the picture you want to make tattoo of.Step 2Reverse the picture and paste it on a paper.Step 3Take a tracing paper and trace the outline of the picture using a eyeliner.Step 4Now reverse the tracing paper and paste it on the place you want.Step 5Now take a cloth, wet it and place it on the tracing paper so that you get the outline of it on the place you want.Step 6N...

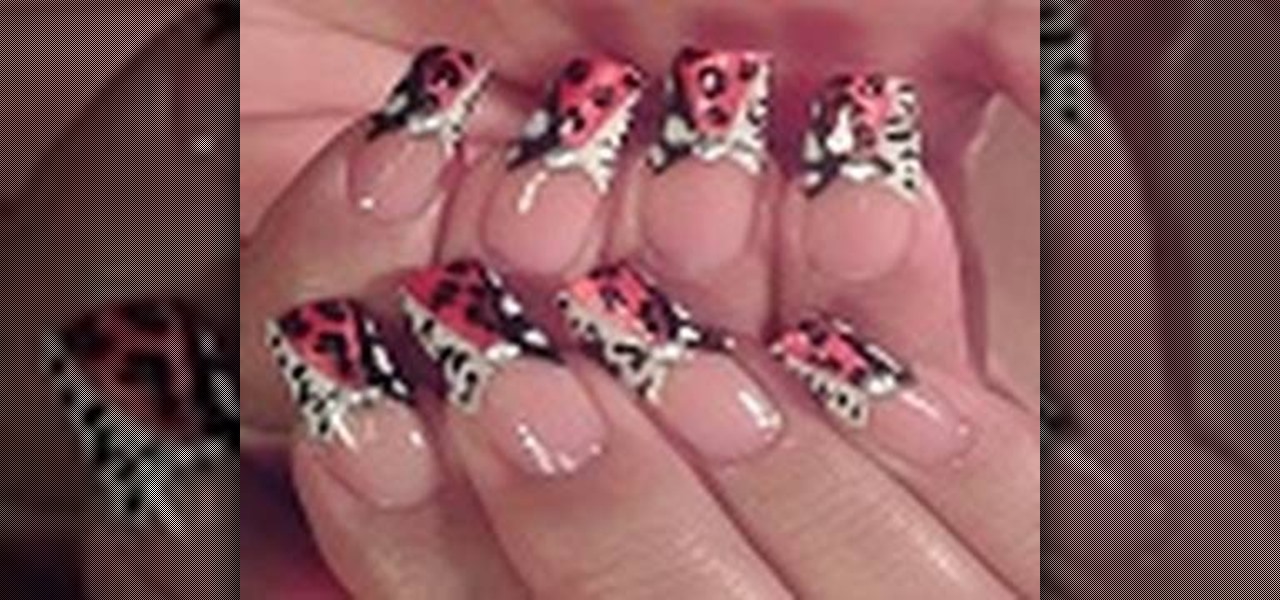
This video is a tutorial on how to paint your fingernails with a sassy animal print. The video begins with a an example of the finished nails being shown and the various alternatives used being explained. The first step completed is to dip the tip of the nail in a gray off white color and then use the color red to make small dots covering the entire surface of the nail. The red dots are then accentuated using the color black to give them a black shading. The final step taken by the nail artis...

This video will show you how to make a Bok Choy Stir Fry. For this recipe, you will need: olive oil, a pan, scallions, ginger, a wooden spoon, chicken breasts, bok choy, salt, black pepper, soy sauce, and rice vinegar.

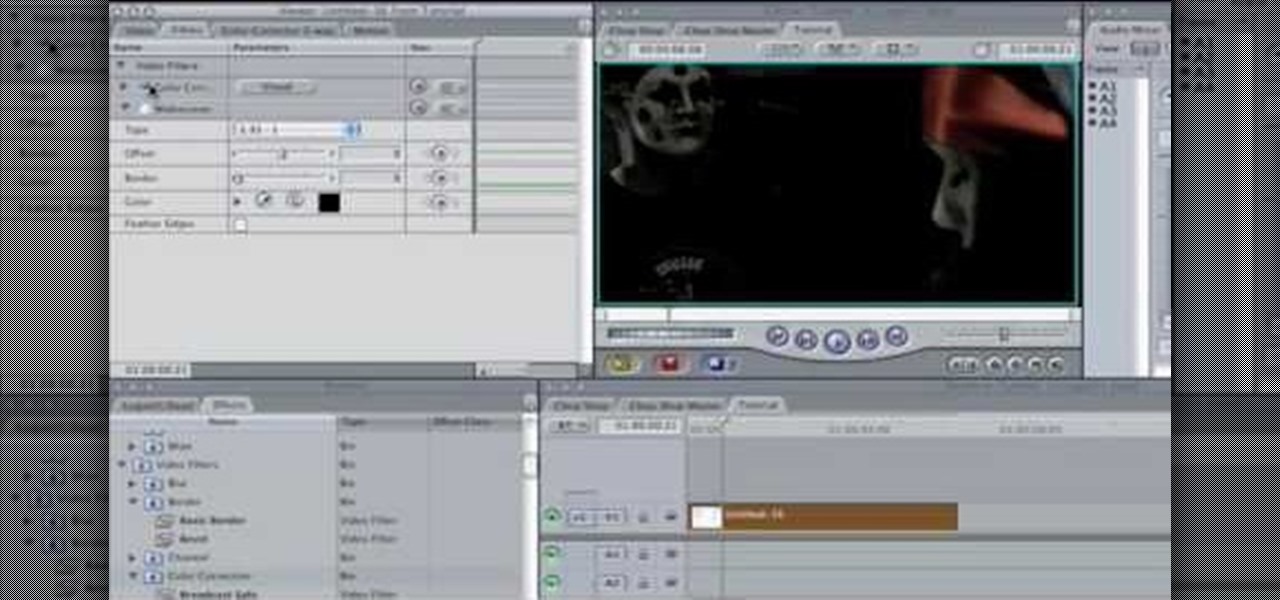
In this Software video tutorial you will learn how to apply the Film Look effect in Final Cut Pro. This is an advanced technique. This essentially takes a video and makes it look like a film. Select the video clip that you want to work with. Then select the ‘color corrector 3 way’ filter. This is under the ‘Effects’ tab. The key to any color correction is to crush the blacks. So, decrease the blacks with the slider. Then increase the whites as films have higher white level. Depending on the s...

In this how-to video, you will learn how to censor your eyes using the software Fun Booth. First, click the left arrow on the program until you reach the section My Props. Click the plus sign and upload a black image. Place and reshape the image so that it fits your eyes. Now, click save prop. As you move your head, the black image will follow your eyes. Click file and press record if you want to make a movie using the censor bar. Viewing this video will teach you an easy way to make a censor...

Love4Nails teaches how to paint your nails using green polish. Start by using a lighter color. In this case, she uses white. She then side swipes the nail using dark green. Start from a corner at the bottom of your nail and using a swirling motion paint to the top. Next, she uses nail art polish in black to outline the side of her nail that's been painted in green. Creating a "V" she outlines the other side of the nail. She then uses a gold striper polish inside the "V." Use dotting paper and...

In this video, Mr. G demonstrates how to draw a wintery snowflake. You will need a plain pencil, or a blue and black colored pencil for this drawing. Start by writing your name and the date on a white sheet of paper. Then, begin lightly drawing the base of your snowflake. After you have drawn your base, Mr. G will show you how to make the lines darker to form the shape of your snowflake. Then, you will learn how to detail your snowflake by drawing small triangles inside the basic shape that y...

This video explains how to paint your nails in a red, black and silver art theme. The instructor begins by showing off her finished nails and the different colors she had chosen to use for her own nails. The instructor asks the user to choose the solid color and highlighting color to use, it is also necessary to choose various types of glitter to use as well. The color red is first used to color just the part of the nail away from the finger and then rhinestones are then used to decorate the ...

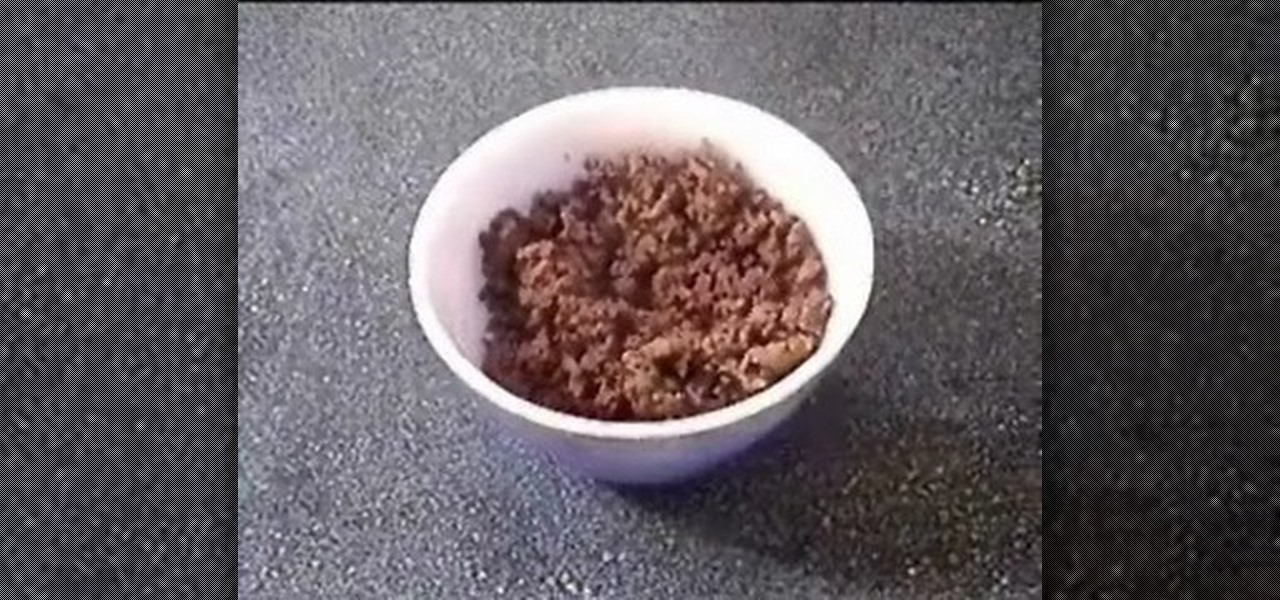
This video shows you how to Brown Ground Beef. For this, you will need a skillet, an egg turner or a slotted spoon, ground beef, ground black pepper, Worcestershire sauce, and oregano.

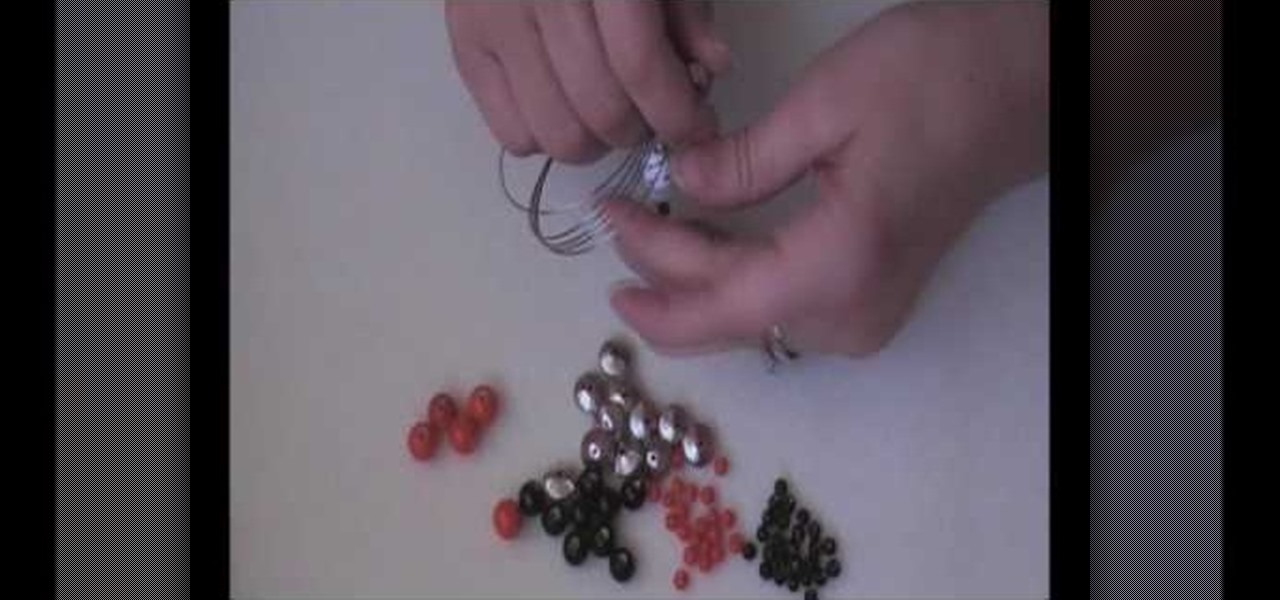
For this project you will need some 4 mm orange beads, acrylic spacers, 4 mm black glass beads, 8 mm black glass beads, 10 mm orange glass beads, memory wire, headpins & skull charms. You also need pliers that include bent nose pliers, chain nose pliers, round nose pliers and memory wire cutters. Ordinary pliers become blunt when used on memory wires. In the first step cut some loops of the memory wire depending on how many loops you want to have on your wrists. Now take a skull charm and a 4...

This video teaches you how to make glitter wands using a simple and fast method. For a wand measuring about 18 inches long, you will need a sheet of A4 printer paper, glue, 2 strips of 1 inch wide 2 ply tissue paper, a pair of scissors, black and gold paint, an old sponge and glitter. First roll the sheet of paper and stick it so you have one small end tapering towards a slighter bigger end. Stick tissue rolls on the rolled paper and seal off the ends by twisting gently. When the glue dries a...

Follow the easy instructions of this video to create the perfect kitchen accessory for your dollhouse! The instructions for the mini polymer clay watermelon are quick and easy to follow. First you need red, black, green, and translucent clay. You want a very light green color for the watermelon. Use the pasta machine to mix the colors together. Slice the pieces of green clay and lay them on top of the light green clay. On the largest setting run them through together in the pasta machine. Rol...

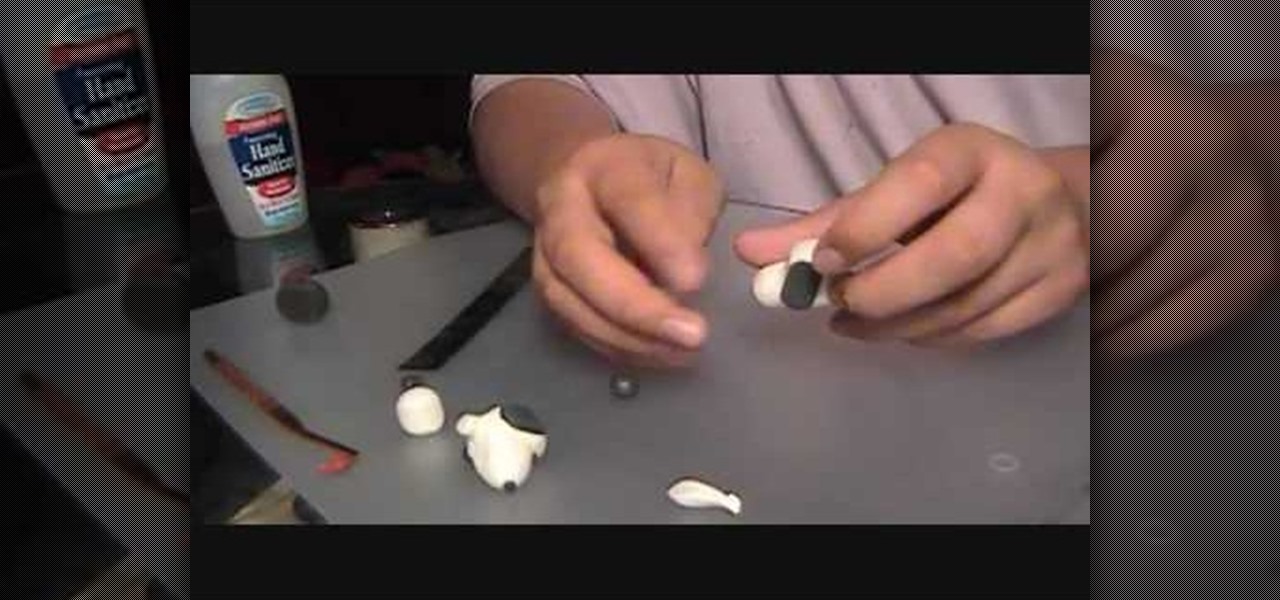
This video describes how to make a snoopy head from a type of polymer clay. You will need both black and white polymer clay, a blending tool and a ruler. It begins with the main part of the head and moves onto creating the correct structure using a blending tool. It advises using your thumbs to smooth away the creases and cracks from the surface of the snoopy head. After the main part of the face is made, it describes how to create the eyes and ears using the black clay. The eyes and ears are...

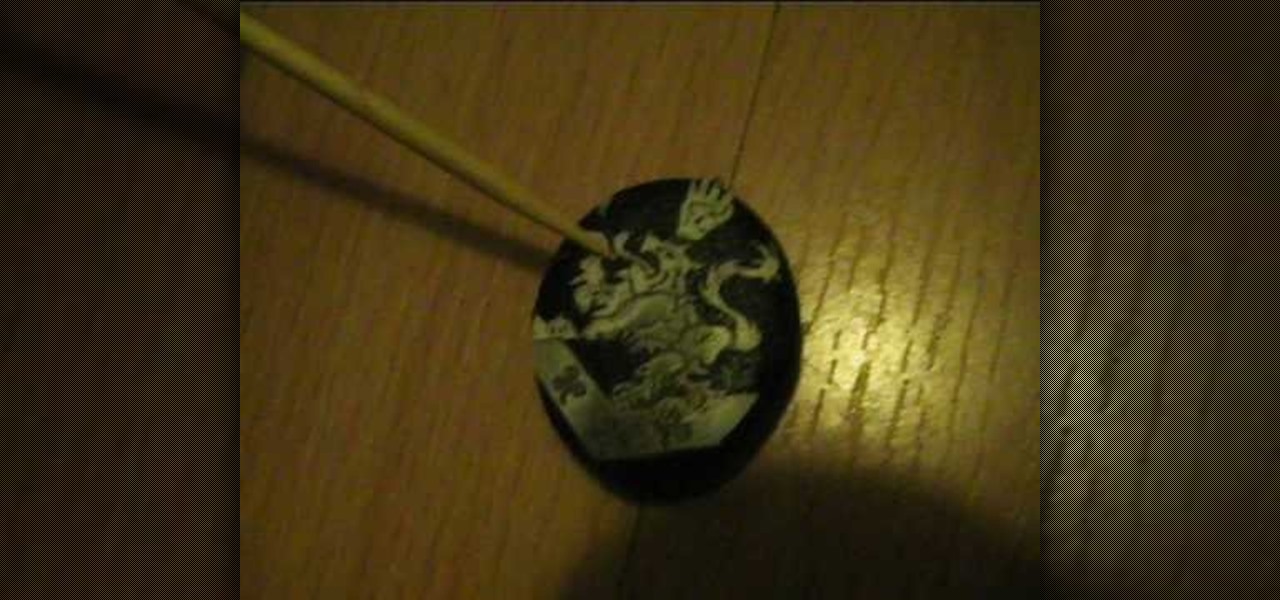
In this video, Alice demonstrates how to make a crest necklace using simple things. For making this necklace she collects some materials such as oblong shaped rock or polymer clay, some paints, a computer print of a cullen crest and so on. She uses the ordinary black paint to paint the rock completely. Next, she collect a computer print of a layout for the culler crest and carefully cutout the shape and using craft glue she stick it on the painted rock to see it fit. she takes some white pain...

Brittany Black Rainbow demonstrates how to draw an emo boy. Begin with the back ground of hair, draw it like an inverted cone, assuming like one eye is covered by the hair. Draw the second eye and brows, and now draw the nose and mouth. Complete the face. Just draw the neck and the body with a round neck T – shirt with half sleeves and the hands. Now complete the hair. It’s like thorny bush, just draw all these lightly. Give black shade to the hair with pencil itself. Now darken every thing, ...

This video teaches the method to add a virtual frame in Lightroom. The frames can be black or white. Go to the 'Develop' module. Open your Vignettes box. Go to the post-crop section. Slide the last three sliders to the leftmost position. Move the 'Amount' slider to the left to choose black frame and to the right side to choose white frame. The frame is rounded on the upper two corners. The 'Roundness' slider is used to round the frame inwards until a complete circle is obtained when the slide...

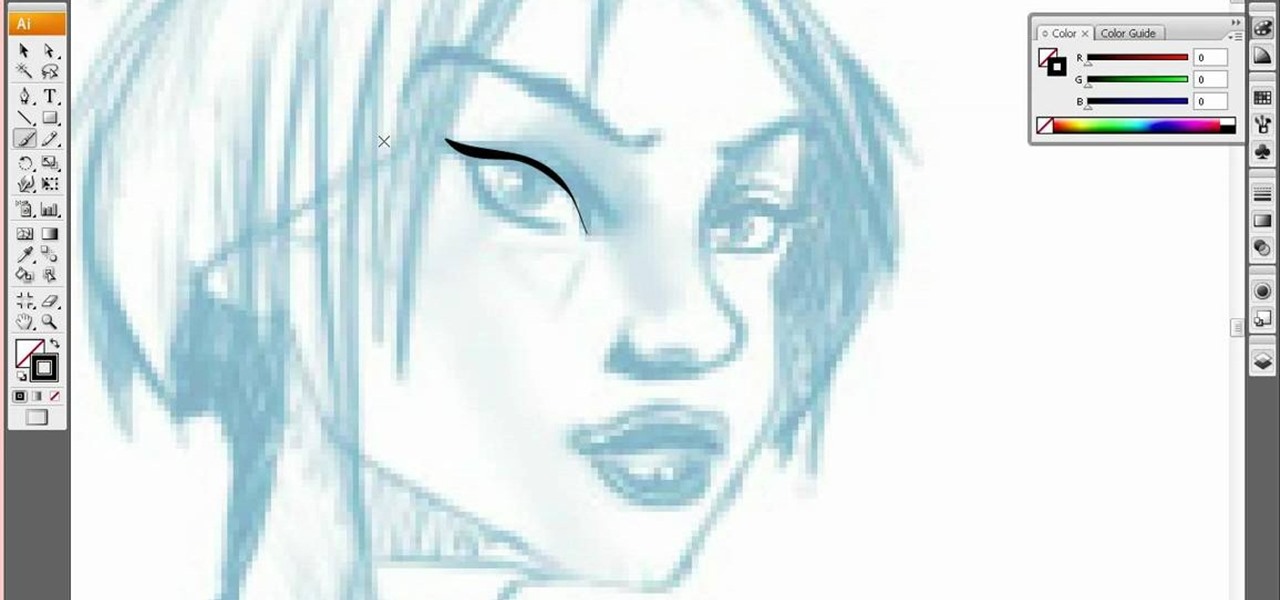
This video by Architectus777 teaches us how to ink comic book pages. Inking is simply another term for outlining or black lining. This first step is to find an image in black in white. Following this, you may edit the image to be as light or dark as you wish. Afterwards, the shading is left up to your discretion. Moving on, Architectus777 shows other methods of inking, including using various other programs outside of Adobe Photoshop. We are then actually shown the inking process, in which Ar...

Make mini truffles out of polymer clay for a dollhouse. Watch this video to learn how to do this. You will need amazing mold putty for this project. It comes in two parts; yellow and white. Take equal amounts of each and mix them up; they are like clay. You will make a mold out of this for the mini truffles. Then you take whole black peppercorns and press them into the mold putty and keep it out for drying. After it is dry, remove the black pepper and you got the mold ready. Now you take clay...

This video shows you how to make crispy chicken stir fry with pepper. You will need: boneless chicken breast, tempura flour, black peppercorns, oyster sauce, garlic, frying oil, black soya, green bell peppers, red bell peppers, yellow bell peppers, baby corn, onions, salt to taste, chili oil, and chili powder. Chef Veena Arora of Spice Route shows you how to make an appetizer that can also be served as a main course! Learn how to make a savory and spicy treat that will impress your friends! C...

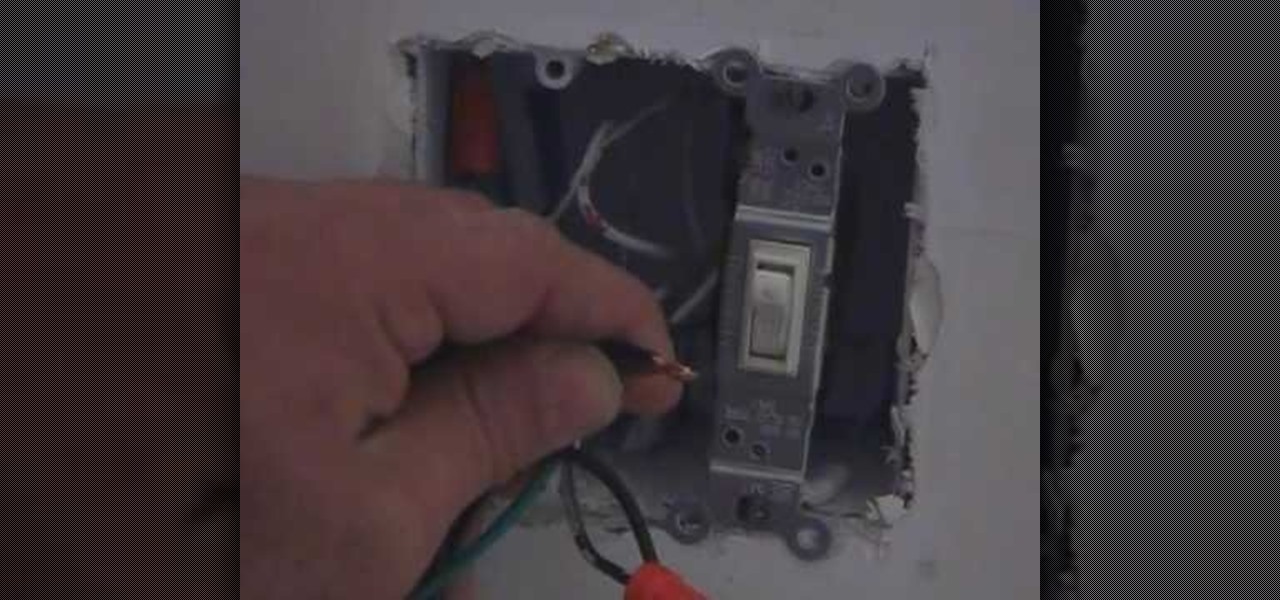
This clip shows you how to replace a regular toggle switch with a dimmer switch on a light. It is easier than you think according to the presenter. There is a box with a green ground wire and two black wires. In dimmer switches, it doesn't matter which way you connect the two black wires; they are interchangeable. Turn the power off. Then unscrew the switch once you have opened the plate. Then you simply connect the two wires to the two wires on the dimmer switch. The presenter shows you exac...

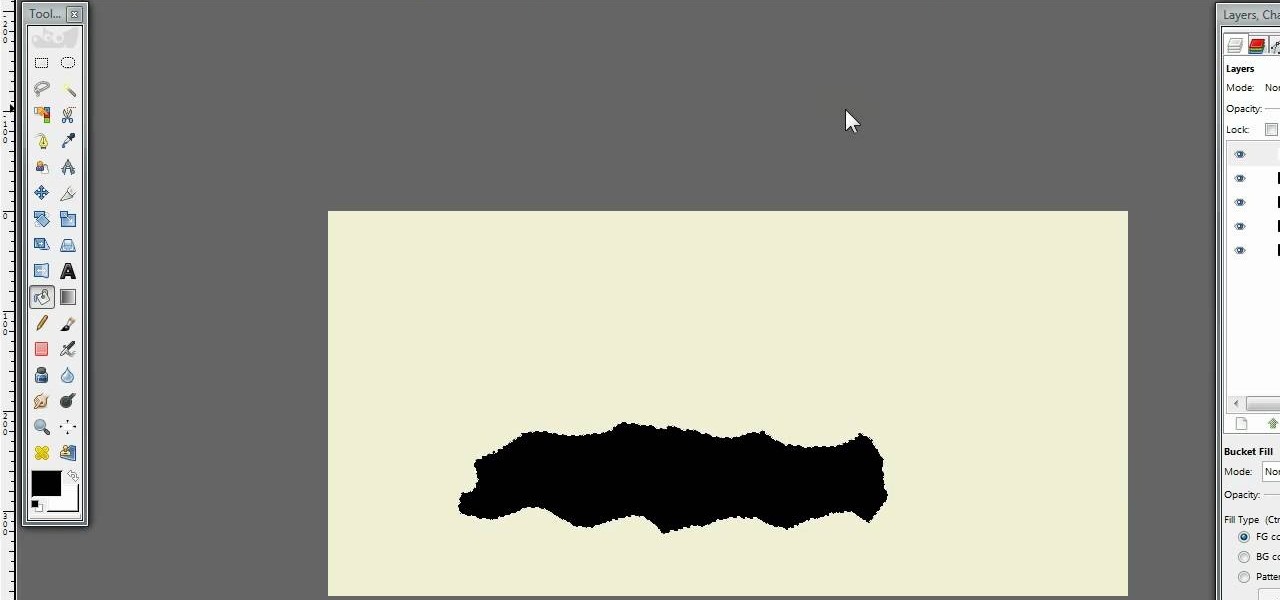
Hulldo teaches you how to create your own headlines in GIMP. You start off with a new file and paint that a light brown. Make a selection on the file and create a new layer on top. Color that layer black and add Gaussian blur. Put that layer beneath so it will make a shadow on your selection. Create the start of a gradient or simply a Grey layer on the bottom of the headline. Then add your text with black color. You can duplicate these layers, reside the selection and change the text. You are...

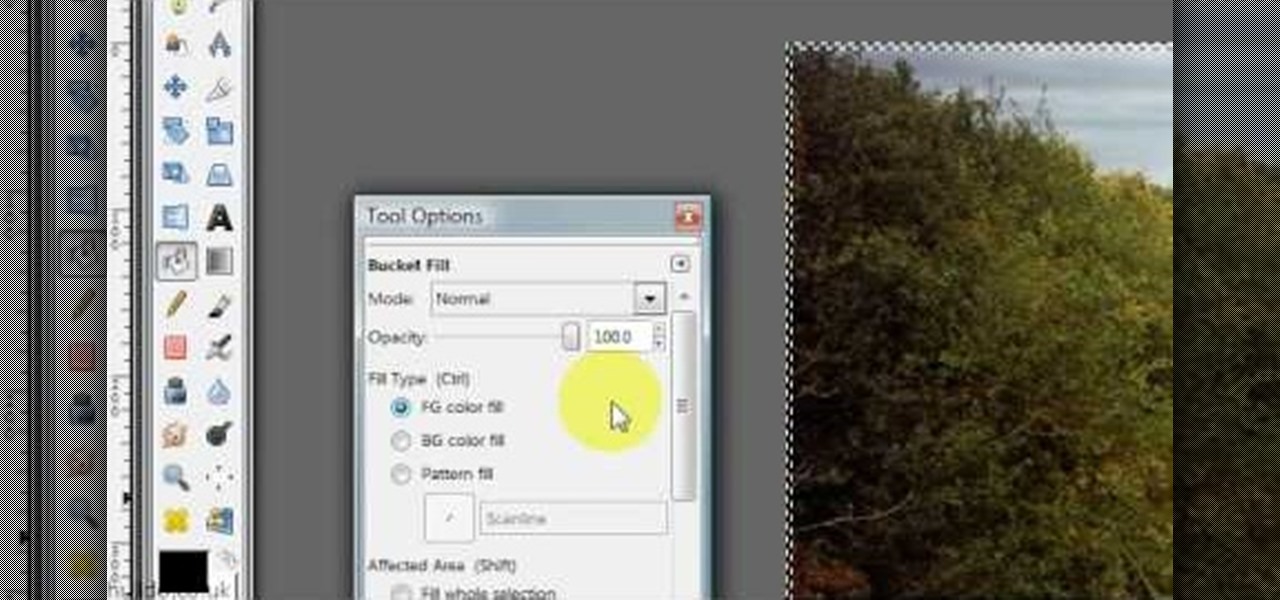
Hulldo teaches you how to give your images a widescreen border using GIMP. Open up a picture and the click new layer. Next go to select - border and make it 3 pixels. Go to tool options and use black for foreground fill. Select none and create a new layer. Go to view and make sure snap to canvas edges is ticked. Go to rectangle select tool and go to its menu. Then select 640x30 pixels. Fill that layer with black and select none. Duplicate this layer. You place this one on the bottom and you a...

Vijay Wanchoo of the Imperial Hotel in Janpath, India shares this recipe. To make the concasse sauce he removes the skin of the tomatoes by putting them into hot water for a few seconds, then immediately into cold water; the skin then peels off easily. The tomatoes are then sliced, seeded and cubed.

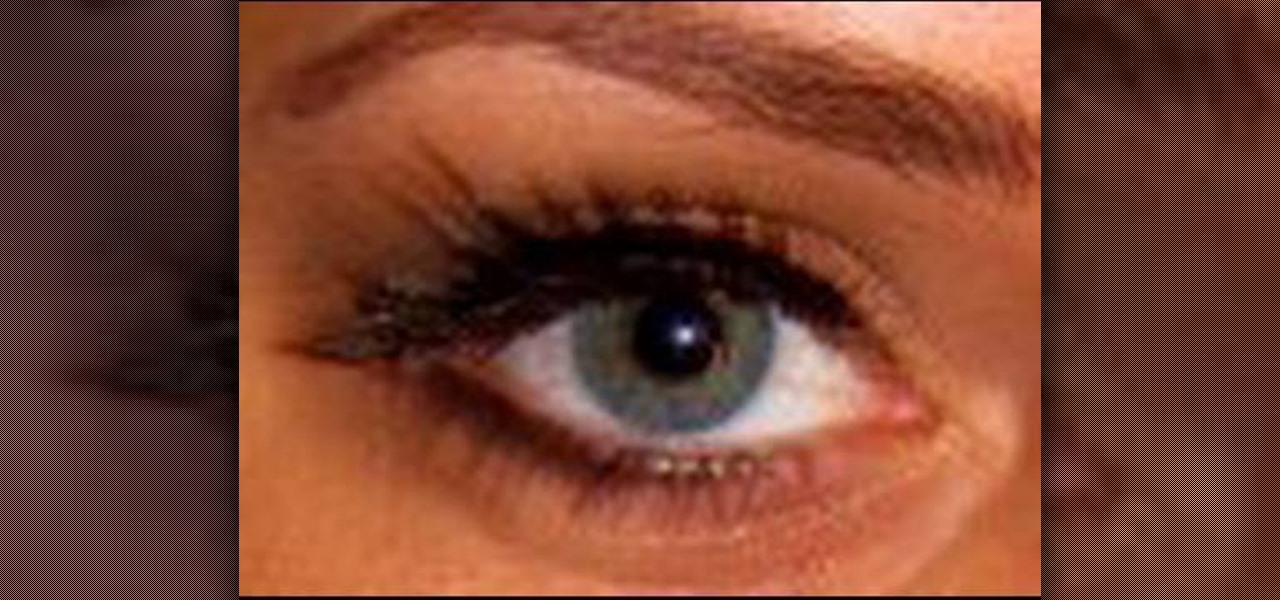
Judy teaches the secrets of creating a smoky bronze country girl look in simple steps. First apply the primer, then apply a light brown color to your lids. Now apply a bronze color over your lids and to the inner corners apply a ivory color. For the outer corner apply a darker brown and use black color to deepen the crease. Apply a black eyeliner to your upper lashes, then a dark brown to your lower lashes and add some false lashes. Now blush your cheeks using gingerly and apply some lip glos...

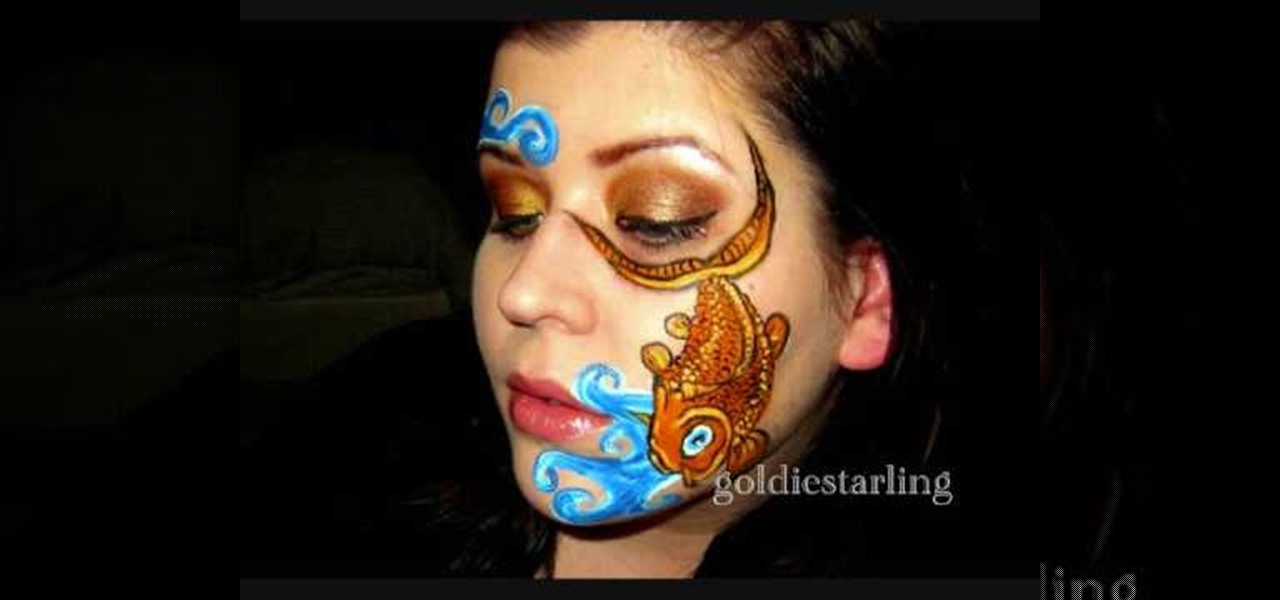
Watch this video to learn how to apply a koi fish arty makeup look in four easy steps. Draw design on the face with a white eye liner. Apply the blue from the Mehron Tropical palette to the waves. Apply white to the waves from the Mehron Basic palette to define them. Mix yellow and red in the Mehron Basic palette and fill the fish with color. Outline the fish with a black liquid eyeliner. Draw eyes and added highlights to the scales with the Mehron Basic palette. Clean the black lines with q-...

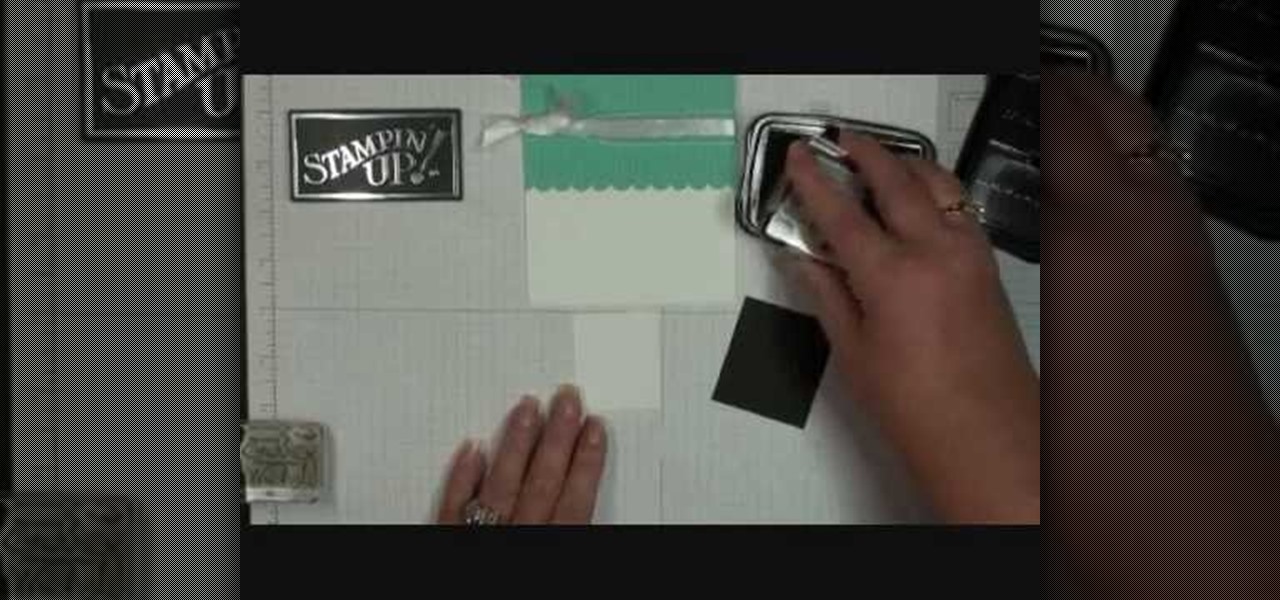
Demonstrator Dawn Griffith offers a short tutorial on how to make a simple and cute birthday card. First you will use white paper to make your base card. Then use a scallop edge punch to scallop some green designer paper, which you will glue to the top of your card. Tie some white ribbon around the top and trim for a clean look. Use a greeting stamp to stamp a message onto the bottom right front of your card. Create a center image by adhering white paper on black card stock, stamp the white p...


