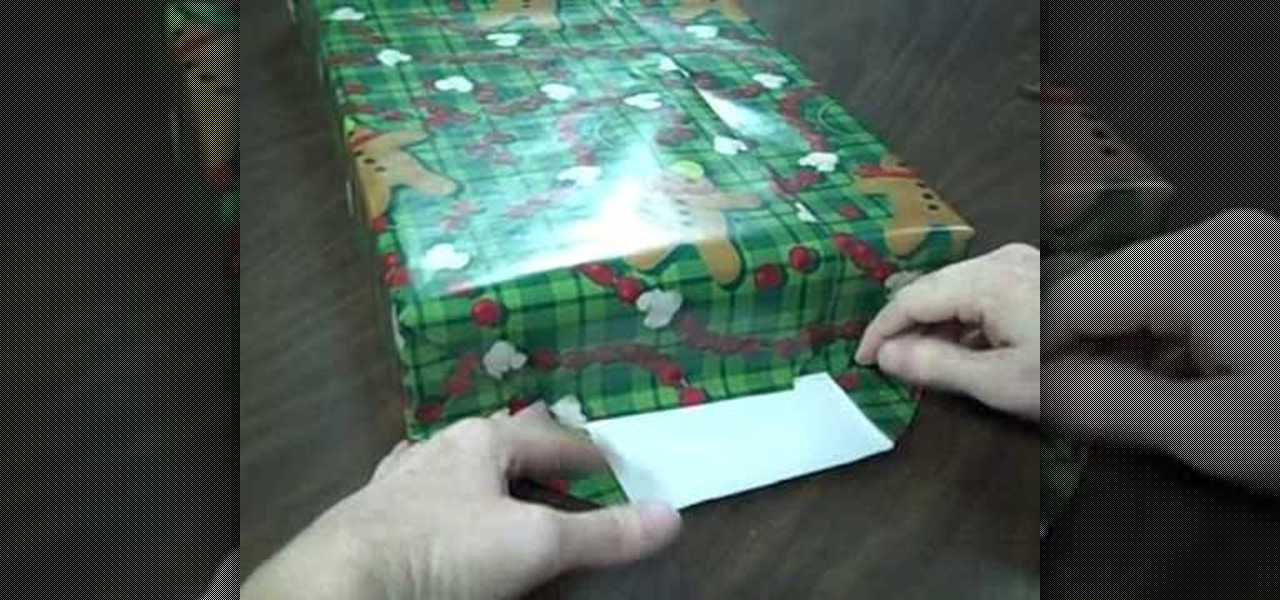
In this tutorial, we learn how to wrap a present. First, lay the wrapping paper on a flat surface and cut it so it's wide enough to fit the gift. After this, place the present in the middle of the paper and fold one side out to the edge, then make a crease and tape it. Now, take the other side and fold it up the side, then make a crease and tape that. After this, you will bring the sides up and fold the creases on the bottom and on the top. Next, make creases on the side of the box and then t...
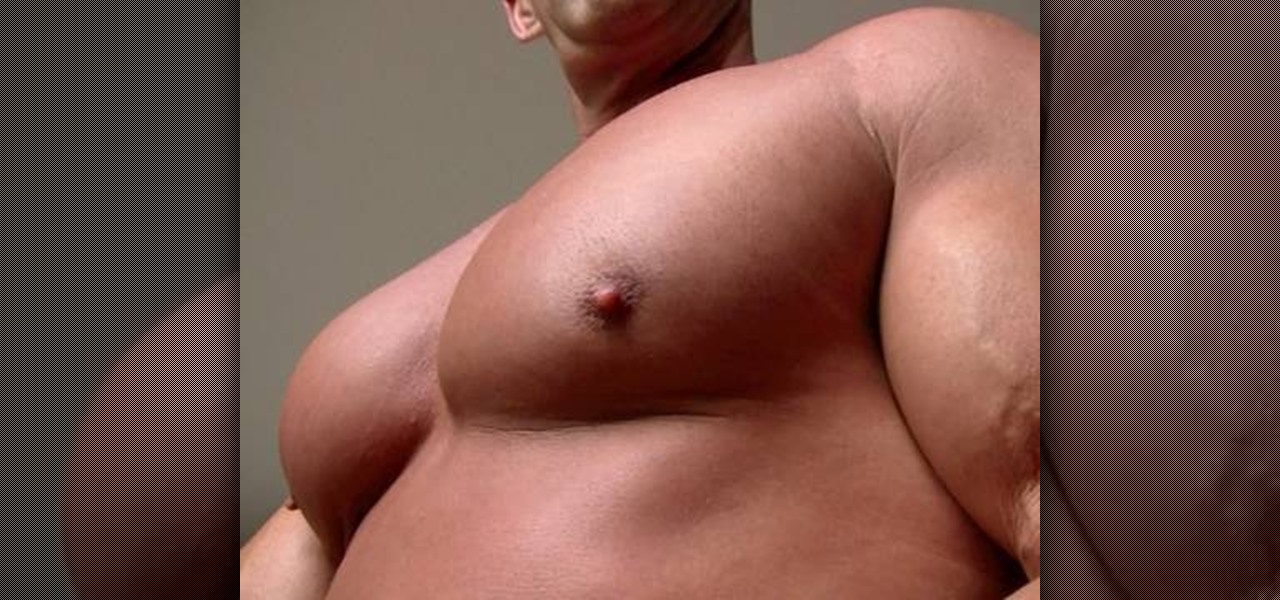
In this tutorial, we learn how to do ultra wide pushups for a big chest. A basic pushup can be way too easy if you are an experienced body builder, but you can do different variations to strengthen your body further. First, get down on the ground and place your arms much wider outside of your body than they normally would be. This will make you push harder up while your hands are pushing outward. This will make you work hard and squeeze at the same time, and your range of motion will be limit...
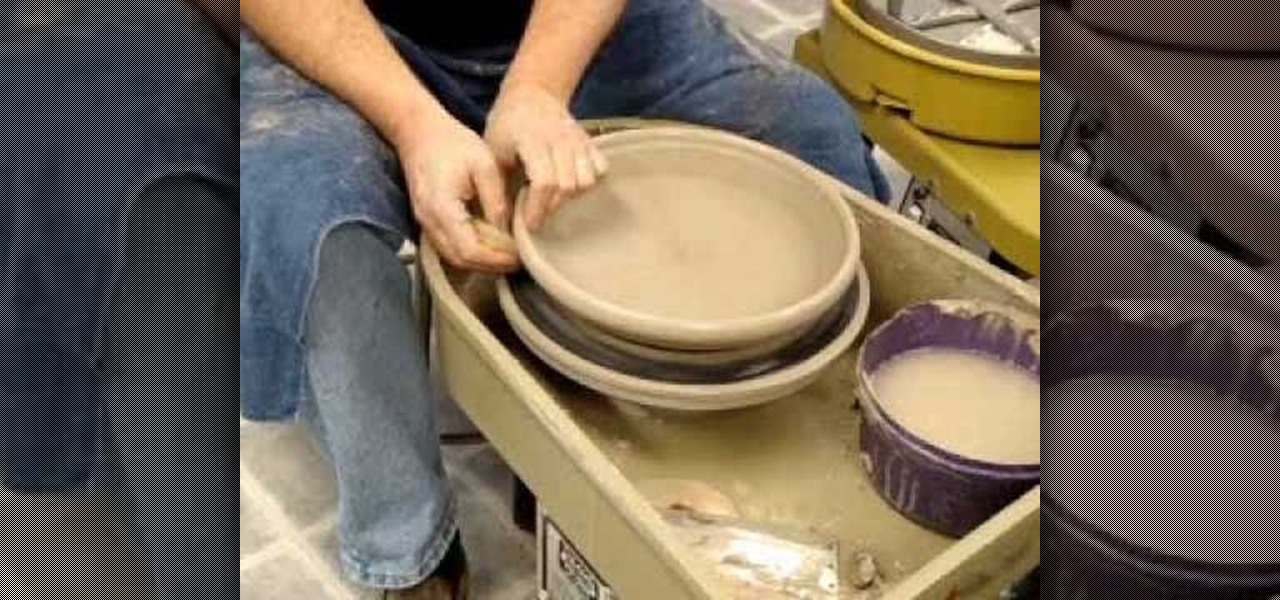
Are you looking to make your pottery projects more quickly and with less stress? Then this is the perfect tutorial for you. Lakeside Pottery shows you step by step how to flatten and shape a flat form pottery piece using a chattering technique.

If you've figured out your short-field approaches and landings, then it's time to tackle "soft-field" approaches and landings. As a pilot, you need to be able to perform all types of landings, and you have to be prepared for inadvertent reactions in the air and on the ground.
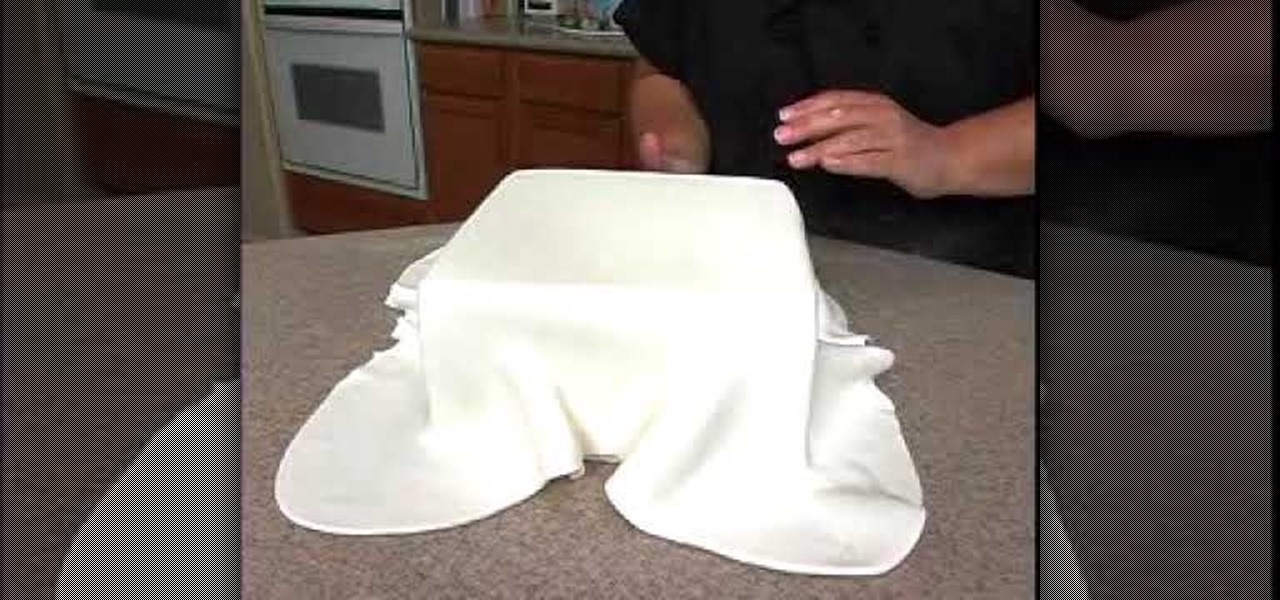
Fondant is quite the tricky cake decorating material. On the surface it looks smooth, slick, and solid, but the consistency of fondant is actually quite thin and the sugary paste is very liable to tearing while you're working with it.
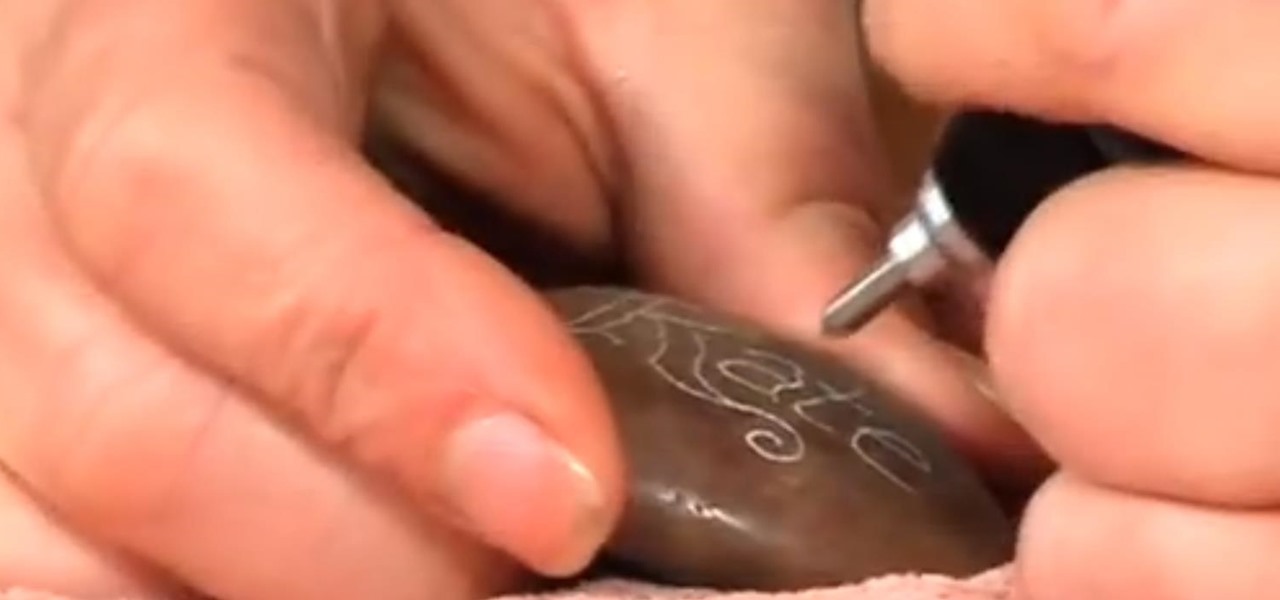
You can engrave just about any surface available, as long as you can press your engraving pen over it. Watch this tutorial to learn how to engrave stones from your garden or the beach with gorgeous floral designs or names. If you have a party coming up, you can create stunning party favors or stylish decorations by engraving pretty designs onto common garden or beach stones!

Makeup artists often throw around terms like "cool undertones" and "warm neutrals," but when it comes to buying a foundation, most women select one by swiping it on and then wiping it off.

In this tutorial, we learn how to make French baguettes using a bread machine. To make this, you will need: 2 c water, 5 c bread flour, 2 tbsp white sugar, 2 tsp salt, 1 tbsp rapid rise years, and 1 egg yolk whisked with 1 tbsp water. Place all of your ingredients except for the yolk and water into the bread machine and let it knead the dough. When finished, sprinkle corn meal onto a hard flat surface, then shape it into baguette shapes. When finished, brush the egg yolk and water mixture ove...

In this tutorial, we learn how to recycle plastic grocery bags into a dog leash. To begin, you will cut the plastic bags in half, then cut off the handles of the bags. Next, apply glue to the entire bag, then roll up into a straight line. Continue to do this for several different bags, depending on how long you want your dog leash to be. When you finish this and the glue is dried, tie several bags together end to end, and have three rows of these. Now, take the bags and tie them in a knot aro...

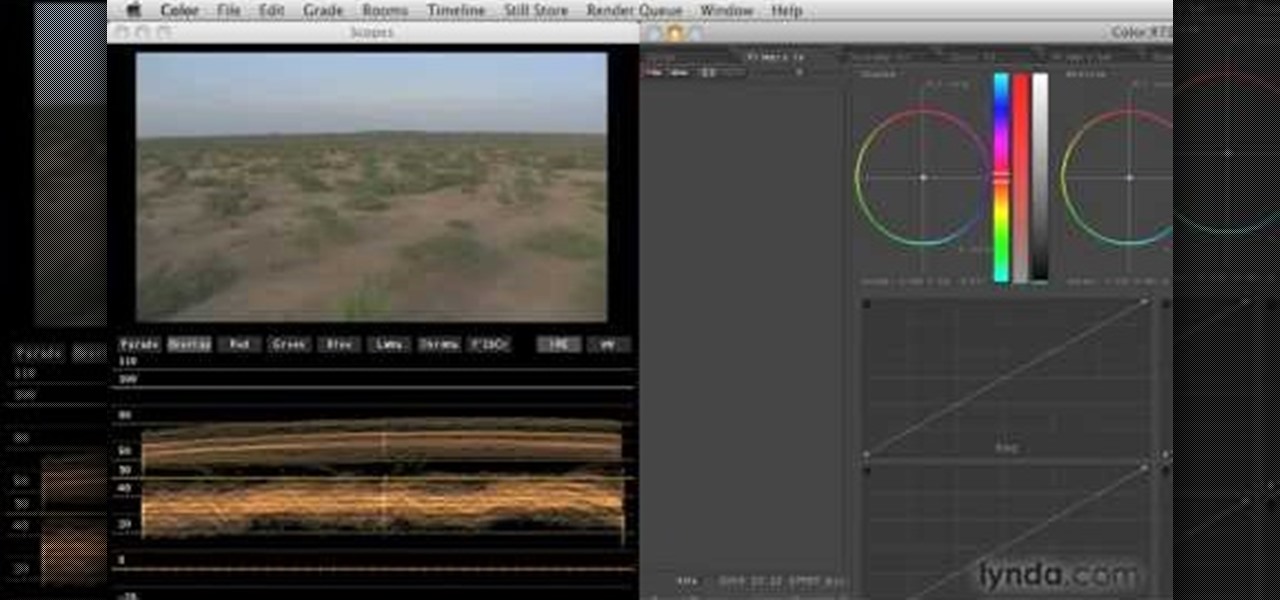
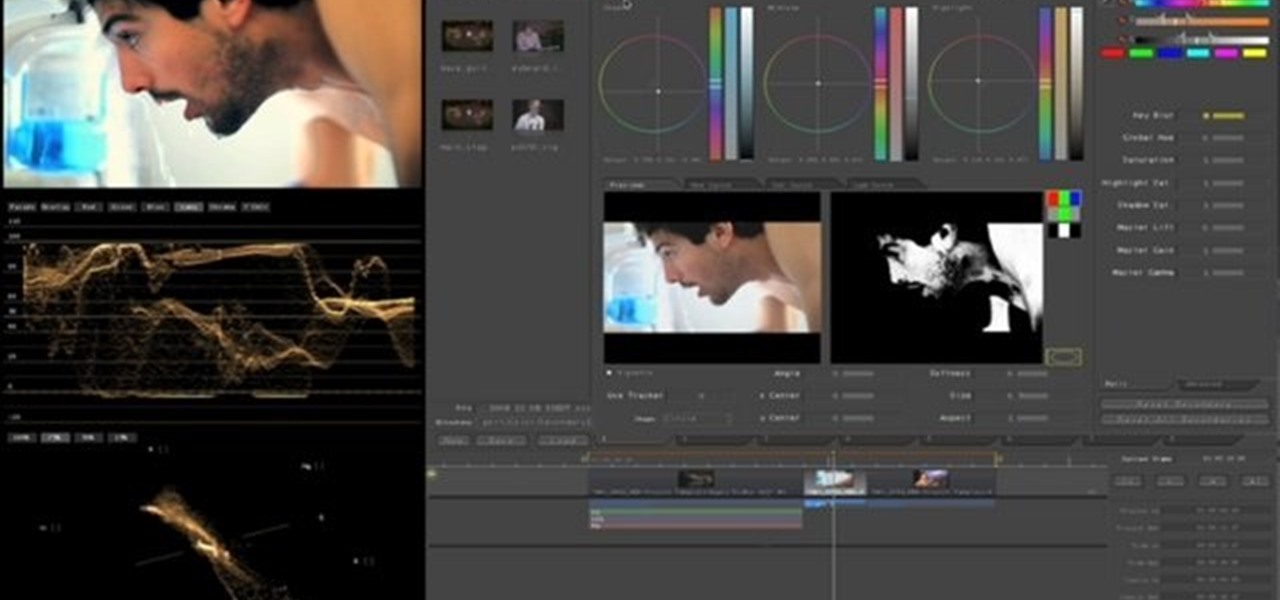
In this video software tutorial, you'll learn how to apply primary color correction within Final Cut Studio's Color 1.5. Whether you're new to Apple's Final Cut Pro video editing suite or just want to better acquaint yourself with the Final Cut Studio workflow, you're sure to benefit from this free video tutorial. For specifics, watch this Final Cut Pro lesson.

This clip presents an overview of color grading footage shot with the new Canon EOS 5D Mark II Digital SLR (DSLR) in Apple Color. Whether you're new to Apple's Final Cut Pro non-linear video editor or just want to better acquaint yourself with the Final Cut Pro workflow, you're sure to benefit from this free video tutorial. For specifics, watch this Final Cut Pro lesson.

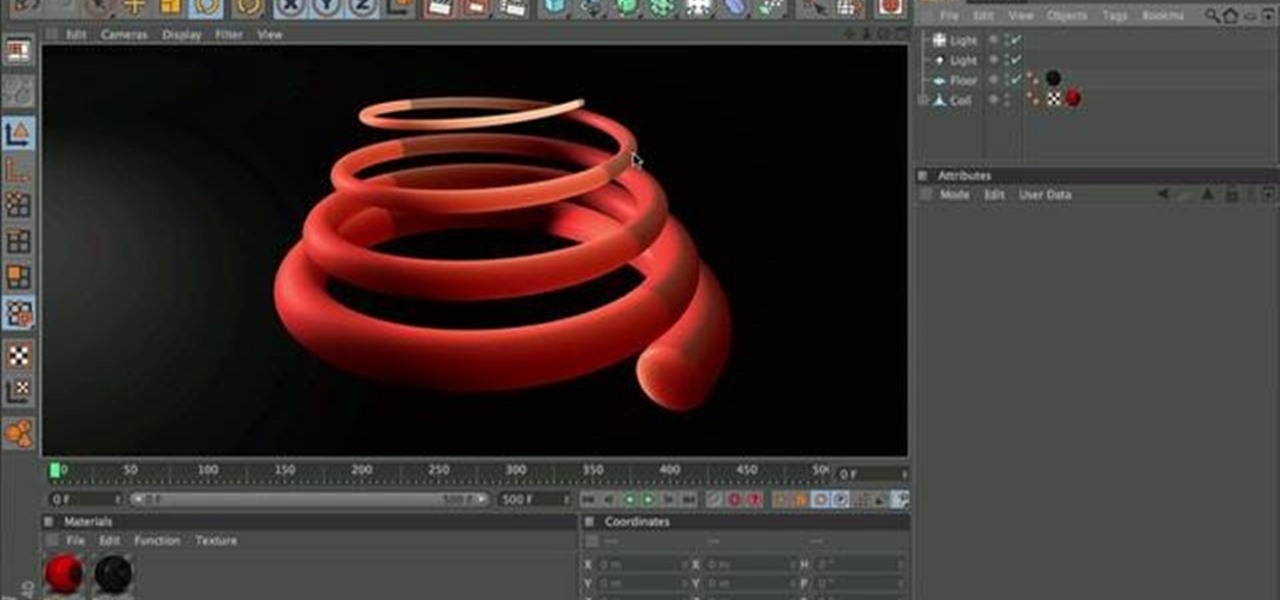
Learn how to easily add and set up SSS in your Cinema 4d scenes. Avoid one of the common mistakes made and get great results. Whether you're new to MAXON's popular 3D modeling application or are just looking to get better acquainted with Cinema 4D and its various features and functions, you're sure to enjoy this free video software tutorial. For more information, and to get started using this trick in your own Cinema 4D projects, watch this 3D modeler's guide.

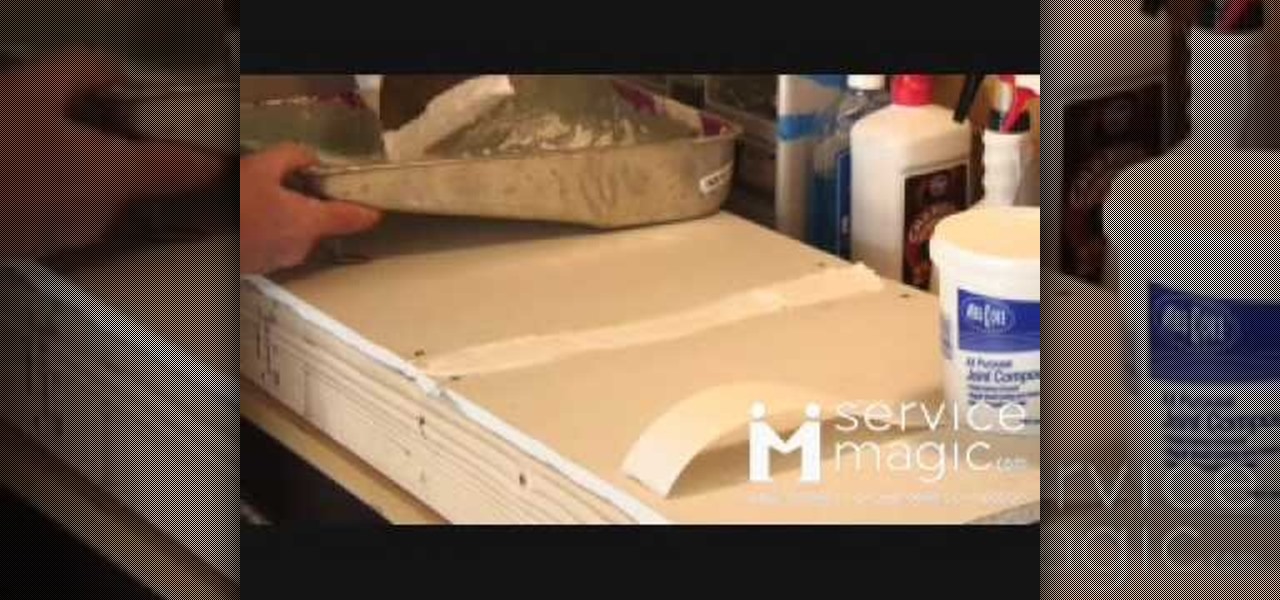
In order to sand and repair drywall, you will need the following: 100 grit sanding sponge. After you have applied mud to the walls evenly, you will need to sand the walls until they are smooth. Hopefully, you minimized or mitigated most of the need for sanding in the application of the mud, by using feathering and thin layering. When the mud is completely dry, you will need to choose a good sander. It is recommended that you use a 100 grit sanding sponge. Place the sponge against the wall, an...

In order to make a striped dress out of t-shirts, you will need the following: t-shirt dress, measuring tape or a ruler, pins, scissors, thread, needles, and sequins.

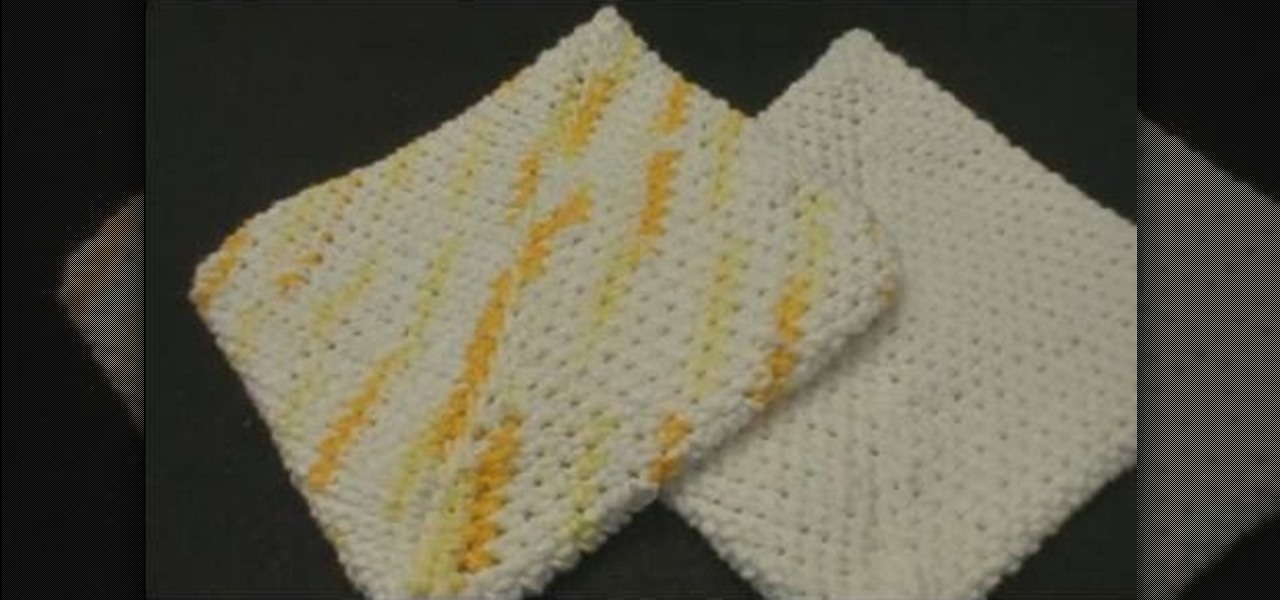
Single crochet stitches sound easy, but when many are knitted together into a pattern you get a very thick and heat-resistant surface. That's the idea behind this simple beginner-level crochet project for crafting a granny-style potholder out of a single crochet stitch.

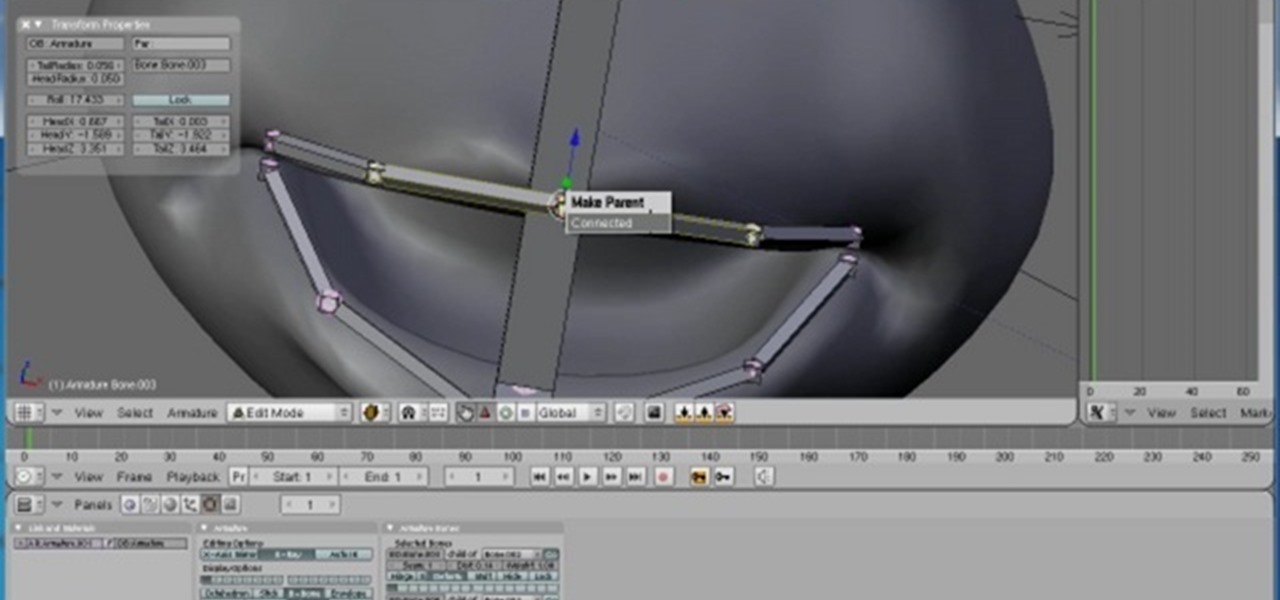
This tutorials covers how to create a more advanced type of facial rig, showing you how to use the "stretch to" constraint to give the face a more fluid way of animating. The "stretch to" is great for things like lips and eyelids (which is shown in this tutorial); in addition, you'll see how to make the eyelids "stick" to the eyeball surface, so there's no unwanted gap between the two while animating. Whether you're new to the Blender Foundation's popular open-source 3D computer graphics appl...

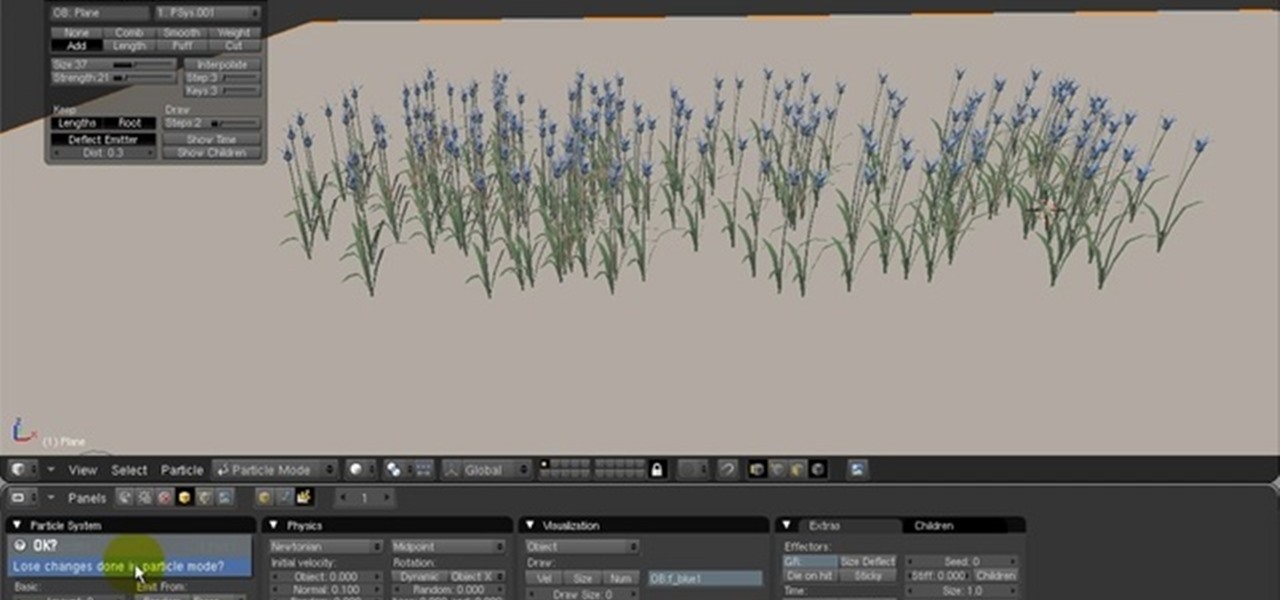
This tutorial teaches how to use Blender’s particles system to “paint” instanced objects onto mesh surfaces. Similar to Maya’s “Paint Effects,” though not nearly as powerful, it’s a very nice way to fill a scene with flowers, vegetation, rocks, pebbles, gravel, debris, etc. Whether you're new to the Blender Foundation's popular open-source 3D computer graphics application or are a seasoned digital artist merely on the lookout for new tips and tricks, you're sure to be well served by this free...

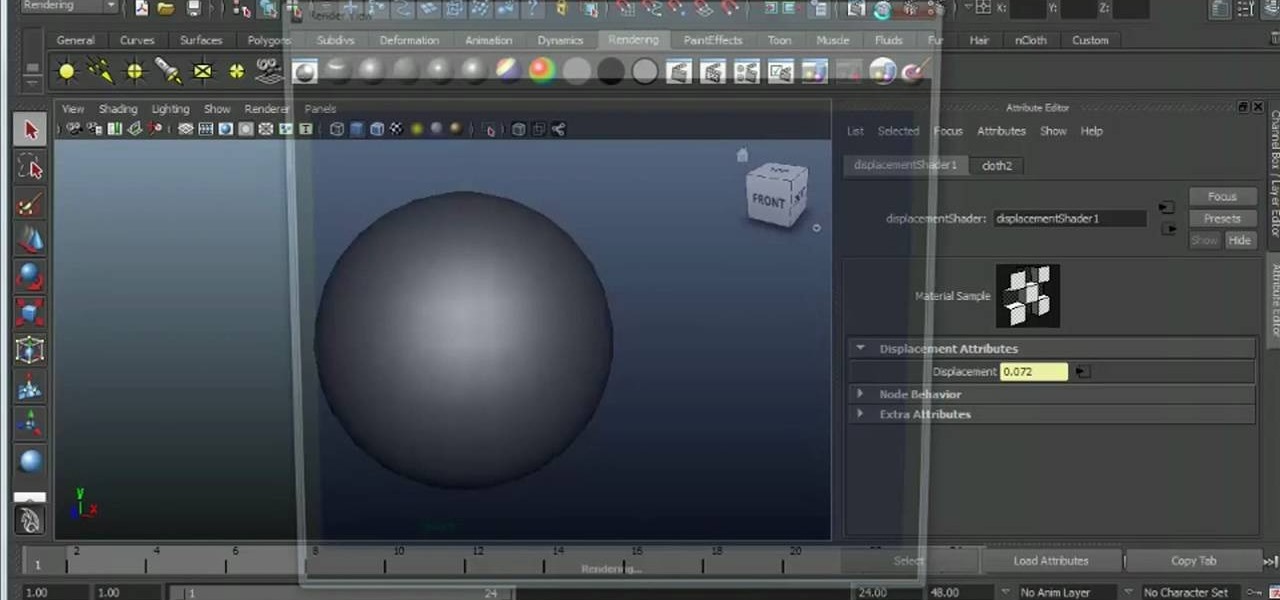
Want to create a surface that isn't complete smooth when working in Maya 2011? Then, my friend, you'll want to know how to use the program's displacement and bump mapping tools. This clip will show you how it's done. Whether you're new to Autodesk's popular modeling software or a seasoned 3D artist just looking to better acquaint yourself with the Maya 2011 workflow, you're sure to be well served by this video tutorial. For specifics, watch this free video guide.

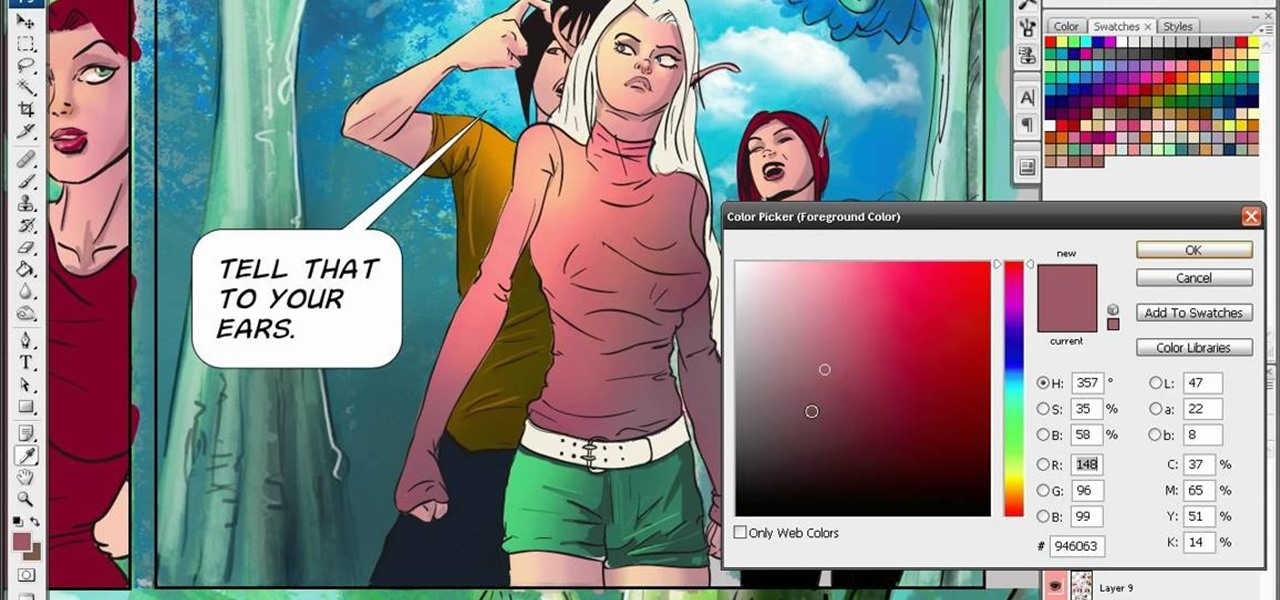
In this tutorial, learn a new technique that will help you color comics much faster while still allowing for a lot of color variation. This method saves a lot of time and allows you to get your art out to the masses faster.

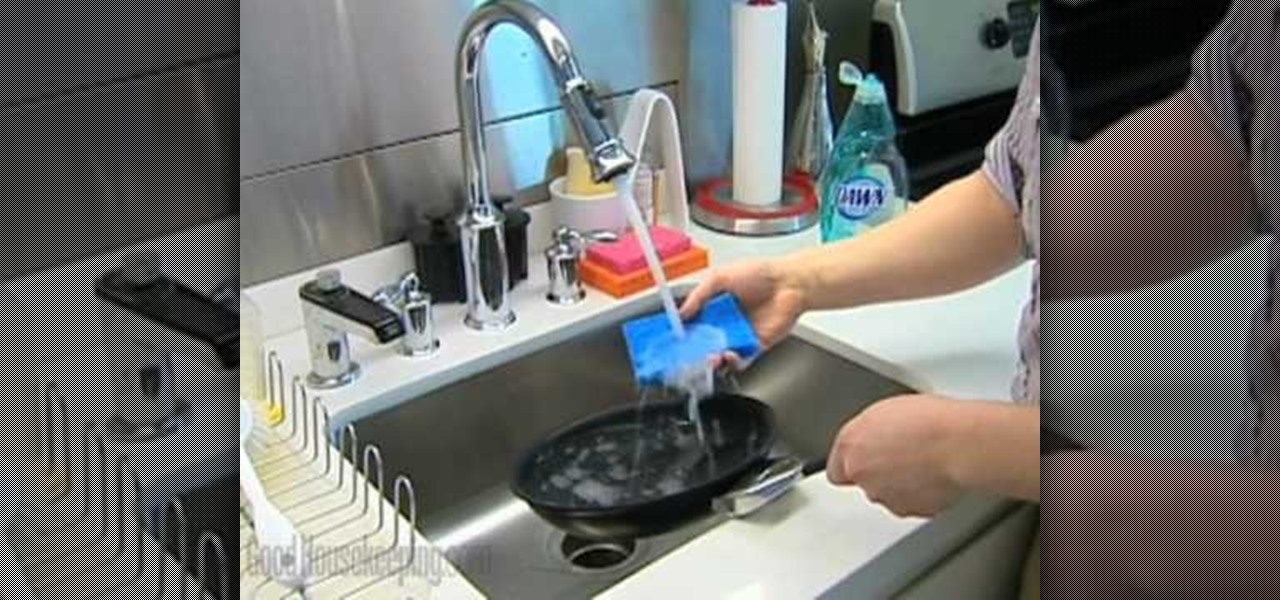
Non-stick cookware is a great way to cook and not have to deal with foods that stick to regular pans or deal with the cleaning up after cooking. A few rules to keep in mind are to not preheat a non-stick pan and do not use a heat level above medium. If you break or damage the surface of the pan, it could cause more damage than you think. There have been reports where you could develop flu-like symptoms just from cooking with a bad pan.

In this video, we learn how to make pina colada pancakes for breakfast! You will need: 1 1/3 c pancake mix, 1/2 c coconut milk, 1/3 c syrup from can of pineapple chunks, 1 c canned chunk pineapple. To make the syrup you will need: 1 tbsp butter, 1 tbsp rum, 1/3 c maple syrup and sweetened coconut flakes. To make the batter, mix all of your ingredients for batter together except for the pineapple. Now, throw the batter onto a hot surface and place the pineapple in while it's cooking. To make t...

This video shows how to make buttons from paper scraps. You need some patterned paper scraps left over from scrapbooking. The best working surface is a Teflon sheet. You also need some shiny glaze product, a pin, and a punch, for example a circle punch, but square, hearts or flowers will do just as well. You need scissors too. Cut or punch out several button shapes. Use a small hole punch to make two holes or four holes in the centre of the button. Use the pin to clear the glaze nozzle. Add t...

How to tape and finish drywall

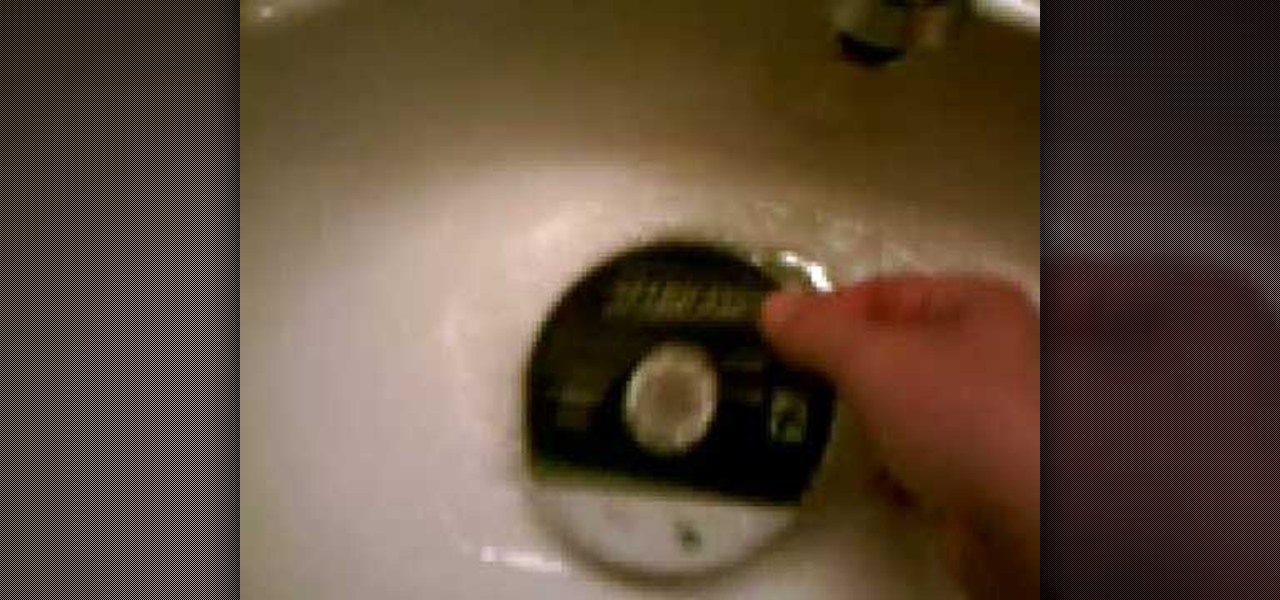
This video shows you how to clean a compact disk using peroxide and toothpaste as the cleaning agents.First of all, put the disk in a mixture of water and a bit of peroxide and let it stay there for about 5 minutes. Then, you must take out the disk and apply a thin layer of toothpaste on the whole disk's surface. Let it sit like that for another 3-5 minutes. After that, clean the disk with water. Use it only when it is dry. If this method does not work, then you should either take the disk to...

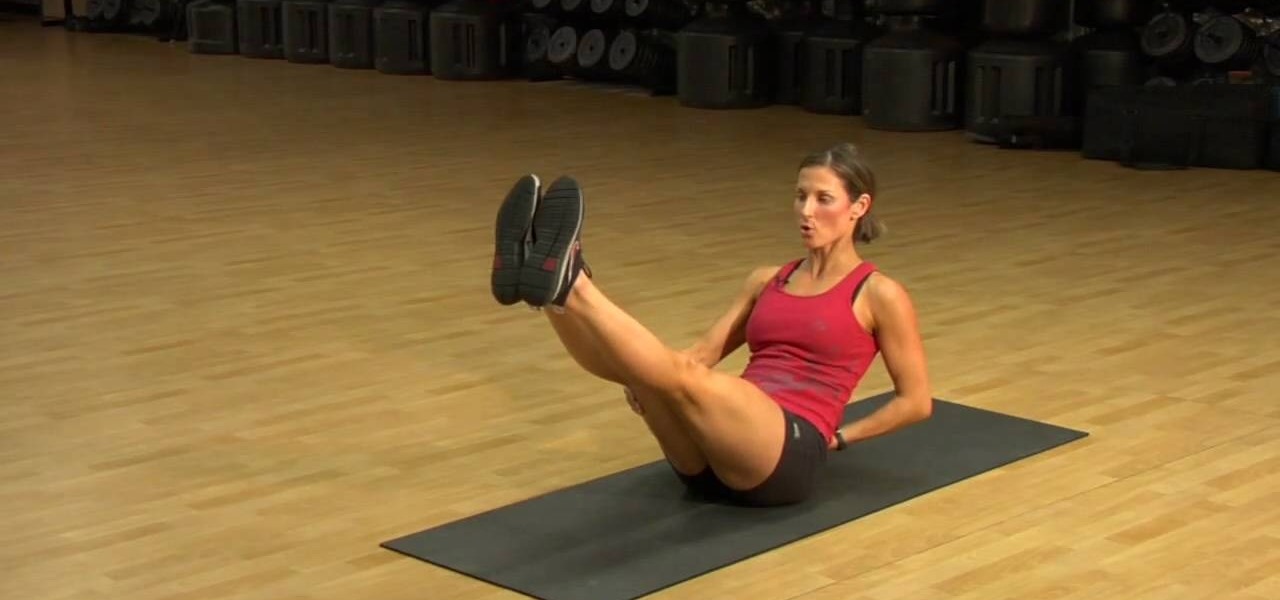
In this video, we learn how to do a toe touch. First, grab a yoga mat and place it on a hard surface. Sit down and rock back pulling your legs in the air. Now, raise your arms creasing your elbows slightly. lower and pull your legs in the air, making your arms touch your toes as close as possible. If you can just touch the ankles that is fine. You can also place your arms on the floor if raising them in the air is too much work for you. If you want, you can lay flat on the floor and raise you...

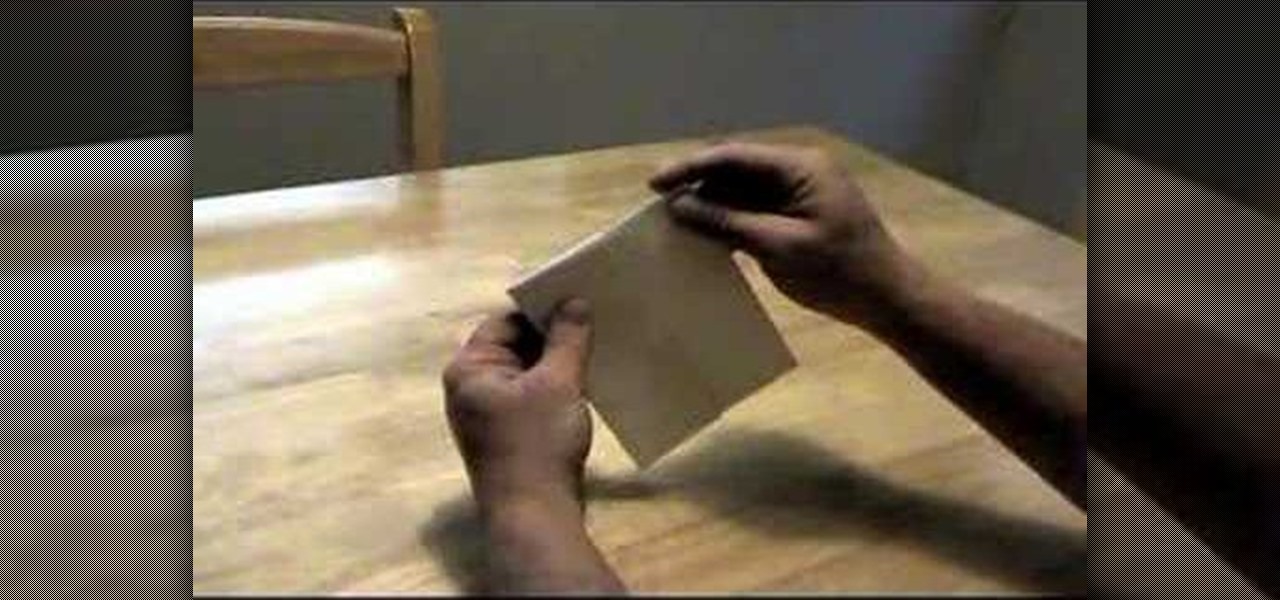
This video demonstrates how to make a loud and annoying paper popper. Prepare a regular sheet of paper and lay it down on the table or a flat surface. Fold the lower portion of the paper at about an inch and a half (1.5") or two inches (2"). Fold it the second time at about the same length you did with the first. Then, fold the paper right in the middle in the opposite direction with your first two folds. Your paper should now be folded to resemble a nurse's hat. Hold one corner of the folded...

This video shows how to make a paper "popper" that you can use to make a loud popping noise. Start with piece of paper. first fold it in half the skinny way, then fold it in half again the other way. Set the paper down on a table or flat surface so that the flaps of the paper make an "M" shape. Now take the paper in your hands and grab the outer sheets of the "M" with the index finger and thumb of your right hand. Pull the inner sheets out with your other hand. Take the popper in your right h...

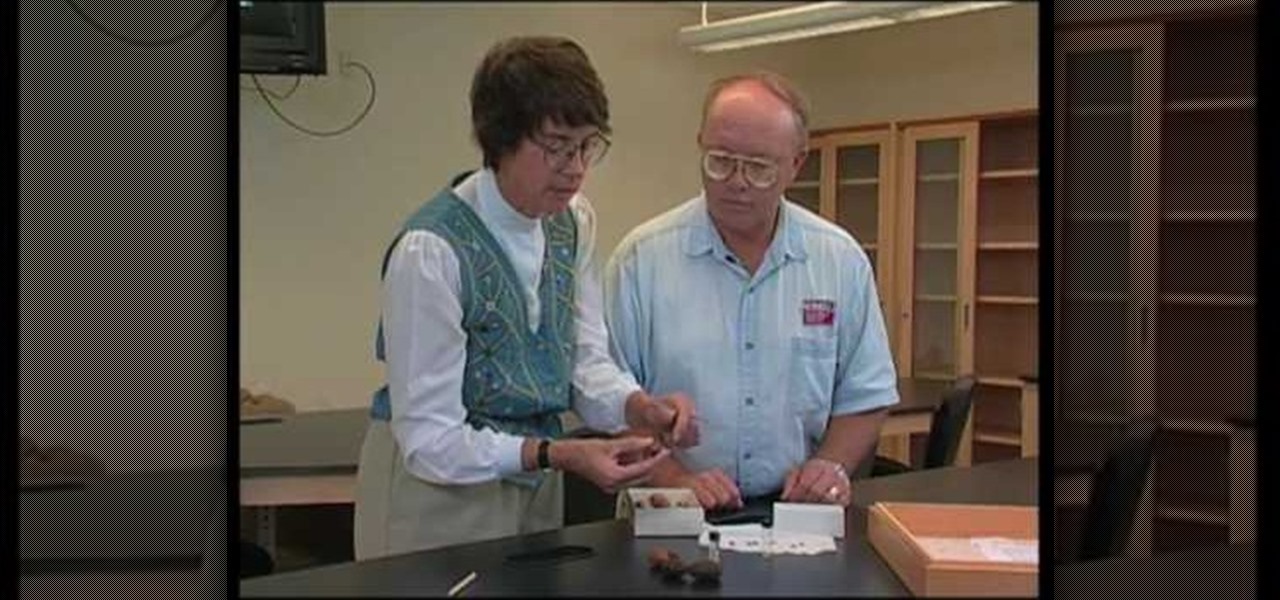
In this Home & Garden video tutorial you will learn how to identify pecan weevil problems. John White presents this video along with Carol Sutherland, extension entomologist. After pecan is infected with pecan weevil, it has the potential of spreading in the entire area. The indication of pecan weevil infection is an opening on the crust of the pecan which may or may not be a perfect circle. But, on the nuts the holes are perfect circles. There is usually one hole on the nuts; though sometime...

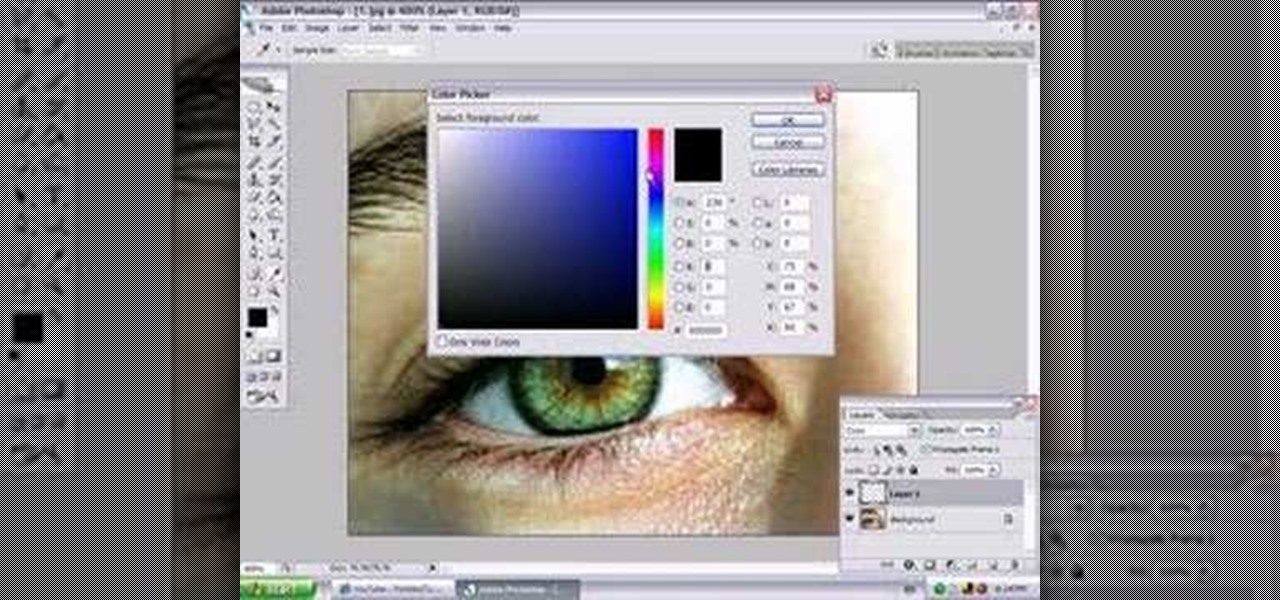
In this video, Jessica shows us how to change eye color using Photoshop. First, open up Photoshop on your computer. Open up your picture and zoom in on the eyes so you have a great view of it. Then add a new layer or "control +j". Where it says "normal" change that to color. Then select your paintbrush tool and make it a reasonable size for your eye. Click the color palette square and change the color to whichever one you choose. Now, paint over the eye and it will completely change the look!...

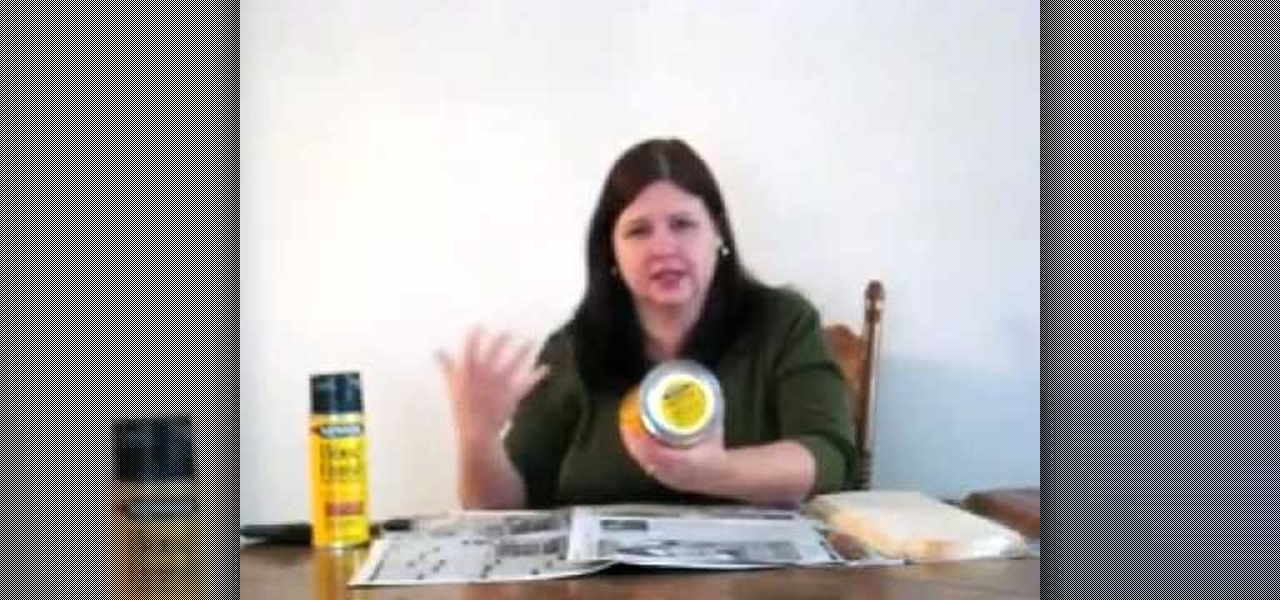
You will learn how to get a nice, even stain on wood in this Home and Garden video tutorial brought to you by TheSoapGuy. It’s really easy and simple to do. Get a finished piece of wood. You should work in a well ventilated area because wood stain generates a lot of fumes. Wood stain comes in aerosol spray and in cans. Mix the stain in the can by rolling the can. Don’t shake it, it will generate bubbles. Open the can and apply the wood stain with a brush evenly on the surface. The more coats ...

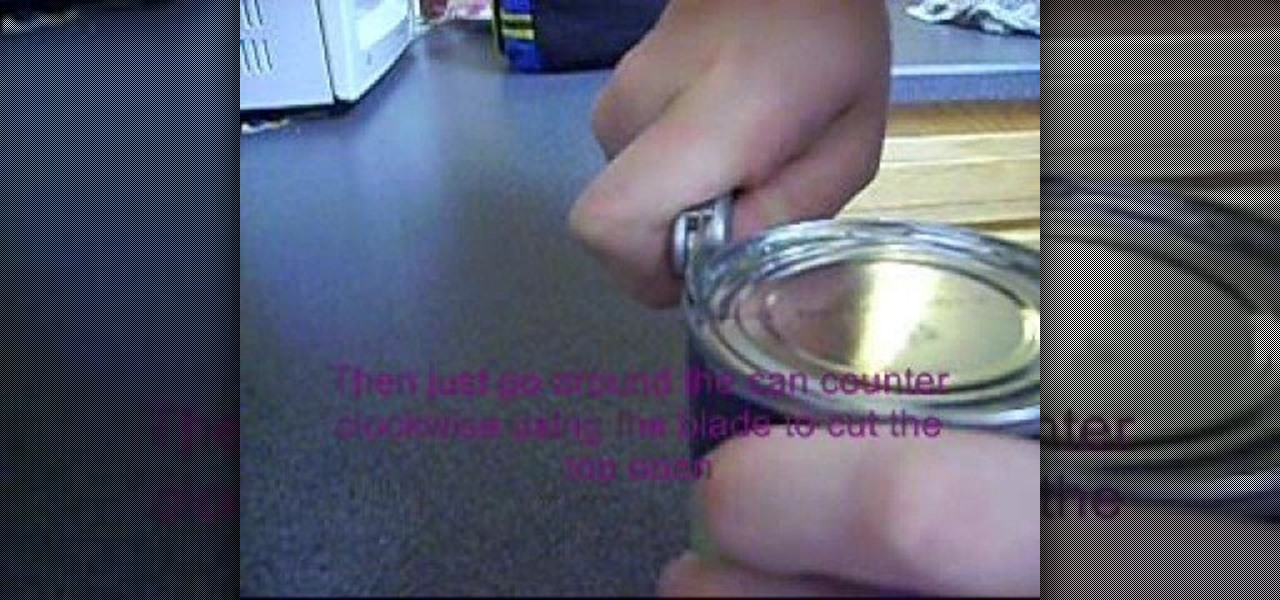
This is a video demonstrating how to open a can with a Swiss Army Knife can opener. To begin, place the can on a flat surface. Open the can opener on the Swiss Army Knife. Make sure that the hook of the can opener is on the outer ring of the can and that the cutting part is on the inside. Use the blade to puncture a hole in the can, pulling up on the handle and pushing the blade along the can. Move the can in a counter clockwise motion cutting along the way. Use the tip of the can opener to p...

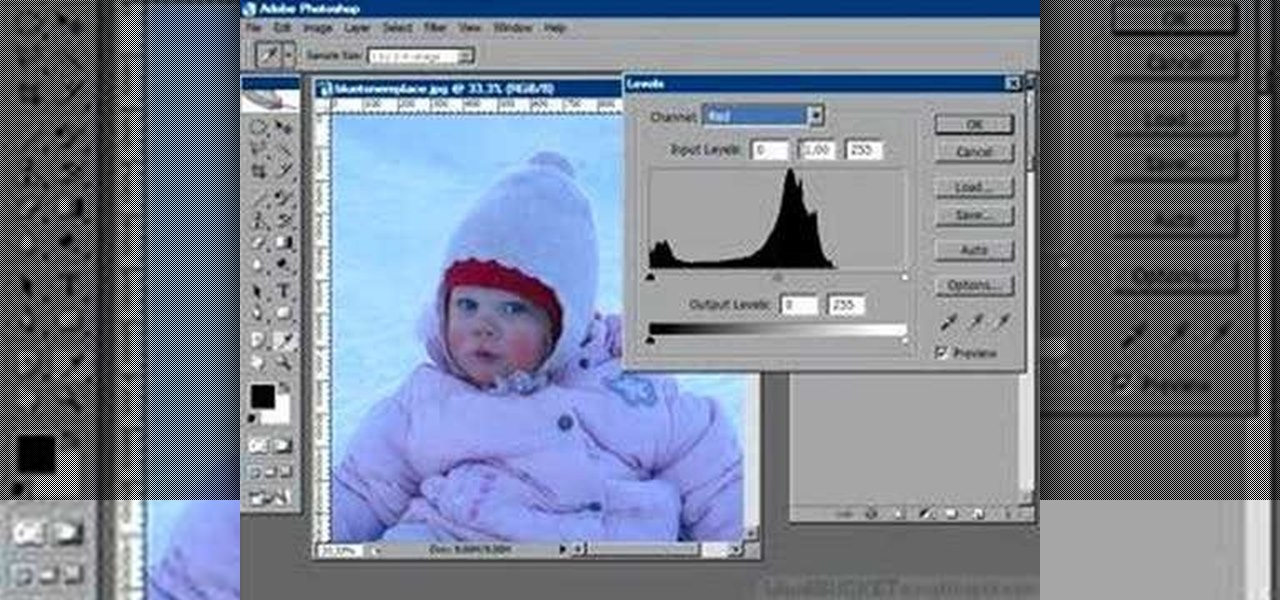
This how-to video is about how to color correct photos using Photoshop levels.

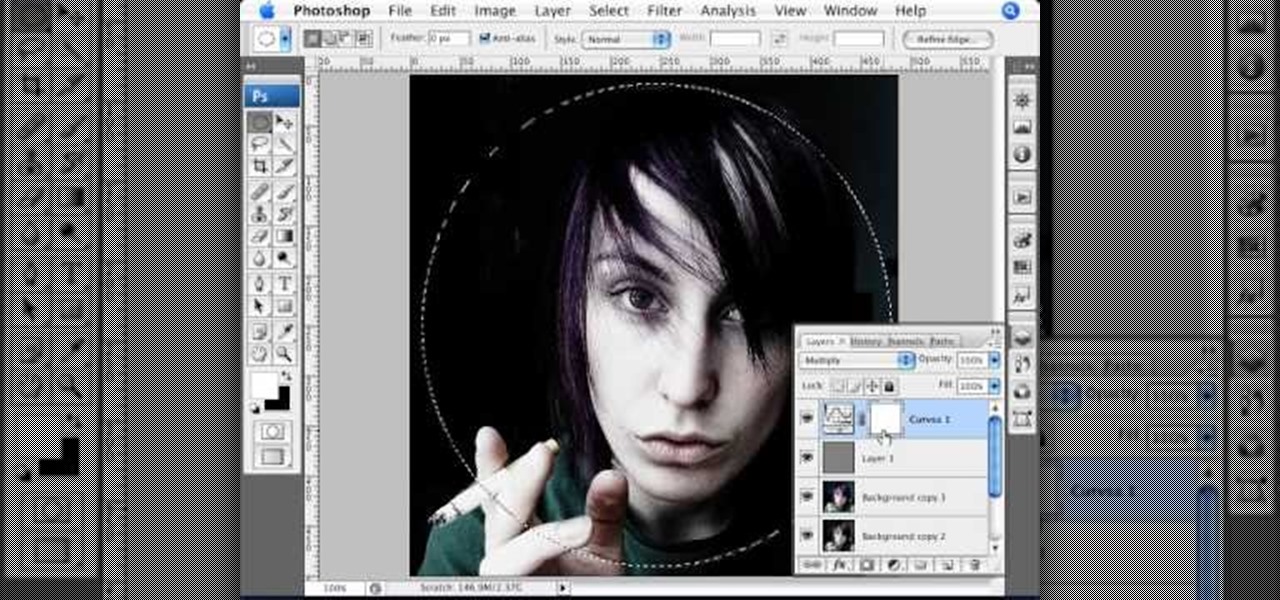
Oftentimes, a photo may not capture the true vibrancy of color in real life, but Photoshop can fix that. Photos with lots of color can be given even greater hue saturation by adding extreme contrast in Photoshop. By using multiple effects, including overlay blend modes and noise across multiple layers, a picture's color intensity can be made more bold with these techniques. By following the steps in this video, colors can be made more vibrant using extreme contrast with Photoshop software.

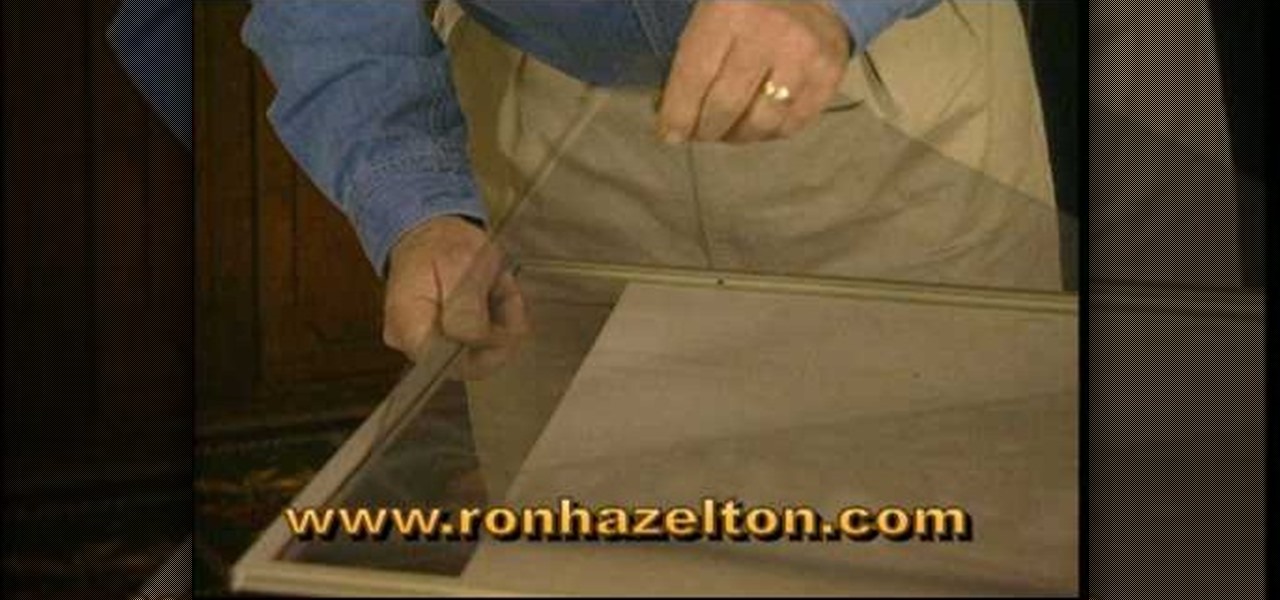
Ron Hazelton describes how to replace a screen in a door or window. The screen is held in the frame by a vinyl cord that can be removed with a knife. Lift the old screen out of the frame. With the new screen on a flat surface, using the frame as a template, cut the new screen a half-inch larger than the frame all around. Cut 45-degree notches in the screen at each corner. Place the screen evenly on the frame. Press the cord back into the groove on the sides first, then the top and bottom. Fin...

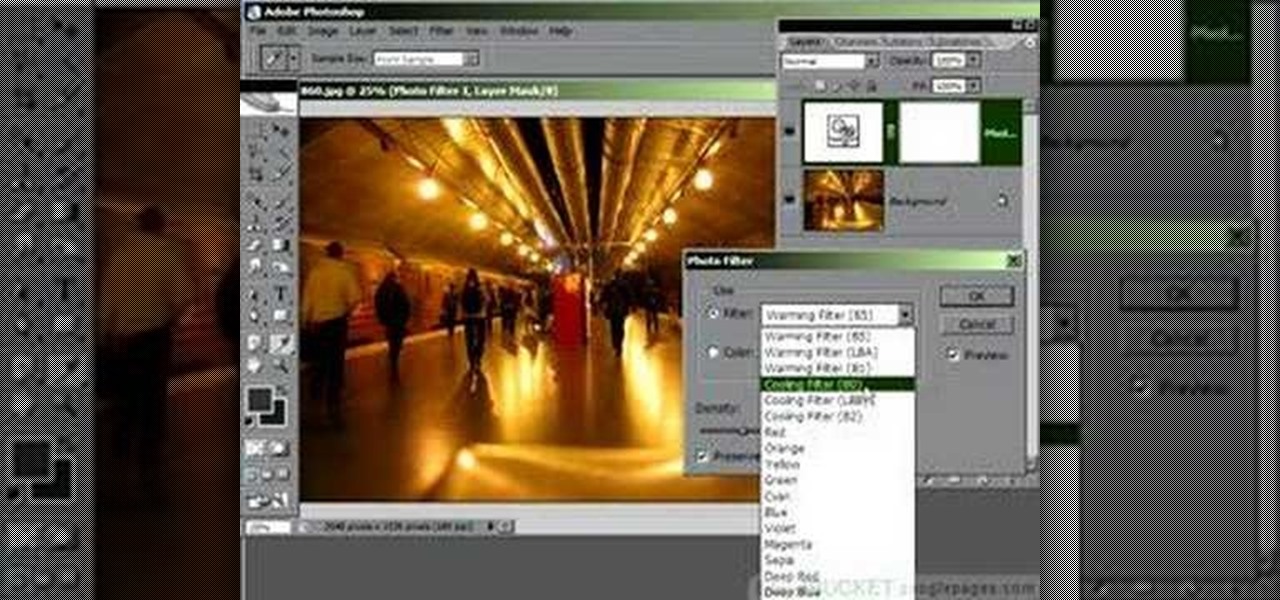
Photoshop is a place where we can edit the image in different styles. One of the features is adjustment layer of a photo that is also called as filter correction. It is an easy step to color filtering of a photo. Open a picture in a Photoshop, and select add layer option that present at the right bottom of the screen, then a pop up menu appears. Select filters from the options available, then dialogue box appears consisting of sub options filters and colors. then select the main color from fi...

Photoshop can be a confusing program, especially with all the different settings and effects you can tinker with. Learn to master the vanishing point filter in this fun, easy to follow tutorial with the Pixel Perfect team. Clean up your pictures and smooth over any unwanted imperfections as he takes you how to make them "vanish" with the program. Alter the perspective of an image and add it on to another and change that cloudy day into a snowy background. Each step is carefully explained with...

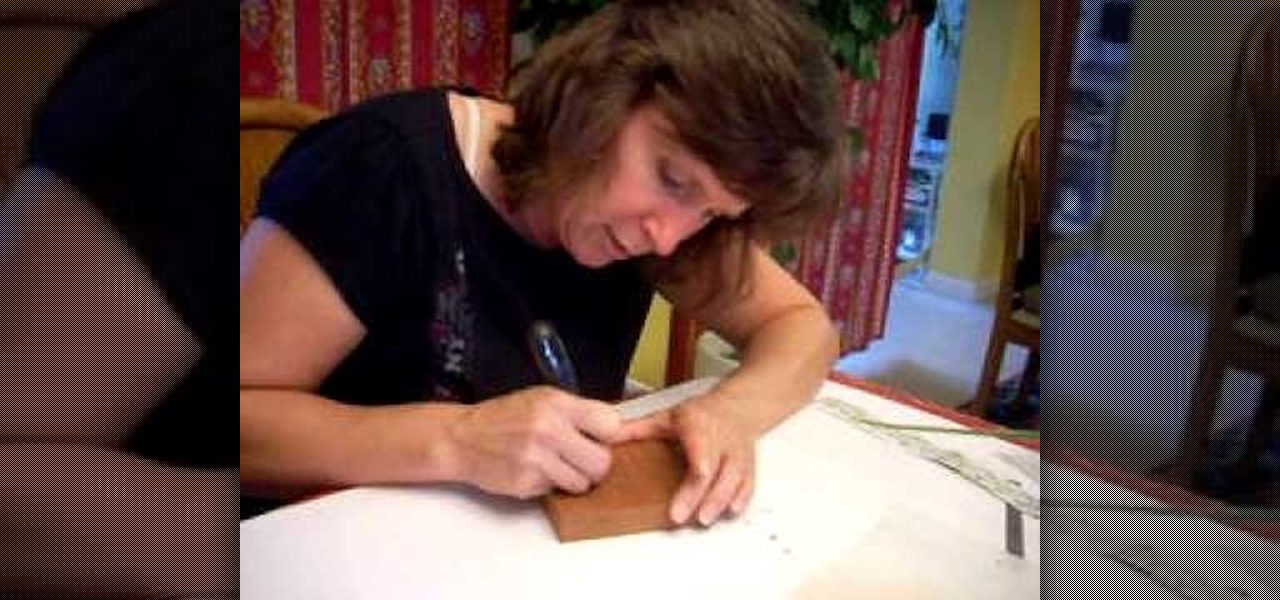
In this three-part carving tutorial, Valerie Jones demonstrates her chip-carving techniques on Mahogany wood. Using an X-acto knife, she carves the wood by hand & describes how to carve German-style, geometric patterns into the wood after stenciling the pattern on the outer wood surface. Later, Valerie talks about her methods when chip carving wood: how to hold the knife, how to guide the blade, finishing the final product, how to follow a stencil pattern & goes over more useful information.

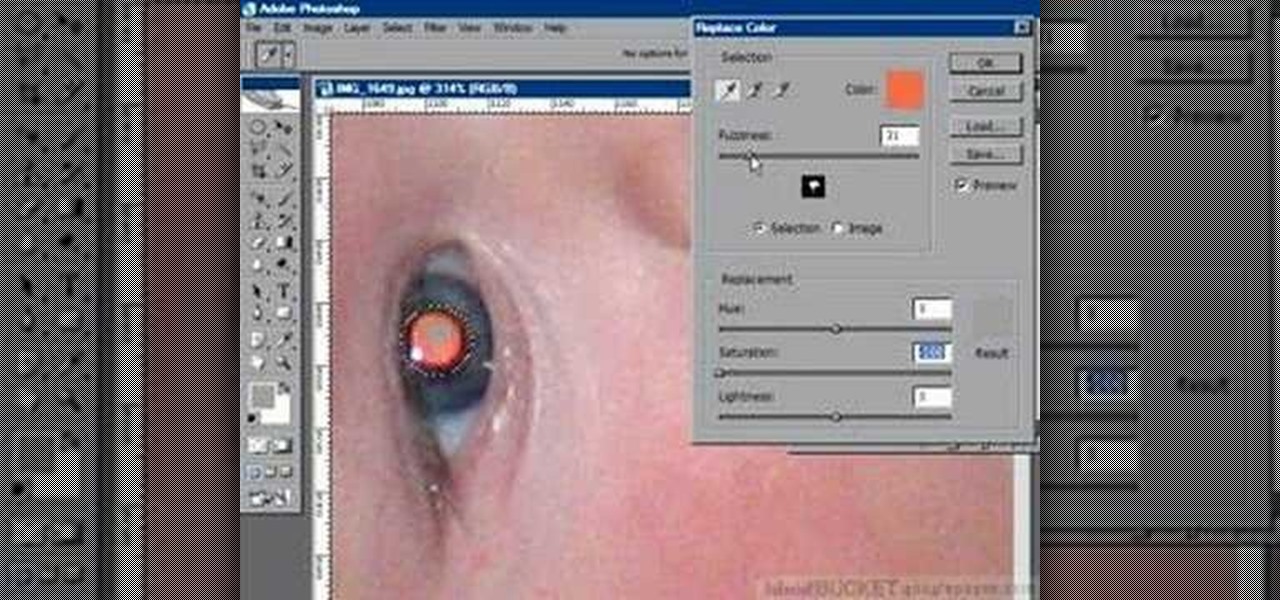
If you have a photograph with an extreme red eye problem, then you will have to take steps above and beyond using the built-in red eye reduction tool in Adobe Photoshop. In extreme cases, red eye will actually contain colors outside of the red spectrum of light. Since the red eye tool only works on this spectrum of light, you will have to manually fix extreme red eye by working on tools that are effective across all different wavelengths of light. The most effective tool at your disposal in t...

Grace Bonney shows us an easy way to create an upholstered headboard for your bed. Using a low-end easy budget, you will be able to create a elegant looking headboard using wood, foam, batting, fabric, scissors, a utility knife, a staple gun, and flush mounts. After cutting out the shape of your headboard or starting with an existing headboard, cut out a piece of foam that is the same size. Pull batting over the foam to even out the surface, and then put the fabric onto the headboard. With th...

Find out the best ways to use the creep swab in Houdini. An architect in New York came up with a very clever means of distributing various shapes onto a surface using a creep swab. So, if you want to know how it's done, watch this two-part video, which focuses on using the creep tool in conjunction with copy stamping to achieve some unique results in Houdini 9.


