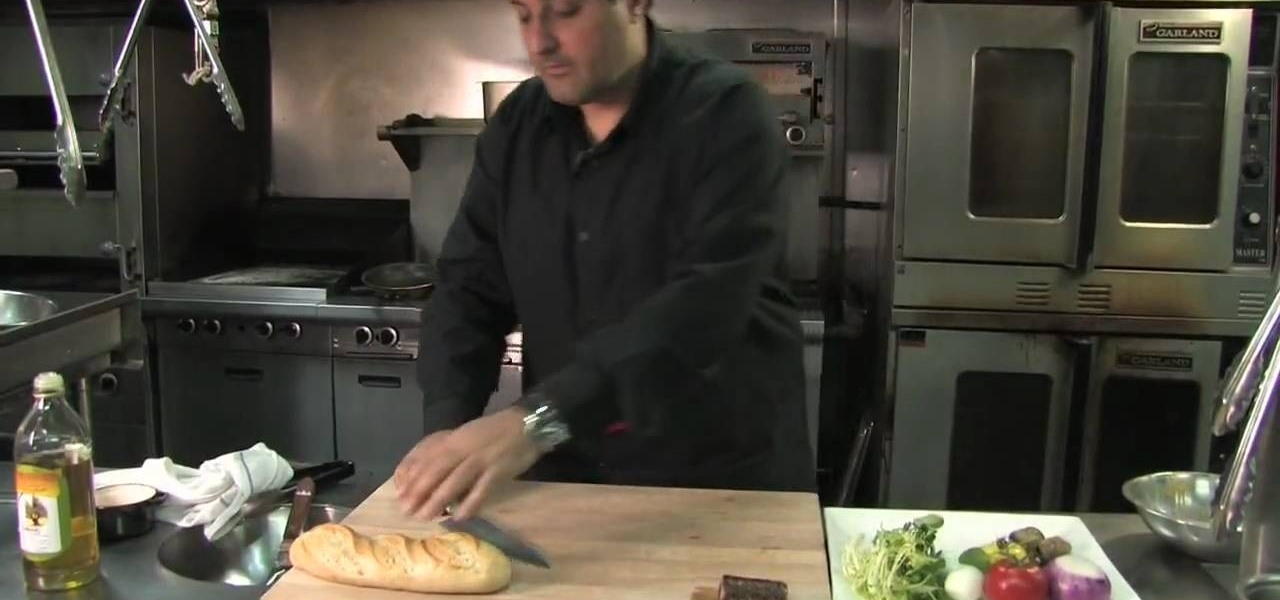
In this video Steve Ricci shows us how to make a superior tuna sandwich. It uses vegetables in the nicoise style. Put some oil in a hot frying pan. When the oil is hot, sear the tuna in the hot oil. It takes just under a minute and a half on each side. Put two anchovies, some Dijon mustard, and some red wine vinegar into a bowl. Whisk this all together. This will give the sandwich some lubrication. Let the tuna rest on a cold surface. Cut a sour dough baguette lengthwise. Toast it on the gril...

In this how to video, you will how to create clay coils. You will need clay about the size of your fist, water, and a knife. Pound the clay 200 times to get all the air out. Cut a slice from the clay and roll it in your hands. It should be a log shape. Now place it on a surface. Roll it back and forth until it is to the thickness you want. Water the clay coils and score the ends of it. Push the ends together and rub all the cracks out with water so that it sticks. Wet the sides of the two coi...
In this how to video, you will learn how to tell the difference between a tunable and non-tunable bodhran. A tunable bodhran has a tuning mechanism to allow you to adjust the skin tension. A non-tunable bodhran is actually tunable, but it just needs more time to do so. A tunable drum has the tuning mechanism in the inside. They are lugs pressing on an inner hoop. When the key is turned clockwise, this will make it tighter. Make sure to go crisscross rather than around the circle when tuning. ...

Are you not really a big fan of sewing but love making things? You're in luck! Learn how to make a no-sew blanket with help from this tutorial! Keep yourself and the ones you love warm with this amazing blanket design that crafters of all levels can complete!

How to Sculpt a Sitting Body out of Clay

Want a way to reduce or increase the exposure of your camera's sensor without actually having to adjust ambient light levels? Apart from changing the aperture of your lens, you can adjust your camera's ISO setting, which will increase or decrease your sensor's sensitivity to light. To learn more about ISO, and to get started using custom ISO settings on your own DSLR, watch this free photographer's guide.

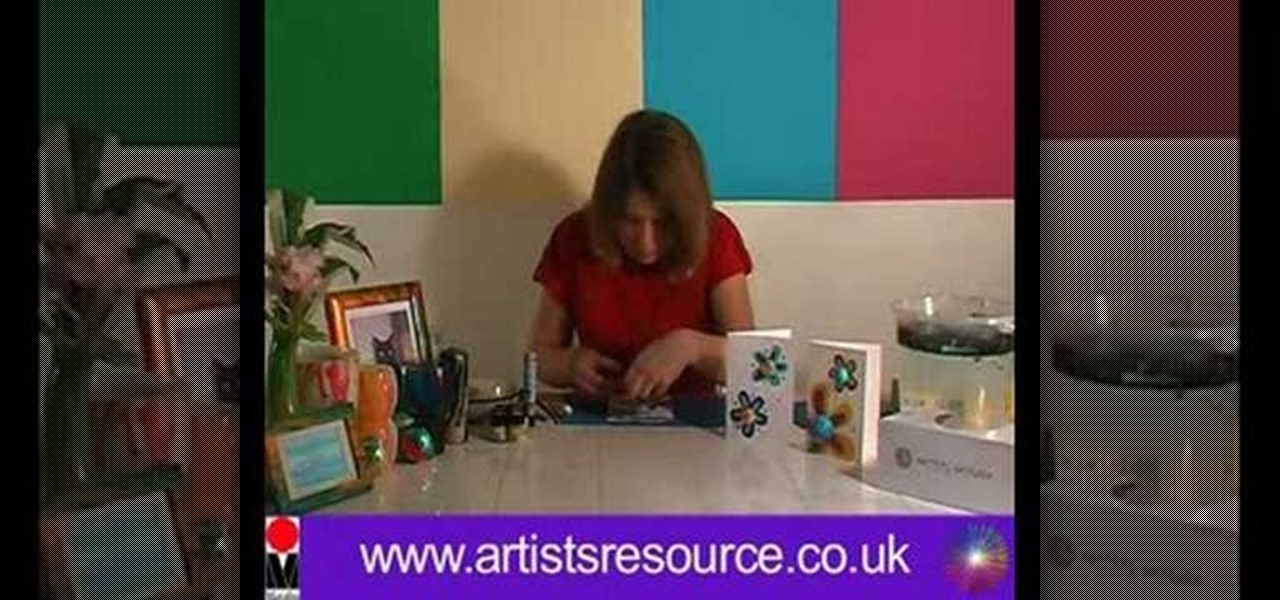
This video is about making a marble greeting card. The materials required for making them are marabu marble starter kit which consists of six marble paints,a marabu konturf paste, a polyester ball, a bowl, kebab sticks, a pencil, a cutting knife, a glue, sweat pieces of card, three cards of different colors and a bucket of water. The video starts by folding one piece of card into half and then cutting the ball into two pieces. Keeping the piece of ball as the center draw a flower around it on...

First of all you need roll of wire around 1 or 1.25 millimeter thick. Now take the roll of wire and using a round nose pliers bend the wire about 5 cm. now take a flat nose pliers and the hold the ends and bend it round to make a hook. Now taper off the end and then straighten the wire. This shall be the top portion of your pin. Now take round nose pliers and then wrap it in a complete circle and then repeat it two more times. This shall produce three loops and you can also adjust the length ...

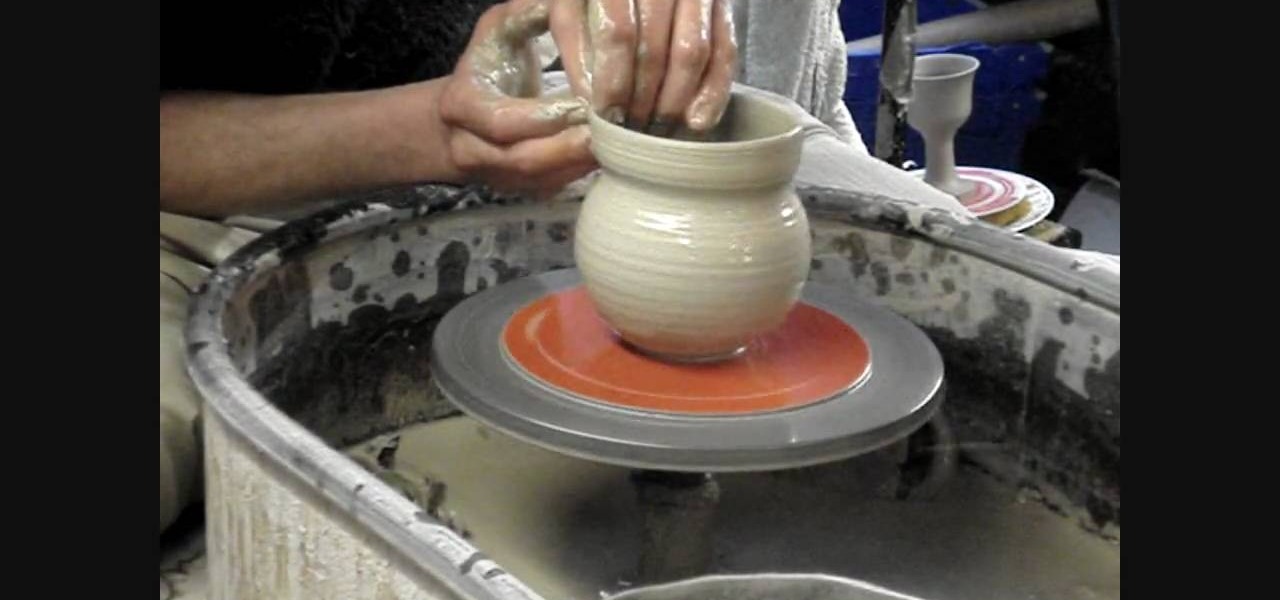
This video demonstrates how to throw a simple clay pot: a flattened salt holder. In order to throw this simple clay pottery piece, you will need: clay, a pottery wheel, and water.

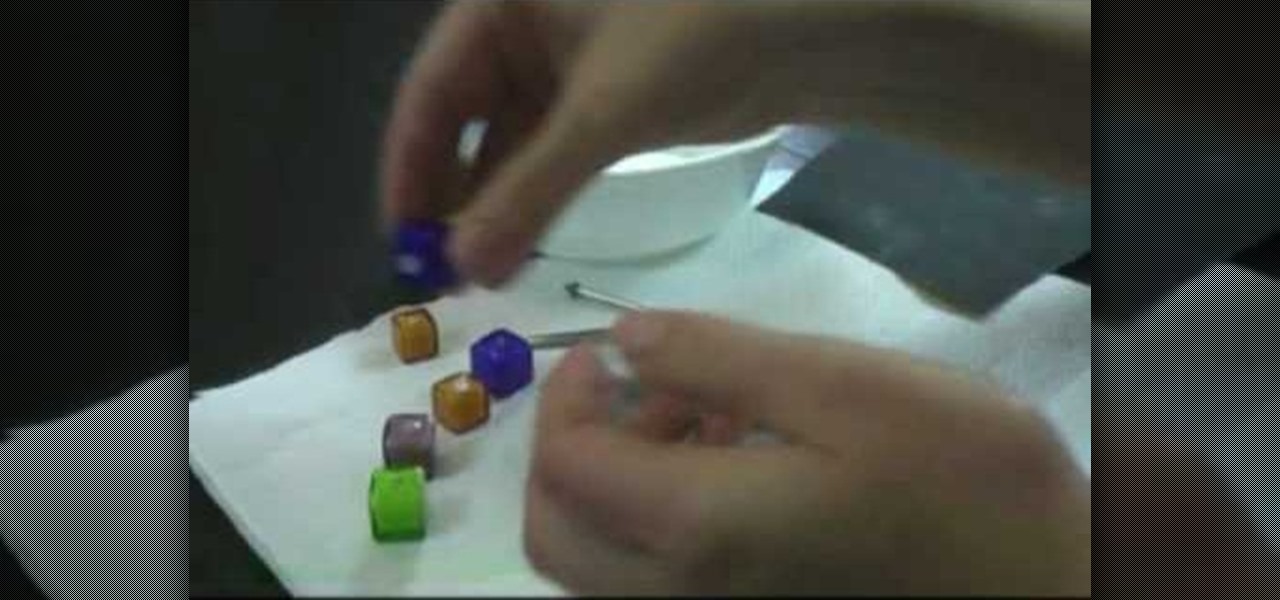
This video teaches us to use a bead reamer to smoothen sharp edges on a bead. You need a reamer, some water and the reaming tips. We need the large tip for enlarging and smoothening the holes and a 45 degree edging point for smoothening the edges of the hole. Twist the handle of the reamer and insert the tip in it. Take the bead and the reamer with the large tip & dip it into water periodically during the procedure so that the water acts as a lubricant. Begin filing the inside of the bead hol...

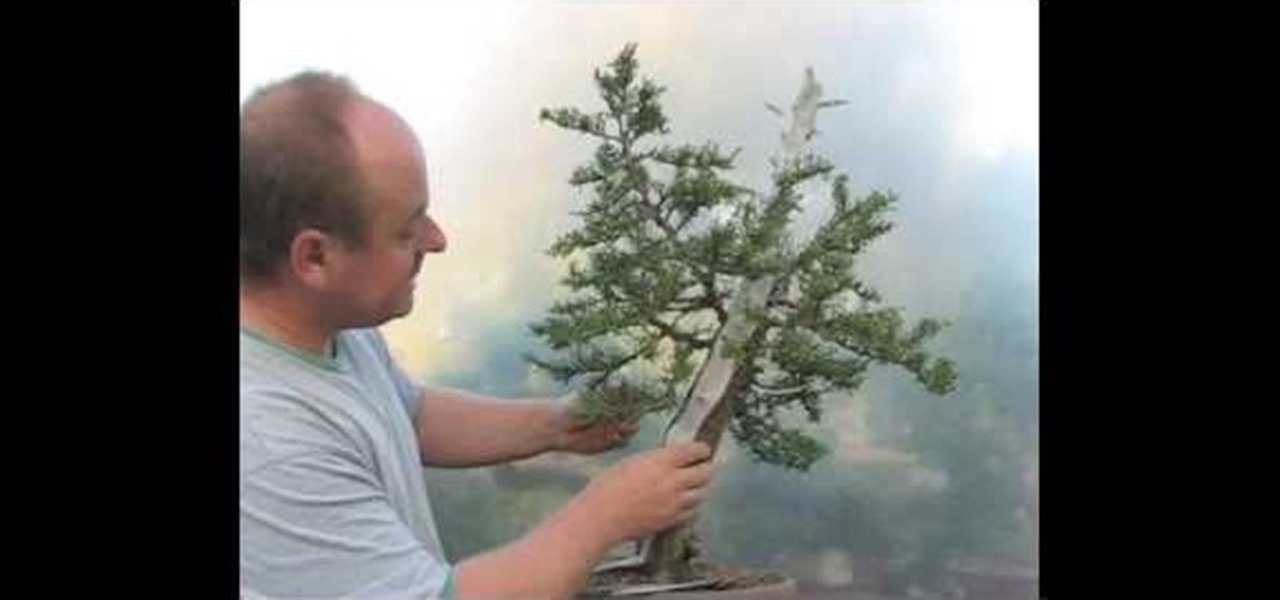
Graham Potter of Kaizen Bonsai shows Bonsai beginners how to make interesting trees from relatively available materials. He first details the history of the specific tree he will be working on. He points out that this specific specimen has small, compact foliage, branches that support itself, craggy bark, and a nice taper in the trunk. He begins to shape the tree by cutting the small amounts of foliage that are dead or weak as well as the foliage grows beneath the branches. He then uses hand ...

First of all take two pieces of FIMO- one white and the other red color. Now roll them flat on the table into rectangles. Now cut triangles out of them and then join together to form a rectangle which has more white than blue color. Now use a rolling pin to flatten their surfaces. Use a ruler to lift them off the table top. Now fold it in half and roll it again in the same direction. Don’t roll it too hard. Now keep rolling and folding in the same way. Now when you go thinner while rolling it...

In this how-to video, you will learn how to paint on your ceramic dinner plates. You will need a ceramic paint kit, a soft pencil, masking tape, a porcelain painter pen, scrap paper, scissors, scrap paper, tracing paper, Celtic patterns, and a jar of water. Place the tracing paper over the copy of the Celtic patterns. Tape both down to the surface with the tape. Trace the pattern onto the tracing paper using the pencil. Clean the plate and stick tracing paper over the plate. Trace over the pa...

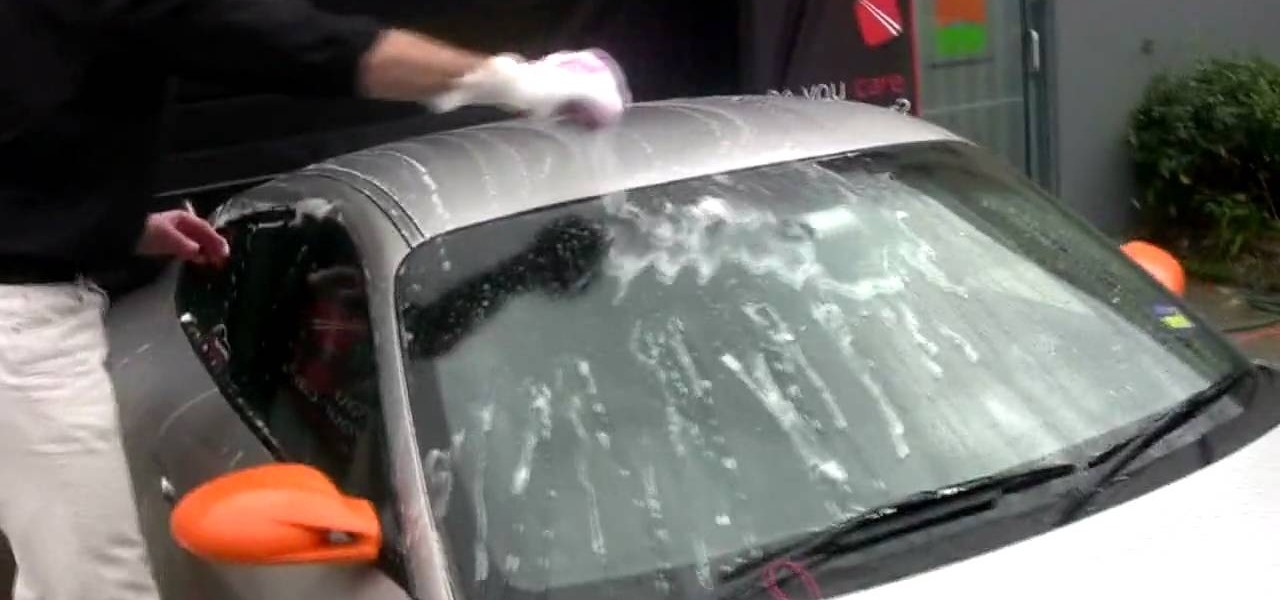
Every time people wash their car paint can easily be scratched off on accident. To avoid that CarCareProducts (CCP) demonstrates how to clean your car in a safe and efficient way using the two bucket method. In the first bucket add a small amount of PH Neutral wash shampoo and in the second bucket should be filled with clean, clear water to refresh your mitt as you wash your car that way all the dirt is collected into that bucket and not the one with shampoo. The first step to cleaning your c...

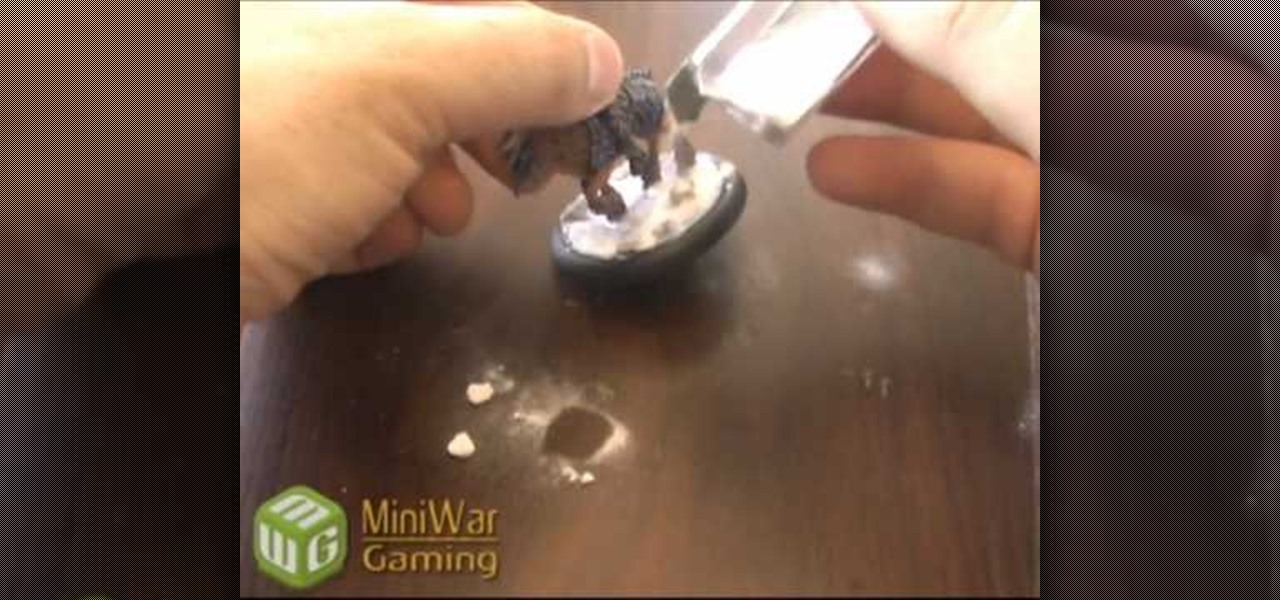
The materials you will need to add snow and other details to the base of your miniature game figure are white tacky or craft glue, super glue, a few small rocks or pebbles, coarse turf, a small paint brush, and baking soda. Begin by using the super glue to apply a few rocks to your base. You don't want to apply too many as the main focus will be on the snow. Add white glue to the base being careful not to get any on the figure itself. Use your paint brush to spread the white glue around until...

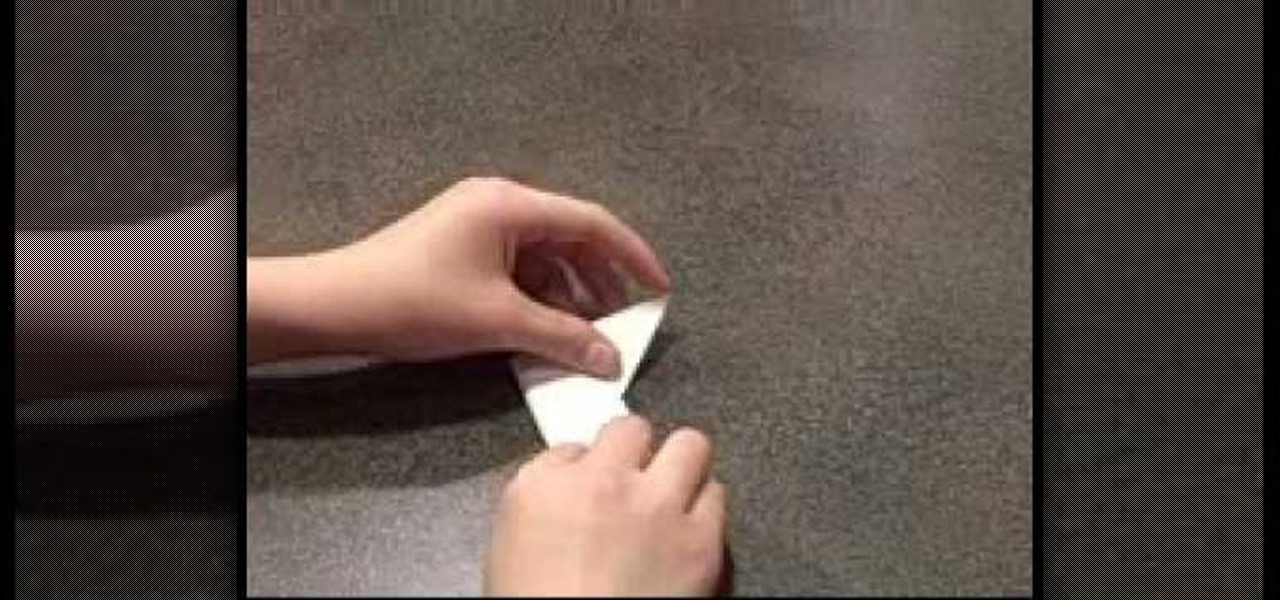
This video demonstrates how to create an origami ninja star. Prepare a square shaped piece of paper. Lay it down on a table or on a flat surface. Fold the paper right across the middle in a vertical orientation. Fold it once more in the same manner as the first fold, now creating a more slender vertically standing rectangle. Fold the upper portion of the origami diagonally forming a small triangle on top of the rectangle. Do the same on the bottom portion of the origami. Fold the upper portio...

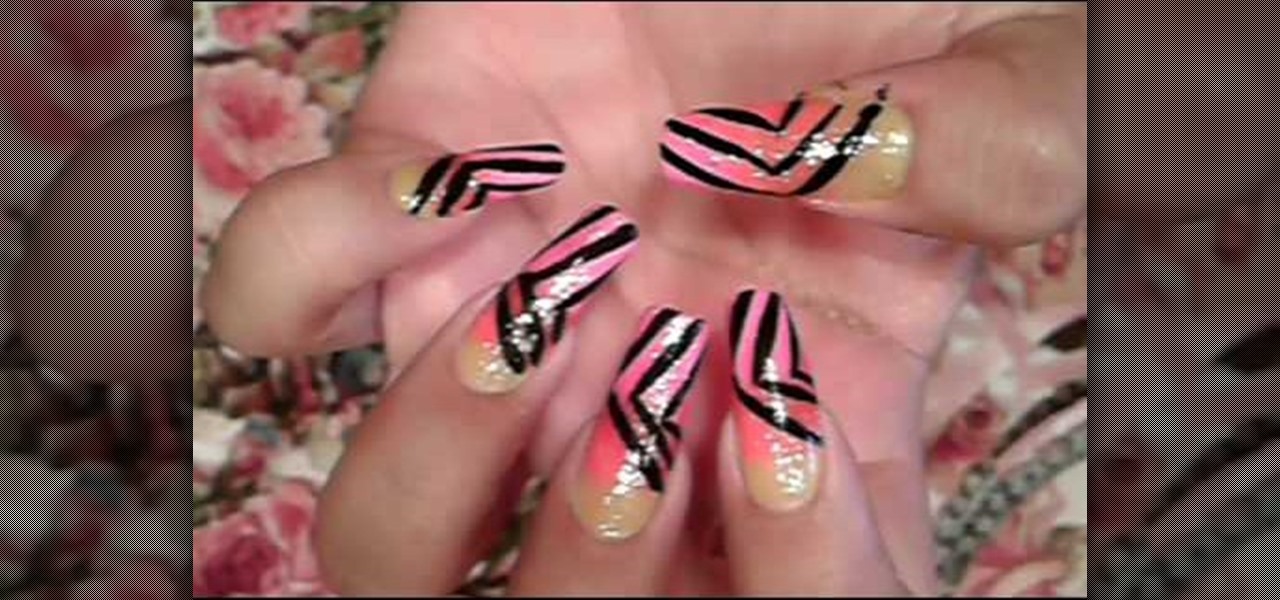
This video on nail art shows how to paint your nails with a summer rainbow stripe design. The nail colors needed for this design are yellow, orange and pink, a glittery color, a transparent clear polish and a black thin nail polish. The first step is to color only the bottom of the bare nail with yellow, here neon colors are used. Next the middle portion with orange and the tip with the pink color. Quick drying polishes can be applied one after the other or else the colors are applied after d...

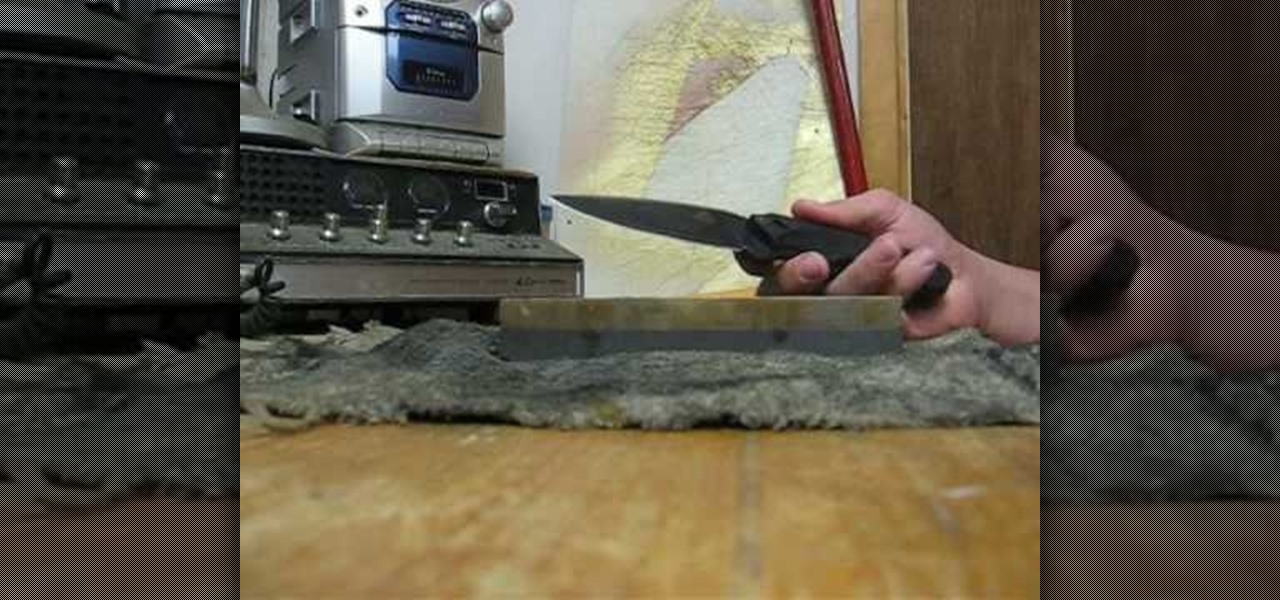
In this Home & Garden video tutorial you will learn how to properly sharpen the blade of a knife. You will need a sharpening stone with two sides; coarse and smooth. You will use the coarse side if the knife has dents. You can use any oil, but Rem oil is the best for this. Spread the oil on the sharpening stone. Hold the knife so that the blade is flat and parallel to the surface of the stone. With the blade facing away from your body, start from the near end of the stone and as you move forw...

Sugar skulls, or "calaveras de azucar," are used to celebrate El dia de los Muertos, in honor of deceased friends and family. This video tutorial shows how to make sugar skulls with basic household ingredients. Once you've shaped the mixture into a skull shape, decorate and design with food coloring to suit your personal taste.

Setting up a chroma key backdrop contains various steps/ the support system and muslin consists of various parts like the support stands, shrink lamps and the muslin. Place the two stands 12 feet apart and attach 4 clamps to vertical section of each stand. Snap the crossbars together in a proper way and insert the muslin into the respective end of the crossbar and put the crossbar on the stands with the green end of the muslin facing out. The muslin should be attached using the clamp. And ens...

In this video, Tony Reale describes some cinematography tips for video lighting. He focuses mainly on different ways to capture the look of video. The lighting style he's using in this video is a 2-light setup. One light is reflecting off a foam core and is placed at the right side of the room. The second light is acting as background light and is smaller and placed in the back, right corner of the room. This is a very simple setup and, with a cost of $100-$200, it is an inexpensive, effectiv...

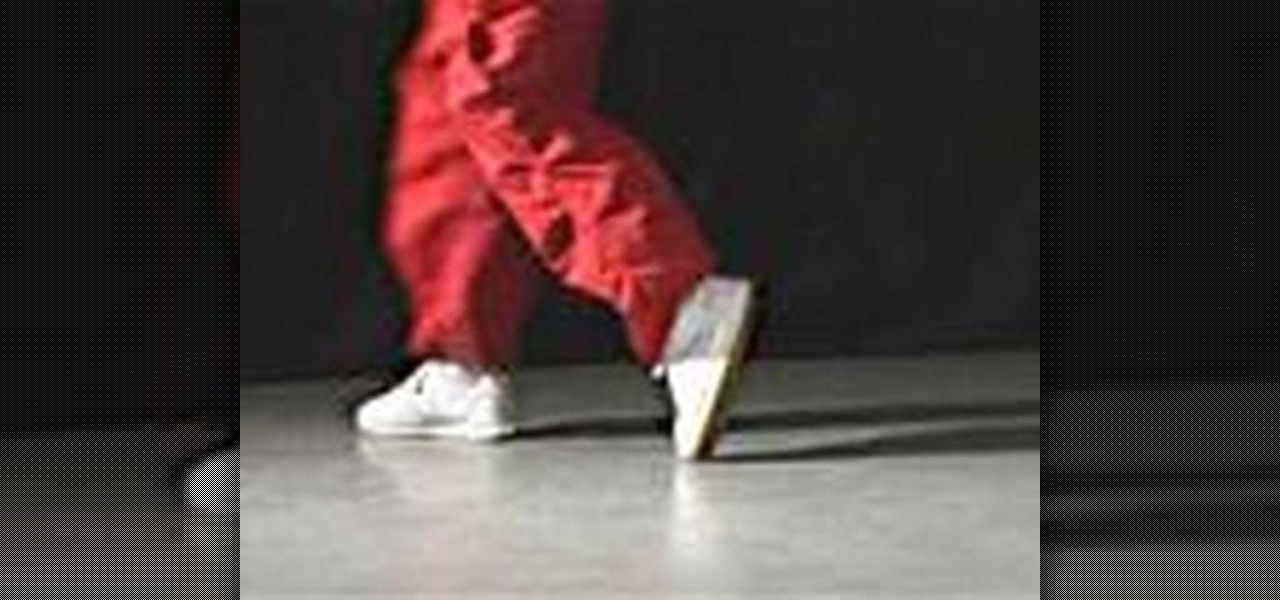
If you want to know how to do Michael Jackson's moonwalk, you should watch this. 1. Find a flat, smooth surface that won't provide an immense amount of friction and wear any comfortable clothes and trainers. 2. Stand with both feet flat on the ground. Lift your left leg into "L" position so that the toe of your right leg is pointed to the floor. 3. Learn how to balance your self. With your weight on your bent leg, slide back your left foot. Be sure to keep your left foot flat on the floor as ...

To make a hollow clay bell pepper, you will first need four thin strips of aluminum foil. Roll each one into a tiny, thin strip. You will also need pearlized white clay rolled out very thin (number seven on a pasta machine), and rolled out green, red, or yellow clay (number four on a pasta machine). Take your four strips of tin foil and line the up on one end placing them together in a bundle. Place on the white clay and the clay around it one time, remove the excess. Use your fingers to make...

Learn two different methods of meditation, as used by David Blaine and Chris Angel. In the first method, you will push up on your toes of one foot, while lifting the other in the air. Keep your audience behind you at a 45 degree angle for optimum levitation illusion. In the second method, cut a slit up the front of a pair of pants to your waist. Tape the very bottom of your pants together. Next, take the shoelace out of one of your shoes (this should be the same side as the pants leg with the...

Glintzy shows viewers how to sanitize all of their makeup products. To do this you will need, a spritz bottle with rubbing alcohol in it and some paper towel. You should always wipe down wherever you put your makeup on with a germ killing spray. Also, always clean the outside of your makeup to make sure this is clean because you are always touching the makeup. Also, don't forget to clean the handles of your brushes. Foundation you cannot sanitize if it does not have a pump so you have to be r...

In this video tutorial, viewers learn how to make a tied fleece blankie. Select any colored fleece and a coordinated patterned fleece. Purchase one yard of each fleece. Cut the fleece so that you have two pieces of 36 x 30. You will need a pair of scissors and a ruler. Sandwich your fleece together and lay it on a flat surface. Make your first cut at the 4 inch mark. Continue to cut in on strips until you reach the end of the fabric. Then turn the corner and cut a 4 inch square out of the fab...

Pumpkins are not just for Jack-O-Lanterns! Pumpkins very inexpensive right now since it is after Halloween! You can use pumpkins to make pumpkin soup, roasted pumpkin, roasted pumpkin seeds, etc. First, we will show how to properly cut a pumpkin. You'll need a big knife (the bigger the better), due to the vast diameter of the pumpkin. You also will want two buckets, one for seeds and one for flesh. Also, keep a garbage bag handy as a lot of garbage comes off of a pumpkin. They are messy, but ...

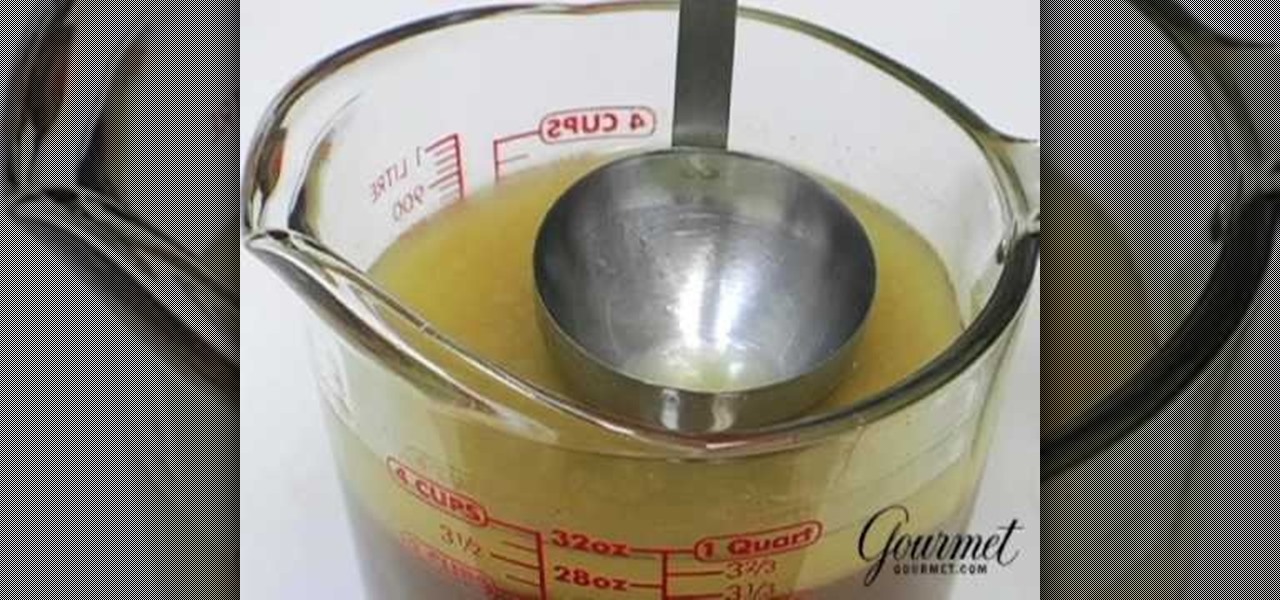
De-fatting turkey stock is very easy. All you need to do is use a specially made measuring cup that is made to de-fat stocks. Take the pan juices and the pre-made turkey stock and pour it into the measuring cup. When you pour the stock or pan juice into the measuring cup the fat will rise to the top of the cup because it is lighter When you pour the stock out of the measuring cup, the stock will come out, and the fat will stay in the cup. If you don't want to get a specially made measuring cu...

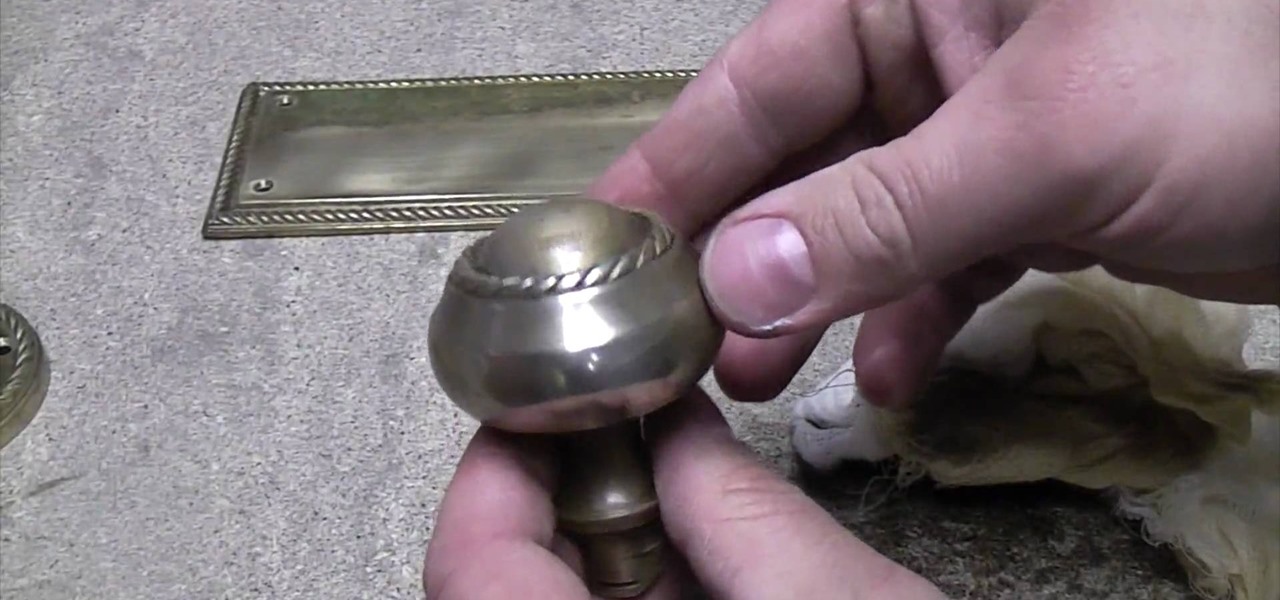
The video is a description of how to refurbish a brass door frame, and door knob that has gone dull due to the lacquer. Purchase lacquer and metal polish at a hardware store. Before beginning work, remove the circulate at the back of the door knob with circulate pliers. Take the component parts of the door knob apart and set the spring and clip aside to be replaced later. Take a clean cloth and put metal polish on it. Using the cloth, polish the knob. It may take a while to get all the grime ...

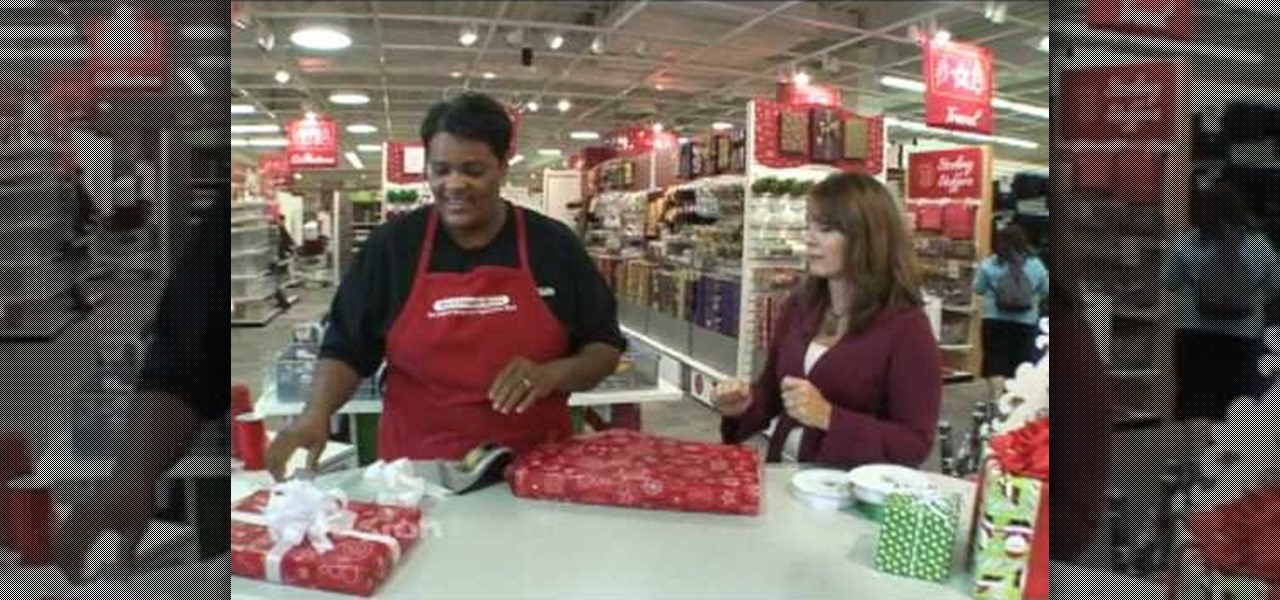
In this video from FusionNW, Paige Walker from The Container Store gives us some gift wrapping tips. A lot of people have trouble wrapping presents with wrapping paper. Here we learn how to make it simple, with your gift-wrapped presents looking like they were professionally wrapped. Remember: A gift that's wrapped in a very special way is just as special as the gift itself! One thing that's important is that you measure the wrapping paper right, and this is demonstrated for us. You'll want t...

Create a photo frame out of an origami paper or any art paper in minutes! 1) Lay the paper down on a flat surface. 2) Fold the paper in half with the shortest ends together. 3) Fold in half again so that you get quarters. 4) Unfold step#3 and with the first fold at the top, fold the top corners down along the center fold. 5) Unfold the corner flaps, open up the original fold and fold the corner flaps inside, now close the original flap. 6) Fold the lower edge up as far as it will go, do the s...

In this arts and crafts video tutorial learn how to make a paper piercing using a paper piercing template with June Campbell. The template comes with pre-made holes in varying designs that you will poke through. You will also need a paper piercing tool to create your holes as well as a craft knife to cut out larger holes. In addition, you will also need a piece of paper. Use a hard surface, such as a plastic tray to protect your table and then place a styrofoam sheet on top of that for furthe...

Making a Martini Zing with Cilantro. There are many herbs that can make interesting martinis. Cilantro is one of the best to create a really unique drink. The ingredients you need are: vodka (the video uses Gray Goose), gin, simple syrup made from equal parts sugar and water boiled until dissolved; fresh cilantro, one fresh lime, and a fresh piece of ginger root. First, put some crushed ice into your shaker. Using a grater, grate a teaspoon of fresh ginger into the shaker. Chop up a large han...

dubstepfm brings you this instructional video on how to create a peace sign design using tie dye techniques. Your host for this video takes you through the entire process from laying out the peace sign design on your shirt, to how to fold the shirt and band it properly to create this unique look. Whether you are an experienced tie dyer, or a newbie to the art, you will appreciate the level of detail dubstepfm provides in this great how-to video.

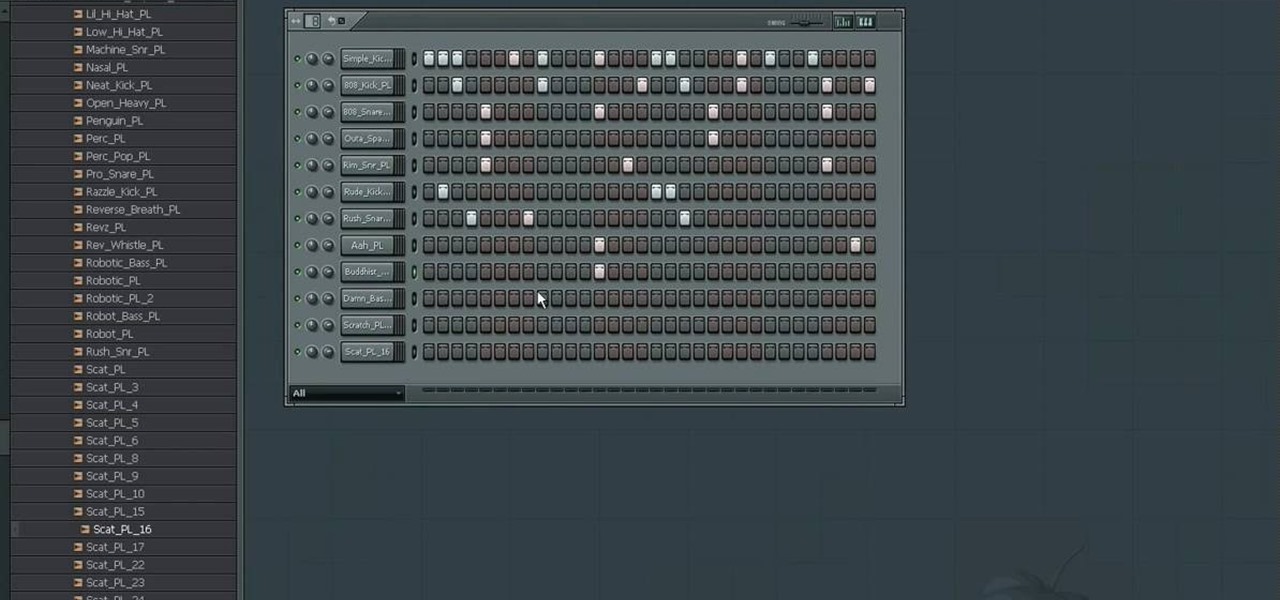
In this video tutorial from PrimeLoops, host Nick, teaches you how to create a beat, using beatbox samples, in FL Studio. You will learn how to drag samples from the browser interface to the channel interface, so that you can use them. As you follow along, Nick shows you how to lay down a beat, add effects to the sounds, how to re-level sounds to compensate for clipping in the peaks of the track, as well as how to automate some of the parameters.

Put the newspaper down on a work surface. Pick up the 5 MW green laser pen and unscrew the battery cap. Remove the batteries and put them and the battery cap aside.

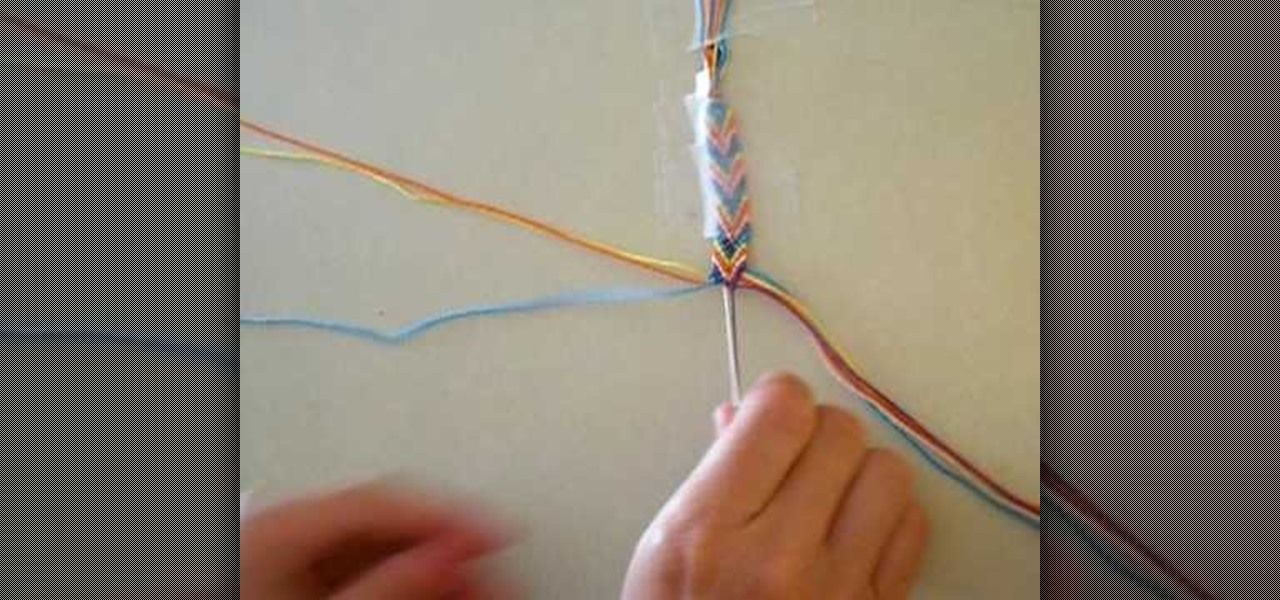
This video teaches you how to make an arrowhead friendship bracelet. The first step is to pick five colors of string. Then cut 2 pieces of string of each color. All 10 strings should be of the same length. Lay out strings adjacent to each other on the table in this color 1, color 2, color 3, color 4, color 5 and then repeat in the same order. Then knot the strings evenly. Now tape the knot onto a hard surface. Separate the strings into two sections, each section should contain 1 of each color...

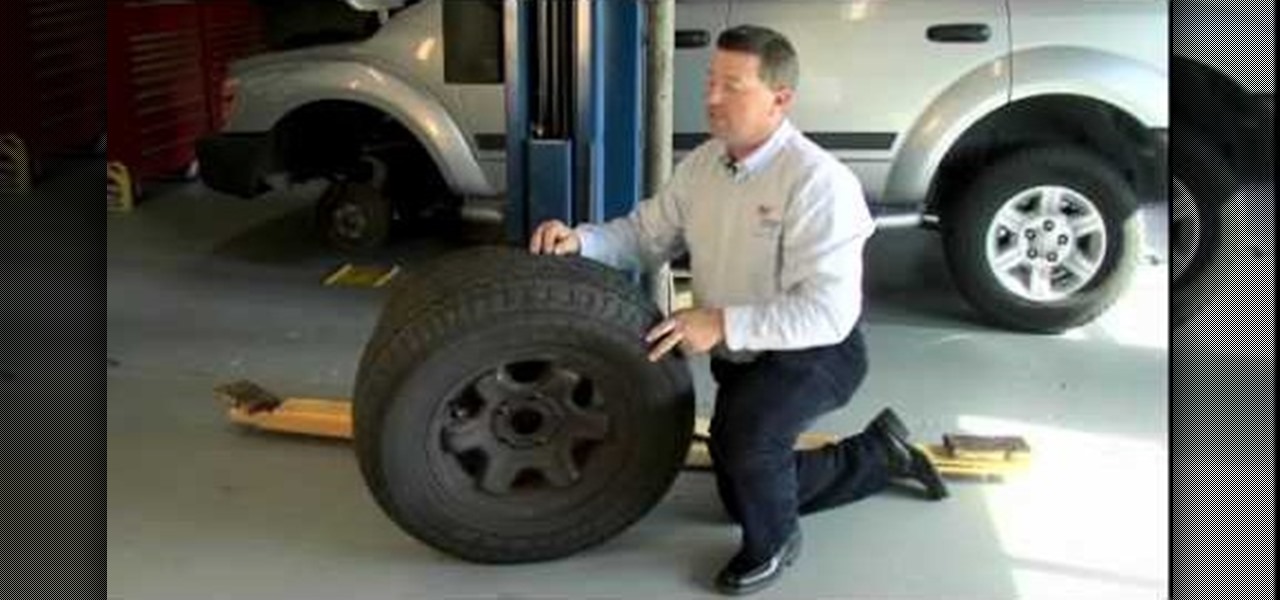
Use snow tires in the winter. Special patterns in the tread encourage the tires to grip the road better than regular tires. Snow tires are especially helpful if your car has rear wheel drive to discourage fish tailing.

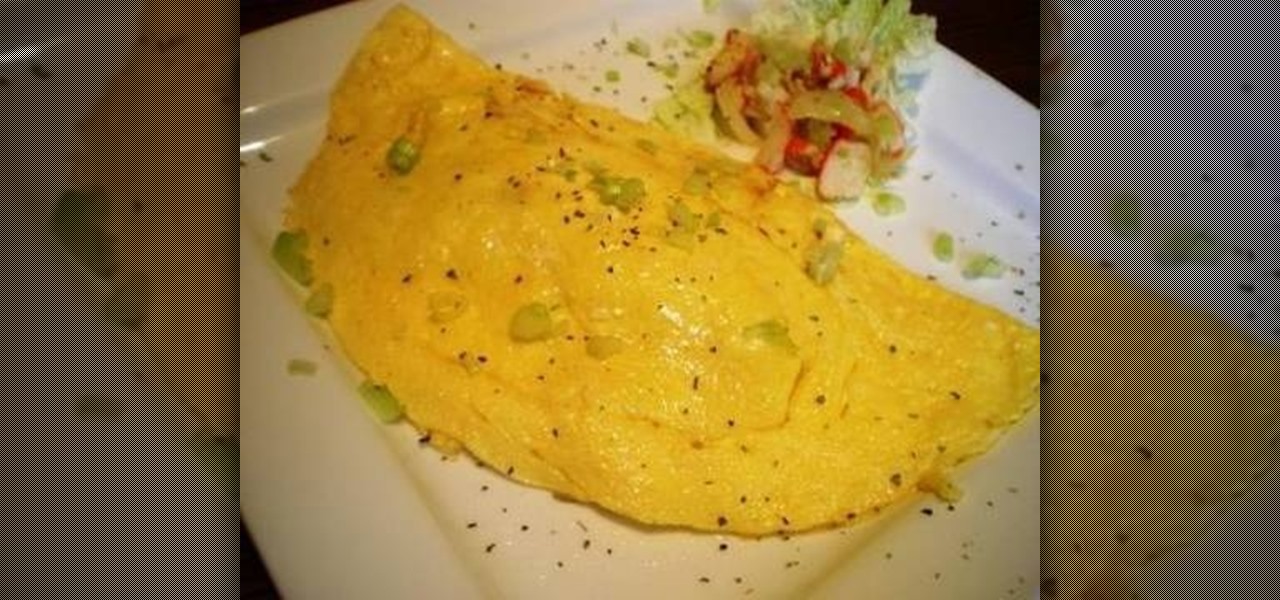
Omelets are fun to make because you can be as creative as you want in adding ingredients. This video shows how to make a crabmeat omelet and how easy it is to prepare.

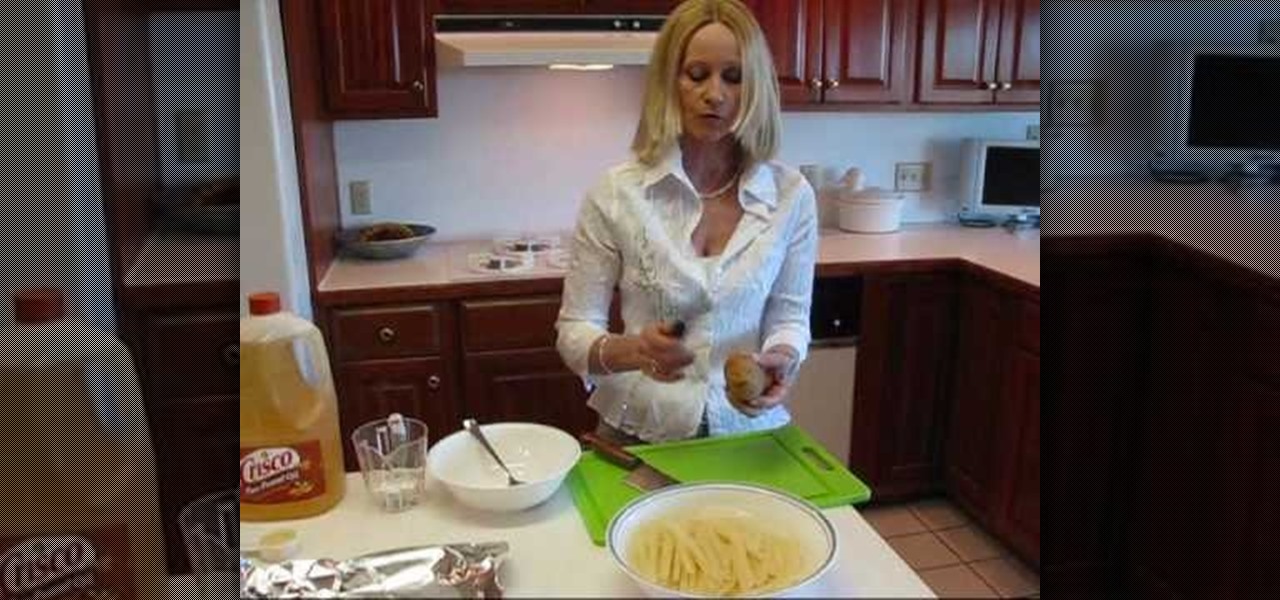
Do you ever want a french fry without all that grease? Betty shows you a delicious, healthy alternative with her oven baked potato strips!


