

How To: Clean a cassette player
Learn how to clean a cassette player. Cassette players may be outdated, but if you've still got tapes, you're going to want to keep them in good condition.

Learn how to clean a cassette player. Cassette players may be outdated, but if you've still got tapes, you're going to want to keep them in good condition.

Dyeing your hair is a great way to change your look. But if you don't do it right, the results can be pretty ghastly. If you seek a new do without the harsh chemicals, these steps will give you the locks you’ve been looking for.

If the rumors are right, Microsoft has decided to cancel the second version of the HoloLens, and they will instead move onto version three of their mixed reality headset. In the latest report, Thurrott's Brad Sams states that the expected release date of this new Windows Holographic device wouldn't be until 2019, a long two years away for those of us putting full effort into HoloLens app development.
Will the predicted apocalyptic date—December 21st, 2012—really be the end of the world? In this ongoing five-part series, we examine what would happen if zombies, nuclear weapons, cyber wars, earthquakes, or aliens actually destroyed our planet—and how you might survive.
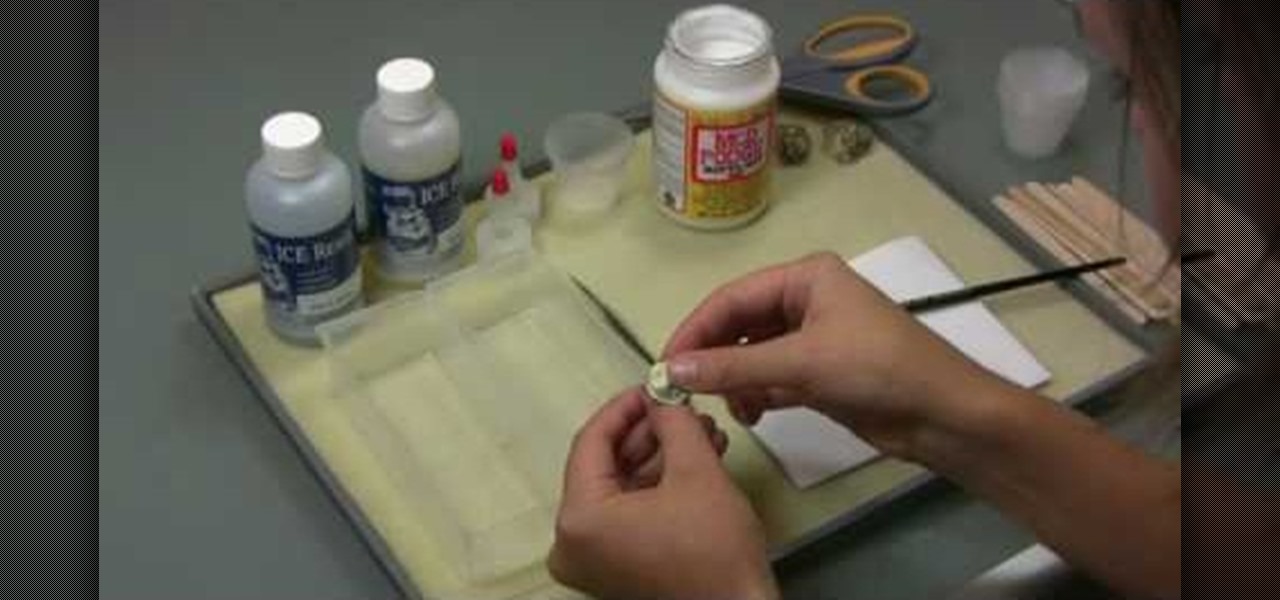
In this Arts & Crafts video tutorial you will learn how to use ICE Resin to make resin jewelry. ICE resin should be used in a well ventilated room and be sure to follow manufacturer's recommendations. The kit comes with mixing cups and sticks. Additionally you will need a paint brush, scissors, sponge and needles. Once you mix the resin and the hardener, you got to use it within 30 minutes. Curing time is 24 hours at 72 degrees Fahrenheit, which is the room temperature. You can make it faster...
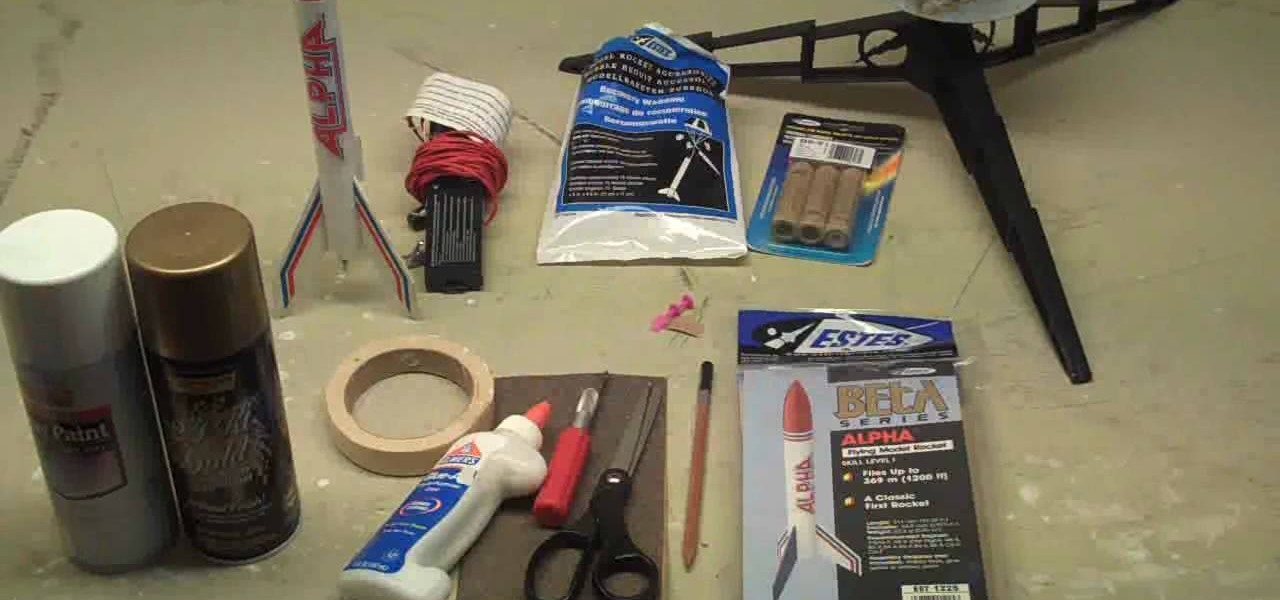
In this Hobbies & Toys video tutorial you will learn how to assemble a model rocket for launching. This video will show you how to do this using the Estes Alpha model rocket. For this project you will need the rocket kit, masking tape, glue, sand paper, a knife, scissors and a pencil. First you sample the engine mount, glue it up and set it aside to dry. Next you cut out the fins and sandpaper them together. Then you apply glue on the inside of the tube up to 1 1/2" and push the engine mount ...
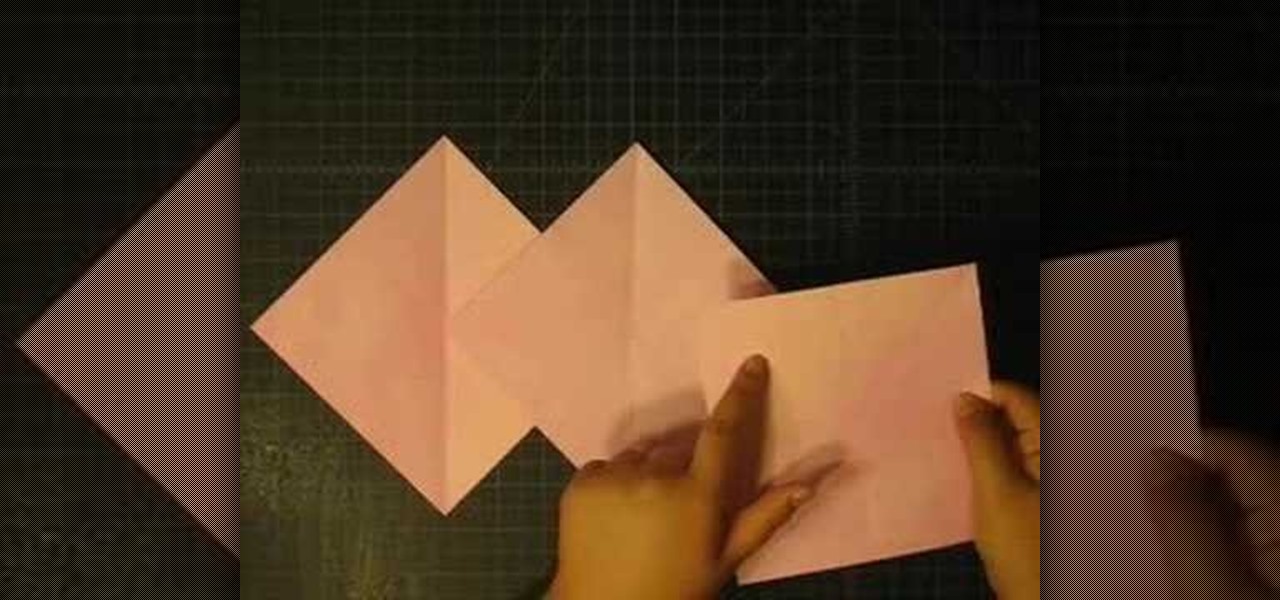
The narrator starts by explaining what a squash book is. A squash is designed to keep photos, journalling or what ever you like. To start we require a 4x4 pattern paper and 3x3 chipboard. We then glue the chipboard onto the pattern paper. We then cut the corners of the pattern paper. We then fold the flap in and glue down. We repeat this to form another cover. Next we grab a 6x6 pattern paper, we then complete a series of folds. One diagonal, half horizontal and half vertical folds. We repeat...
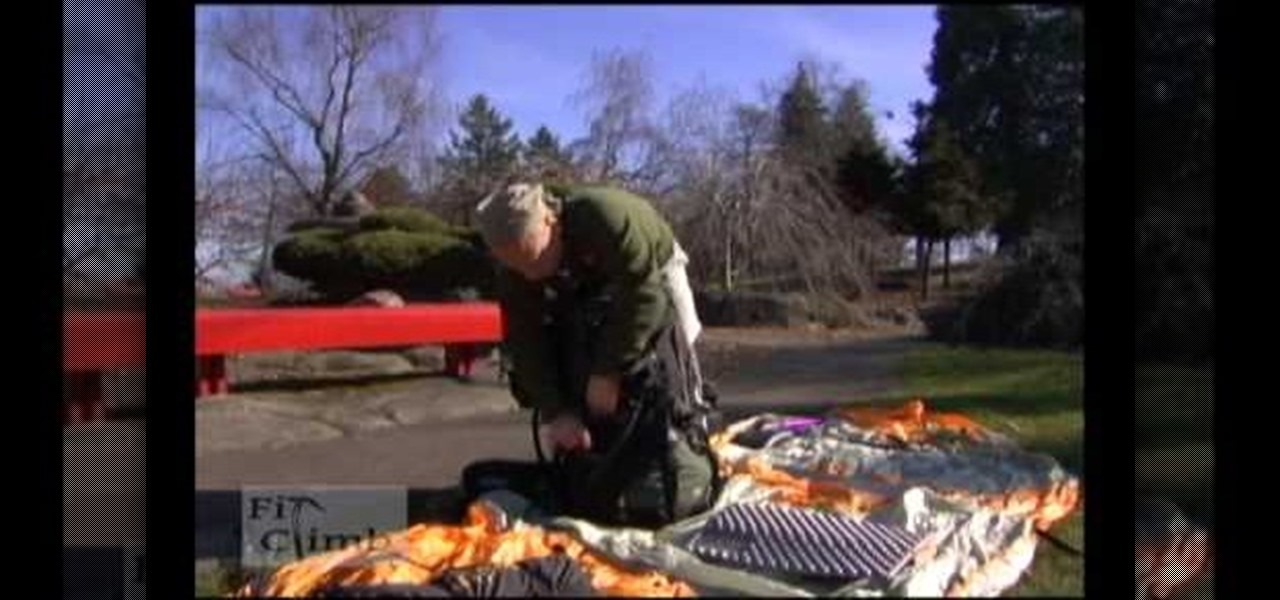
The video demonstrates how you should pack to be fully equipped and prepared for a backpacking trip that lasts 2-3 days. Gather all of your equipment including clothes, food, water, climbing gear, emergency kit, sleeping back, and more. When you start to pack, you want to make your center of gravity is very low so pack your heavier items near your back and lighter ones that aren’t required immediately during your trip such as your sleeping bag at the bottom of the backpack. Also remember th...
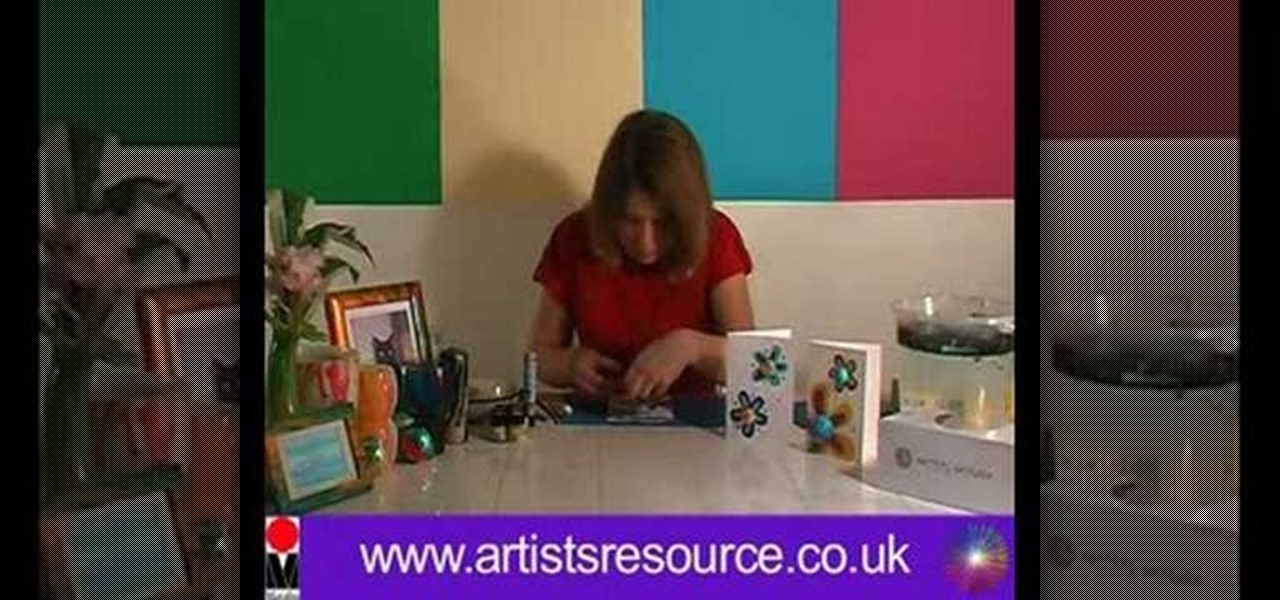
This video is about making a marble greeting card. The materials required for making them are marabu marble starter kit which consists of six marble paints,a marabu konturf paste, a polyester ball, a bowl, kebab sticks, a pencil, a cutting knife, a glue, sweat pieces of card, three cards of different colors and a bucket of water. The video starts by folding one piece of card into half and then cutting the ball into two pieces. Keeping the piece of ball as the center draw a flower around it on...

Learn how to repair broken fingernails! You will need to purchase an instant nail repair kit. It should come with polish remover, nail tape, nail glue, and clear polish. First place a little bit of glue right where the slit is. Press the nail together so that it seals. Once it has dried a little, place the clear tape over the break. Next you will place a clear polish on top of the nail tape. Clean up the polish around the sides. Now your nails are ready to be polished in any color that you like.

In this how-to video, you will learn how to paint on your ceramic dinner plates. You will need a ceramic paint kit, a soft pencil, masking tape, a porcelain painter pen, scrap paper, scissors, scrap paper, tracing paper, Celtic patterns, and a jar of water. Place the tracing paper over the copy of the Celtic patterns. Tape both down to the surface with the tape. Trace the pattern onto the tracing paper using the pencil. Clean the plate and stick tracing paper over the plate. Trace over the pa...

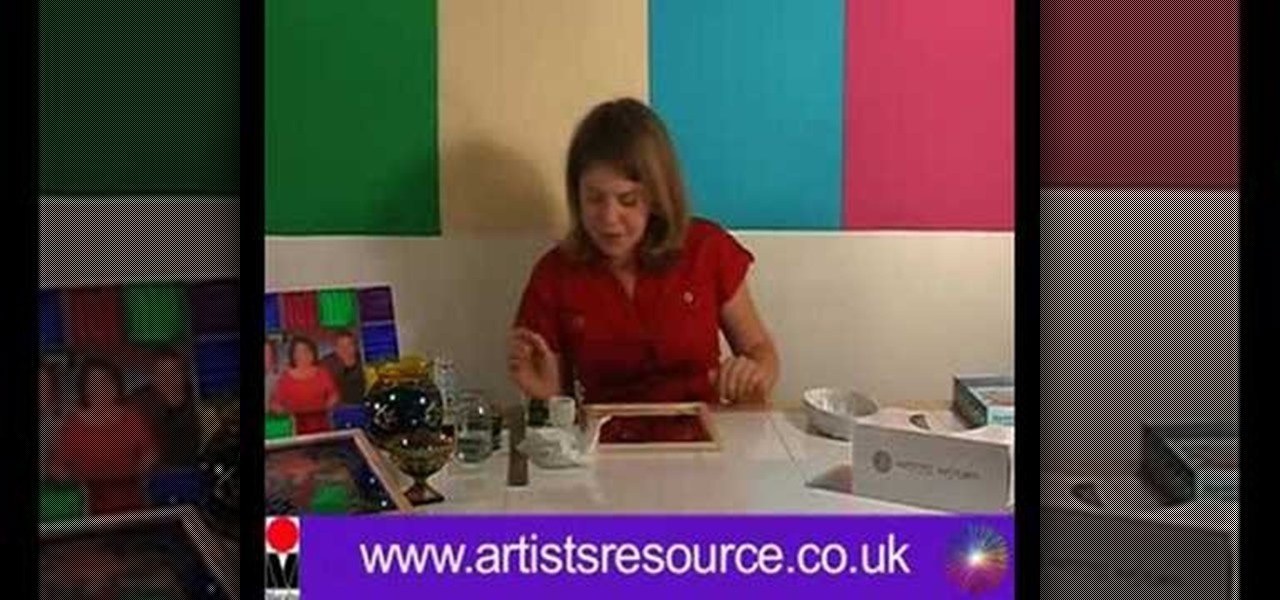
Marble your home decorationsItems needed: Marobu easy marbling kit with 6 paints, a bucket of water and items to decorate.Make sure the water in the bucket is deep enough to submerse the jar. Add 6 or 7 drops of green, blue and black paint into the water. Stir. Put your hand in the jar and dip it into the bucket of water. Clear the paint from the water for the next project. Place red, yellow and white in the bucket of water and stir. Add the candle. Place it on the side to dry. Clear the pain...
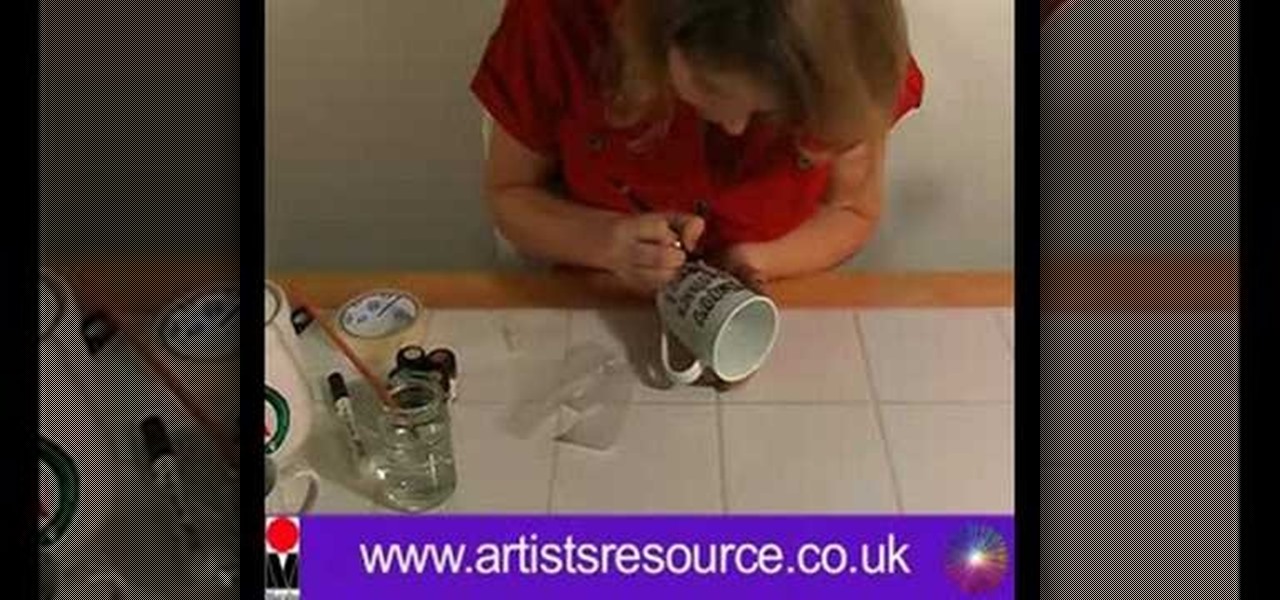
This video demonstrates how to paint Mother’s and Father’s Day mugs. This is a ceramic painting project. For this project, you will need the following supplies: 2 mugs, a Marabu ceramic kit, a paintbrush, a soft pencil, tissue, masking tape, a marabu porcelain paint pen, a jar of water, paper, scissors, tracing paper, and a sheet of paper with the lettering that you want to use on the cup. On your PC, use any decorative font that you like.
In this Arts & Crafts video tutorial you will learn how to make a stained glass mirror. This video is from Artists Resource. You will need a Marabu GlasArt kit, some spirit, a china graph pencil, scissors, a ruler, masking tape, a container to mix your paint, an object to draw an oval shape, Marabu outliner paint, a mirror and peel off dolphin stickers. Take a few dolphin peel offs and stick them on the face of the mirror; on the edges, to form a design. Place the oval shape object in the cen...

In this Arts & Crafts video tutorial you will learn how to make a stained glass picture frame. This video is from Artists Resource. You will need a Marabu GlasArt kit, some white spirit, a china graph pencil, scissors, a ruler, sheets of scrap paper, lead tape and a picture frame. Take the frame and remove the clips. With the ruler and china graph pencil mark off and draw 6” squares. Rub off the center lines with a tissue. This is where the photo will fit. Next you fill the squares with the g...
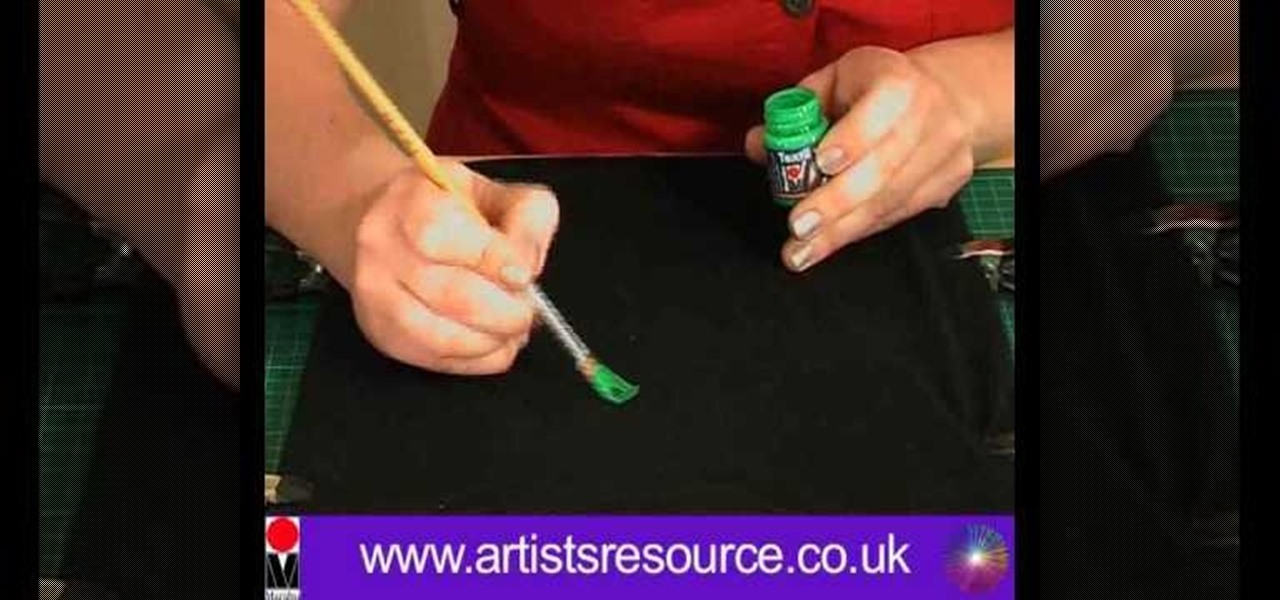
Learn how to ‘Paint onto your T-Shirt’ by watching this video. Materials required for this include the following:•Marabu Textil Plus Start Kit – 6 colors included with paint brush•Marabu Metallic Outliner Paints•Crocodile clips•Masking tape•Pencil•Design printed from the computer•Tracing paper•A large cardboard wrapped in cling film•A dark colored T- ShirtBegin by placing a tracing paper over the design and secure it to the table using masking tape. Next, use a pencil to trace the design on t...
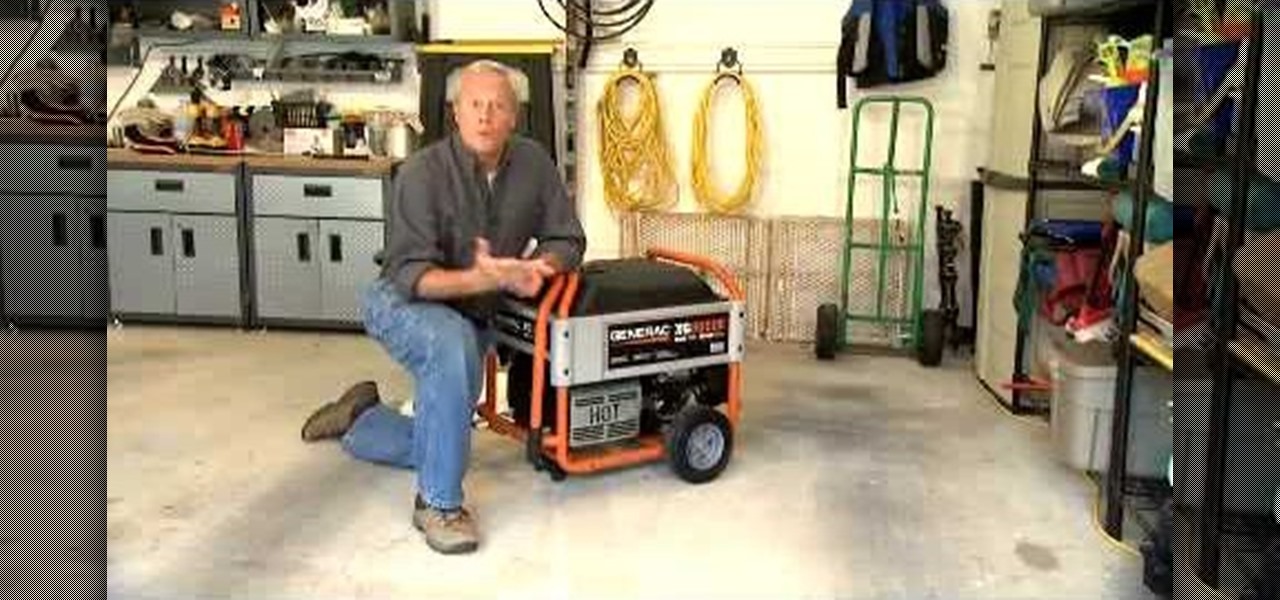
Danny Lipford gives us tips on setting up and maintaining a portable generator. Set-up usually includes assembly of things like wheels and handle kits. Most portable generators come without oil so you will need to add it. Be sure to check the owner’s manual for the proper type of fuel to use.

First of all open the box and take out the kit, different parts and the instruction manual. You also need glue, epoxy adhesives, sand paper, 2 mm drill and a 4 mm drill. Start with assembling the outer frame of the camera by fixing in the slots. Use a screw driver to screw the bolts. Now use the glue and fix the inner parts of the camera. Now make the front portion of the camera. Fix it exactly as shown in the instruction Manual. Now drill in the holes on the sides of the camera's outer frame...

TM Lewin shows us his technique to perfectly iron a man's shirt. You should have what he calls an ironing kit. An iron with a good steaming function, a spray bottle, and a can of starch for a more formal look, and an ironing board. To start lightly spray the shirt with the water bottle. Start with the sleeve, to avoid and crease press firmly with the base of the iron not the tip. Make sure the shirt is flat so you will only have to press on side of the shirt. The collar of the shirt will be t...
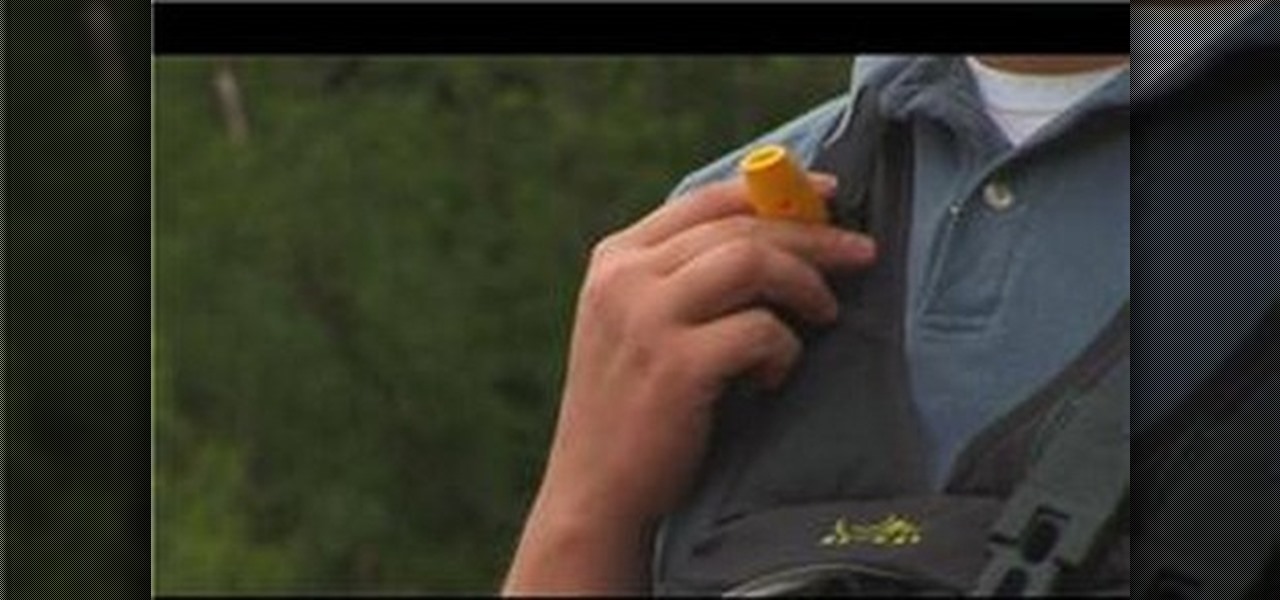
This video will show you the right and proper safety gear for kayaking. Kayak safety gear is one of the most important aspect of kayaking. The most important kayak safety gear is the life jacket. It should be short torso so you can move freely and it does not rise up. Make sure that all the straps are tighten when you wear it. The next important kayak safety gear is a whistle. You will use it when you are in trouble or in emergency. Blow it once to catch attention and 3 times during emergency...

This video shows you how to quickly change a mountain bike tire out on the trail. Remove the wheel from the fork. The tools you need are a pump, mini tool,
Sick of spending your hard earned money on the bourgeois bubbly water? Why spend extra money on bottled seltzer when you can make it at home? Plus, by using fewer plastic bottles, you can reduce your carbon footprint.
Looking to take some safety precautions for the exterior of your home? Motion detector lights are a good way to ward off unwanted intruders. Installation of motion detector lights isn’t as difficult as it sounds, since most are pre-wired and preassembled.
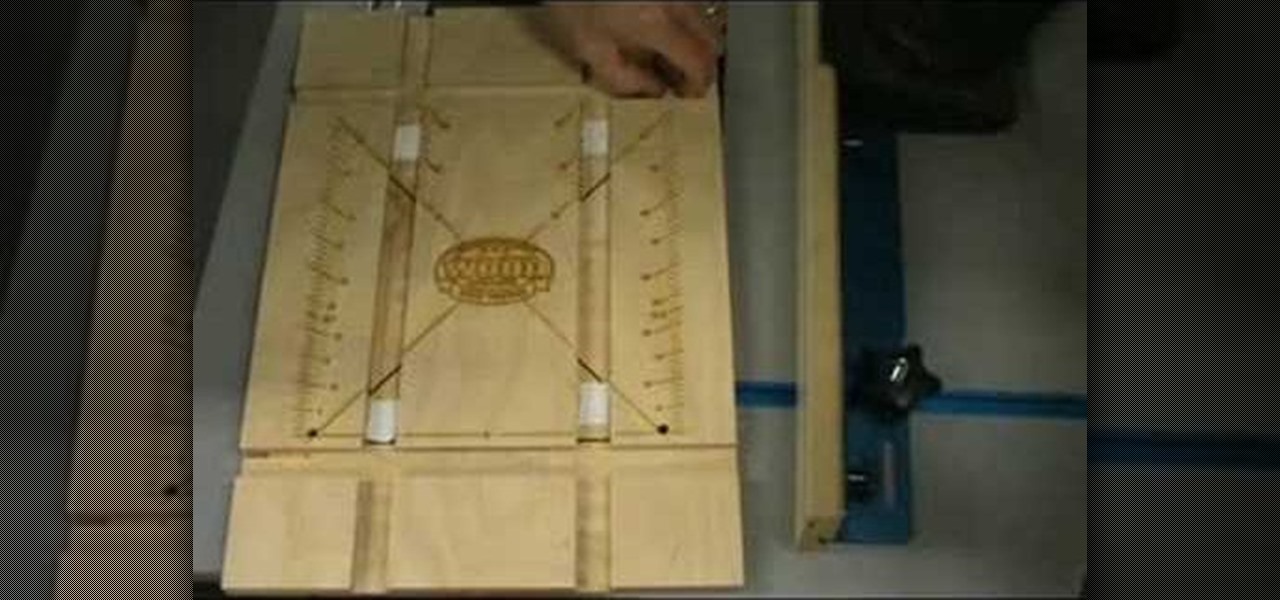
Eagle Lake Woodworking, hosted by John Nixon, offers great do-it-yourself guides for building your own furniture, especially in the American Arts and Crafts style, and turning your garage into an amateur woodshop. Search Eagle Lake on WonderHowTo for more carpentry tutorial videos. From Eagle Lake Woodworking on this specific lesson:
Systm is the Do It Yourself show designed for the common geek who wants to quickly and easily learn how to dive into the latest and hottest tech projects. We will help you avoid pitfalls and get your project up and running fast.
Have you spent time styling your hair only to step outside and look like you stuck your finger in a light socket? Learn how to keep that beautiful hairstyle looking good!

Having less-than-brilliant teeth doesn't have to mean a trip to the dentist or a whitening kit. Try this all-natural remedy instead. Watch this video to learn how to whiten teeth naturally.

Highlight your individuality by customizing a tee-shirt—without much time, effort, or money. Here are some ideas to get you started. Check out this Howcast video tutorial on how to make a custom T-shirt.

Wearing vintage clothing is one of the best ways to reduce the environmental impact of your fashion choices—short of walking around naked.
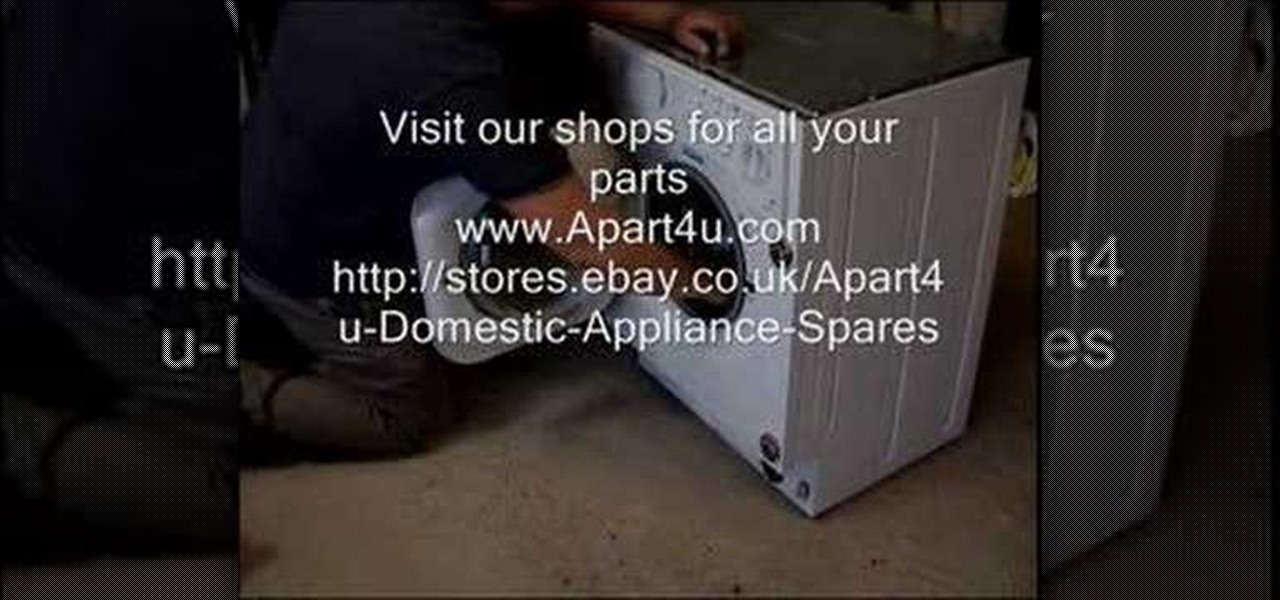
Check out this home repair tutorial video that demonstrates how to fix and diagnose your appliance. These videos are for information purposes only. A qualified and proficient engineer should be employed to replace any faulty parts on your domestic appliance.

The still-unfolding story of China's Nreal augmented reality startup continues to develop, with each turn uncovering another unexpected wrinkle.

As the opening act to the grand unveiling of the long-awaited HoloLens 2 at Mobile World Congress Barcelona on Sunday, Microsoft showed off the standalone Azure Kinect time of flight sensor, which also happens to supply the improved human and environmental understanding capabilities of the next-generation augmented reality headset.

In a previous tutorial, we were able to place the Mona Lisa on vertical surfaces such as walls, books, and monitors using ARKit 1.5. By combining the power of Scene Kit and Sprite Kit (Apple's 2D graphics engine), we can play a video on a flat surface in ARKit.

Recently, a user on Reddit complained that their Snapchat account had been temporarily banned because Snapchat noticed the user's account was going through a third-party service. In reality, the account in question was running on a jailbroken iPhone, and it was far from the first to be banned by the messaging app.

A 6,000-year-old forest inhabitant awakens to find life in the forest around it in crisis. Plants, trees, animals, and birds are moving north to escape increasingly heated air, even as mass extinctions take place around the world. The inhabitant stirs and remembers it has lived this before and knows what to do.
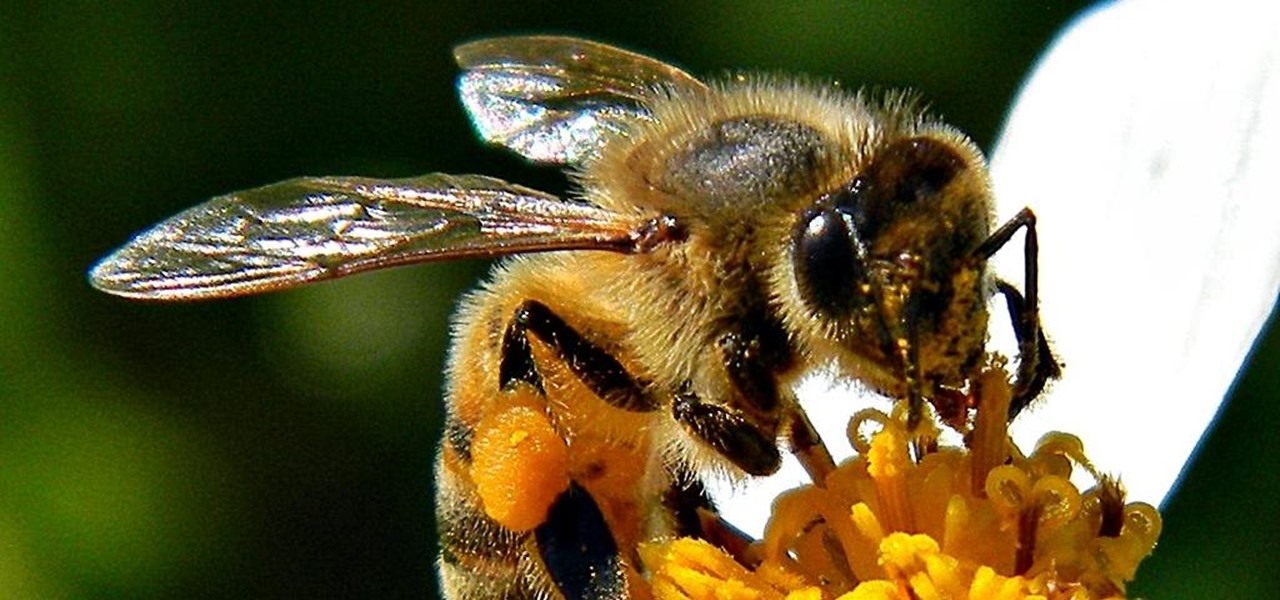
Most people are familiar with the decline of honeybee colonies around the world. Among other threats, Colony Collapse Disorder (CCD) is eroding the capability of honeybees to maintain their hives and provide their services to human farmers.
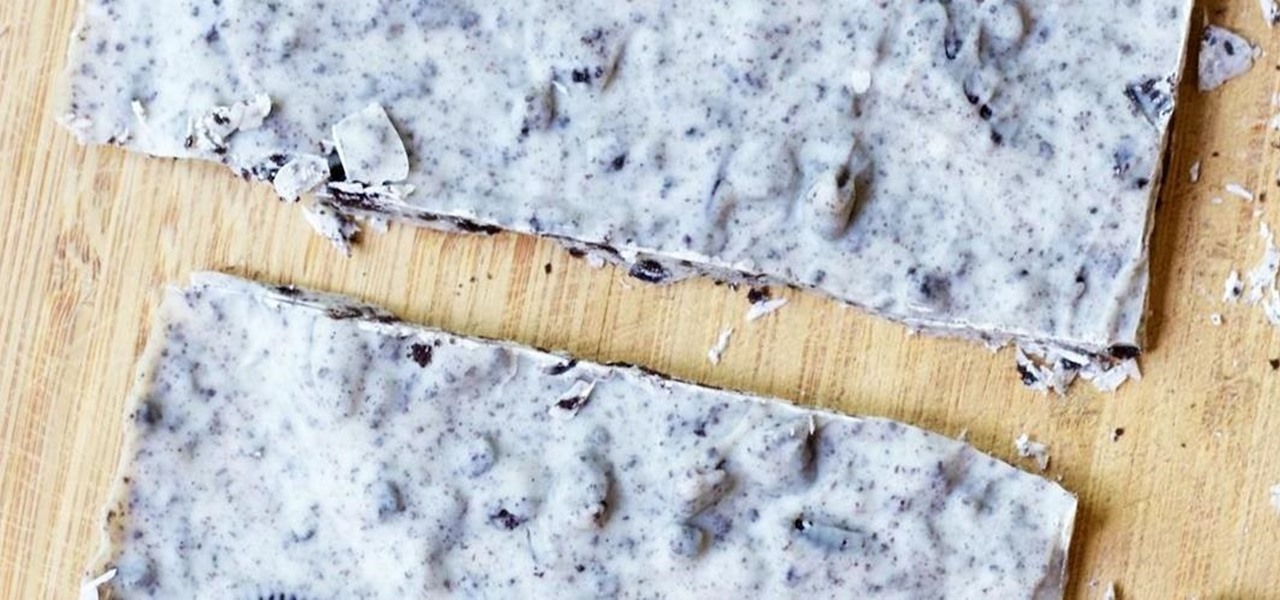
Cookies 'n' Creme is one of Hershey's most popular candy bars, right behind their classic milk chocolate bar, Kit Kat, and Reese's Peanut Butter Cups.

Will the predicted apocalyptic date—December 21st, 2012—really be the end of the world? In this ongoing five-part series, we examine what would happen if zombies, nuclear weapons, cyber wars, earthquakes, or aliens actually destroyed our planet—and how you might survive.
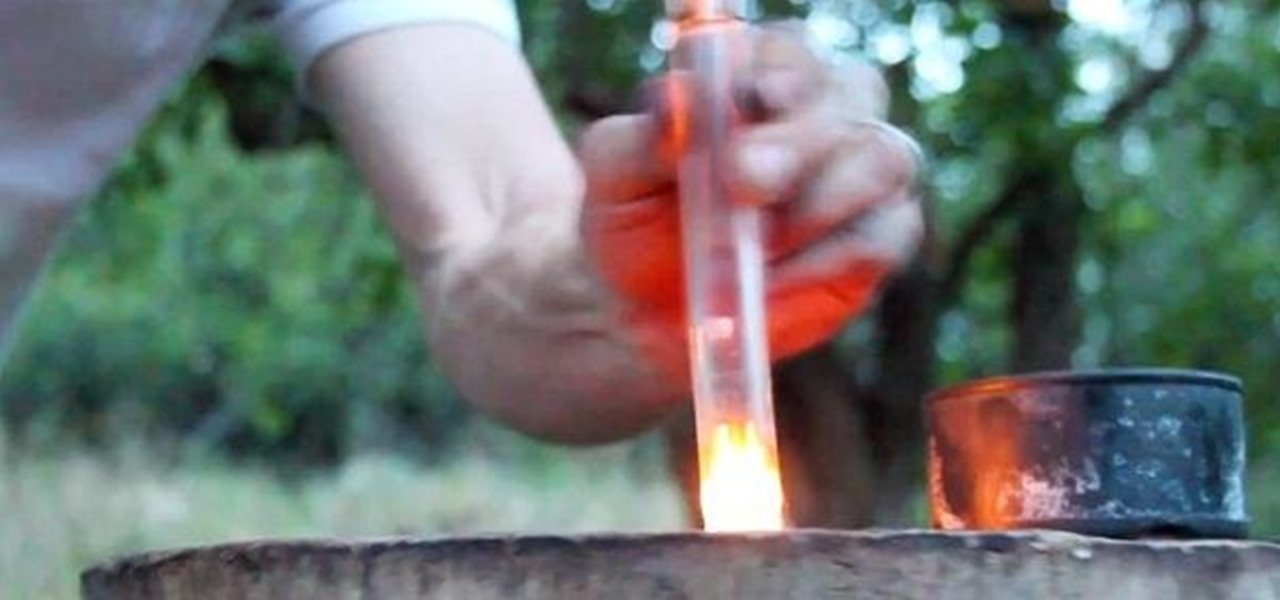
Did you know that there's a way to start a fire by squishing air? In this project, I'll show you how to build a tool that does exactly that—and I'll give you a sneak peak into the principals of how a diesel engine operates!

Drums Overkill is a new virtual instrument from Best Service that features 1,200 drum kits and a total of 27,000 samples. Never before has such a huge collection of samples been formatted into "ready-to-play drum kits" that can be loaded into the included Kontakt 2 interface which you can then play on your keyboard. Learn the basics of using the Best Service Drums Overkill kit in this Kontakt 2 tutorial.