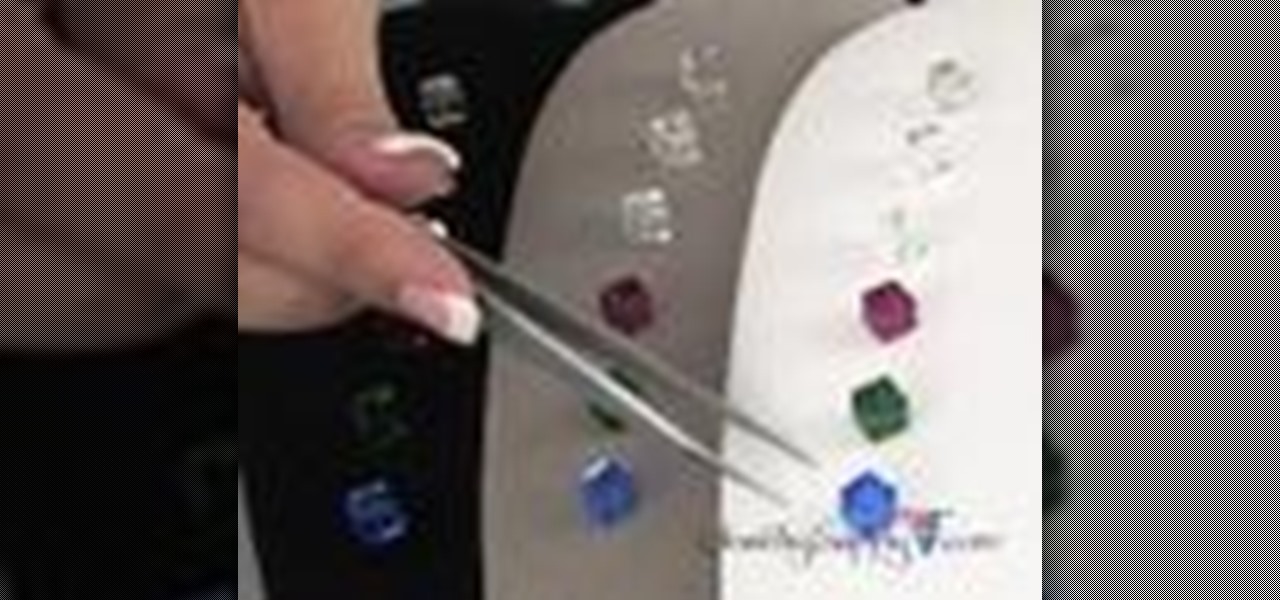
How To: Choose a color for a jewelry display
Don't know how to display all the beautiful jewelry that you have designed? Watch this video to learn what jewelry display colors will best complement your designs.


Don't know how to display all the beautiful jewelry that you have designed? Watch this video to learn what jewelry display colors will best complement your designs.
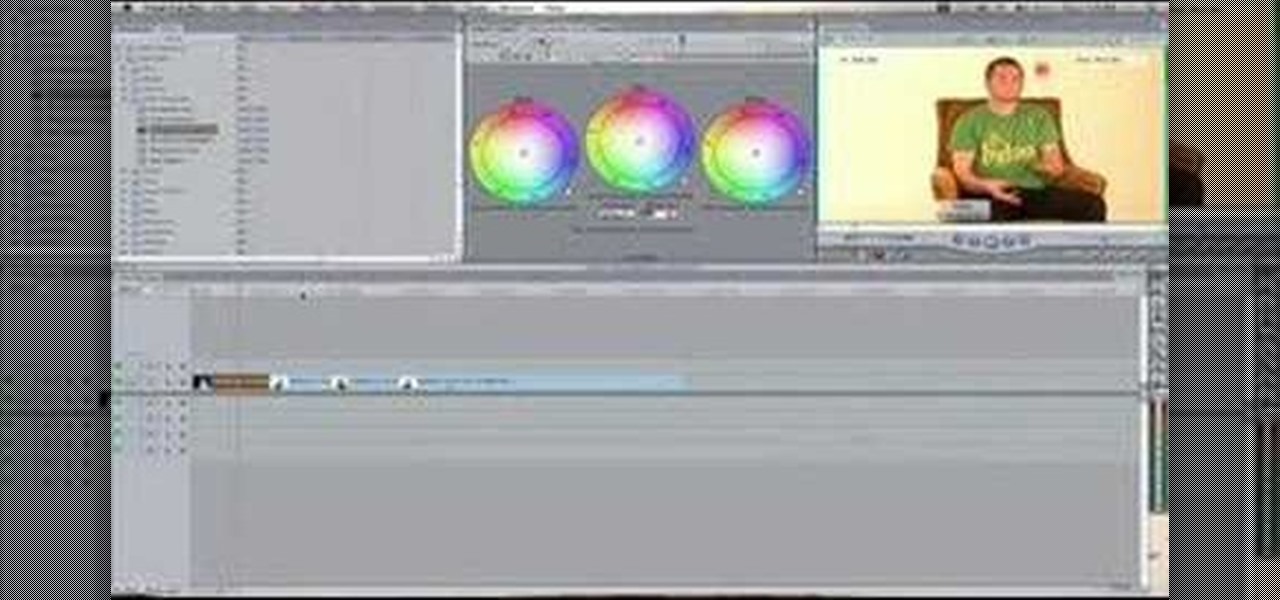
Master broadcast editor Bill Cammack teaches us and Matt how to match color hue in Final Cut Pro. Learn as Master Bill explains the basic technique used for matching shots.

Master Bill Cammack guides Matt and viewers alike through the process of correcting white balance using Final Cut Pro's three-way color corrector effect.

Learn how to change the color of someone's eyes in an image using Photoshop.

In this episode on Halo 2 Tricks TaurineDippy shows you how to change your character's color in game.

Learn how to instantly change the colors of objects in images using Adobe Photoshop.

The Red Cine Application is essential to learn if you plan on shooting with the RED ONE camera. This tutorial goes over color settings and grading.

Benny from askbenny.cn teaches you how to say some basic colors in Mandarin Chinese.

This is a Photoshop tutorial from NewDarkROom.com This tutorial will show you how to make selected areas of your images color while the rest remains black and white.

Mark from Videomaker magazine offers up his knowledge to help you stylize your videos color using computer software. Find out what tools you need, and how to use them.

You can learn how to change hair color with Photoshop. You can turn a brunette into a redhead. You use the brush tool over the area you want to colorize.
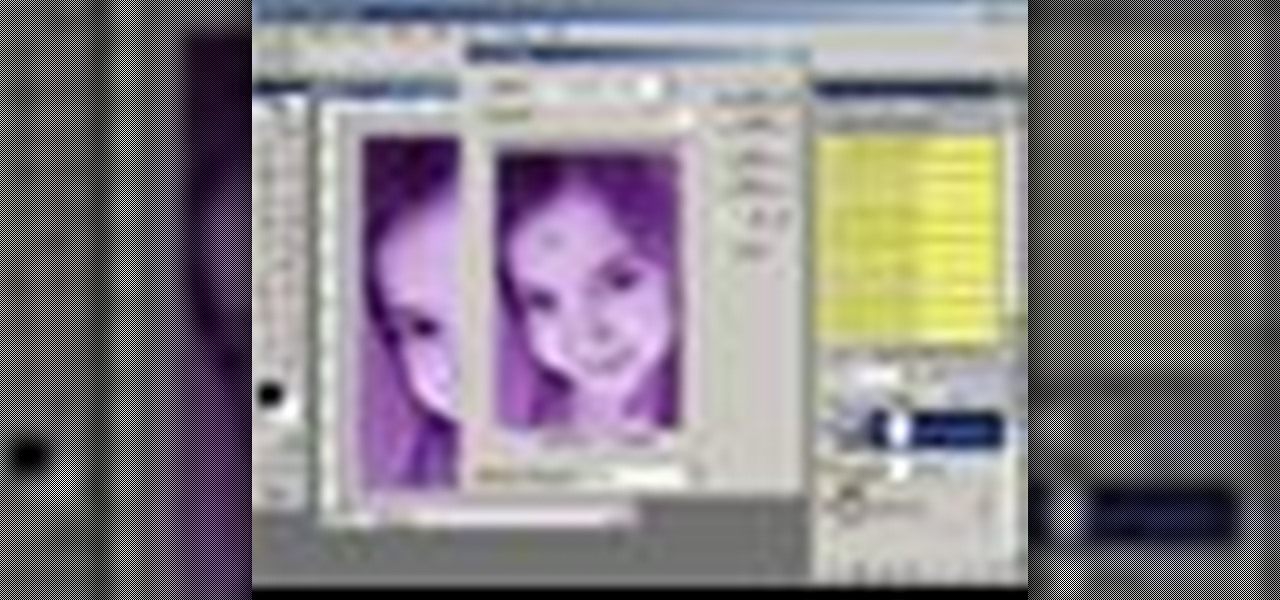
Want to create unusual effects on your photos? In this video tutorial you will learn to create a stylized portrait using a two-tone rendering. Learn to mask by color range and to blend with control. This video will give you a good grasp of the manipulation tools available so make sure you experiment with them for yourself.

In this video tutorial you will learn to create the Sin City effect where one portion of the image is in color while the rest is in black and white. Learn how to use layer masks to do the job. You could have as many layer masks as you want as you add in more colors to your images.

In this video tutorial you will learn to perform some basic image corrections on your photographic images. Learn how to improve the color and sharpness of your images. The video has some great tips on using Curves.
InDesign's Eye Dropper Tool offers more than meets the eye. With InDesign CS2 you can sample just about anything thing and re-apply it over and over again. In this video we'll learn how to sample colors from images and apply those colors to text, and we'll also see a neat trick that allows you to sample frame attributes and apply them to other frames.

The fourth room in the Color software that's part of the Final Cut Studio of Apple, is the ColorFX tab. This section of the software allows you to create different looks by combining different effects nodes.
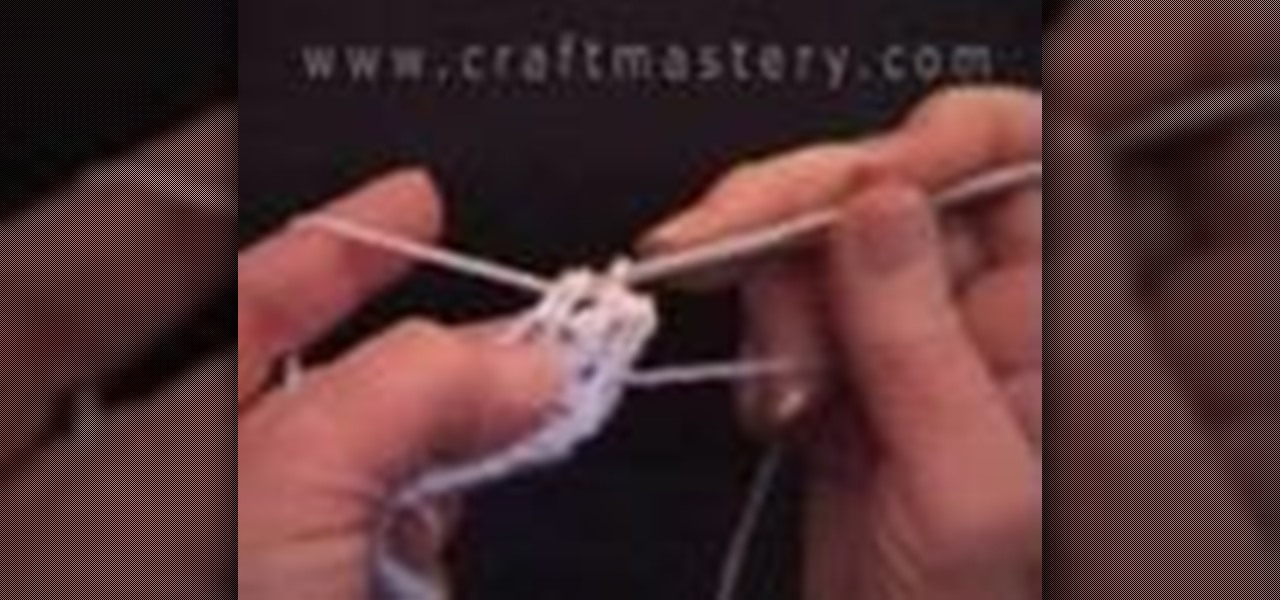
Detailed demonstration of how to change correctly to new color yarn in your crochet project. This requires an intermediate crocheting ability.

In this video, we learn how to create a realistic looking cut using cinema makeup. Start out by using silicone putty on the face to help make the cut on the face look more real than ever. Use brushes and a spatula to help mix colors together and apply to your face flawlessly. Also make sure you have fake blood with you so you can apply to the face to make look more realistic. After you have let the silicone dry, start to apply the red, dark red, and black colors onto it and blend to create a ...

Managing your busy schedule just got easier in Entourage 2008 for Mac. Using the powerful Entourage Calendar feature lets you organize your time wisely. The Microsoft Office for Mac team shows you just how to organize your schedule with the calendar in this how-to video.

Have you ever taken a photograph indoors and found that all the colors turned out wrong? Everything may have looked far too yellow or far too blue. It was not the fault of your camera. Instead, you probably forgot to set the white balance. What is white balance? Lets find out.

In this video, we learn how to draw and color landscape scenery. First, draw your starting point, making a horizontal line. After this, draw other reference points on the paper, then start to draw in lines to see where your structures are going to be. After you do this, make trees on the paper, then start to fill in details of plants and flowers around the trees. Draw in buildings and stairs, making mountains and hills in the background. Add as many detail as you feel needed, and then start t...
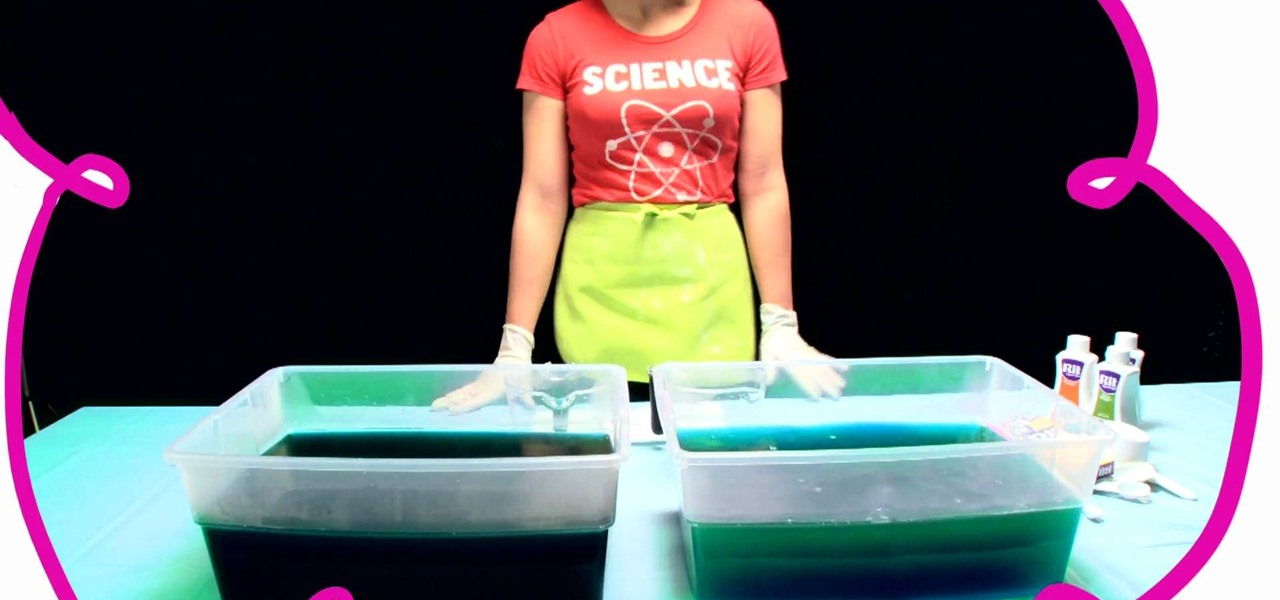
In this video, we learn how to design your own clothes with ombre dying. Start off by mixing up a dark color and a light color in 2 gallons of water each. Now, take your piece of fabric and place it into warm water until it's covered. Now, place this on a hanger, then dip the top into the dark color for eight minutes. Then, place the fabric in the lighter color for one minute. Then, place this under cool water upside down until it runs clear. After this, wash it in the washer and dry it, then...

First you need to go to your site and click any post you want and see the simple heading and now you want to change the background. To do this, first you need to go to your word press admin and then click custom file editor in thesis options it will open your code window and here you will have to paste the code which is showing in the video. you will have to paste it in custom.css. After pasting the code you have to click the green save button.

In this video, we learn how to apply burnt orange to eyes for this fall. Start out by applying primer to your eyelids, followed by using airbrush foundation over your entire face. Next, find a burnt orange colored eyeshadow from any brand, and brush it on the crease of your eye. Next, brush a copper color onto your eyelid, then brush the burnt orange color on the outside crease of your eye and blend into the middle of your eye. Then, brush the color lightly on the bottom waterline of your eye...

In this video, we learn how to draw a cartoon dragon with a big head. First, draw the outline of the dragon, making the head much larger than the body. After this, add in small details to the dragon using the light pencil mark. Next, take a bold marker and trace over the pencil lines that you made, filling in the eyes, nose, teeth, wings, tail, ears, etc. After you do this, color the dragon completely green. Then, take a darker green color and apply it to the edges and where you want shadowin...

In this video, we learn how to apply copper eyeshadow for a summer look. First, apply a base on your lid using a MAC Paint Pot. Now, take a dark brown color that has shimmer to it and apply it to the crease of the eye. Apply a light brown or copper color to the entire lid after this, then blend the two colors together. Add more color to make it brighter, then apply black eyeliner on both the top and bottom of the eyes. Next, apply false lashes to the upper eyelid, then apply mascara to the bo...

Just like you'd consider your skin tone when applying eyeshadow, blush, or any kind of makeup, you have to consider your skin coloring when you're picking out what hair color you'd like to dye to your hair with.
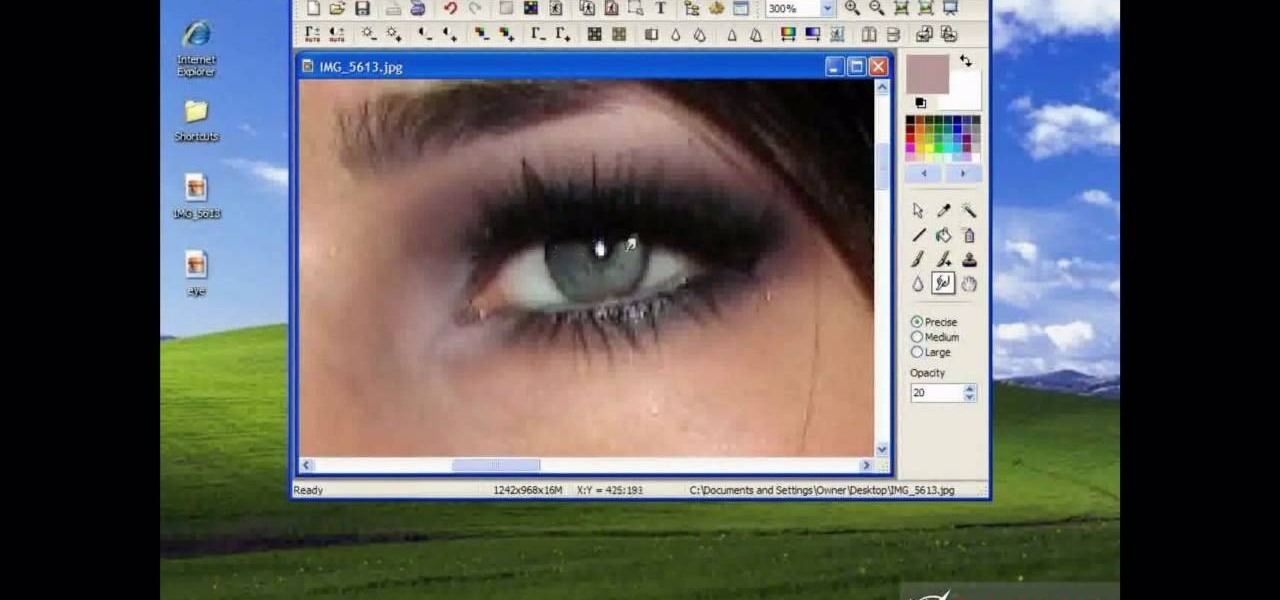
Why waste money on color contacts when you can change your eye color on a software program called Photofiltre? Photofiltre is free and you can manipulate your eye color to whatever shade you'd like in a few easy steps.
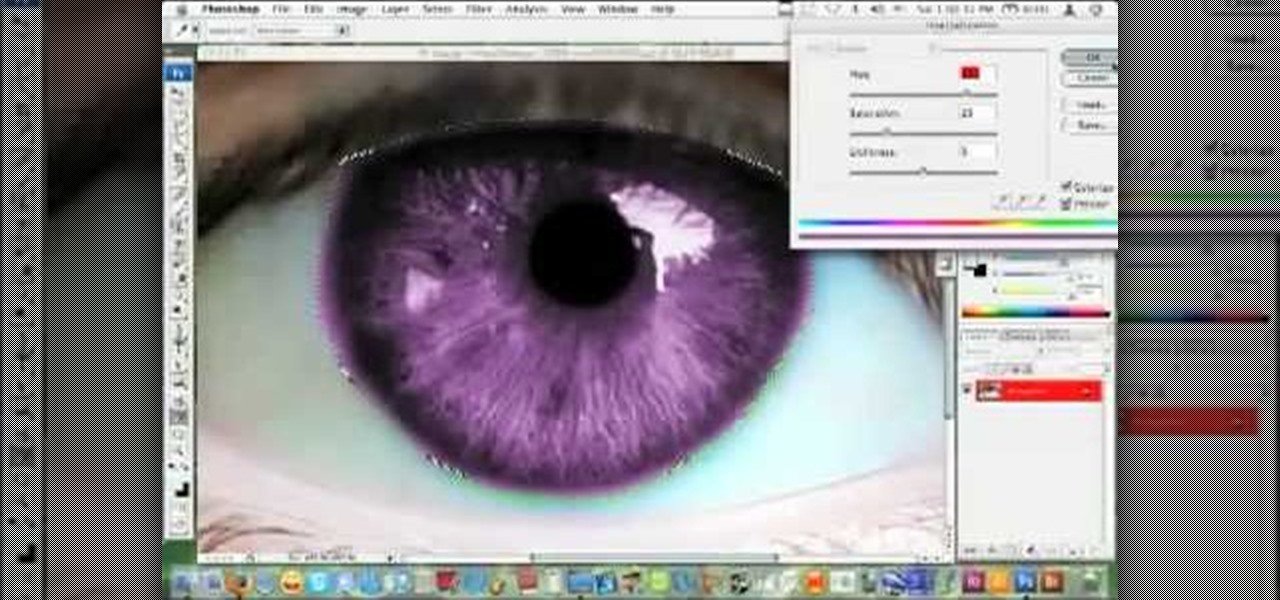
hotarrows223 demonstrates how to manipulate the eye color in a photograph using the masking tool. First, you must open the image with the eyes you intend to work on with Photoshop CS3. Next.], you must zoom in on an eye. You should be at the point where the iris fills up more than half of your screen. After that, you must select the iris, outlining it with the selection tool. Then, select image>adjustments>Hue/Saturation. Make sure all the boxes are checked, then adjust the hue or color bar t...
Whatever the occasion, a multicolored rainbow cake is sure to delight everyone! Luckily, the recipe is easy and this tutorial will show you how to create a colorful dessert step by step.
Good makeup isn't when others notice you're wearing makeup, it's when they complement how beautiful you look today. You can enhance your own beauty by executing a couple tried and true makeup tricks. A little bit of makeup can go a long way.

This video shows the secret of applying makeup for large eyes. An excellent summary is given below. First apply a dark plumy color paste using a stiff dome brush all over your eyelid. Now with a flat stiff brush use the plumb color and apply it over your eyelids. Use coral color in a soft dome brush and blend it over the crease. Now use carbon color in the stiff dome brush and blend it on the outer end of your eyelids. Use vanilla color in the fluffy dome brush and highlight above the coral c...

Watch this video to learn how to get Rihanna's bronze look by the Makeup Geek. Use your ring finger to apply a coppery color (example: Illamasqua Liquid Metal in "Enrapture") and spread it all over your lids and up towards your eyebrows.

This is a cute look. Miley Cyrus is very popular and everyone loves her. This is a great look for going out and partying! Who wouldn't want to look like a famous person? Follow these steps and enjoy the look.
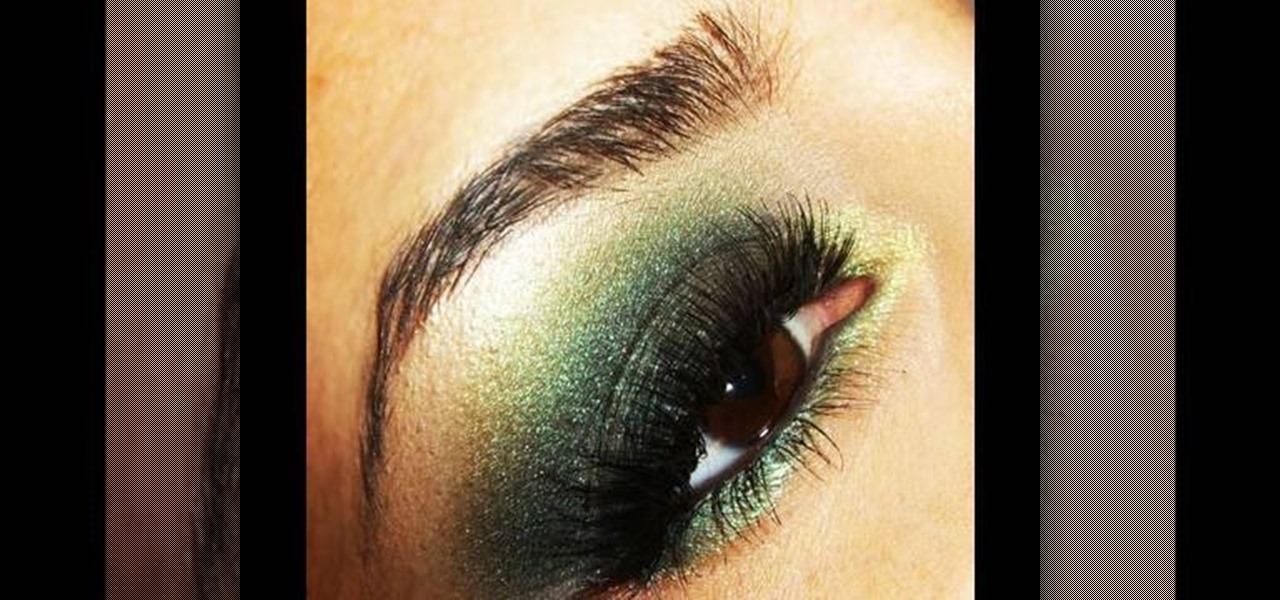
Let your ingenuity shine through by creating just about any color makeup to go with your smashing Halloween costume.
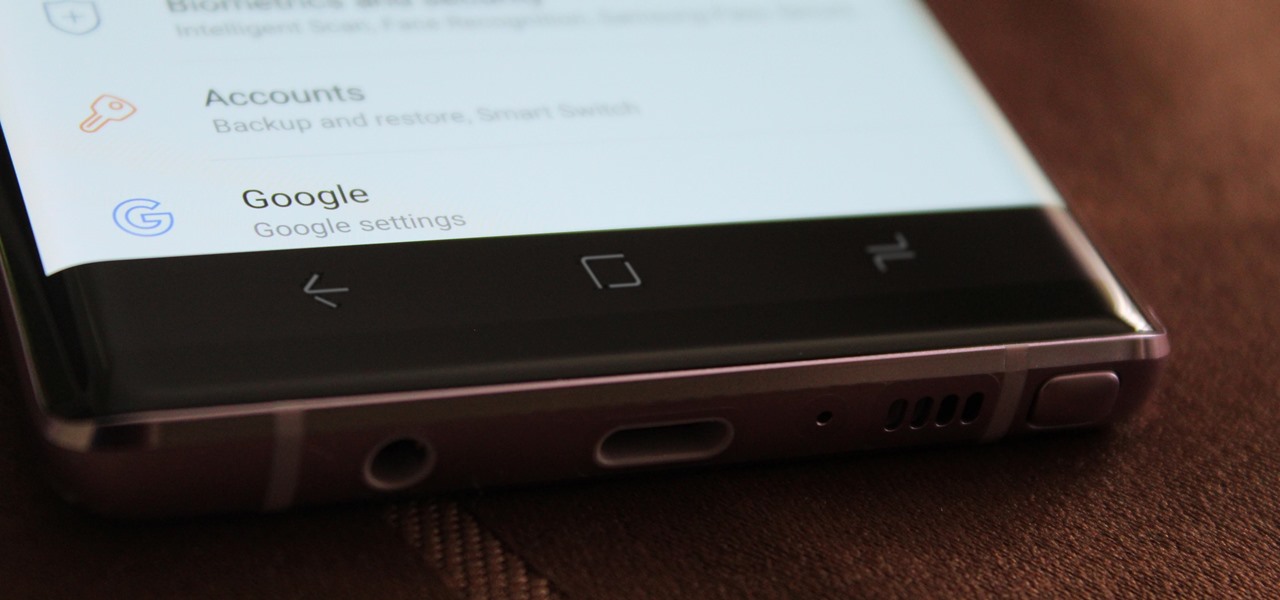
One option you won't find buried in the Galaxy Note 9's Settings is the ability to return the navigation bar to black. Samsung changed the default color to white with the Note 8, removing any ability to bring the black color back. But thanks to a neat app, Note 9 users can do it themselves.

There are currently 27 available Animoji to choose from in iOS 13, but you're not limited to Apple's animated emoji characters — you can make your own. They're called Memoji, an available feature since iOS 12, and they're highly customizable.
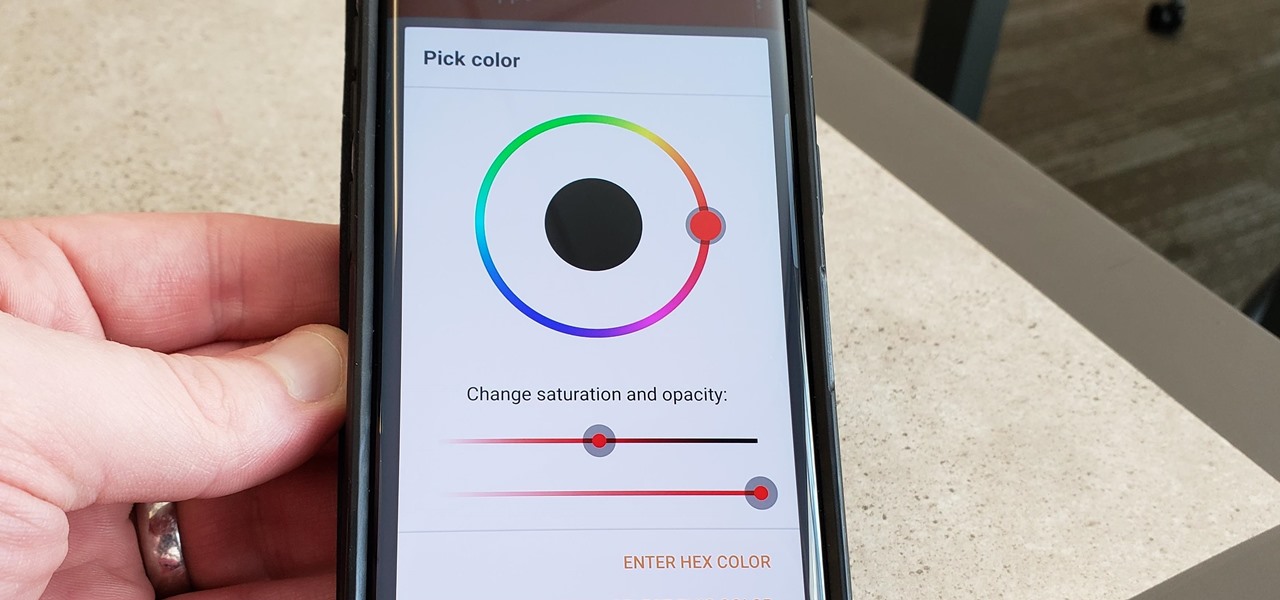
We recently ran down several hidden features on the Galaxy S9 — items that are buried deep within the settings menu that can be tricky to find. One thing that many users cannot find is the option for a black navigation bar. Unfortunately, this option does not exist in Samsung's stock settings. But this is Android, so with a bit of developer magic, we can easily regain the black navigation bar in no time.
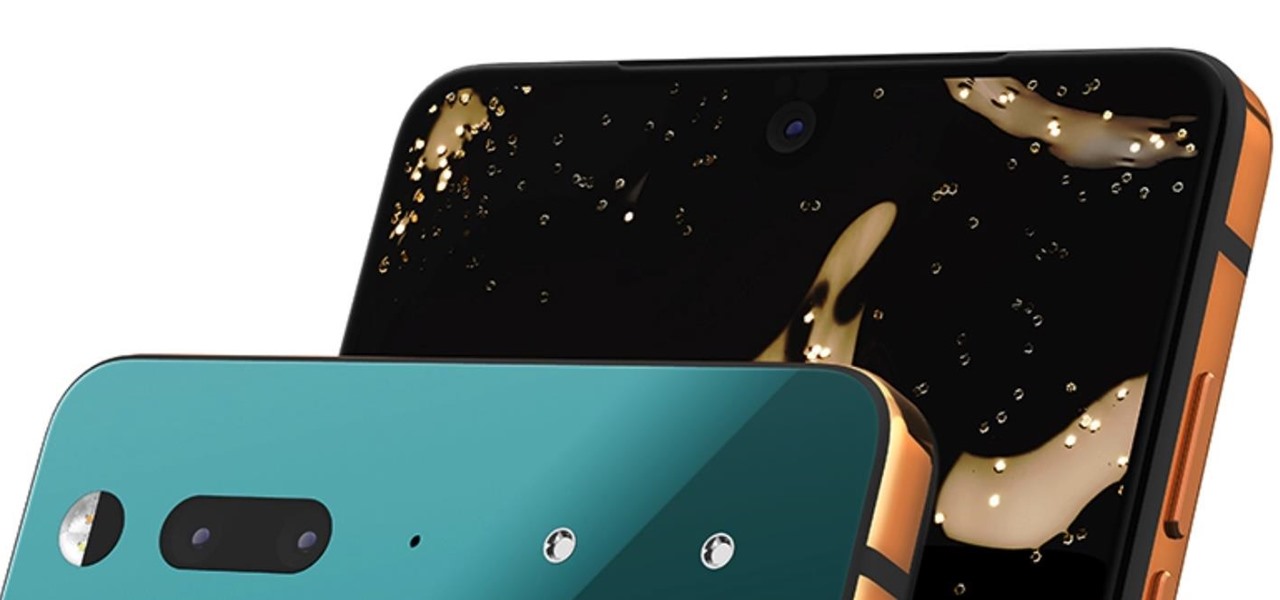
The story of the Essential Phone isn't one for the faint of heart. The company was founded by Andy Rubin, and their first phone was supposed to have only the "essential" qualities. Unfortunately, it lacked a decent camera, and still cost as much as most flagships. Since that rough start, however, things have taken a turn for the better. Now, Eseential's doubling down with a new set of colorways for the PH-1.
Google's own devices have always been the first to get new Android features — but unlike the Nexus series, last year's Pixel phones have a handful of exclusive tweaks that were never intended to trickle down to other devices once the newer Android version rolled out to them. These Pixel exclusives included the Pixel launcher and a unique set of on-screen navigation buttons.