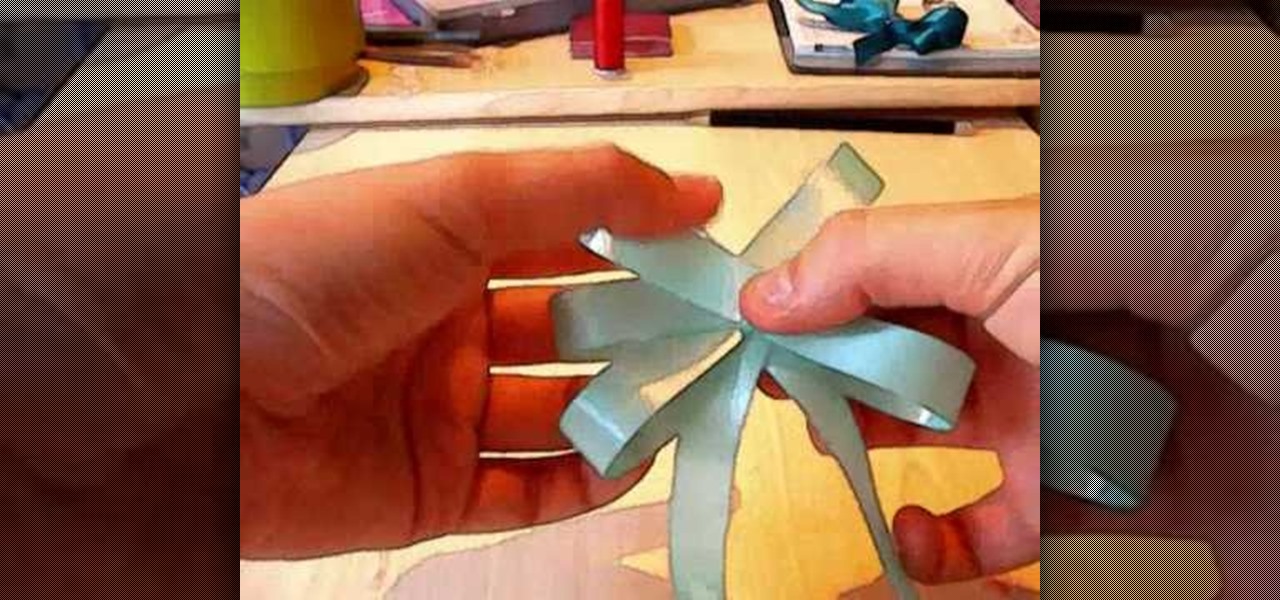
In this tutorial, we learn how to make a tubular peyote bracelet. To get started, string your beads onto the string and leave a 10 inch tail. Then, bring it into a loop and tie it into a square line. After this, use a needle to sew more beads through the beads that you just strung on. As you do this, skip beads so that you have interchanging colors around the circle. You will have a total of four beads on top of the eight that you started with. Continue to do this until you reach rows that go...
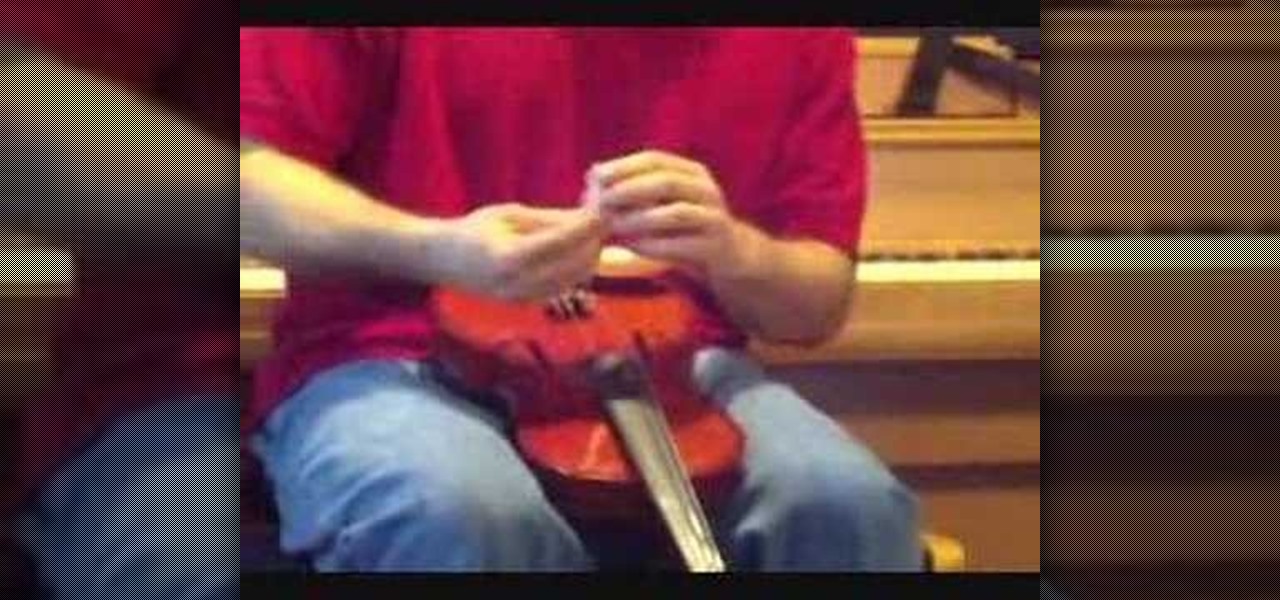
In this video, we learn how to install a violin bridge with Mike. First, loosen the tension of the strings, then take out the bridge from the violin. After this, pull the strings around so they are running straight. Tighten them, but not too much. You want a pinky worth of height in between the strings and the base. Now grab the bridge. The flat side will face the tail of the violin and the other side will face the opposite. The bridge should be place directly in between notches on the base o...
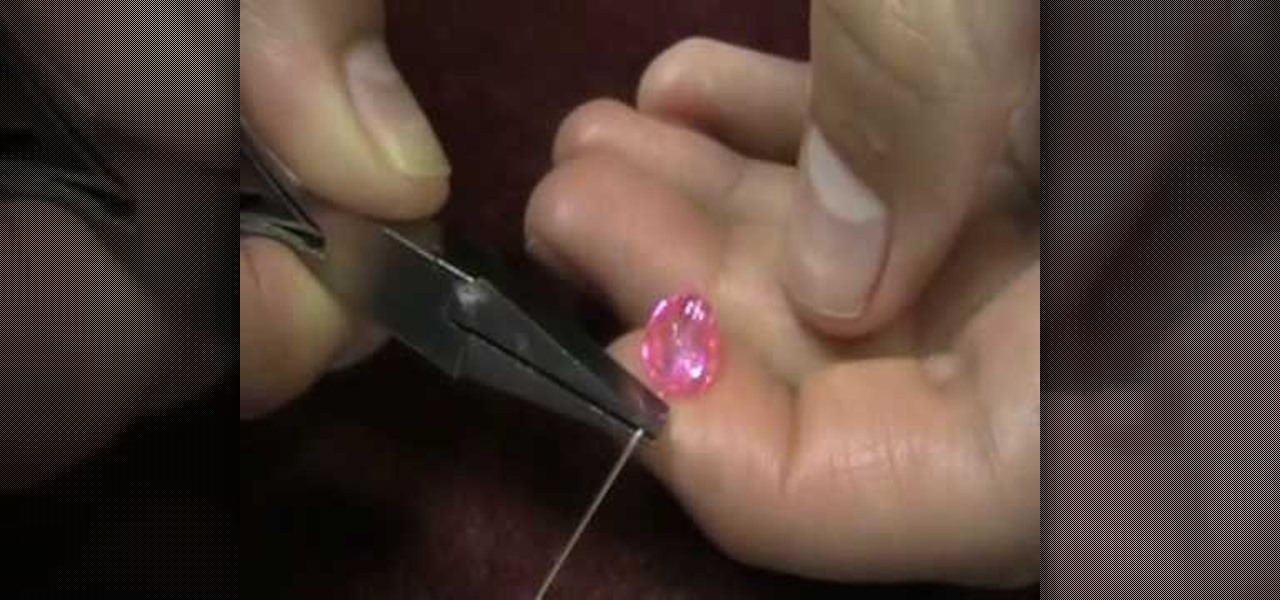
In this video tutorial, viewers learn how to wire wrap a head pin loop. Begin by placing the bead on the head pin, or on a 5 inch piece of wire. Then make a bend on the head pin approximately 1/8 inches above the bead to a 90 degree angle. Now wrap the pin around the jaw of the pliers, pulling it slightly to one side. Holding the bead and wire, rotate the pliers back to form a loop. Finish by wrapping the tail of the wire around the exposed part of the headpin as many times as possible. This ...
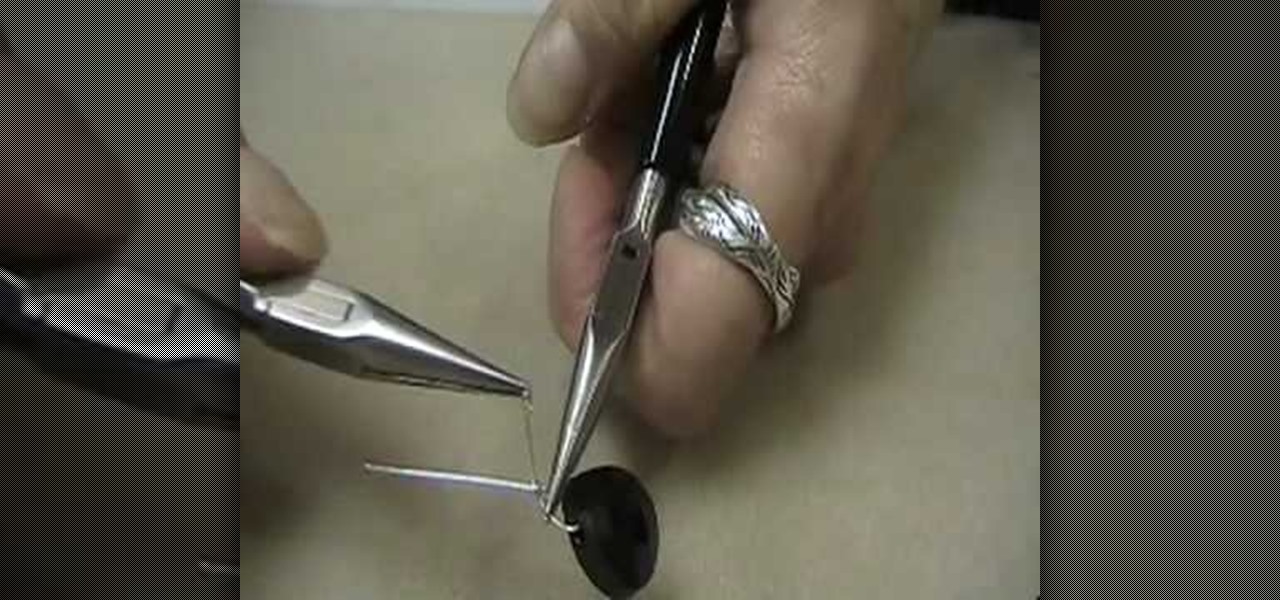
In order to wire wrap briolette, you will need the following: wire, wire cutters, chain nose pliers, flat nose pliers, and briolette,
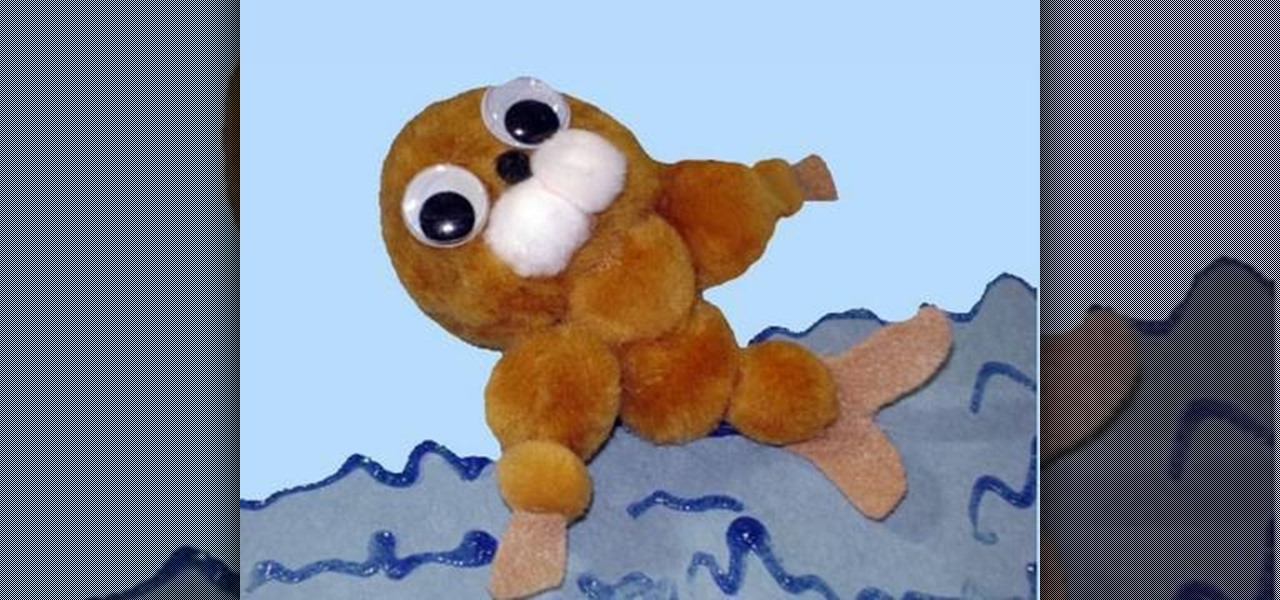
In this video tutorial, viewers learn how to make a pom pom seal. The materials required for this project are: 1 large brown pom pom, 4 medium brown pom poms, 3 small pom poms, 2 white pom poms, 1 small piece of brown felt, 2 googly eyes, glue and scissors. Begin by gluing the brown pom poms together. The large pom pom is the head, 4 medium pom poms are the body and 2 small pom poms are the hands. Then glue the 2 white pom poms and mini black pom pom on the head for the mouth and nose. Glue t...
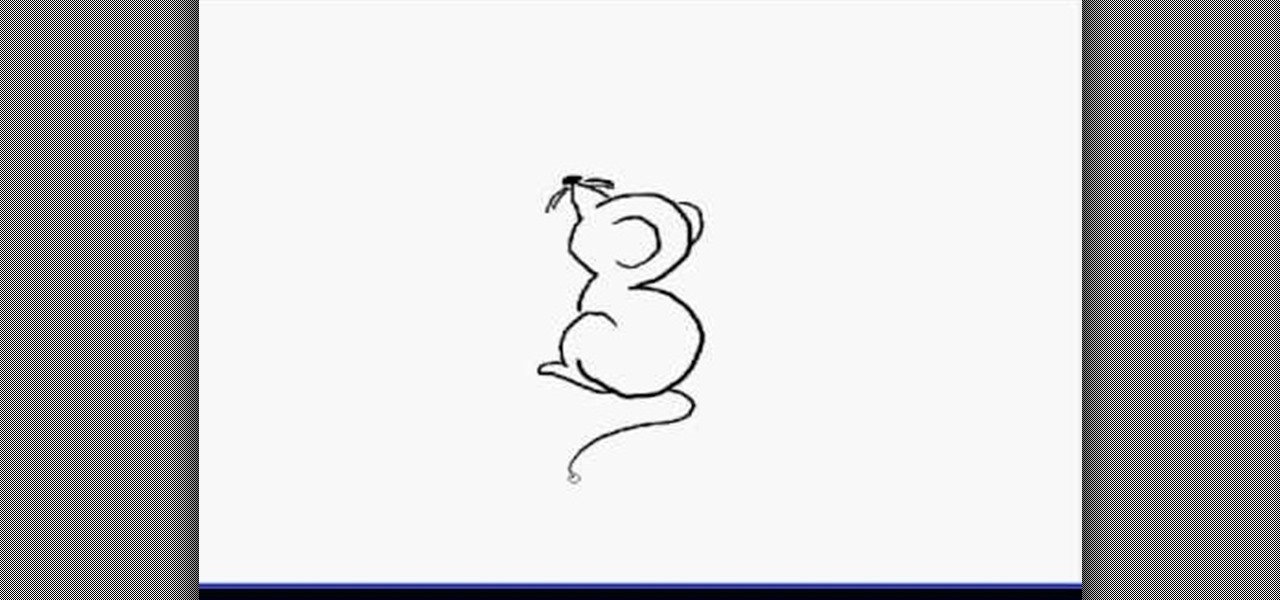
In this video, we learn how to draw a cartoon mouse from the number three. First, draw out your number three. Now, create a triangle shape on the end of the top of the three, then add in a circle and whiskers. Next, add in a half circle on the first hump of the three, then connect the body of the mouse going down the end of the three. Add in a tail at the bottom of the number, then add in a foot next to the bottom of the three. You can adjust this drawing how you prefer and add in any other d...

In this video, we learn how to make a vertical striped bracelet cuff out of beads. Start with a long piece of string and string on your beads until you have a length that fits well around your wrist. After this, tie the ends together and cut the tails off the excess string on the short side. now, start to thread through new beads around the entire bracelet. At the end of every few rows, tie it to keep it tight at the end. When you are finished, tie the string and make a knot, then cut off any...
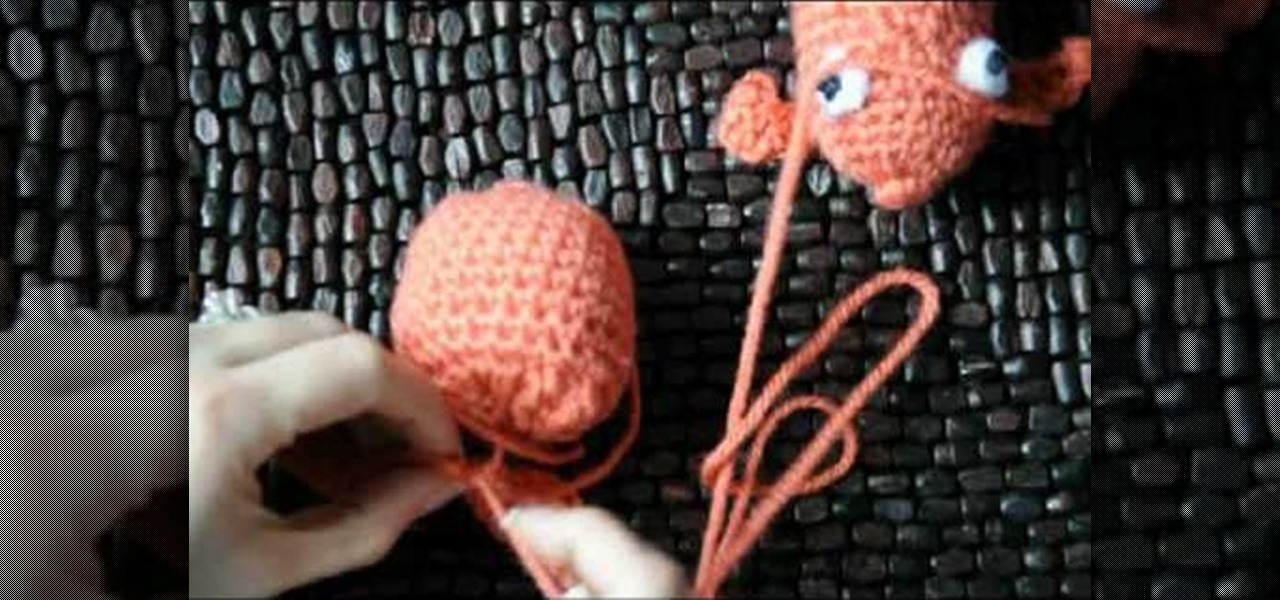
In this tutorial, we learn how to crochet a goldfish style dog or cat chew toy. Start with a slipknot, then chain 2. Now, do 5 single crochets next to the hook. Then, do a slip stitch to finish and then knot. Now, make the eyeball by using a yarn needle and black yarn. Go through the center of the eye, then wrap the yarn around the needle and go back into the center. This will give you a knot that you can cut off when done. Repeat this once more to make the other eye. Now, using your yarn nee...
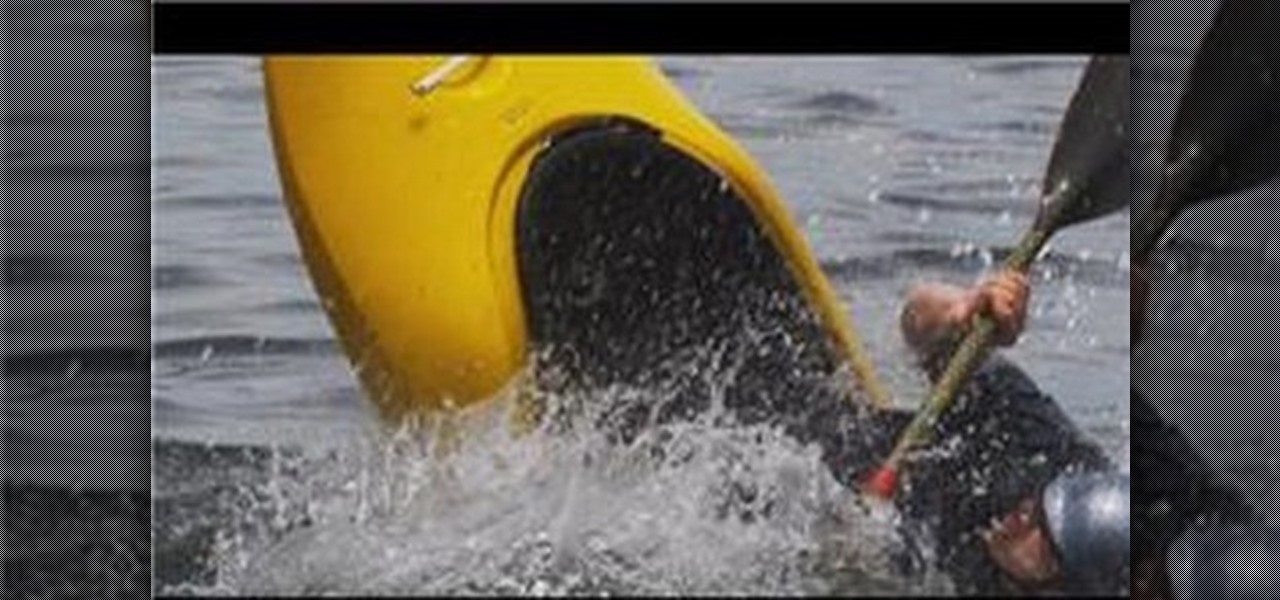
In this tutorial, we learn how to do kayak tricks. The first trick is called the cartwheel trick. This is where you throw the bow of your boat down, bringing the stern over your head and slicing it back into the water behind you. You can do cartwheels over and over and over. The next trick is to do a bow stall, which is driving your boat down so the bow is into the water. You then stall in this position with the tail of the boat up, and balancing there. This is done by a few forward paddle st...
In this tutorial, we learn how to crochet a rooster finger puppet with Tracey. To begin, make a basic bird body by using a basic crochet. Now, begin with the opening facing away and use an F crochet hook. Grab another color of yarn and push the hook through a loop and chain up one with the orange yarn. Single crochet in the same loop and you keep crocheting. Keep doing this until you have a small beak on your rooster. Next, you are going to make the tail of the rooster by doing 3 single croch...
Dragons are one of the most fun, traditional, and challenging things an artist can draw. Fortunately, Drawing Now is here to help you get started with this tutorial on how to draw a cute, simple, Western-style dragon. Here are their step-by step instructions:
In this video tutorial, viewers learn how to measure the long-board clearance to determine the correct trucks to use. Users will need a measuring tape. The board clearance is a term used to describe the width of the deck, over top of the trucks. There will be 4 holes that make up the bracket. Users will be measuring the distance in between those holes. Measure both the front and tail of the board. The 3 types of trucks to decide from are: S6 truck, S8 truck and S10 truck. This video will bene...
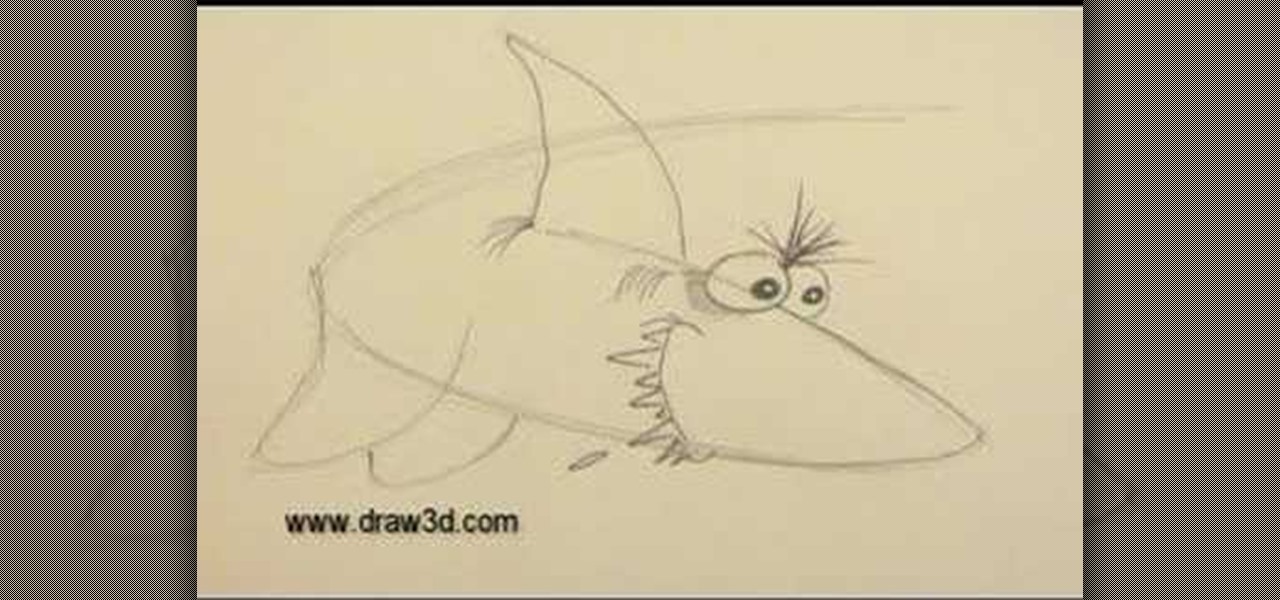
This video illustrate us how to draw 3D cartoon shark. Here are the following steps.step 1: First of all take a sheet of paper and pencil.Step 2: draw a U shape structure and again draw a U shape structure above the previous on representing the body of the shark.Step 2: Now from one end of the double U draw a V shape representing the front body of the shark, within the face draw two eyes and jaws of the shark.Step 3: Now at other end draw a tail and from the side of the body draw a triangle a...
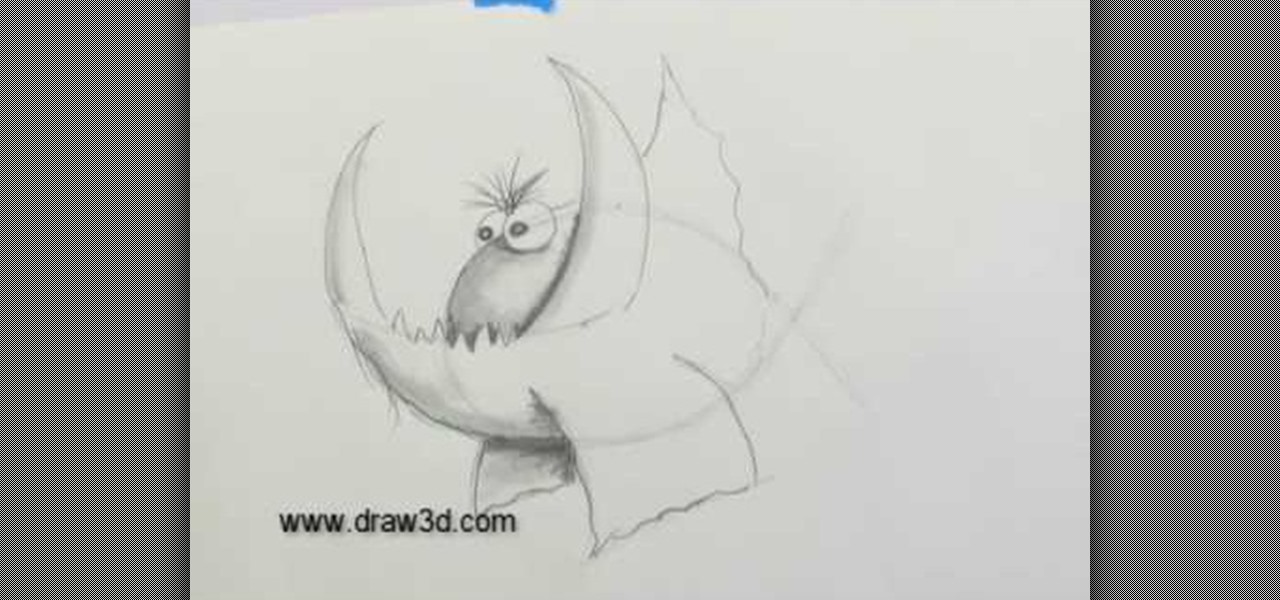
This video illustrate how to draw a 3D fanged fish. Here are the following steps.Step 1: Take a sheet of paper and pencil and start drawing a circle forming the face of the fish.Step 2: Now in the middle of the circle draw an wavy line showing the jaws of the fish.Step 3:Now draw two small circle on the boundary of the circle forming the eyes of the fish.Step 4: Now from the jaws draw two fins in opposite direction to each other.Step 5: Now draw Two fans beneath the face showing the back fins...
Shoo Rayner demonstrates how to draw a realistic bat that can be scary, funny, or friendly for children's books. You will need a pencil, pen, and eraser to help you achieve texture. With a light pencil sketch, draw a round head and an oval body. But don't worry too much about accuracy, because there are many types of bats that look different from each other. Your bat needs large ears, a tail, a short forearm and a long upper arm. But most of the bat's wing is its three fingers and a thumb. Th...
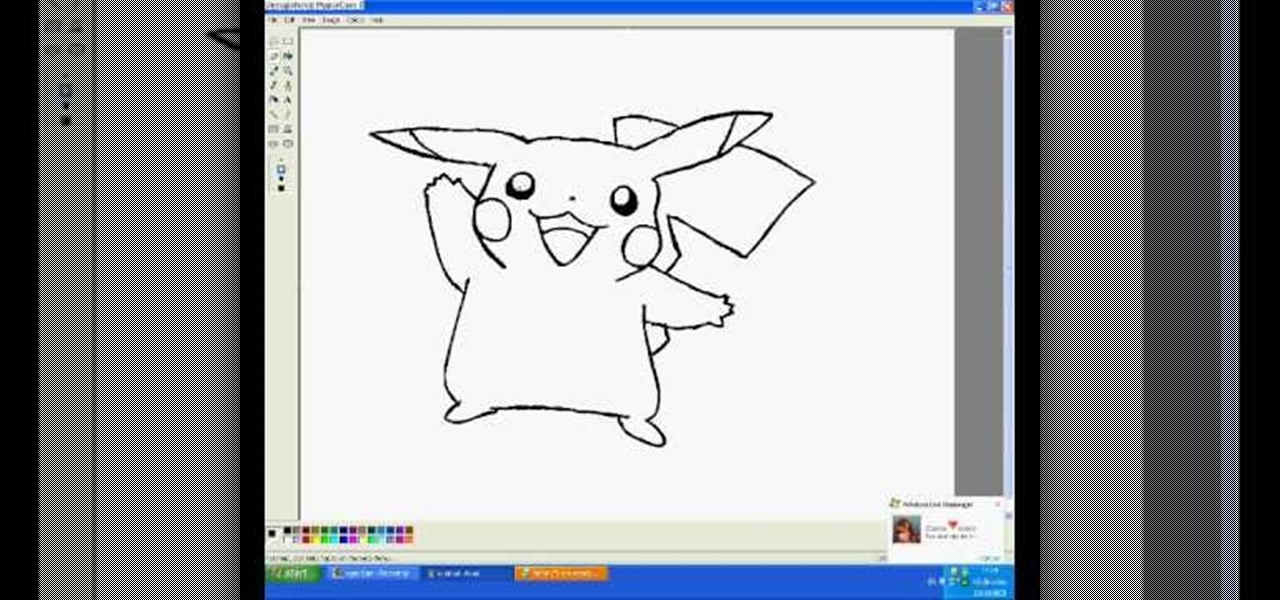
Have you ever wanted to draw Pikachu is MS paint? Well, this video will show you exactly how to do it! The eyes are first. Then, a great big grin. Next, the complicated contours of his face, followed by his long floppy ears. He adds a few details to the face, including the patches on his cheeks. Then, he adds his chubby little arms. He draws the squarish body and his feet. He adds a tail. Then, he does some touch-up work. Last, he starts on color, paying close to detail. He adds some shadows ...
This video teaches how to hide an ending knot in your quilt in order to keep it looking neat. You wrap the thread around the needle, pull it tight, push the needle through about a half inch of the surface of the quilt, and once it comes out the other side, tug on the string gently. There should now be a knot underneath the top layer of fabric. Cut off the tail end of the thread. If the piece of thread is showing through the fabric, poke your needle inside the quilt and push it past the thread...
On YouTube-irDescent you find a simple way to make your own model of a gliding airplane. The instructor begins by giving some information on how birds inspired the inventing of airplanes. Some clips of flying birds are shown. She also explains all of the general parts of the airplane model and their purpose. After the short introduction, she talks you though making the airplane model from scratch. She begins by making the fuselage of the plane. Then she makes the wings which must be equal in ...
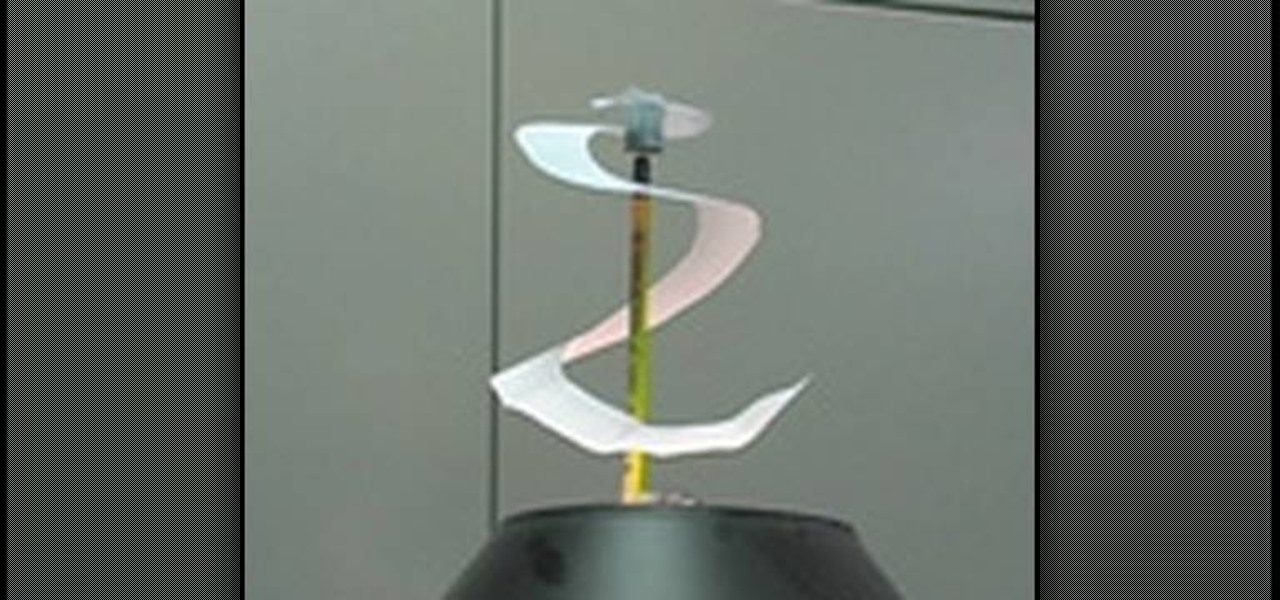
This video teaches the secret of making a cool perpetual spinner with a few little things and science. You will need: white paper, scissors, pen, pencil with eraser on its back, bell pin and a suitable cap. Draw a spiral shape on a plain sheet of white paper using a pen. Now cut out the drawn spiral with a scissor carefully. Punch the bell pin on the tail of a pencil. Stick a small cap (which suits the center of the spiral) to the center of the spiral as shown. Now stick the pencil on a table...
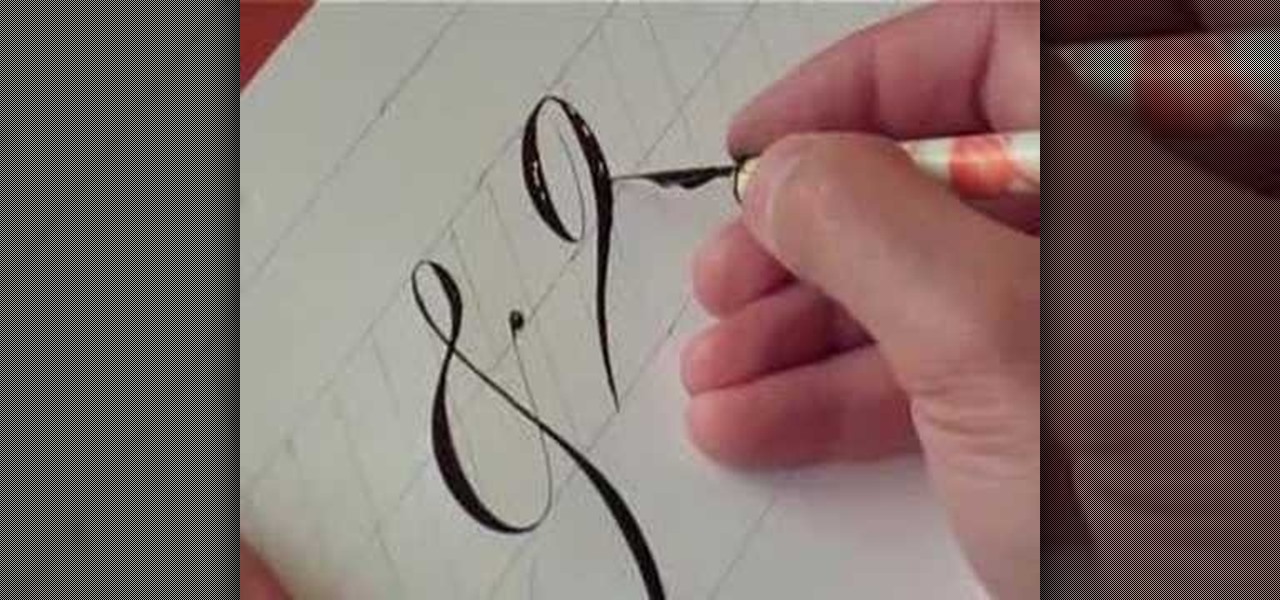
Have you ever tried to write in calligraphy copperplate?Let's start with the basics-punctuation marks. First we nee a book and a pen to write in calligraphy. The letter '&' looks similar but has a long tail. The question mark,exclamation mark and brackets look similar like in a normal font except all have the similar properties of calligraphy i.e., the variation in thickness. This will add a unique style in hand written documents as well as to add some charm in your letters.
Hamid Reza Ebrahimi demonstrates how the Z and z are written in copperplate. For this video, Hamid used a Brause & Co. No. 86 Nib Persian black calligraphy ink. Also, he used a Brause marbled penholder along with a Persian leather pasteboard and Steinbeck pasteboard. Hamid writes the letter Z at 6 centimeters tall and the small z at 2 centimeters. The video shows how the Z is written, starting off with a loop from the top line on a ruled paper and moves on a slant to the left down to the bott...
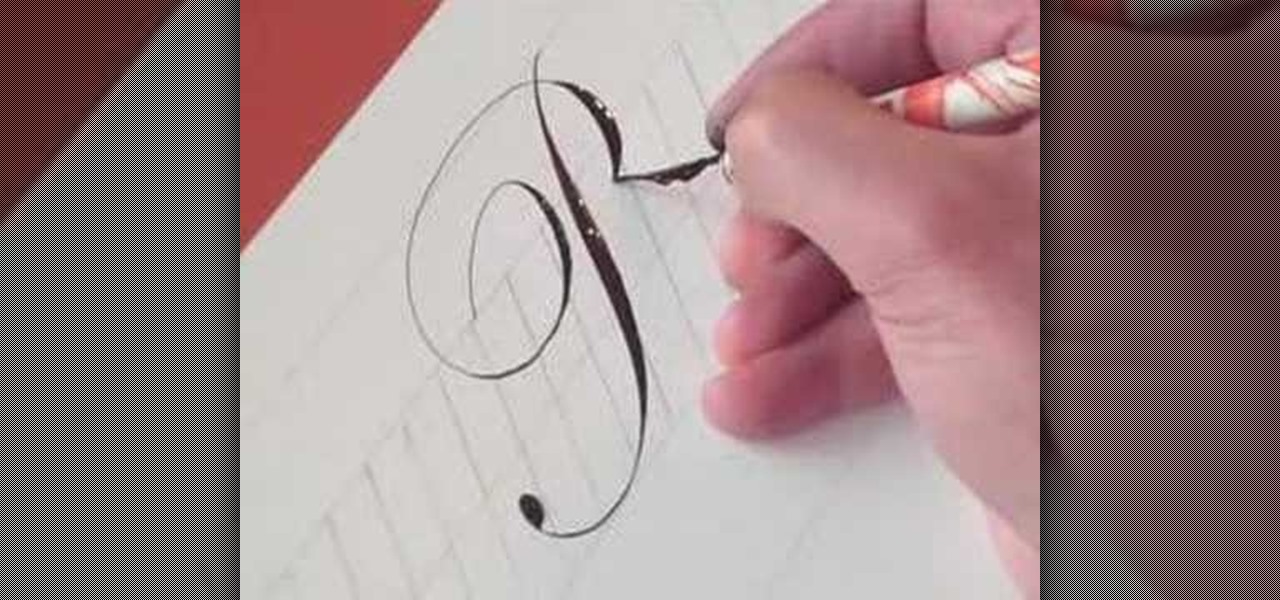
This video demonstrates how to write the letter P in calligraphy copperplate. The technique that is illustrated in this video show you the proper way draw the letter P effectively and beautifully. The video first shows you how to draw the capitalized letter P. The first step is to create a slightly S-curved stroke downward from the top margin to the bottom-middle margin--thickness in the middle. You end the line with a curled tail. To complete the letter you then have to draw a looping, curle...
Woodturning is creating items out of wood on a lathe. Learn how to create key chains and light pulls from a woodturning expert in this free crafts video series.
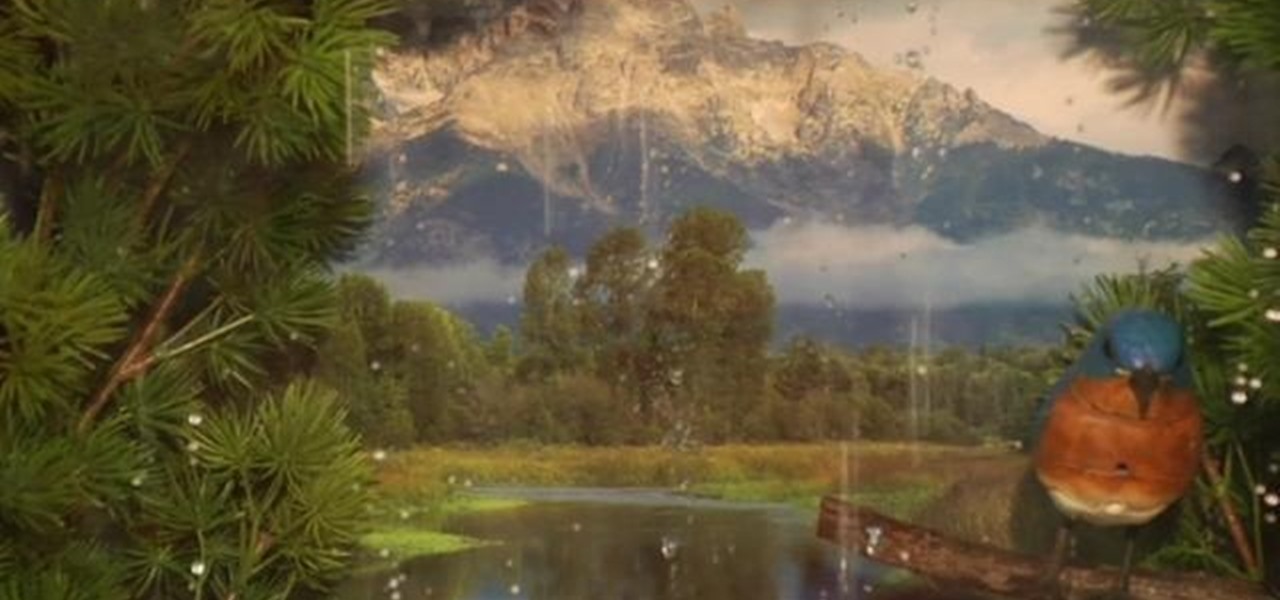
Plug this baby into your FiOS-powered computer and simulate the real-time climate of any location in the country -- rain, lightning, fog, sunshine.
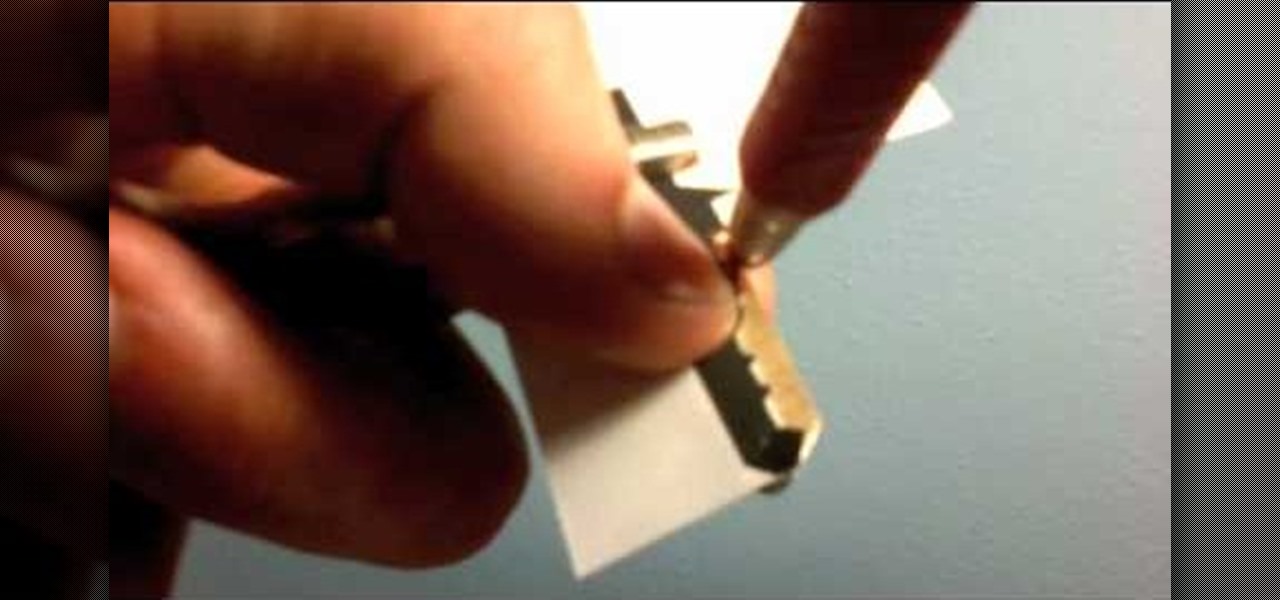
In this ten-step video tutorial, you'll learn how to quickly copy keys using a camera, printer and Dremel tool. With this ten-step process you'll learn the necessary steps to copy almost any key... even if you only have access to it for a brief period of time.
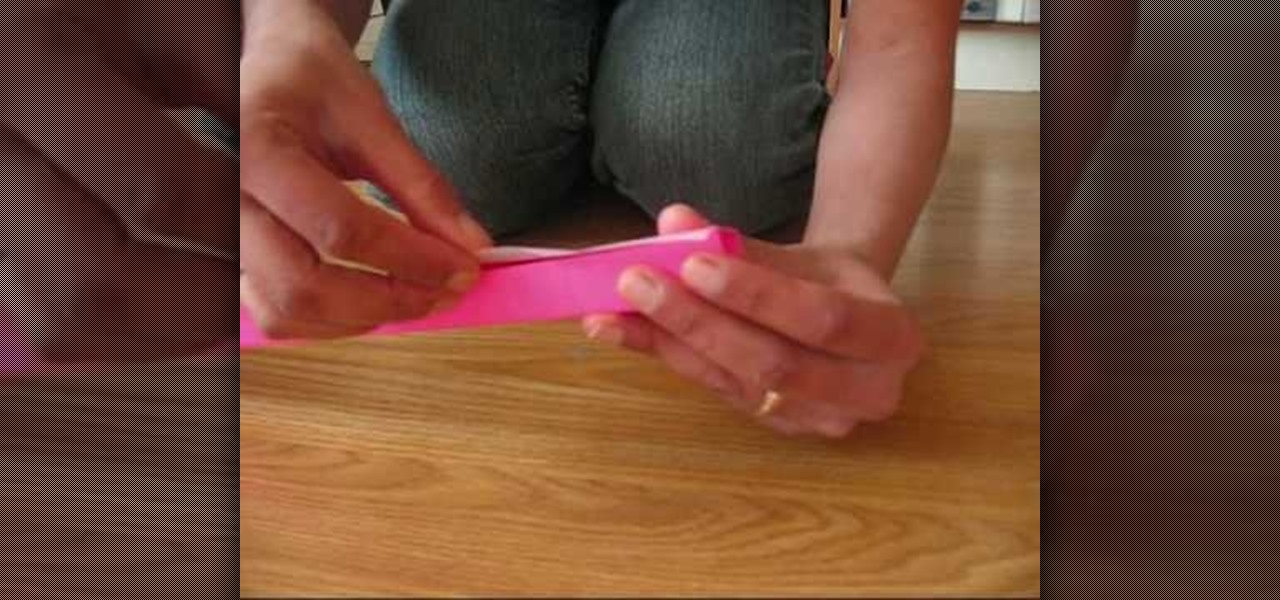
First of all you have to place your thumb or attach a pin on the ribbon such that there is a space of two to three inches left outside. Bend the ribbon back to the center to create your first loop. Now you have to pass the ribbon back underneath the bow. Then you have to again return to the center to create a complete second loop. Now continue passing the ribbon over and under the bow. Now return to the center and then repeat this step to create six loops in total. After this you have to turn...
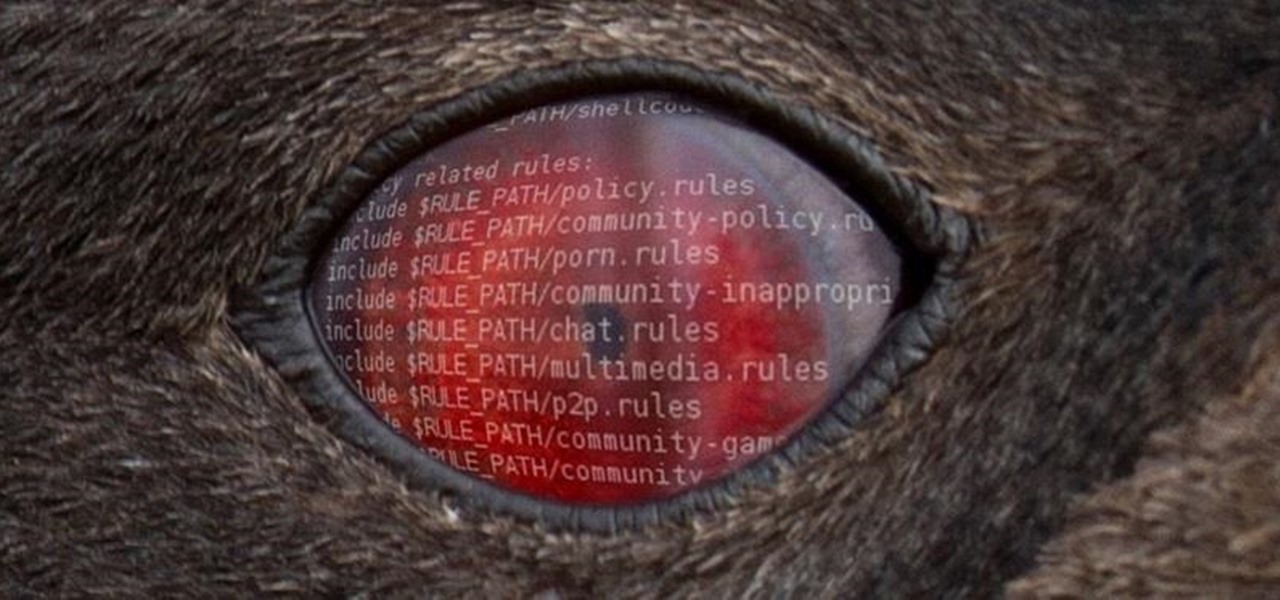
Welcome back, my aspiring hackers! As mentioned several times in previous Linux tutorials, nearly everything in Linux is a file, and very often they are text files. For instance, all of the configuration files in Linux are text files. To reconfigure an application in Linux, we simply need to open the configuration file, change the text file, re-save, and then restart the application and our reconfiguration is applied.
Hello! Today I would like to introduce a simple tiny braid - so called the small wrap up. I recommend it to every person who wants to prevent the hair from falling onto the face. It is suitable especially for the people who have long or medium sized hair and very delicate skin. And for all who just want to quickly bind together some hair.
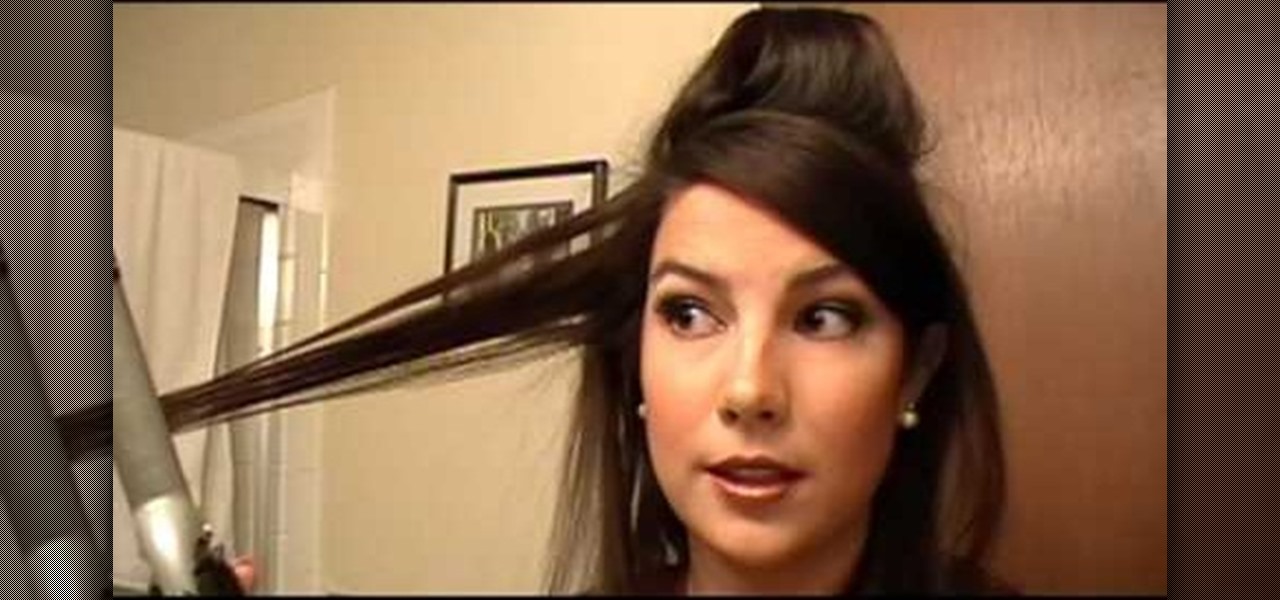
You don't need a big name hairstylist who claims he's done Jessica Simpson's hair in order to get luscious, enviable locks. In fact, all you need are cheapo, basic velcro hair rollers.
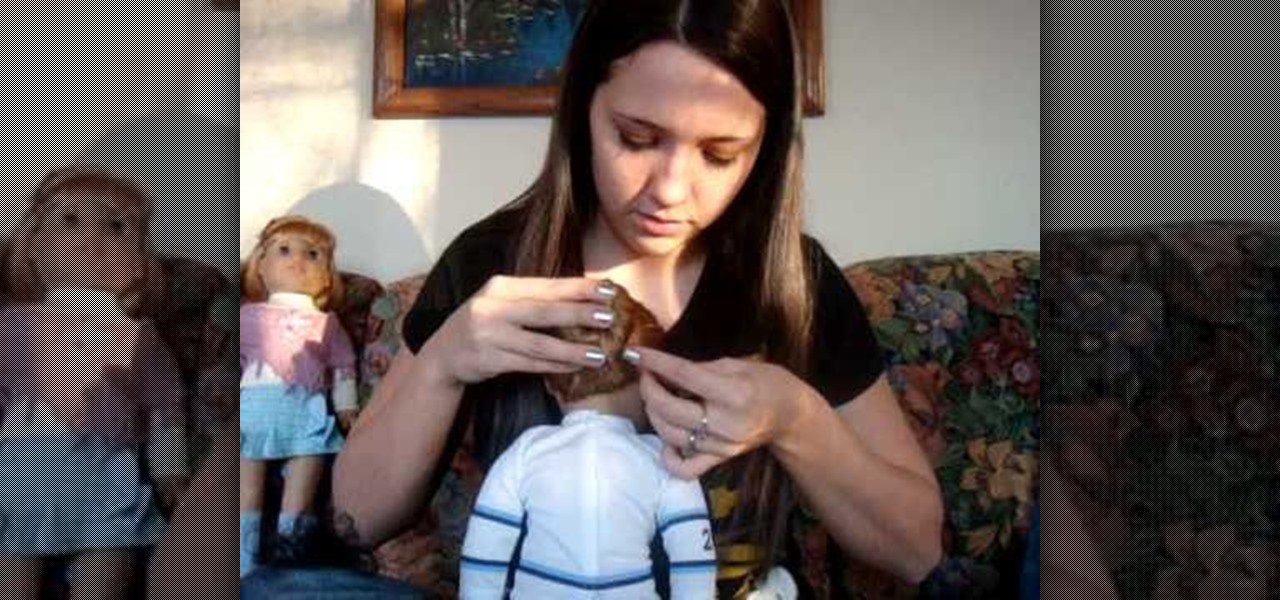
In this video from stephenswodadancer we learn how to do a clipped bun on an American Girl doll. Start with your doll's hair in a pony tail. Right at about the crown of her head works. Take the piece of hair from the top and curl it and fold it under. Clip the part that you curled to her head. You can go all the way around until you get to the bottom and keep clipping. Repeat this process all around her head until it is to your liking. This will need lots of clips so make sure you have them!
In this video, we learn how to do cowgirl pigtails on American Girl doll Nicki. First, brush the hair out and then make a part down the middle so you have hair on both sides. Then, put one of the pigtails to the side. After this, go to the other side and brush it out again. Make this low and then tie a rubber band around the pig tail. To make it curly, you will take little pieces of the hair and curl them up with your fingers. Repeat this on the other side and then you will be finished with t...
In this video, we learn how to do your American Girl Doll's in a ballet bun. First, you will need to brush out your doll's hair and put it into a low pony tail or high, depending on where you want the bun on the head. After this, take the hair and twist it around the rubber band base and then take a thicker rubber band to tie around the bun to keep it in place. You can then place another rubber band around for decoration. This will finish the simple bun, which will be easiest to do on a doll ...
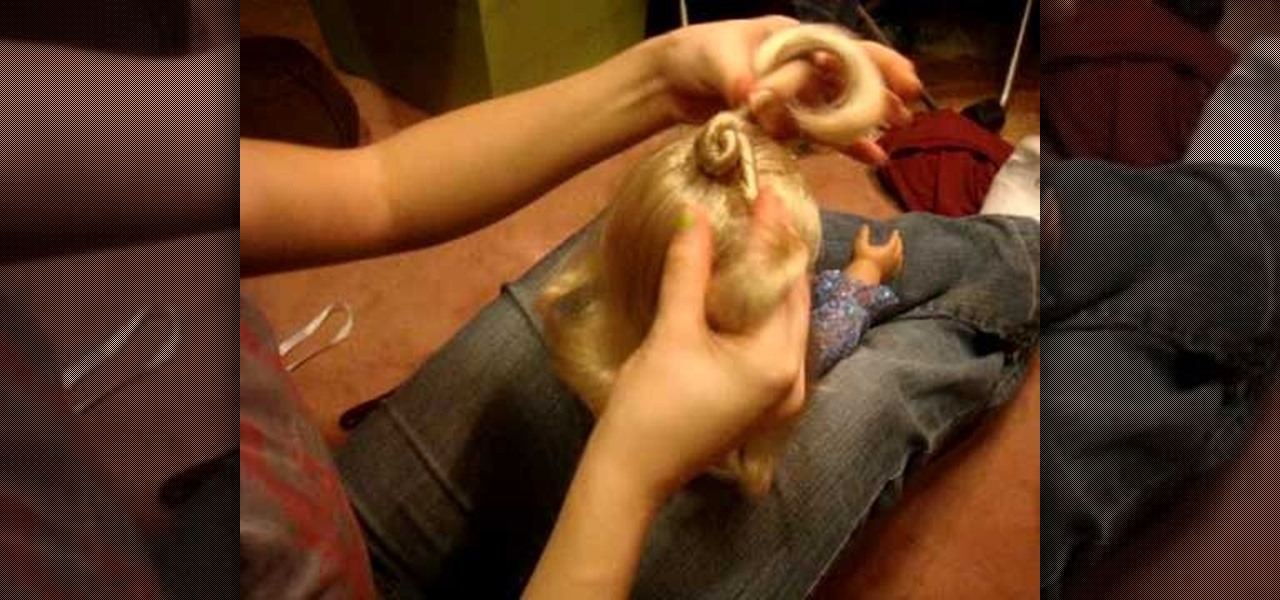
In this video, we learn how to do the triple nifty knots hairstyle on your AG doll. First, comb the doll's hair back and then take the hair from the crown of the head. Put this into a ponytail and then secure with a rubber band. After this, section the tail off into two parts and twist them individually. Then, bring these around each other and create a bun at the top of the doll's head. Secure this with a rubber band. Do this with two other sections of the hair on the left and the right. When...
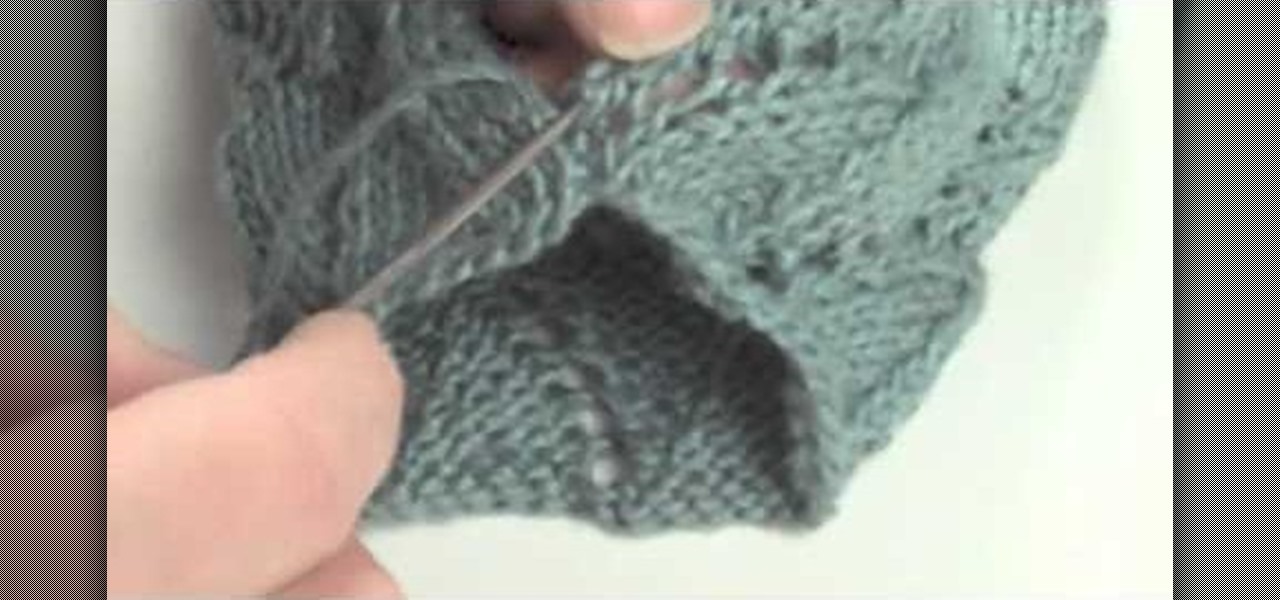
In this tutorial, we learn how to do the mattress stitch. First, lay the pieces flat and thread yarn tail onto the needle. Next, you will anchor the yarn to the bottom edge of the opposite piece. Then, go back through the side and find the tunnel of horizontal bars, one stitch in from the edge. Continue to do this around the stitches to combine them together. Keep alternating sides and just do one bar at a time to get the best results. You can do two bars at a time if you are comfortable with...
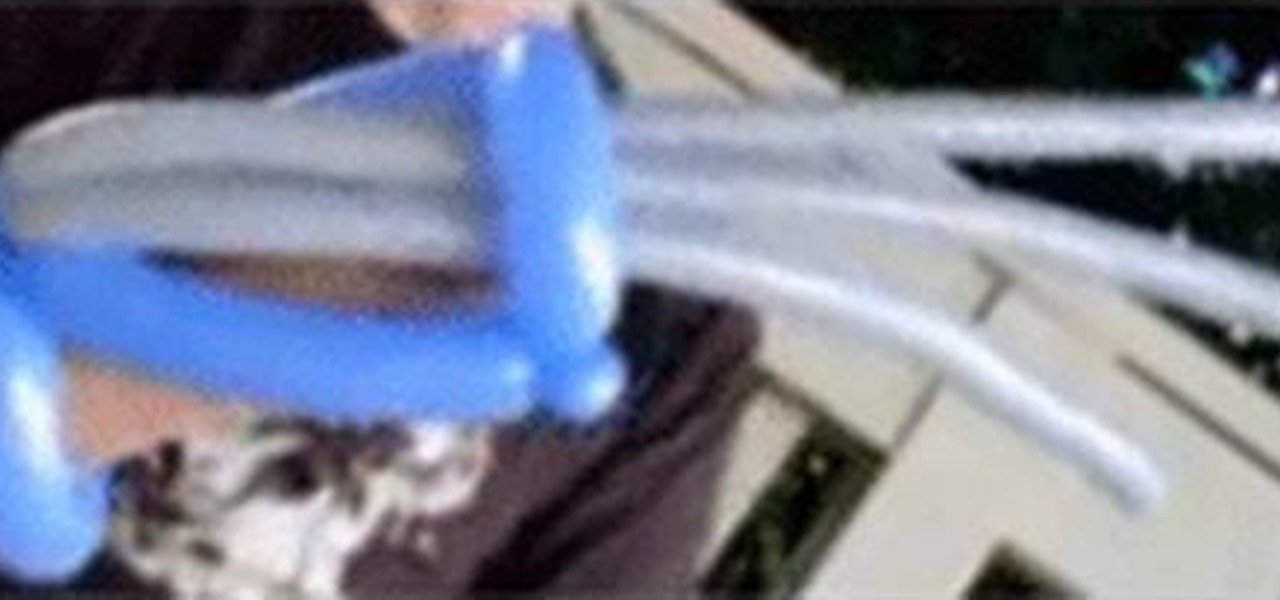
In this video we learn how to make balloon wolverine claws with Michael. This is very simple, you just need two balloons that are 250 and two balloons that are 160. Use gray balloons to make them look more like claws. From here, you will take your blue 260 and inflate it then tie it. Make sure there is 4-5 inches left on the tail. This will allow you to tie the balloon and create pinch twists with it. Continue to twist the balloon, then incorporate the gray balloons in with it. When finished,...
In this tutorial, we learn how to draw a wolf with basic guidelines. First, draw in circles from where the main sections of the wolf is. Now, draw a line connecting all of these and draw in the details of the face. Now, draw the back legs starting with the front leg and then the back leg. After this, draw in the stomach and the main part of the body. Erase the circles and background lines, then draw in the hair of the wolf and the stomach. Create a tail on the back, then add in the ears and t...
In this video, we learn how to draw a sports car. Start out by drawing the wheels and the base of the car. After this, draw the rest of the body of the car and the windows. Then, add in the wheels, tail lights, and the rest of the details of the vehicle. Once you have finished this, add in shading and lines to create a more defined vehicle. Continue to draw using this same method, drawing different types of cars and vehicles that you like. Make sure to look at a picture of different cars as y...
In this tutorial, we learn how to crochet a fringe on a scarf. Start be going to the end of your last row with your hook. Then, chain one and pull it tight. Next, decide how long you want your fringes to be and pull your thread that long. After this, cut it on the bottom and pull the loop out of the chain. Now, take your hook under the first stitch and fold three twelve inch strands in half. Then, hook these onto the crochet hook and catch the tail with the strands. Continue to crochet the fr...
In this tutorial, we learn how to draw Raichu from PokŽmon. Start off with a pencil on a piece of white paper, then start to draw the face of the character. Add in the outline of the facial features, then all in the details of them as well. Next, draw the ears of the character on, then start to draw the rest of the body. Make sure to add on the feet and the arms of the character as well. Make sure to draw on details that are needed, then draw on the tail coming from the back. To finish, add i...
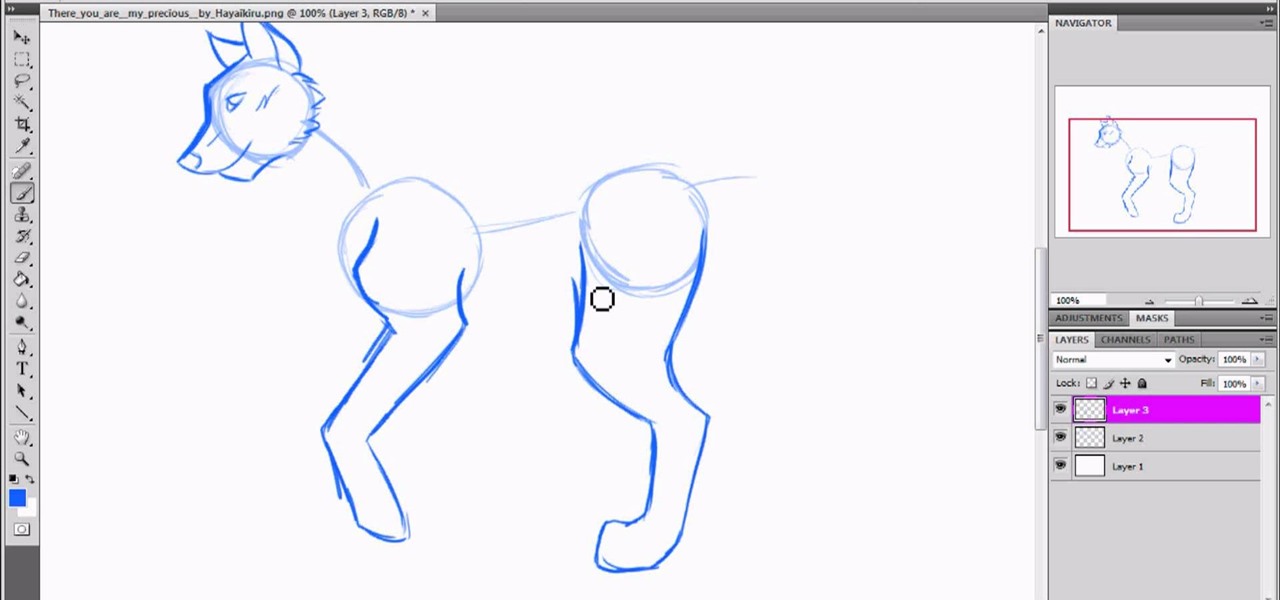
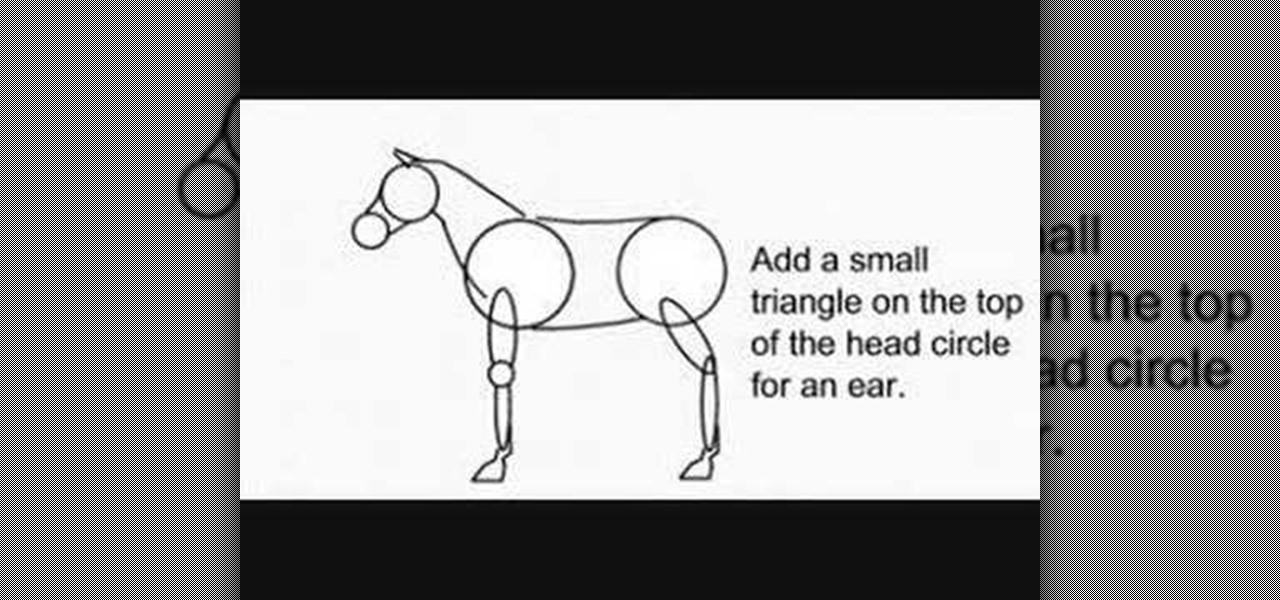
In this video, we learn how to draw a decent horse. First, start with two circles connected by two curved lines. Next, add a sausage for the top of each leg and add a small circle for the front of the knee. Then, add another for the lower part, and add two hoof outlines at the base of each leg. Then, add the back of the hooves. Next, draw two more lines that are far apart at the bottom and narrow at the top for the neck. Then, draw two circles for the top of the head and the muzzle. Join the ...