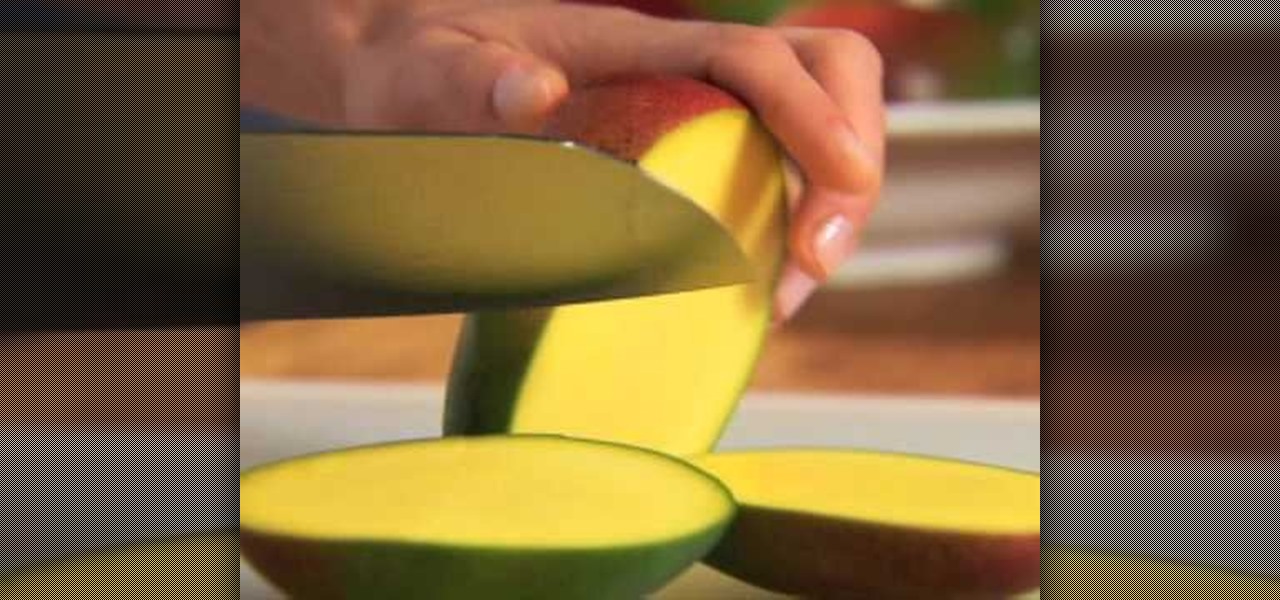
How To: Cut a mango to get the most fruit
How to cut a mango to get the most fruit


How to cut a mango to get the most fruit

Watch this video by Youtube user moshezuchter as he takes you through the different steps in playing the Nostalgia Theme by Alexander Winfield from the puppet play entitled, "All Hail Ye Mighty Lords of Nowhere," using an accordion. The tune of Nostalgia is very slow and haunting, and it can be used to create a mood when you're making a play or a movie. The piece is very easy. It's basically just a collection of different chords. First, you start with D minor, then, you play a G9. Alternate w...
In this how to video, you will learn how to make bag tags. You will need a tape runner, embellishments, elastic, a plastic bag, letters, cloud 9 rain dot eyelets, a trimmer, bits of card stock, and hole punches. First, cut the card stock and make it a square shape. Next, decorate the card stock with embellishments and the name of the child it is for. You can use the adhesive to stick these on. Next, cut more card stock and wrap it the piece around the decorated card stock. From here, place th...
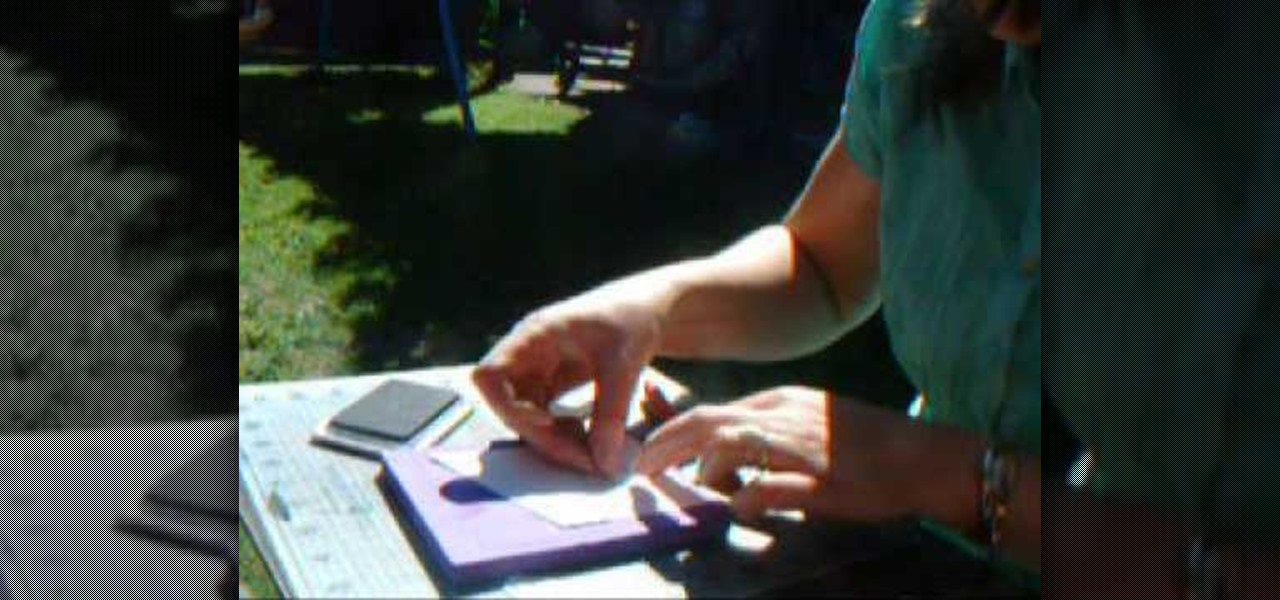
In order to make an accordian- fold style greeting card, you will need a piece of card stock, glue or adhesive, scissors, markers, and stencils/stamps. Cut the cardstock in a diagonal. Fold the card into 3rds, lengthwise. Cut a 5 x 3 ¼” panel at an angle. Use Masking Magic and stamp the excess card stock. Cut out your stamp designs. Color in your designs with Sharpie brand permanent marker pens. Glue the 5 x 3 ¼” cut piece to the card, or you could use 2 sided tape. If you have addition...
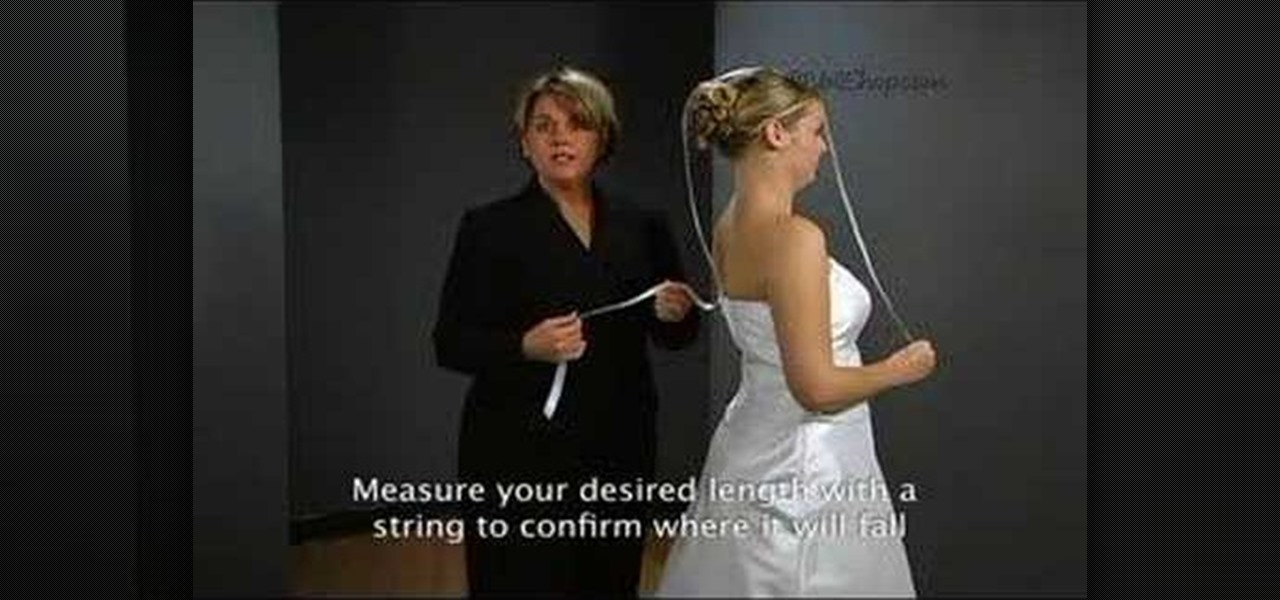
Drop veils are the sheerest veils offered. They drop over your head. There is no comb and no gathering at all. They are attached with hat pin. The veil is draped over the head and if you had a head piece the veil is draped over that as well. Then you take the hat pin and you just weed it in and out between the hair and the veil several times. Now after the ceremony all you have to do is remove the pin and the veil is removed without ruining the hair. To measure for the drop veils take a piece...
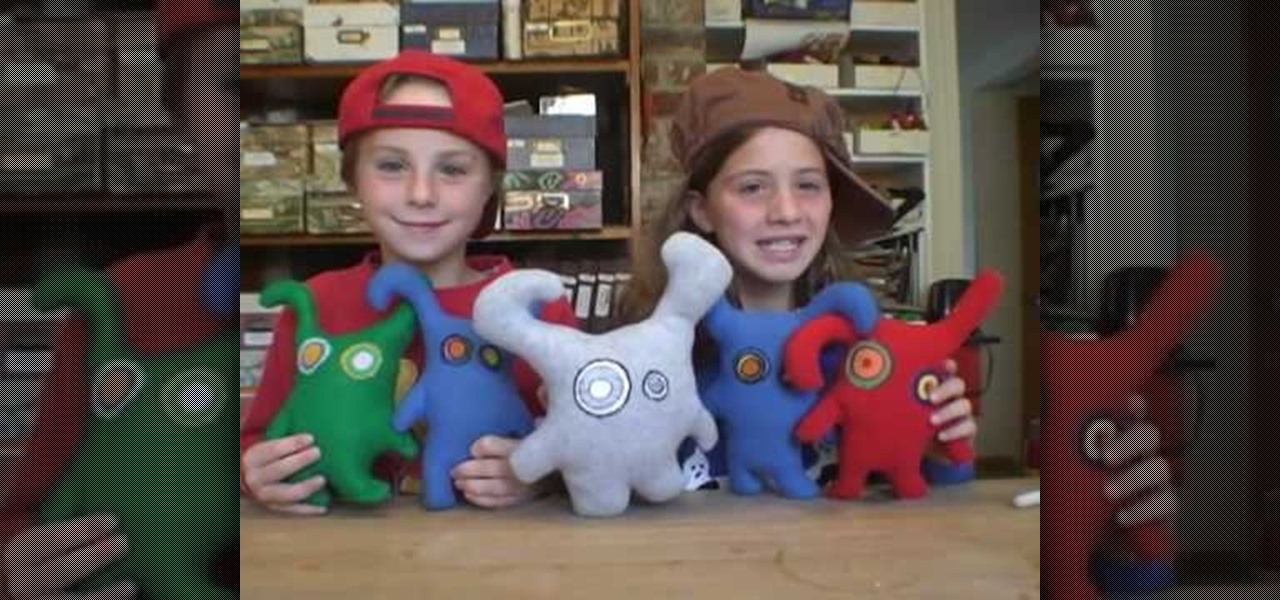
Rosie and Anna shows us how to construct a Chelsea Doll. It is so simple children csn work on it for their friends. Once you have purchased the pattern from the website, you trace it onto two pieces of materia and then you cut it out. After this has been achieved you sew the two pieces together keeping in mind to leave a whole to stuff the cotton stuffing in to, then you sew close the doll. You have the option to either glue or sew eyes on to your doll, therefore finishing the doll and it is ...

Bhavna shows us how to store ginger, garlic and green chili paste. The demonstration is done with ginger. Cut the ginger into small pieces. Skin can be left on or if you prefer you can remove the skin. Put the pieces of ginger into the food processor and blend. After the ginger has blended, remove and put into a bowl. Add lots of salt for freezing. Fold the salt into the ginger. Place into plastic containers for freezing. The same process is done for garlic and green chilies. When you are rea...

This video is a demonstration of how to make a Chinese paper star out of newspaper. First take a folded piece of newspaper and fold it in half again the long way, and then again, to make a narrow strip. Fold the strip in half to crease it, then fold the strips at a right angle in both directions. Fold the outside edges in toward the center twice and then in a triangle. At this point you will have a thick diamond shape. Repeat with another sheet of newspaper. He demonstrates how to join the tw...
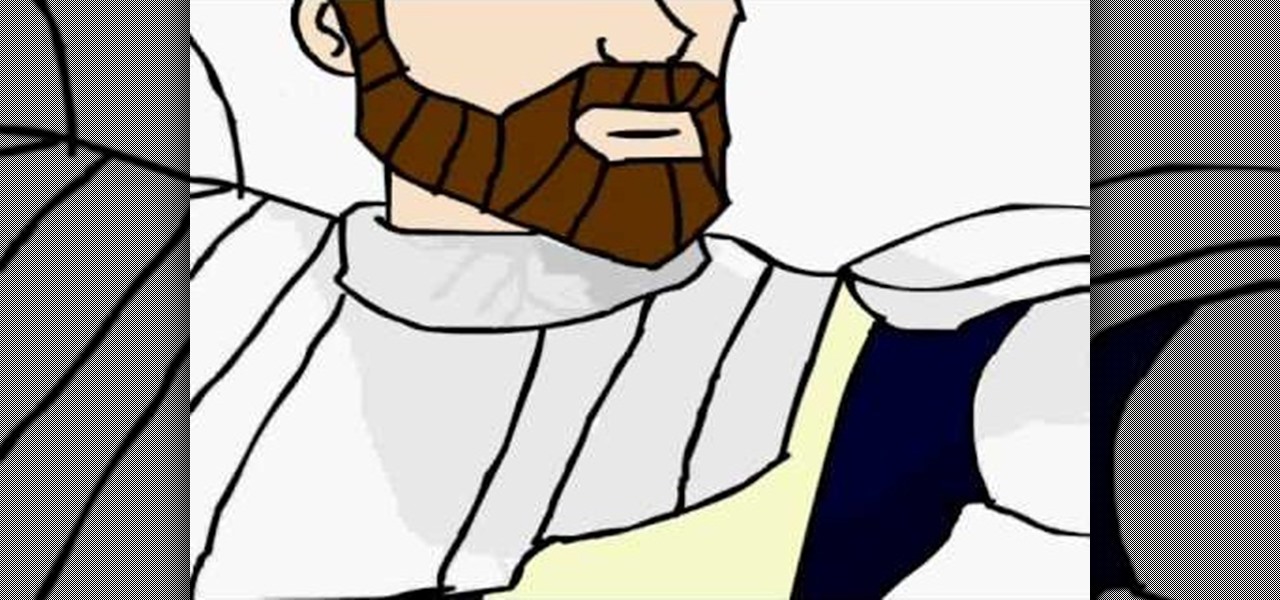
This artist shows how to quick paint/draw Obi-Wan Kenobi utilizing his mouse and pc. He starts out with a rough sketch of his character, making a black outline of his figure. He then goes back over his initial sketch with blue lines, cleaning up the lines, making them smoother. Once the blue lines are completed, the first black line sketch is erased and the blue lines smoothed out even more! Piece by piece, color is applied to each part of the character. It is placed roughly at first but smoo...
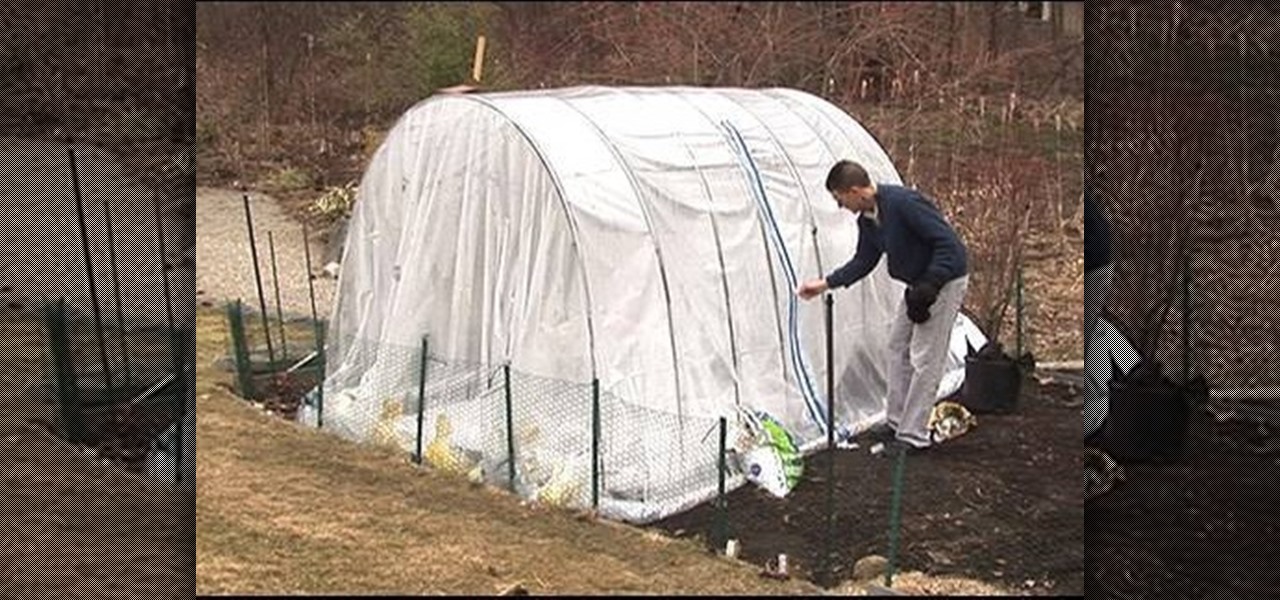
How to build a high tunnel to protect your plants

In this video tutorial, viewers learn how to tie a karate belt. Begin by putting the belt on your left hip. Then wrap it around all the way to the front, keeping it flat. Now wrap it around one more time to the front, on top of the other piece. Then tuck the top piece underneath the two layers of the belt, make the tips even and then pull on them to tighten the belt. To help children tie the belt, only hold one side of the belt and do not wrap it for them. Give them the instructions. This vid...
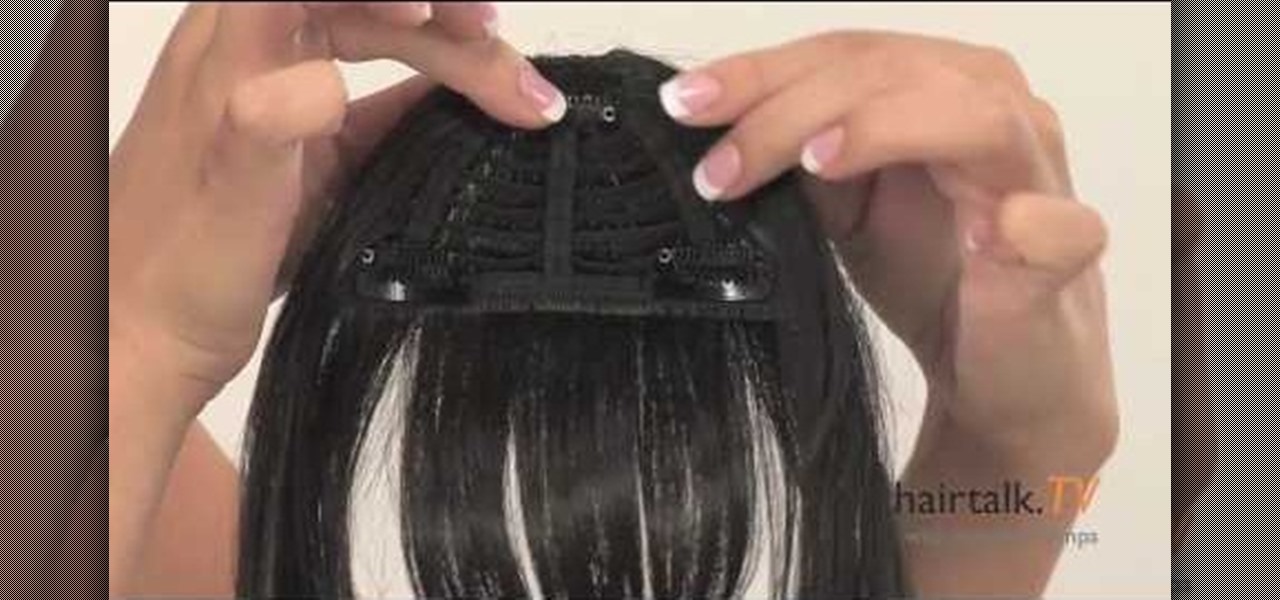
In this video, we learn how to use the new clip-in bangs created by Hairdo. These bangs are made of synthetic fiber and will mix right into your hair, there are several colors available so you can match the piece to your existing hair color easily. The piece has three clips, one on top and two on the side that will slide right into your own hair without causing any damage. All you have to do is clip the hair in and make sure it's secured. Once you you've done this, you can clip them and style...
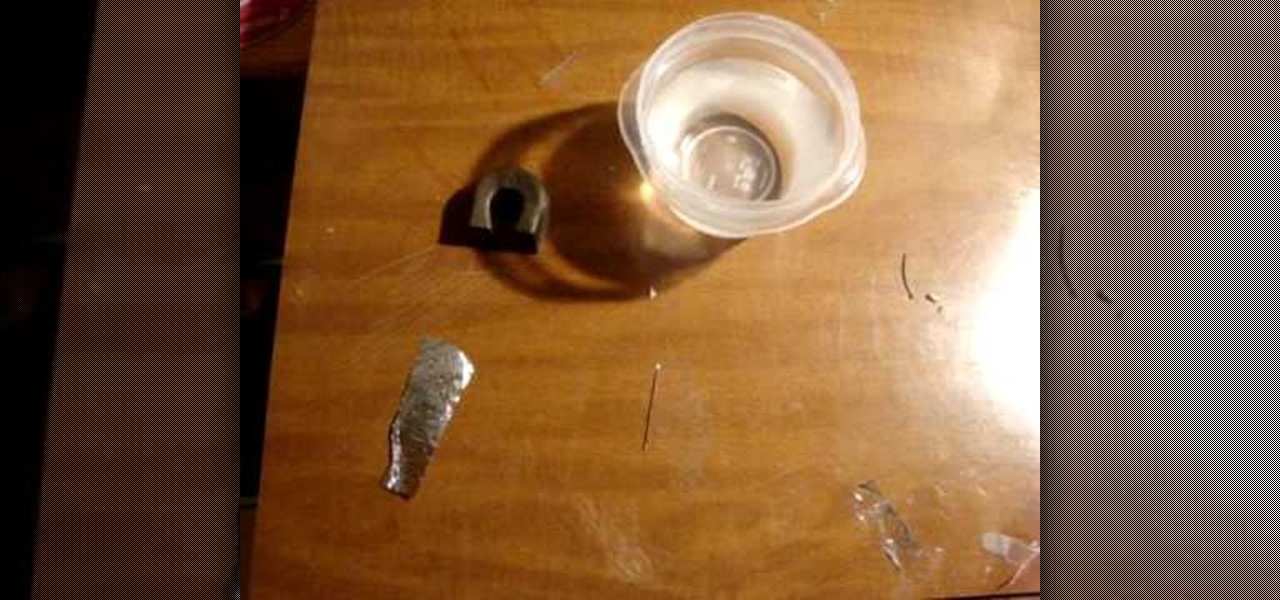
If you an outdoors man or maybe your planning on going to the woods for a camping trip, then watch this video and use the tutorial to learn how to make your own compass. A compass is a great tool to have in the wilderness and can always lead you in which ever direction you want to go. For this home made compass all you are going to need is a magnet, a cup of water, a piece of foil, and a needle. All you want to do to make this compass is put the piece of foil on top of the water and then put ...

In this tutorial, we learn how to make a paper hat easily with only one piece of paper. First, take a piece of paper and fold it in half. Once you've done this, fold two triangles on both sides of the paper. Now, flip the bottom flap up. Next, flip over the hat and flip the back flap of the hat up. Now, pick up the hate and open up both sides of the hat! You can now decorate your hat and draw on it as you wish. This is a great project for kids to do with parents or with other children!
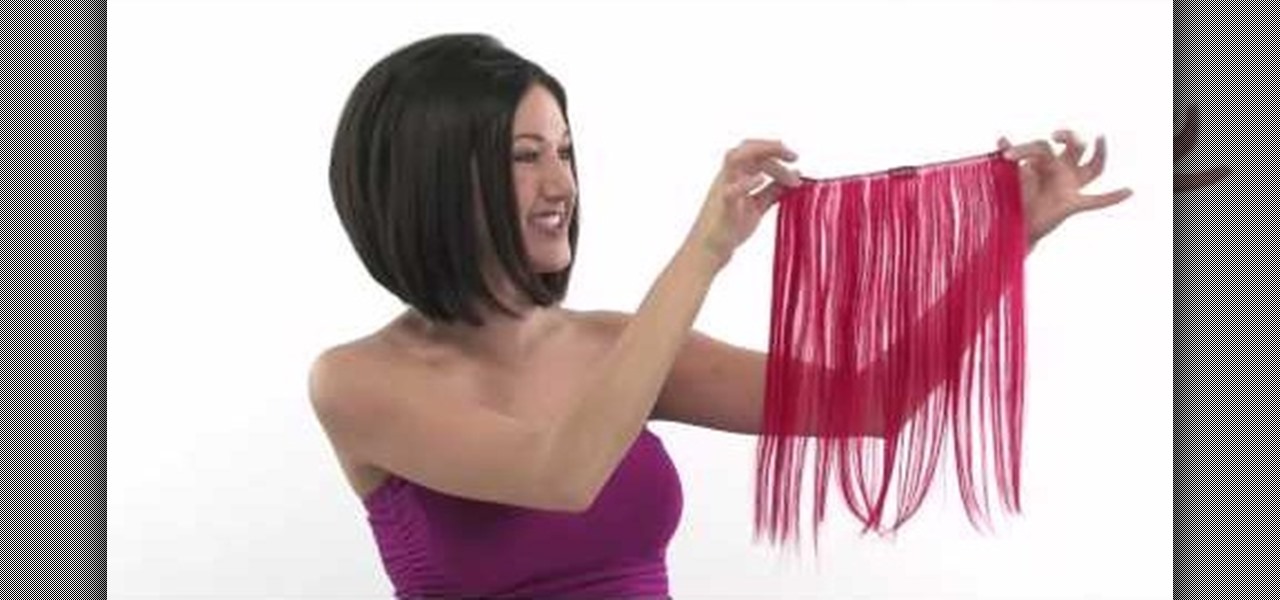
Hairtalk TV demonstrates how to instantly get color highlights with hair extensions. Put On Pieces offers Clip In Color which is a very thin, nine inch wide, sixteen inches long weft of hair that clips into your hair to give you highlights, low lights or bright, fun colors. The weft contains three pressure sensitive clips which slide into your own hair without causing damage. Unlike permanent coloring, Clip in Color causes no damage to your hair, does not fade over time and provides the versa...

BMX is one of the most coolest sports out there and features some of the most difficult and dangerous tricks out there. So, if the time ever comes where you need to take apart your BMX bike piece-by-piece, you'll know how to do it thanks to this two part tutorial. Enjoy!
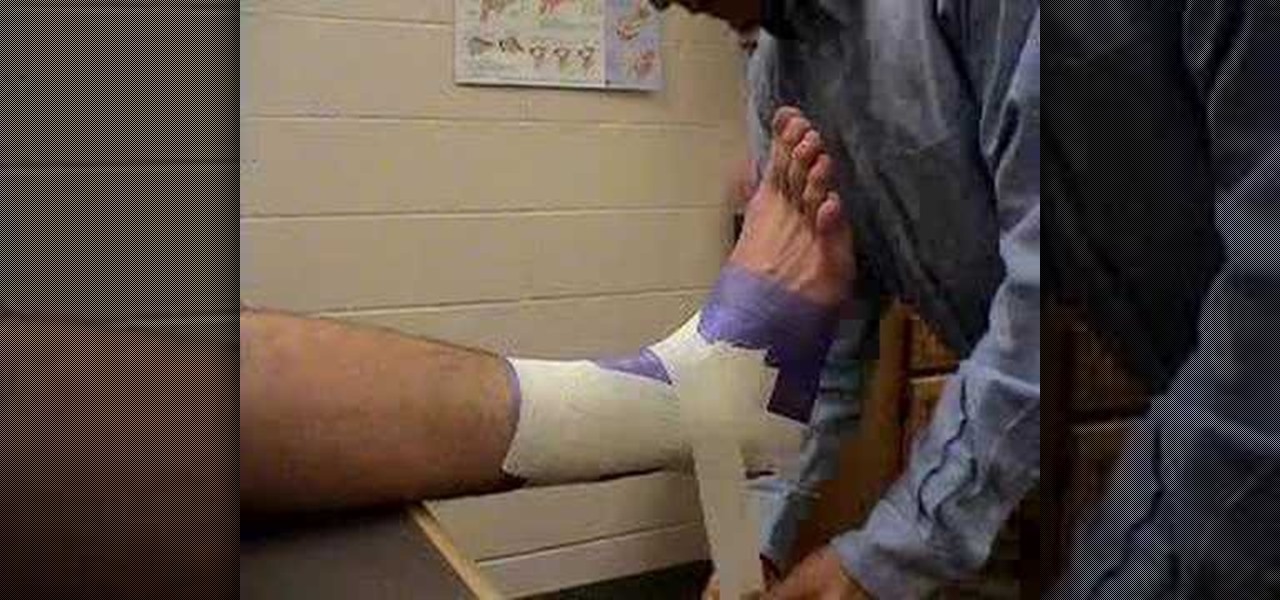
This video shows how to wrap an ankle with athletic tape. First he sprays a little spray adhesive on the ankle and sticks a couple thin pads on places that are prone to blistering. He then wraps the foot and entire ankle with a prewrap to protect the skin and cover the hair so that the tape won't irritate the skin. Then he begins by taping two anchors around the top of the ankle, and putting a piece of tape down the side from the anchors, under the heel, and up the other side like a stirrup, ...

This video shows how a piece of glass can be cut using a pair of scissors into the shape that you want. First, use a permanent marker to draw the outline of the shape you want on the glass. Next, submerge the part of the glass that you want to cut into a basin of water. Using a pair of scissors, start cutting the general outline of the shape on the glass. After you are done with the general outline, you can then trim the glass with it still submerged in the basin of water. Remember to be care...

This video shows how to make a bay girl and boy head made of clay. The first thing you need to do is get a small round ball of clay that is a skin color color. Then you get the small black beads and place it firmly on the ball they will act as the eyes. Then make the eye creases on the side of both eyes. After that you add the other physical features like nose, mouth, ears, and eyebrows. The last thing you do is fold two square pieces of clay into the shape of a bow then place it on the top o...
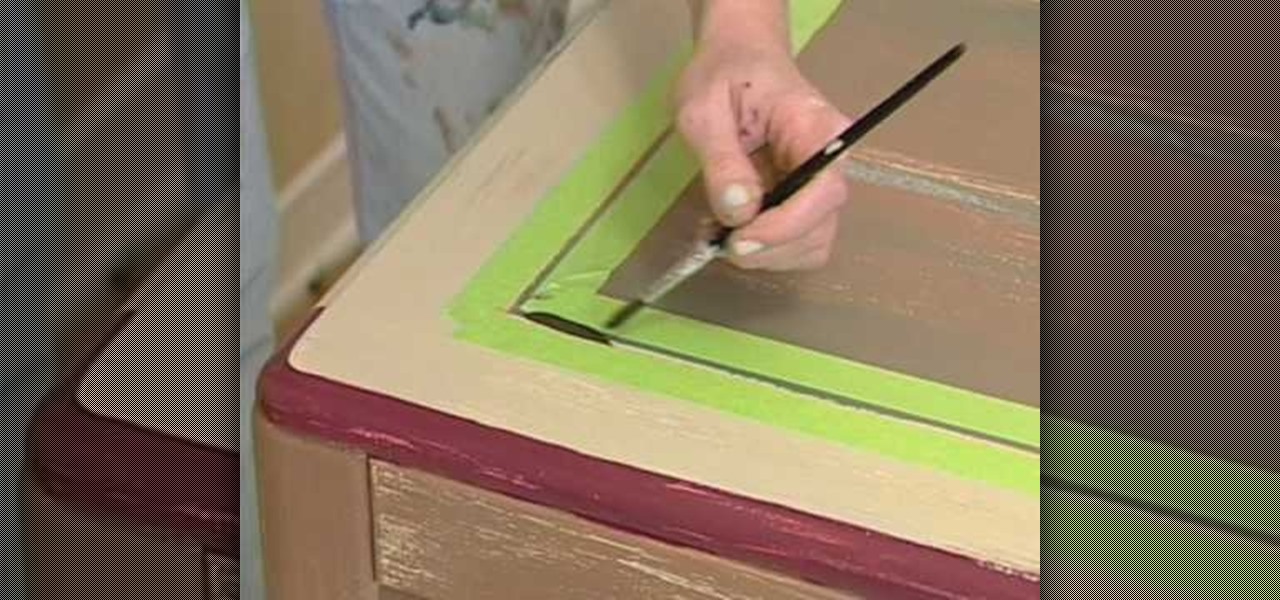
Using an antique distressing paint finish technique on furniture is a good way to revive a piece of furniture that other wise might just be discarded. This video is part of a series of videos taking viewers through the process of distressing furniture and focuses on accent technique. You’ll want to accent the select parts of the furniture you want to accentuate that distressed look. Our expert recommends painting the edges of this table. You’ll want to pick a complimentary color and when you ...

Follow the easy instructions of this video to create the perfect kitchen accessory for your dollhouse! The instructions for the mini polymer clay watermelon are quick and easy to follow. First you need red, black, green, and translucent clay. You want a very light green color for the watermelon. Use the pasta machine to mix the colors together. Slice the pieces of green clay and lay them on top of the light green clay. On the largest setting run them through together in the pasta machine. Rol...
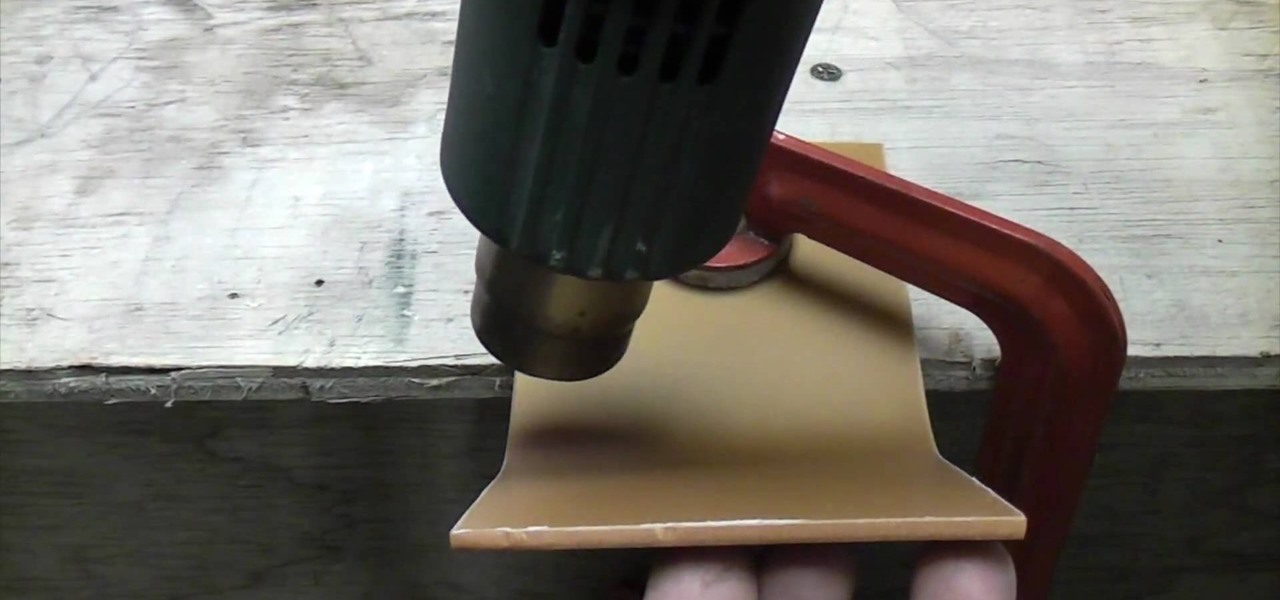
Have you ever wanted to bend a small piece of acrylic? Well now you can with the help of a traditional hot air gun and this informative video. Make sure to wear safety glasses and gloves before trying this project. Clamp the acrylic to a work table, and proceed to turn the gun on and heat up the piece of acrylic, using a steady back-and-forth sweeping motion. As it heats up, you can use your fingers to gently bend the acrylic upward. Leave it at 90 degrees to cool down for a couple minutes, a...
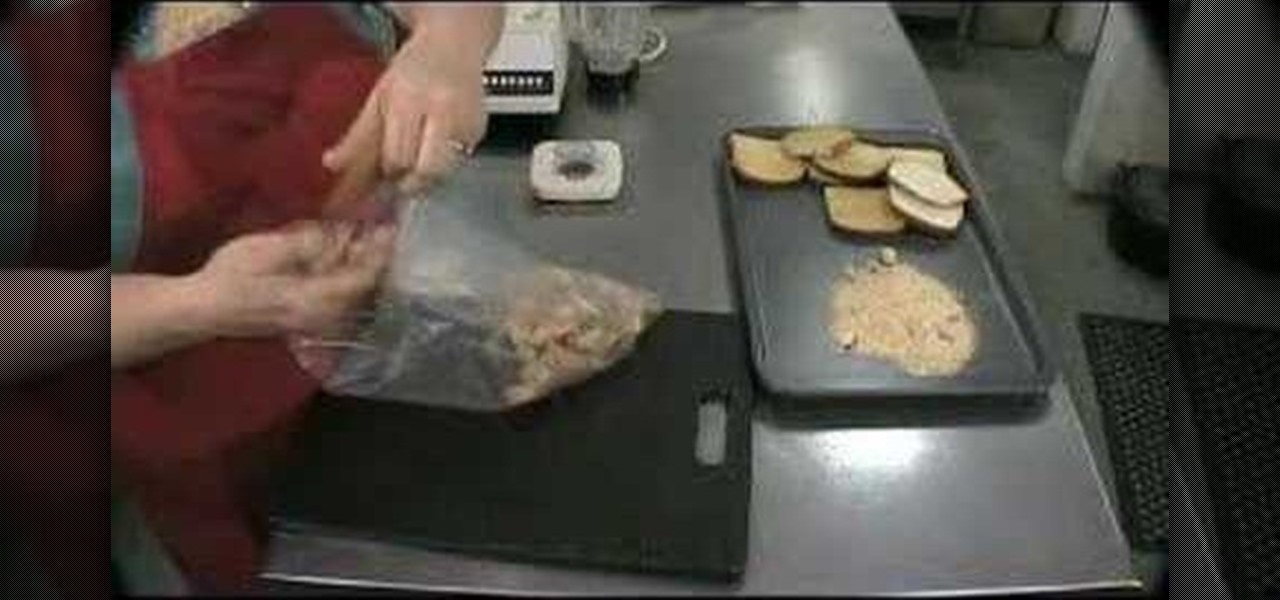
This video demonstrates how bread crumbs can easily be made at home. Two methods are shown for this. For both the methods first bread has to be dried in oven at 230 degrees. For this you can use fresh bread or stale bread. After heating the bread should become dry and hard. In the first method, break the dried bread into smaller pieces and put in a blender. Start the blender and crush them. Your bread crumbs are ready. In the second method Put the dried bread in a plastic bag and close the ba...
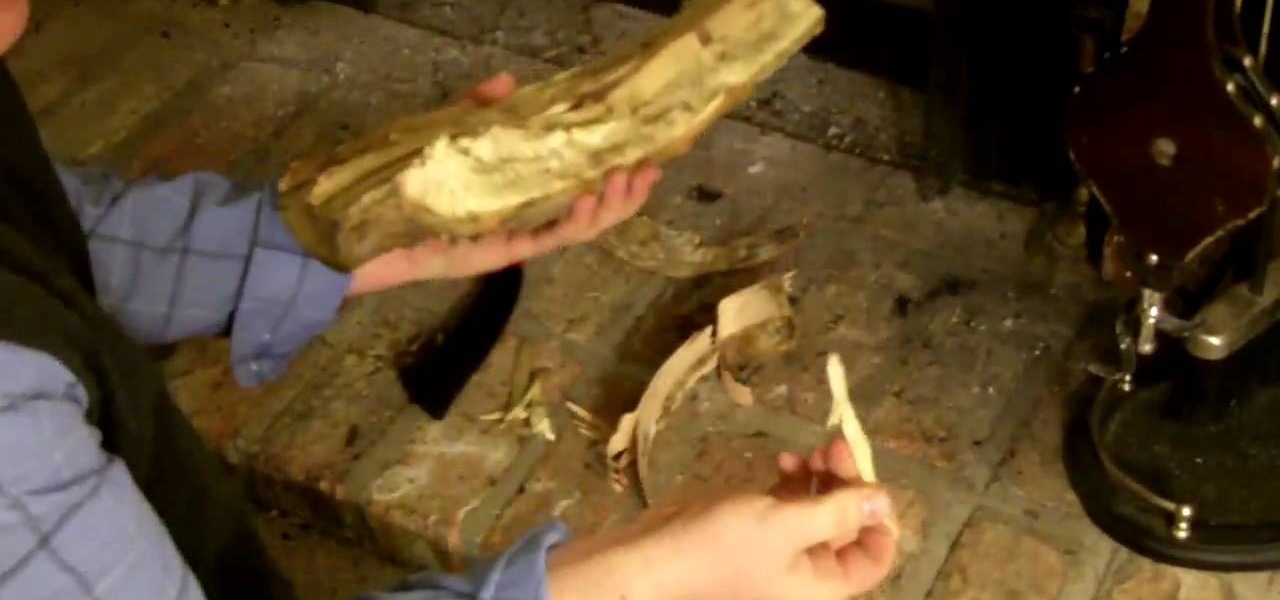
This video shows the viewer how to start a fire without sing matches or electricity. This is done by first selecting a fairly large dry log. The aim is to ‘chip’ or peel smaller pieces of wood off from this log. These pieces will burn more easily and as such will make it easier to start the fire – a small hatchet is a useful tool to use when breaking down the larger log. Once you have the kindling place it on an alcohol wipe. Then use a flint or a fire steel to ignite the alcohol wipe. Once t...

Garden of Imagination presents the making of polymer clay cabbage. She starts with a ball of polymer clay she has pre-baked in the oven. She, then starts to make the leaves. She flattens a piece of the green clay and then adds texture with a scalloped cake decorating tool. She folds the leaves around the ball. Halfway through, she instructs to bake it again. Then, she finishes adding "leaves" around the cabbage. The goal is to achieve a ragged realistic cabbage head. Finally, she gives bonus ...
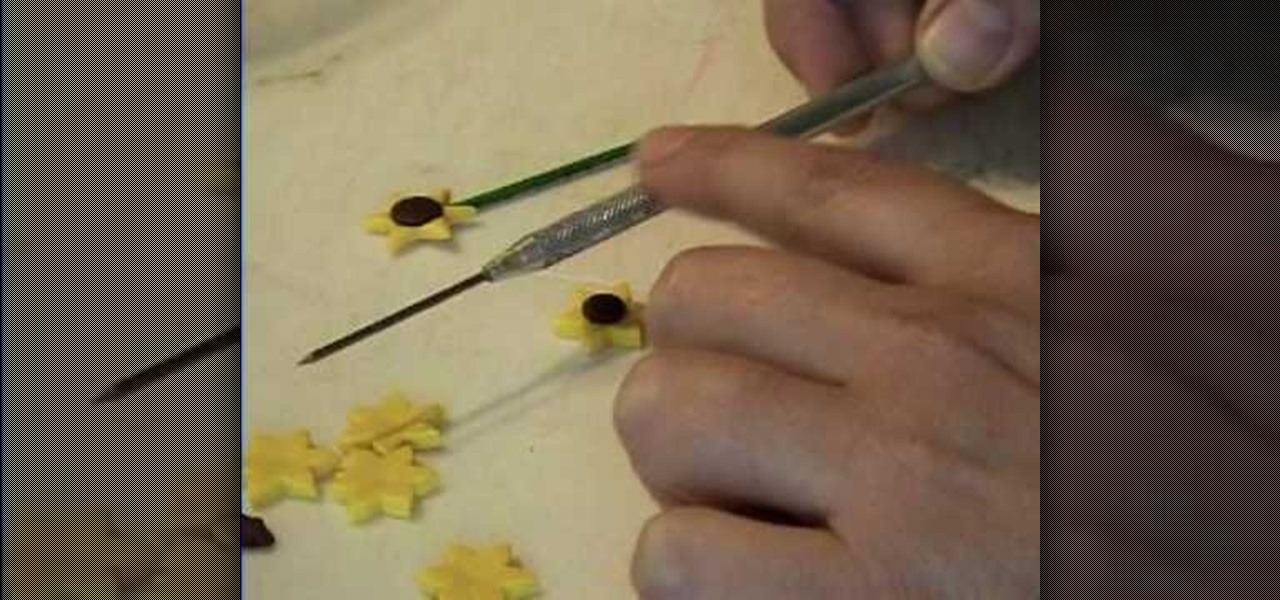
This video shows how to make a tiny sunflower from polymer clay. Start with some yellow clay and roll it out using a pasta machine using the number 1 setting on the pasta machine. Wilton cake decorating supplies makes a flower shaped cutter that is designed to cut pieces of fondant, but works well for polymer clay. Make some of the flower shapes and even out the cut edges. You can texturize the flower petals so they are not left completely smooth. Add a piece of brown clay to the middle of th...
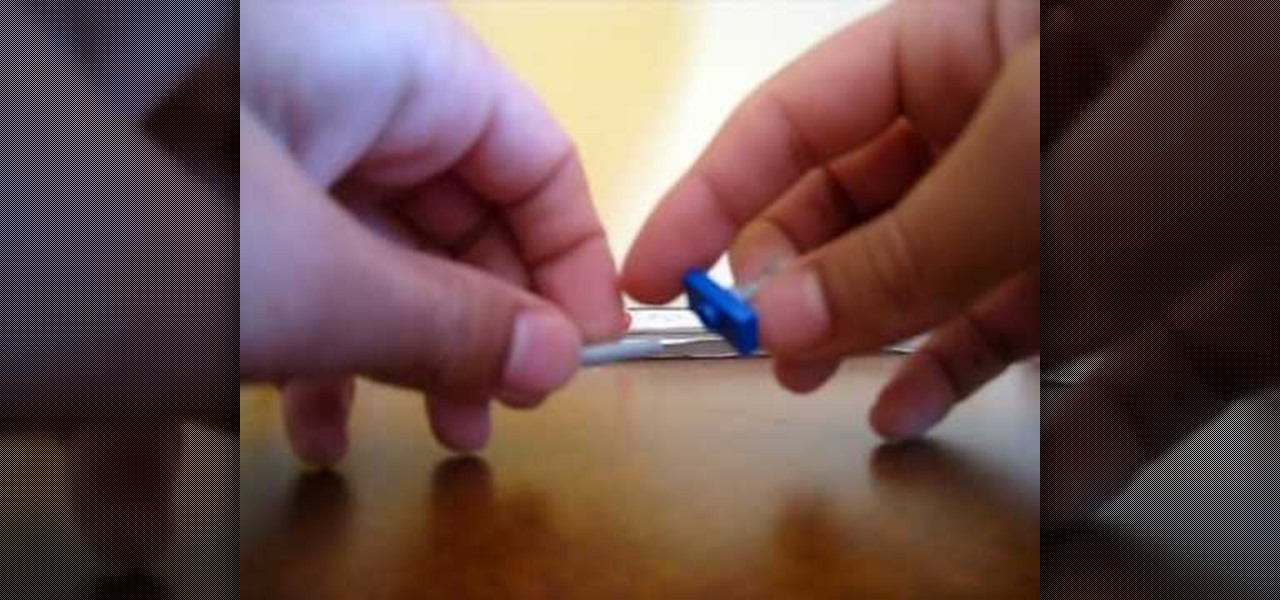
In this video tutorial, viewers learn how to make a LEGO sword. LEGO consists of colorful interlocking plastic bricks and an accompanying array of gears, minifigures and various other parts. This video is very short and only lasts for 35 seconds. It is very basic and easy to follow. This LEGO construction is very simple, fast and easy to do. There are only 3 pieces required to make the LEGO sword. It does not matter what color the pieces are. This video will benefit those viewers who enjoy pl...
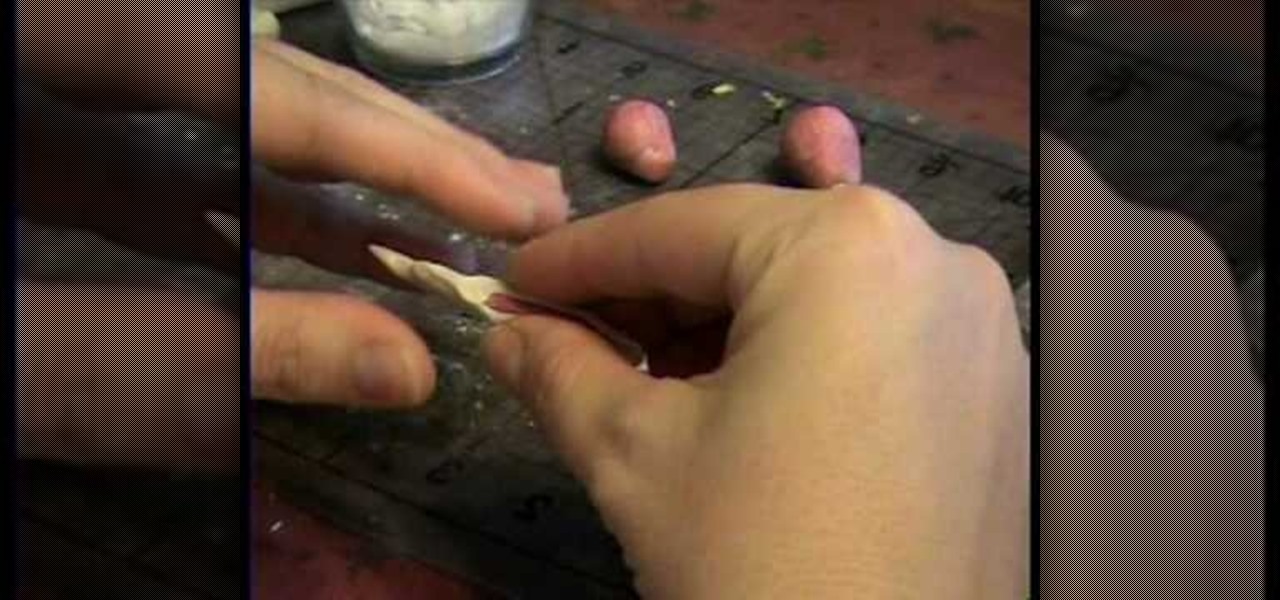
This video shows how to make a miniature ham out of polymer clay, for use in a dollhouse. The instructor begins by taking red and white clay and mixing it to get the color wanted for the meat of the ham. A small, hardened pink piece is then wrapped in a white piece, making the bone with the marrow inside. This is then pressed inside the meat and made to extend out of one end, completing the ham. The process is demonstrated in detail, making it easy to follow along and make your own miniature ...

Garden of Imagination demonstrates how to make a miniature corn on the cob out of polymer clay. First, roll and flatten two small balls of green clay to make the corn husks. Make the husks pointed on both ends. Take a piece of yellow clay and roll it into a conical corn cob shape. Insert the corn on the cob into the texture piece and roll it to achieve the textured corn kernels. Wrap the corn on the cob between the two green husks. Make sure the husk leaves overlap in the front. Squeeze the c...

In this video tutorial from RenaissanceRentals you will learn how to maintain and troubleshoot your home garbage disposal. First thing to do is to keep the water running during garbage disposal. Ensure that the leftovers are cut into small pieces and you put only small quantities for disposal at a time. Things like plastics, glass pieces, rocks and food items like egg shells, starchy foods like pasta or rice should not be put into the garbage disposal system. If you follow these simple tips, ...
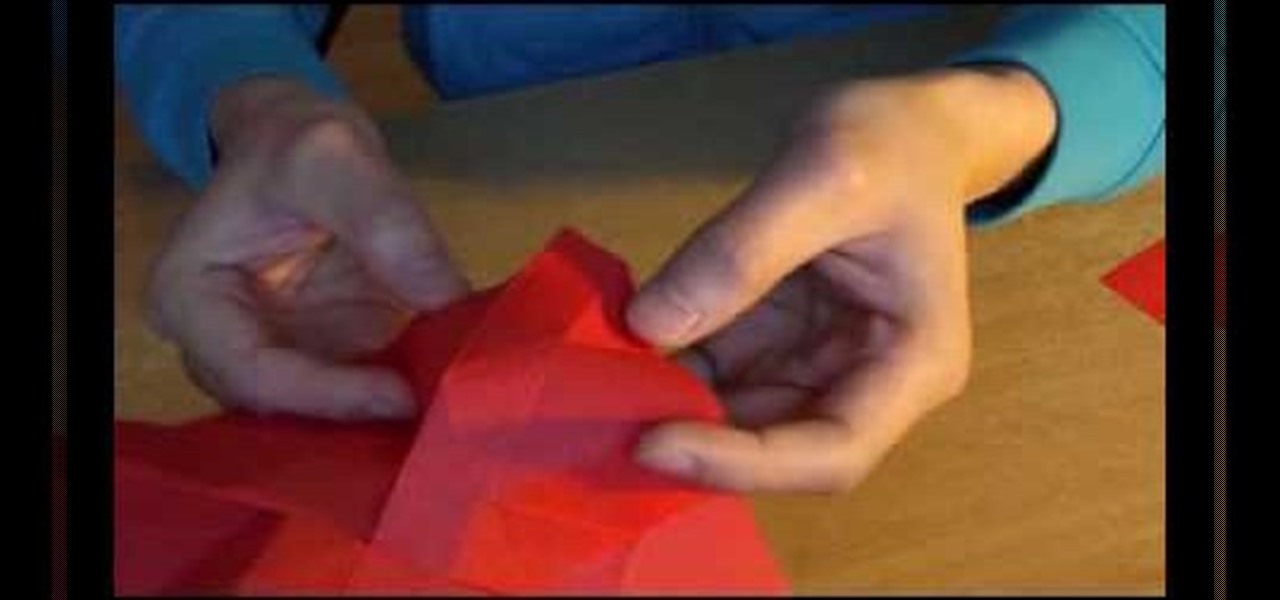
Make an origami rose for your love on Valentine's Day. This easy to follow video shows you how with romantic piano music to calm you while doing it! Start with a piece of red paper then make the initial guide line folds. You then start by folding in the corners then making more guide folds. Then the edges get folded in as you slowly start to see the flower develop. Then, you make a fold in the center and start to work your way around as the flower takes shape. A twist starts at the center the...
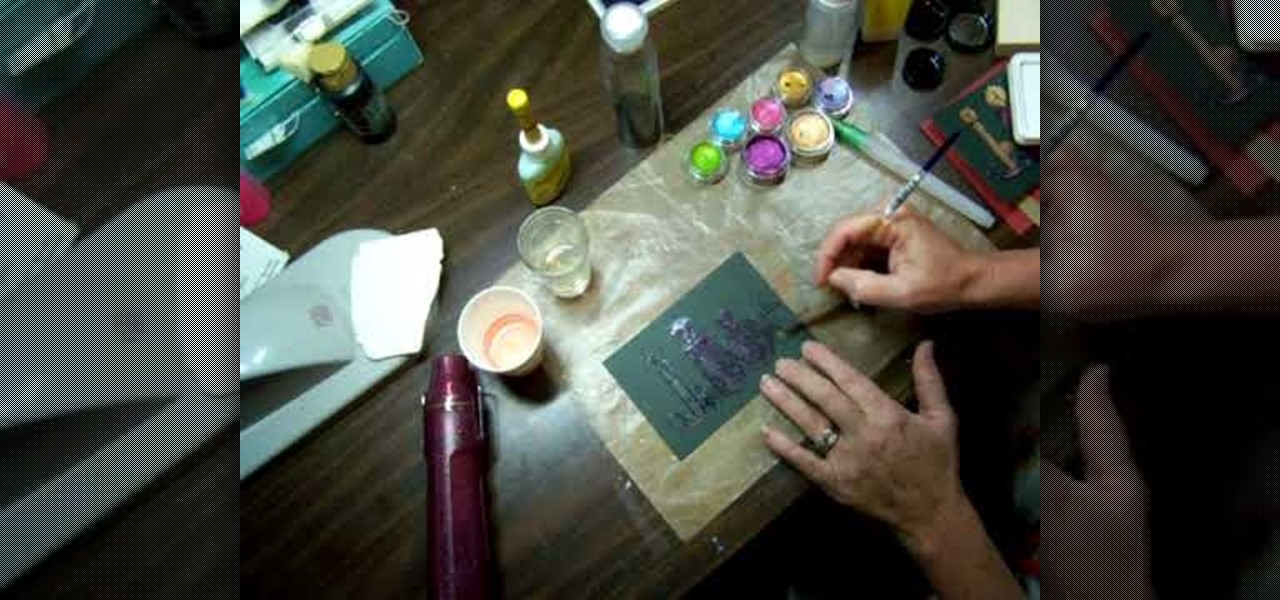
This video tutorial is going to show you how to bleach paper to make the color pop. First take a piece of black paper, apply a bit of bleach and see what color it turns. Because, different cards change color differently. Next you will need a stamp, embossing ink and black embossing powder. Apply embossing ink on the stamp, stamp the black paper and put black embossing powder on the paper and dust it off. You then need to heat the paper. Bleach out the portions that you want color. Follow the ...
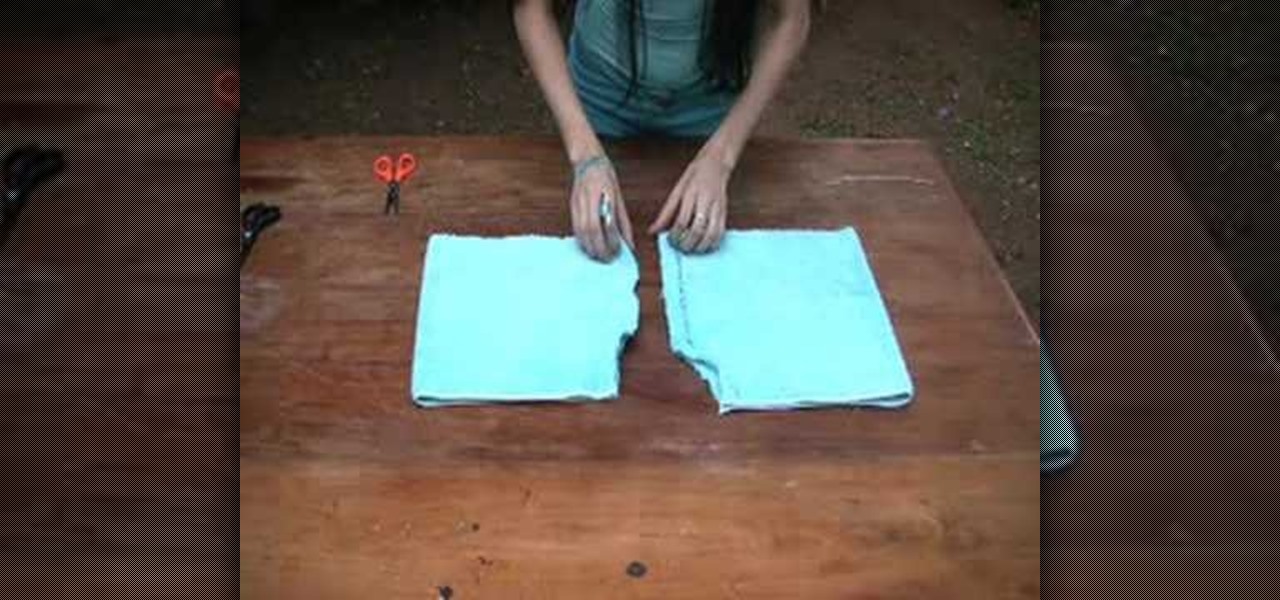
To recycle an old towel into shorts, fold the towel and cut it into a short leg's length worth of fabric. Cut another piece into a short leg's length worth of fabric. Draw a curved seam on one edge. Stack the towels and pin them to hold the fabric in place. Cut out the seam on both of the towels. Separate the towels and sew up the seams on both of the fabric pieces. Do not sew the top seam and front side seam of the shorts. Instead, sew the front and back side seams together. Thread and sew a...
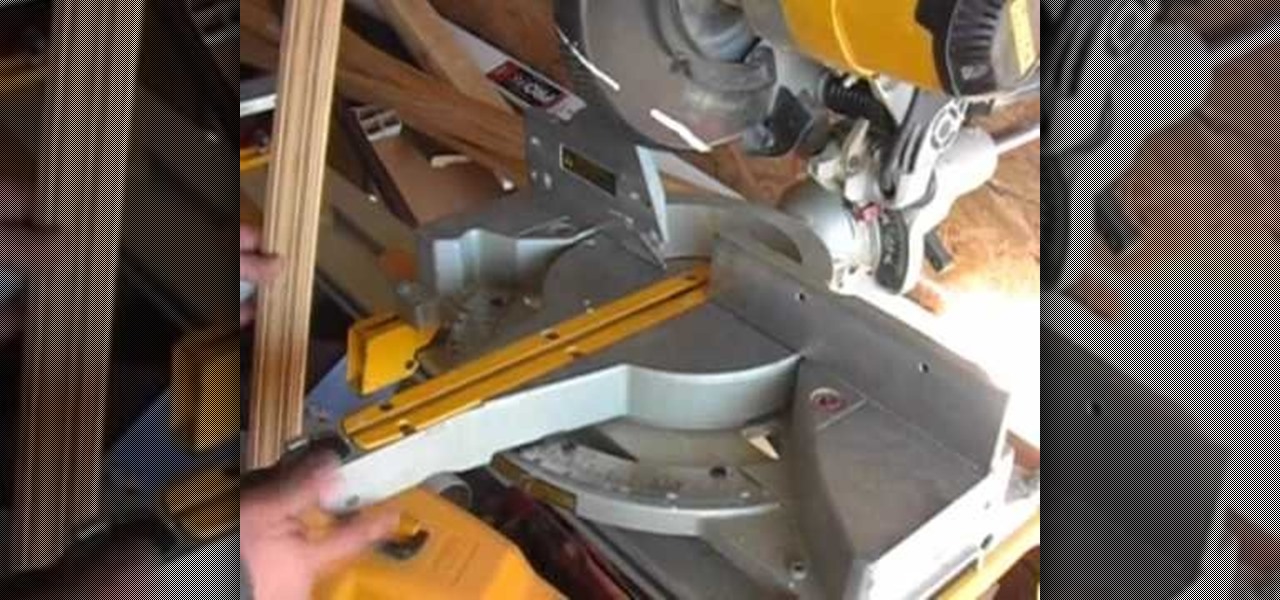
In this video tutorial, viewers will learn how to use a chop saw. A chop saw is a power tool which is typically used to cut hard materials. This saw can cut pieces at different angles. When cutting any material, make sure it is pushed tight against the fence. Hold the material tight in this position and make sure it is correctly leveled. When using this machine, be sure to wear safety glasses or a face guard. Avoid cutting small pieces of material and go at a slow pace. This video tutorial wi...
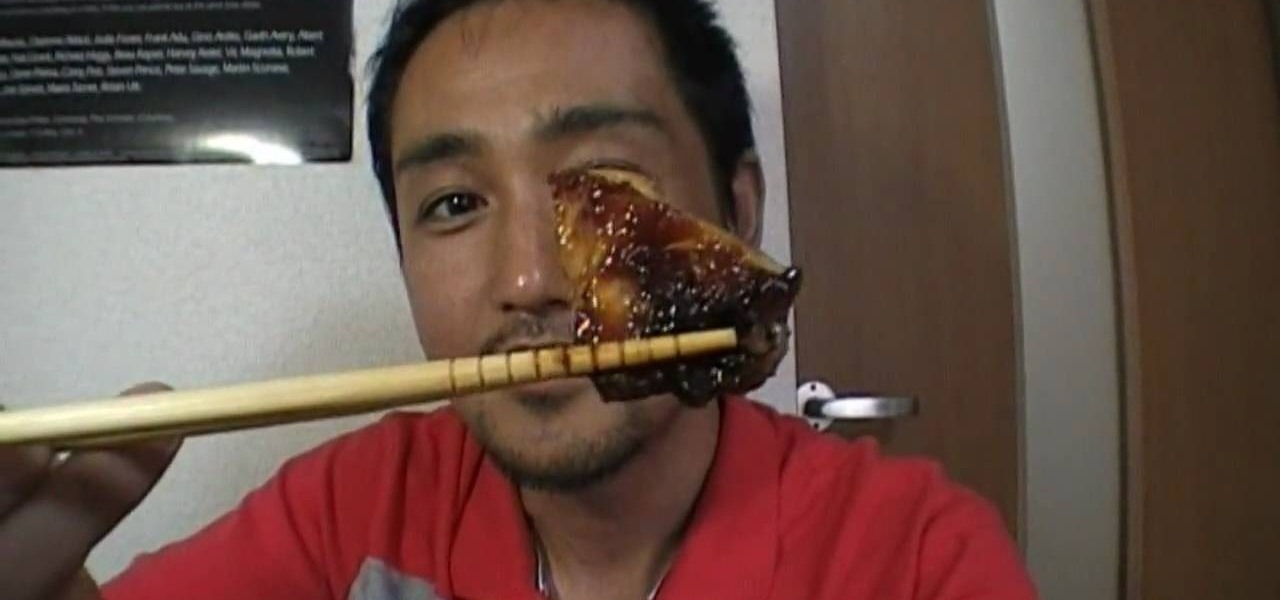
This video demonstrates how to cook chicken teriyaki. The video starts with the presenter showing the list of ingredients. Starting with the chicken breasts cut in to small pieces about 1 inch wide. Next, you preheat a skillet with olive oil in it. The presenter states that when cooking chicken, the skin should be placed down in the skillet. The chicken pieces are then placed in the skillet to cook. Add the marmalade to the skillet along with more soy sauce and continue cooking. The video fin...

This is a very useful instructional video on how to make mango chutney. It is a very delicious dish which any body can make at home very easily. The ingredients required for this wonderful dish are ginger, sugar, herb leaves and mangoes. First you have to take the herb leaves and ginger in a pan. Now you have to add two cups of sugar to the mixture. Now you have to chop the mangoes into small pieces. You can remove the skin of the mango and use the rest. After chopping the mangoes into small ...
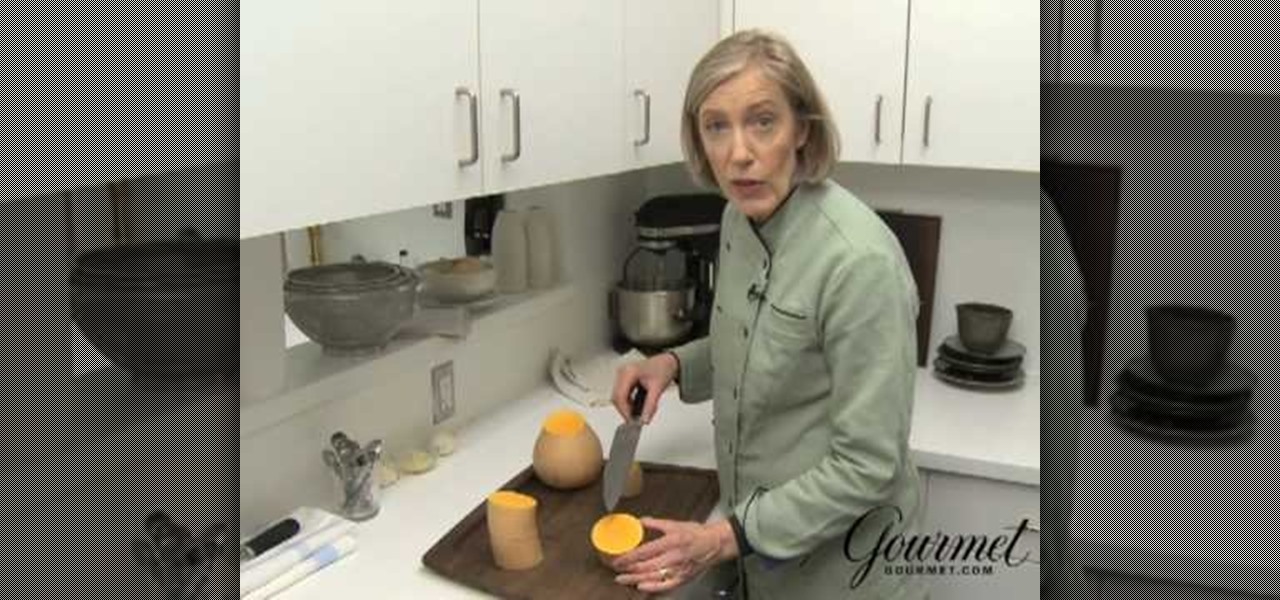
This video shows the method to quickly prepare butternut squash. Butternut squash has a tough skin which makes it difficult to peel. This has more difficulty while negotiating the curved part. First, the neck is cut off and divided into sections. After this, the skin is cut out with a knife. The sections are cut into smaller pieces and put into a food processor to further minimize the size. This is done so that it cooks in no time. Then, put the pieces into the sauce pan. Two cups of water an...
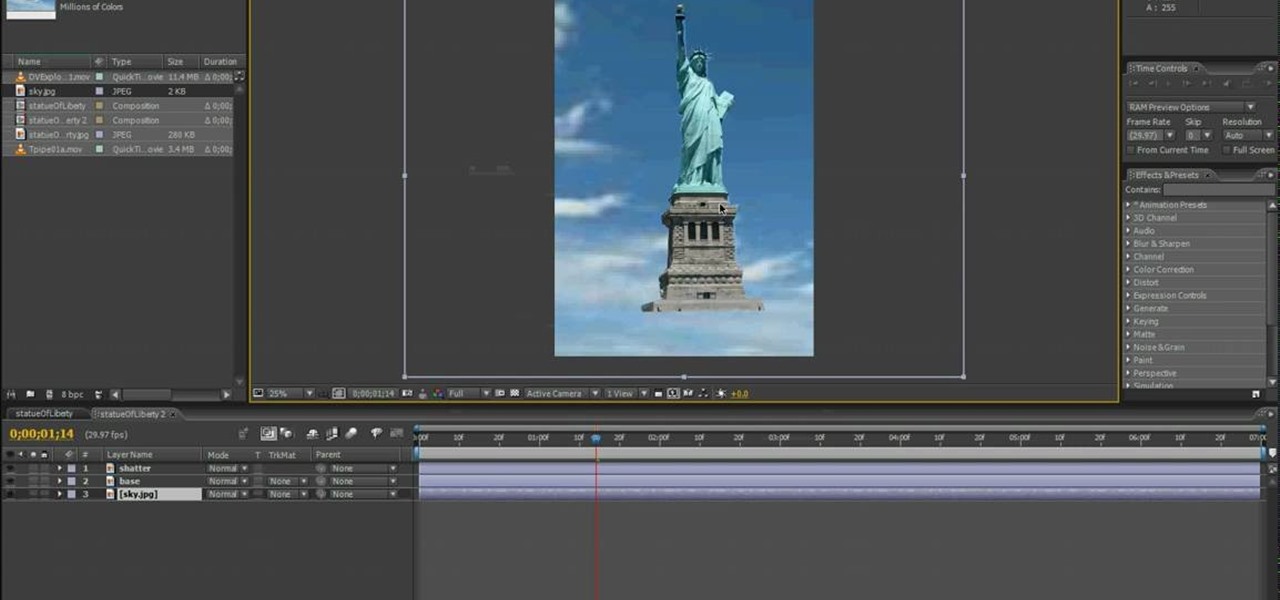
This video shows you how to create a building explosion (more specifically, the Statue of Liberty) in Adobe After Effects in less than ten minutes. The smoke and fire are downloaded separately, while the shattering of the statue is created in After Effects. First, duplicate the layers into what will and what will not explode, then create a mask around each one. Then, set the shatter effect to the exploding layer. Set the shape pattern to glass to make it more realistic. Also, you can raise th...
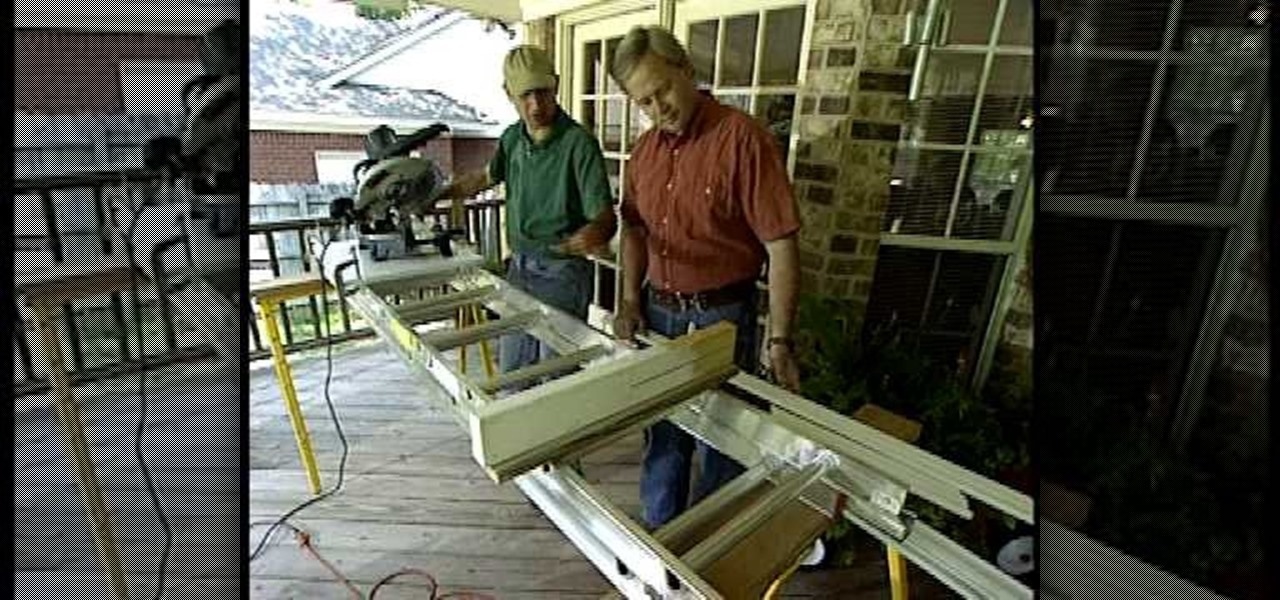
This is a how to video that explains how to do the difficult task of cutting crown molding and how to do it with tools you have laying around, a ladder and a saw horse as a support, and a miter saw. The author of this video explains that if the molding sags then it will not cut straight and your seams will not line up properly. The author is using an extension ladder and explains that you can cut very long pieces using this process. He also explains that you will need more than one brace to s...
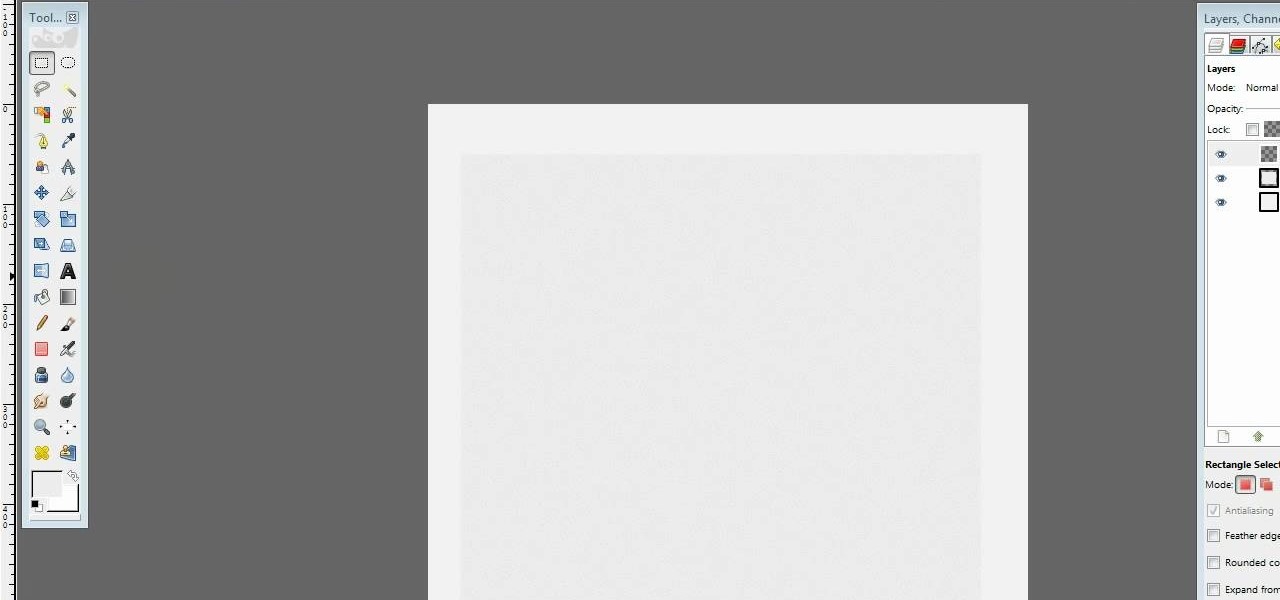
Hulldo teaches you how to draw lined paper in GIMP. First you create a new document and make it 600x600 pixels. Make the background a bluish grey. Create a rectangle in the middle of the document. Now you want to add a blue horizontal line. You will want to then duplicate that layer until you're at the bottom. You can add a stroke to the rectangle or use a shadow to make it look like it's on top of a regular piece of paper. You also have to leave some space at the top and bottom to mimic a re...