In this video tutorial, viewers learn how to build a green screen. The materials required for this project are: two 10 ft long PVC pipes, measuring tape, saw, duct tape and pipe elbows and couplings. Begin by marking the two PVC pipes with 6 ft on one side and 4ft on the other. Then cut the PVC pipes in half. Now connect the frame together with the pipe elbows and couplings. Build support to the fame by adding some duct tape. Finish by attaching the green cloth on the frame and tape it at the...
Even as early as first grade art class, you learn that watercolor/painting is an entirely different category from stamping, which basically requires a stamp pad and rubber stamp. But this tutorial blurs the line between the two art forms in the most attractive way possible.

Learn how to create a motion blur effect with Mental Ray in 3ds Max 2010 or 2011. See how to control the camera's shutter speed, the quality of motion blur, and how to decide if a single mesh has motion blur or the entire scene. You'll also take a look at fast motion blur option using Scanline Fast Rasterizer option. Whether you're new to Autodesk's popular modeling software or a seasoned 3D artist just looking to better acquaint yourself with the application, you're sure to be well served by...
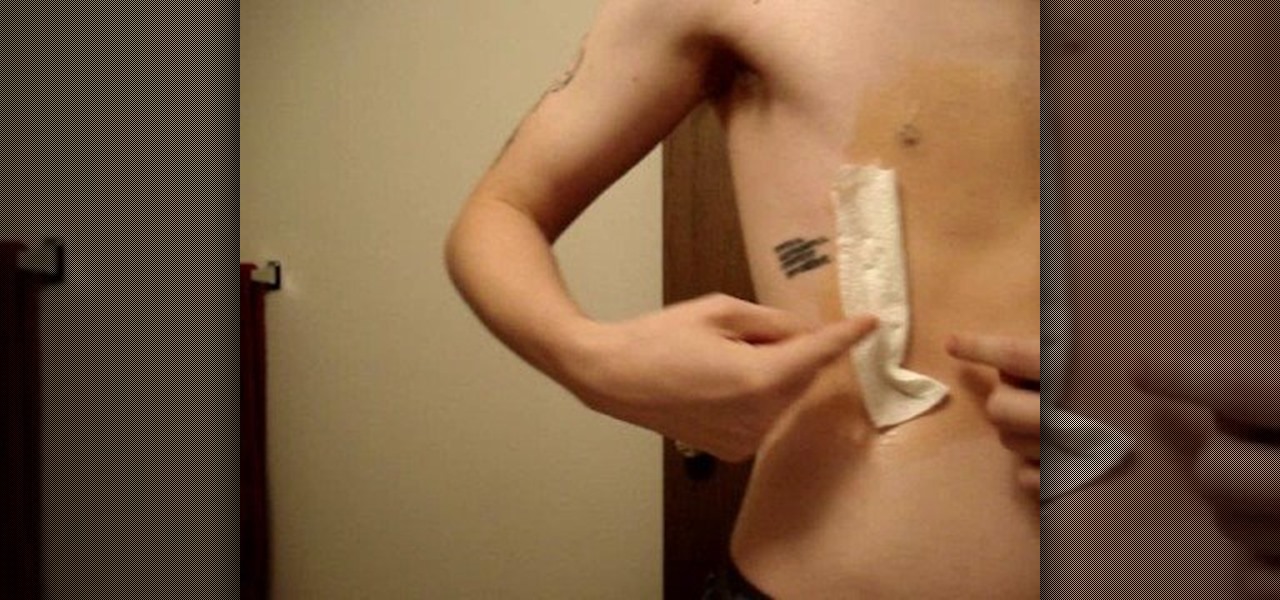
There is no such thing as a sucking chest wound. All chest wounds suck. Except perhaps for fake ones, which are essential to making a really gritty, gory film in most cases. This video features detailed instructions on how to make a fake chest wound out of latex and other special effects materials. Since it is a prosthesis, it can even be reused! It is a little complicated, but the end result looks great, so try this out in your next movie!

In this Autodesk 3ds Max video tutorial, you'll learn about a cool plugin that can create cloth-like animations. 3ds Max does have a built-in cloth simulation, but it's rather complicated to work with. The alternative to using the built-in feature is using the plug-in SimCloth 3, a free modifier. It works very easily and creates a smooth flowing cloth effect. This video is specifically working with a cloth cape on a superhero (if you could call it that). But this cloth-like effect could be ap...

Want to to blow up a subject to Brobdingnagian proportions in Final Cut Pro? Learn how to create a giant effect with masking in this clip. Whether you're new to Apple's Final Cut Pro non-linear video editor or just want to better acquaint yourself with the Final Cut Pro 6 workflow, you're sure to benefit from this video tutorial. For specifics, including a step-by-step overview of this great post-production trick, watch this FCP lesson.

Warrior Cats is a series of children's novels featuring, you guessed it, warrior cats. This art tutorial from Drawing Now teaches you how to draw one of the cats from the stories. Here are some instructions from the artist:
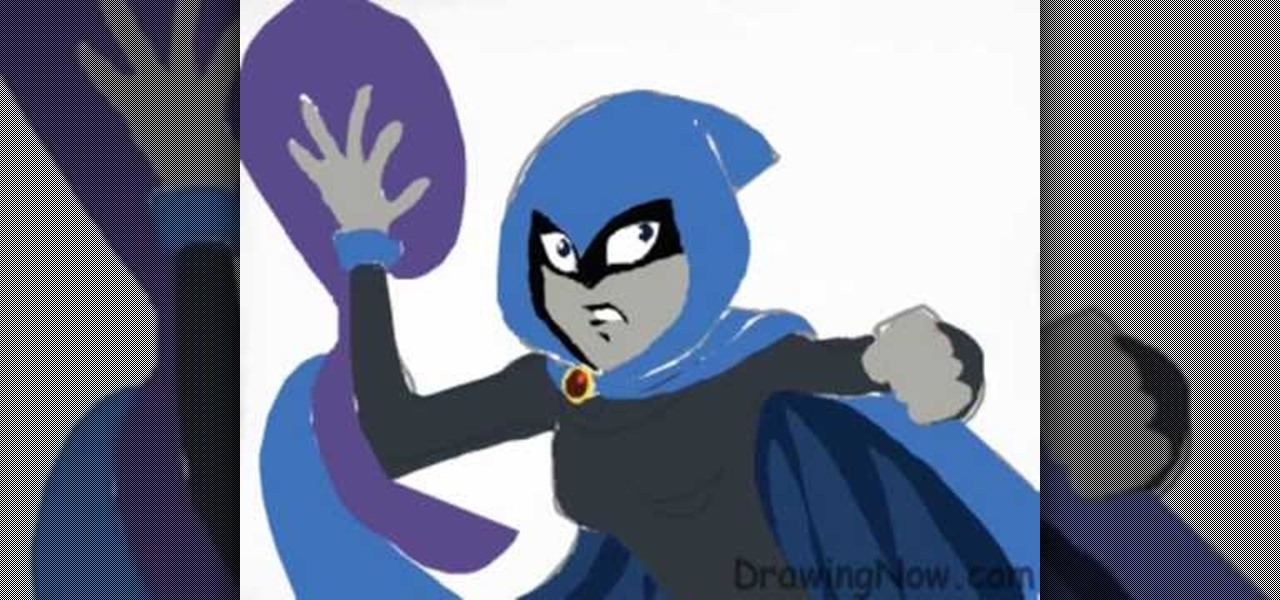
Teen Titans is one of the most tragically underrated American children's cartoons of all time. Fortunately, Drawing Now one of our favorite art instruction groups, has created this video tutorial on how to draw one of the shows iconic characters, Raven. Here are the artist's step-by-step instructions:
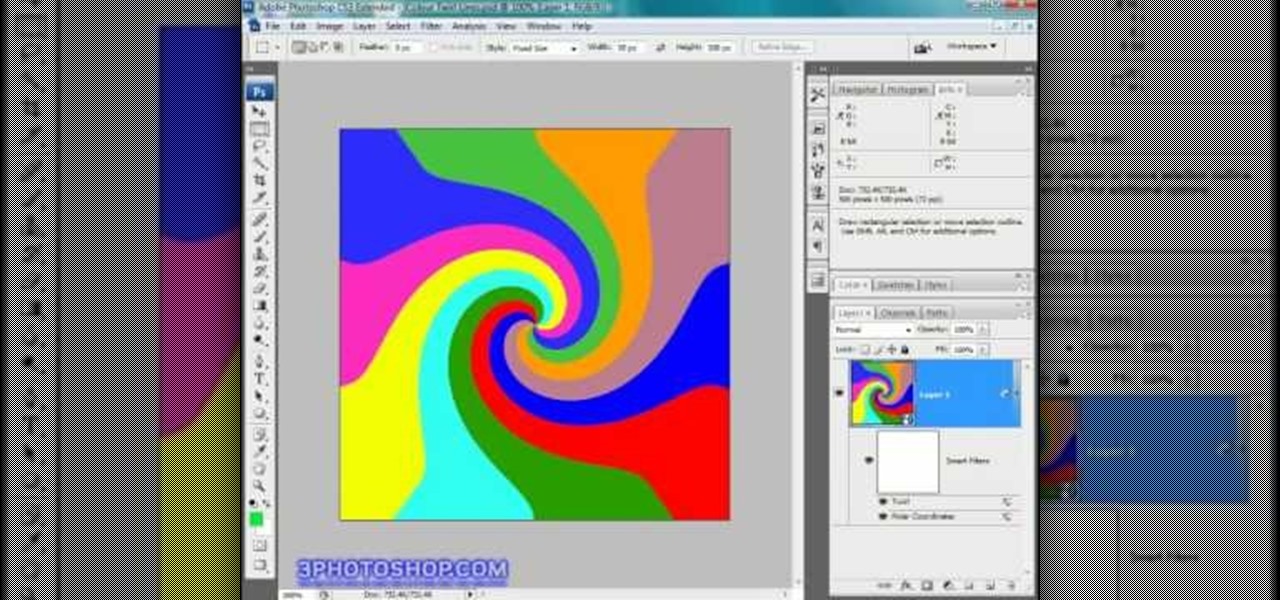
You can create such beautiful, creative pieces of work using Photoshop the only way to do so is by using your imagination. With it, you can use various tips and tricks to create pieces that would make most people go, "wow." This is one of those tutorials. In this video, you'll find out how to create a cool color twirl effect using this excellent piece of software. It's easy to do and once mastered can be used to make all sorts of designs. Enjoy!
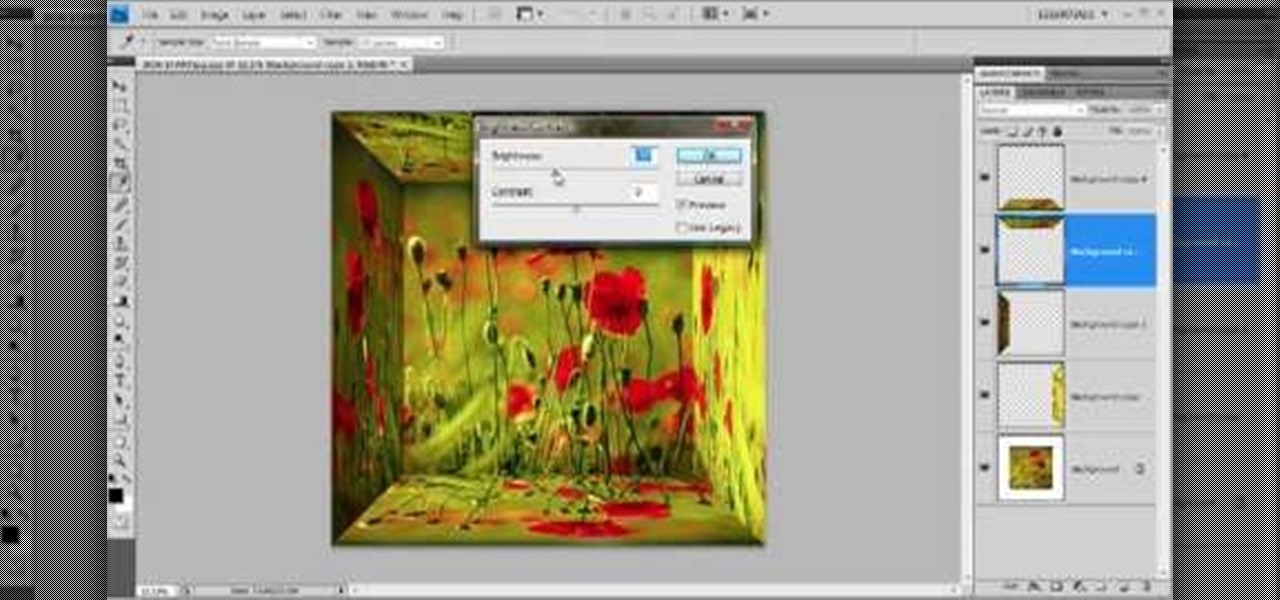
Since the introduction of Photoshop, people have embraced the many different elements that it has to offer. Not only can you take away blemishes and body fat in a matter of seconds, but you can also add other things that you could only achieve by using simple camera tricks. In this tutorial, you'll find out how to make a mirror box effect using the software. It's easy to do and really cool to look at. Enjoy!
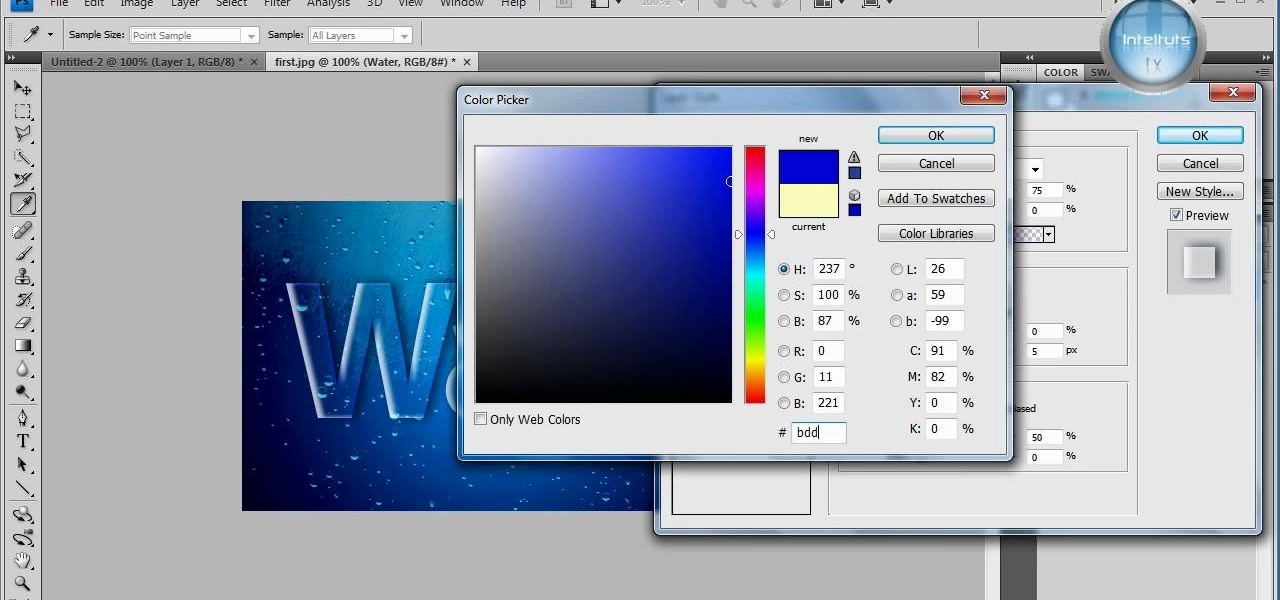
In this tutorial, learn how to make a very cool wet writing effect that you can use for graphics and logos. You will be creating this effect in Photoshop CS4. In this video, you will learn how to take tons of different layer styles and transform a basic text layer into a majestic piece of artwork. You will be shown the process step by step from the very beginning. This tutorial also shows the use of gradients and color corrections tools to optimize the full piece of work.
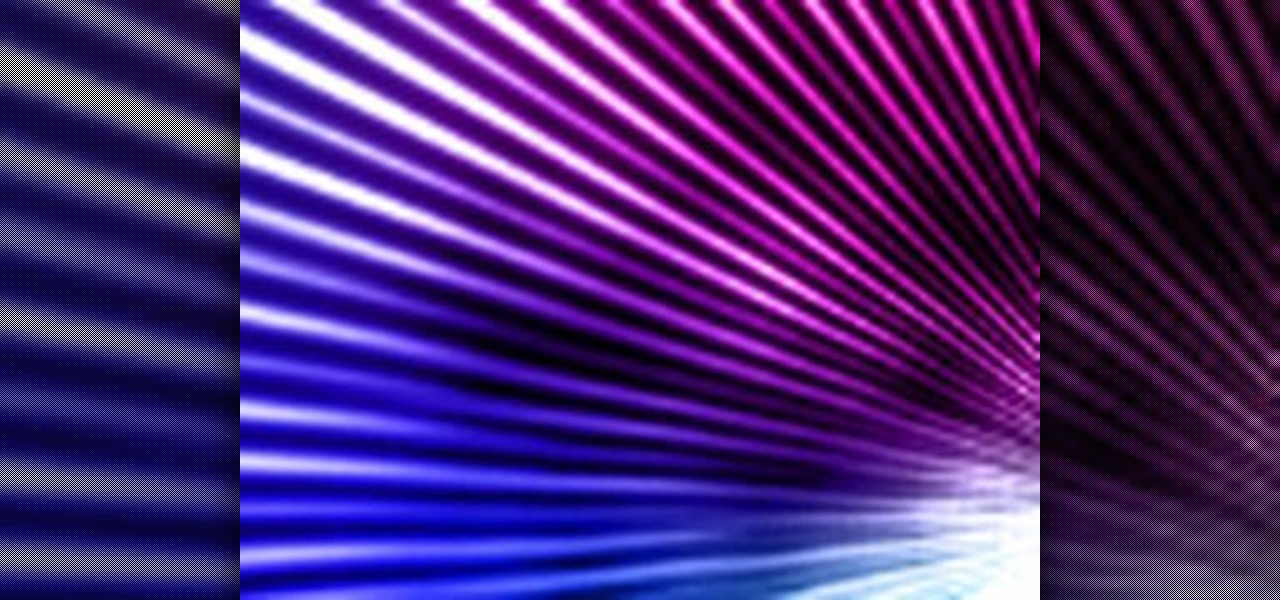
There aren't any words in the silent instructional tutorial video, but if you watch carefully, you'll learn the exact steps necessary to create a phenomenal looking shooting star or comment with nice looking special effects that are achievable in Photoshop. First you'll select a circular region with the selection tool, then you fill it with white. Next you'll use brush settings to create a brush stroke that straight and fades over time to create the comet's tail. Then you'll use Photoshop's l...
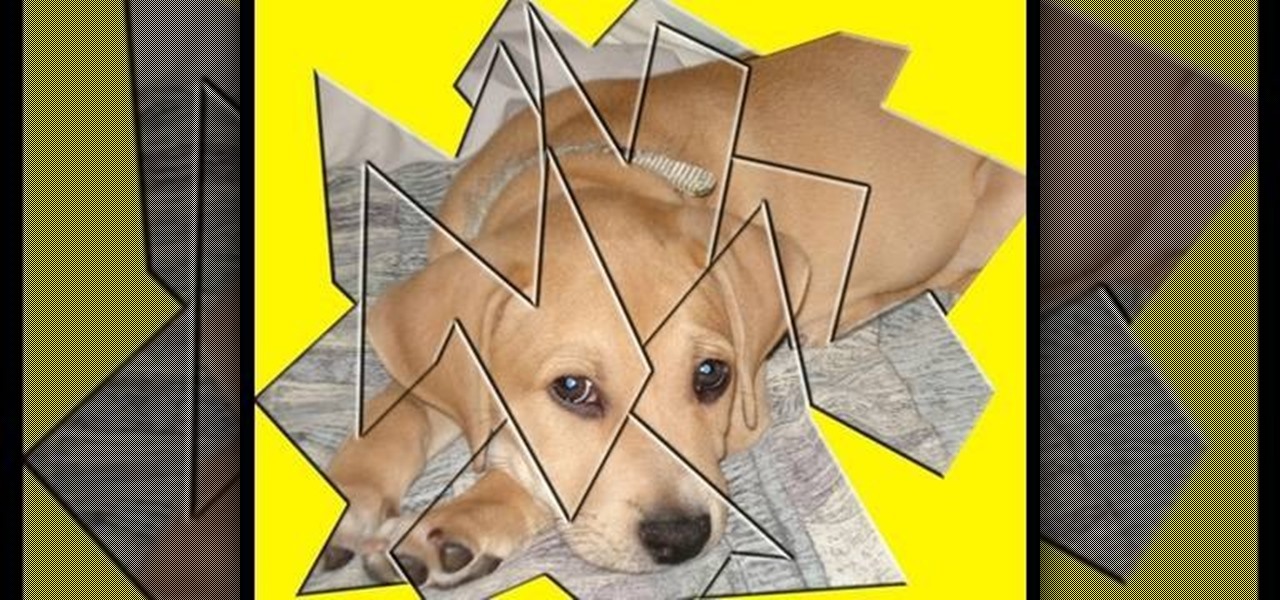
This video demonstrates how to make a broken mirror effect using Photoshop.
Eddy Currents are little circles of electricity created when metals are moved by magnets or even when magnets are moved by metals. To understand this practically take a regular piece of cardboard and drop it in between a horse shoe magnet. It drops normally with out being effected by the magnet. This is because the cardboard does not conduct electricity. Therefore it does not cause any eddy currents. But instead if you use an aluminum piece in the same way, it falls very slowly, because alumi...
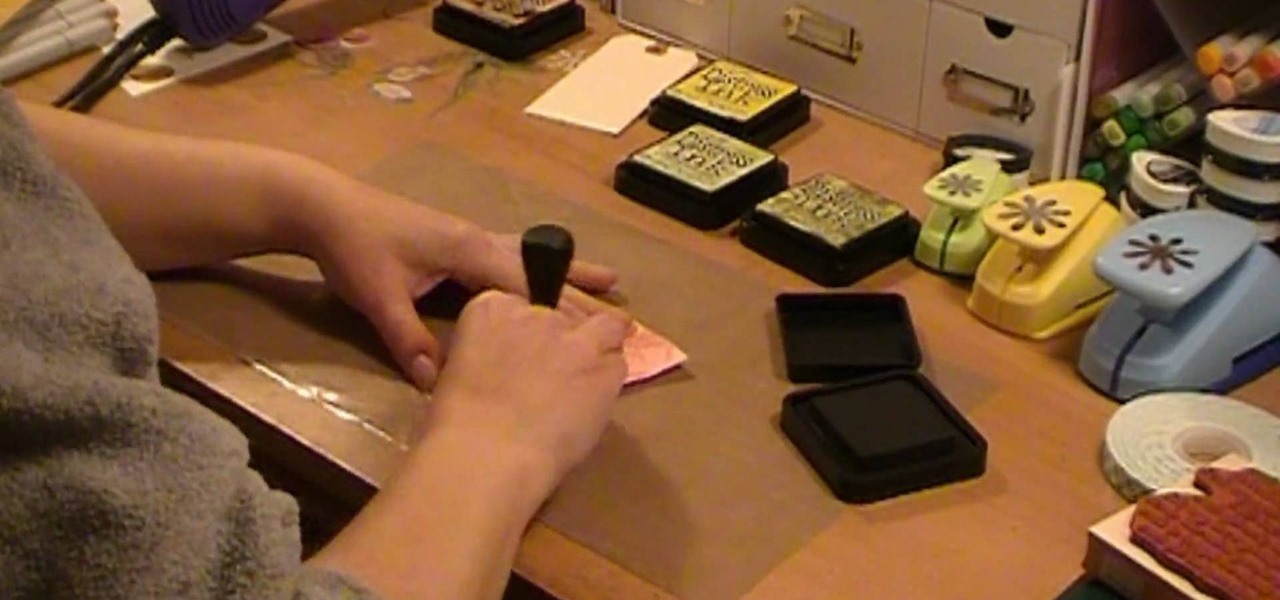
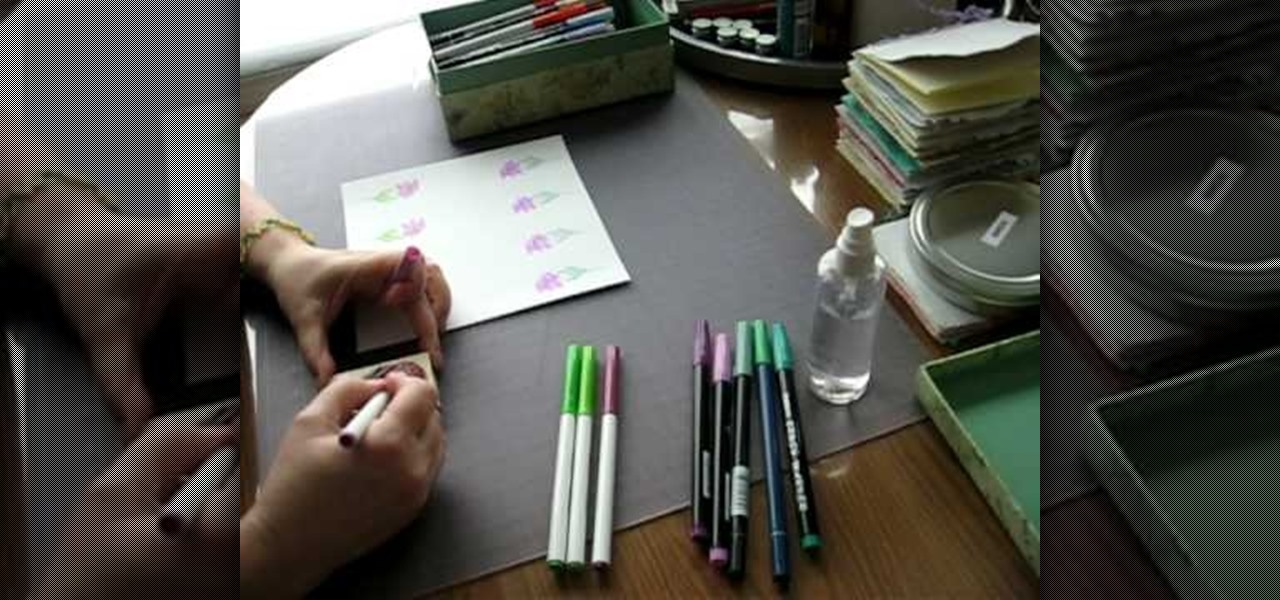
Donna50242 shows us how to make an amazing looking tag to use on different things. This video is in response to another one posted earlier. This tag is made be crinkling up an ordinary brown paper tag and then flattening it out to create the worn out wrinkle effect. Using a distressing inking tool with a foam pad, we apply the ink in a swirling motion. using different colors from the ink set (Mahogany, Mustard seeds, green etc), we can create amazing effects. And that's it, your done! Try exp...
In this tutorial, we learn how to have a balanced PH diet. This type of diet assists the body in proper metabolism and helps it fight diseases. For this, you will need: a food diary, pH strips, foods with low acidity and alkalizing beverages. Make sure you consult your physician before starting any new diet. You will first need to start a food diary showing what effects your body's pH balance. Use the pH strips to see what type of foods effect you the most. Change your diet to eat foods that ...
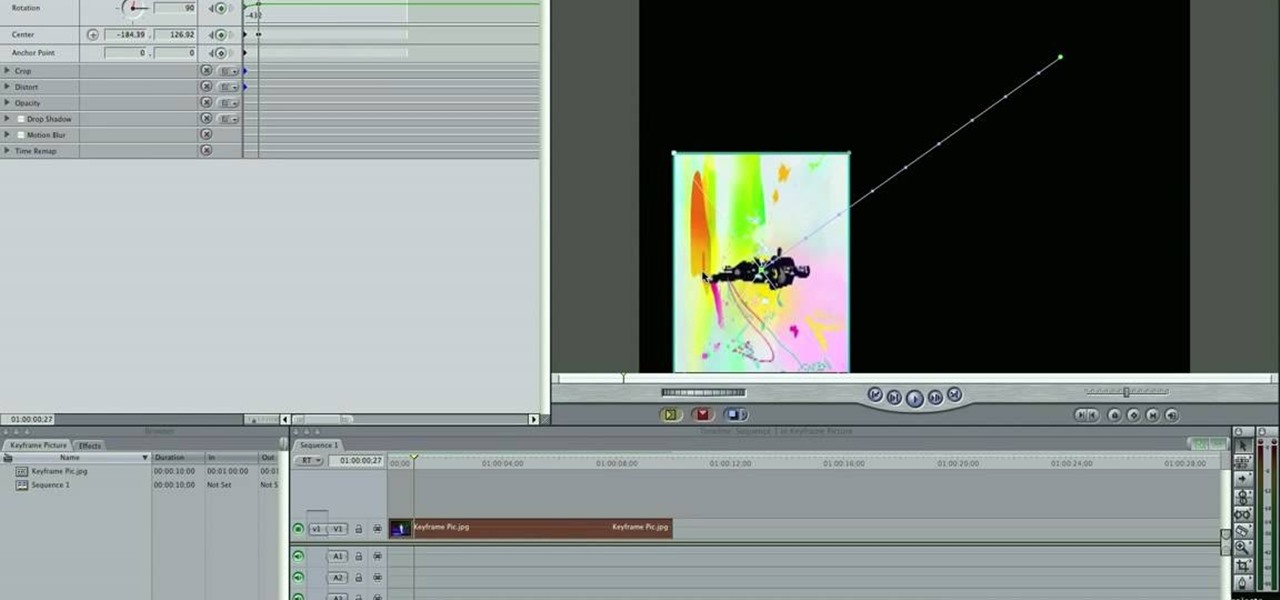
This video tutorial teaches you the basics of Keyframing using Final Cut Pro. A picture is used in this tutorial. You can also use video or picture for this example. The video shows the keyframe button and the different keyframing tools. The video then teaches a basic keyframing concept of how to add a motion to the clip using keyframing. You can also add rotation effect in the keyframe. When you add a keyframe and move the clip from one place to another, it adds a path along which the clip o...
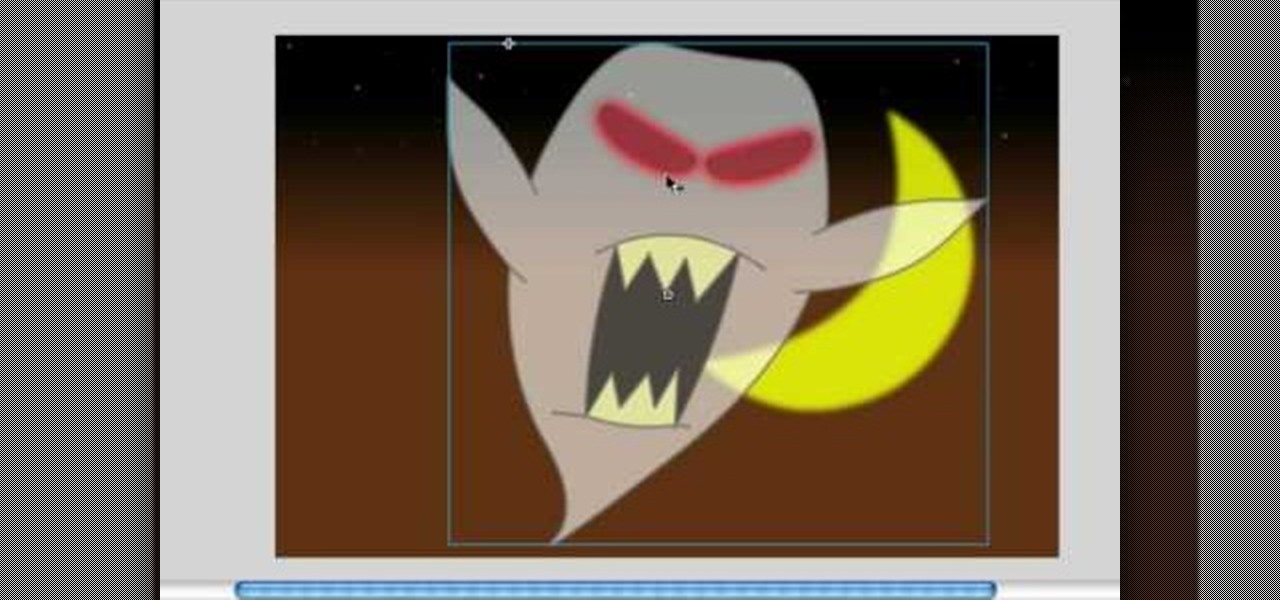
In this video, we learn how to make objects transparent in Flash. First, open your object up and convert it to a symbol in Flash. It doesn't matter if it's a graphic or movie clip, just make sure it's a symbol. Next, click on the symbol you just created and go to "properties". Find the section called "color effect" then find the drop down menu. You will see several options, choose "Alpha". Once you do this, you will have the ability to tweak how transparent you want your object to be. Use the...
In this Software video tutorial you will learn how to create a cool color blast effect using Photoshop CS4. Open a new document of 700 x 700 pixels. Press ‘D’ on the keyboard and set the color palette to black on top and white at the bottom. Go to filter > render > clouds. Then go to filter > render > difference clouds. Press ‘F’ a few times to change how the color looks and select the one you like. Then go to filter > pixelate > color halftone. Here you set radius to ‘ pixels and c...
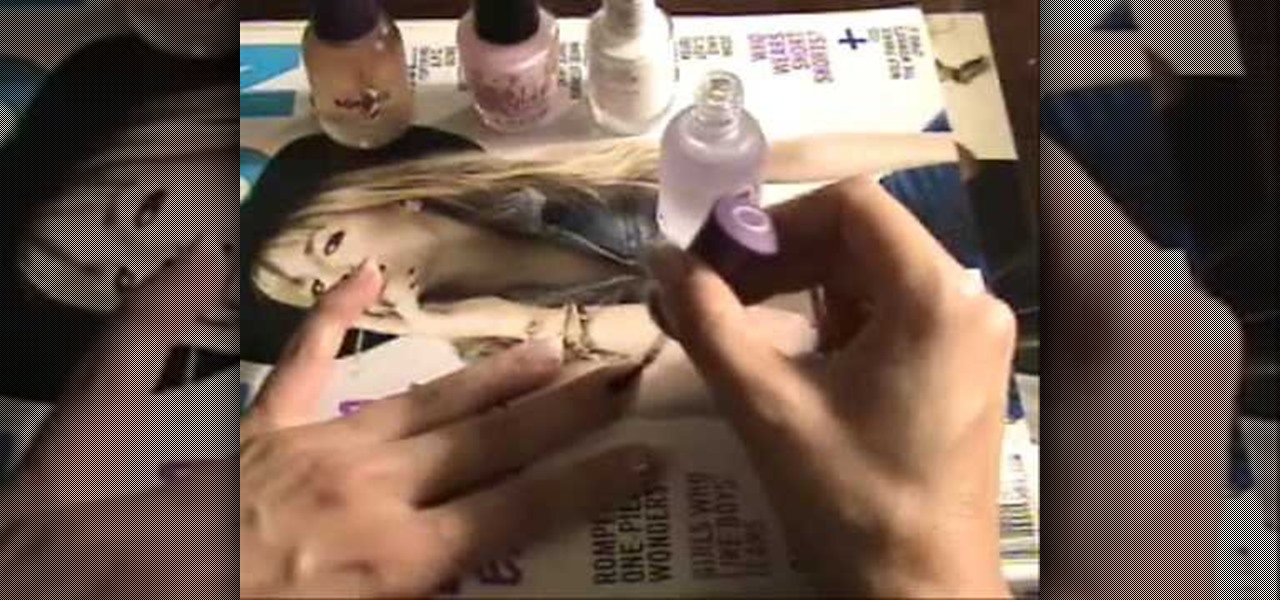
heartkayden demonstrates French tips with a newer and sexy flame effect. She leads you through the different steps perfectly starting off by applying a clear nail varnish as a base coat. Next she applies a thick layer of nail varnish, and then uses a toothpick to make the flame design, allows it to dry, After that the white nail polish is applied that is used to give the classical French tip look. But here comes the the flame effect. It is done by using a toothpick to make alternate C's on th...
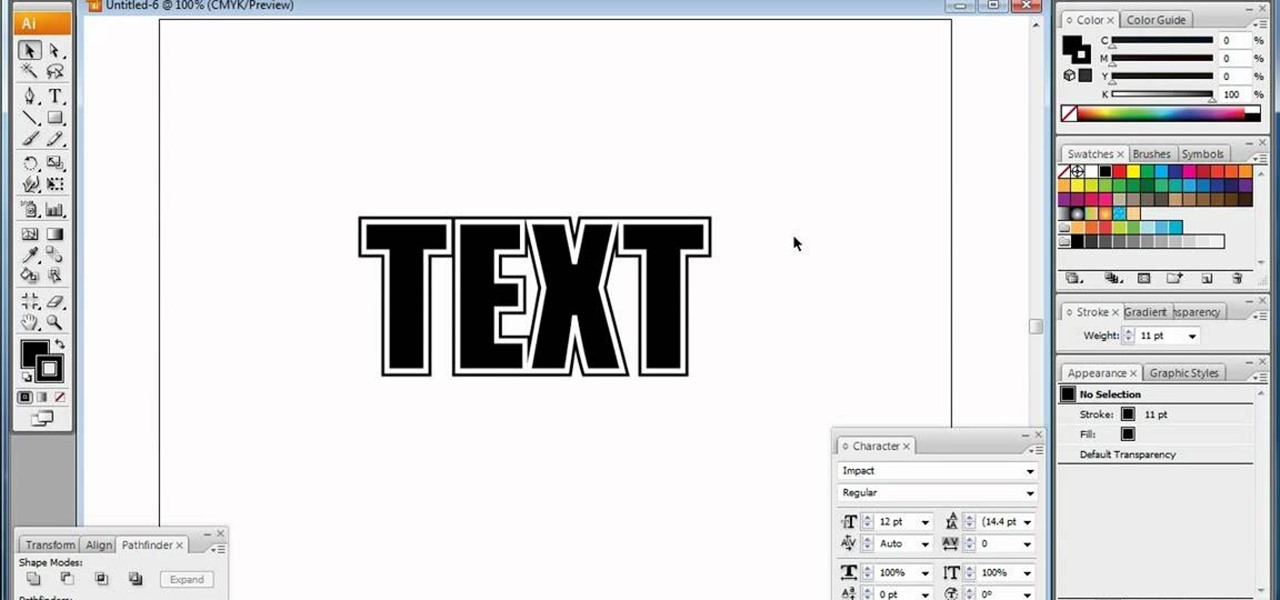
In this video, we learn how to do basic text effects in Adobe Illustrator. First, open up Adobe Illustrator and make a new document. Now, type in your desired text and change your font to one that you prefer. To make your text turn into a radiant, you will click "file" then "type" then "create outline". Now you will click on your text then click your radiant swatch. Then, go to "gradient" and adjust your colors to which you prefer. You can now put a stroke on it using the "stroke" tool and ch...
Layers are very important component of Photoshop. Without knowing how to use the layers correctly, one can not utilize the maximum what Photoshop offers to designers and digital artists. For a beginner, this video provides a good basic knowledge about Photoshop layers. Layers enable you to arrange different parts of a picture and manipulate them without effecting the content of other layers. Layers are added by using layers panel. Each layer is named accordingly. We can change the order of la...
Some savings plan pays interest 365 days in a year but you make deposit monthly. You can use Excel functions to calculate the maturity value of the of the monthly plan. To do this you have to use the nominal and effect functions before using the future value functions. First enter the know data like the monthly payment, the number of years of payment, the number of days in a year, and the annual percentage rate. First take the nominal rate and calculate the effective rate with the help of eff...
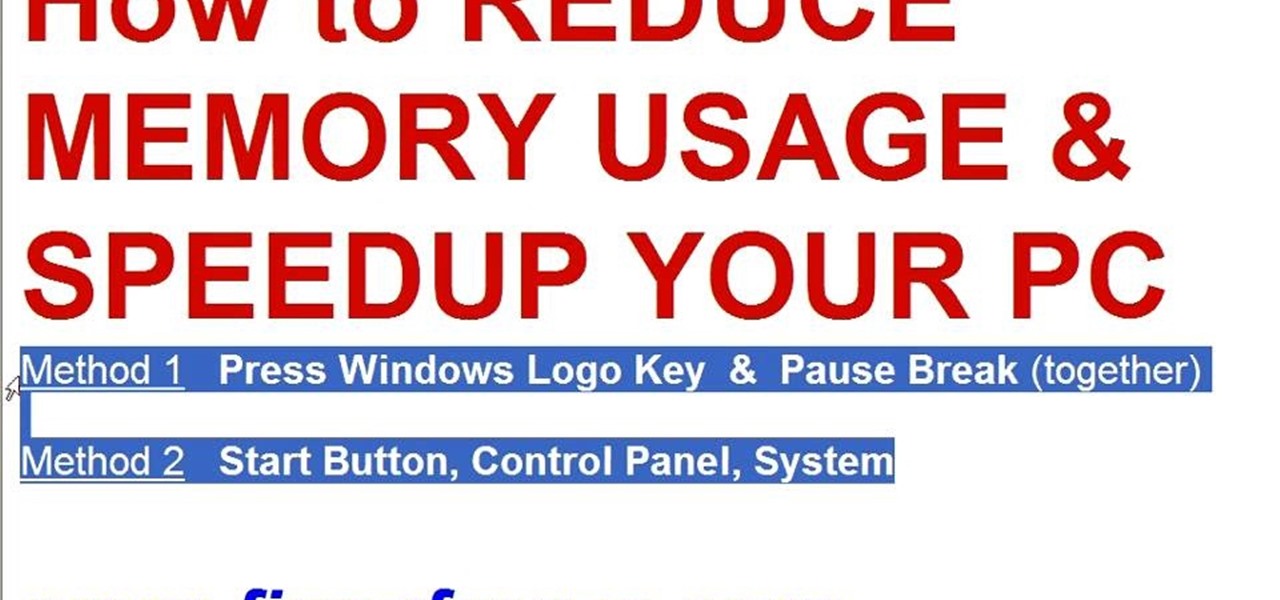
This video tutorial in Computers & Programming category will show you how to reduce memory usage in Windows XP to speed it up. The 1st method is to press Windows logo key and pause break together. The 2nd method is to go to start > control panel > system. Now the system properties box will come up. Here you click on ‘advanced’ tab. Now click the ‘settings’ tab under ‘performance’. Click on ‘visual effects’, select ‘adjust for best performance’ and click ‘apply’. Then under the ‘custom’ drop d...
This Software video tutorial shows how to create a glass text effect in Photoshop CS3/CS4. Download a free trial version of Photoshop CS4 from Adobe. Open Photoshop, go to ‘file’ and click ‘open’. In the next box, give it a name, select width and height at 90 pixels, background contents to ‘transparent’ and click OK. Select the color palette and choose the background color and click OK. Now open ‘paint bucket tool’ and fill in the color. Then go to ‘text tool’, select the font, size and posit...
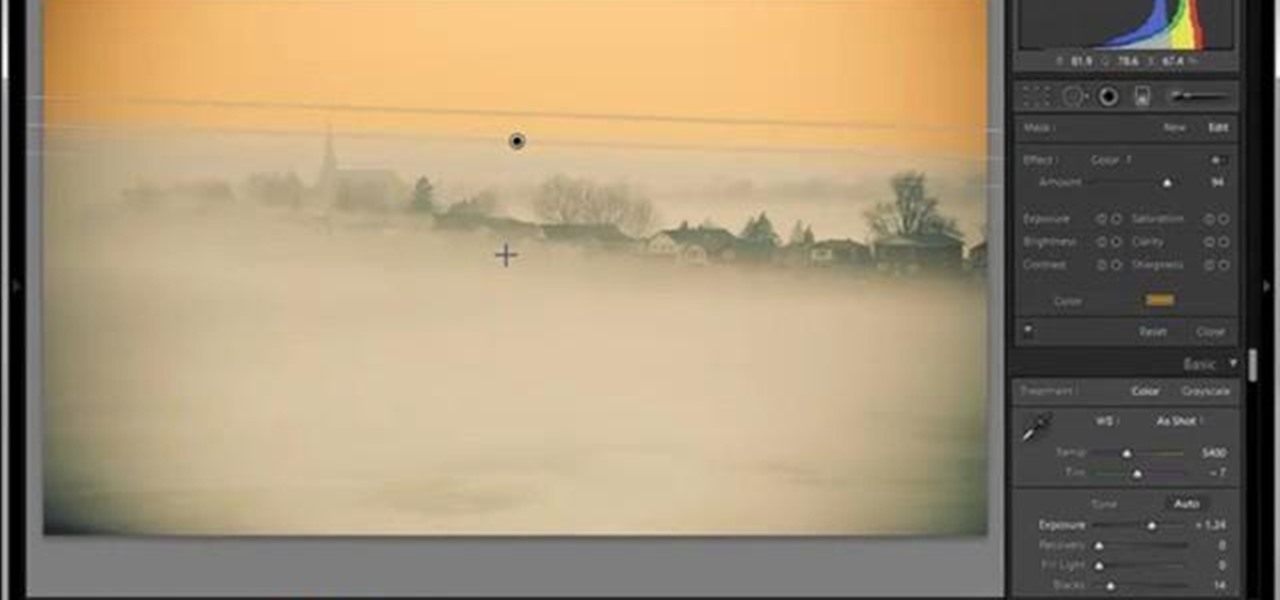
In this tutorial, Yanik Chauvin teaches us how to create an old-style looking photo starting from a grayish, underexposed one, using the software "Lightroom". He starts by creating a virtual copy of it, and then he adds a Camera Calibration preset named Camera Landscape and increases the exposure. After that, he crops the image removing the blank parts of the photo, and adjusts Contrast, Blacks and Clarity to strength the image borders.
If you need to wear a tuxedo vest, measuring is something that does not have to be spot-on. It will be adjustable at the neck and waist area. Most vests are offered on a small, medium, large, and extra large range. The chest and overarm measurement that's taken for your jacket might effect the girth or size of the vest, but this shouldn't be much of a problem since its adjustable. Whether or not its a full-back may also effect the fit. Children's sizes are measured on the same basis and can b...
This video shows the method to easily perform the levitation trick. In the trick, the person is seen levitating above the ground when viewed from the side. The trick behind this is that you are wearing only one shoe. The other shoe is kept between the feet. The second leg is kept on the ground. Here we use the toe of the foot to create the levitation effect. The foot with the shoe is slowly moved up. Simultaneously, the other foot is moved up squeezing the shoe which is not worn. The other sh...
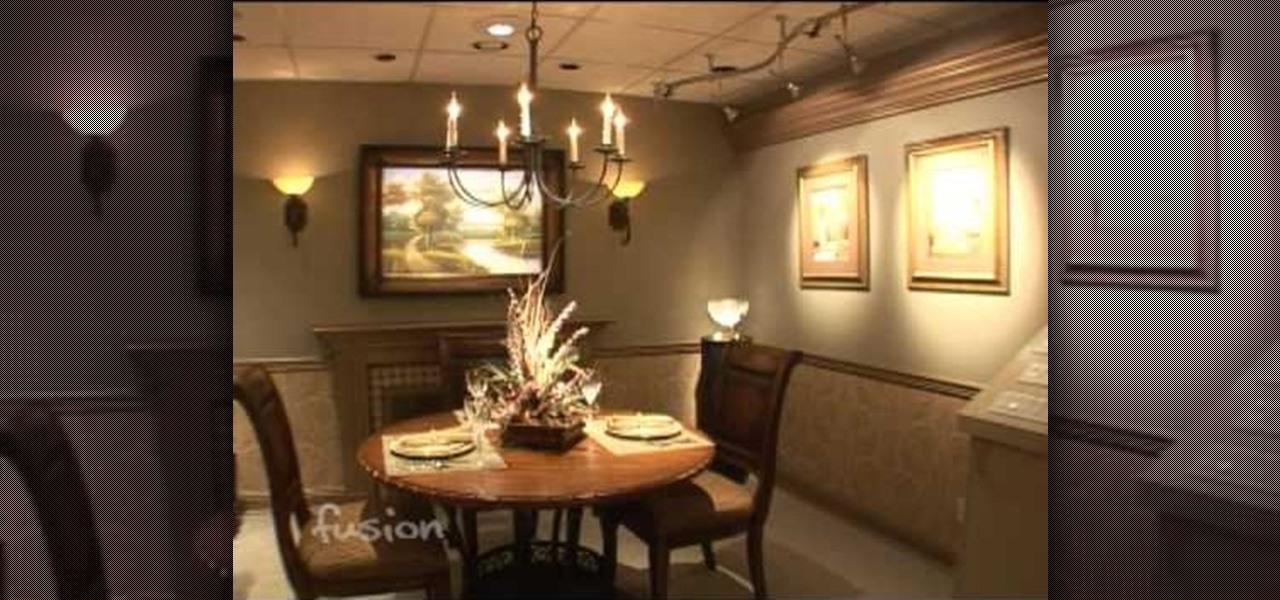
This video shows how to improve light in a room for different moods and effects. You will see how the lighting will fit the design of different
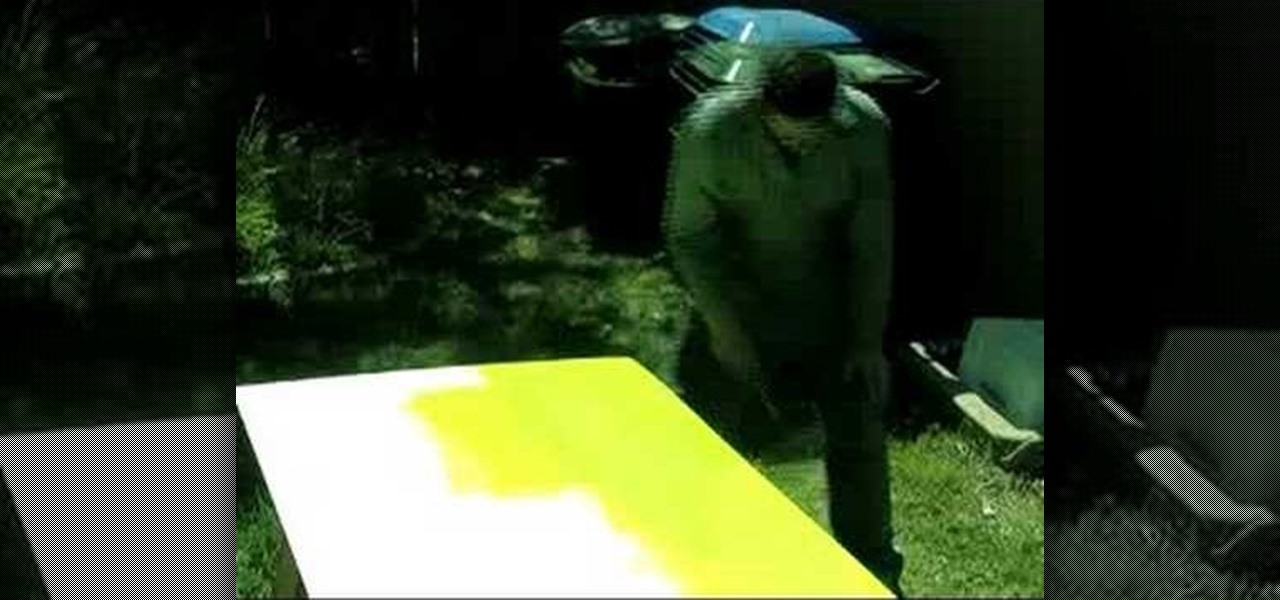
This video tutorial show you how to make your own functional green screen to create special effects. If you try to isolate a subject on a film with a dynamic background there is a good chance to loose parts of the subjects during the process. By using a monochromatic background this can be prevented. For this you'll need large foam boards, bright green paint and a roller made for smooth surfaces. Spray painting doesn't work and results in a blotchy finish. Paint the boards evenly with the gre...
This a video tutorial on how to levitate a card. This is basically a card trick. The effect created is that the spectator's selected card is magically revealed by rising out of the pack. The secret to the effect is your little finger. Shuffle the cards and then let the spectator select one card. Show the card to the spectator and tell him/her to put the card back anywhere they want. As the card is placed back, get a pinky break with your little finger above the card. Use multiple cuts to get ...
Interested in sketching and drawing some sceneries? We could start it with a palm tree on a beach scene. You'll require a piece of paper, a pencil and a sketch pen. First draw the base (trunk). Then add some details with circular lines going along the trunk. Then we could start up with the coconuts as well as their details to give a rough effect. Now comes the highlight of the palm-tree leaves which have to be drawn properly to have that edgy effect. Finally add some details on the base of th...
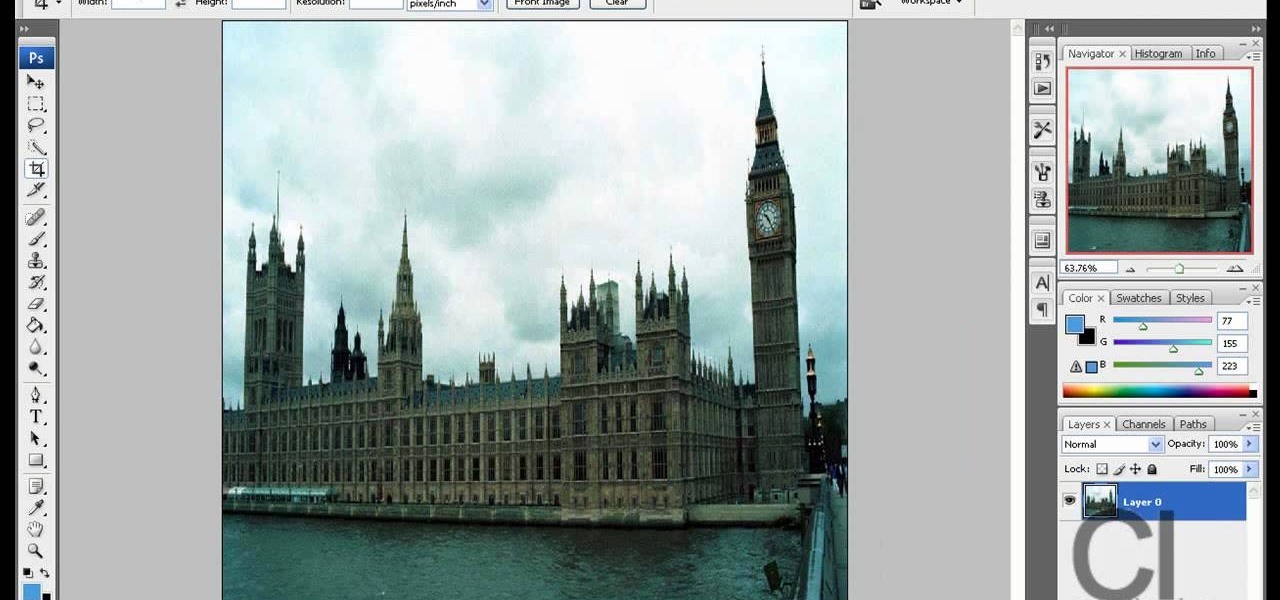
Watch this video to learn how to make a little planet effect in Photoshop. Go to Image>Image Size and resize the picture making the width and height equal . Don't forget to unmark the "Constrain Proportions" option. Now that you have a squared photo go to Image>Rotate Canvas>180. Go to Filter>Distort>Polar Coordinates and select the option "Rectangular to Polar". Now rotate as you want to and remove any failures.After you select the picture, make sure the sides are alike and that the horizont...
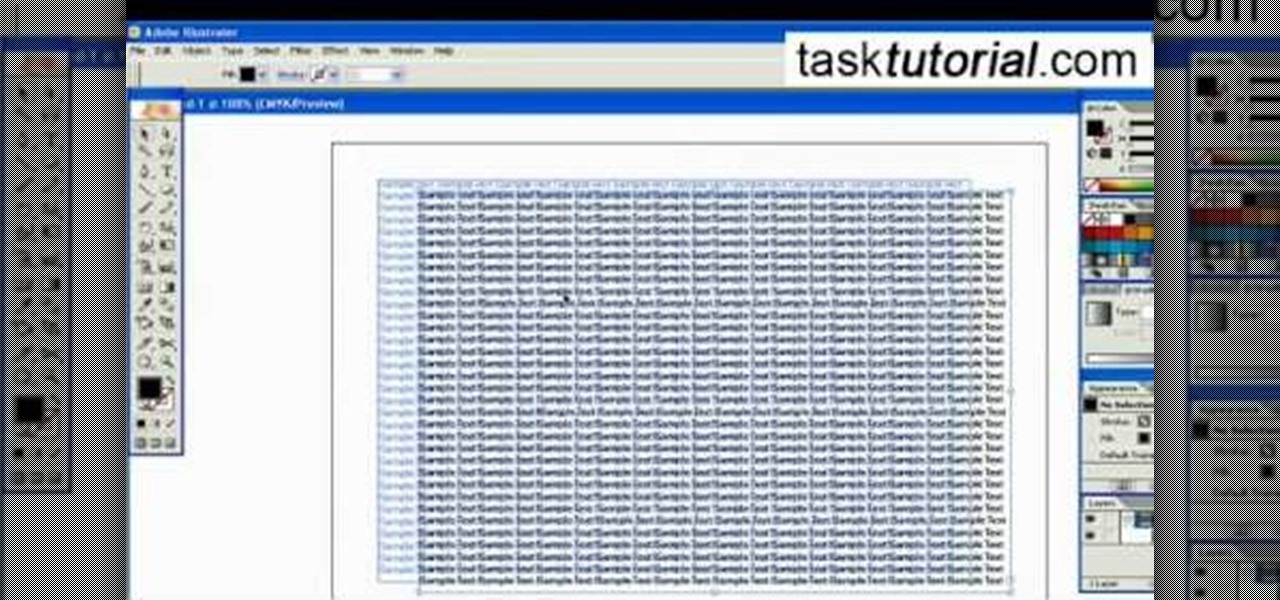
To create an added interest with text, learn how to wrap text around paths or shapes using Illustrator software. This video from Task Tutorial shows us each step involved with wrapping text around an oval as an example. However, any shape or path can be used to wrap text around that object. An object just needs to be placed on the page and then the "text wrap" command needs to be applied, and the wrapping will be done for you automatically. The Illustrator effect allows you to break up a page...
This short video shows you how to create an animated fashion style logo in Flash. First he changes the background and frames per second to black and 24 respectively. He chooses the font for his text and then he converts the text into a movie clipping by hitting f8 and choosing movie clipping. He shows us how to make special effects by using the text in different frames. He creates layers and adds more text with special effects that create a flashing logo.
The presenter beings the video by describing the screen cast program he is using to record the video. It is giving him some problems but he asks us to bear with him. The video then shows before and after images to demonstrate the effect. The effect is achieved by duplicating the eye color to another layer and then using layer blending options to achieve the desired brightness. The presenter has a website with many other Photoshop technique videos.
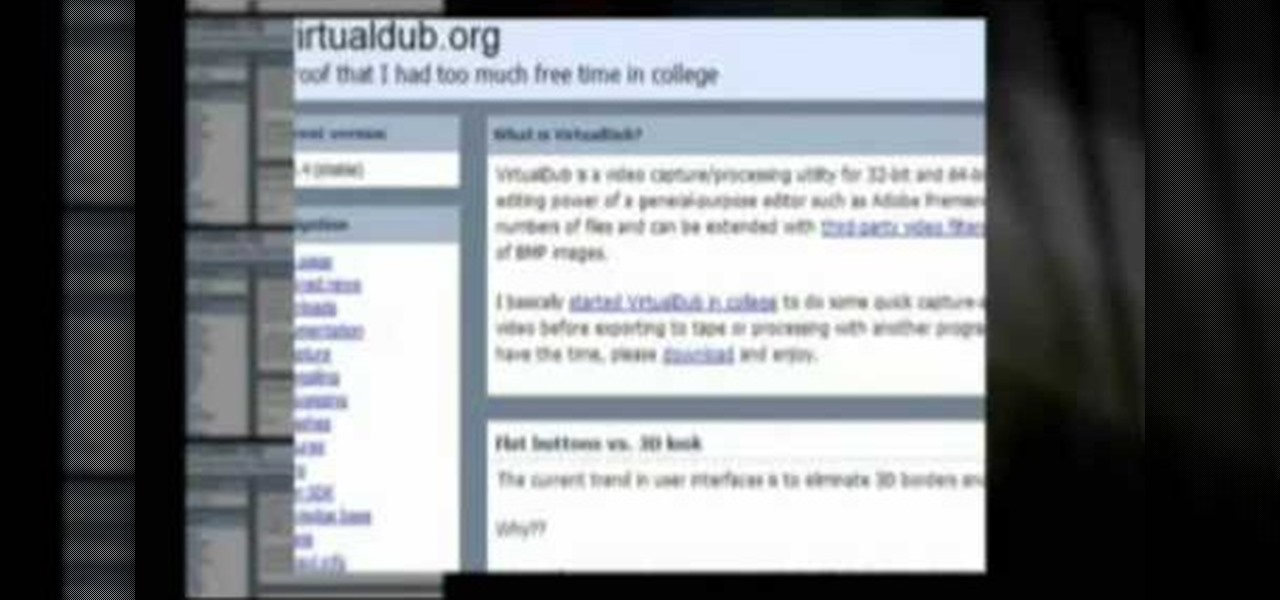
In this video tutorial solving time techs you how to apply the stabilize video effect before editing in movie maker. Download and install Virtual Dub from the link in the description and download the deshaker filter also from the link provided. Extract the filter into the virtual dub folder as shown and open the video in Virtual Dub. Compress the video using the DivX codec which can be downloaded for free from divx.com. Apply the filter by selecting the deshaker filter and change the source p...
CreativeIceDesigns shows all the steps it takes to give any photograph a nice, vintage look using Adobe Photoshop. The image must first be unlocked. You then select the grunge paper brush. Normally you should keep the aspect ratio of your image the same, but in this case, you should resize it to the same height as your paper surface. After changing the blend mode to multiply and adjusting the brightness, you then change the opacity and you'll have the "wrinkled paper" effect you're looking fo...
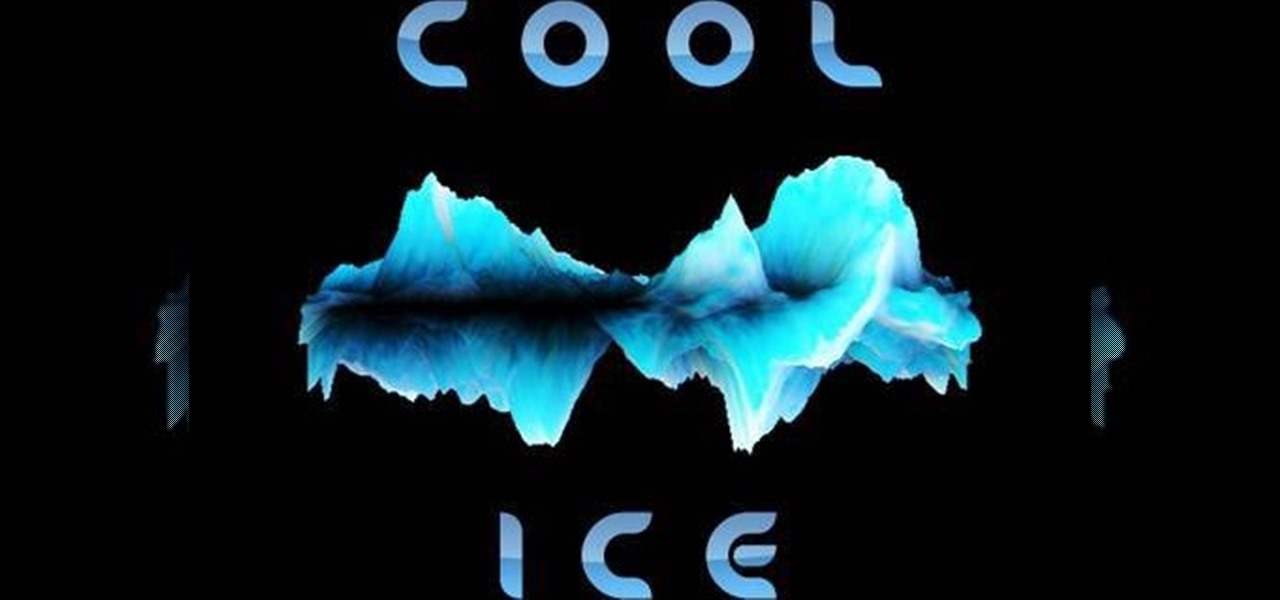
In this video, viewers learn how to work with Photoshop CS4 Extended, specifically the 3D construction and editing engine. This video contains voice narration for guidance and a visual demonstration for viewers to easily follow along. Viewers will learn how to create a cool abstract 3D shape which is different every time it is made and some cool techniques on how to convert it to a smooth icy looking shape. This will benefit those viewers who use Photoshop and wish to create an realistic icy ...
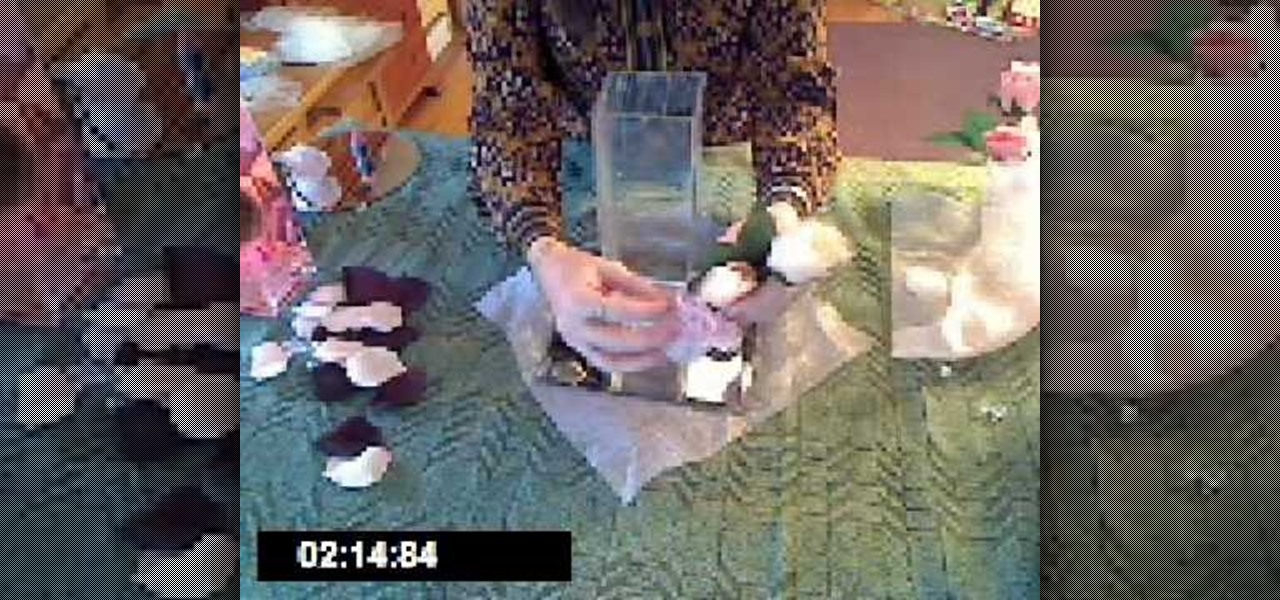
This video shows the viewer how to create a stylish centerpiece for a wedding reception using commonly available items. This is done by first placing a square mirror on top of a larger piece of light pink tulle. Then an artificial plant was selected and a number of glass beads were secured around the piece using another piece of tulle and a ribbon; this is to stop the plant floating. The plant is then placed in a tall square vase that is filled with water. A single drop of food dye is then ad...