In this video, we learn how to write numbers in calligraphy copperplate. To write the number five, you will simply make the shape of the number, but add in a thick edge to the bump and curved edges to the end. To write the six, use a thick line on the side of the number and a thin line for the circle in the middle. To make the seven, the top should be curved and thick, and the lower line should be very thick with a straight edge. To make the eight, draw the number so that the left edge is thi...
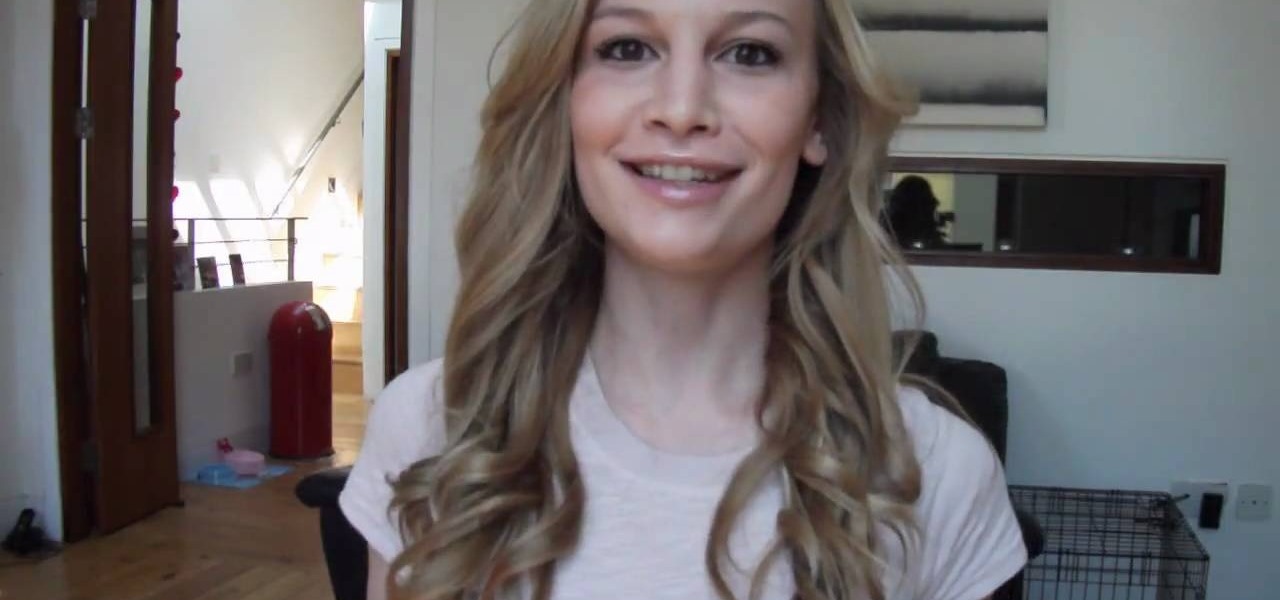
Techno-pop-starlet Ke$ha's hair is one of her greatest assets. It looks great all the time, and is pretty much always this curvy-wavy long style. This video will show you how to do that on yourself with only some simple hair care products.
Messy hair is not sexy. Especially not when you've just rolled out of bed with teeming array of hair mats and a piece of gum stuck to a few strands.
If you're anything like us, then you try to take the easiest route possible when styling your hair in the morning before work. You know: Wake up, brush your teeth, and then wearily comb through your hair a few times with your eyes closed.
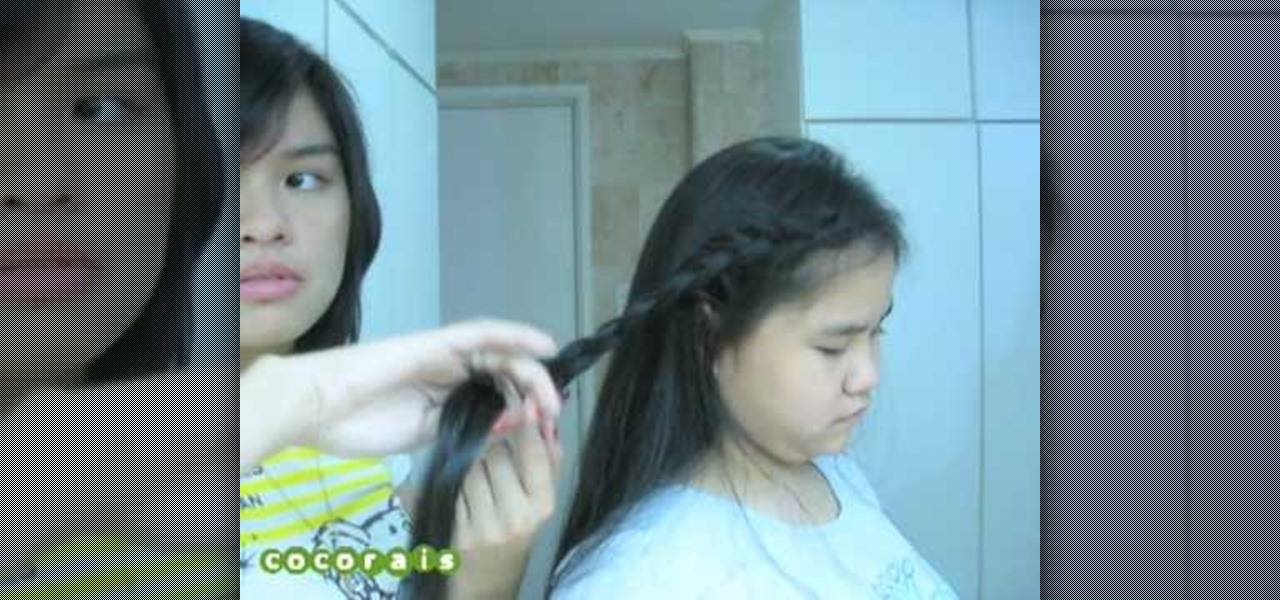
In this video, we learn how to get bouncy curls with a braided headband. First, you will need to spray heat protector on your hair before you put heat on it. Next, you will take small sections of your hair and wrap your hair around it, then pull straight down. Once you do this to the entire head, style as you prefer with your hands. Next tease the hair to give it volume, then spray hair spray on the entire head. Next, you will need to braid underneath your on both sides, then wrap it around t...
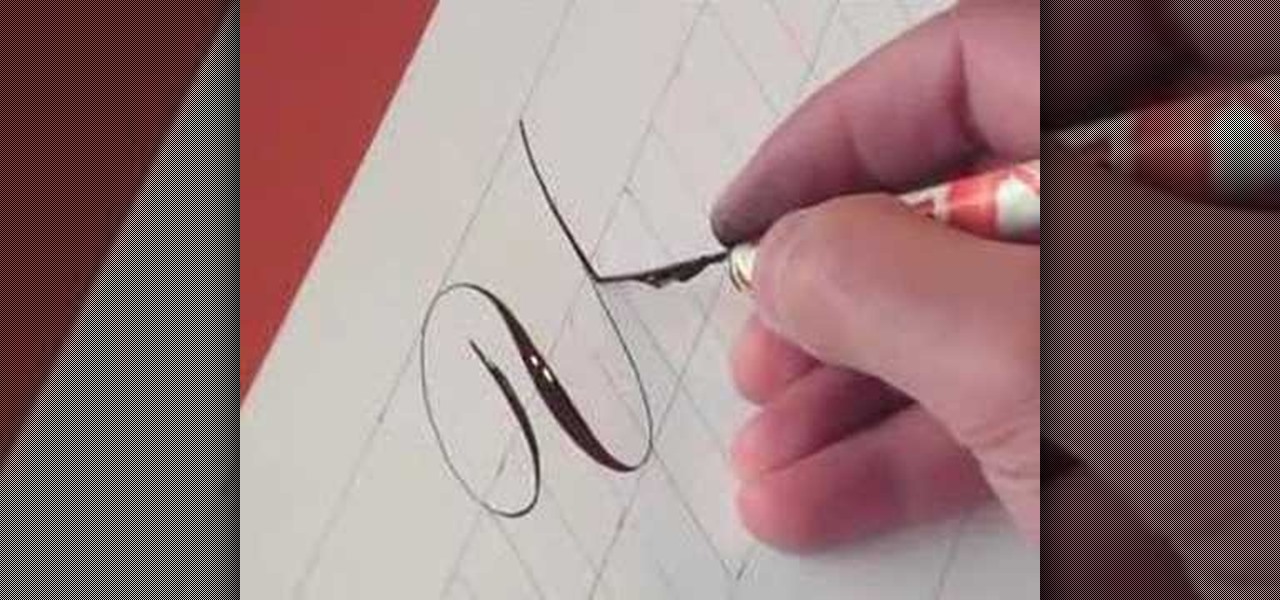
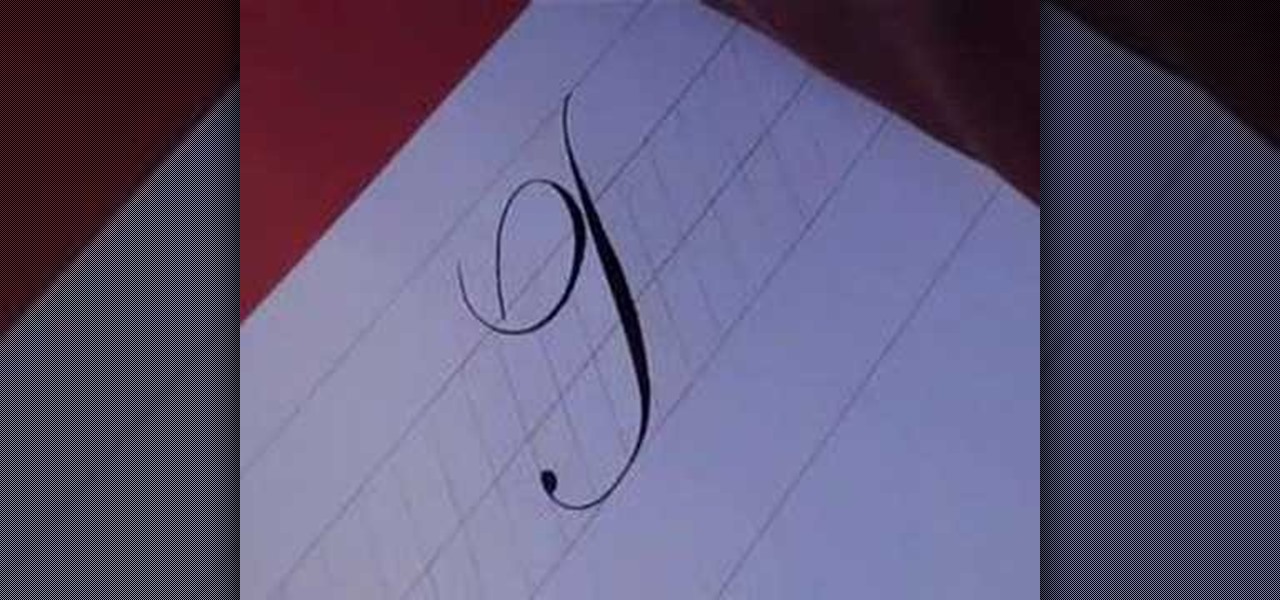
In this tutorial, we learn how to write the letter Y in calligraphy copperplate. First, make a thin line with the pen, going thicker as you go down, make a loop and then come back down. Make a "u" shape, then connect a curved line to the other side finished with a dot on the bottom to complete the letter. To make the lower case letter, make a small thin hump, then drag the pen down to a thicker line. Make a new line on the other side, making a thicker line and connect it with the other shape ...

In this video, we learn how to write the letter T in calligraphy copperplate. Start by drawing a thick line that follows out a loop that curves to the left hand side. After this, create a loop at the top of the line, on the left hand side. Draw this out and cross the line over the top to make the T shape, ending with a slight curve at the end. To make the lower cased letter, draw a thin line, then draw a thick line over it, then cross a thin line across the top middle of the letter. Now you w...
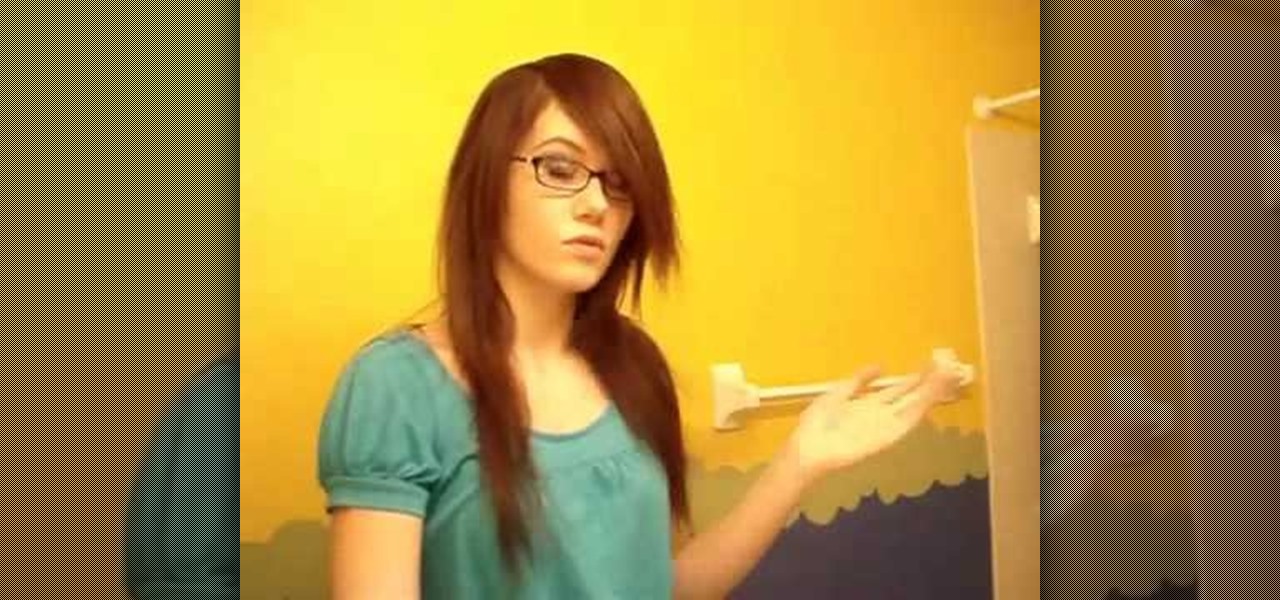
In this tutorial, we learn how to fake side swept bangs. First, straighten and brush your hair. After this, you will take the hair from one side of the head and use a comb and brush it to the opposite side. After this, grab hair spray and spray it onto the bangs. After this, comb the hair again and then work the bangs with your fingers. Next, use more hair spray to make the bangs more firm and stay in place. Continue to do this process until your bangs are completely to the side and they are ...
Looking for a primer on how to mix color when styling your hair at home? It's easy! And this clip will show you how it's done. So easy, in fact, that this home beauty video tutorial can presenta complete and thorough overview of the process in about a minute's time. For more information, including detailed, step-by-step instructions, watch this handy hairstyling how-to.
Looking for a primer on how to section hair when dying at home? It's easy! And this clip will show you how it's done. So easy, in fact, that this home beauty video tutorial can presenta complete and thorough overview of the process in about a minute's time. For more information, including detailed, step-by-step instructions, watch this handy hairstyling how-to.
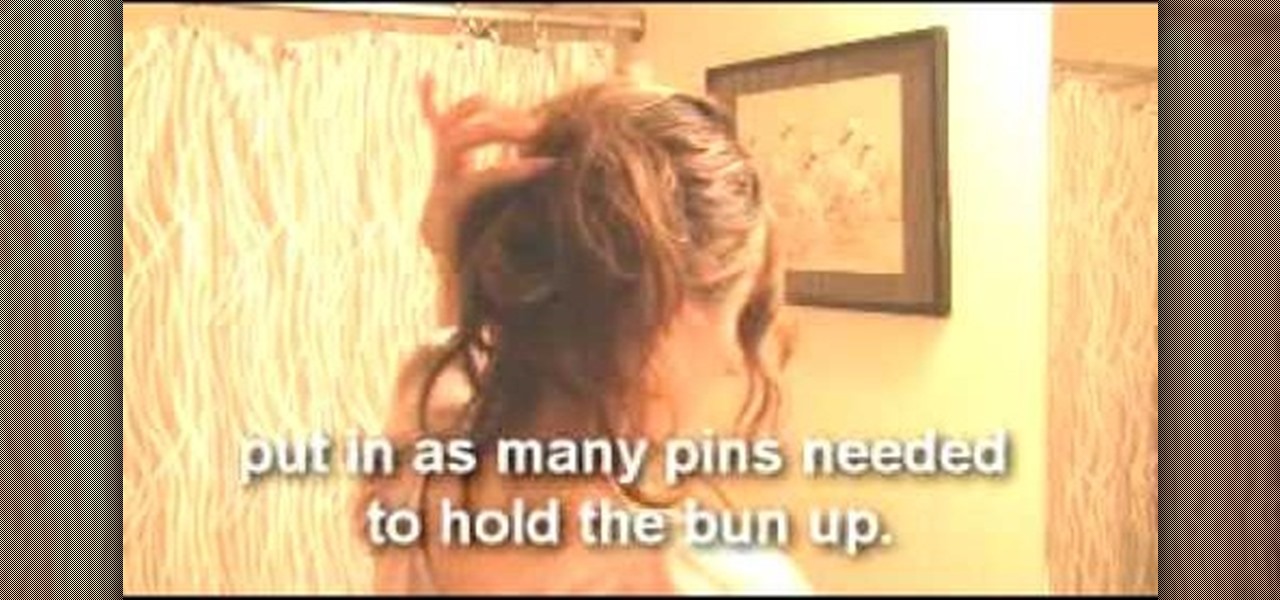
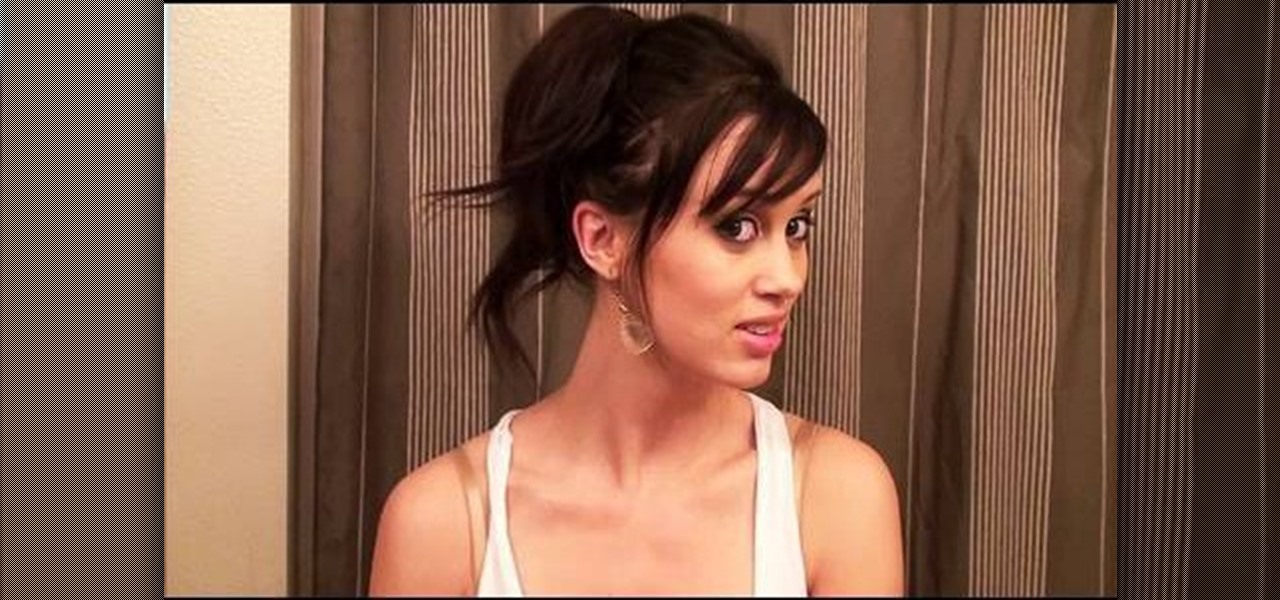
In this video, we learn how to do a yukata inspired hairstyle. First, brush out the hair, then bring the top section of the hair and start to braid it. Continue to braid it until you read the end of the hair, then tie it at the end. Now, set the braid aside and put the rest of the hair up in a pony tail. Push the hair together in a bun, then pin it together with bobby pins. After this, take the braid and wrap it around the bun, then secure it with more bobby pins. To finish the look, add in a...
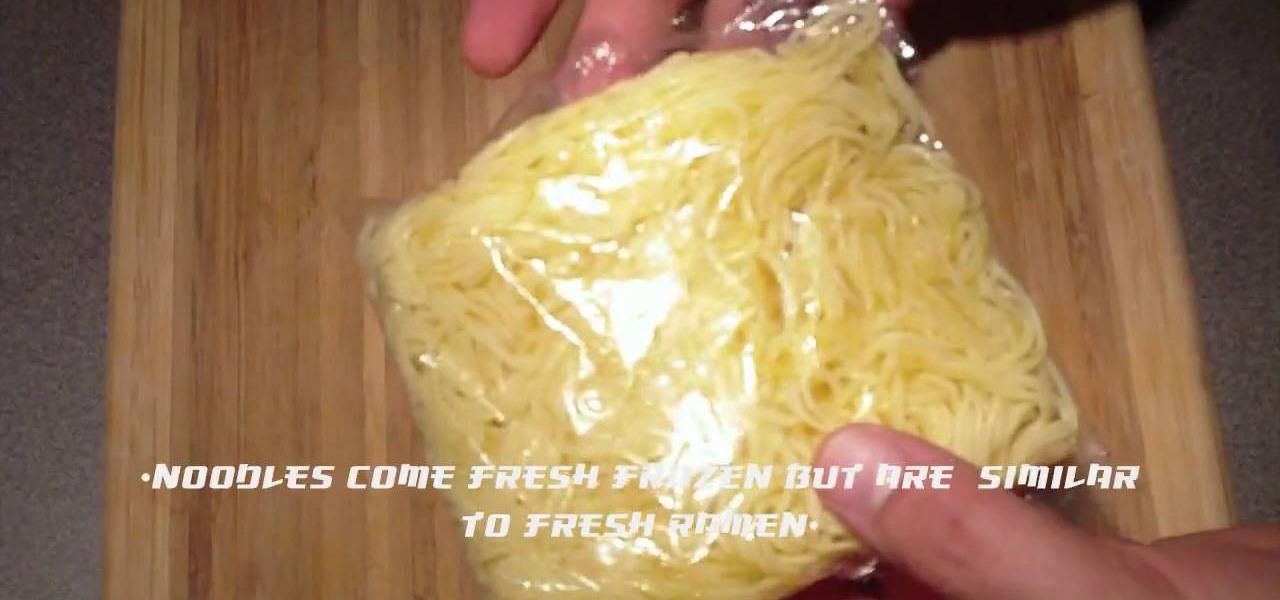
In this tutorial, we learn how to make Japanese beef yakisoba noodle dish. First, cut cabbage leaves into strips, then take the strips and cut into 1 inch pieces. After this, use a handful of bean sprouts and peel a half of a carrot stick, then chop into thin strips. Next, cut a sirloin steak into thin strips and then find yakisoba noodles and place them on a pan. Now, smash a garlic and add it in with the noodles. Fry the noodles on both sides, then add in sesame oil and sautŽ the meat until...
In order to make trendy hair bows for your hair, you will need the following: ribbon, scissors, a hot glue gun, and hair clips or bobby pins.
Need to eliminate those pesky leg hairs but want to bypass the credit card bill? Then read below for a homemade sugar wax recipe and watch the video to learn how to rip off your hair!
This gorgeous crescent moon hairstyle consists of loose hair braided behind your head into a twisted chignon, the rest of your hair on the other side let loose for a novel take on the idea of a half up, half down hairstyle.
This video demonstrates how to draw a detailed half face portrait of a person by drawing the eye and hair. Begin by drawing the outline of the eye, adding detail such as the inner fold of the eye where the tear ducts are as well as creases above the eye. Draw the pupil of the eye, adding highlights to the center. Then, continue by drawing highlights and further shading details to the rest of the eye, including eyelashes and then the eyebrow. Continue by drawing the outline of the face near th...
"Jersey Shore" orange hottie Snookie knows better than anyone that big hair adds big attitude. Make your hair larger than life (but not as outrageous as Snookie's beehive hybrid thingy) by watching this tutorial.
You probably have bad memories of having your mother or grandmother curling your hair into tight doll-like curls as a little child and looking at yourself in the mirror in horror as your pretty long hair turned into Shirley Temple wannabes.
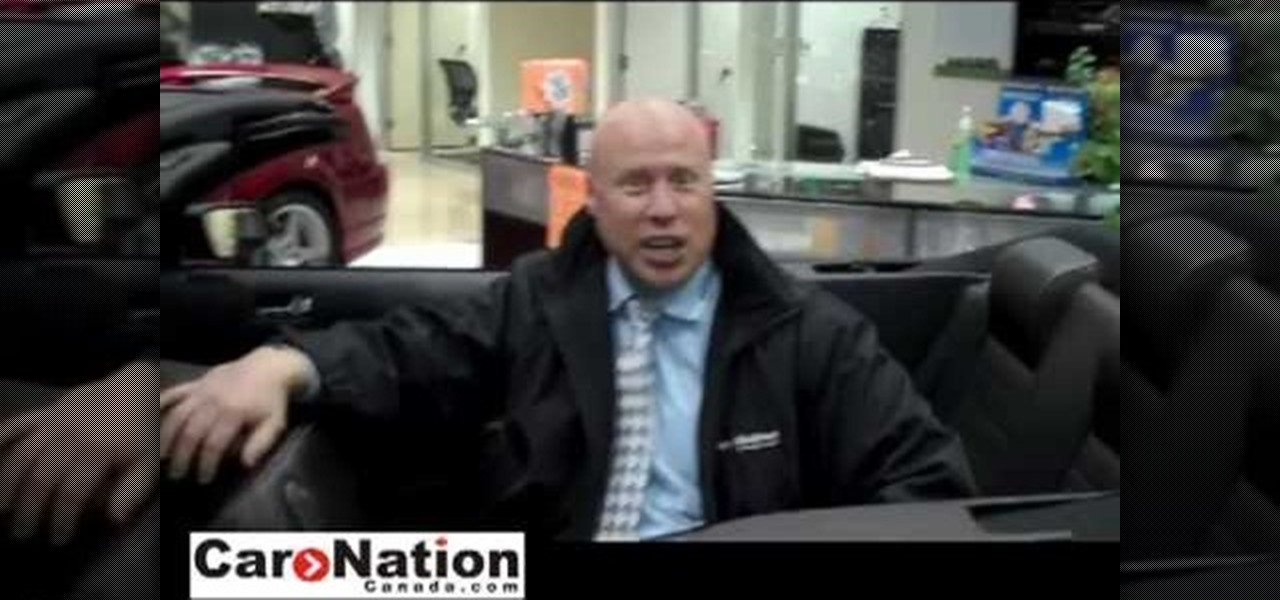
Owning a convertible car is great and can be something fun for anybody to drive. But one of the biggest problems when driving a convertible, is that for people with long hair, it tends to get a bit messy. So here is a tutorial on how to not get hair in your face when driving a 2010 Ford Mustang convertible. So good luck and enjoy!
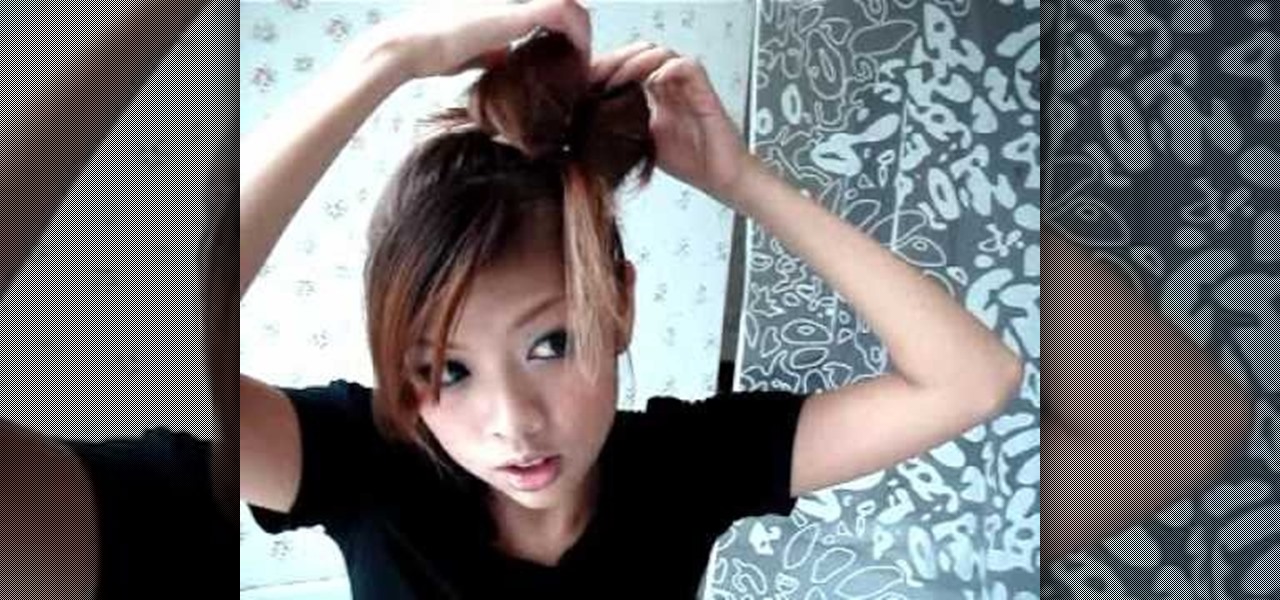
It's pretty common to see gals these days walking around with bows pinned in their tresses (Blair Waldorf copycats, anyone?) but an actual bow made of hair in your hair? Now that's new (and more complicated to achieve).
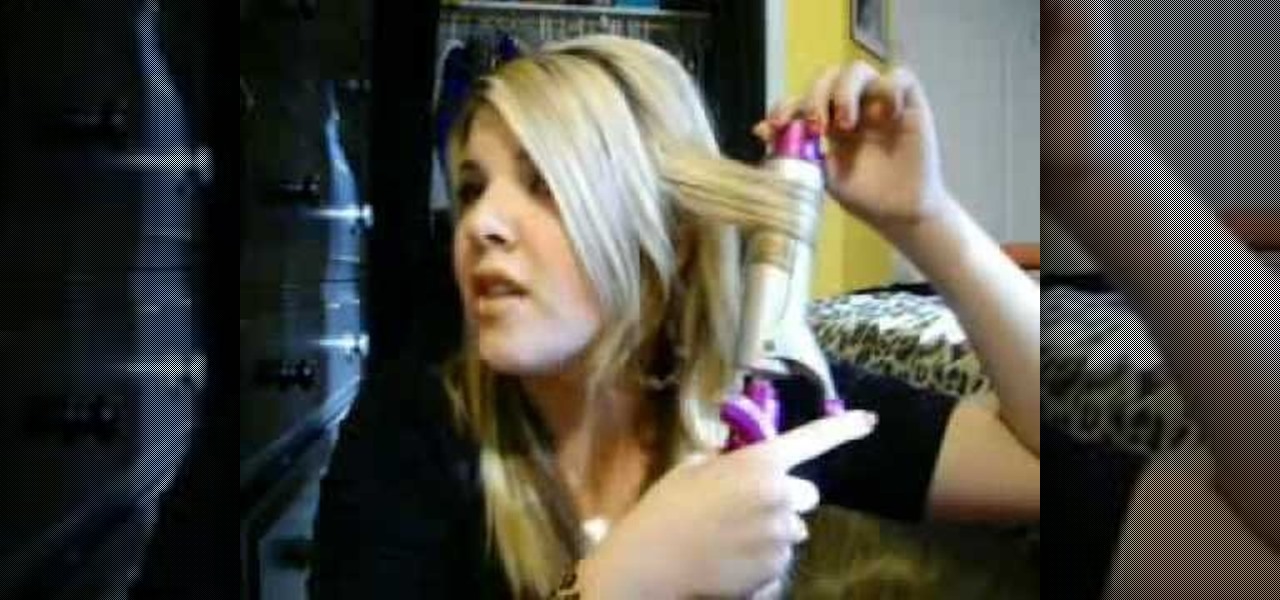
Loose, sexy beach curls are the hair equivalent of our go-to LBD, universally flattering even on our worst, most sleep-deprived days. Whether you haven't learned how to do this simple yet gorgeous hairstyle yet or just need a refresher course because you're feeling lazy, you should watch this tutorial to learn how to curl your hair loosely using a GHD straightening iron.
Looking for a fun and functional crochet project (and happen to be right-handed)? Make a hair scrunchie/scrunchy with this crafter's guide. While this tutorial is geared toward people already posessing some knowledge of crocheting, beginners should be able to follow along provided they understand the bare essentials. For more information, and to get started making this hair scrunchie yourself, watch this free video crochet lesson.
Looking for a fun and functional crochet project (and happen to be left-handed)? Make a hair scrunchie/scrunchy with this crafter's guide. While this tutorial is geared toward people already posessing some knowledge of crocheting, beginners should be able to follow along provided they understand the bare essentials. For more information, and to get started making this hair scrunchie yourself, watch this free video crochet lesson.
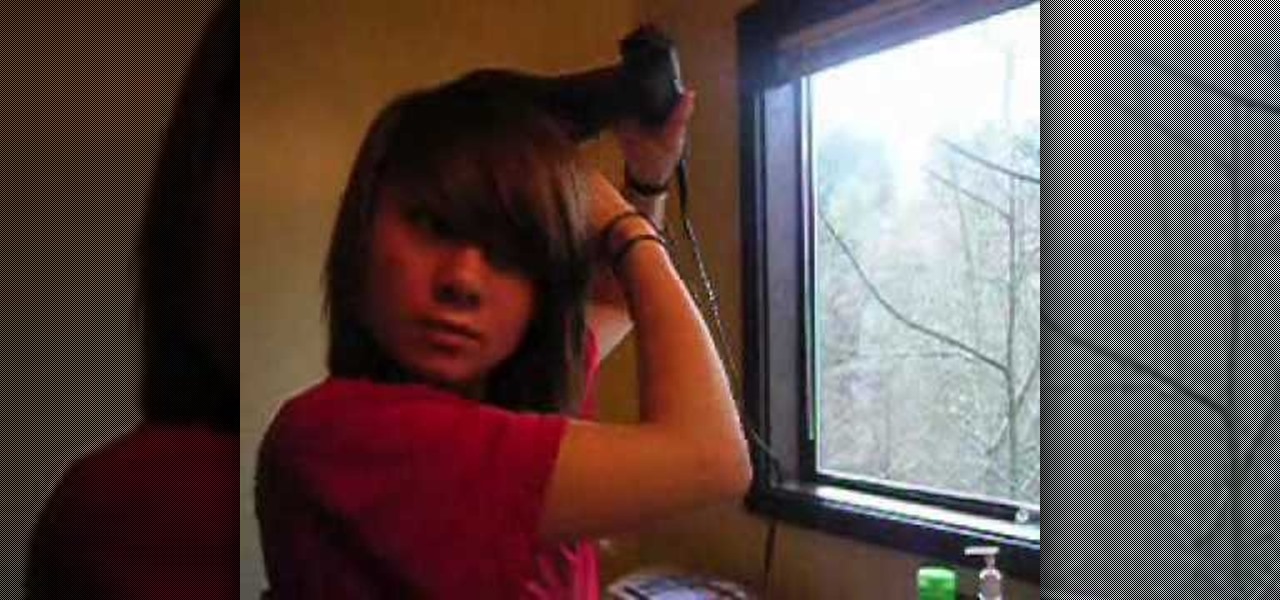
One of the best things about having long hair is the fact that you can do almost anything with it. Cut it short, keep it long, put certain products in it, there's a lot of possibilities. So in this video tutorial, you'll learn about another one. This video shows you what it takes to get emo/scene straight hair easily. So sit back and enjoy!
If you're looking to find a way to stand out but also look different than others, this tutorial can help. Although you may be copying someone's hair, you can style it up anyway you like. This tutorial shows you how to create an emo/scene hair style without the need of teasing. So good luck and enjoy!
Romantic hair never fails to make you look your most gorgeous, whether you're grabbing a hot dog at Pink's or attending your sister's wedding.
Contrary to popular belief, messy hair takes work. Beecause, after all, just rolling out of bed with bedhead and a mass of gum stuck at the ends from a late night doesn't cut it, especially if you're planning to out on the town with your gal pals.
From Hair Hardware, learn how to apply a center knot to finish off your hair bow! Take your hairstyle to the next level and rock a stylin' do with help from this free video! Stop going the easy route: With a little time and effort, you'll walk out the door feeling like you just left a stylist!
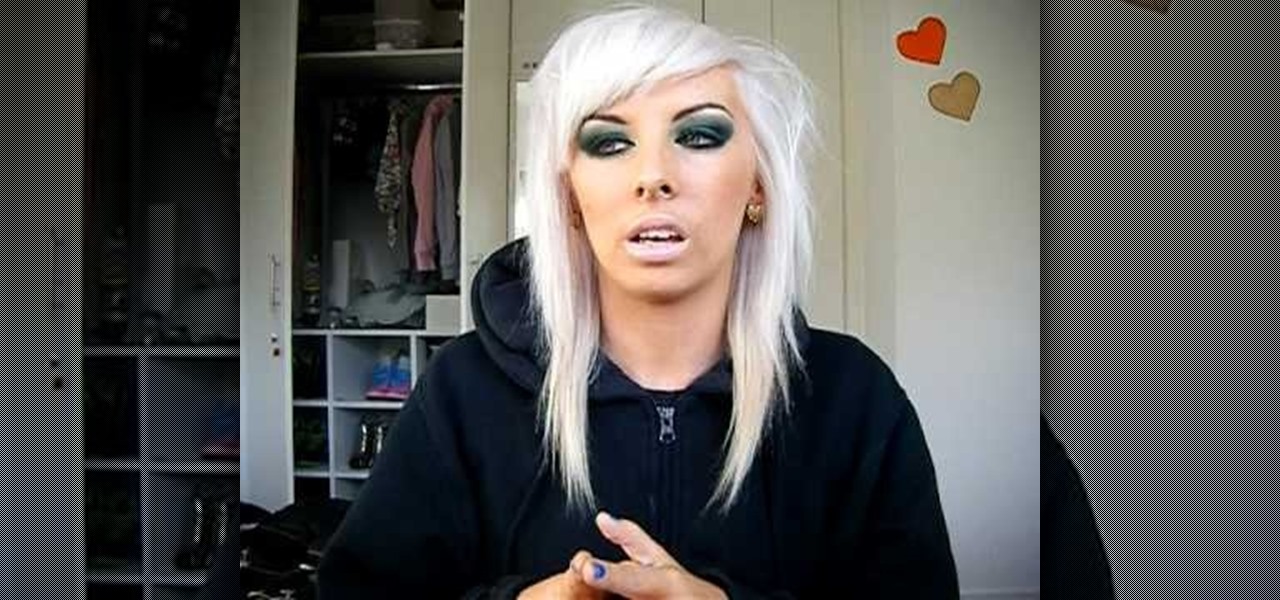
Are you Gaga for Gaga? Aching to try out the Lady Gaga look? Get Lady Gaga's white blonde hair with help from this free video. Learn what it takes to lighten your hair to such an extent without damaging your precious locks.
This tutorial is for those who would rate their Photoshop skill sets as intermediate. This video shows you how to makeover your hair by giving it a thick, full look without having to add any products to it. It's a great way to add some style to your hair, way after the picture has already been taken. Enjoy!
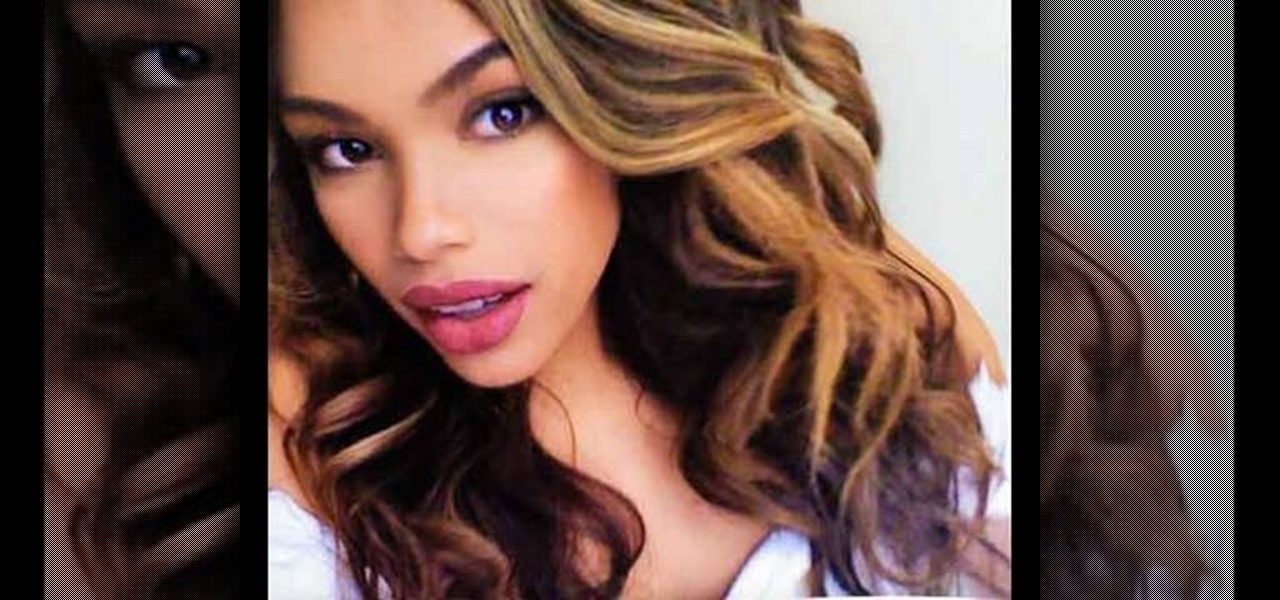
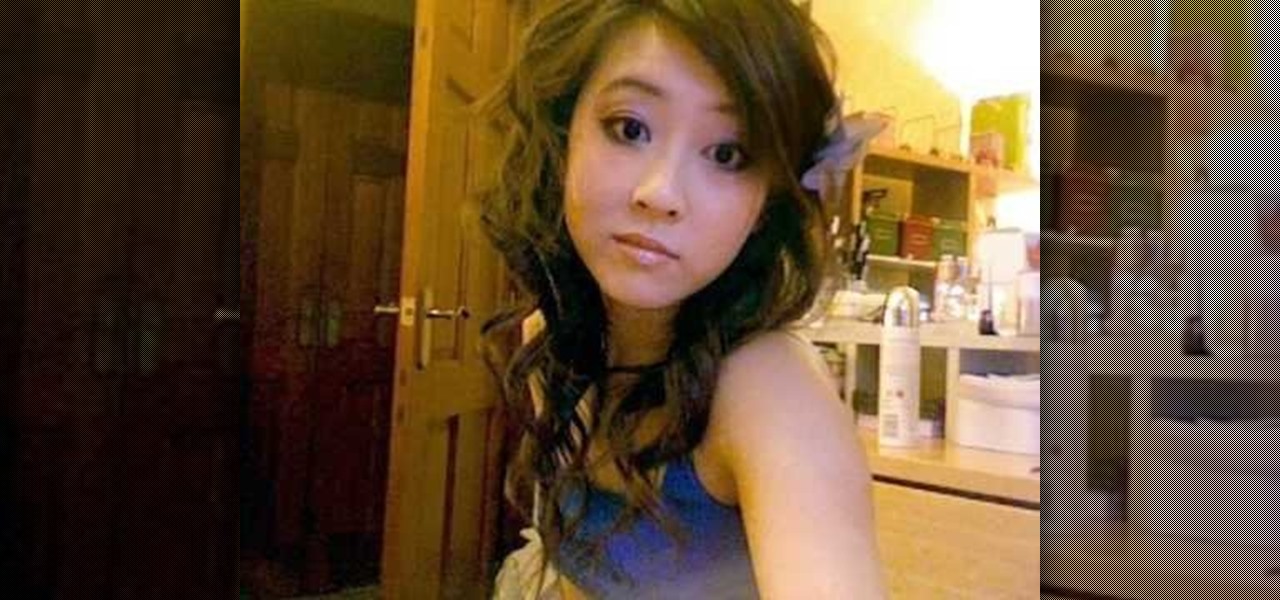
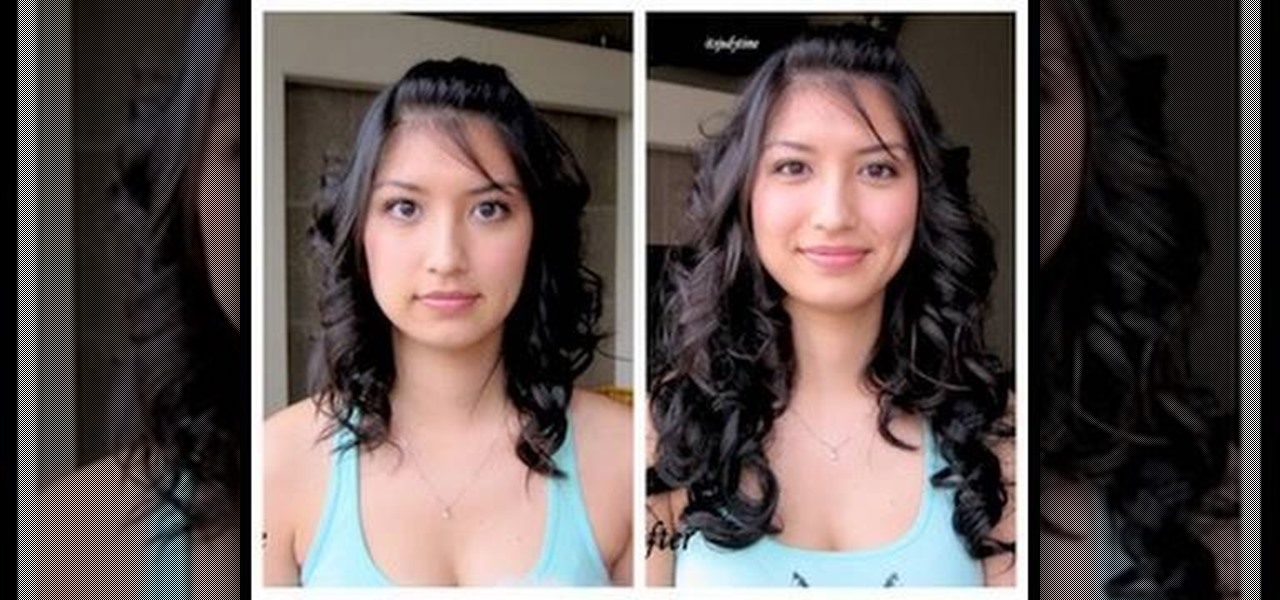
If you are looking for a red carpet ready look, look no further than this tutorial. In this video, you will see how to get longer, curlier, fuller locks that will make any budding starlet jealous. So, if you are looking to add some volume to your 'do, follow along with Judy as she shows you how to look camera ready no matter what the occasion.
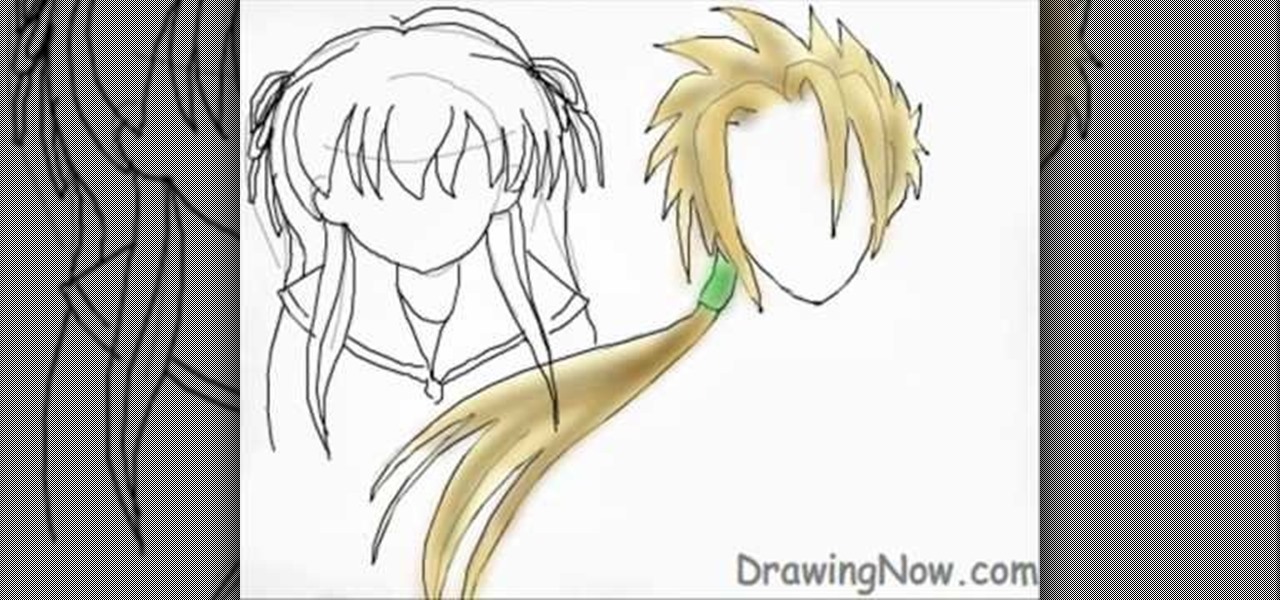
Trying to perfect your manga anime drawn characters? Getting down the muscle curvatures and details like hair and eyes can be difficult. Learn how to draw anime or manga hair with help from Drawing Now. Search WonderHowTo for more videos from Drawing Now to learn how to draw a variety of characters and cartoons!
Dying your hair with Kool Aid is a rite of passage... Every thirteen year old kid needs to try it sometime. In this video, learn how to safely apply Kool Aid to your hair to make it change colors!
In this tutorial, learn how to dye your hair blonde if it is naturally dark brown. Dark brown hair is typically the hardest to lighten, and if done wrong you will wind up with orange hair and that is not a good look.
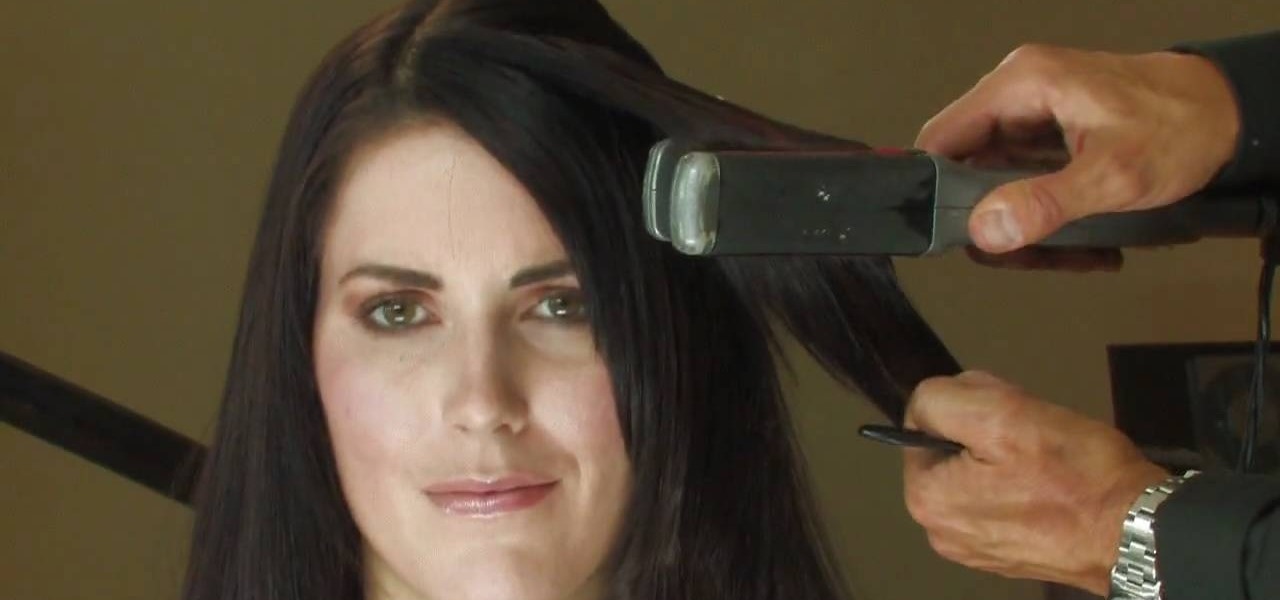
As a new or busy mom, you may think you have no time for style. Well, in this tutorial from the experts at Modern Mom, get help from Robert Steinken, a Hollywood hair stylist, on how to tame your tresses quickly and easily. This video will focus on using a straightening iron to create fun curls in just a few short minutes. This method can be used for anything from bouncy curls to free flowing, beachy waves.
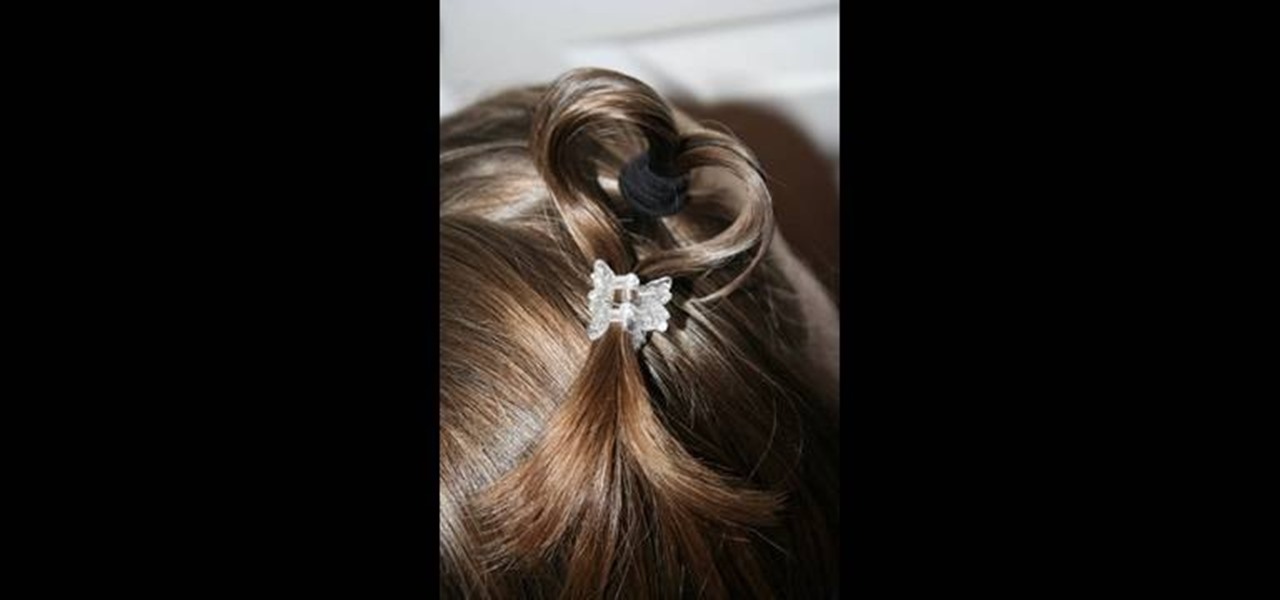
This video shows the method to style a heart shaped hair on a little girl. In the first step, do a zigzag part on the hair and pulling the sides to a pigtail. Part the hair till the ear before tying the pigtail. Wet the pigtails and put some pomade on it to make the pigtail stiff. Take a pigtail and divide it into half. Make sure that they are stiff. Twist the two parts of the pigtail and make a heart shape. Now clip the hair at the base using a pigtail holder. Repeat this process for the oth...
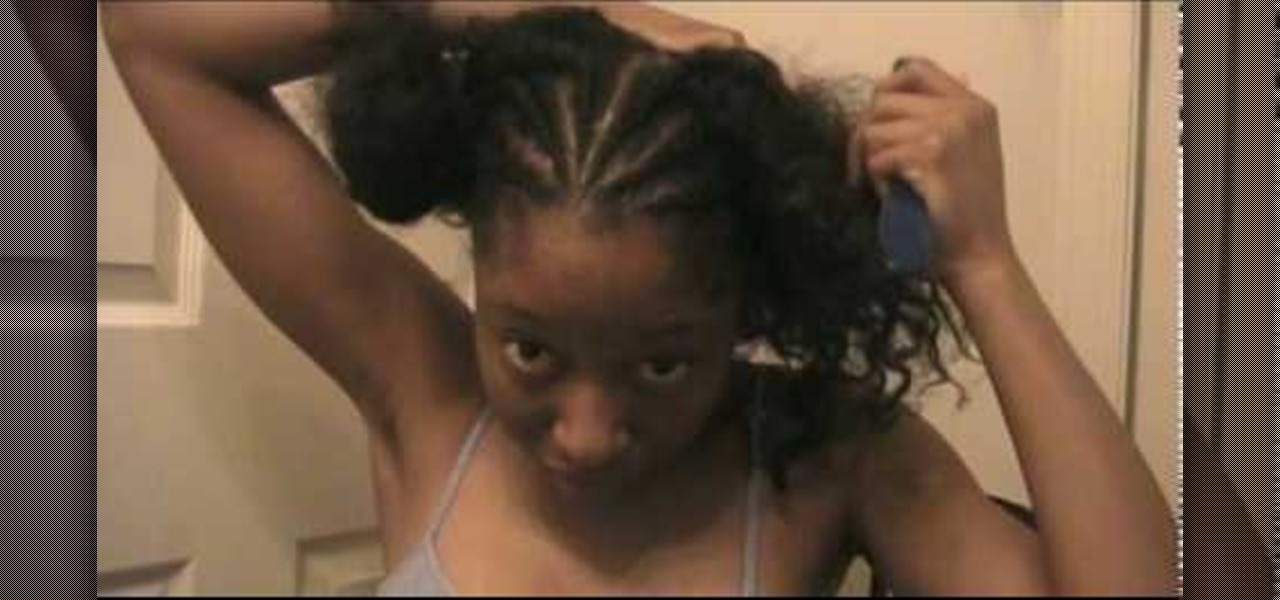
Are you hair handicapped? Learn how to style adorable afro puff pigtails with help from this video. Strut down the street with great hair with a little guidance and hair assistance from this video.
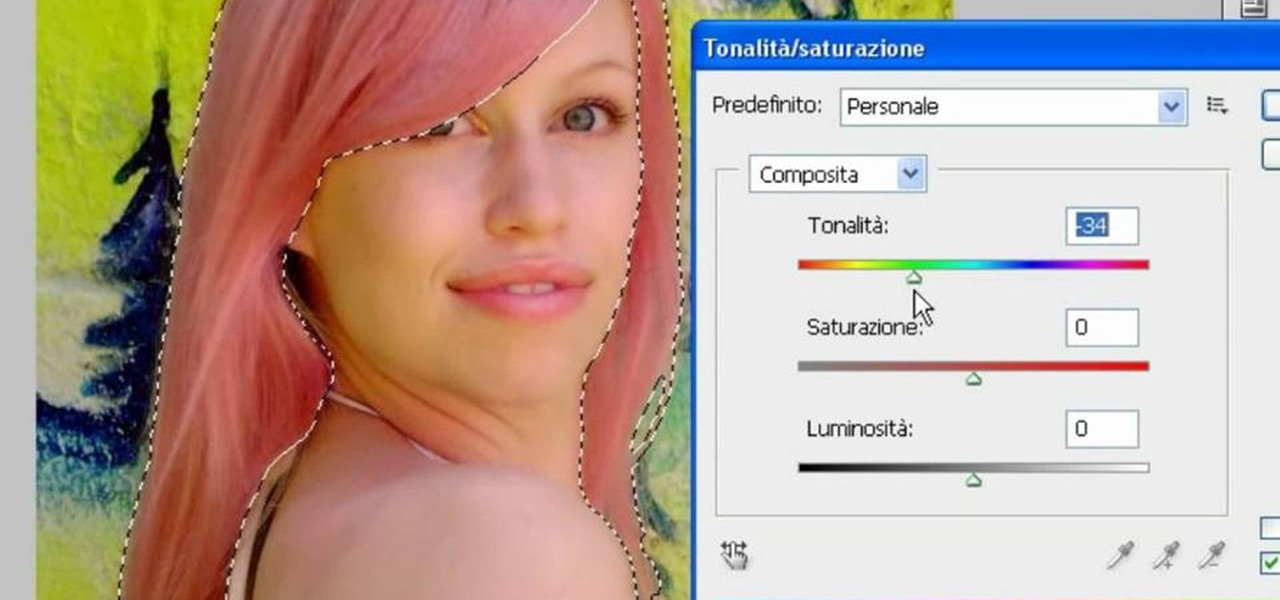
In this video, we learn how to use PhotoShop to change hair color.. First, select the mask tool inside PhotoShop. Now, zoom in on your picture and brush the hair that you want to change the color of. Zooming in and using smaller or bigger brushes will help you be more precise. After this, zoom out and press on the mask tool to create your selection. Then, select the marquee tool and right click and choose "inverse selects". Now, click on "image", "regulations", then "tonality/saturation". Now...
Abigail Goss demonstrates a traditional Apostolic hairstyle, the vertical roll with pin curls. She starts by creating a poof, back combing the roots from the crown to the forehead. Then she creates a section of hair above the ears. She rolls this hair several times in one direction and then puts all of the hair into a ponytail at the base of the neck. At this point the style looks like a french twist with a ponytail at the bottom. She then coats the hair with gel. To make the curls, she takes...
Making a personal jewelry organizer is easy. First, find a convenient place to put your jewelry organizer. The bathroom is a good choice because you can quickly grab your jewelry as you're getting dressed. Next, take a clothes hanger and hang it somewhere easy to reach. Then take a long, thin shawl and slip it on the hanger. Note that the shawl must be thin enough to easily pierce with small hooks. Next, fasten small hooks on the shawl. Finally, place your jewelry articles on the hooks. Congr...