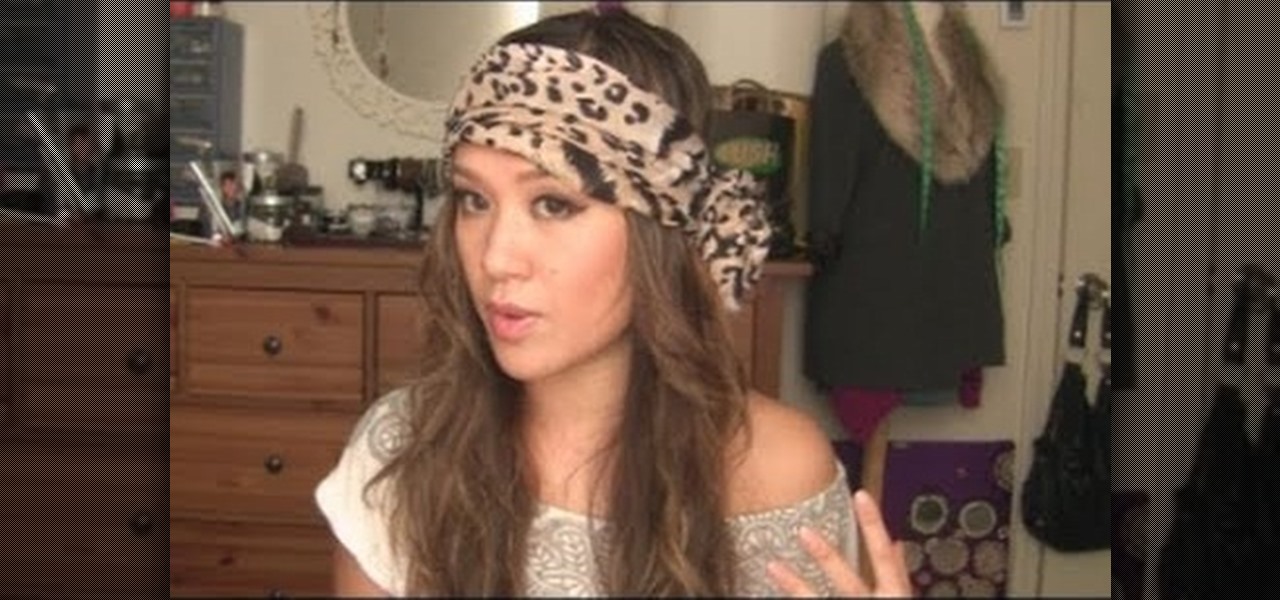
How To: Tie a bohemian head scarf like Nicole Richie
Head scarfs are second only to headbands when it comes to bohemian head wear. Just ask boho/hippie poster child Nicole Richie, who basically alternates between the two whenever she goes out.


Head scarfs are second only to headbands when it comes to bohemian head wear. Just ask boho/hippie poster child Nicole Richie, who basically alternates between the two whenever she goes out.
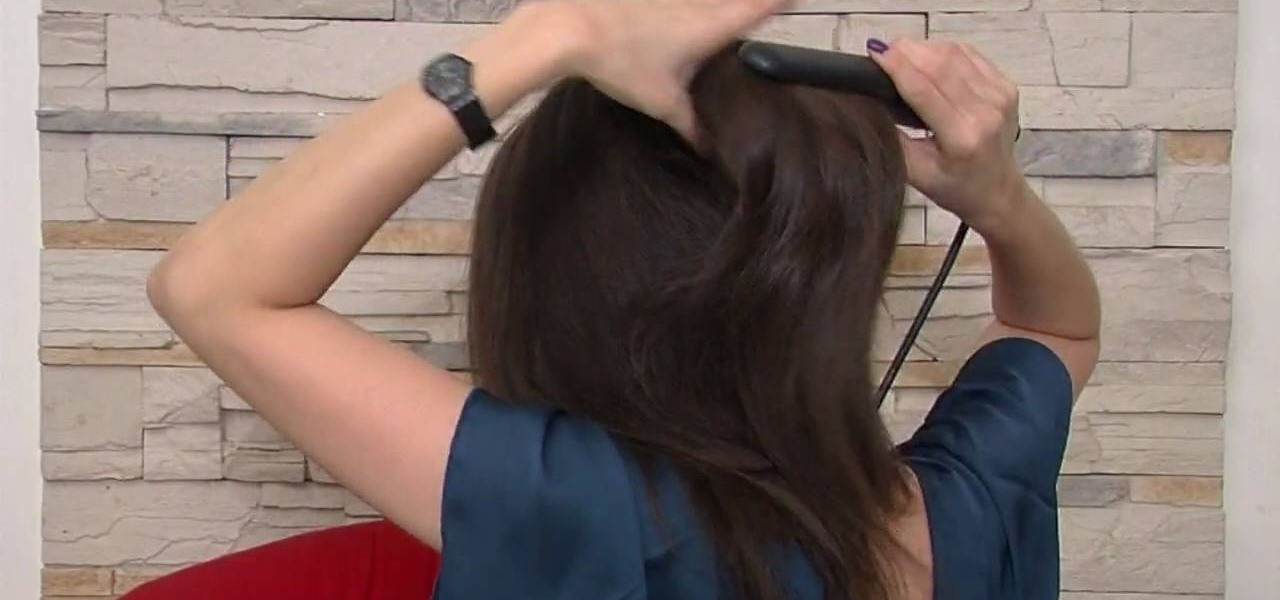
Buns are the older, more elegant sister of ponytails. And best of all, there are certain bun styles that are super easy and quick to put together if you're running late for a big soiree.
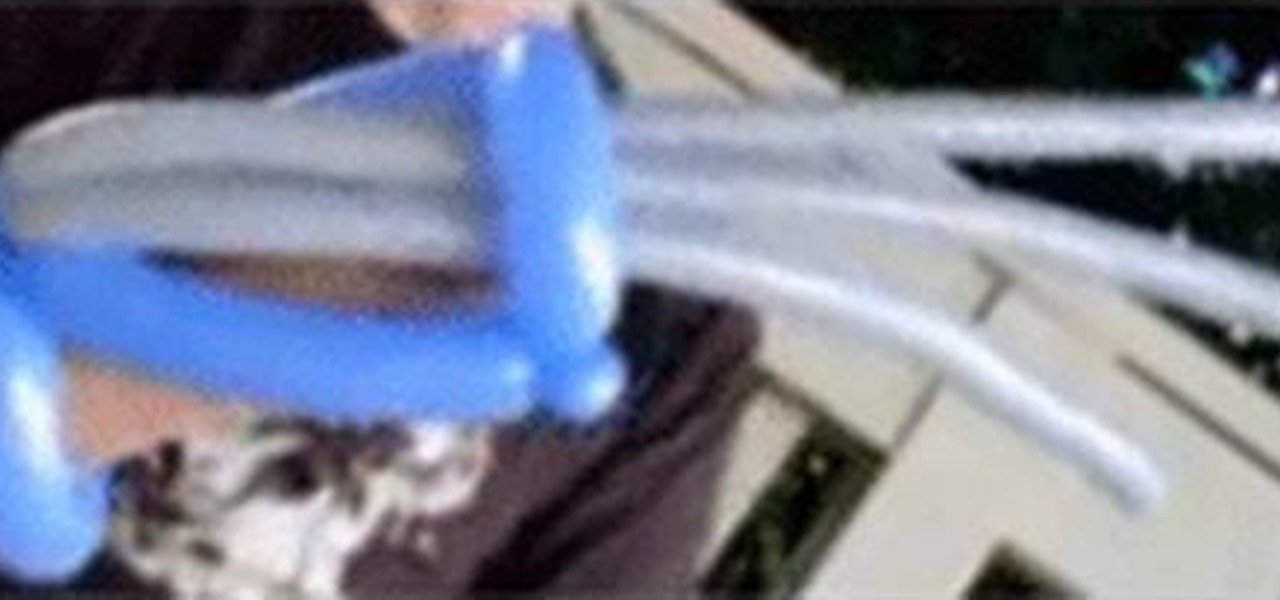
In this video we learn how to make balloon wolverine claws with Michael. This is very simple, you just need two balloons that are 250 and two balloons that are 160. Use gray balloons to make them look more like claws. From here, you will take your blue 260 and inflate it then tie it. Make sure there is 4-5 inches left on the tail. This will allow you to tie the balloon and create pinch twists with it. Continue to twist the balloon, then incorporate the gray balloons in with it. When finished,...
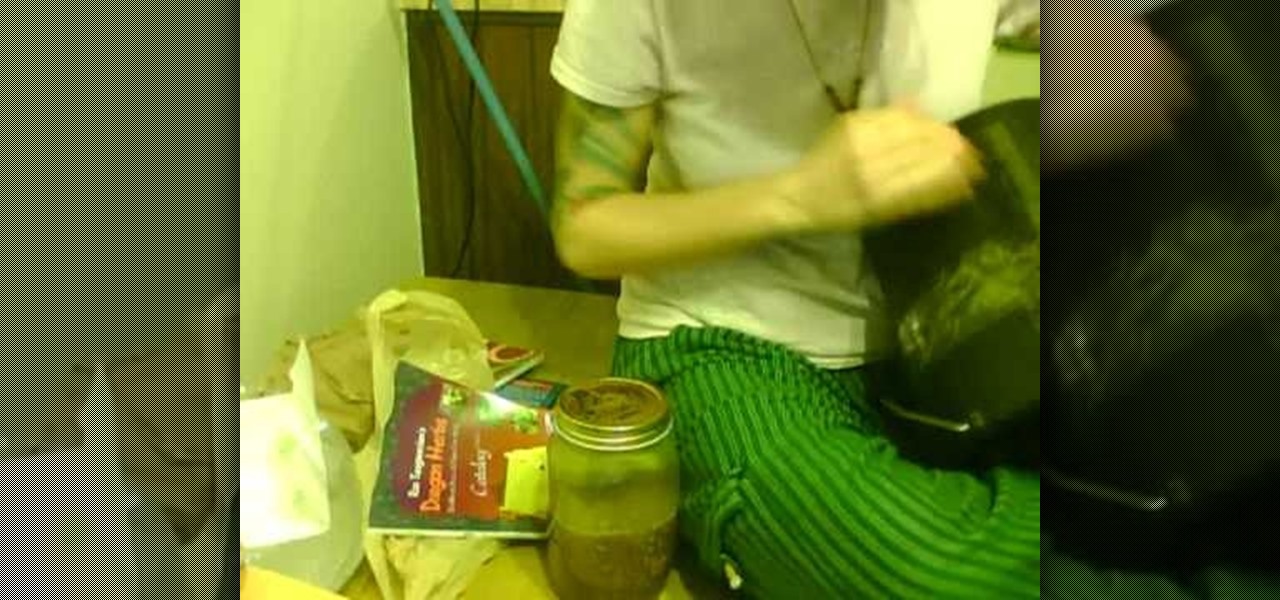
In this video, we learn how to create a bucket drum or protest art. To start, you will grab a large plastic bucket and you will apply take all around the sides of it so it's wrapped up. The tape should be intersecting at the opening of the top of it. Then, use a tie to connect this in with the tape and then size it so it fits around your waist. From here, you will tie the bucket to your waist and then use sticks to beat your new drum. You can stick the sticks to the side where the tape is to ...

In this video, we learn how to make a colorful tutu. First, you will need to grab all the colors of fabric that you want to use on your tutu. Then, roll up the fabric of each color carefully, then cut it out to the length you have measured for your subject. After this, cut out one more smaller section of fabric from each piece until you have done this with all of the colors. Now, using a piece of ribbon as the waistband, tie each piece of colored fabric onto it, alternating colors each time. ...
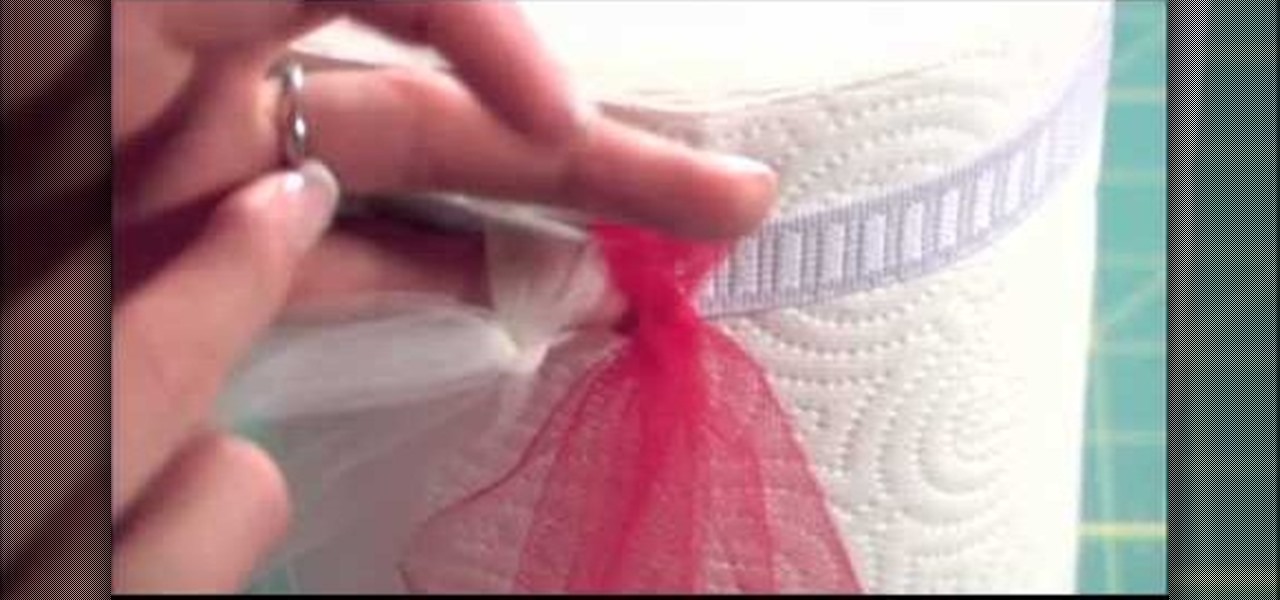
In this tutorial, we learn how to make a tutu. First, you will need to grab a rotary color and some tulle, along with an elastic band for the waist. Now, measure out the tulle for how long you want your tutu to be. Now, cut out the measurements you have made. Gather up the tulle together in different colors, and then grab the elastic. Tie the top of the fabric onto the elastic, then secure it. Once finished going all the way around the elastic, tie the waistband and then you will be ready to ...
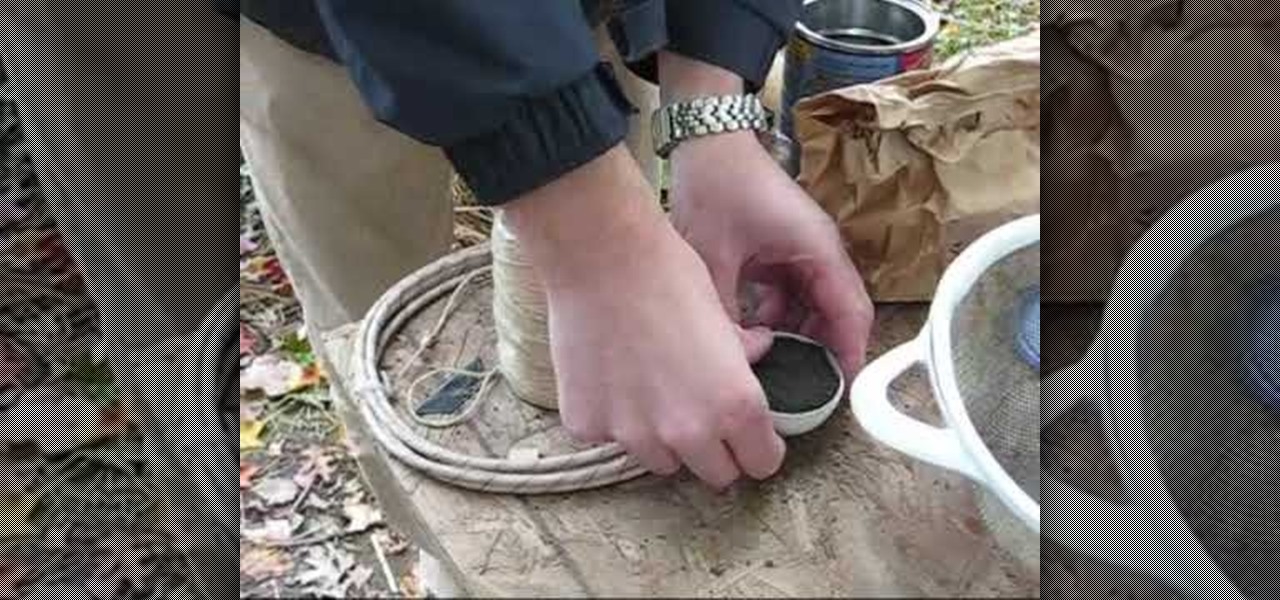
In this tutorial, we learn how to build bar shells and other explosives. First, you will need to pack up the explosives into a container tightly. Then, you will need to wrap it up inside of string tightly and tie it shut tightly. Apply a piece of thick paper over the explosive and then tie it shut again. Once you are finished, you can place all of these inside of a large tub and carry out to use as explosives. Make sure to do this carefully and don't light these when you are close to them, or...
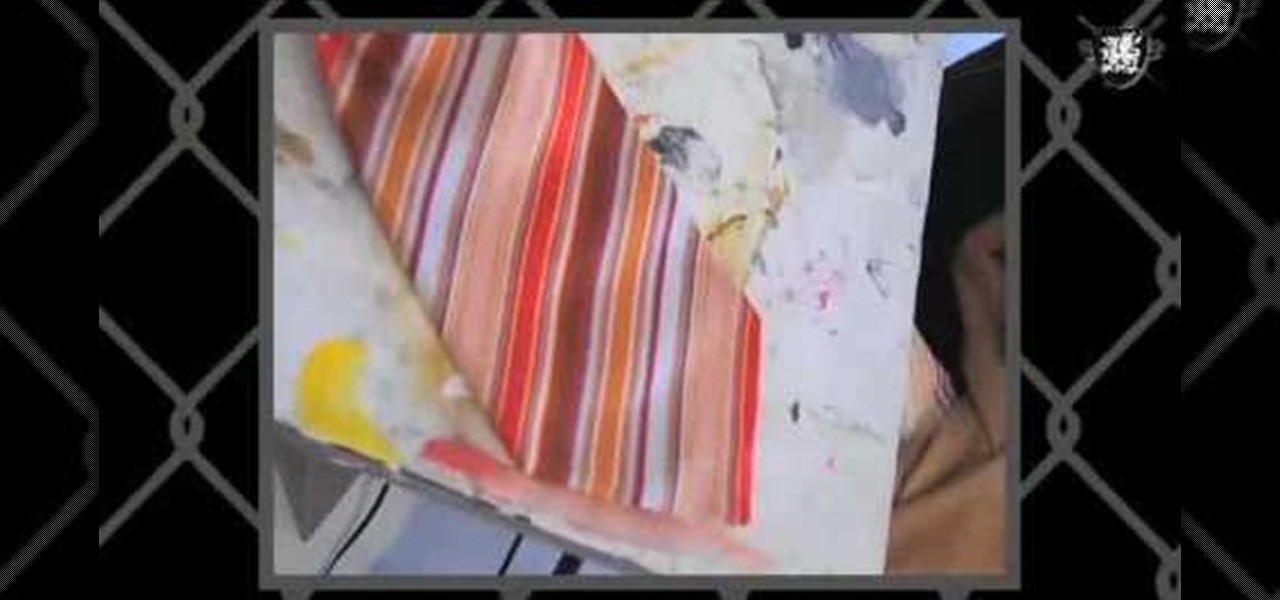
In this video, we learn how to make a "purt" or a "shirse". To start, grab an old shirt with buttons and measure out an area from the top to cut down. After this, cut the area out cutting the top and the back of the shirt. Then, take a sewing machine and sew the sides together. After this, grab a tie that you have and wrap it around the front of the shirt that you have just sewed. Now, when you want to look like you are wearing a shirt and tie without actually wearing one, you can slip this o...
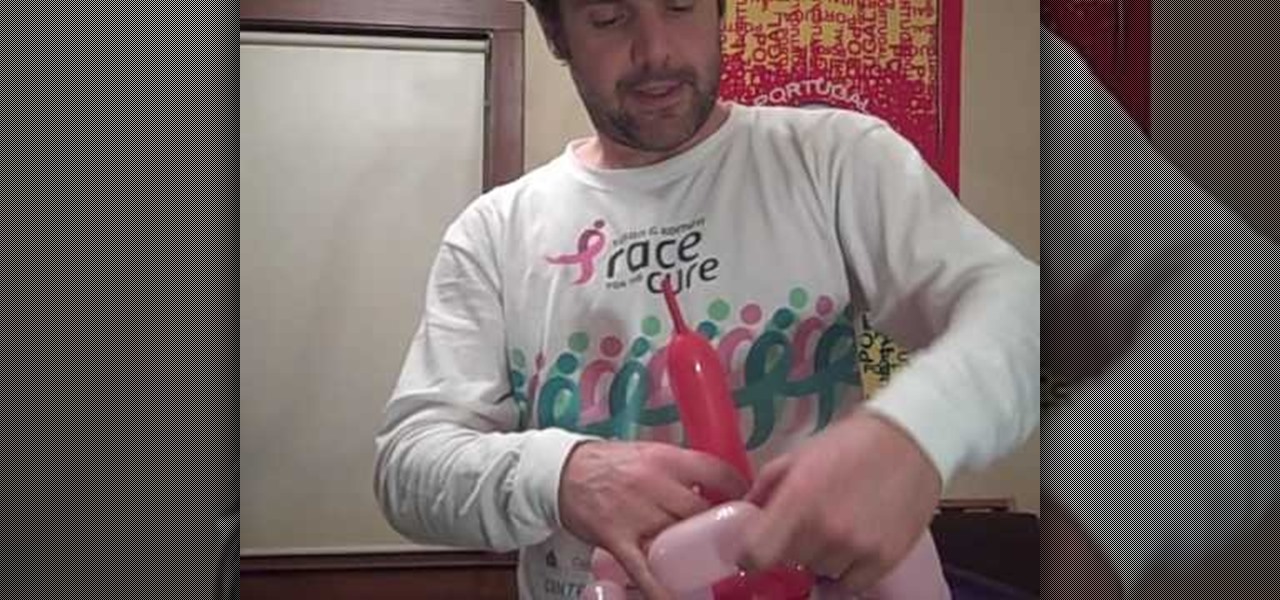
Balloons come in various shapes and sizes and if used properly, can be combined to create complex shapes that mimic real life objects. Choosing the correct color of balloons also adds to the realism in the completed object.

In order to create sexy sleek straight hair, you will need the following: clips/hair ties, heat protective spray, shine spray, a flat iron, and wax or hair balm.
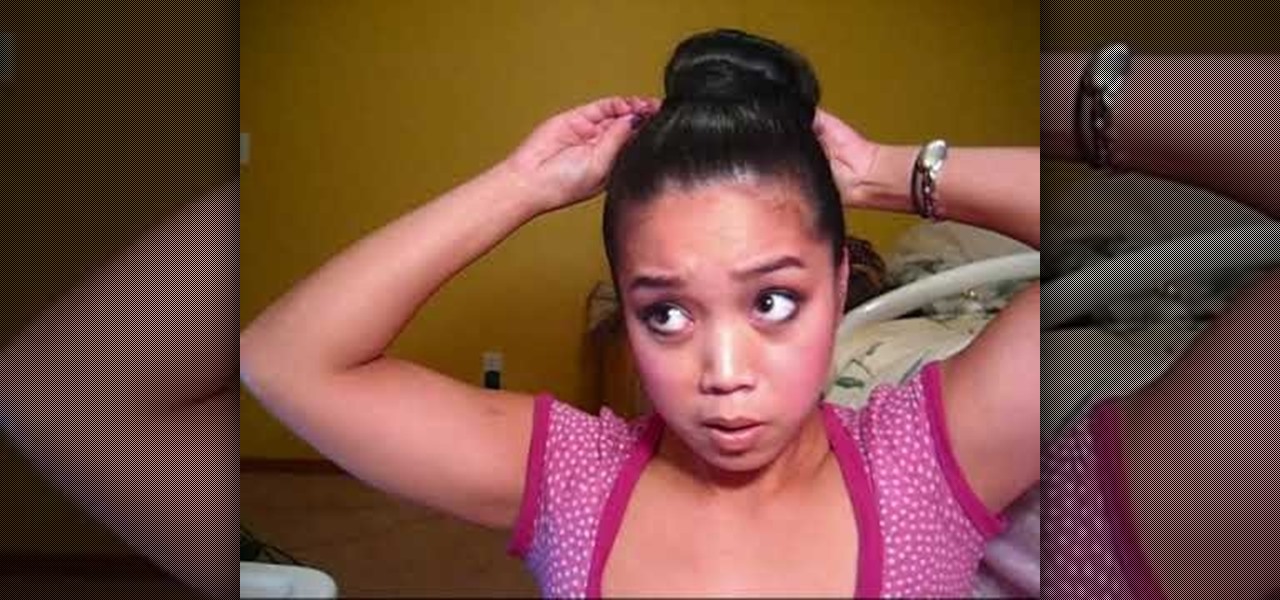
In this video, we learn how to make a large fancy hair bun. First, you want to have your hair brushed and straightened. You will need: brush, hair ties, bobby pins, rolled up sock, and hair spray. Start off bringing your hair up into a pony tail, then tie it with an elastic. Next, grab a hair roll and bring it under the base of the pony tail around to the font. Now, let your hair fall evenly, while pushing your head down. Grab you elastic, and wrap it around the base of the hair bun. Next, ta...

In this video, we learn how to get a spunky hairdo with a fishtail braid. First, make sure you have straight and clean hair, then grab a teasing comb and tease from the back of your hair up to the front to give your hair a more volumized look. Spray with hair spray, then let the hair down and gently brush the top to make it appear soft and not tangled. Once you're done, bring the hair back and place into a side pony tail, tied with an elastic behind your ear. Now, take a rat tail comb and lif...

In this tutorial, we learn how to put on dread falls. First, put your hair into two buns onto the top of your head, then place two cut off socks on top of them. After this, take a string and tie it around the two buns. After this, apply your dread falls to the side of each different bun and tie them on with any type of string. When you are done, flip the dread over your head and then situate in the back. When you are finished, you can put a headband in your hair so the dreads look more realis...
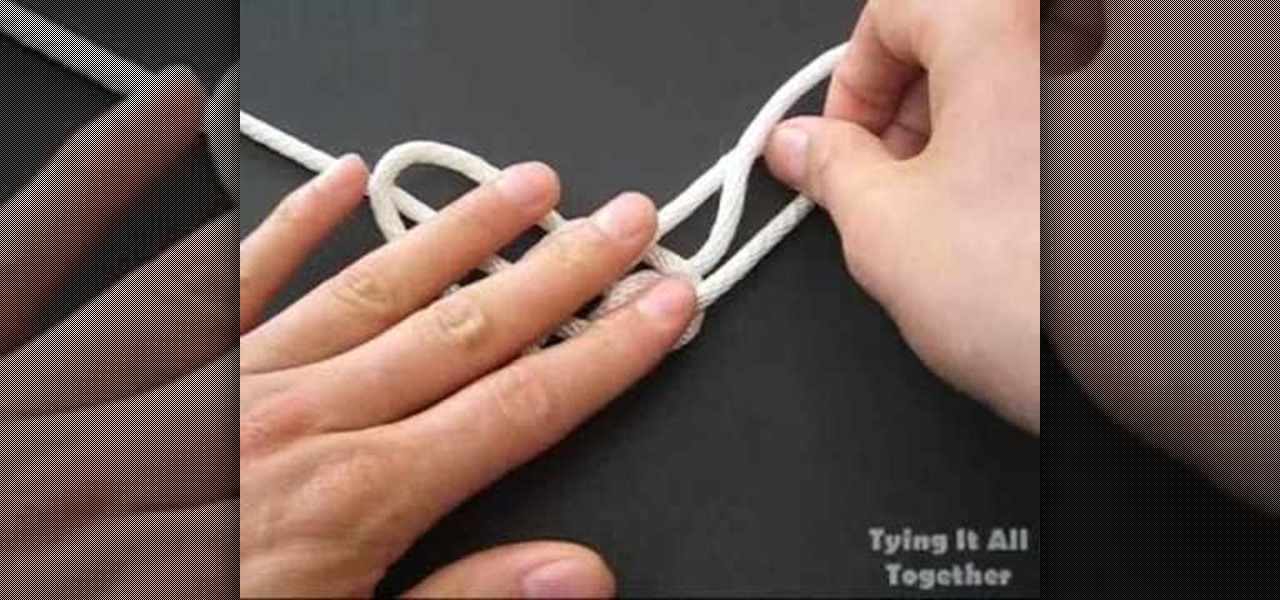
In this video, we learn how to tie the longhorn knot. First, make a spike with your rope, then push the rope around it and through it, making a circle. Then, push the loops on the bottom down and make a pretzel shape with it. Bring the left hand side string down and pull it through the loop, then do the same with the other side. Next, pull the strings on the top up to make larger loops, then pull the string through the left loop. Now, do this to the other side of the rope as well. To finish t...

In this video, we learn how to build a house out of trash for free. First, find pallets from grocery stores and place nine of them together in 3x3 rows. Now, you will lay down a tarp that you can find over the plywood and start to add scrap pieces of plywood that you find around for the walls on the side. After the walls are up, cut down tree trunks that are long and then nail them together and place a tarp over the top. After this, tie the tarp down and tie it to the trees and your free hous...
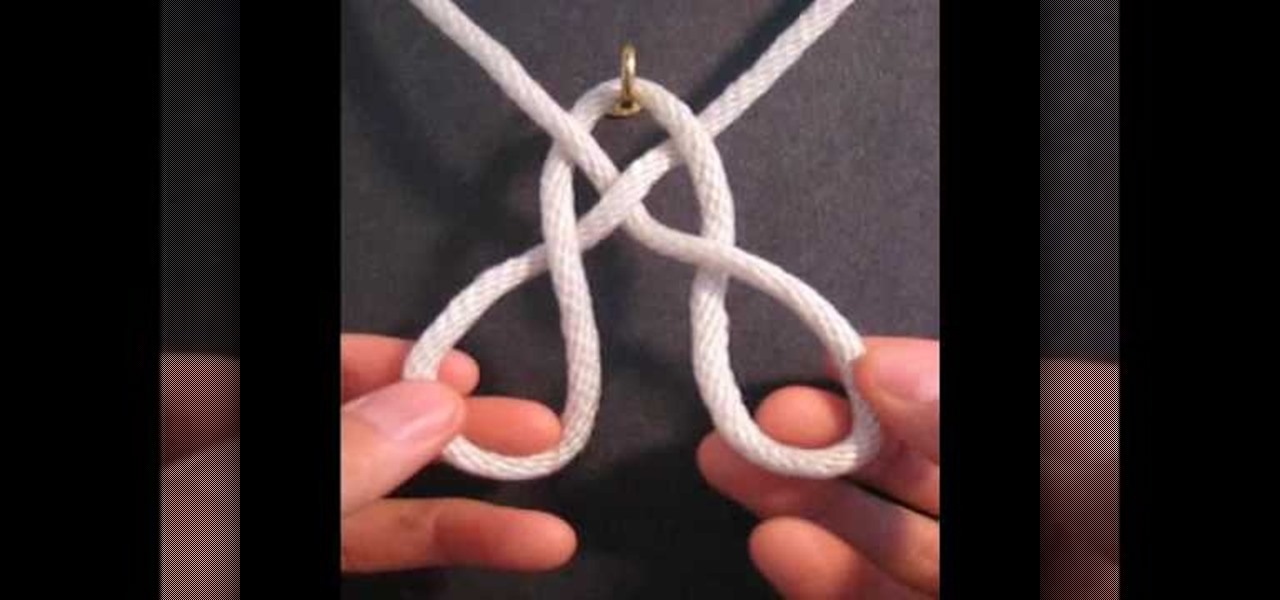
In this video, we learn how to tie the basket weave knot. First, place the string on a hook, then cross the two sides and make a loop. Next, make the loop wider and take the right and left strings up, then pull the loops down to make a pretzel shape. Now, twist the bottom loops around and place one on top of the other. After this, push them on either side of each other, then bring the right string around and loop it through the left loop, then bring the left string into the right bottom loop....
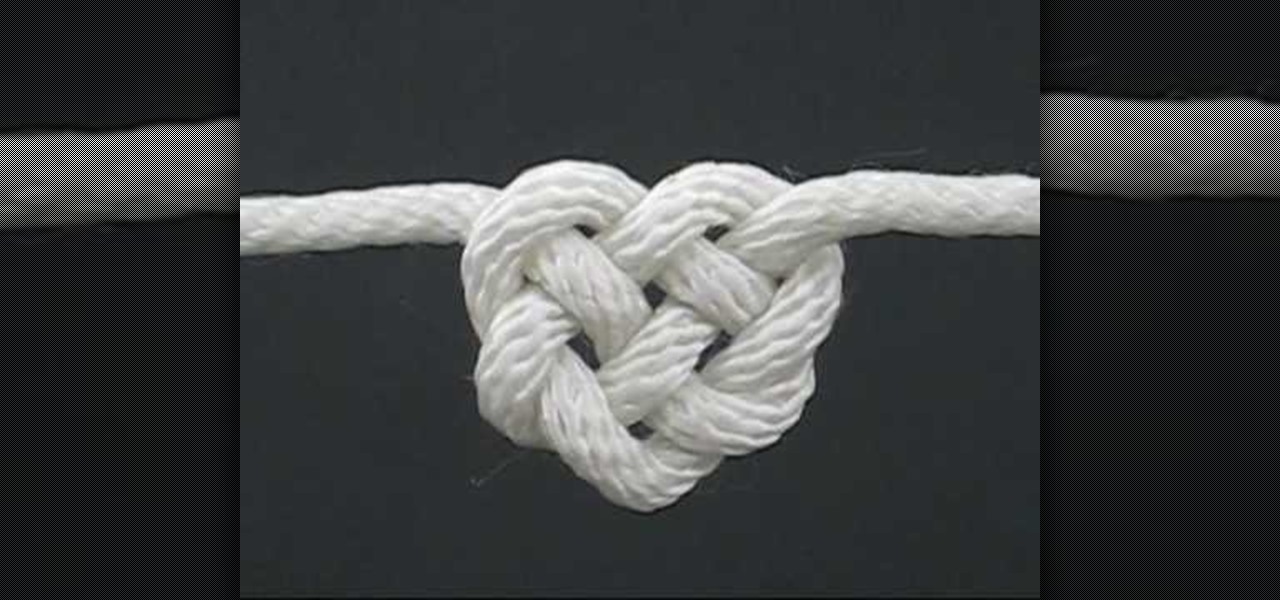
In this video, we learn how to tie the Celtic heart knot. Start off with your rope and make a loop in the middle of it. Now, bring the working en on the right side into the loop so you have a circle. Now, bring that end back into the knot and braid it through the other loop. Next, push this through the bottom loop, then braid it through the lines that are on the shape. After this, you will see a heart shape start to form. Pull gently on the heart with both sides of the rope and shape the midd...
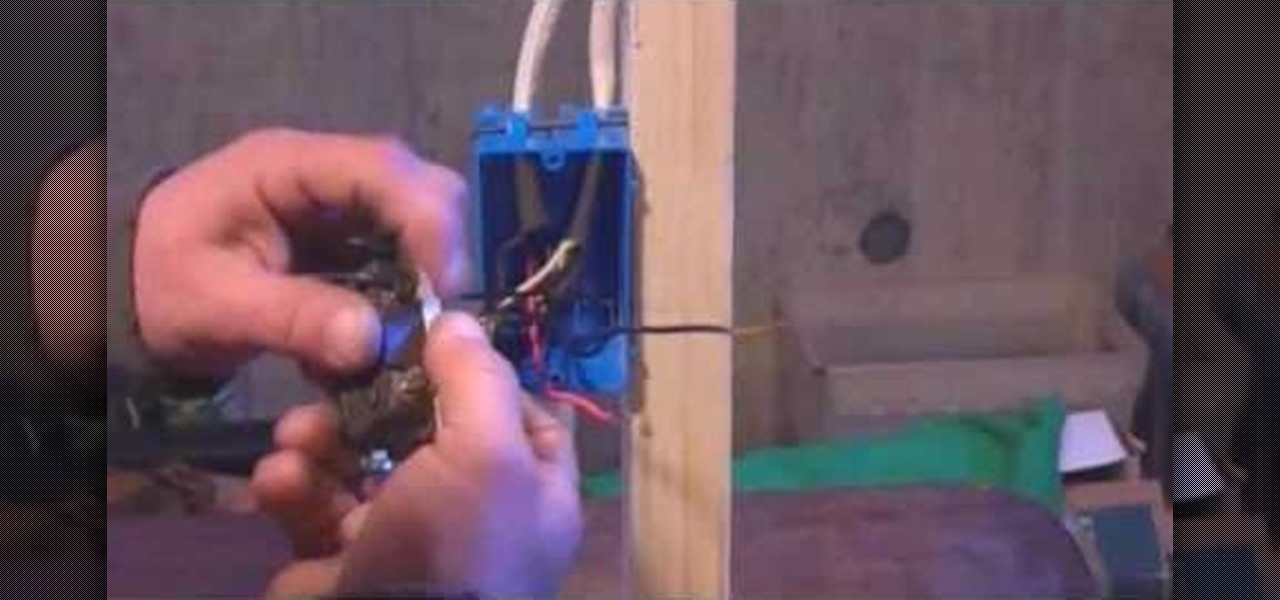
In this tutorial, we learn how to wire a three-way electrical switch. First, you will need to know the difference between the wires that you are using. Once you familiarize yourself with these different wires, you can start to wire your electrical switch. Now, go to your electrical box and tie the white wires together with an electrical nut. Next, tie the copper wires together and you will be left with three wires. Take the wire that supplies the power and attach it to the black common, then ...
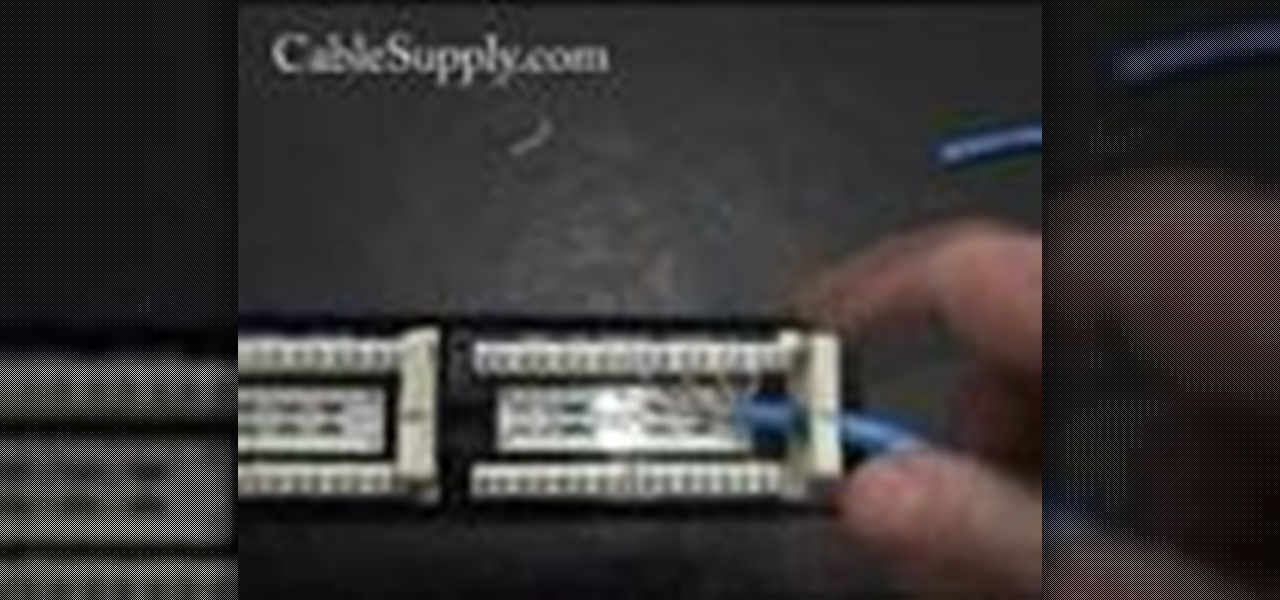
Jim teaches us how to punch down a 24 port patch panel in this tutorial. You will need: cable scissors, a punch down tool, and 24 port patch panel. Now, strip the cable by cutting it and stripping down the wires. Now, attach the wires to the port punch panel by following the pattern of where the different colors are at. When you have these connected, use the punching tool to punch the wires down, then it will cut off the excess wire from the panel. When this is all done, you will want to tie ...
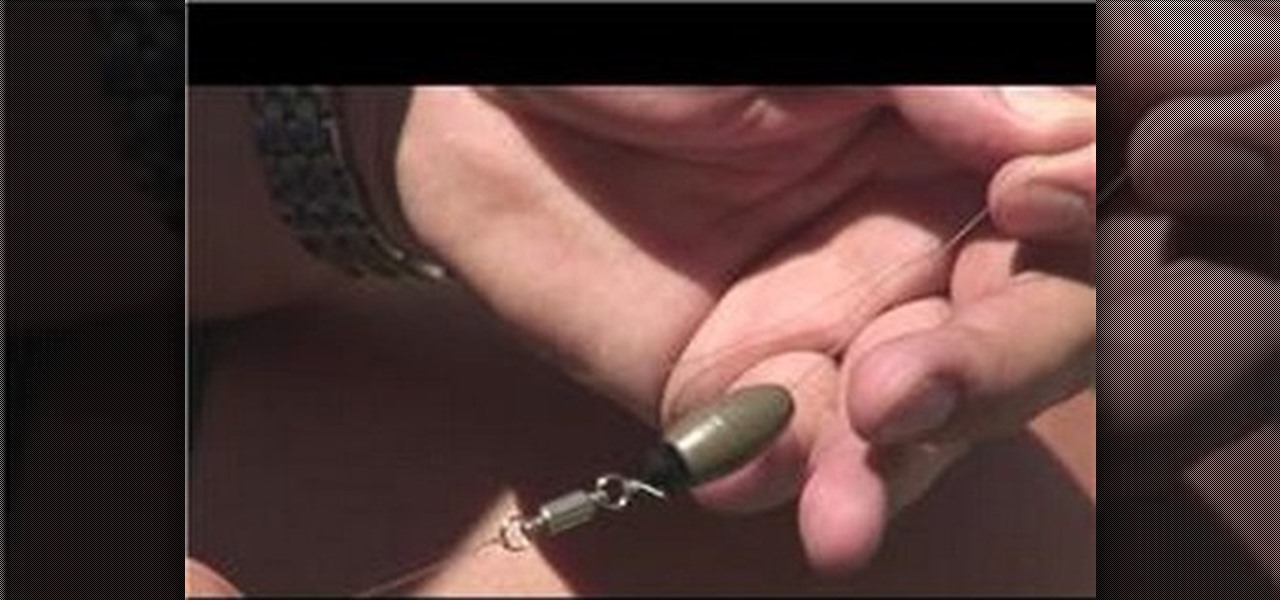
In this tutorial, we learn how to tie a Carolina rig fishing line. First, grab your favorite type of hook, then apply it to a Carolina rig that has a bead on it to protect the knot from sliding up. You can also use a giant worm on your Carolina rig to have better results while fishing. Push the hook into the worm, and thread it through so it's secure. This type of fishing line is used to fish on the bottom and can be used to catch more fish and a different type. Use this as often as you'd lik...
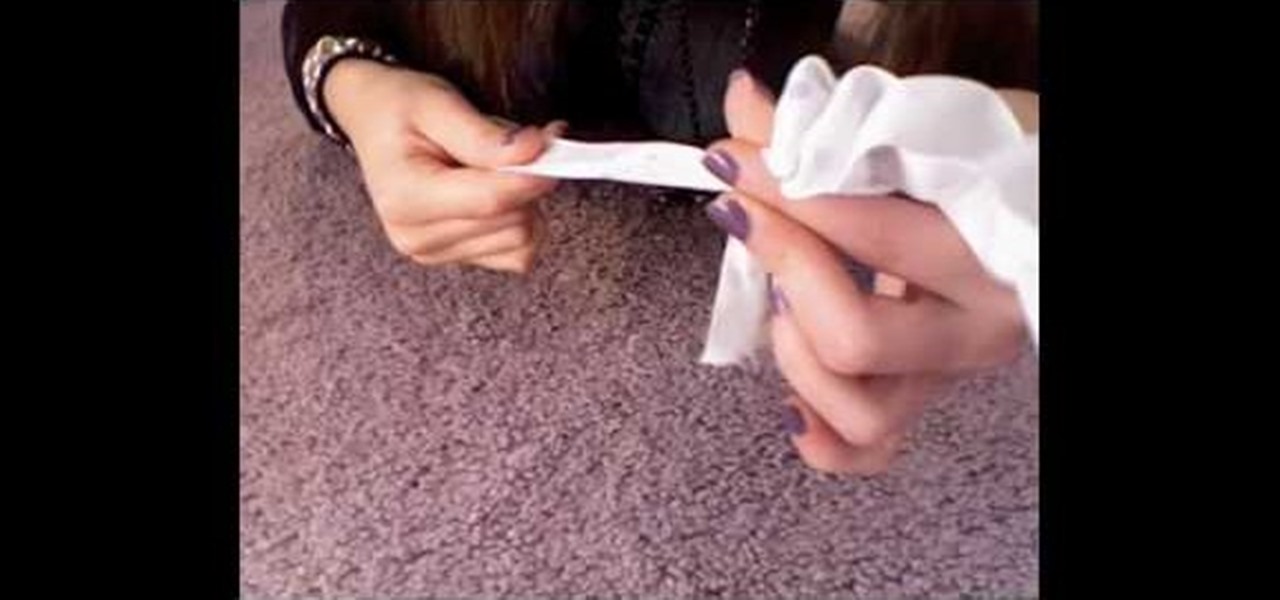
In this tutorial, we learn how to make a flower headband for Valentine's Day. To make this, you will need: rubber band, elastic band, and ribbon. First, take your ribbon and fold it in half, then make one side a little bit longer than the other. Now, make a flower with the ribbon so it lies on the very top of the headband. After this, use your elastic to tie it around the base of the flower so it stays in place. Now, tie your rubber band to the bottom of the headbands and make a knot with the...
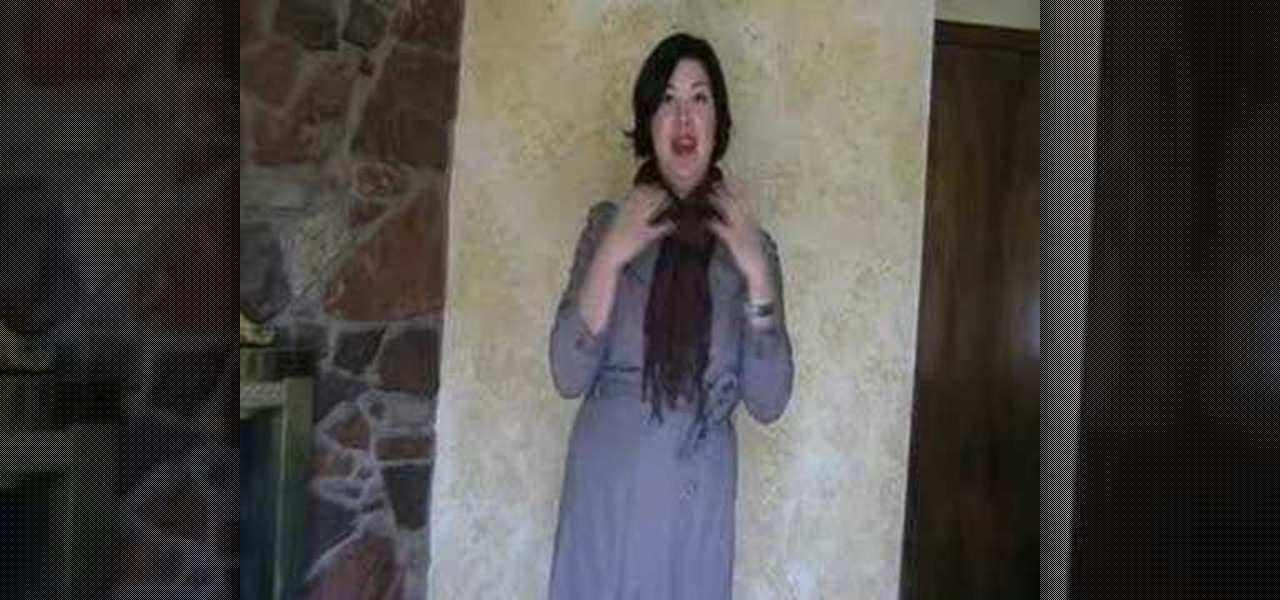
In this video, we learn how to properly wear a pashmina scarf. First, wrap the scarf around your back and let it rest around you before you get to the place you are going, if you are going to a different country. You can also place the scarf over your shoulder to give a different look. Another way is to tie it in the middle and pull it down off the shoulders. During cold weather, you can tie the scarf around your neck to wear with a long jacket and keep your neck warm. The last way to wear it...
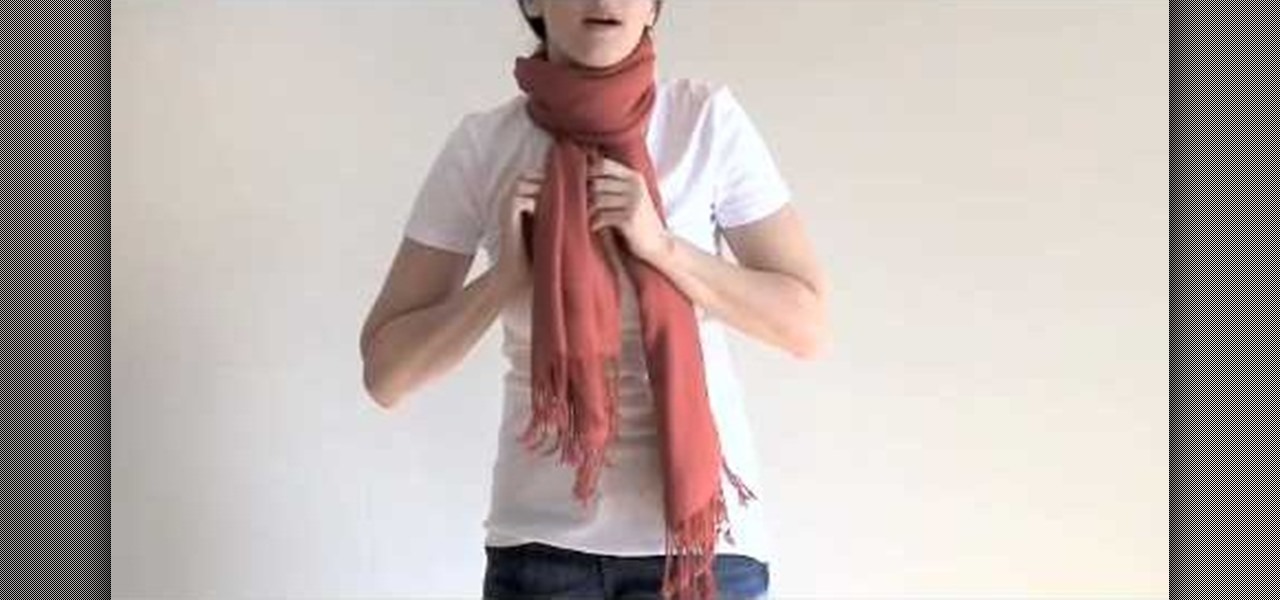
In this tutorial, we learn how to tie a turtleneck knot. First, take your long scarf and find the middle. Next, wrap the scarf behind the back, and bring the ends to the front. Loosen the scarf up on the neck, then make a knot. Try to get the scarf to lay as flat as possible, then tuck the knot into the neck cover. You can let it hang loosely, or flare it out on the sides. This is a great way to wear your scarf in the winter, because it will keep your neck warm as well as your body! You can a...
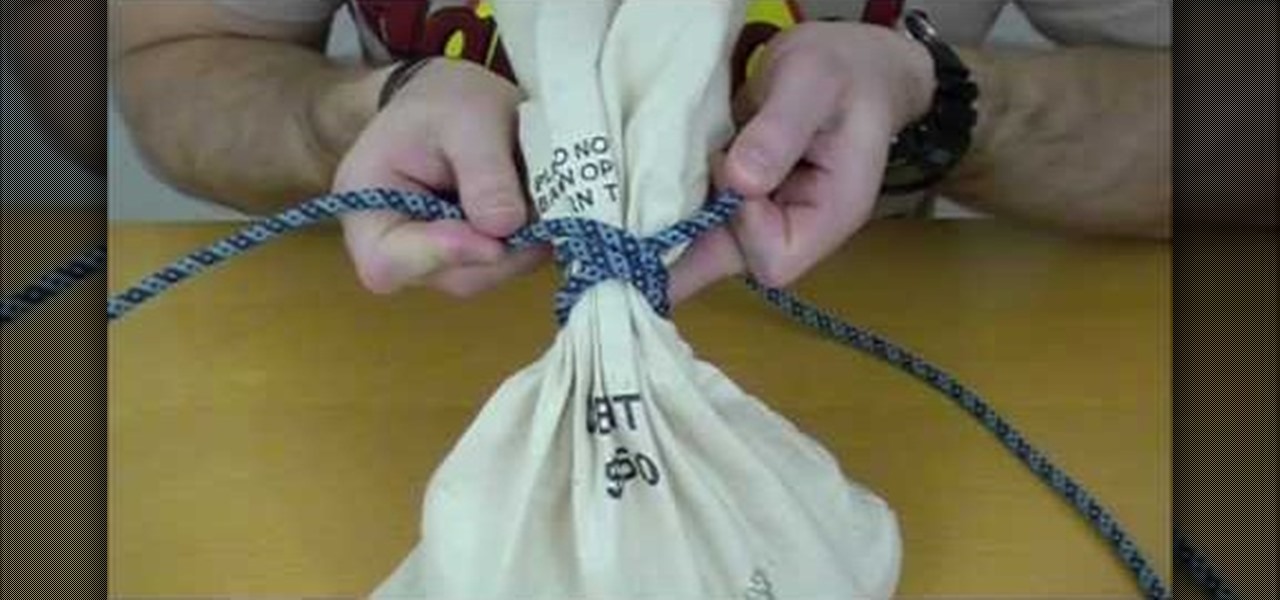
In order to tie a Miller's Knot, which is also known as the bag or sack knot, you should begin by wrapping the rope around the object you wish to bind: the Miller's knot is a binding knot. It is used to bind things. Next, wrap one of the free ends around it. You are, basically, wrapping one end around a second time.
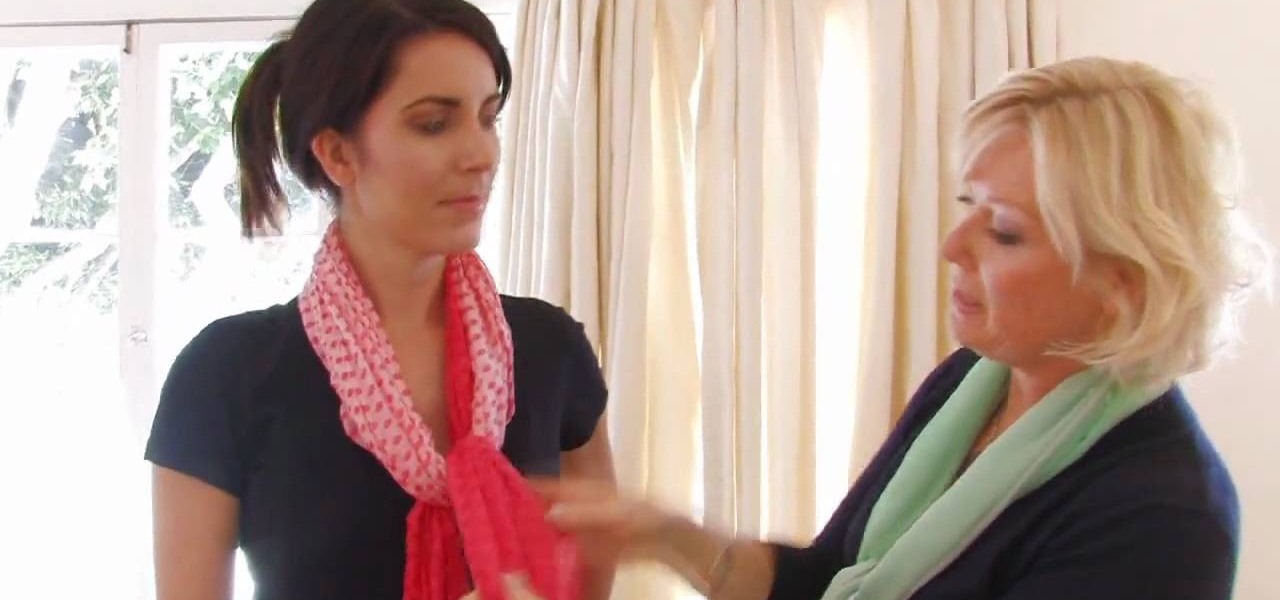
In this tutorial, Cate Adair shows us how to wear a long scarf and look fashionable. First, remember to style the scarf with something you like to wear and style it how you feel comfortable doing. The first way you can wear a long scarf is to wrap it around your neck once, then tie a knot around where your cleavage starts. This will look great with a v-neck short sleeved top. Another way to wear a long scarf is to tie it around the waist to create a look that will slim you if you have a round...

In order to tie a 7 x 5 Turks Head Knot, you will need to begin by draping the rope or twine over the fingers of your outstretched hand. Fold your pink down, leaving your three fingers outstretched. Catch the string in front and hold it with your pinky.
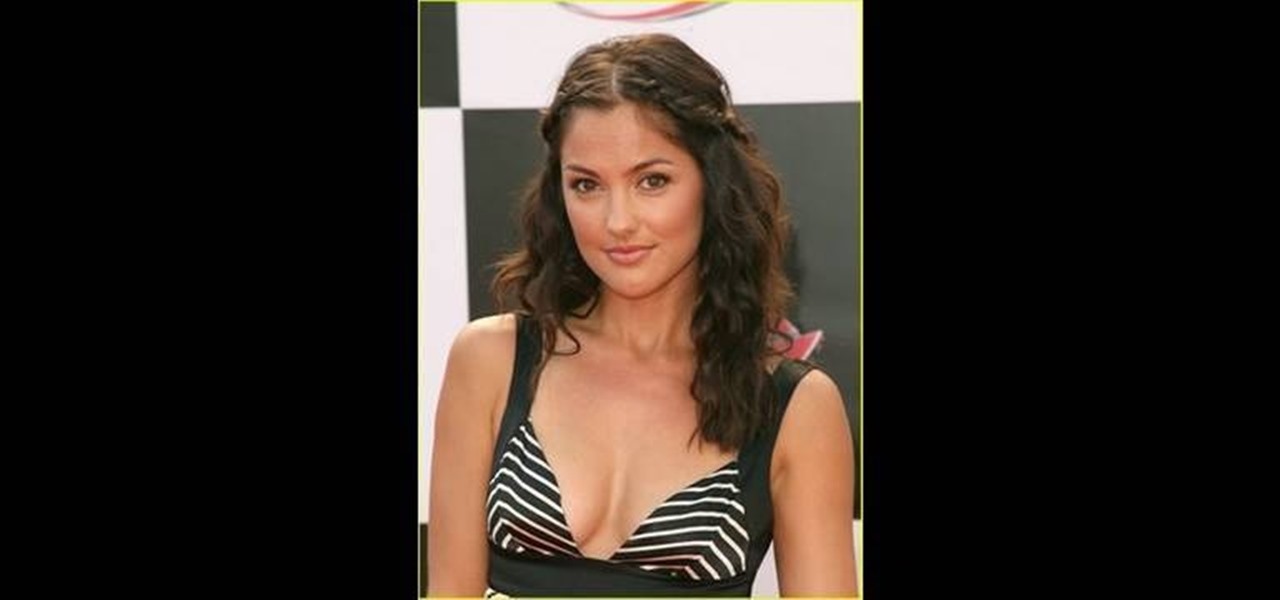
With all the pool-treading you'll be doing this summer, your hair will at one point get sick of being bunned up, capped up, and tied messily into a ponytail to get it out of the way for you to play.
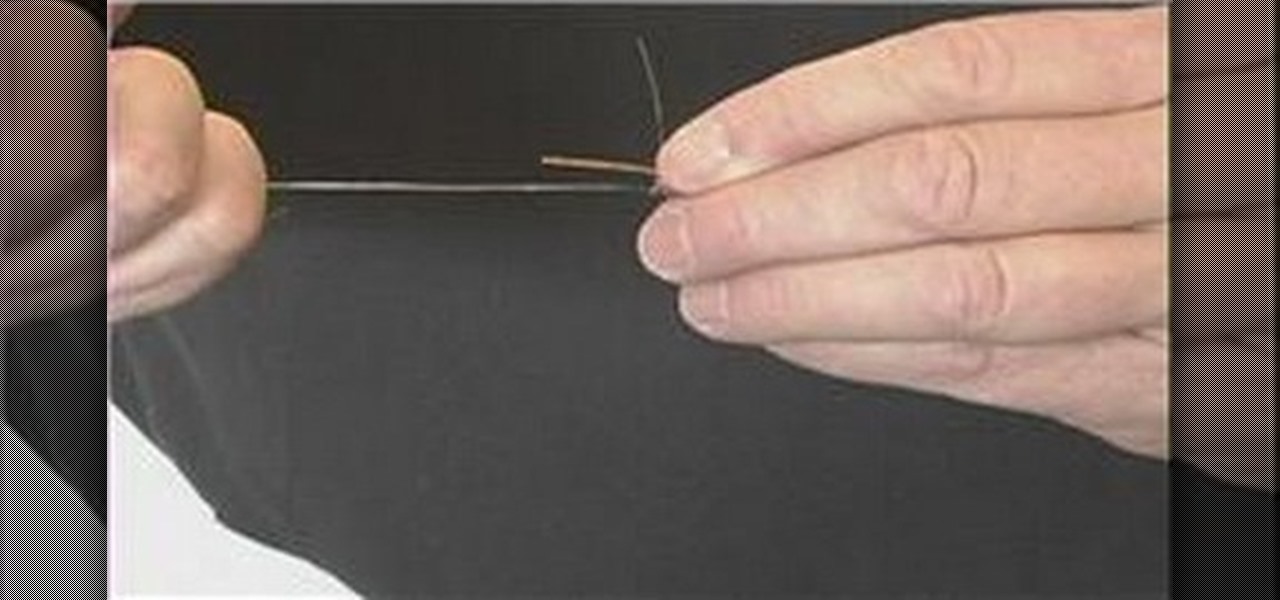
The most important aspect of fly fishing is the fly! In this tutorial, learn how to tie a fly to your line for fly fishing. You will learn how to attach a fly to the leader on your line. A fly isn't attached to a fly fishing line because the leader is attached to the fly line, and the fly is attached to the leader. Find out how to moisten fly line to reduce friction and strengthen the knot with help from an experienced fly fisherman in this instructional video on fly fishing equipment.
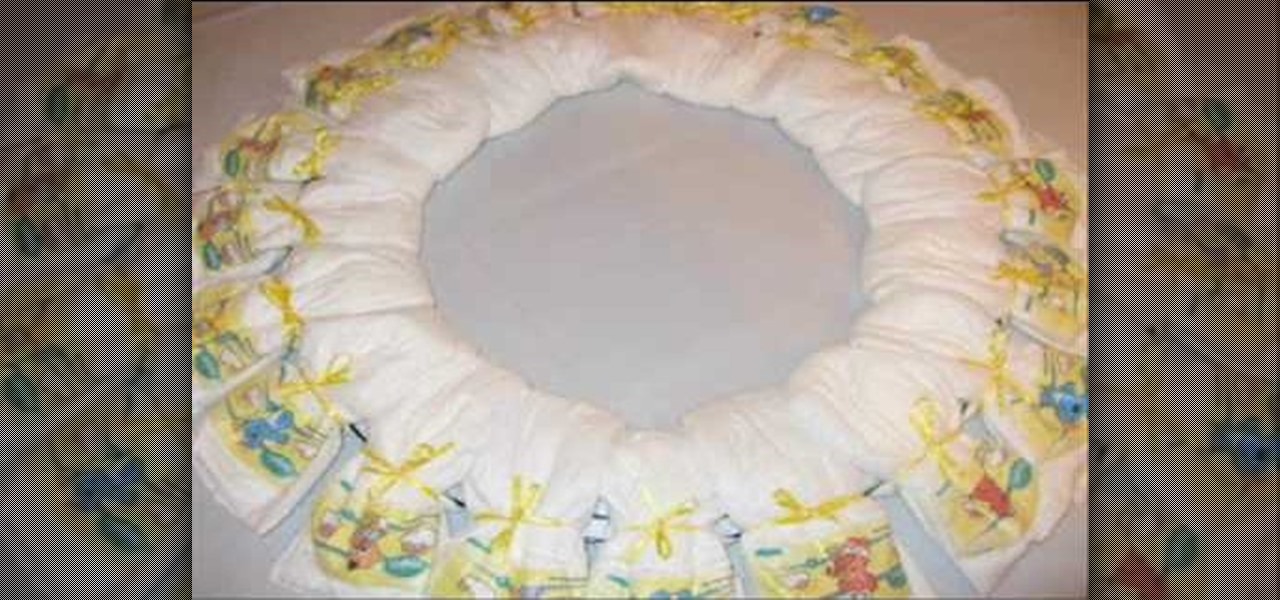
In this how-to video, you will learn how to make a disposable baby diaper wreath. You will need 20 size 1 disposable diapers and a wreath that is 12" to 18". Scissors, ribbon, and bows will be needed. Purchase some baby accessories such as pacifiers and toys. First, open the diapers. Put them in a sandwich shape around the wreath. Time them to the wreath with the ribbon. Do this until the entire wreath is filled. Make sure they are tied on tight. Place a toy on every three or so diapers. Tie ...
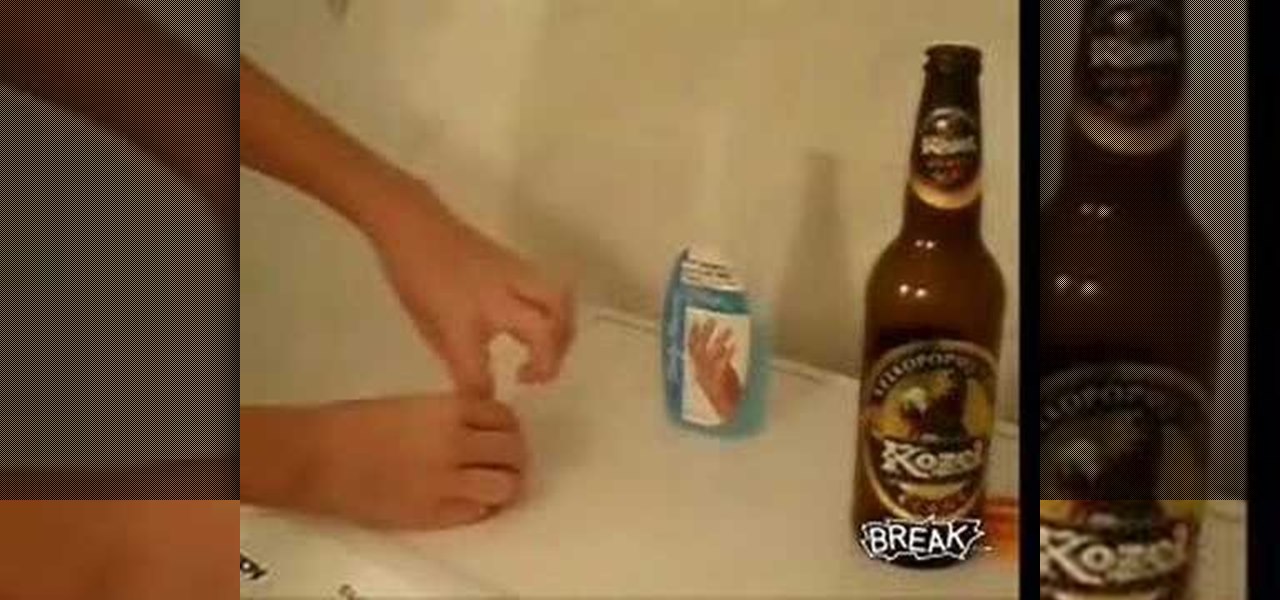
This video describes the process of cutting a beer bottle in half. First a piece of string is tied around a glass beer bottle to gauge the proper length that the string should be. Next, excess string is cut off and the tied string loop is slid up and off of the bottle. Next, the cap of a bottle of nail polish remover is unscrewed and the cap is filled with nail polish remover. The string is then wadded up and dipped into the nail polish remover for a couple seconds. The string is slid back on...
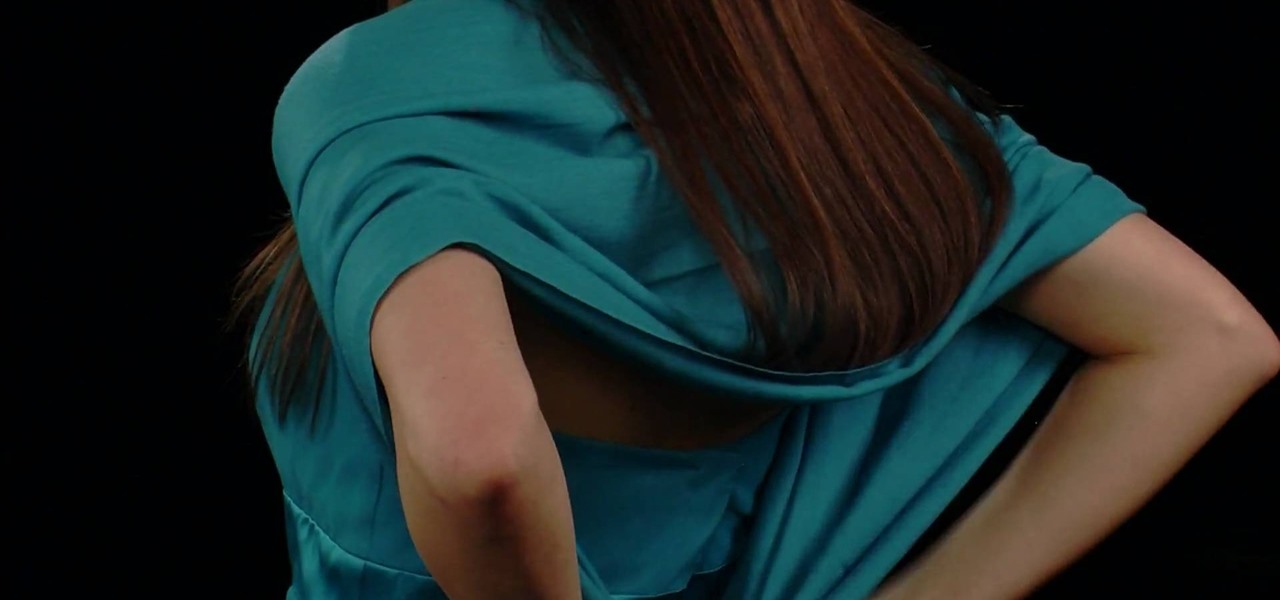
In this video tutorial, viewers learn different ways to wear a Pashmina scarf with a bridesmaid dress. The first way is to wear it on the shoulders for those who are uncomfortable with strapless dresses or are cold. The second way is to simply wear it around your arms. The third way is to put on the shoulders and tie it at the back. The fourth way is put it around your neck and wrap it. If it's cold, you can wrap the end in a knot. The fifth way is to double the scarf then tie it around your ...
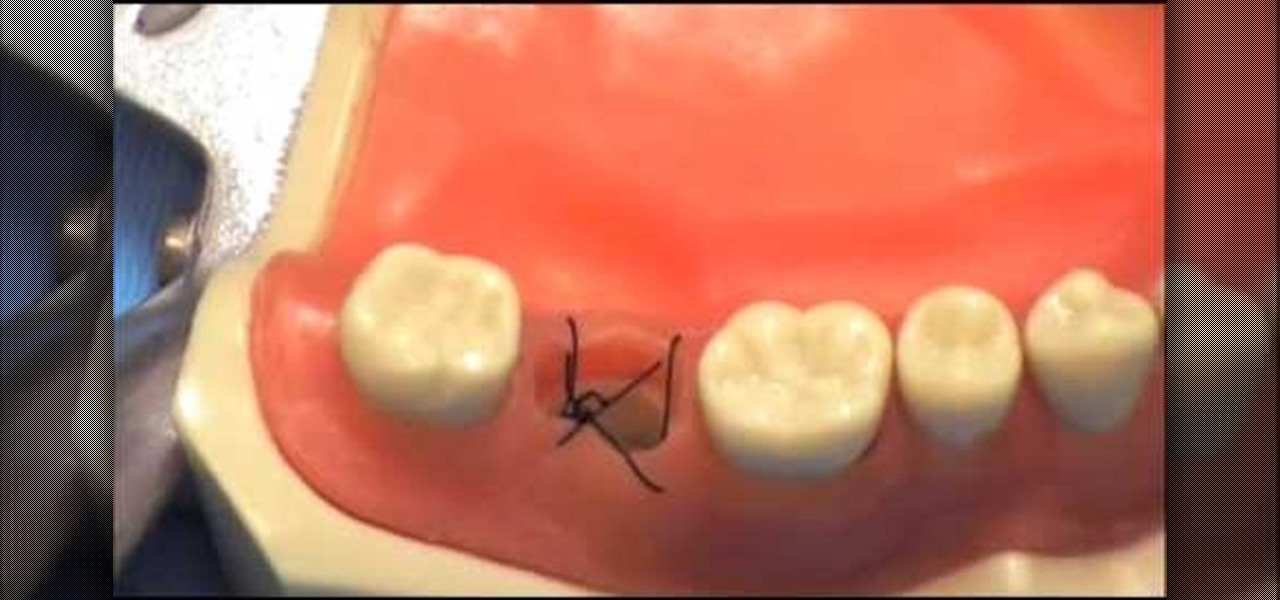
This how-to video shows you how to tie a figure eight suture. This is useful for finishing up oral surgery dealing with things such as tooth extraction. First, pull the string through one side of the gum with your tools. Next, take the end and pull it through on the other side. Once this is done, pull the string through the gum on the opposite corner. Once this is done, pull the string through the gum on the opposite of the corner. From here, you have formed a basic figure eight suture. This ...
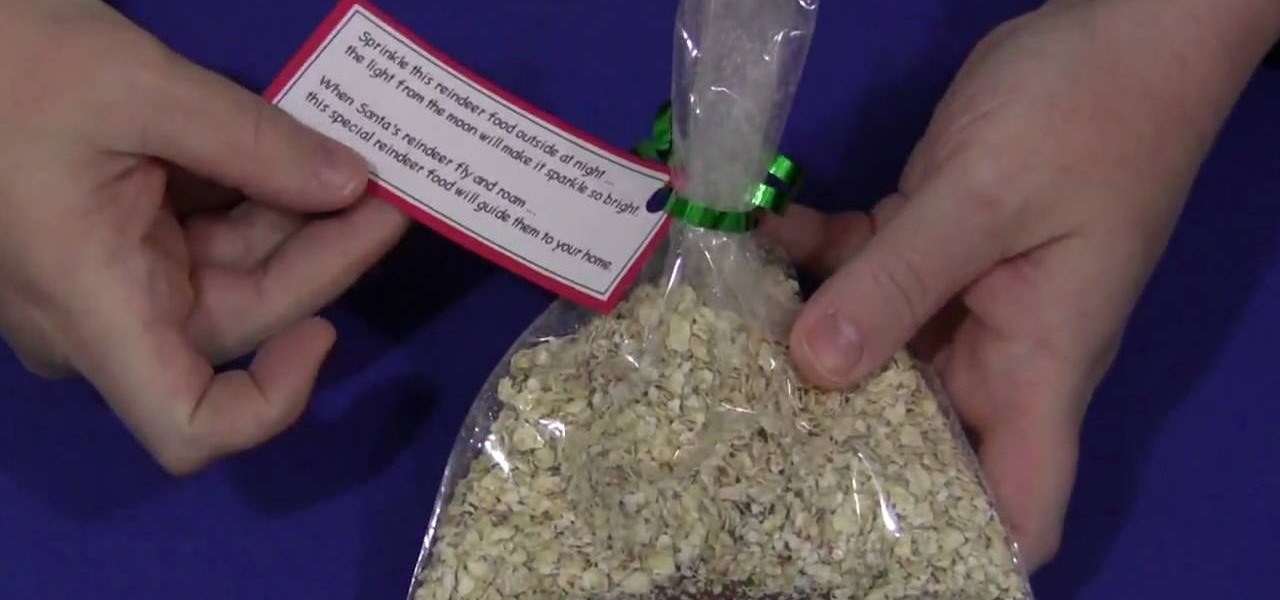
Shelley Lovett explains that reindeer food is, and demonstrates how it is made. Reindeer food is something you can make and then sprinkle on the snow or grass in your yard in order to help Santa's reindeer find your house. All have to do is mix some quick oats with a little red and green colored sugar to make it sparkle. Then you put in in a bag and tie with a ribbon. She has a little tag she ties onto the ribbon that explains what reindeer food is and how to use it. You can print the tag fro...
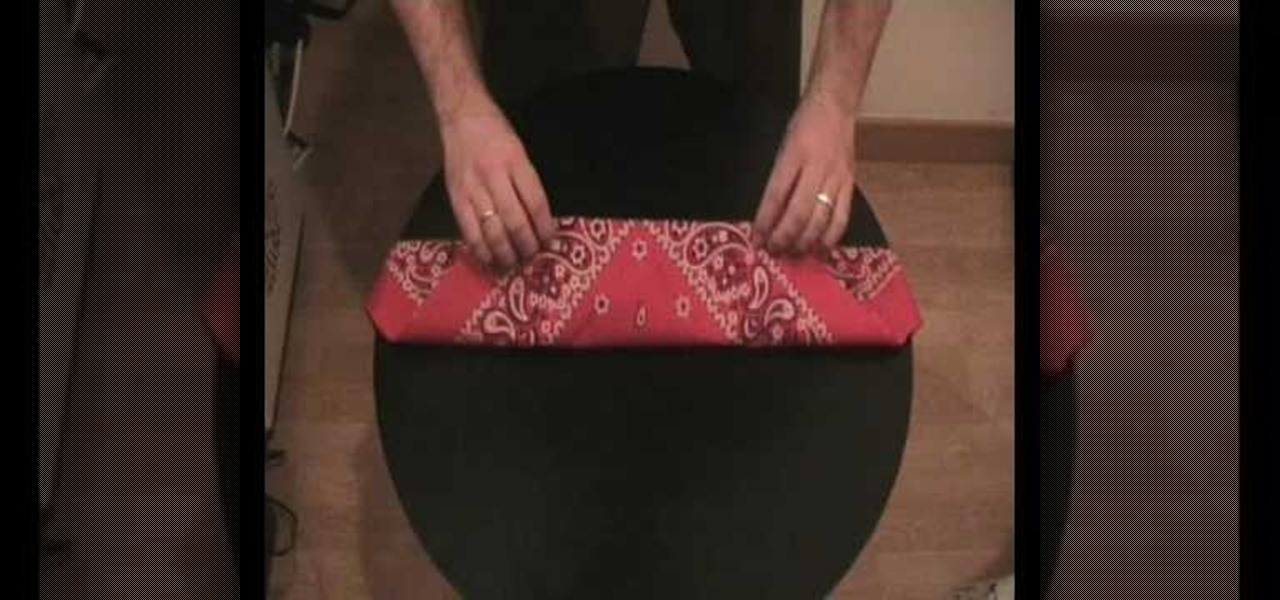
In this tutorial, we learn the proper way to fold a bandana. This is a traditional way, not a rapper or gangster style. First, lay the bandana flat and make sure there are no creases in it. Next, fold the bandana into one big triangle. After you've done this, fold the top point down and keep folding down until you've made a large and thin rectangle. Now, flip it over and you can tie the bandana around your head. Tie it in the back of your head and place it across your forehead, now you've got...
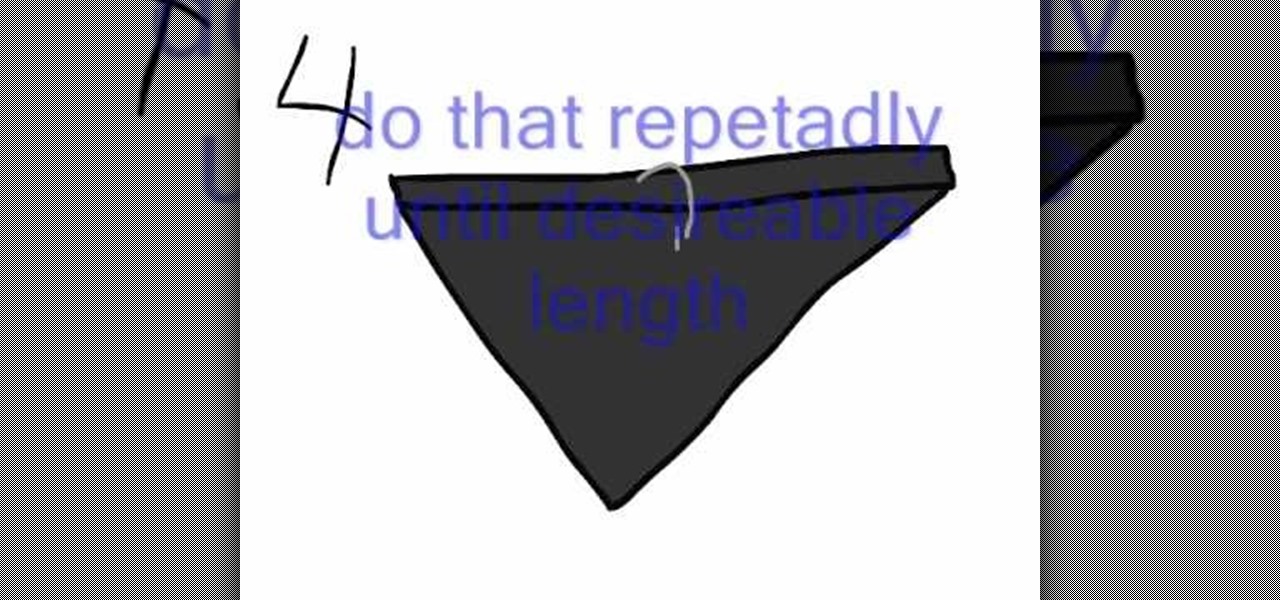
In this video, we learn how to fold a bandanna. First, place your bandanna flat, then fold it diagonally. Once you've done this, you will have an upside down triangle. Now, fold the top of the triangle down as many times as you desire, it can be as wide or as thin as you want. Now, you should have a rectangle with a triangle hanging out from under it. You can now tie the bandanna around your head, butting the triangle part around your mouth. Tie a knot behind your head tight enough to where i...
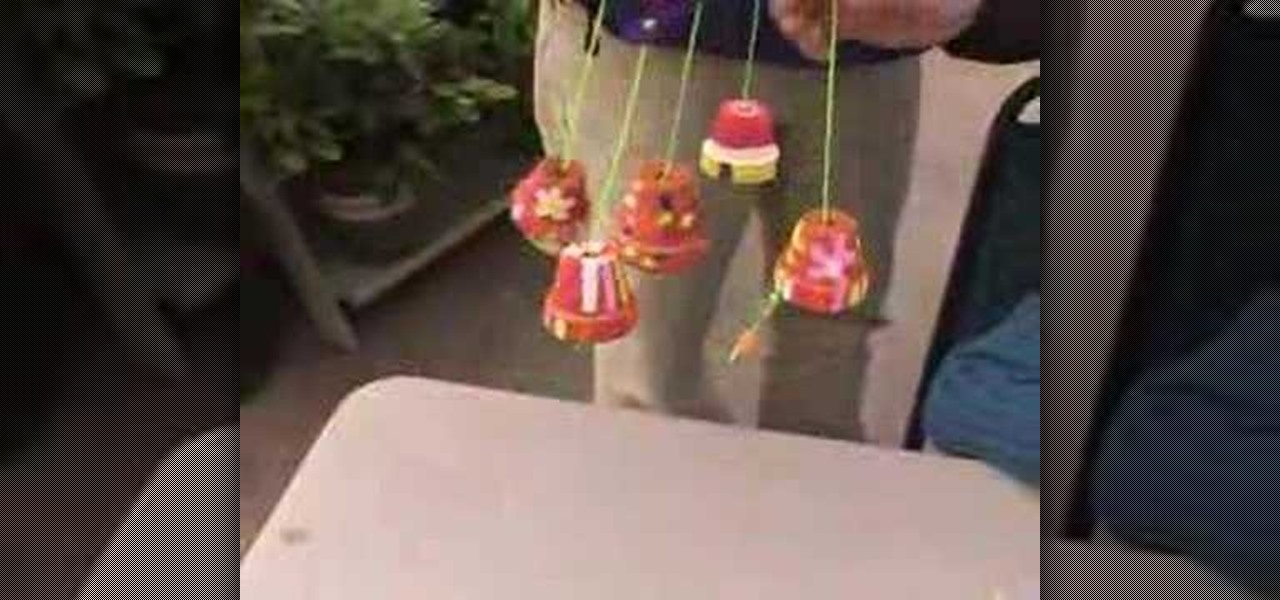
Lynn Snodgrass shows how to make chimes by using small clay pots and popsicle sticks. You can tie them together by using plastic string or regular garden string. The pots can be decorated with paint or you can apply stickers to the pots. 1. Use the sticks tied with the string as the base that holds the pots together. 2. Thread the string through the opening in the clay pots. The pots will have already been decorated with the stickers and the paint and will already be dry. The next step is to ...
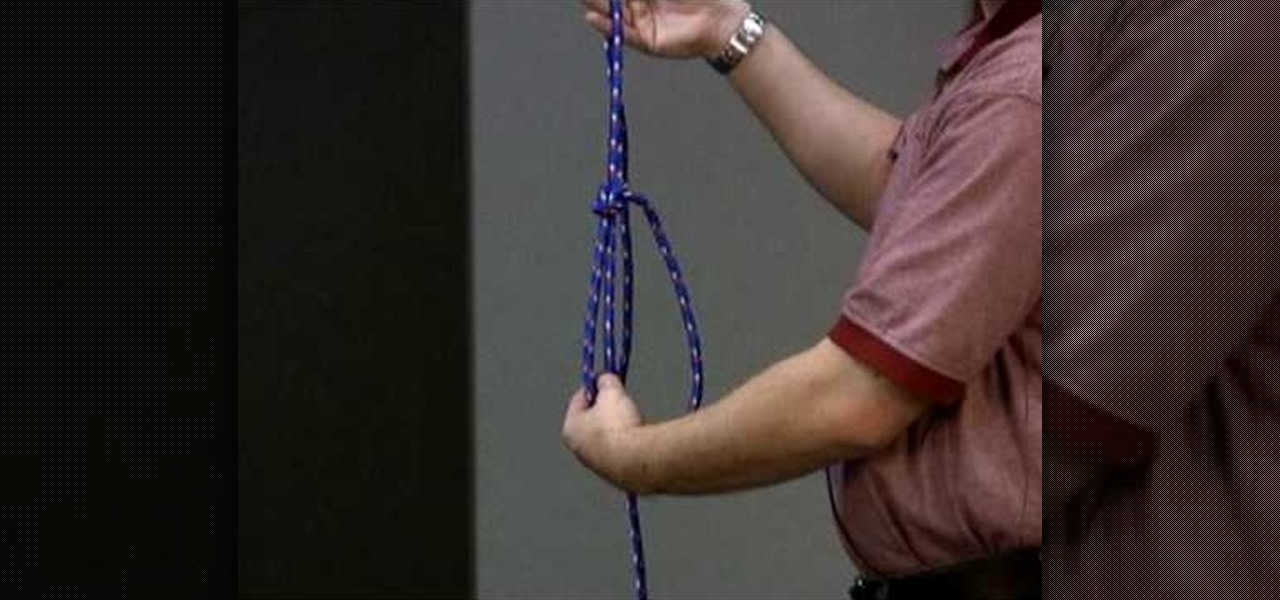
This video describes and shows you how to tie a loop in the end of a rope with a bowline knot. A bowline knot is used in rigging by the ground rigger to create a point for the up rigger to have a point to pull up. This is how you create a bowline knot. First you must create a loop in the middle of the knot. With the free end, come up through the loop, then you go around the standing end of the rope and then you move it back through the loop. You pull the knot tight. That is how you create a b...

Learn how to make a River Bar bracelet, which is also known as a Paracord bracelet, by following the steps outlined in this video tutorial. To start your bracelet, you will need to tie a reef knot. This is done by taking two loops (in two different color strings) and then placing one loop within the other, pulling this through the first loop to secure the two loops together. This knot creates the end of your bracelet. To actually make the River Bar design, bend the two colors of string so tha...
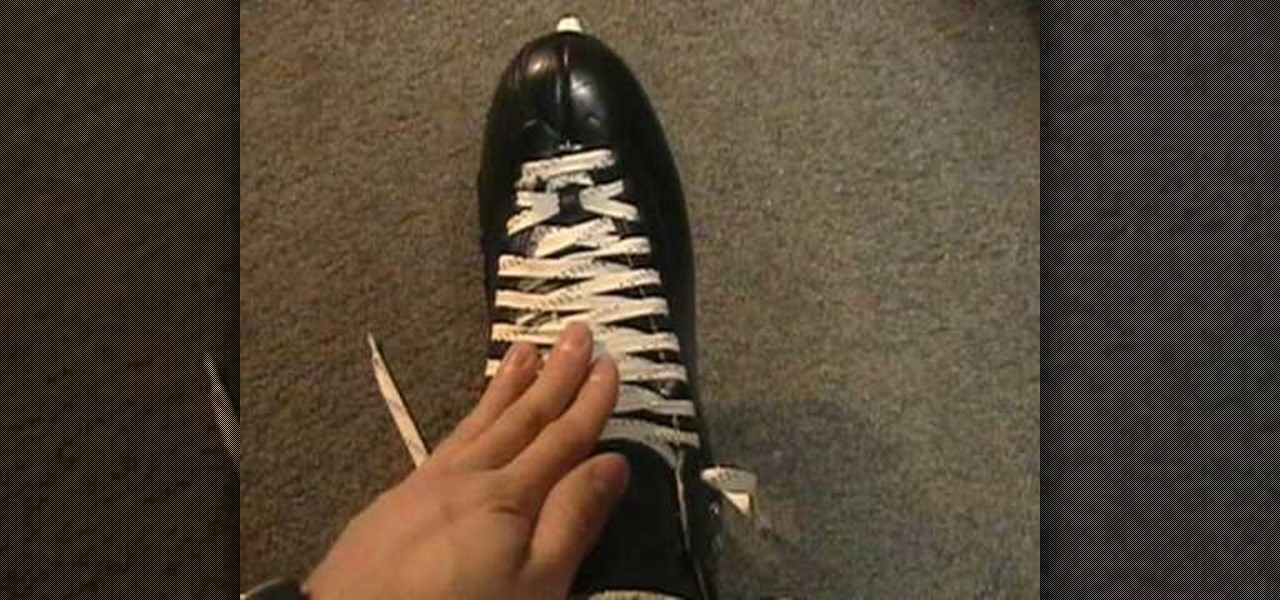
In this video from Prolite we learn the right way to tie your ice skates and keep the laces tight. First you need a lace hook. It's a metal piece that helps you lace the skates. With the skate on and the laces loose, pull tight on the laces just enough so it's a little tight. Now take the lace hook and start at the bottom. Put it underneath both laces and pull tight. Keep doing this as you go up the skate. As you pull tight with one hand, with the other you put one finger where the tension is...
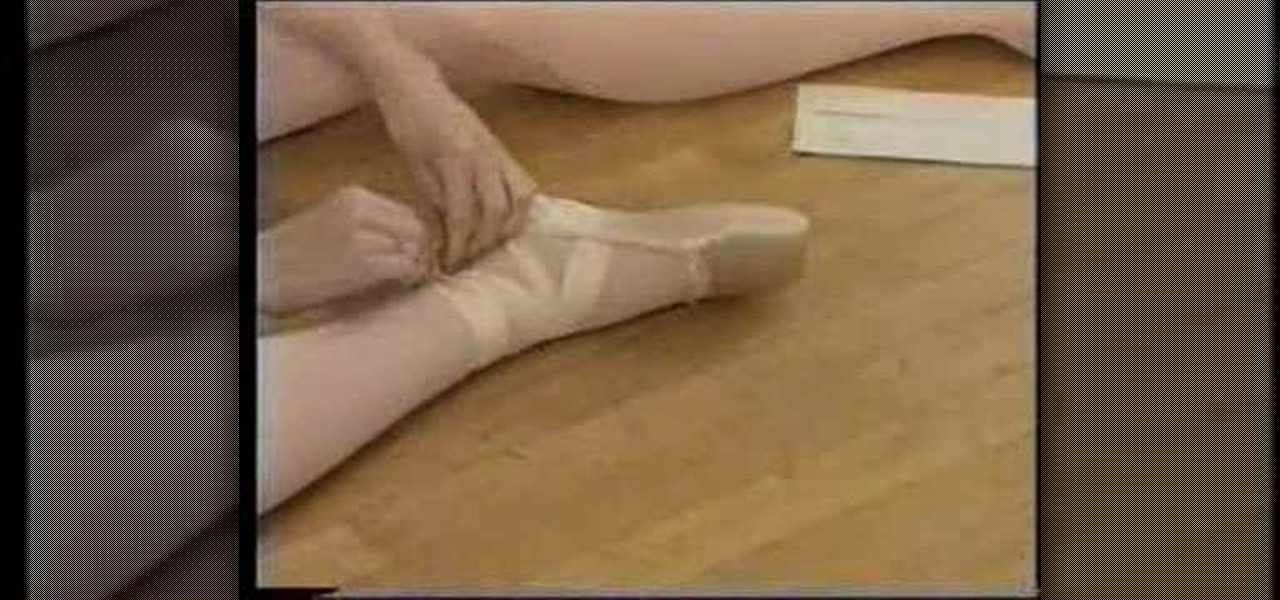
This video demonstrates how to properly tie ballet shoes before doing ballet. First, in addition to the ballet shoes, some paper towels will be needed for padding. Fold about three paper towels together until they form a rectangle approximately 3" by 4". This will be used to pad the toes. Now, pulling the show onto the foot, pull the strap over the top of the foot and place the folded paper towels around the toes and top of foot to pad. Pull the shoe snugly onto the foot. The side straps shou...