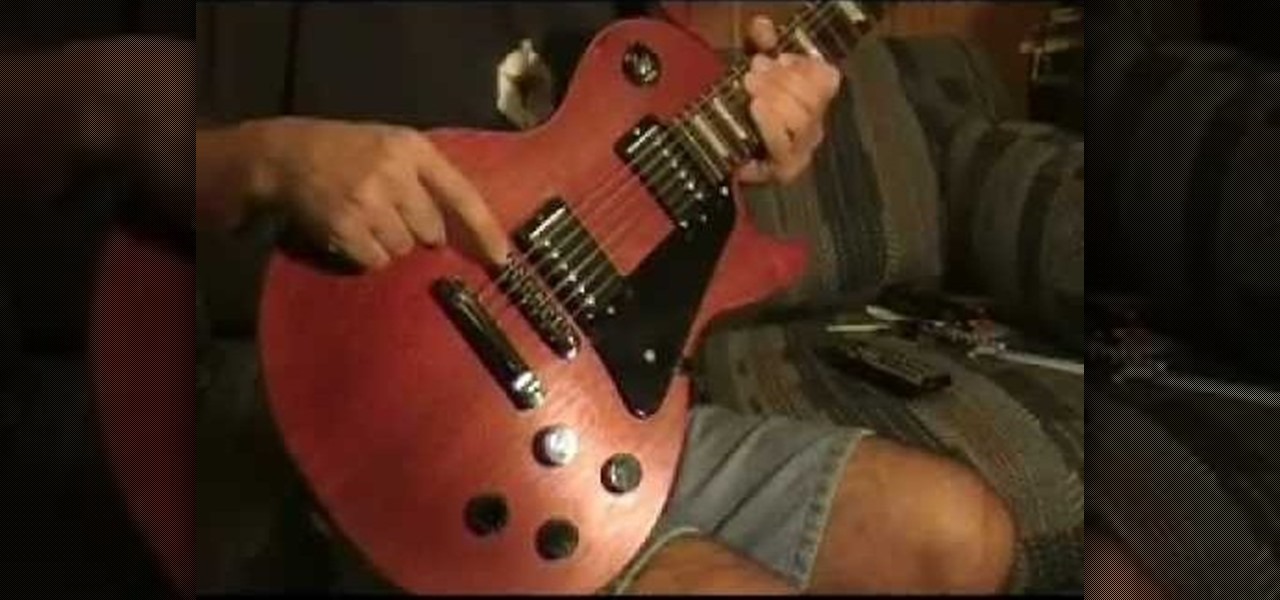
In this video, we learn how to play electric guitar for beginners. First, you need to become familiar with the guitar. The body, the frat board, the head, the nuts, and the strings. Learn what all the parts of the guitar are called and exactly what they do in relation to the guitar. When starting to play, you will need to learn the different strings and how they sound. The E, B, G, D, A, and E strings all have different noises to them depending on how tight and tuned they are. If you have nev...
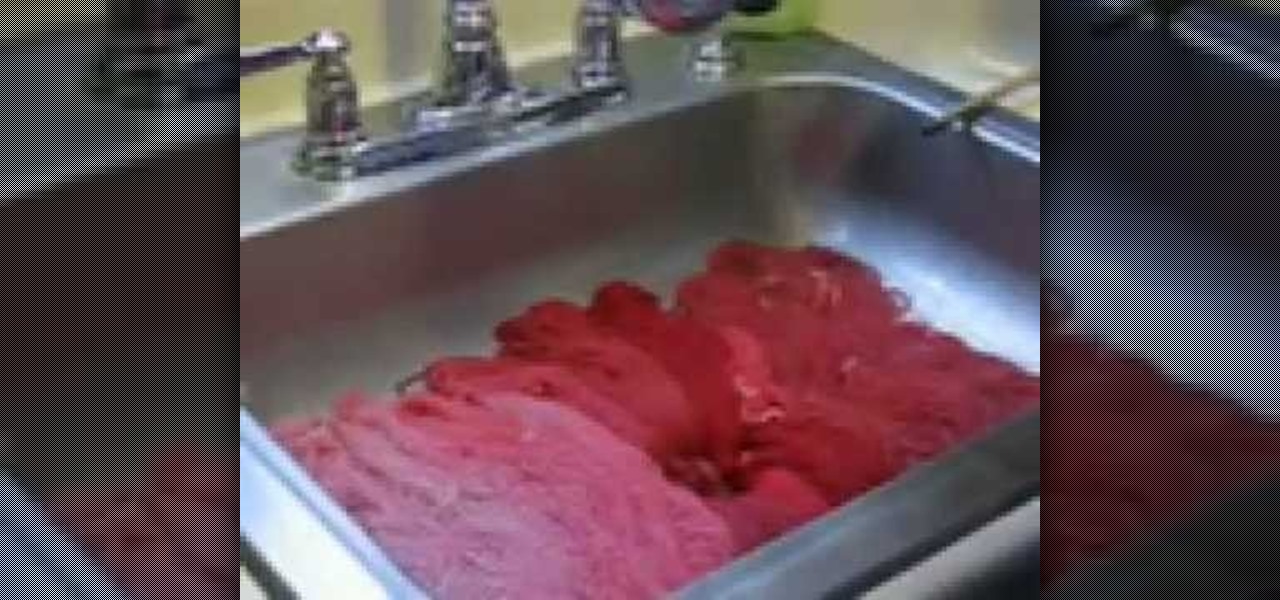
In this video, we learn how to dye yarn with Kool-Aid. First, take two chairs and wrap yarn around them as tight as possible to keep them from getting tangled up. Then, place in a bath of lukewarm water for ten minutes. After this, grab packets of Kool Aid the color you want your yarn to be. Now, take the yarn out of the water and squeeze out any excess water. After this, mix up the Kool Aid and place it into individual jars for each color. Next, place the jars in a large pot of water and the...
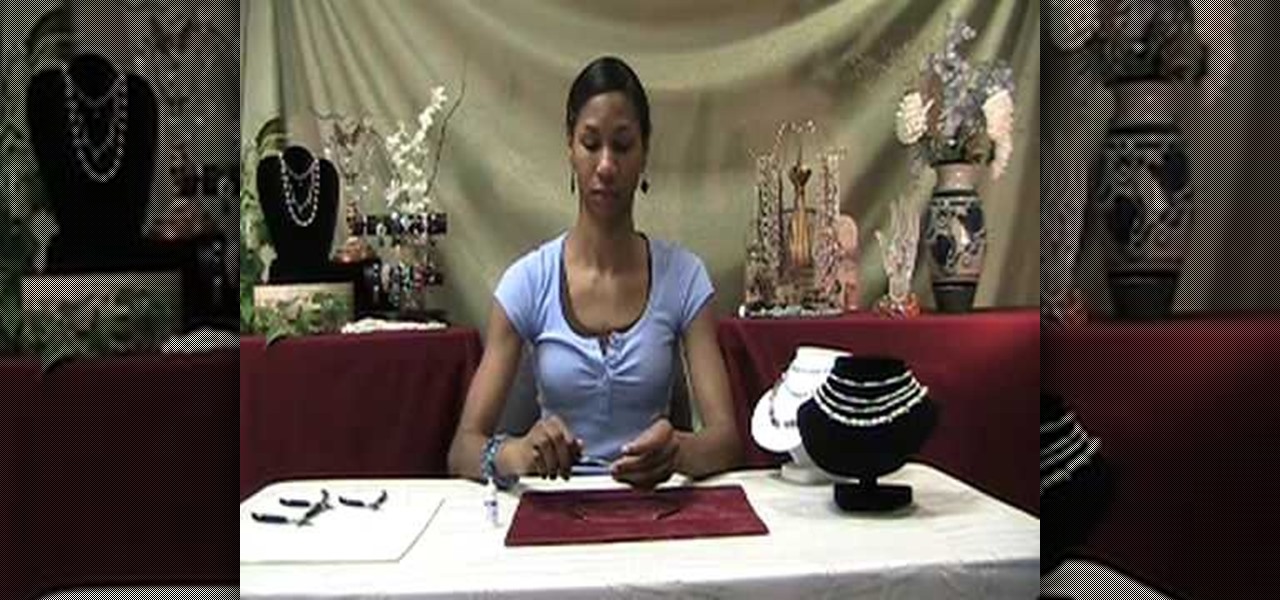
In order to make a neoprene necklace, you will need the following: neoprene, scissors, end caps, clasps, glue, and 2 pairs of pliers.
Finger curls probably don't sound familiar to you, but we can bet you've seen them before. Think Marilyn Monroe's tightly curled hairdo, Gwen Stefani's tight waves in her cameo for "The Aviator," or Rachel McAdams' curls at one of the "Sherlock Holmes" premieres.
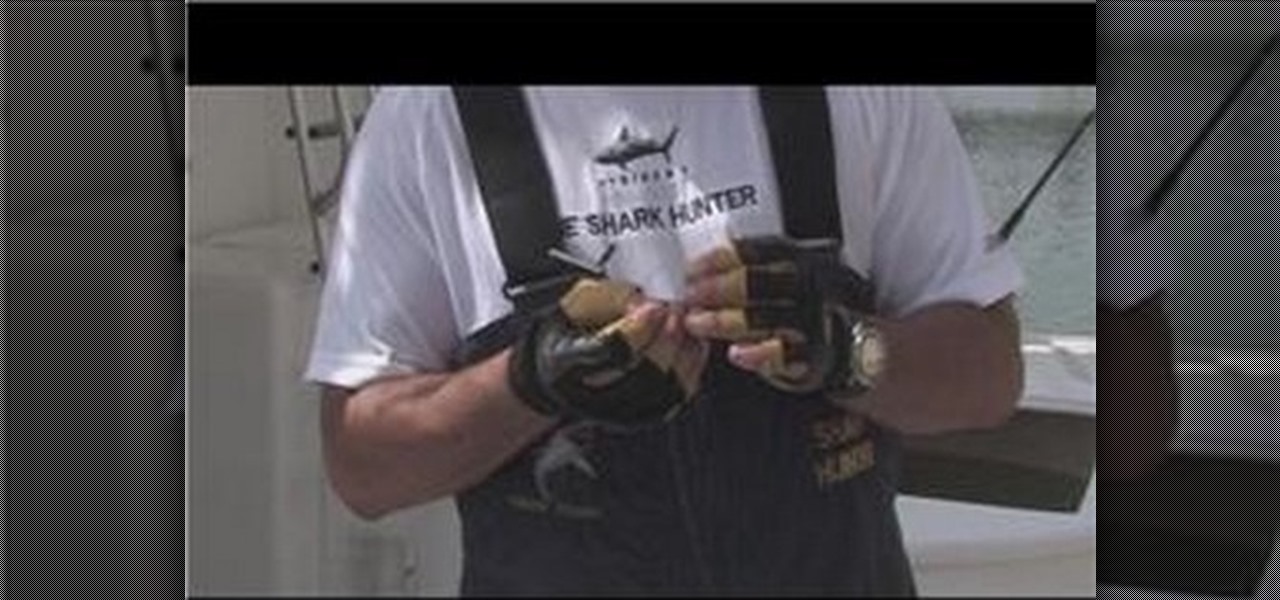
In this tutorial, we learn how to tie fishing jigs. First, go through the eye of the jig with your thread, then make a fisherman's knot making seven to eight turns. Now, go through the loop with the end of the string and pull it tight. Then, cut the end off and make sure you have four to five feet of lead left. You can put a swivel on the end of it, then tie another fisherman's knot. When finished, this will go to your main line on your other rod and you will be ready to go! This is easy to m...
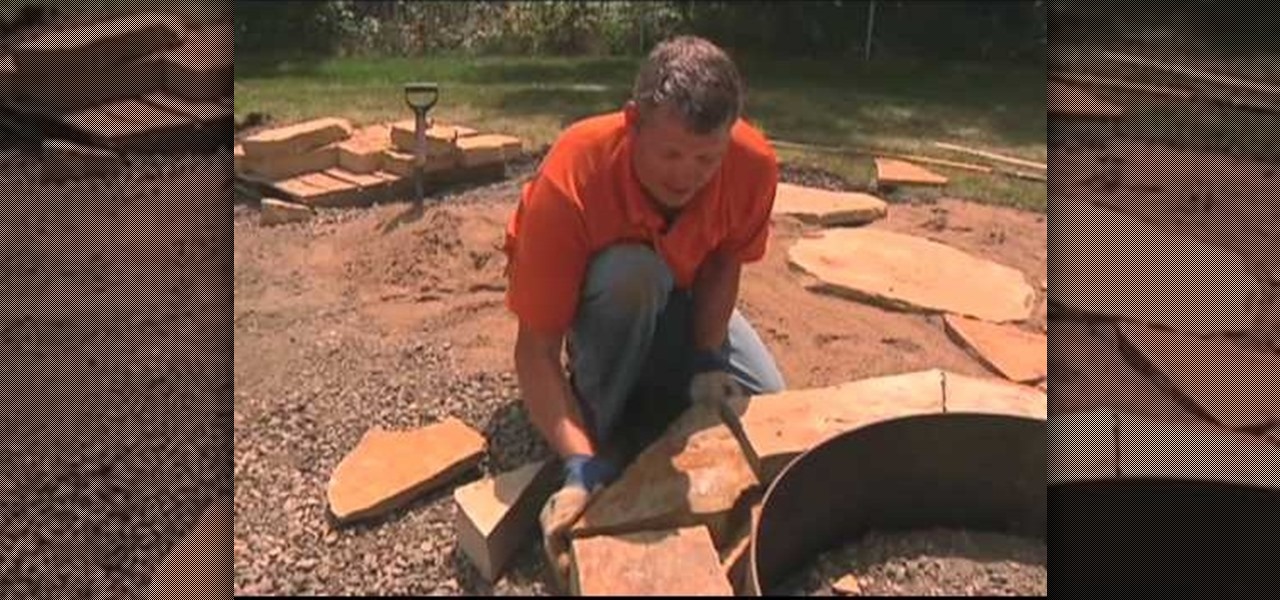
In this tutorial, we learn how to properly build a firepit. First, prep your base by filling it with dirt and small rocks. After this, set your ring down onto the dirt and make sure it's level. You can also raise it up if you want a foot rest or beverage holder. Next, apply your stone around the ring and then mortar it. Make sure all the pieces of stone fit nice and tight together. After you've done this, lock in all the joints on the stone patio by using sand and brushing it into the middle....

In this video, we learn how to tie the basket weave knot. First, place the string on a hook, then cross the two sides and make a loop. Next, make the loop wider and take the right and left strings up, then pull the loops down to make a pretzel shape. Now, twist the bottom loops around and place one on top of the other. After this, push them on either side of each other, then bring the right string around and loop it through the left loop, then bring the left string into the right bottom loop....
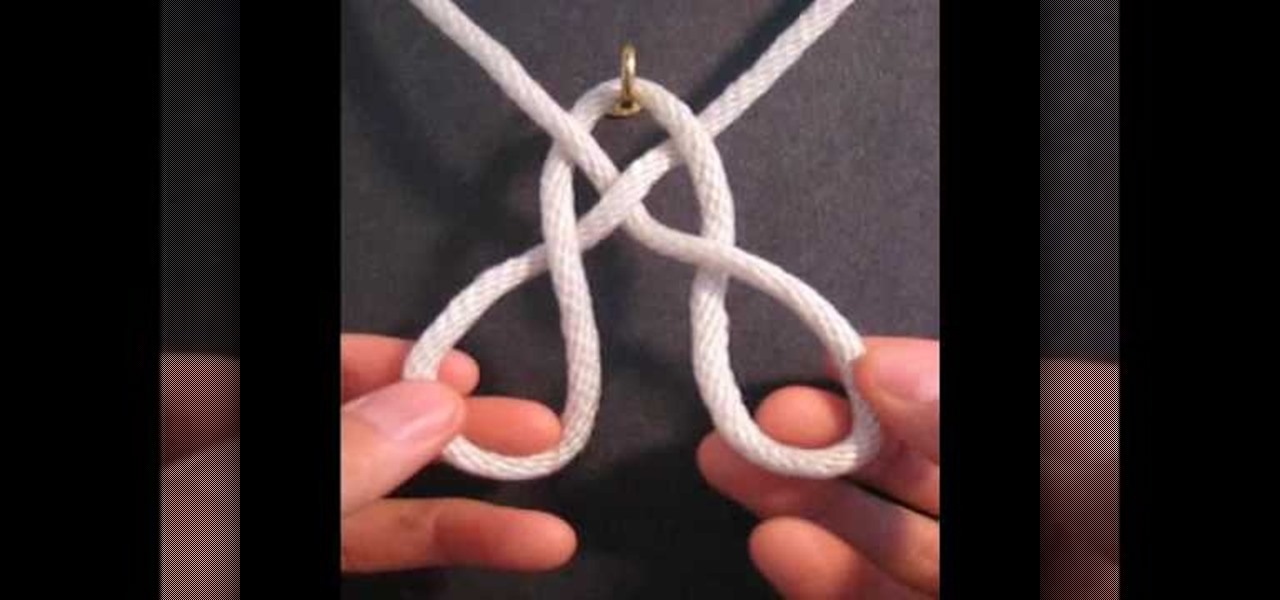
In this tutorial, we learn how to tie the two color monkey's fist knot. First, make a double overhand knot, and snip the edges off. Next, create the monkey's fist by taking one of the ropes and looping it around the fingers several times. After you do this, push the knot through the fingers and tie the other string around the entire loop several times. Push the string through the loop, then continue to tie on the opposite side around itself. To finish this up, Pull the two outside strings tog...
In this video, we learn how to do a kettlebell for beginners. The first exercise you can do is a kettlebell front swing. Stand while opening your legs, then pick up your kettlebell and swing it through the middle of the legs. Use a tight movement and use momentum to control your upwards and downwards movements. The next exercise you can do is a single arm front swing. You will do the same movements as in the first exercise, except holding the kettlebell with one hand and having the other plac...
In this tutorial, we learn how to take out knitted stitches. First, pull your yarn tight and insert your two crochet needles. Take the left needle and go into the stitch, then pull it out with the right needle. Continue to do this for each stitch, until you have removed each one you don't want. Although you may think you won't need to do this, it's very important to learn just in case you make a mistake while creating something. make sure to work slowly, so you don't end up removing more stit...
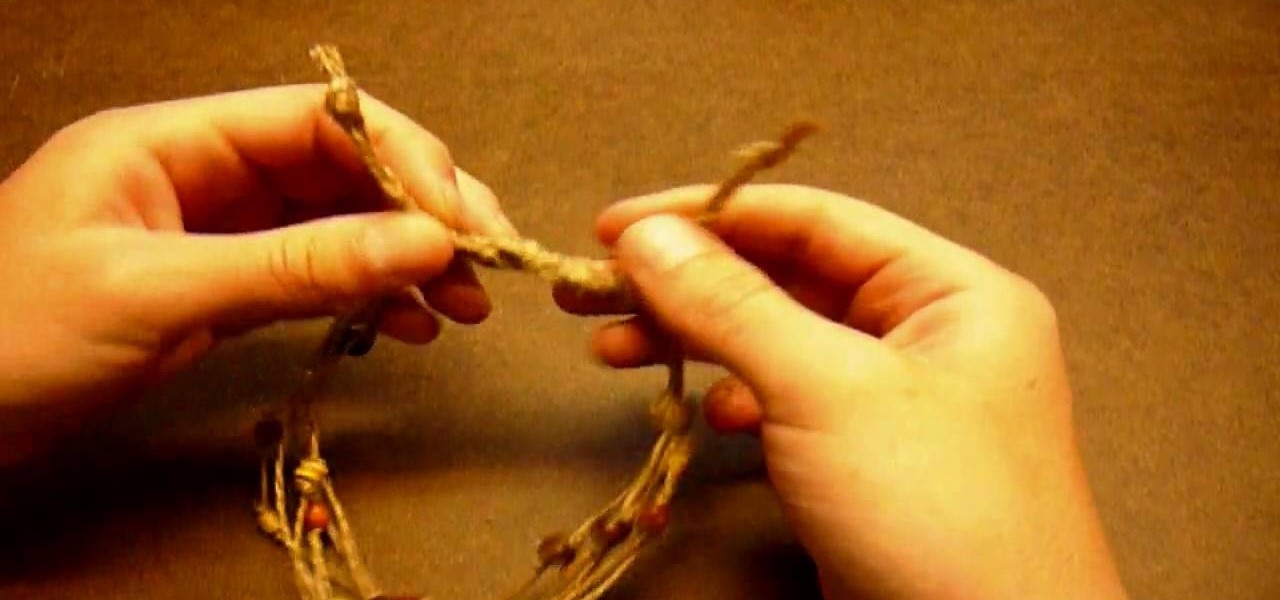
In this tutorial, we will learn how to make a simple beaded hemp anklet. Start off by measuring six 34" strands of hemp. Now gather the hemp strands and tie them into a knot at the end, pulling the strands tight. Clip the end into the clipboard and start to tie your hemp strands into a braid. When you reach the bottom, tie a knot and pull tightly. Now, add wooden beads onto your anklet and keep braiding in between these on other anklets. When you are finished, you can give these to friends as...
In this tutorial, we learn how to tie a decorative noose. First, form a loop and then and wrap the end around the loop thirteen times. Next, take the loose end and stick it into the coils you just made. Use a pencil and long scissors to help you do this. After you are done with this, tie a knot at the end and pull so the loop is tight. You can also clip off the loose end and pull the loop to make it larger if you prefer. When finished, use this as you wish but do not use it for violent activi...
If you've paid attention to the red carpets or fashion news at all recently, then you know that the gorgeous Rachel Bilson made waves - quite literally - recently when she wore a tight finger waves hairstyle to the red carpet premiere of "Sherlock Holmes."
In this video tutorial, viewers learn how to tie a four-in-hand knot with a skinny necktie. Begin with the wide end at least 12 inches longer than the thin end. Then put the wide end over the narrow end and wrap it around once more. Now bring the wide end under the loop and down through the front of the knot. Then pull the knot tight and adjust the tie. This video will benefit those viewers who have a skinny tie, and would like to learn how to tie it because hey are attending a formal dinner,...
In this tutorial, we learn how to tie ballet slippers. First, flatted the back heel of the shoe. Next, sew the sew from the inside so the elastic isn't sticking out. Then, take the drawstring and pull the shoes on so they fit snugly. Be careful not to pull it to tight. Then, tuck the string back into the shoe, don't tie it into a bow. Even if your foot grows, you can loosen the shoe up. If you have a point shoe, it also has elastic that get attached to the back. You will place ribbon into the...
In this video, we learn how to create an elegant band look for curly hair with Liz Muller. To start, you will take a comb and brush the front of your hair to flatten it out and make it straight. Push your hair to the back of your head, then take pins to pin the hair back on the head. Make sure it's tight so the hair doesn't become loose. Continue to pin the hair on the bottom, then bring your hair to the front. Do this on the other side of your head, again brushing the bangs back to make them...
This video tutorial is in the Arts & Crafts category where you will learn how to tie a sheet bend knot for camping. Take two ropes, make a bite at the end of one rope. Pass the end of the other rope through this bite from underneath and come back through the loop in the second rope and pull it tight. This knot is used to tie two ropes of different sizes together. A variation to this knot is called the double sheet bend. Here you make two loops with the second rope and pass the standing end th...
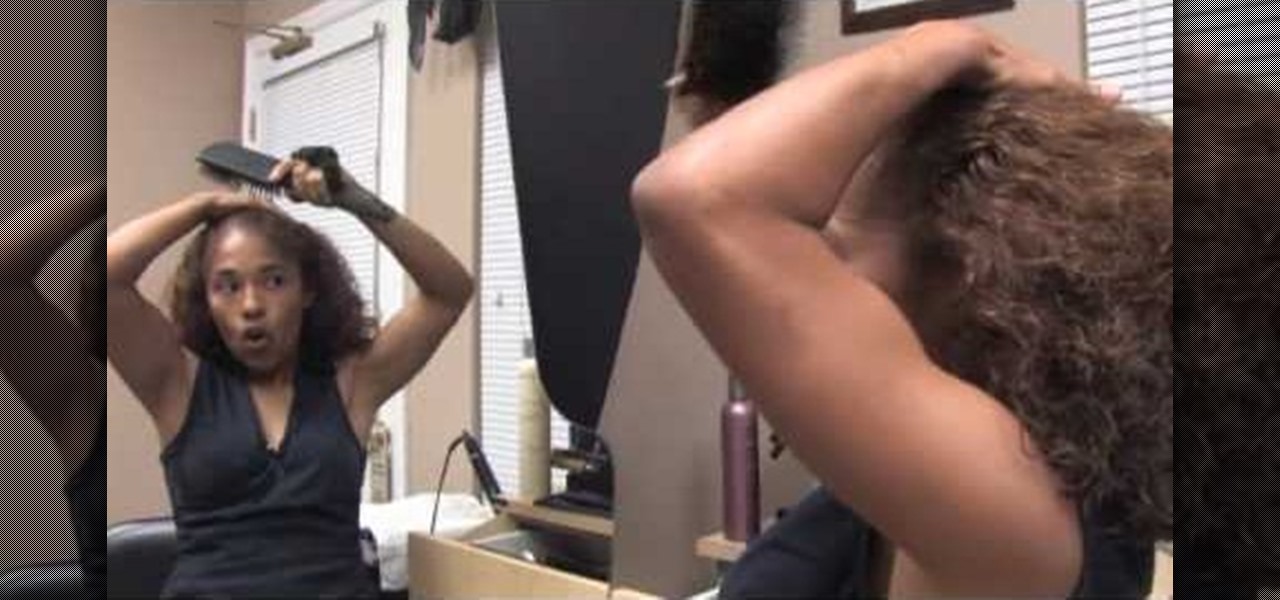
In this tutorial, we learn how to get wavy hair in less than five minutes. First, apply silk hair serum to your entire hair, avoiding the roots. Next, take a curling iron and curl your hair from the bottom up. Only curl around 1 inch curls, or smaller if you want tight curls. If you want your hair to be shiny, flatten it with a straightening iron before you do this. Curl your entire head of hair, sectioning off sides as you go. When you are finished, your hair will be curly and sexy! Use flex...
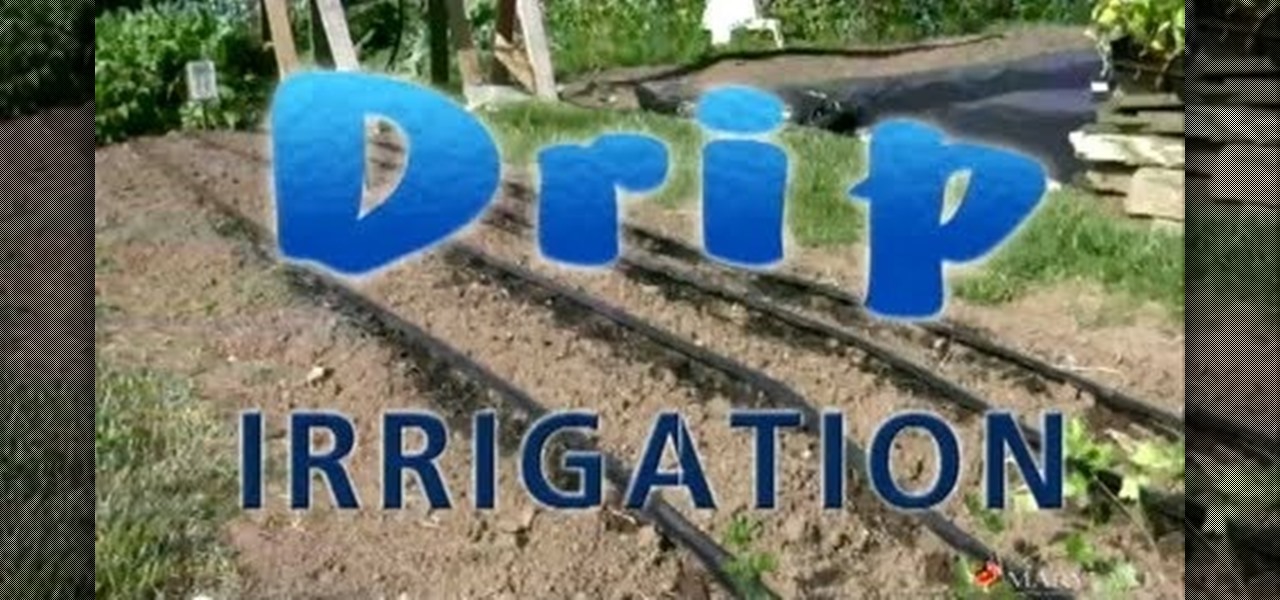
Using a drip irrigation is nothing new for when it comes to watering plants. This type of system has been used for many years and is still used to this day.
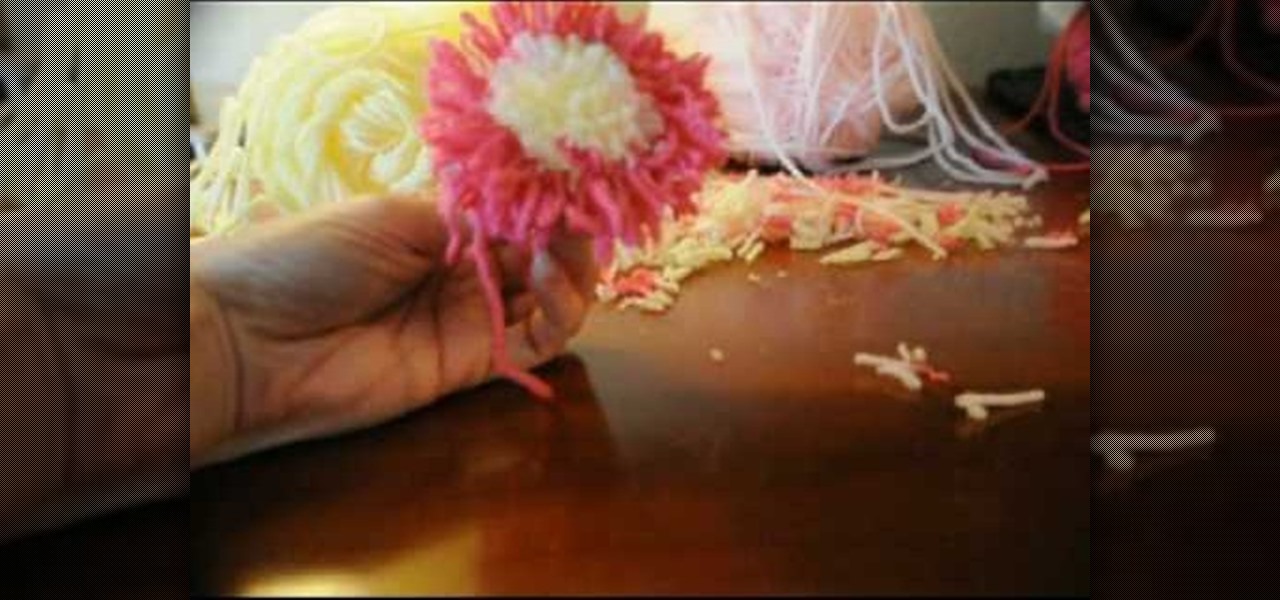
Tracey shows us how to crochet an easy pom pom flower in this tutorial. First, wrap your yarn around four fingers several times, and then wrap another color around as well. Last, wrap one last color on top of the middle color still wrapping around your fingers. Now pull the yarn off your fingers and tie a piece of yarn down the center of the wrapped yarn. Pull this as tight as you can and make as many knots as possible with this piece of yarn. Now cut your loops open with scissors through the...
In this tutorial, we learn how to reinforce a ceiling fan. If you are hanging a ceiling fan, you need to make sure the electrical box is reinforced and can carry the weight. The ceiling fan can weigh 20 lbs or more. First, remove the existing ceiling box and push the wiring through. Next, push the bracket through the hole until it's completely in. Next, twist the brace until it's tight. After this, put the bracket in and then take your electrical box and line it up to the bracket so you can s...
In this video tutorial, viewers learn how to do cardio kickboxing routine. Users should begin by warming up before performing any kickboxing moves. Keep the punches really tight and kicks nice and easy to not pull any muscles. Start with a right-left jabs. Then add a right and left hook with the jabs. Now add right and left uppercuts to the routine. Then add two right kicks and two left kicks. This video will benefit those viewers who are interested in health and fitness, and would like to le...
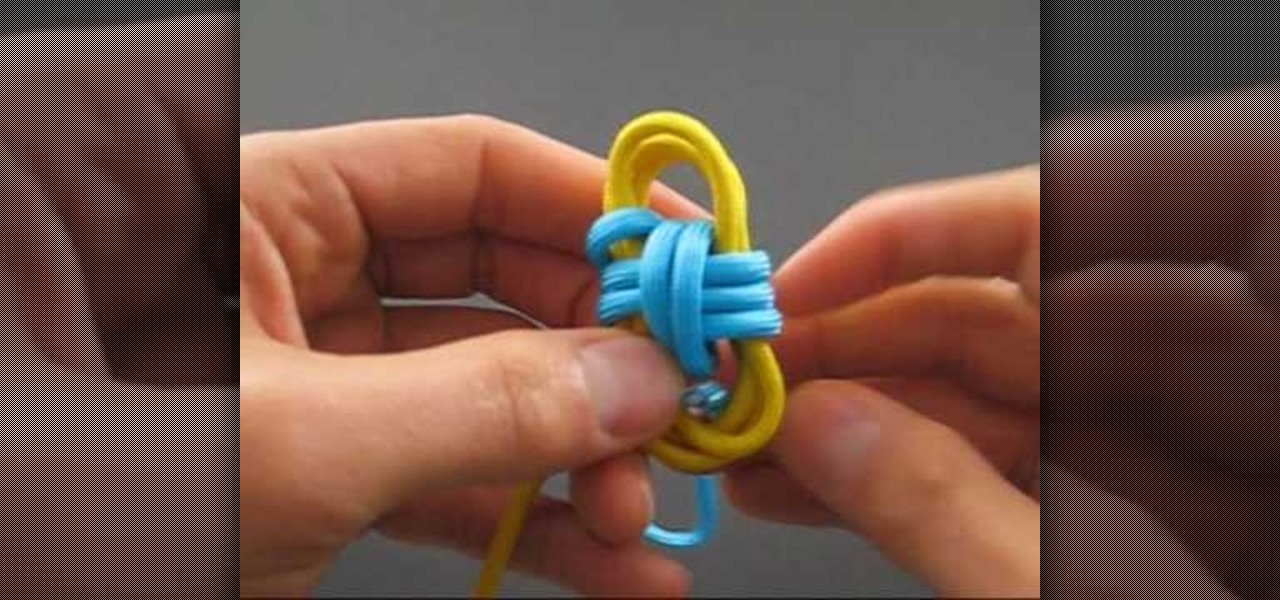
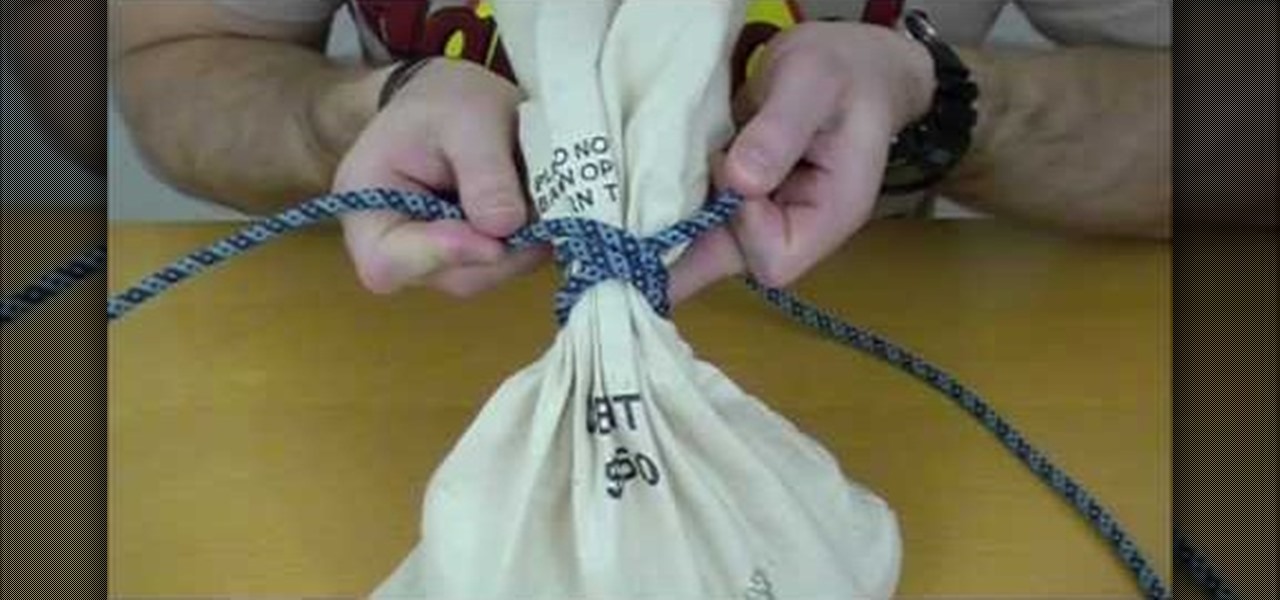
In order to tie a Miller's Knot, which is also known as the bag or sack knot, you should begin by wrapping the rope around the object you wish to bind: the Miller's knot is a binding knot. It is used to bind things. Next, wrap one of the free ends around it. You are, basically, wrapping one end around a second time.
In this tutorial, we learn how to make a high pony tail for curly hair with Liz Muller. First, wet both sides of the hair and put gel into it. Now, push the front of the hair back with a brush, avoiding brushing a lot so you don't have frizz. Make sure it's straight, then push the back of the hair up. Combine all of your hair together until you have it high on your head. If your hair starts to get curly in the front again, just release your hair and try again. You can always add more gel if y...
In this tutorial, we learn tips from roadies. If you experience a nosebleed and don't know how to handle it, there is a very simple way to cure it. First, take a long string and tie it around the middle of your hand a few times until it's tight. Then, make a fist with your hand and squeeze for two minutes. By the time the two minutes is up, your nosebleed should have subsided. Another tip, is for when you have hiccups. First, take a pen and press it on the inside of the ear. After a few secon...
In this tutorial, Lisa Quinn tells us how to get rid of pests in the home. First, walk around your home and look around the foundation to see if there are any big crack or crevices on the foundation. To solve this, go to the hardware store and grab some caulk to fill in any cracks. Next, check your windows to make sure they don't have any cracks in them, if they do, fill it in with weather stripping. Now, go into your kitchen and cabinets and make sure your pantry is free of crumbs and your c...
In this tutorial, we learn how to do a firefly yoga pose with Dina Priost. Place a folded up blanket under your hands to provide support if you have tight wrists. Begin with arm pressure pose, squat on your blanket so it's behind your feet. Take your arms through your legs and place the hands down on the blanket so they are on the edge. Move your thighs up as high as you can and lean back while bringing the fee forward. Now, pick your feet up off the floor while deep breathing. Now, bring the...
In this Outdoor Recreation video tutorial Dave from 'journey the outdoors' explains how to make a bench shooting bag. This is used by bench or week-end shooters for recreation purposes. For this you will need an old sock. Take one that you don't use anymore and preferably a tight knit sock. Then fill it with rice and tie the open end of the sock. You can also fill it with beans or some other such substance. Rice and beans being bigger than sand, there will be more air in the bag and it will a...
It's actually rather easy for a gal to dress up like a guy: slap on a five o'clock shadow, baggy pants, and a loose T-shirt and you're good to go. But when guys want to dress up as drag queens there's a little more...tweaking...involved.
You will see a great way to light and set up a blue/green screen for your next video. There are a lot of tips that will come in handy if you want to film on a blue/green screen and don't want to pay outrageous fees to do so. The key in setting up is to block out all outside sources of light so you have just the desired amount of lighting coming just from your own sources and also setting up the screen and stretching it out as tight as possible so you won't see any creases or snags in the mate...
Toga parties are an essential part of the college experience! Don't get stuck at your next toga party with a sheet that keeps falling off, check out this video and learn how to tie your outfit properly.
In this how to video, you will learn how to load a kayak on a vehicle. Doing this properly will mean both the kayak and vehicle are safe. A simple upright system is fine for your kayak. You want to look for J and V bars with padding to transport your kayak. To lift the kayak on to the roof, first check to make sure the straps are working. Hold the kayak with both hands and a straight back with your knees. Lay the kayak in a strong position on its side. Secure the kayak with the straps. Thread...
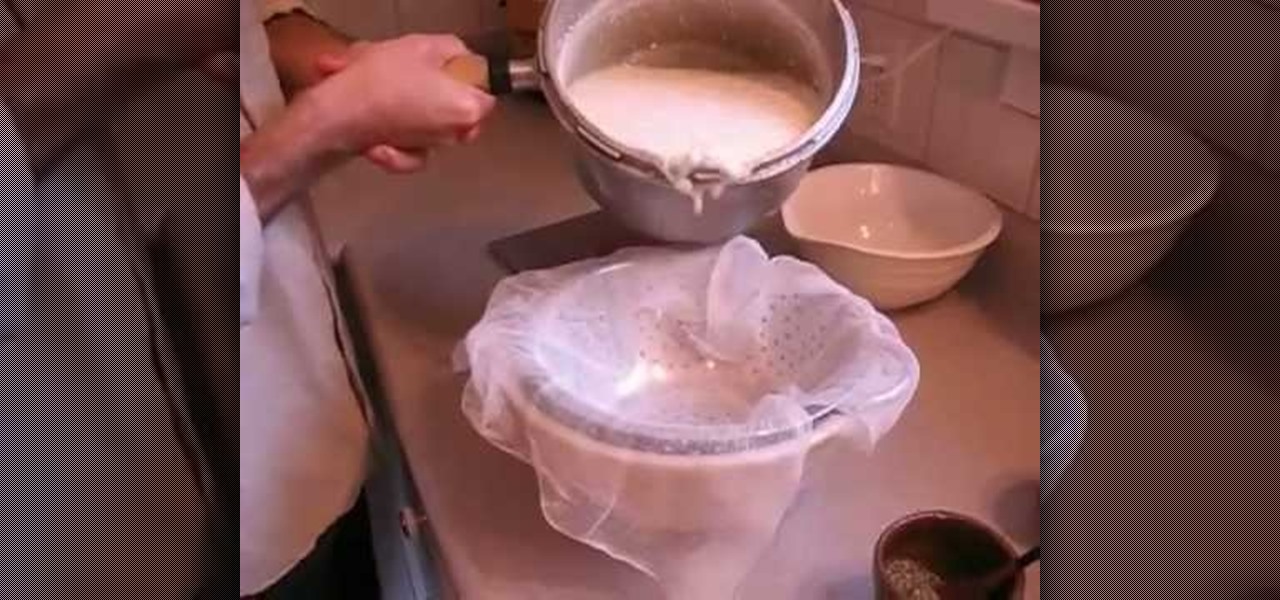
This video shows you how to make a homemade goat cheese.The main in gredients are 2 litres of milk and 1/4 cup of apple cider vinegar.In a large pot,heat the milk,stirring continously.Bring this to a boil and keep stirring.Turn the heat off and slowly add the vinegar.Continue the stirring for some time.Take the pot off the heat and keep it aside until the milk curdles.Keep stirring.Place a coleander pot in a large bowl and put a cheese cloth on top of it.Now pour the curdled milk on this clot...
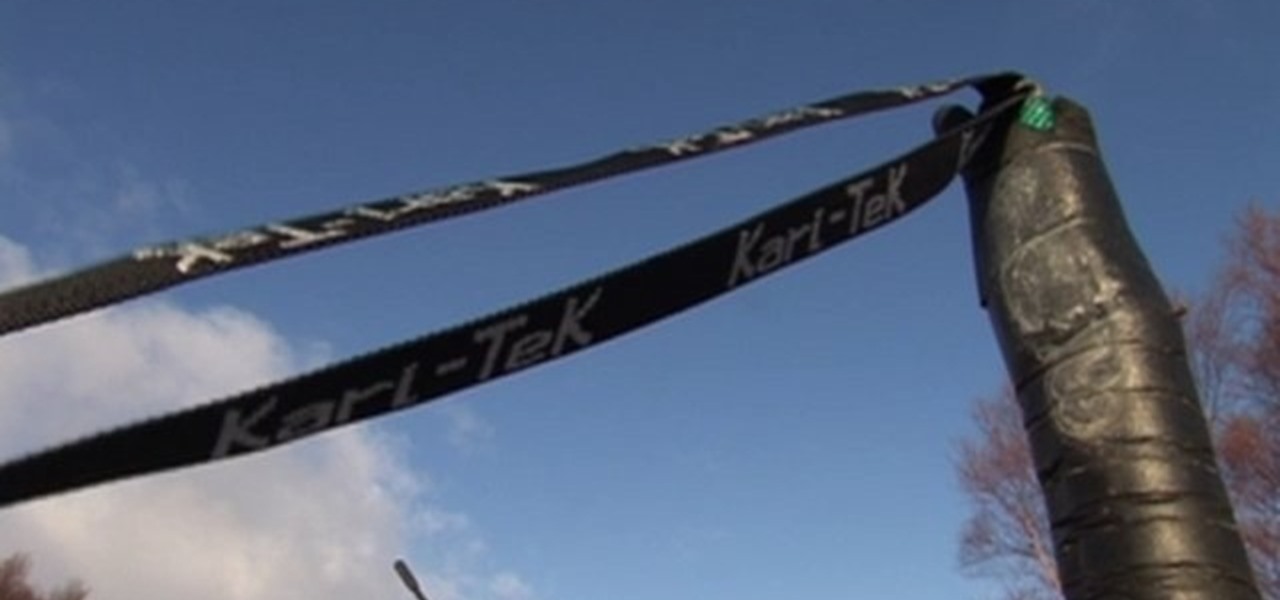
Webbing is not only used in sports like rock climbing and caving, but it also comes in handy in camping and hiking. This video shows you how to tie two webbing ends together to make a loop that will not come off. A square knot does not work for webbing as it will slip through, therefore a water knot is used. Take 4 inches (10 cm) from one marked end and tie an overhand loop. Ensure that the webbing is not twisted. Slip the other end in the knot and trace the second end around the overhand kno...
This video is a demonstration of two ways to tie your shoes. The first method is as follows. Cross the two strings over each other, tuck one under the other, and pull it to tighten. Make a look with one string, then make the same loop with the other string. Cross the two loops, take one of the loops and tuck it in the hole between the two strings, and pull it. The second way starts the same as the first. After you have the first knot, make one loop and hold it with your thumb and index finger...
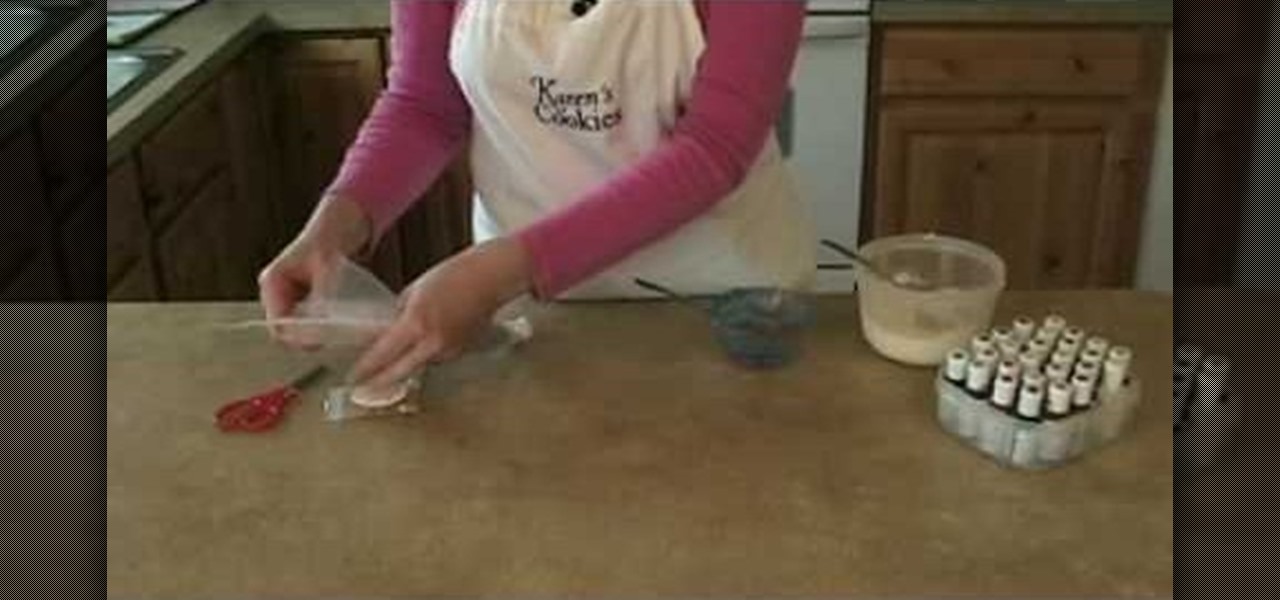
Karen shows you how to mix your colors and fill your bags. This example uses red blue and black. Begin by mixing blue. Start with royal blue coloring and add it to your frosting and mix it well. Dump the colored frosting into the middle of a sheet of plastic wrap. Roll it up in the plastic wrap, twist the edges, and now you have a little pouch with your frosting. Now take a bag with a coupler, and stick the plastic pouch of frosting in it. Pull it tight and rubber band the top of the bag, the...
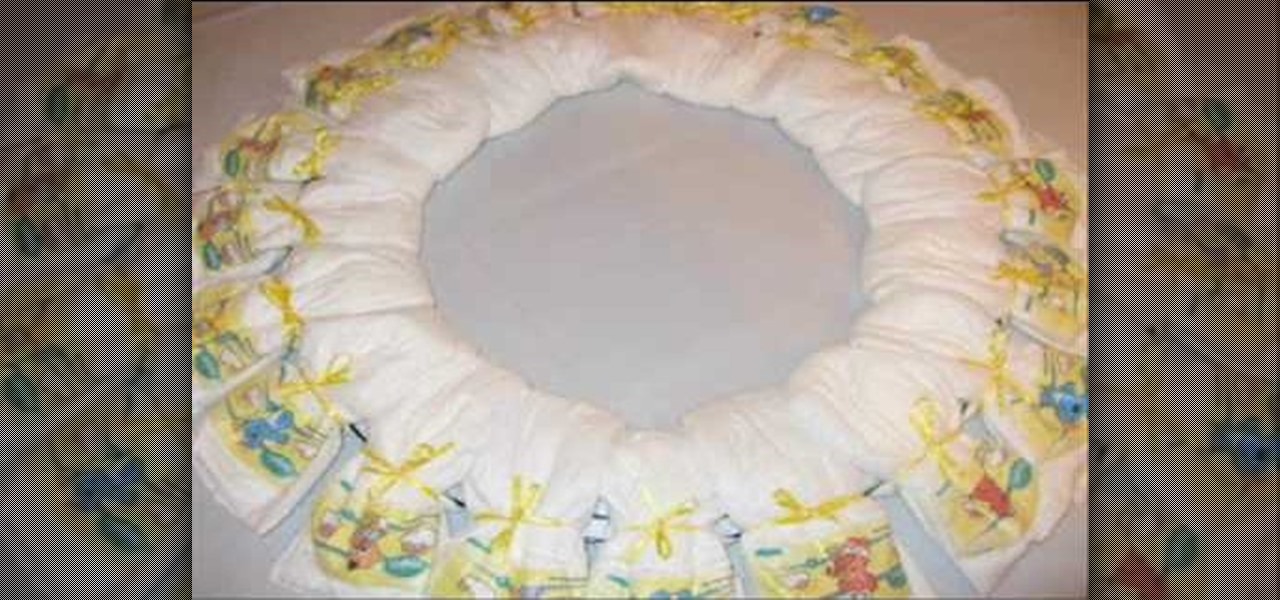
In this how-to video, you will learn how to make a disposable baby diaper wreath. You will need 20 size 1 disposable diapers and a wreath that is 12" to 18". Scissors, ribbon, and bows will be needed. Purchase some baby accessories such as pacifiers and toys. First, open the diapers. Put them in a sandwich shape around the wreath. Time them to the wreath with the ribbon. Do this until the entire wreath is filled. Make sure they are tied on tight. Place a toy on every three or so diapers. Tie ...
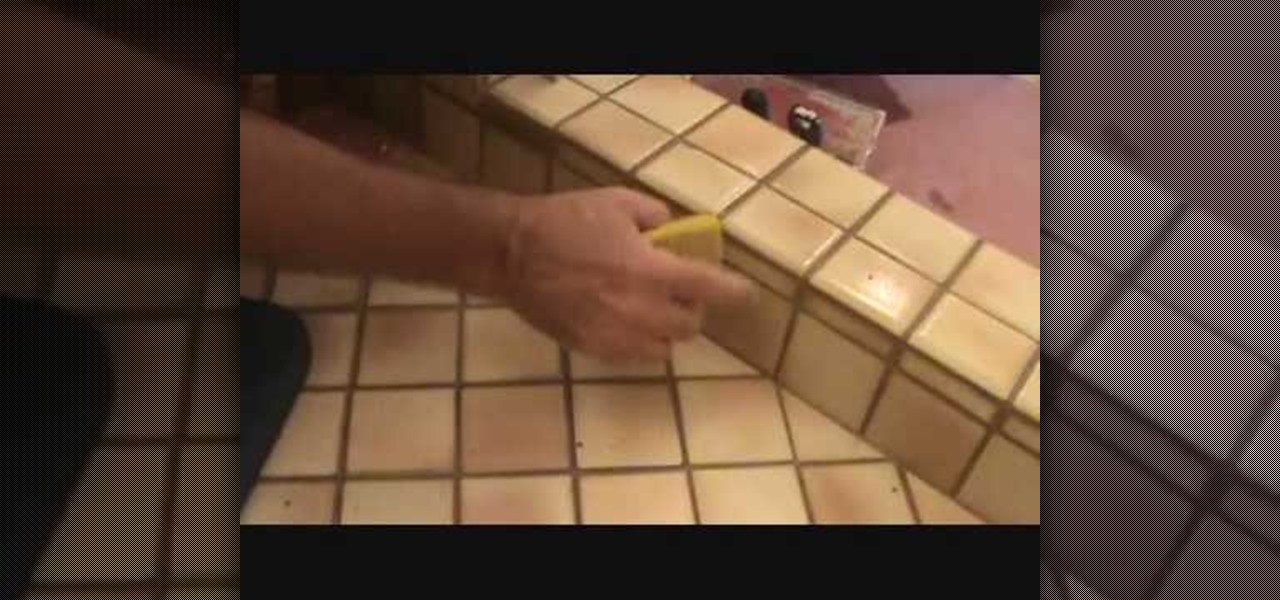
To remove grout from a tile patch area, use a scouring pad on a sponge to gently go ontop of the tiles to remove grout and see where you need to rub harder, but dont rub hard on the actual joint. Don't get your sponge too wet. Once you have everything off the tiles, work on the grout. Make sure you get the grout lines to make them look neat and clean. Make sure the seams are tight and flush, run your sponge over it to clean it up a bit. If you have a missing tile filled with grout, use a wet ...
In this video, we learn how to make a caper garlic butter sauce. First, take a white butter sauce (preferably a homemade fresh white butter sauce) and mix in chopped parsley, tomatoes and garlic. Mix all of these together until they are well combined with the white sauce. Pour the mixture into a serving dish and serve on top of your favorite dish. It works well with fish dishes and tastes great when it is made fresh. Make sure you use warm and fresh ingredients. To store this, keep in a tight...
Use three tools to create a simple ponytail. Use a hairbrush, a bobby pin, and a bungee band holder for this look. Using a bungee band instead of a standard ponytail holder eliminates some of the issues typically caused by pulling hair through ponytail holders. Start by using a bristled brush to brush the hair to one location on the head. Secure one hook of the bungee band in the ponytail and wrap the tail around the rest of the hair. Wrap it around again, and secure the other bungee band hoo...