Everyone has long days, and eyes become tired. To awaken tired eyes, brew a chamomile tea bag, cool it in the fridge, then place them on your eyes after you've laid down. There are also great eye patches you can wear to help tighten the skin and temporarily get rid of wrinkles. This will also soothe tired eyes and take away puffiness. You can also take two steel spoons, put them in the freezer, and simply press them underneath your eyes. Last, cucumbers are always a great alternative. They he...
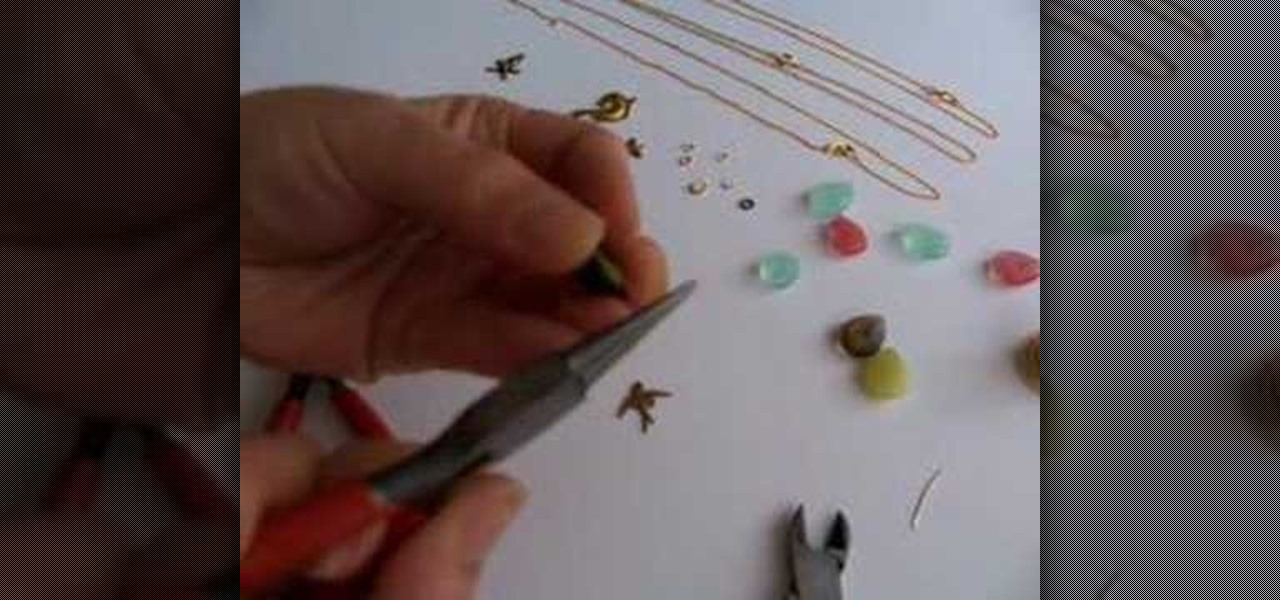
In this video tutorial, viewers will learn how to make a briolette charm drop necklace. The materials required to make the necklace include: a small piece of wire, briolette bead, charm of your choice, a jump ring (for the charm), chain necklace, round-nose pliers, long-nose pliers and cutters. Begin by putting the wire through the bead. Bend and cut the wire to shape a loop. Put the charm on the jump ring and attach it to the bead. Then add the bead to the chain and tighten the loop. This vi...
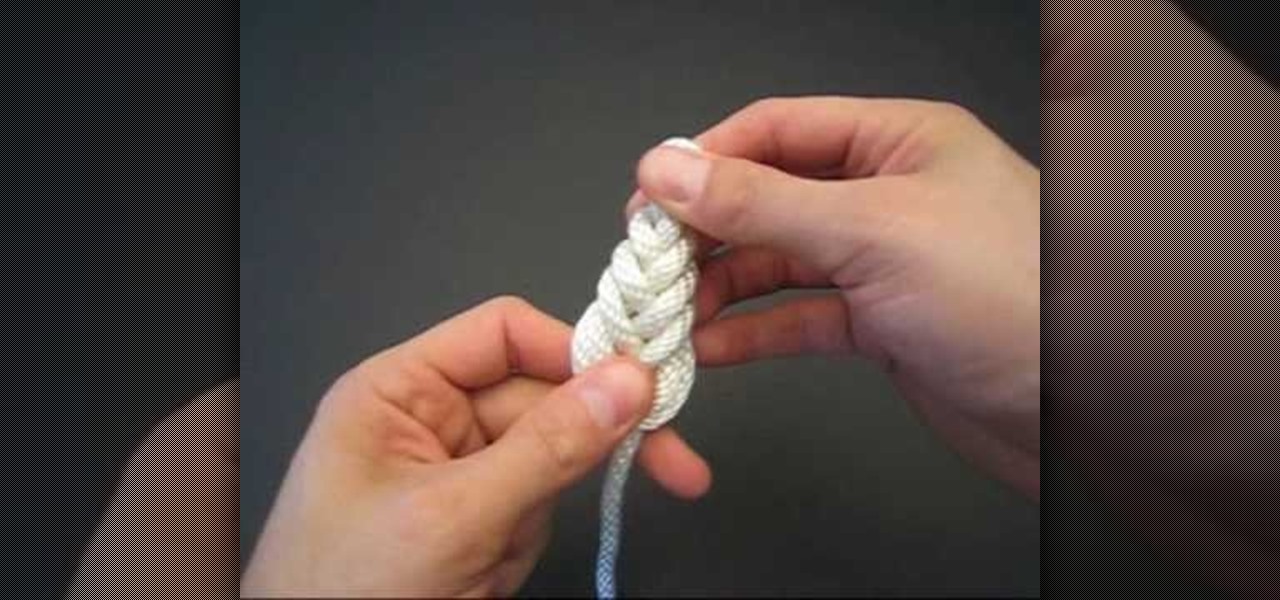
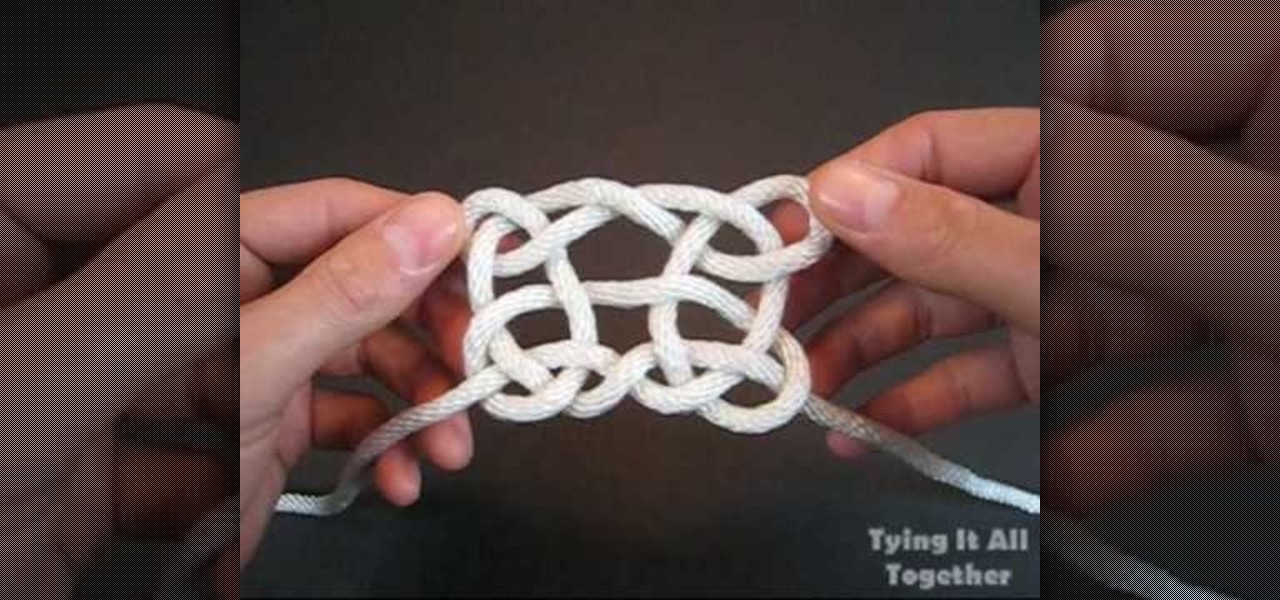
In this Tying It All Together video tutorial, you will learn how to tie a decorative pipa knot. To begin, take a piece of rope and fold so that you have two strands. Create a loop and take the left strand and loop it around the original loop. Continue doing this until you have layers of loop-like structures, gradually getting smaller and folding into one another. The effect is a woven-like structure. To actually secure the knot, fold the end strand into the last loop and then pull this end st...
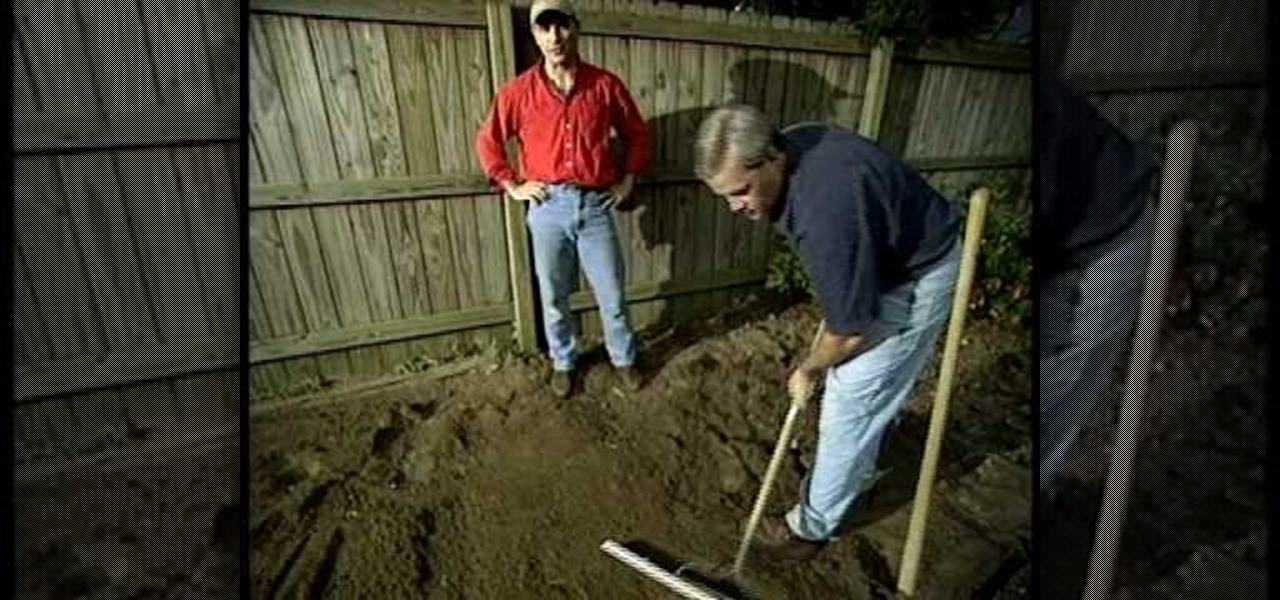
This video is a tutorial on how to turn a rake into a screed tool. It begins by explaining that a screed tool is something used for spreading concrete. First, you will need a rake and a piece of wood that is called a 1 by 4. Put a steel rod over the rake blades and use a drill to secure it to the wood. Use wing nuts to tighten the bolts. By using a 1 by 4, you are creating a light-weight smoothing tool. It can be used to smooth out concrete, mulch, sand, or soil. If you make the screed tool t...
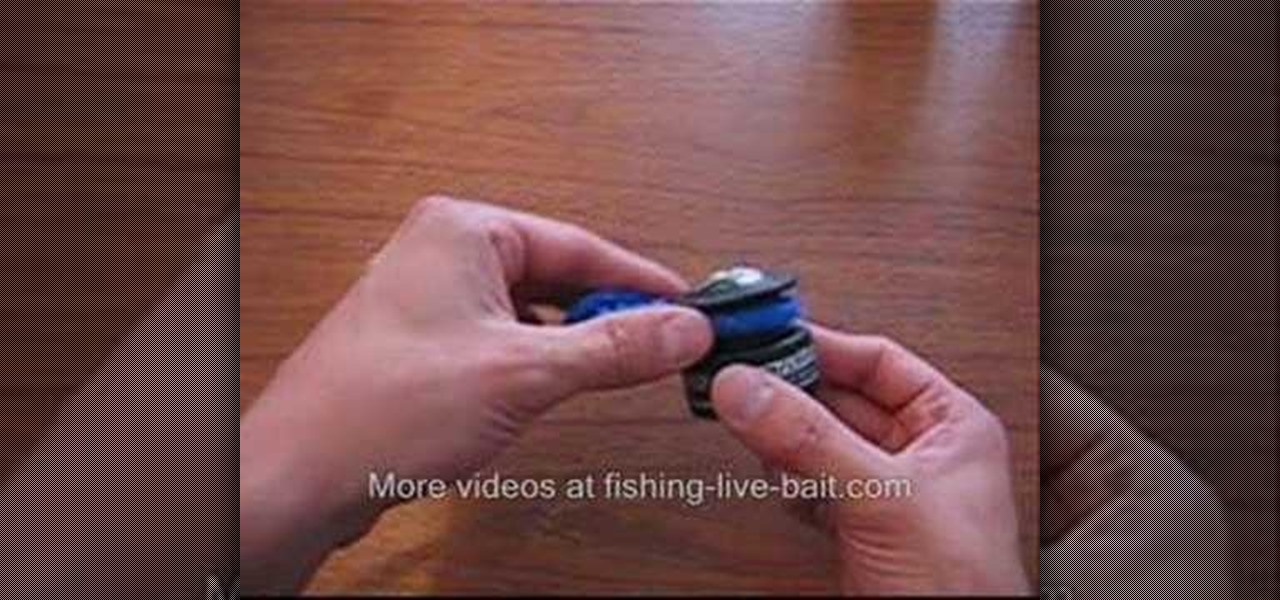
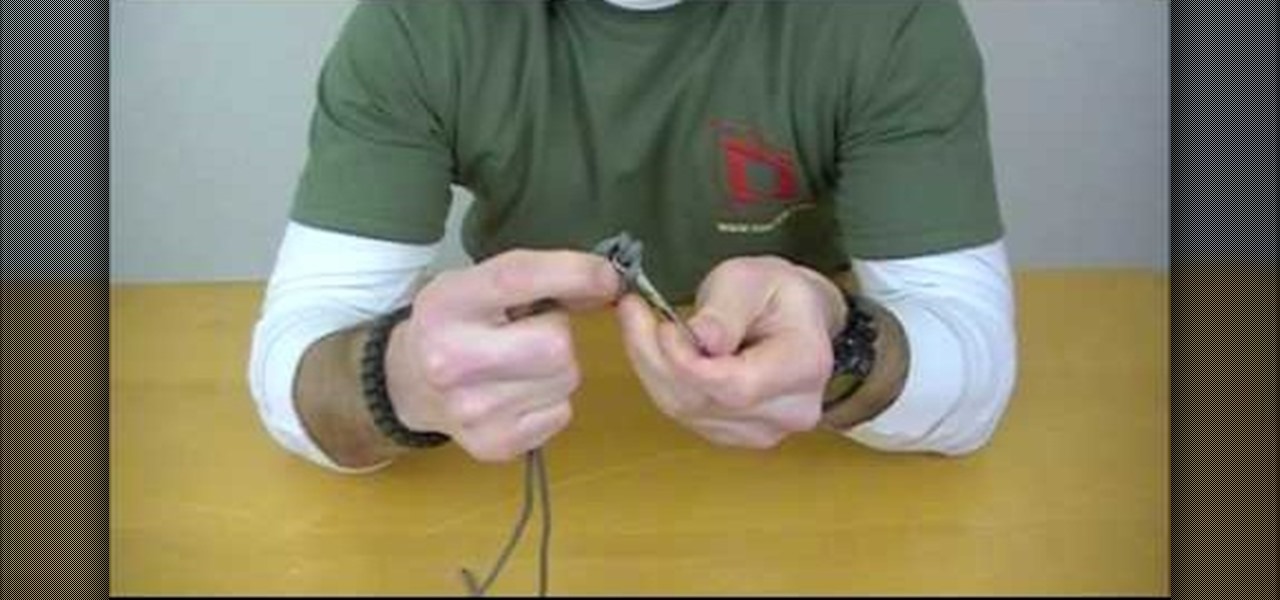
In this video, you can learn how to tie a uni knot. He uses a snap-hook and a blue rope to demonstrates. He pulls the rope through the hook and makes a loop that crosses over the two pieces of rope. He pulls the rope through the hole six or eight times. Then pull on the hook to tighten the knot. When you pull the rope, the knot slides up to the hook. He explains that the uni knot can be used to loop a fishing line onto a hook or over a reel. It can also be used to tie two lines together makin...
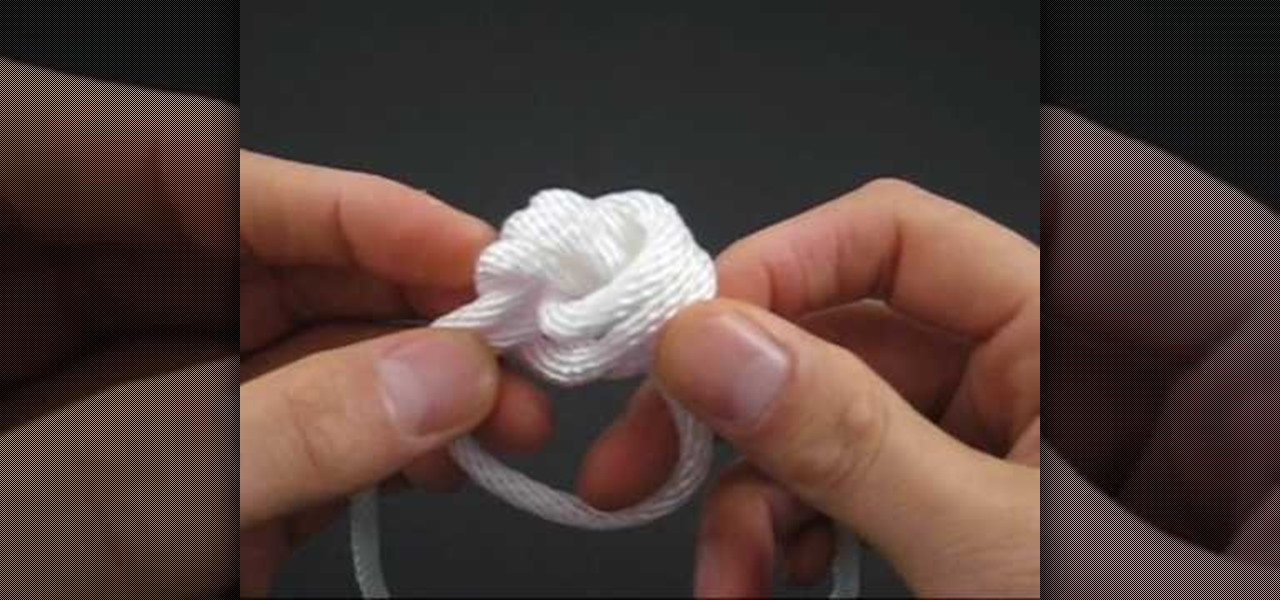
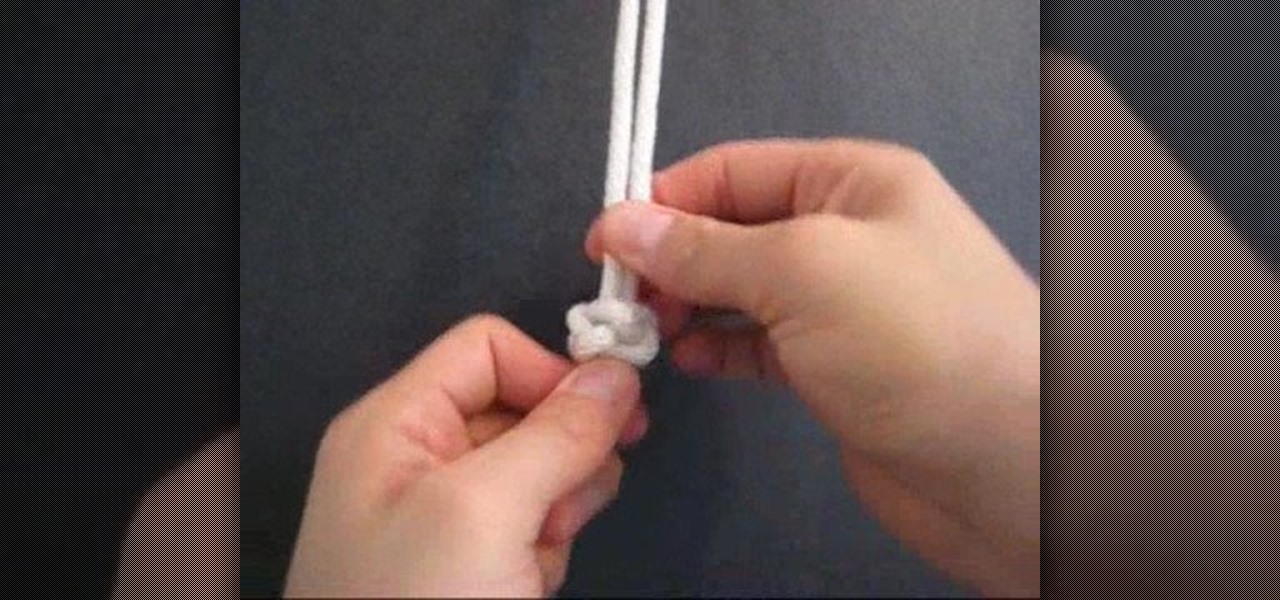
In this video tutorial, viewers learn how to tie a diamond ring knot. The name refers to the similar appearance of an actual diamond ring. The Diamond Ring knot is the fusion of an Overhand Knot and a tying technique called circling. Begin by making a loop; put one end of the string through the loop and pull it to form a pretzel shape. Continue putting one end the string through the loop. Eventually it will build up and it will just need to be tightened. This video tutorial will benefit those...

The video is about tying a Zigzag braid knot design. At first, make the tag or rope into two by folding it. Take one end and make a small knot at the folded junction. Then take the second and pass it through the first made loop. Then take the other end and pass it through the loop made by second end. Continue the hitches to end the rope. Finish the knot by tightening the rope. Then rearrange the position of the hitches. This is done with care. The knot is made beautiful and prettier by making...

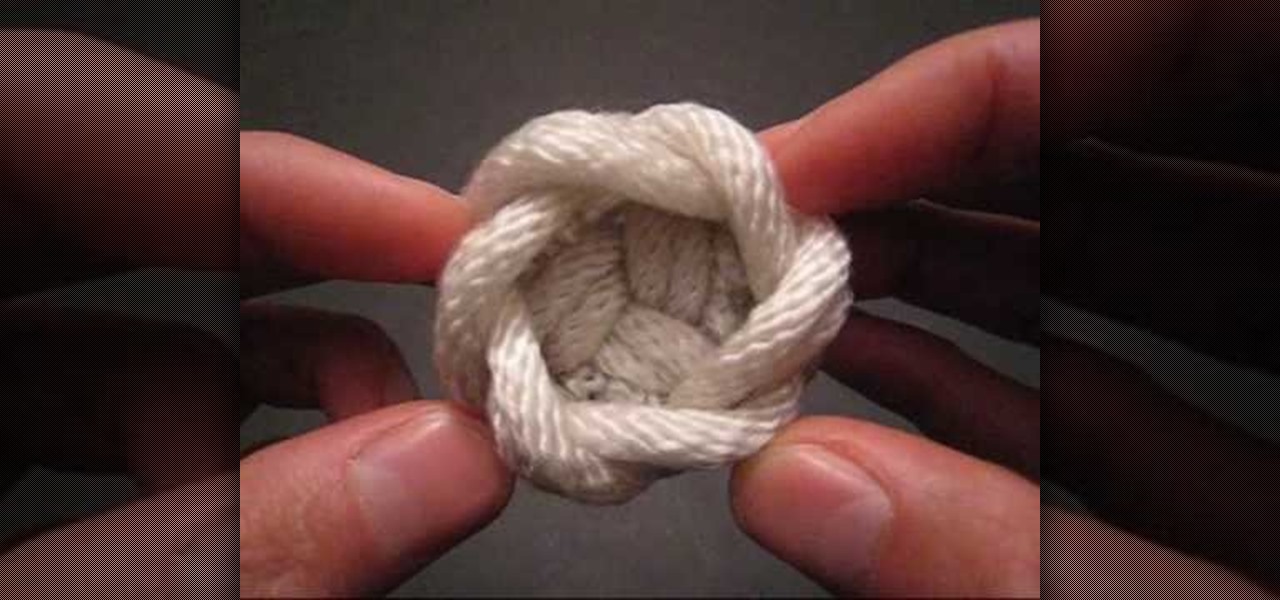
"How to Tie a Decorative Diamond Knot: Tying It All Together" explains how to tie a decorative diamond knot. The diamond knot is a decorative cylindrical knot, which is also known as the lanyard knot and the knife lanyard knot. Make a loop with one end of the string, and fold the other end parallel in the center of the loop. Feed the end of the right string over the left string and pull down. Fold the right string over and feed through the left side of the loop. Pull a second loop behind the ...

TyingItAllTogether explains that, "Pagoda is the English language term for a tiered tower with multiple eaves. Common throughout eastern Asia, most pagodas were built to serve a religious function. The Pagoda Knot was created in admiration of this sacred architecture." In this video, learn how to tie a decorative pagoda knot. Working with a single piece of string, follow along as the string is transformed into a work of art. Begin by making a series of four loops. Cross the tails, then weave ...

If you're into arts and crafts then you know that there is more that you can do with a long piece of string than just tie your shoes. On this TyingitAllTogether video you have the opportunity to tie the teacup decorative knot using one long piece of string folded in half. The author of the video first shows you what the end product will look like then methodically begins to walk you through setting up the string in Y-configuration to "crossing each bights crook" which involves overlapping and...

Mike Kraft of Lowe's shows you how to keep your outdoor gas grill working properly all season long. He shows all the parts that make up the grill and how to maintain them so that it continues to work in good order. It can be surprisingly easy. Much of what you have to do is simply keeping it clean, tightening fittings, and replacing old worn out parts. If you follow all the steps in the video, you will enjoy your outdoor grill all summer long.

This video shows how to install track lighting where you want to add or direct light. The first thing to do is to turn off the power to the circuit. If you don't have an electrical box where you want the lighting, you can purchase one at any home improvement store. If you have one, you will also need a track lighting adapter. Use masking tape for the pattern that you want, start around 18 to 24 inches from the wall. Remove the tape and replace it with chalk lines. Cut the tracks to size and a...

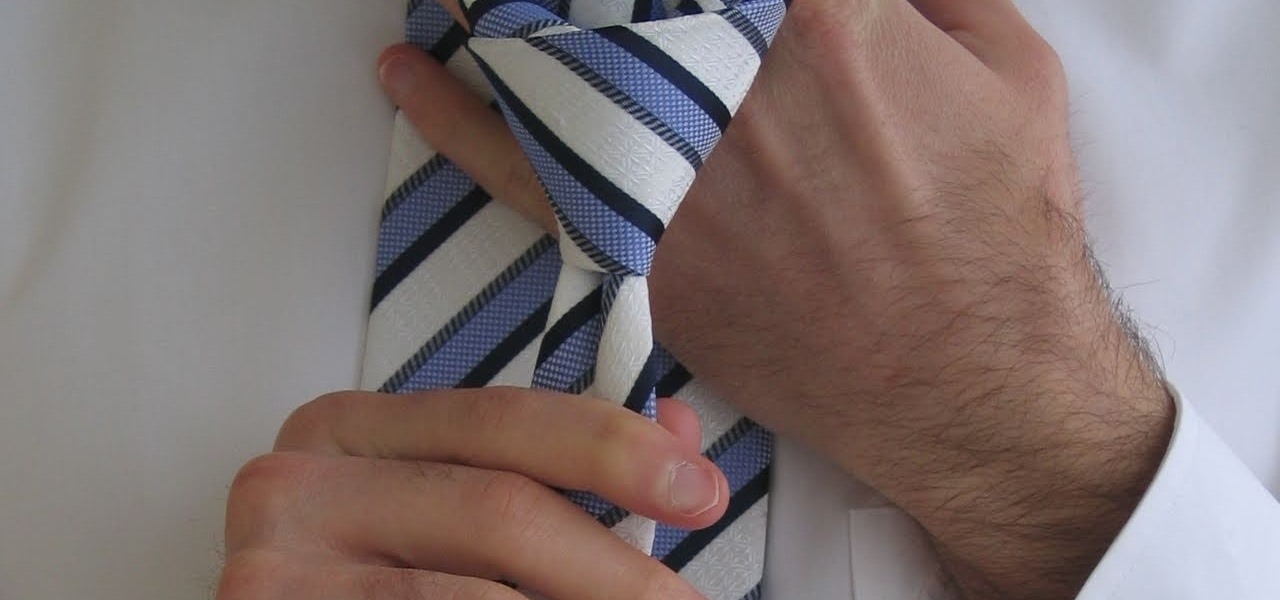
Tying a tie is a very useful skill, in this video, we are shown how to tie a Double Windsor knot, a very popular knot due to its symmetry. After placing the tie around your neck, if you are a right-handed person, make the thicker side the longer side on your right and pass this longer piece over the other one. Place the tie behind the other end and pull it through the hole and down, forming a small knot. Twisting the tie around itself backwards, pull the longer edge through on the other side ...

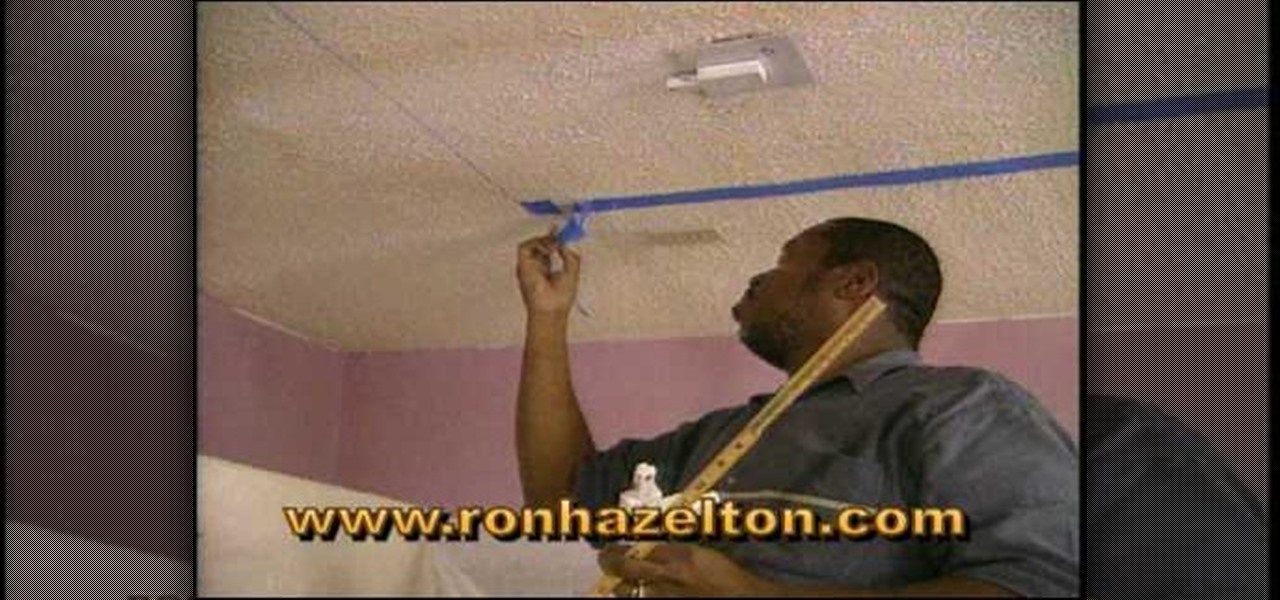
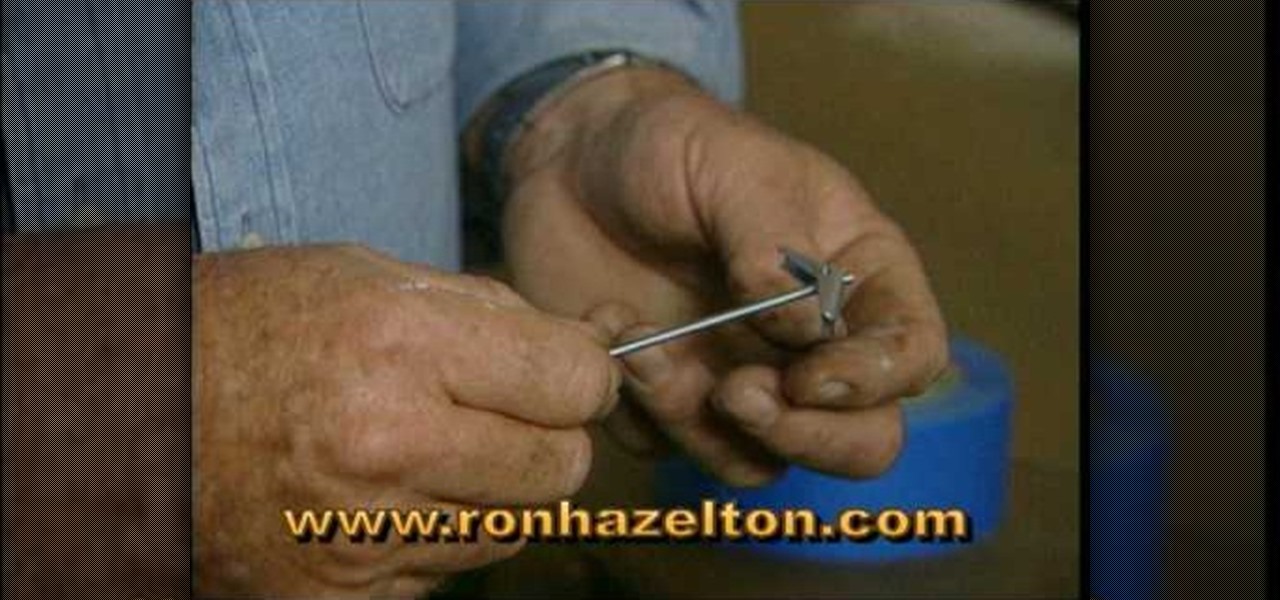
Ron Hazelton shows the most secure way to hang heavy mirrors or art on plaster walls using toggle bolts. Attach a sturdy hanging wire to the piece if necessary. Draw a level line on the wall where the top of the piece will go. Stretch the hanging wire taut and measure the distance between the wire and the top of the frame. A two-bolt system will keep the piece level. Drill two holes this distance below the wall line. Using masking tape prevents the plaster from chipping. Fold the toggle wings...

One armed tie tying and collar buttoning is tough for most people, let alone an individual who has suffered an amputation. Here's a lesson from an amputee on tying a tie and other suit tricks all while using one hand and no prosthetics. A thicker tie is easier as it will not bunch up or tighten. Only tie a Half Windsor as a Full Windsor is way too tricky for one hand. This is a step by step tying video by an amputee with only one arm. If it cinches up too much wiggle it out and it will loosen...

Advanced workouts with weights can help strengthen your neck. Learn exercises and stretches for your workout routine in this fitness video. Take action: protect forehead from weight, hang neck off bench and lift forward, keep back straight & tighten abs, and place feet flat on floor. Tom Clifford, the instructor in this how-to video, has a degree in physical education, fitness and health from Eastern Michigan University, where he ran track and cross-country. Tom has worked as a personal train...

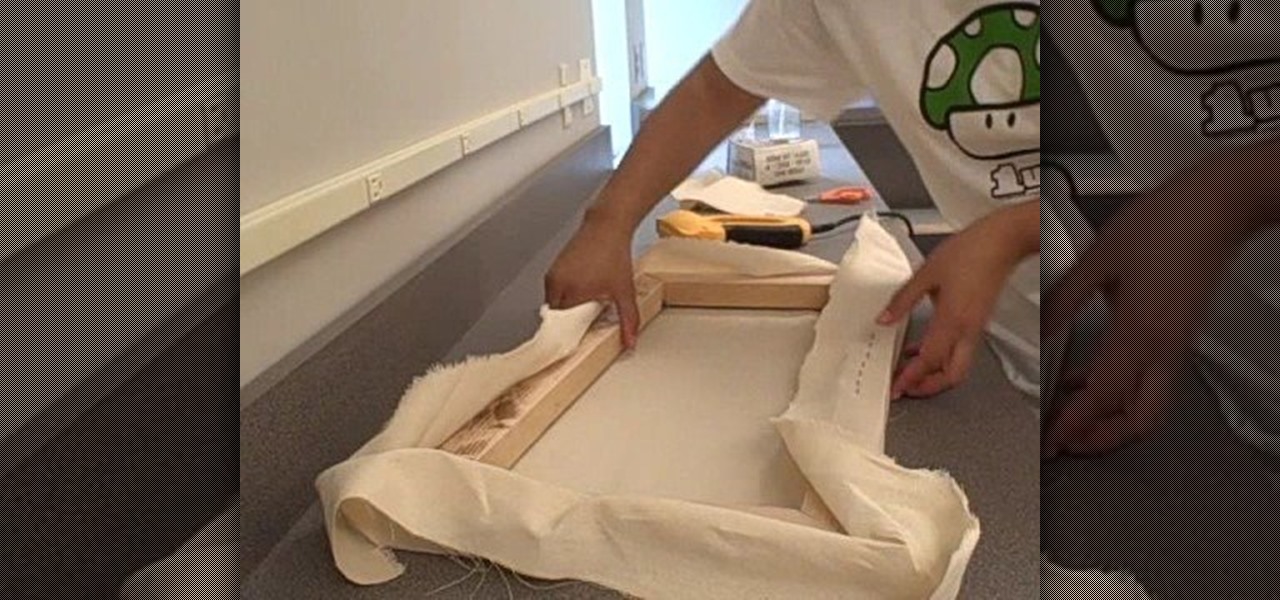
This video begins with an unfolded painter's canvas unfolded on a table and a frame which will be used to stretch and mend the canvas. The canvas needs to be laid beneath the wooden frame. The canvas must then be stretched over the sides of the wooden frame and then stapled into place. After the canvas has been stretched and stapled over the wooden frame you can pull the corners to tighten the canvas fabric. After the canvas is being stretched within the frame you must let it sit until it bec...

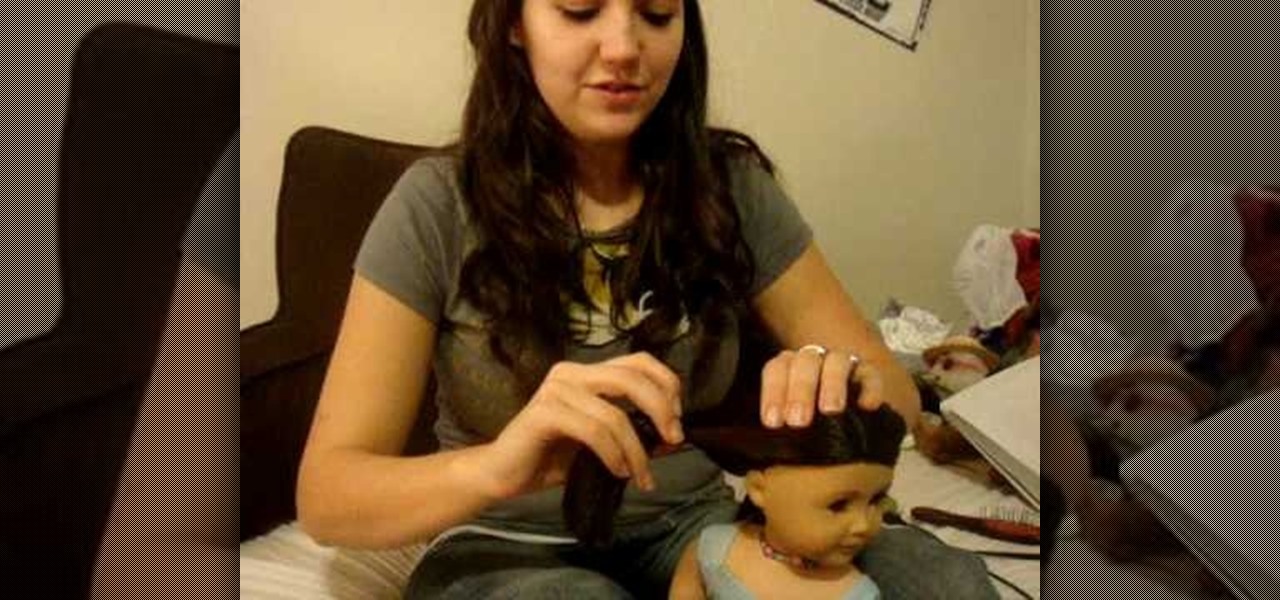
In this video, we learn how to do a double twist flip on your American Girl doll. First, part the hair down the middle and then brush it out. From here, pull out the rubber band one side and then split the middle of the hair in half. Push the rubber band with the hair through this, then tighten it up. Do this on the other side of the hair to make them both even. This will finish the hairstyle on your doll! The great thing is that you can do this on dolls that have short hair or long hair and ...

In this video, we learn how to do a cute hairstyle on an American Girl w/ short hair. First, brush the hair and then take a small piece from the front section of the hair. Twist this and then pull through and tighten with a rubber band. Then, part the hair in the middle and start the braid the other side of the hair until you reach half way down. When finished, you will put ribbons on each side of the hair and then brush out the excess hair in the ponytails. This will finish this really cute ...

In this tutorial, we learn how to easily install a toilet seat. First, unscrew and remove your previous toilet seat. Next, take the two plastic bolts and remove the nuts and washers. Then, install these into the proper spots in the seat. Then, flip the seat back over and slide the nuts into the appropriate hole on the toilet. Then, take the rubber fittings and slip them on the underside of the bolt. The tip of the rubber cone should point up. When finished, you will take the plastic nuts and ...

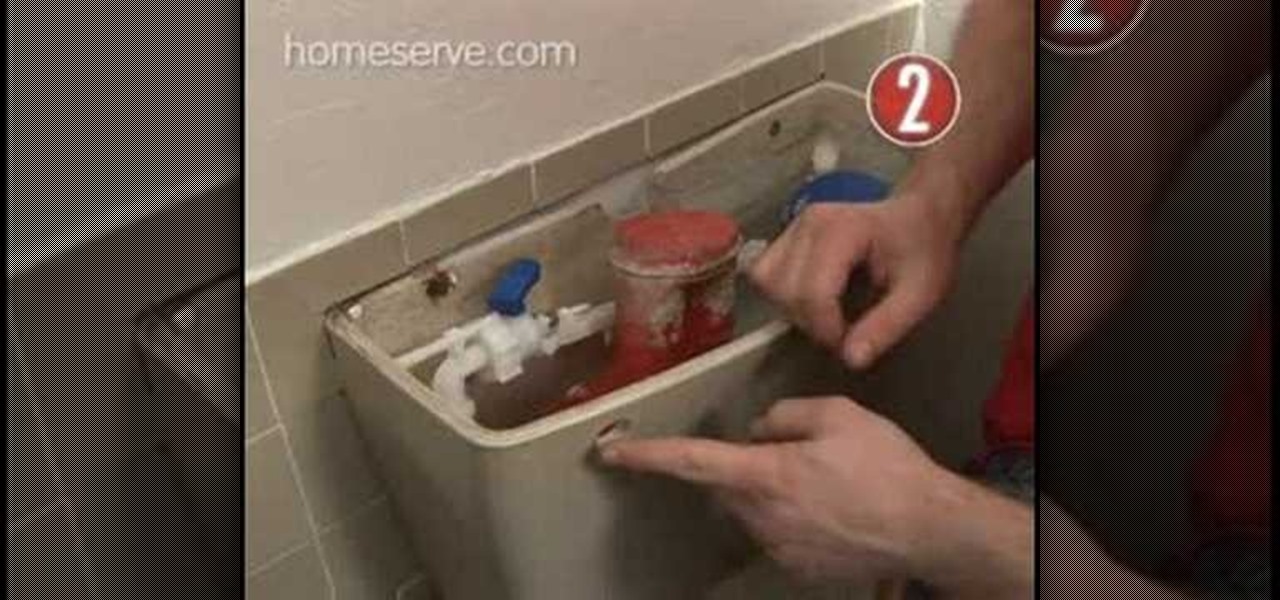
In this tutorial, we learn how to replace a broken flush handle. First, remove the top from the tank on the back of the toilet. After this, find the chain that is connected to the handle and remove it. From here, take a new handle and place it into the spot the old on was in. Use a wrench to tighten this into place. From here, you will connect this with the lever that will flush the toilet using the pump. When finished, test this out by flushing your toilet! If it works, this means the replac...

In this video, we learn how to tie a Palomar knot to secure a fishing line. This knot is pretty easy to tie, it won't take long. First, you will take the fishing line and make it into a loop. After this, insert it through the eye on the hook. Next, bring it back over and then tie an overhand knot, leaving it a little loose when you tie it. You should be able to see the working end hanging down. Now, take the loop and put it over the hook. Now when you tighten it up, you will have the complete...

This is a video tutorial in the Home & Garden category where you are going to learn how to deal with a hollow door when installing bath fixtures. Bob Schmidt shows you how to do this while installing bath accessories such as robe hooks, towel bars or towel rings. The product that you need to do this is called easy anchor. It is a metal anchor specifically designed for the right depth for a hollow core door. Take the anchor and drill it down the door until it is fairly close to going in fully....

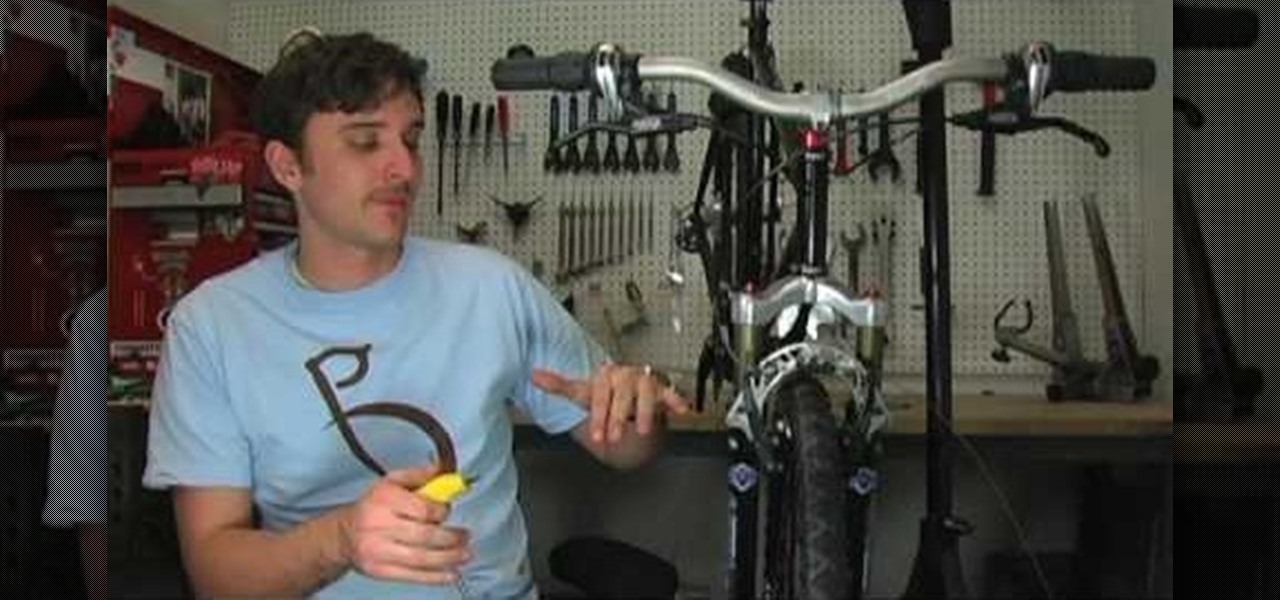
This video tutorial is in the Sports category which will show you how to adjust your front brakes on your bike. The brake pads are very adjustable. It has 360 degrees rotation which helps in installing it on the bike easily. First install the brake arms. Then loosen up the brake pad screw and lower it to bring it in line with the rim of the wheel. Now hold it in place and tighten the screw. Thereafter you can any vertical and horizontal adjustments. You can then repeat the same procedure for ...

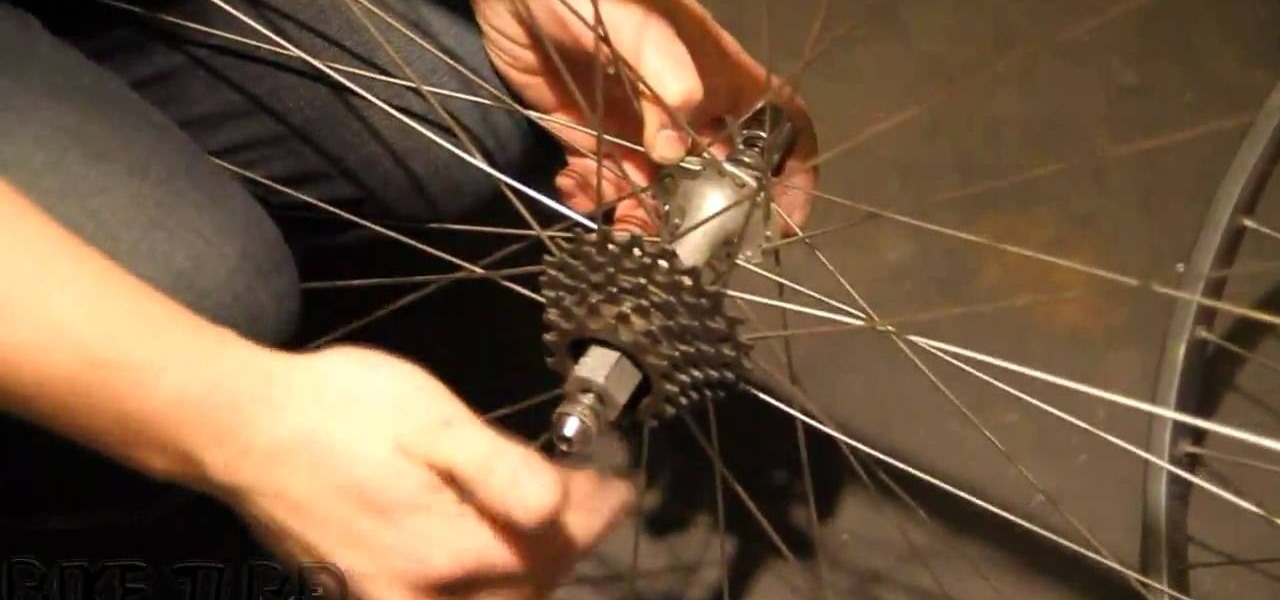
In this video we learn how to properly remove a freewheel with Sasha. First, remove the skewer and then put the end back on. Now, identify the proper tool to remove the free wheel. Use the type of remover for your wheel, then place it over the axle and slide it in. Then, take the skewer, replace it, and slide it in tightly. Now grab a wrench and turn it counter clockwise to take the freewheel off. Once you are finished, your freewheel will be removed and you can clean it or use it how you'd l...

In this tutorial, we learn how to tie a necktie on someone else. First, pop the collar and drape the tie around the neck with the wide end on your right. Then, tug the wide end down, so it hangs 12 inches below the narrow end. After this, cross the wide end over the narrow end, and bring it up through the neck loop and down the front. Swing the wide end to the right, pass it under the narrow end, then cross it back over the right. After this, push it up through the neck hole. Now, tuck it thr...

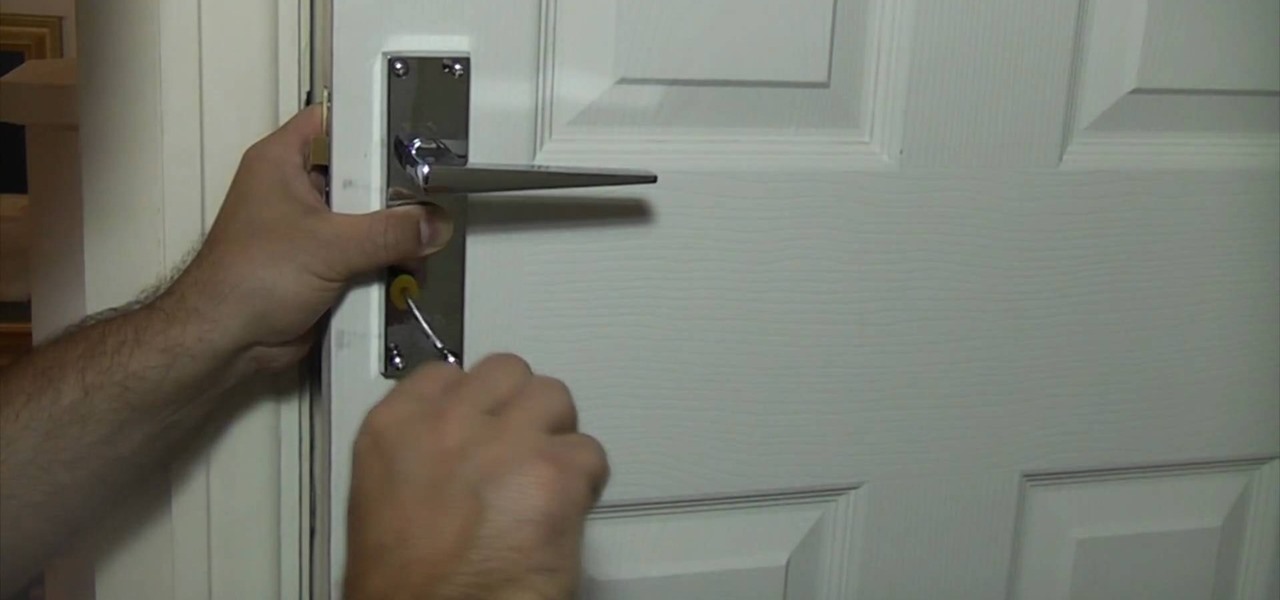
This is a video tutorial in the Home & Garden category where you are going to learn how to fit door handles to a door properly. The first thing to do is to insert the spindle in the door and check if it is of correct length. Quite often it might be longer. So, cut it to the correct size with a hacksaw. Next fit the handle over the spindle and make sure it is straight. Take measurements to ensure this. Holding the handle in place with one hand, drill holes with an electric drill and insert the...

In this tutorial, we learn how to tie a necktie into a bow tie. First, place the tie around the neck so both sides are hanging down. Next, pull the thicker side up and the skinny side down. Then, cross both sides over and flip the large side over so it crosses above. Then, take the large side and flip it in, so it looks like the smaller side. Rill this up to the neck, then bring the other side around and tie it through the middle. Once you do this, pull the smaller side out and you will have ...

In this tutorial, we learn how to tie a bowtie left- handed. First, put the tie around your neck and adjust the two tails. The right should hang 1" lower than the left. Then, cross the longer over the shorter and push up over and through to make a simple knot. Form a bow with the back bow using your thumbs and fingers. Next, take the front tail and pull it behind the just-made bow to create the center of the full bow. Then, push the new one right through the knot in the opposite direction. Th...

In this tutorial, we learn how to change a bike tire with CO2. First, you need to take the tire and wheel off of the bike. Then, release the air from the tire and then remove it from the wheel. After this, use a lever to remove the inner tube from the wheel as well. Replace this with a new tube and tire, then apply back onto the wheel of the rim. Line this up on the bike to place it back on, then screw all the parts back on. After this, tighten up your brackets and chain then you will be read...

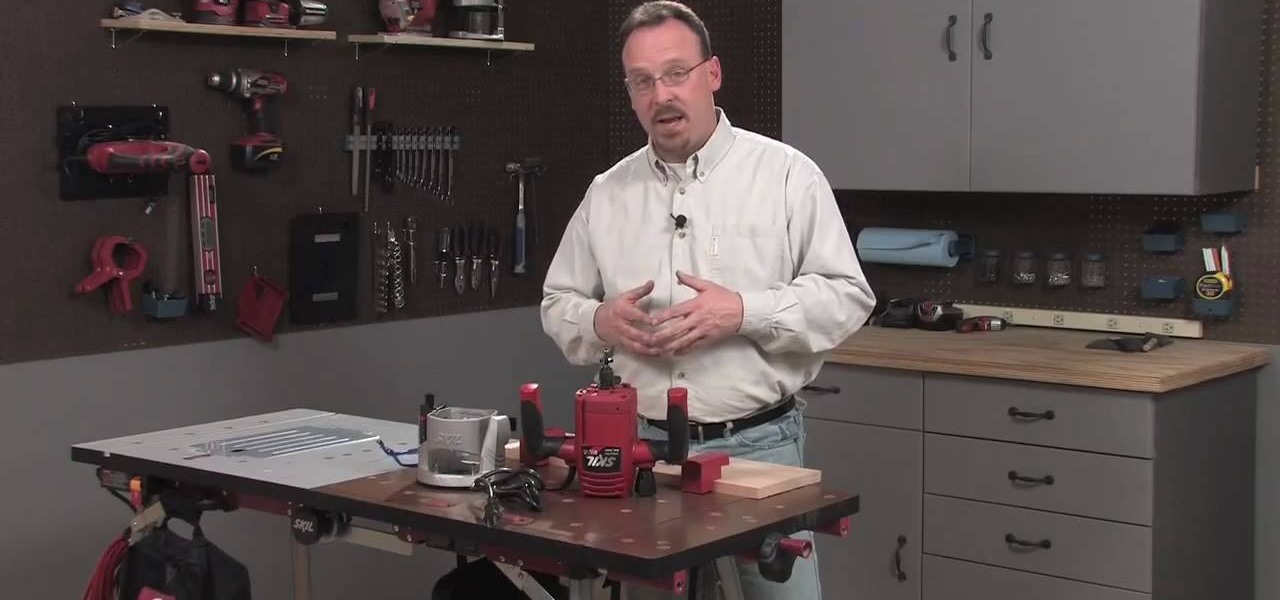
In this tutorial, we learn how to use a handheld router with Skil & Lowe's. There are countless ways to use the router in all your project, but there is one that's the most popular. You have a lot of choices, like a round over, a chamfer, or an ogee. Regardless of which you choose, the technique is always the same. Begin with mounting the bit in the router, then use a wrench to tighten it and make it secure. After the bit is on, reinstall the base and you will be ready to use your machine. Us...

In this tutorial, we learn how to make your own DIY camera speed strap. It can save you a lot of money to make your own camera strap, all you need are some thick rubber bands. First, wrap some thick rubber bands around the lens of the camera. Then, take a strap with holes in it, and wrap it over the top of the rubber bands. Tighten this up, then you will be able to use it for all of the different lenses that you want to use! If you have a certain cover, this will keep it in place and help spe...

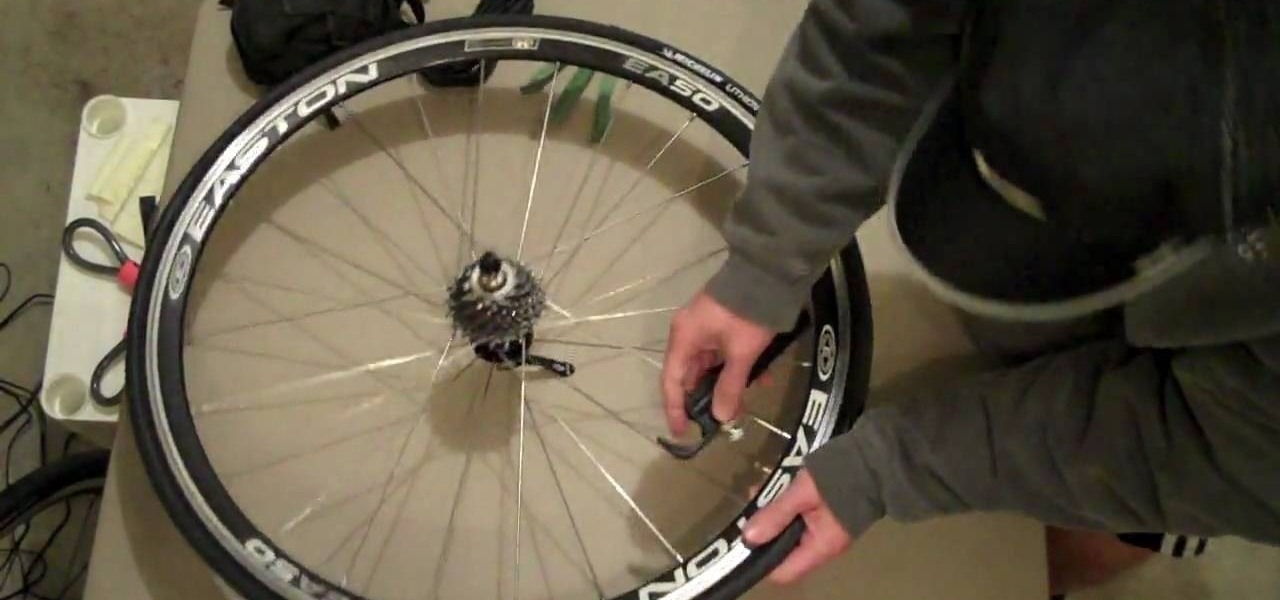
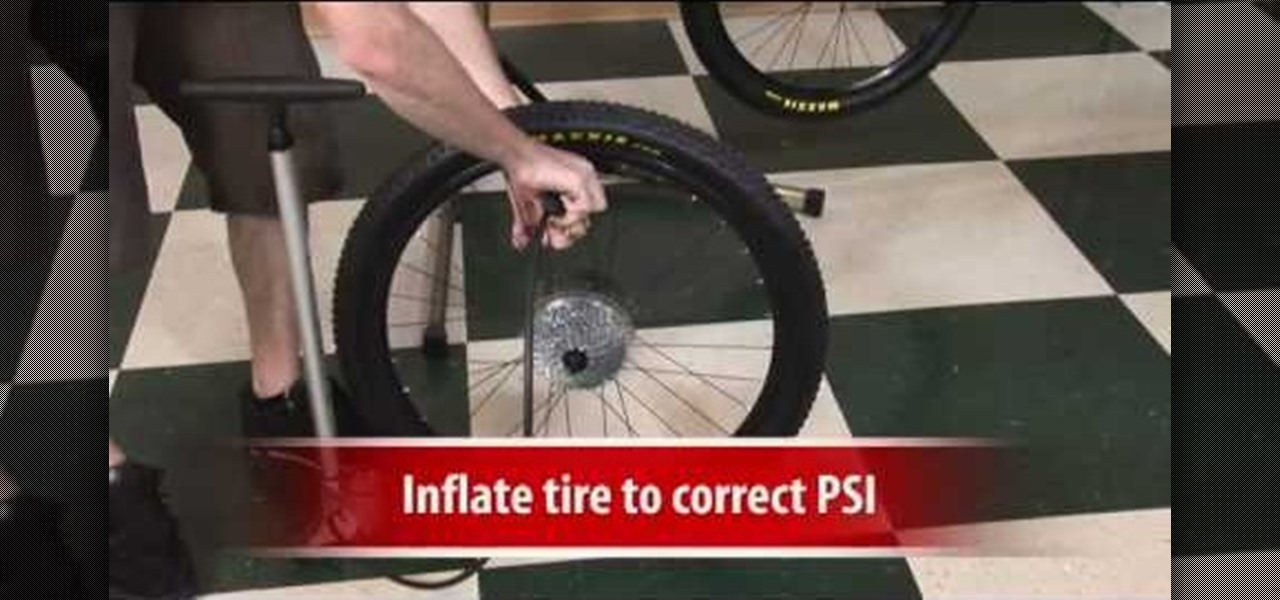
In this video, we learn how to change a mountain bike tire. Start by shifting the rear cassette to the smallest gear. Then, remove quick release and remove the wheel. After this, remove the tire with tire levers or strong fingers, then check inside the tire rim for foreign objects. Inflate the new tube slightly, then put the tire in. Put both of these inside the rim, then inflate the tire to the correct PSI. After this, install the wheel on the bike and then tighten quick release. Do the fina...

Rompers aren't just for babies anymore! Rompers and jumpsuits are totally in style these days, but not everyone can pull them off, but that's only because they don't really know how to wear them. There's a romper and jumpsuit out there for virtually everyone, no matter how big, small or curvy. One of the big worries with rompers is the dreaded cameltoe. If the romper you're trying on gives you a camel toe, then just go for a bigger size, and then you can tighten it up to your shape with acces...

In this video, we learn how to change the strings on the erhu. First, loosen and remove the inner string. After this, take and unwind the new inner string. Then, take the end with the loop and put it through the Qianjing. Then, loop it in the screw at the bottom of the erhu. Then fold the tip of the other end of the string and put it through the hole in the first peg. Then, loop the string one and push the tip into the hole. Now turn the peg clockwise to tighten it. Repeat this for all the st...

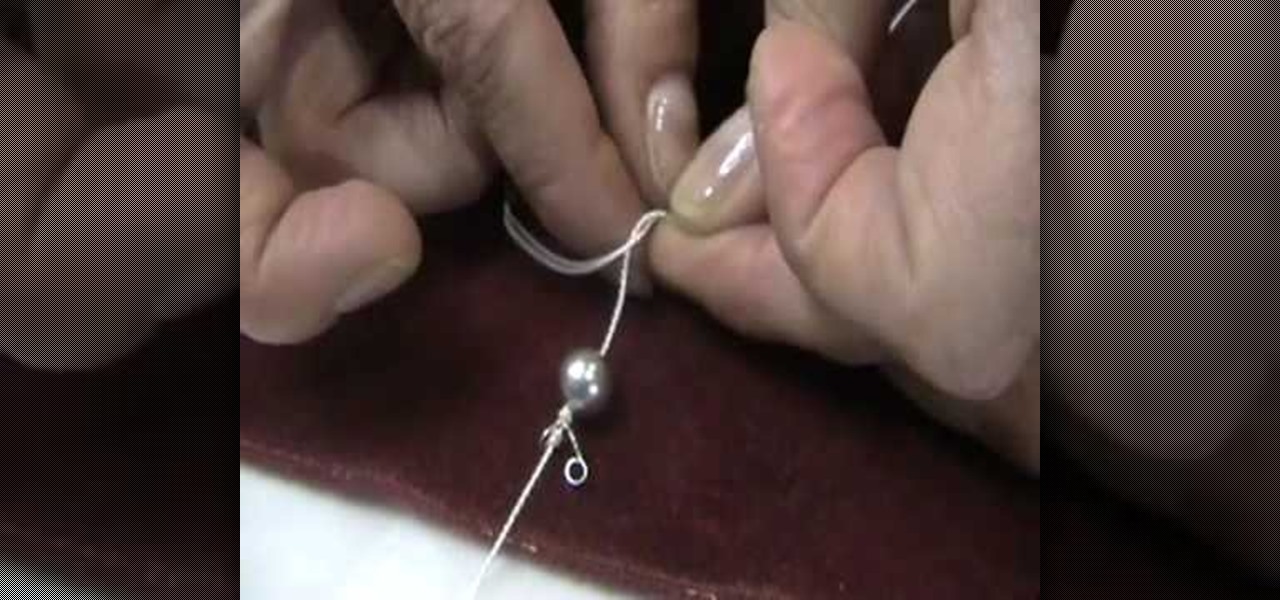
This video tutorial is in the Arts & Crafts category where you will learn how to knot pearl beads from Brenda. Pearl knotting is making a simple knot between each pearl on a strand. They not only give a professional look, they also keep the pearls in place and prevent them from rubbing against each other. After you have strung the clamp to the end of the string, tie a double over head knot and string your first pearl. Make a simple knot on the string behind the pearl. Grab the string with a t...

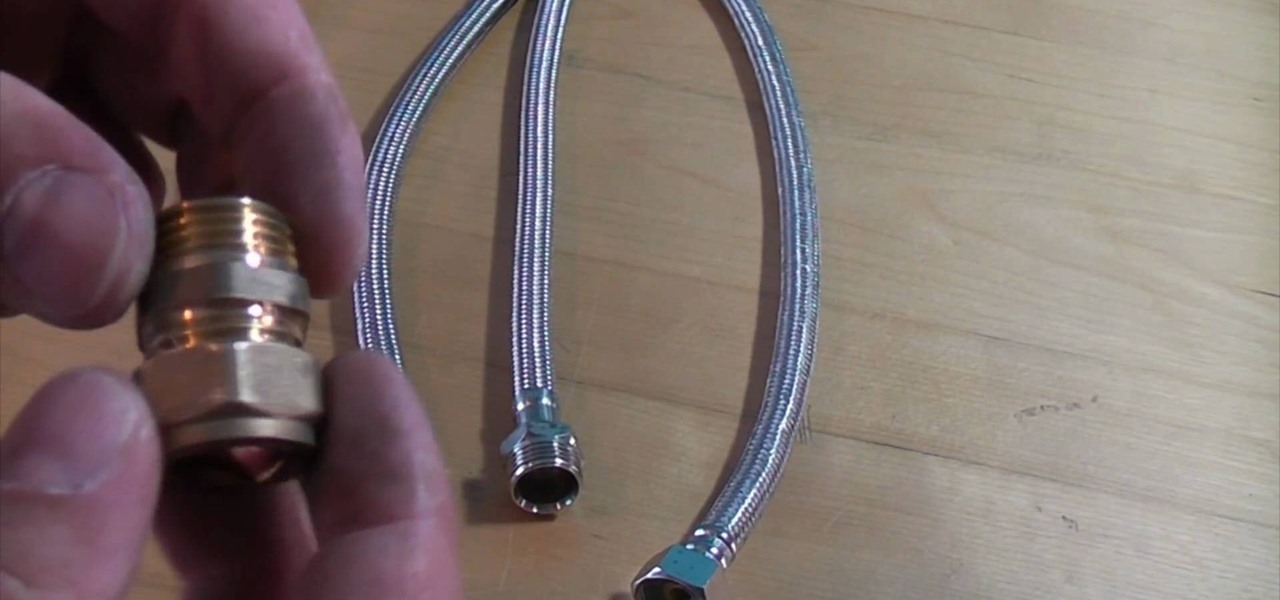
In this video, we learn how to connect flexi-tails properly. First, take your flexi-tails and grab one with a female end that will screw onto the end of a male. After this, use an isolating valve to fit the compression onto the valves and then tighten it up. Screw the flexible tail onto the end of this. Be careful buying this off Ebay, because a lot of fittings will not screw onto a compression knot. It is very simple to make this, you just have to connect the two tails and make sure they are...

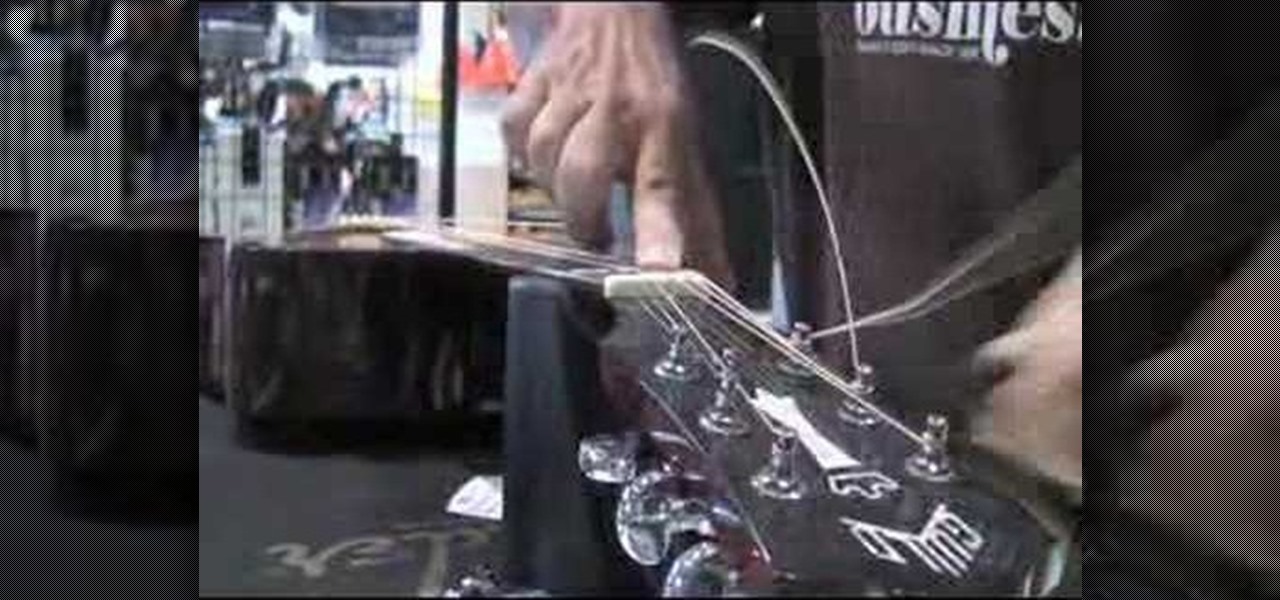
Chris Rego teaches us how to change acoustic guitar strings in this tutorial. First, you will want to loosen up the strings and then remove them from the place they are at. After this, you will want to replace the strings and then wrap it three times around the post. Use the winder and insert it inside the key while you are replacing the new string inside. After this, continue to tighten the string depending on what you want the sound to come out as. Continue to do this for all of the strings...

In this video, we learn how to make friendship bracelets adjustable. First, tape both sides of your bracelet onto a flat surface. After this, bring both ends into a circle shape at the ends. Now, take any color of string and make a loop with it over the ends of the bracelet. Now, put one end over the other and then put it through the bracelets and into the loop. Then, pull the end of the thread and put the bottom over and under the top piece. Then, put it through the bracelet and tighten it. ...

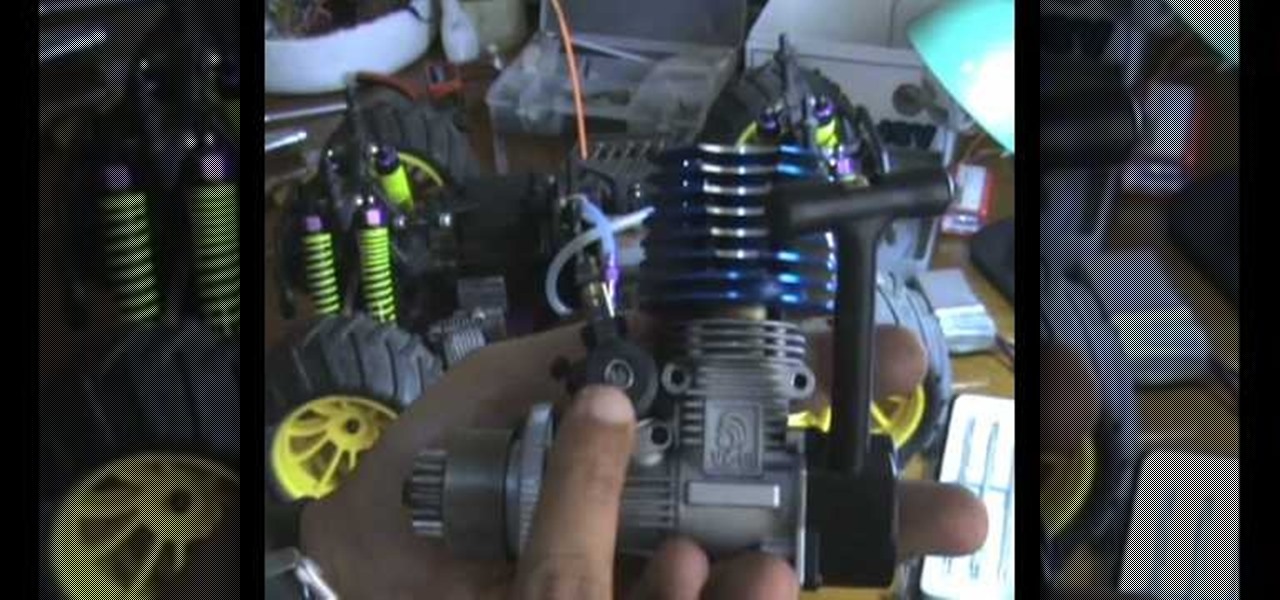
In this tutorial, we learn how to install a new engine in an RC Nitro Truck. First, fix the engine fly wheel and then fix the clutch shoes. After this, fix the drive gear by making sure the bearings are fit into place. Next, put the drive gear on, then make sure there isn't any friction. Now fix the lock, then fix the clutch shoe spring. Make sure the spring is locked and fit into place. After this, tighten the screw to lock the drive gear, then you are ready to use this engine. Place it into...


