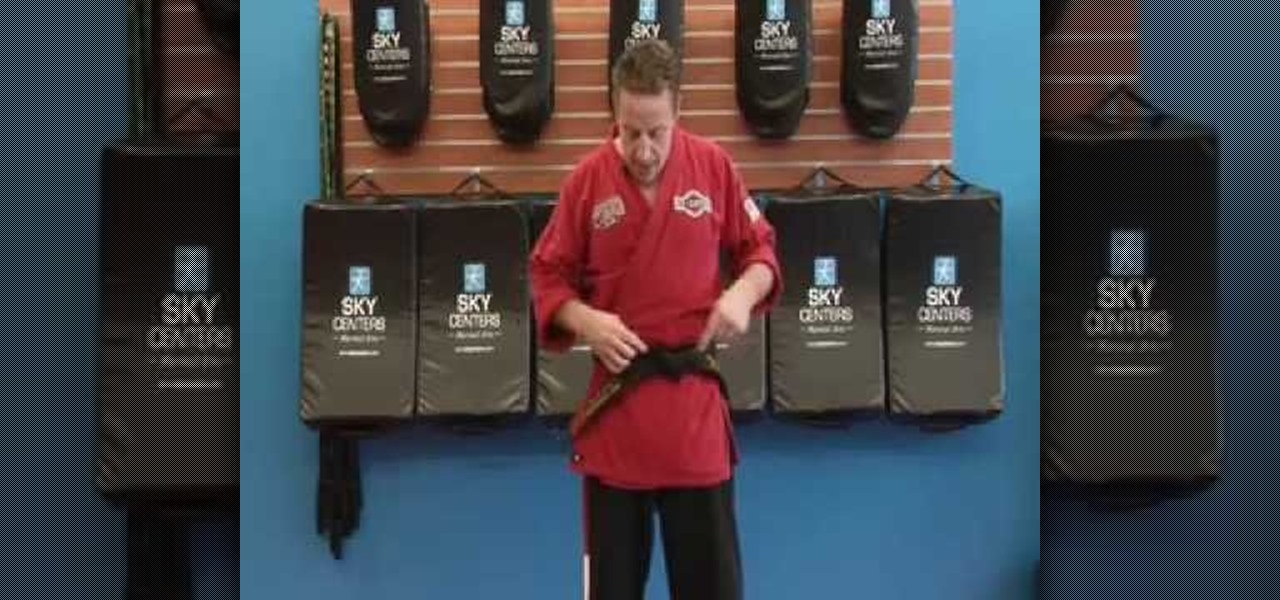
To tie your karate belt tightly and efficiently you only need to follow a few simple steps. First, find the center of the belt; do this by putting the two ends together. Put the center on your belly button, and wrap completely around yourself, now finding the two ends in front of you. Bring the left end over the right, and grab both pieces with your left hand. Now tuck the left end under. From there, place the right side over the left. Now take the bottom flap and wrap it around the right pie...
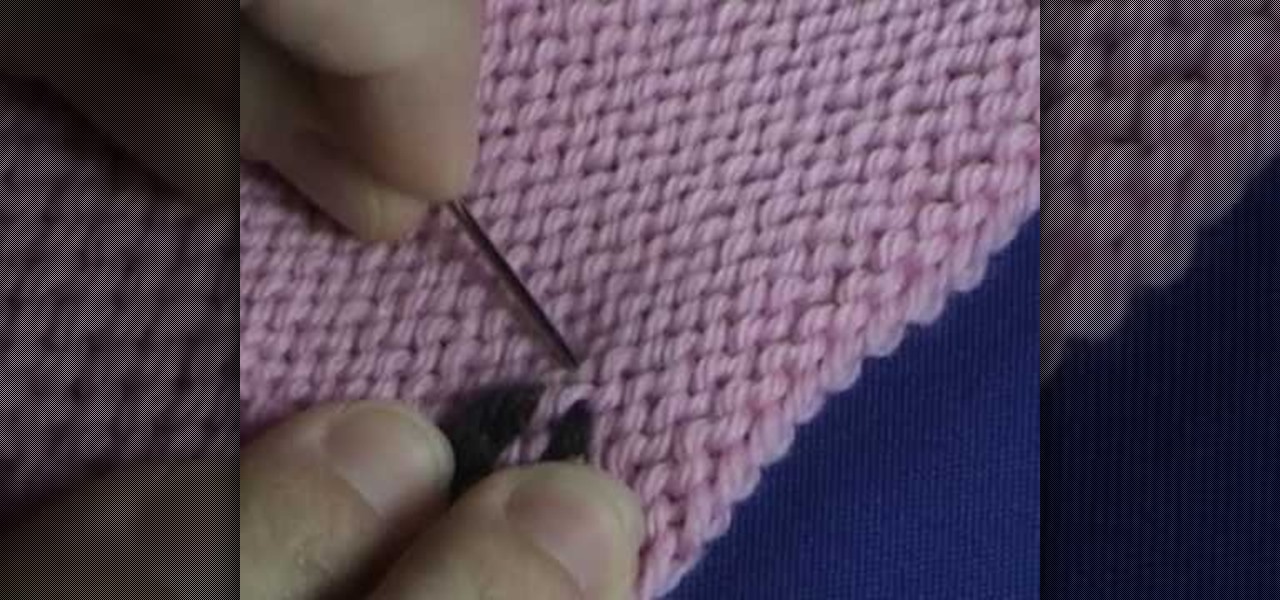
Let the Knit Witch show you how to weave the ends on your stockinette stitch project with this video tutorial. She takes a simple swatch of knitted pink fabric and shows you how to accomplish this simple but useful trick with black yarn so that it can be easily seen. Don't let your yarn unravel or ruin a project by skipping this easy to learn step! She explains it so clearly and demonstrates the technique so thoroughly that you'll be sure to have mastered it in just a few short minutes!
Learn all there is to learn about yarn from Naztazia... watch this video tutorial to learn how to crochet a Tunisian stitch or Afghan stitch.
Watch this instructional video to crochet a human ear for your amigurumi doll. Amigurumi is the Japanese art of knitting or crocheting small stuffed animals and anthropomorphic creatures. Amigurumi are typically cute animals (such as bears, rabbits, cats, dogs, etc.), but can include inanimate objects endowed with anthropomorphic features. So, you may need a crocheted human ear for a number of amigurumi projects. Amigurumi are almost always crocheted or knitted out of yarn. The simplest desig...

This video knitting tutorial shows how to attach an I-cord along the right front of a sweater and then work buttonholes into the I-cord. When you come to each marker:

In this video we learn how to knit a scalloped edge. This forms a shell along one edge! First, attach your needle to the yarn on the right edge. Then, make a slip stitch and yarn over. Then, stick then needle through the fabric and yarn over again so you have three on the hook. Then, yarn over and pull through the first two loops in the hook. Then yarn over and go into the fabric and over again. Pull through a loop and then yarn over through all the loops on the hook. Now, do another one foll...

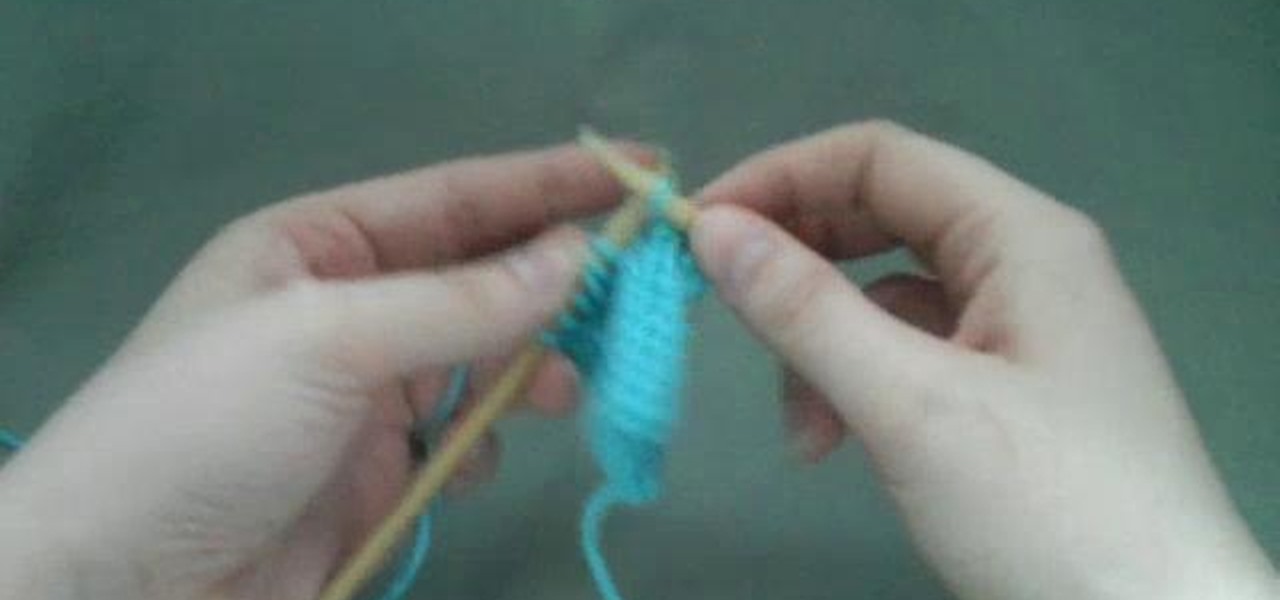
In this video, we learn how to manage two different colors of yarn with Eunny Jang. You can do this all on your left hand, right hand, or with both of your hands. It's all about what is most comfortable for your, even if it's something different. Start out with all your yarn in your right hand then knit with one yard at a time. This means to just knit as usual by dropping the yarn and picking up the next color. This can be a bit tedious because you will be constantly stopping and starting. Yo...
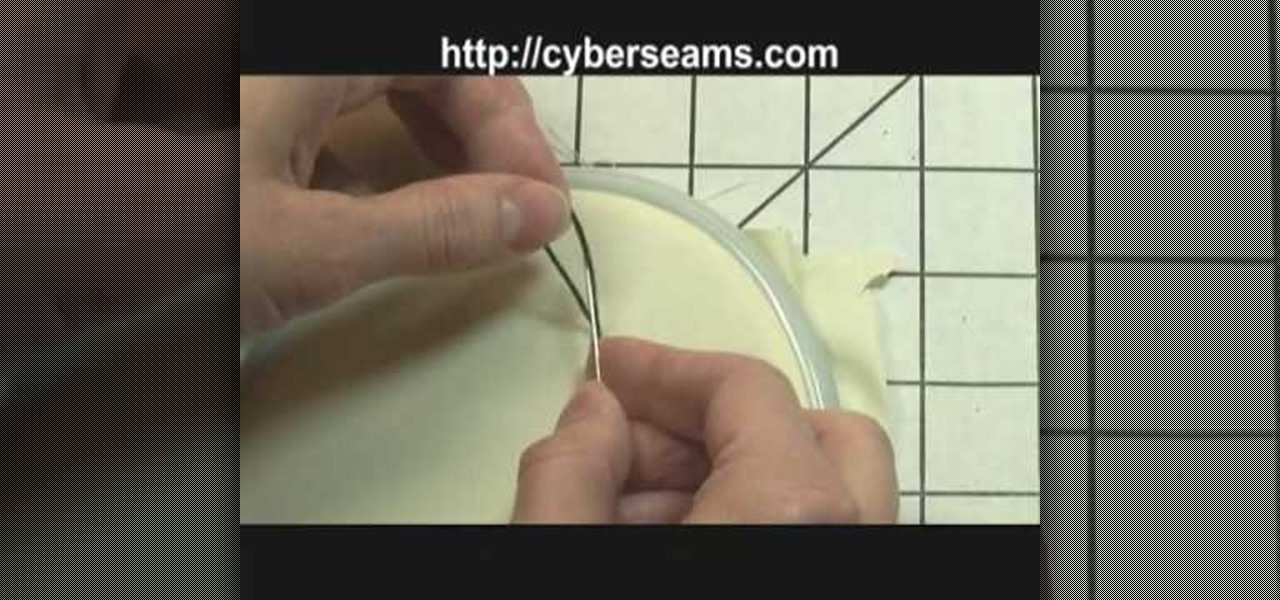
In this tutorial, we learn how to install a zipper into your knit. The first way you can do this is to take it to a tailor and they will do it for around $15. To do this by hand, grab your piece that needs a zipper and then steam the edges. After this, take a sewing needle and start to sew the zipper underneath both sides of the edges of the piece. You can also use pins to place into these so it stays in place. Do a backstitch also, to help make the zipper more sturdy and stay on longer.
There definitely exists logic behind calling these fuzzy crochet squares granny squares. After all, the cozy texture and delicate, retro motif do remind us of Sundays visiting Grandma while she served us tea and sandwiches and she knitted the day away.
Have you ever marveled at those knitting doyennes at Michael's who can just run up to the yarn aisle and speedily pick up some yarn because they know exactly what type of of yarn they need for their project without reading the yarn label? Most of us struggle with different yarn consistencies, scanning the label to get a feel for how the yarn would play out if knitted.
In this tutorial, we learn how to do a cabled pleat. First, do three stitches onto the cable need and hold them in front. Then, slide the needles together and start knitting on each needle with the separate needle. Continue to do this until you are done. You will then put four stitches on the cable needle and then hold them parallel again. You will continue doing this process until you have reached the end of your row. This may take you a few times to accomplish, but practice can help. If the...
In this tutorial, we learn how to take out knitted stitches. First, pull your yarn tight and insert your two crochet needles. Take the left needle and go into the stitch, then pull it out with the right needle. Continue to do this for each stitch, until you have removed each one you don't want. Although you may think you won't need to do this, it's very important to learn just in case you make a mistake while creating something. make sure to work slowly, so you don't end up removing more stit...
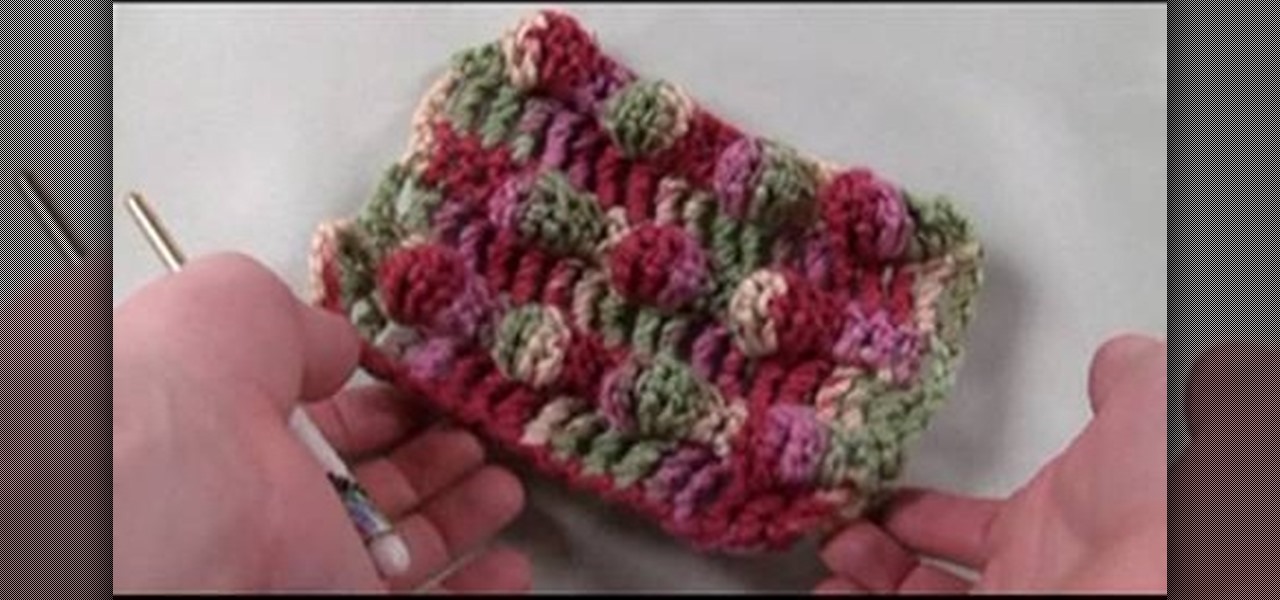
In knitting speak, pearling is just a fancy schmancy term for creating ribs in your crochet project. Ribs help to create a regular pattern and add visual interest to caps (as in this tutorial), scarves, Afgans, and just about any crochet craft.
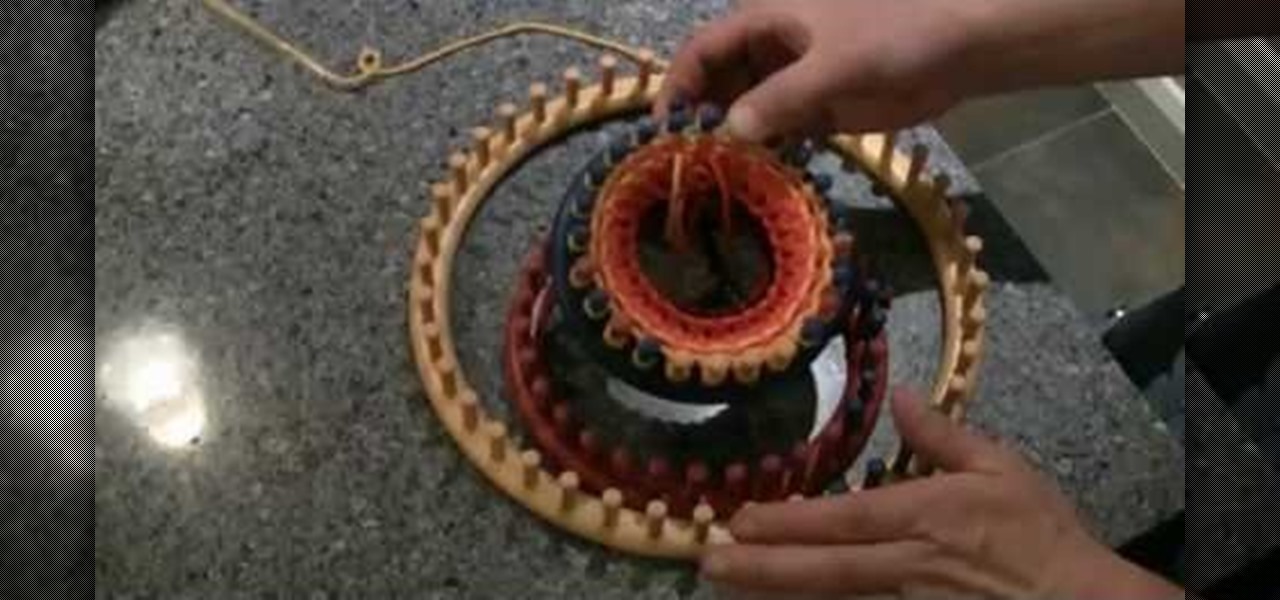
We all know that color coding is important because it helps us to quickly organize things based on visual cues. As students in high school, we used differently colored page tabs to denote different subject matters, and some of us color code file cabinets for easier and faster access. The same principle goes for this tutorial, which teaches you how to color code a knitting loom.
This video shows the method to cast on when knitting on a circular loom. Wrap the string around the finger twice. Take the back loop and put it over the forward one. Again take the back loop and push it out of the finger creating a slip knot. Put the knot in the peg next to the anchor. Put the string on the outside. Take a size G crochet hook and put it between the peg you want to stitch and the previous one. Face the hook downwards and take the string with it. Bring it to the other side of t...
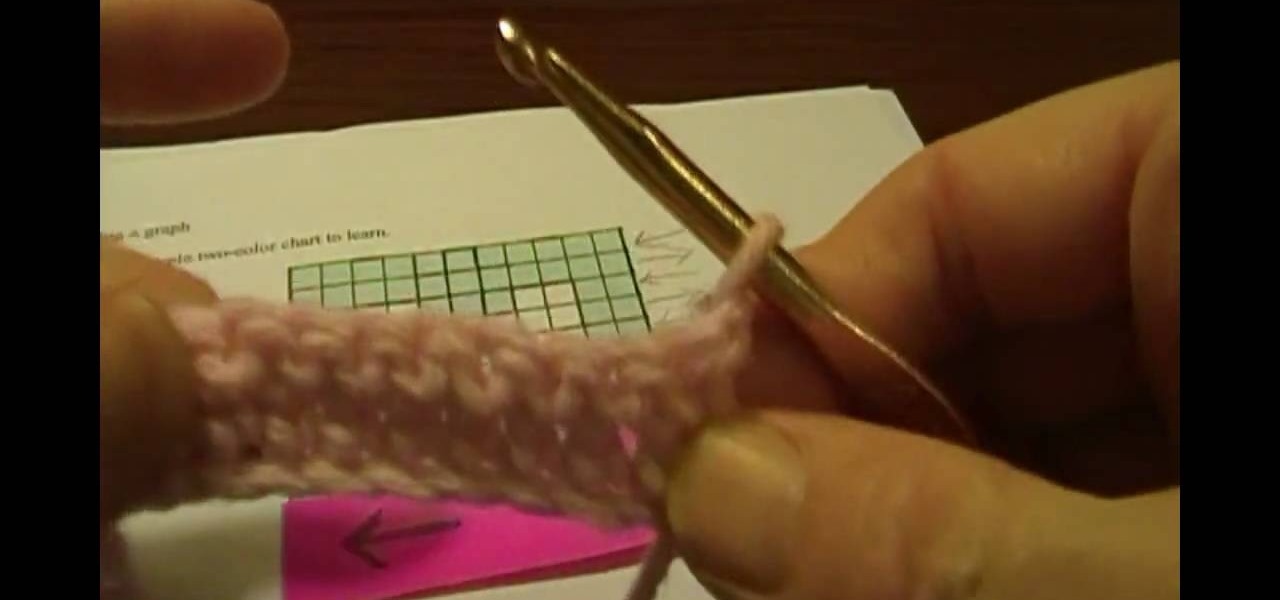
Learn intarsia knitting using a graph in this five part video tutotial series. When knitting intarsia, blocks of color are worked with separate balls or bobbins of yarn, producing a sweater only one layer thick. Get the free simple heart chart used in these videos, here.
Learn all there is to learn about yarn from Naztazia... watch this video tutorial to learn how to substitute fiber, texture, and weight in yarn patterns.
In this video, we learn how to tie off when sewing by hand. First you want to sew your fabric and complete your desired project. Next, you will push the needle into the bottom of the fabric where you won't be able to see the tie off from the front. Now, loop the thread and push the needle with thread through it, before you finish, push the needle through one more loop. Now, pull tightly until there is a tight knot at the bottom of the thread. Now, take your scissors and cut tightly next to th...
This video demonstrates how to knit with a serenity loom. A serenity loom can produce a blanket up to 10 feet. To start, thread a double loop of thread through a straw. Then use the loop of thread to pull through a piece of yarn. The straw will help you place the yarn around the pegs of the loom easier. Tie a loop around the anchor of the inside of the loom. Then loop completely around each peg, being sure to place the loops in the middle of the pegs consistantly. Wrap as far as you want your...
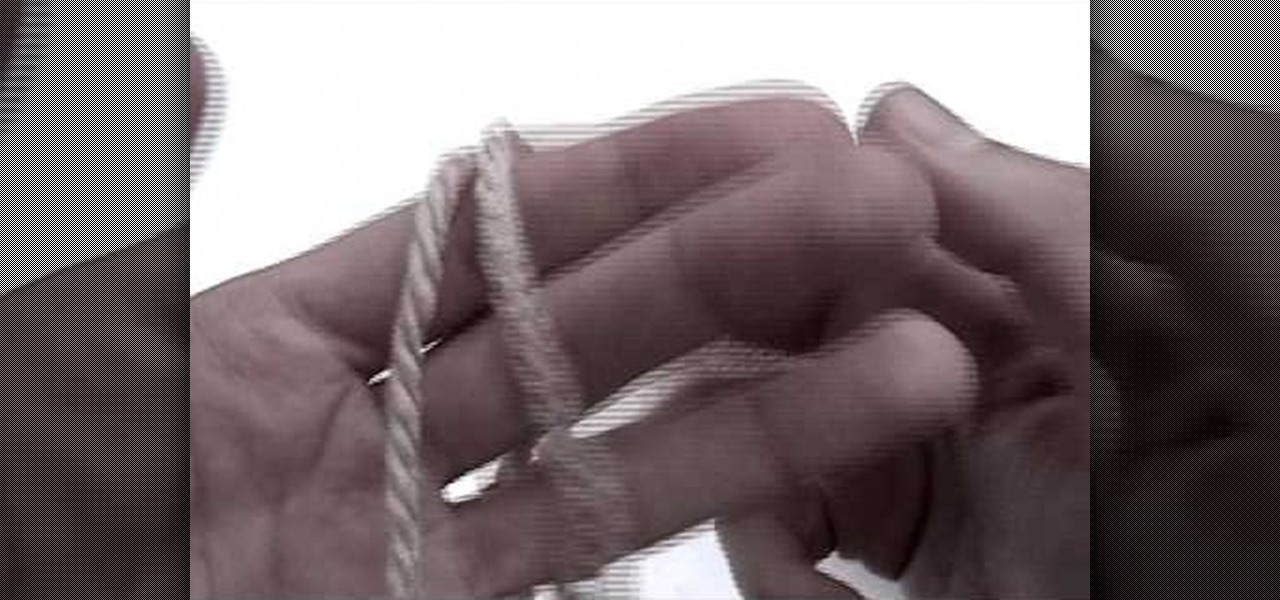
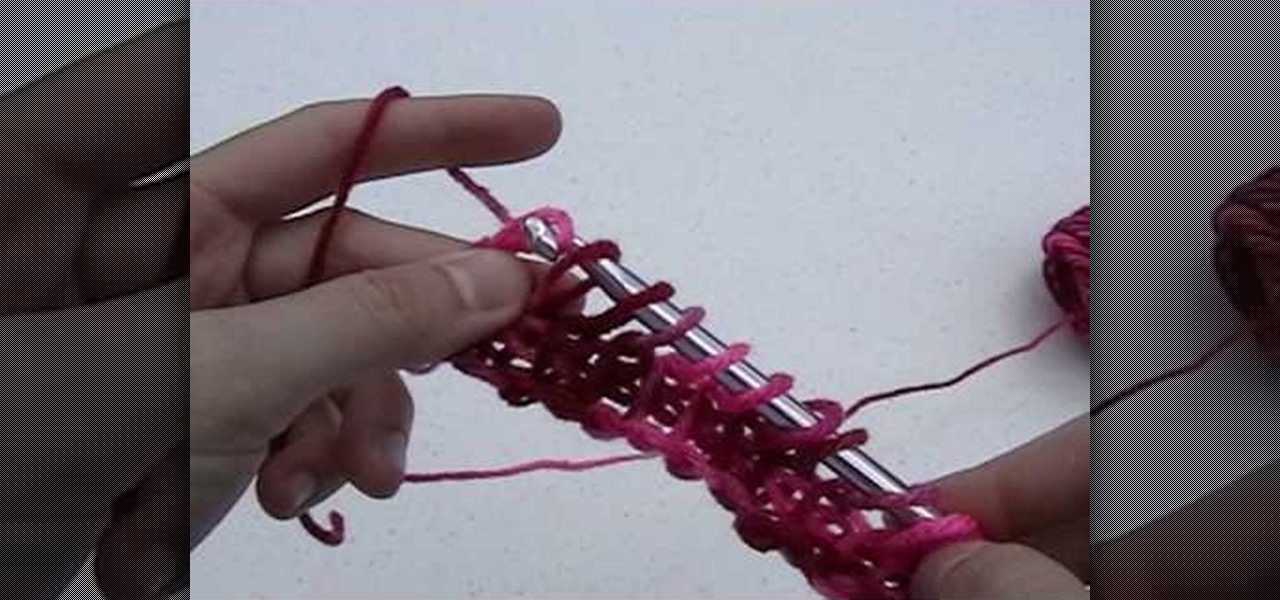
How to Do Cast on Knitting for beginning knitters, this video tutorial shows the process of casting on with a tail using a single needle. The trick is to make sure you have a sufficient amount of yarn to make your stitches. You should have approximately half an inch for every stitch. To begin, make a slip knot. Once the knot is created, slip your needle into the looped part of the knot. Hold the needle with your right finger and then pick up the tail end with your thumb and the loose end with...
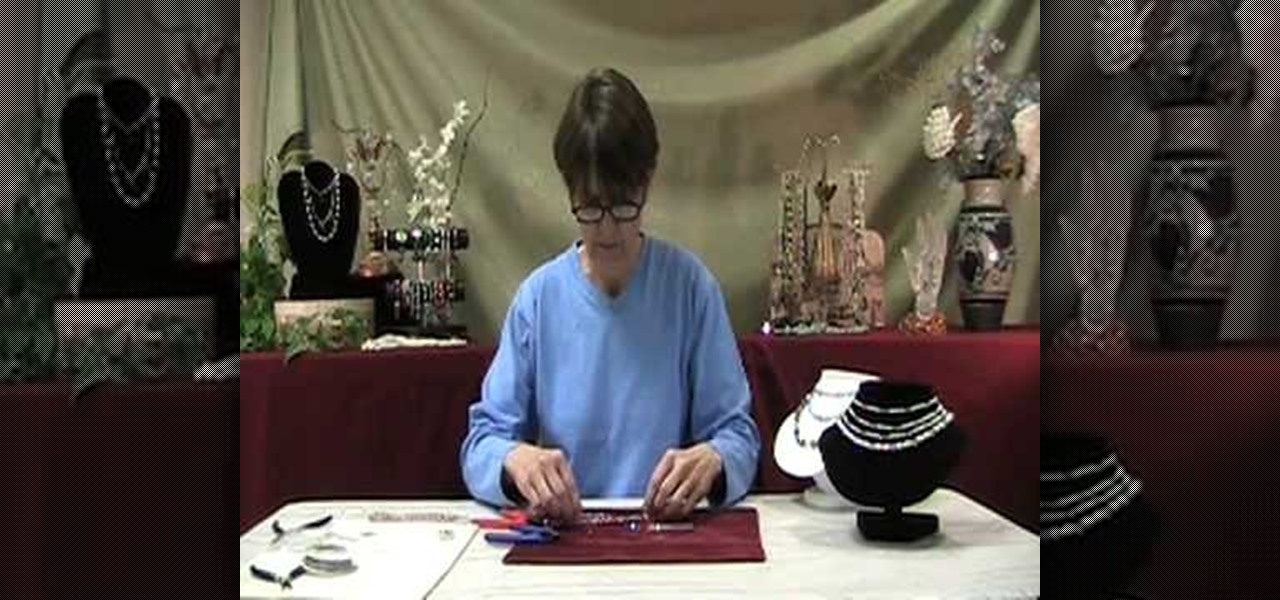
In this tutorial, we learn how to make a interchangeable beaded watch band. First, cut your beading wire to appropriate length, then slide a crimp bead and lobster trigger clasp to one side of the wire. Then, bring the end of the wire back through the crimp bead creating a snug fit. Using the rear notch on your pliers, crimp the bead tightly. Then, add a crimp bead cover using the front notch on the pliers to close the bead tightly. Next, string your chosen beads, then repeat the first steps ...
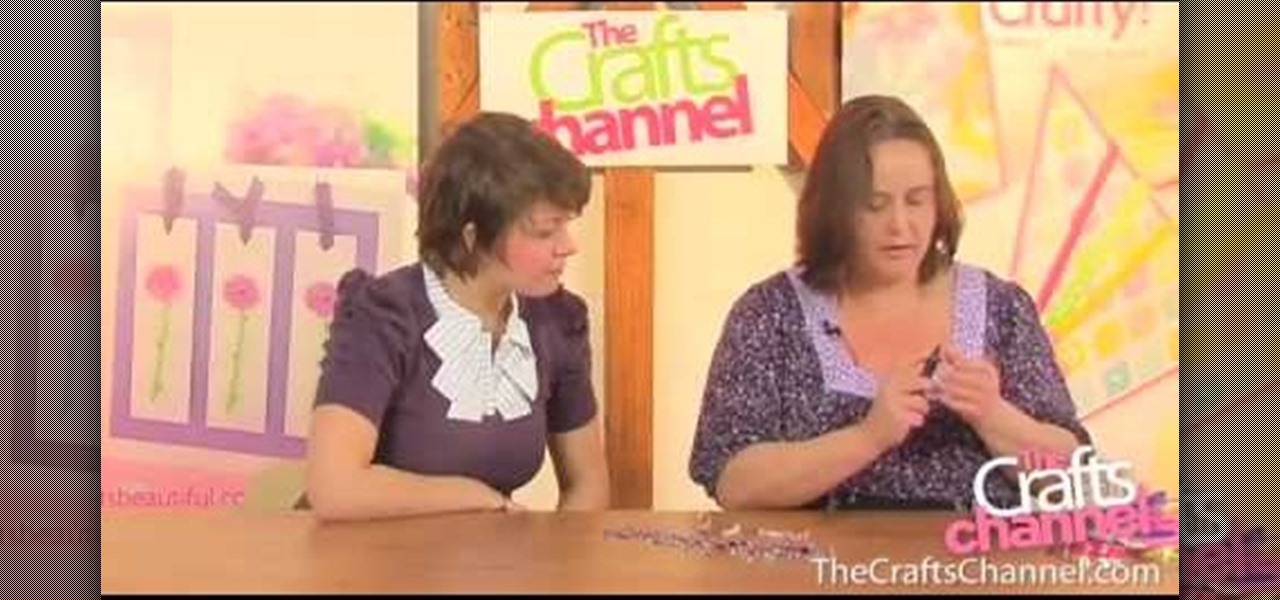
In this video the crafts channel demonstrates how to make a crystal cluster ring. Start with a pen about the size of your finger and wrap your thin gauge wire around it completely twice. Give the wire a simple twist. Put your beads on the wire, then bend the wire around into a circle. Next wrap the wire again around the base on the stone setting. Be sure to wrap it tightly. After twisting the wire tightly around the shank of the ring cut the wire. Use a pair of round nose pliers to create a f...
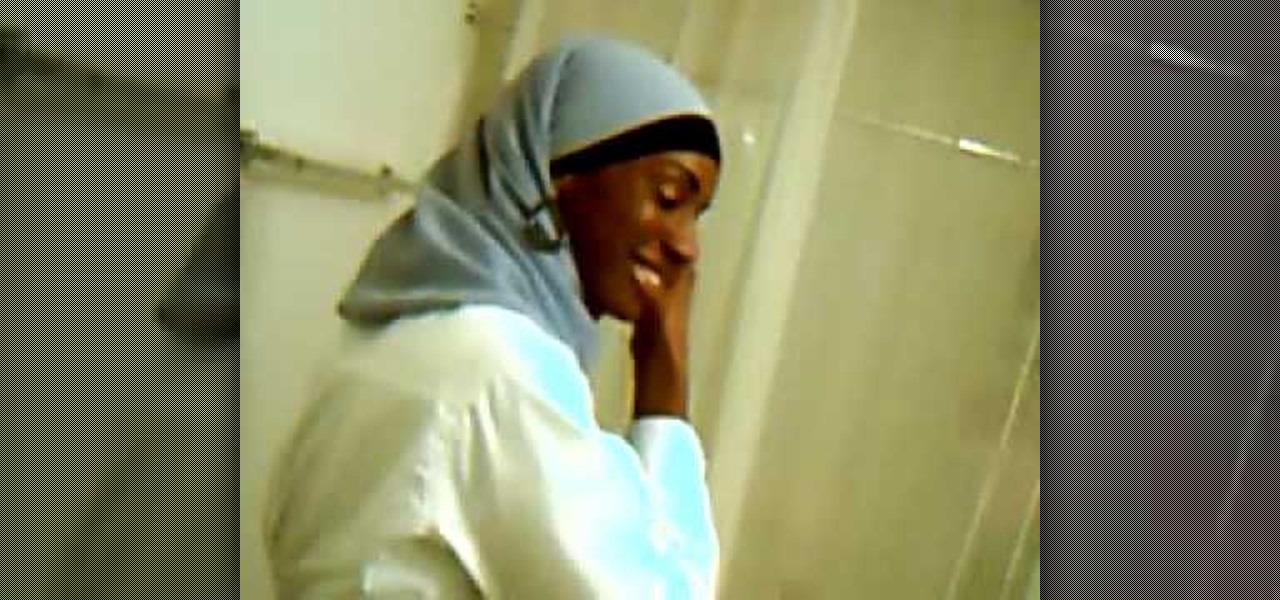
For this hijab style, start with hair completely covered and a large rectangular pashmina scarf. Pull the scarf over the head with one side hanging longer than the other. Pull the scarf tightly over the forehead to the nape of the neck and pin it together at the nape. Take the shorter end of the scarf and tuck it back toward the nape of the neck. Then pull the long end under the chin and up around the head until it is tight. Secure the end with a pin. Earrings can be worn through the scarf as...
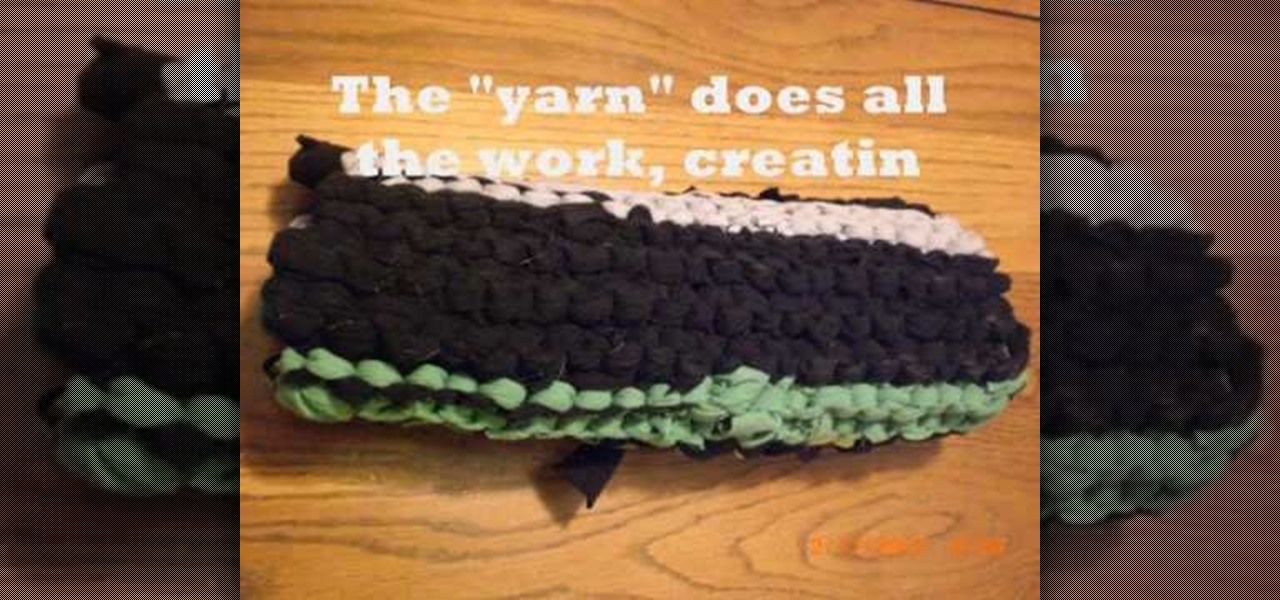
We enjoy the fuzzy wool yarns at craft stores as much as any other knitter, but did you know that yarn doesn't have to be made from wool or any of the typical yarn fibers? In fact, you can make your own yarn at home. Don't worry, we're not going to put you in front of a weaving machine.
T-shirt rugs and placements exactly like the one presented in this tutorial sell for upwards of $150 at home decorating stores, so why not save money and reduce your consumption by simply repurposing old T-shirts yourself?
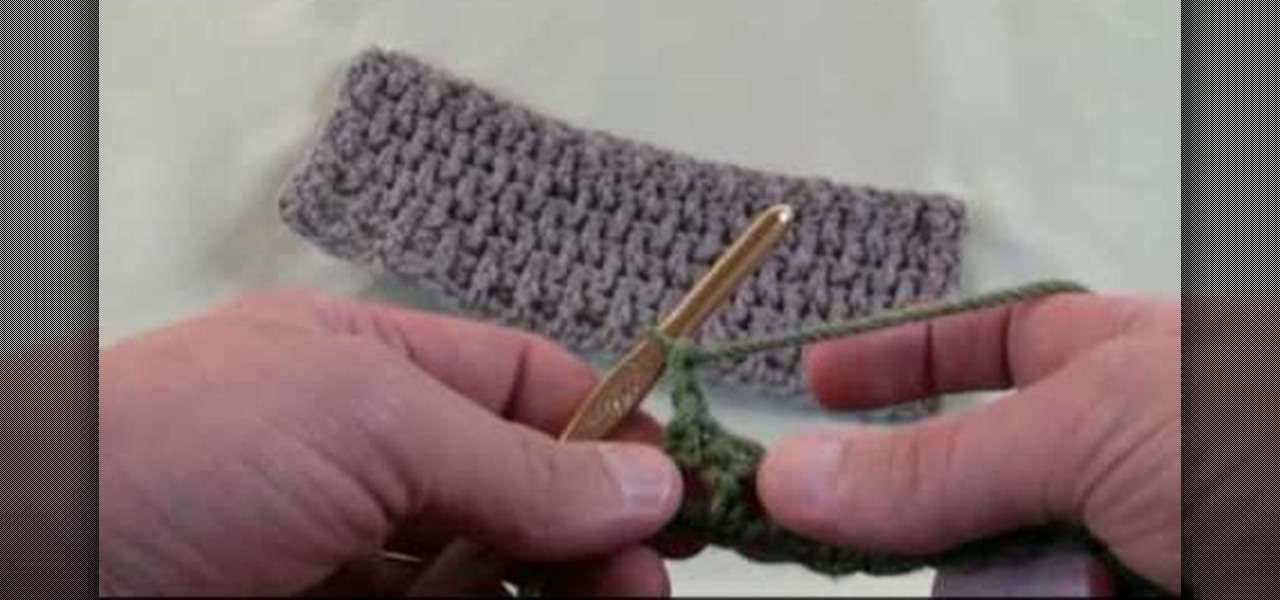
Expand your crocheting repertoire by learning how to crochet a crinkle stitch, which does indeed replicate fabric crinkles. With very hole-y yet tightly woven vertical lines of yarn intersection with horizontal ones, this type of stitch creates excellent warm fabric for scarves and cold weather gear.
Okay, so just to be clear, this is not a crochet tutorial for crocheting a stitch that resembles your new Blackberry Pearl (though, admittedly, that would be pretty damn awesome).
Crochet loopy granny squares will indeed remind you a little bit of your Gran Gran's favorite knitted coasters that she collected en masse throughout her lifetime. But the snuggly, historical and vintage quality of these granny squares is exactly what makes them so delightful.
In this video you can learn how make an easy paper flower. Cut the card stock into strips of paper that are either 1/8 inch, 3/8 inch or 1/2 inch wide. The width doesn't really matter, but all the strips must be the same size. Use scissors to cut slits 3/4 of the way through the paper strip, creating a fringe along the entire edge of the piece of paper. The smaller the distance between cuts, the more realistic and delicate the flower will appear. Insert the end of the paper fringe 1/4 inch th...
Learn how to knit a hip pidge scarf! Not sure what a pidge scarf is? Check out this video.
Expand your crocheting repertoire by learning how to crochet a crinkle stitch, which does indeed replicate fabric crinkles. With very hole-y yet tightly woven vertical lines of yarn intersection with horizontal ones, this type of stitch creates excellent warm fabric for scarves and cold weather gear.
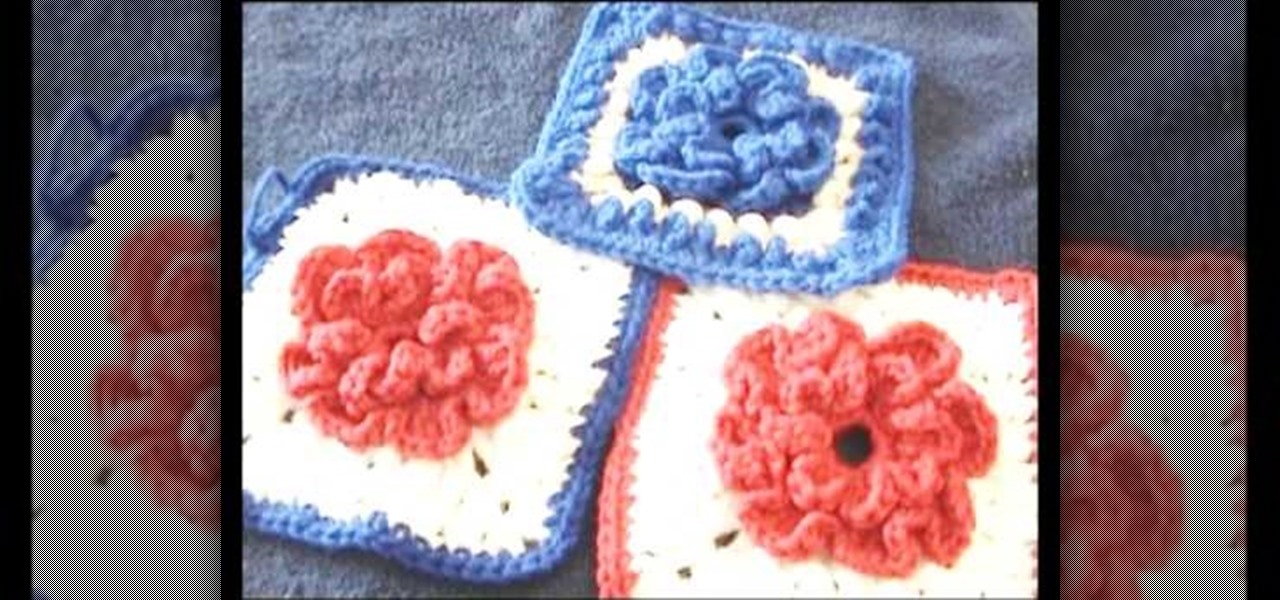
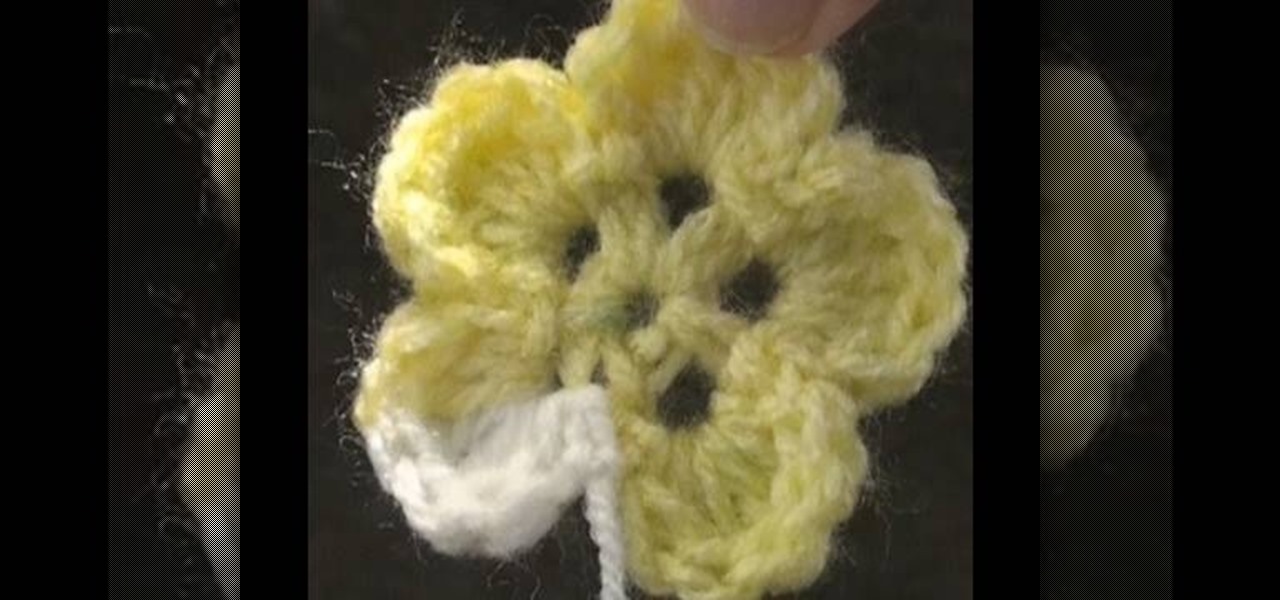
Flowers are the perfect accents for spring and summertime crochet projects, including scarves, Afghans, and lightweight shawls. While an entirely undecorated shawl is a great basic piece for your wardrobe, adding a few of these five petaled flower accents tacks on a feminine touch.
Single crochet stitches sound easy, but when many are knitted together into a pattern you get a very thick and heat-resistant surface. That's the idea behind this simple beginner-level crochet project for crafting a granny-style potholder out of a single crochet stitch.
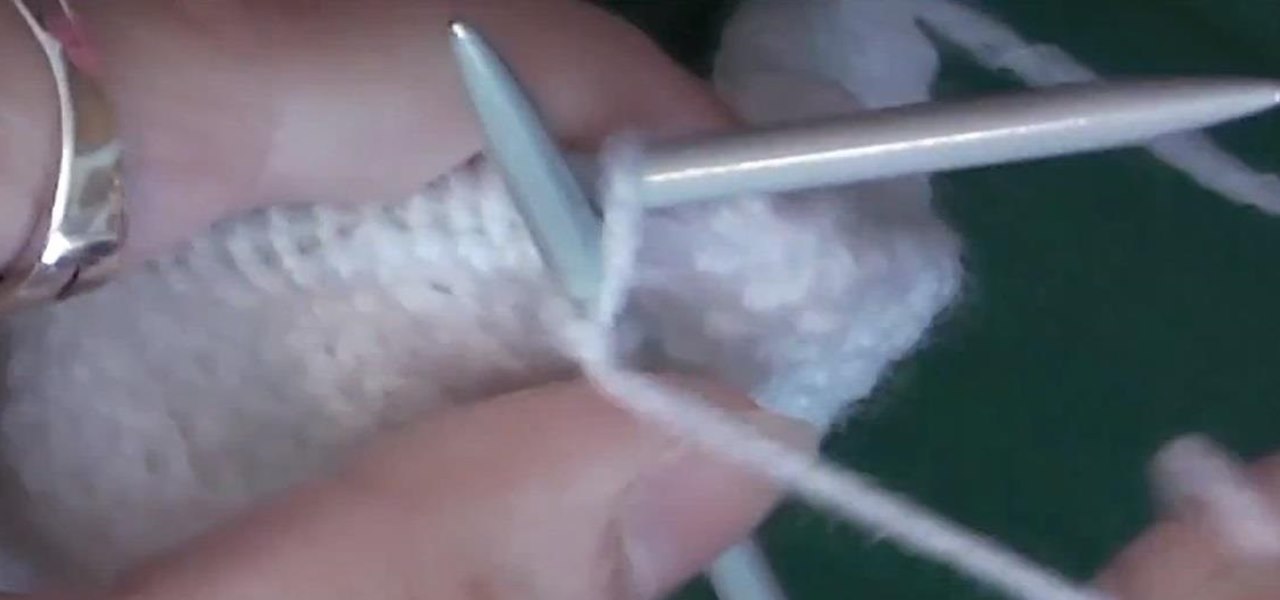
Dropped a stitch? Don't fret! It's easier to fix than you might think. It's so easy, in fact, that this knitter's guide can present a complete walkthrough of the process in under five minutes. For more information, including a step-by-step overview of the process, watch this helpful crafter's how-to.
Adina Klein from Tahki Stacy Charles joins Interweave Videos to demonstrate the reversible mobius pattern. The moebius (a rectangle that has been twisted to construct a continuous loop) is a easy design using a "faggot lace" technique. You can download a free moebius pattern at www.knittingdailytv.com.
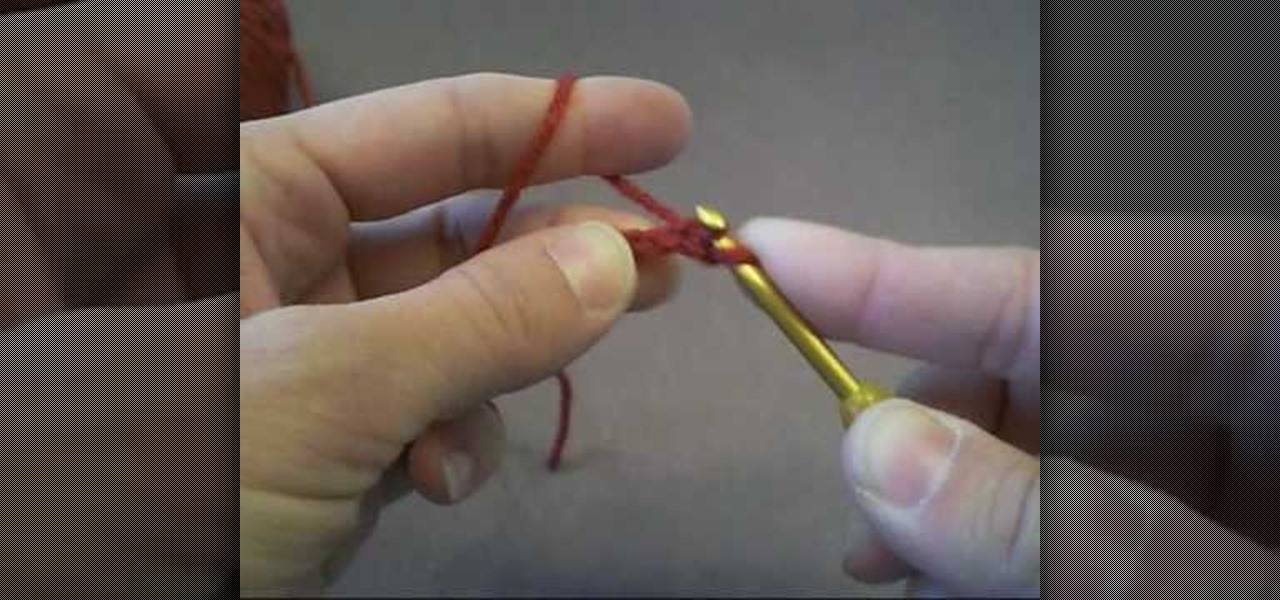
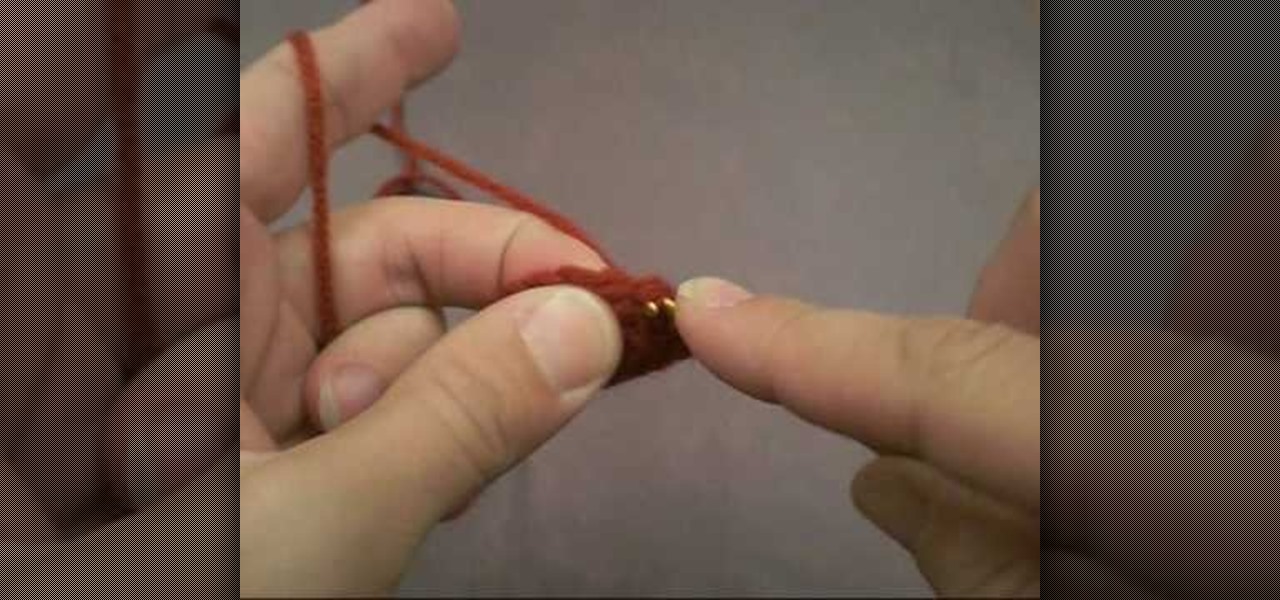
This amigurami tutorial shows you how to make a double crochet. Amigurumi is the Japanese craft of knitting or crocheting little animals (or any kind of cartoon/ creature) out of yarn. Most important principle of amigurumi: your creation must be cute! Watch this amigurumi tutorial and get started on your own creation.
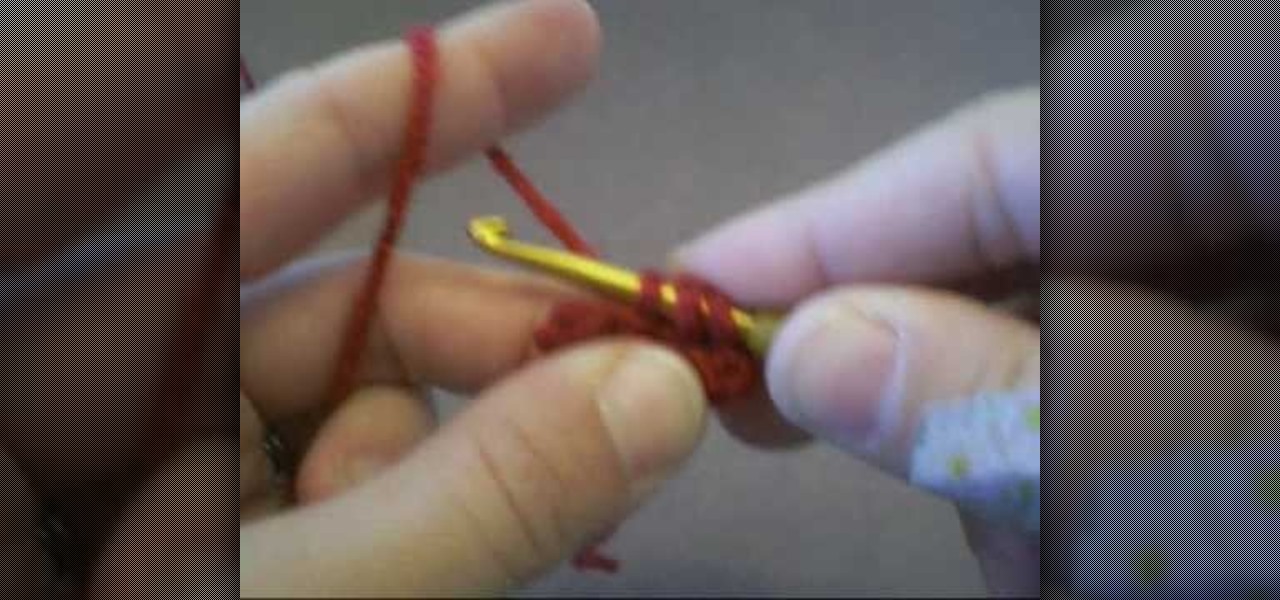
This tutorial shows you how to make a chain stitch, and how to single crochet (sc) in both the chain base and an amigurumi round.
This amigurami tutorial shows you how to decrease your crochet by one stitch. (Abbreviations: sc2tog or dec)