At the end of an all-day affair with friends or family, I'll unwind and go through all the pictures I took that day as a sort of recap. All too often, though, I'll come across a few that are almost perfect, except I didn't quite position my phone well enough, leaving someone's face cutoff or too much space to one side of the image. It's a fail of a basic and crucial tenet of photography—framing.
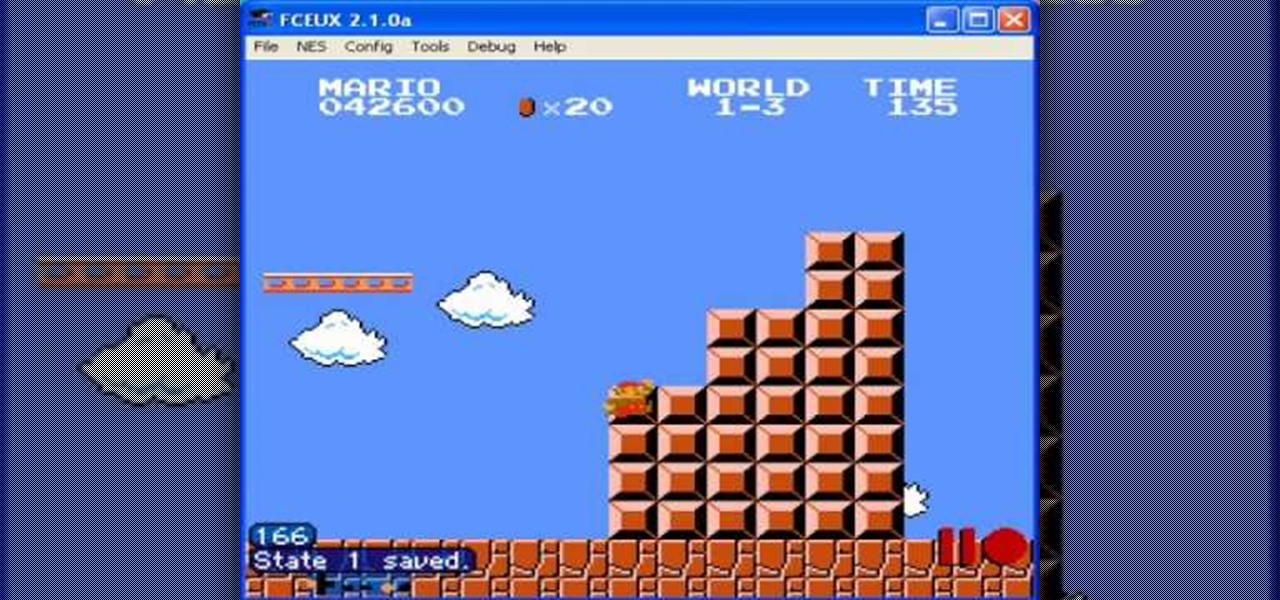
The flagpoles at the end of each level in Super Mario Bros are rewarding when you're playing the game, but if you're setting up a TAS they suddenly become infuriating wastes of time. This video will show you how to TAS skip the flagpoles, which should improve your time substantially.
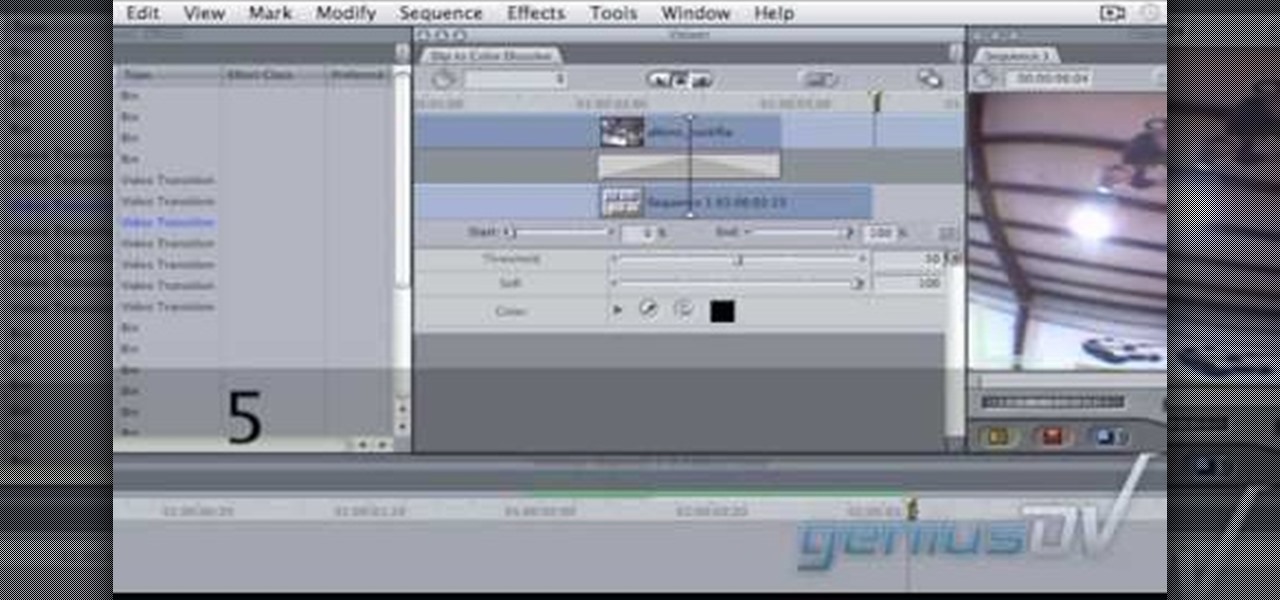
In this video tutorial, viewers learn how to create a freeze-frame effect in Adobe Final Cut Pro. Begin by placing the time line indicator to where you would like to place your freeze-frame. Press Shift and N to create the freeze-frame. The default user preference is 10 seconds. To change it, change the time and click on the insert button to splice the new freeze-frame time into the time line. Now click on the Effects tab and select the Dip to Color Dissolve under Video Transitions and Dissol...

This tutorial will show you how to create a cool image animation using mask in Flash. First lets import image file and now lets create a new layer. Choose oval tools and now lets draw a shape just outside our scene. Then go to frame 30, and add the key frame and select transform tool. Now lets re-size our shape and go to 50 frame and add the key frame. Then go to frame 80 and add the key frame, re-size our shape and use free transform tools. Now lets create shaped in frame over 30, 50,and 80 ...
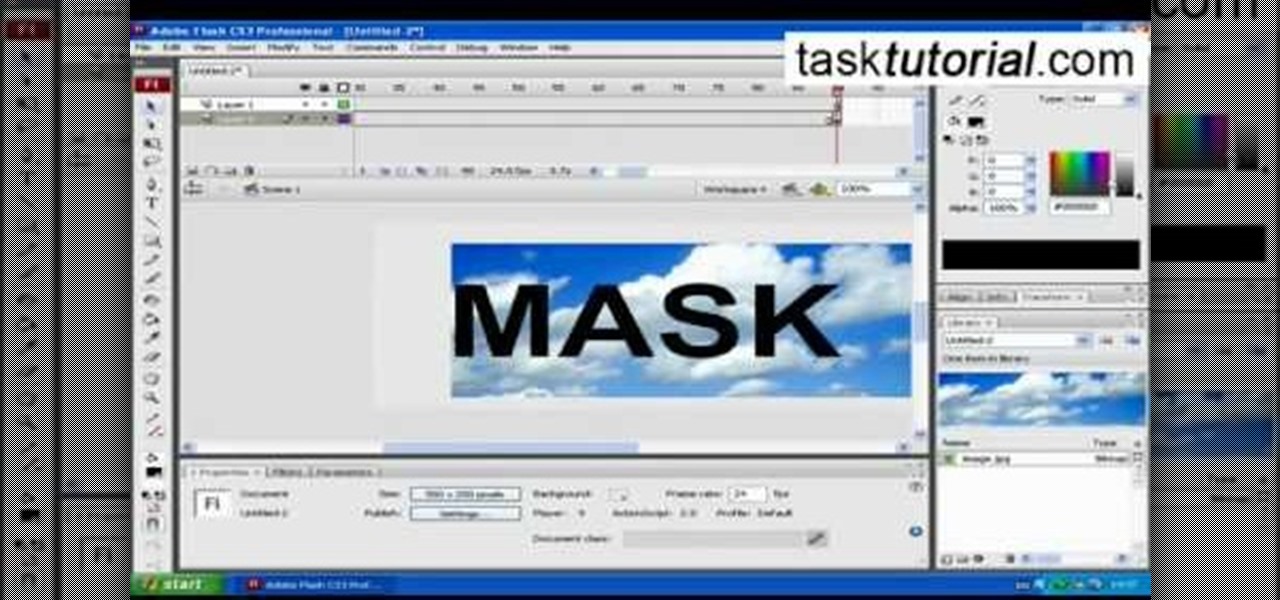
clipping mask Sponsored by SimpleRetouch.com Start by creating a task with the name Mask, then Choose a color and a font size.
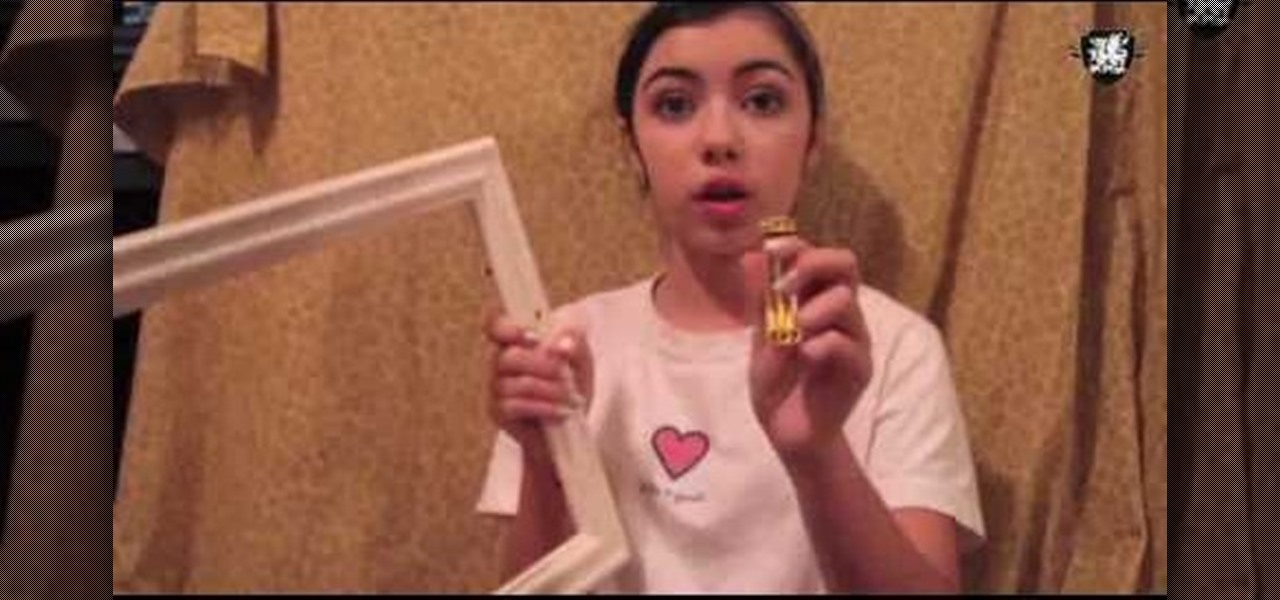
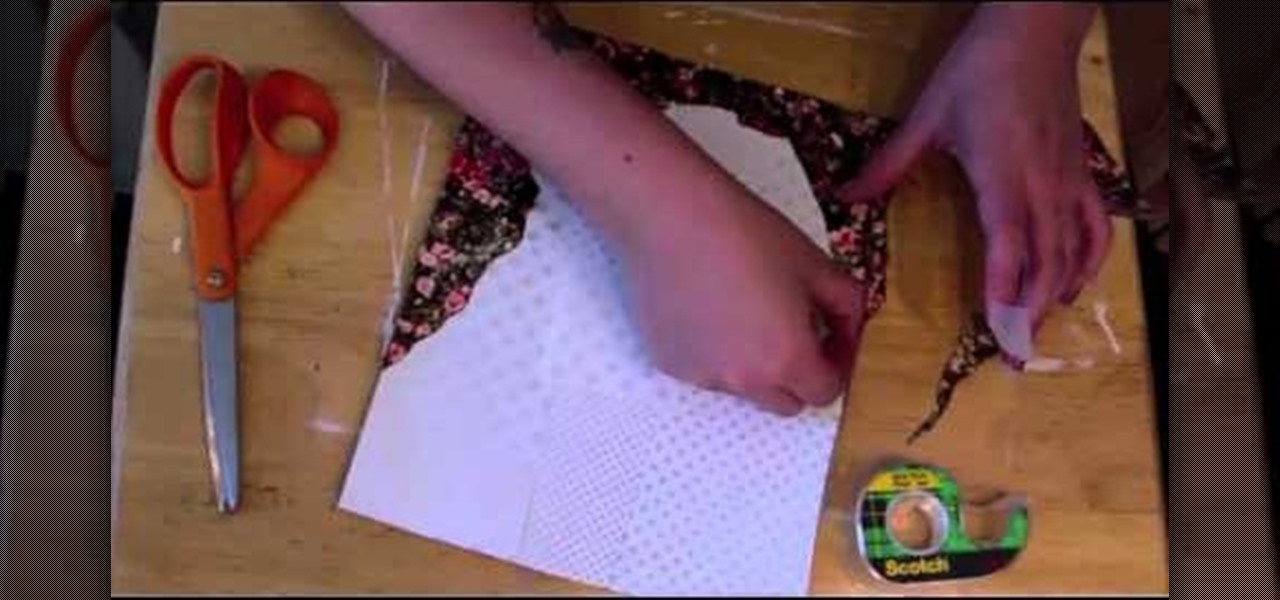
In this tutorial, we learn how to make a serving tray from a picture frame. First, grab a picture frame in a larger size that comes with glass on it and a backing. From here, you will grab some scrapbooking paper or another type of paper and cut it to size to fit on the background of your paper. Then, find two handles that you have and screw these onto the sides of the picture frame. After this, glue your favorite pictures onto the paper and then let it dry. When finished, stick this under th...

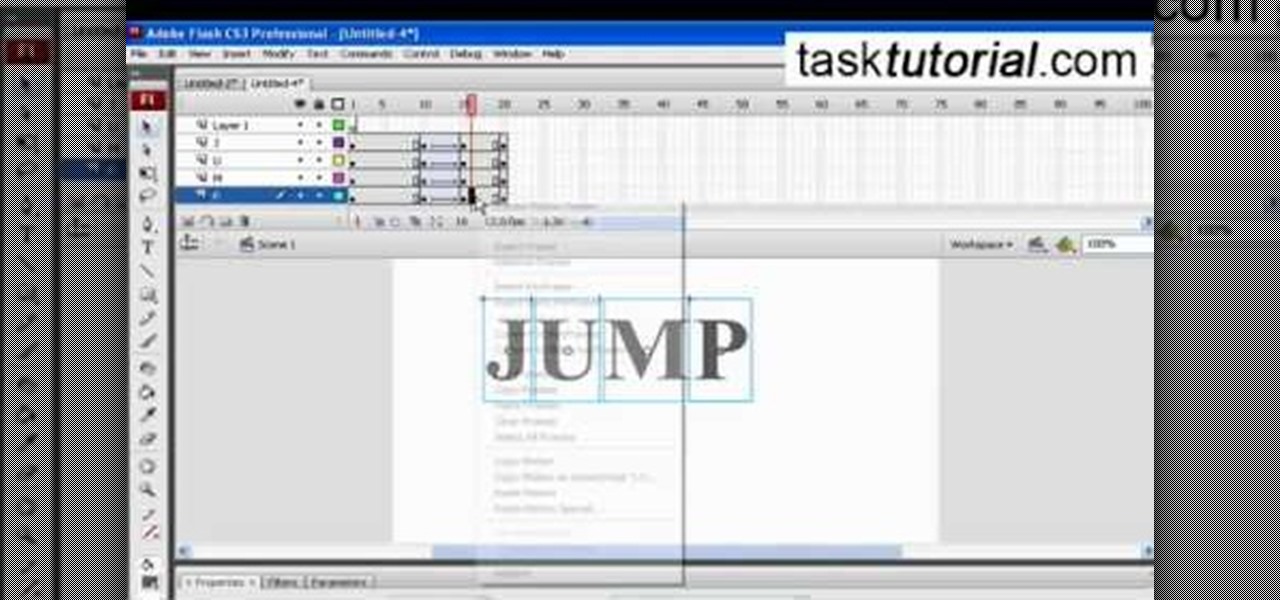
This video describes how to create a jumping letters in Flash, first create the text for example "JUMP" and using Break the letters each and then make the layer and now convert the letters into "Movie clips" and now we should add the key frames to our "time line”. Then moves the letters up by using the up arrow now copy the key frames from font end and paste on the back again for go up and come down the letters again and add the "motion between" for each letters and now skip the key frames by...

Get crafty with frame looms, rug patterns, and weaving. Learn about rug weaving and how to weave with a frame loom in this free video.

Looking for a unique picture frame? Learn all about decorative picture frames including rustic frames, veneer frames, ornate and dark wood frames and more in this free video series about professionally framing pictures.

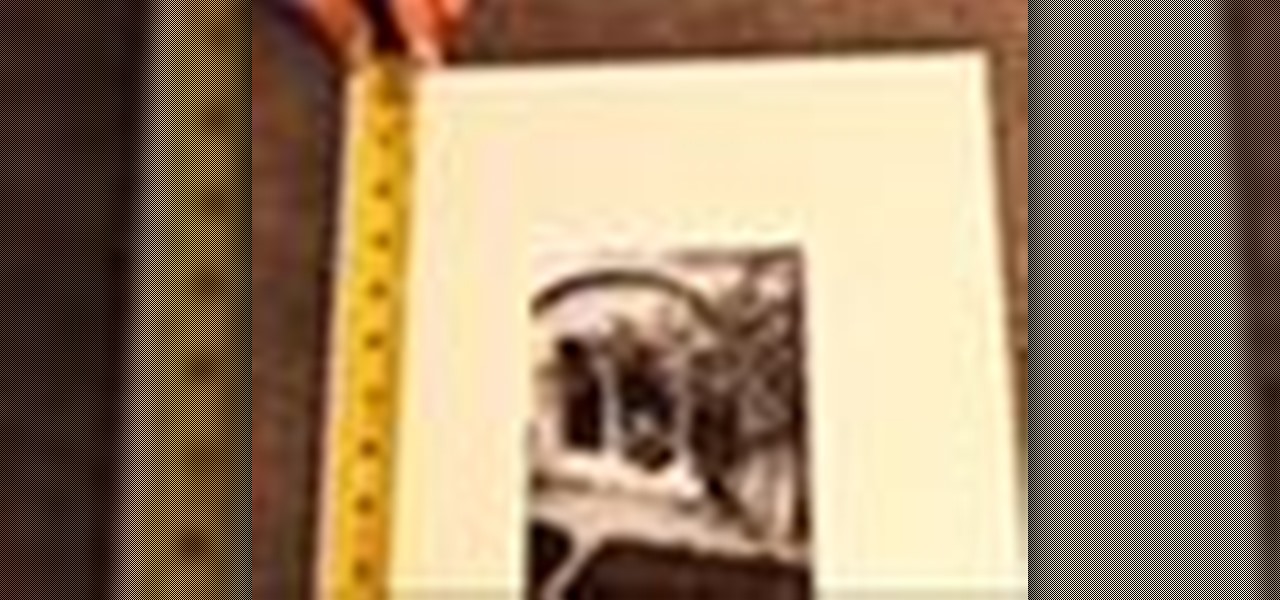
Make the most of your favorite photos by showcasing them in a beautiful mat and frame. For this project you will need: a picture,

Donnie Hoyle shows us how to edit video frames in Photoshop. So if you suck at Photoshop check out this tutorial and learn how to edit video frames like a pro. This is extra helpful if you need to remove yourself from incriminating video camera evidence.

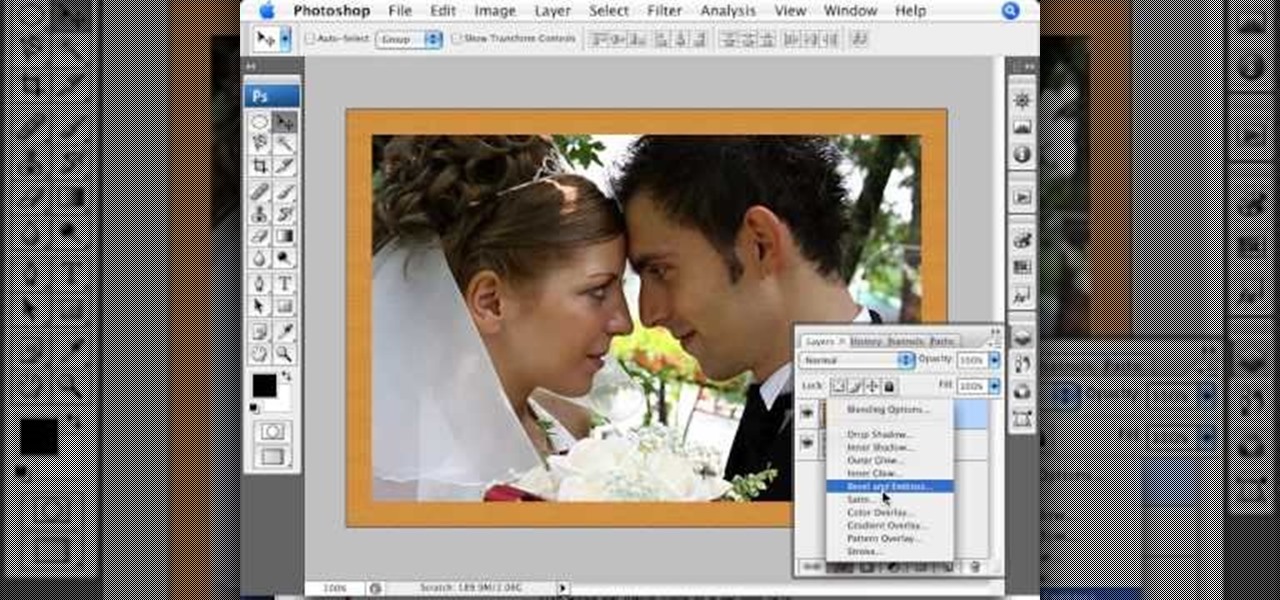
In this video, we learn how to create a picture frame on a photo using PhotoShop. First, open up the program and open the picture that you want to change. Next, select the rectangular marquee tool from the toolbar on the side. Now, create a selection of what you want to frame. Then, click with the right key and select "inverse". Click again with the right key and choose "layer via copy". Now, click 2 times on the layer to open and the layer style menu will show up. Now put the contour to crea...

This video teaches the method to add a virtual frame in Lightroom. The frames can be black or white. Go to the 'Develop' module. Open your Vignettes box. Go to the post-crop section. Slide the last three sliders to the leftmost position. Move the 'Amount' slider to the left to choose black frame and to the right side to choose white frame. The frame is rounded on the upper two corners. The 'Roundness' slider is used to round the frame inwards until a complete circle is obtained when the slide...

Are you interested in creating an antique look for picture frames in your home? Learn how to make picture frames look old from a professional artist in this free crafts video series.

Looking for unique picture frames? Learn how to make a shadowbox picture frame in this free video series about professional picture framing.

Great gift for all occasions. Learn how to make a personalized picture frame with cardboard and beads in this free home crafts video on making a great gift for friends and family.

The best bachelorette party favor! Learn how to make your bachelorette party a hit with picture frame party favors with expert party throwing tips and advice in this free video series on how to throw a bachelorette party.

I bet you can't wait to hang that beautiful painting you just ran across. But before you try to hang it and damage your wall take a point from Barbara K. In this video she will demonstrate exactly how to hang small & large paintings on your wall.

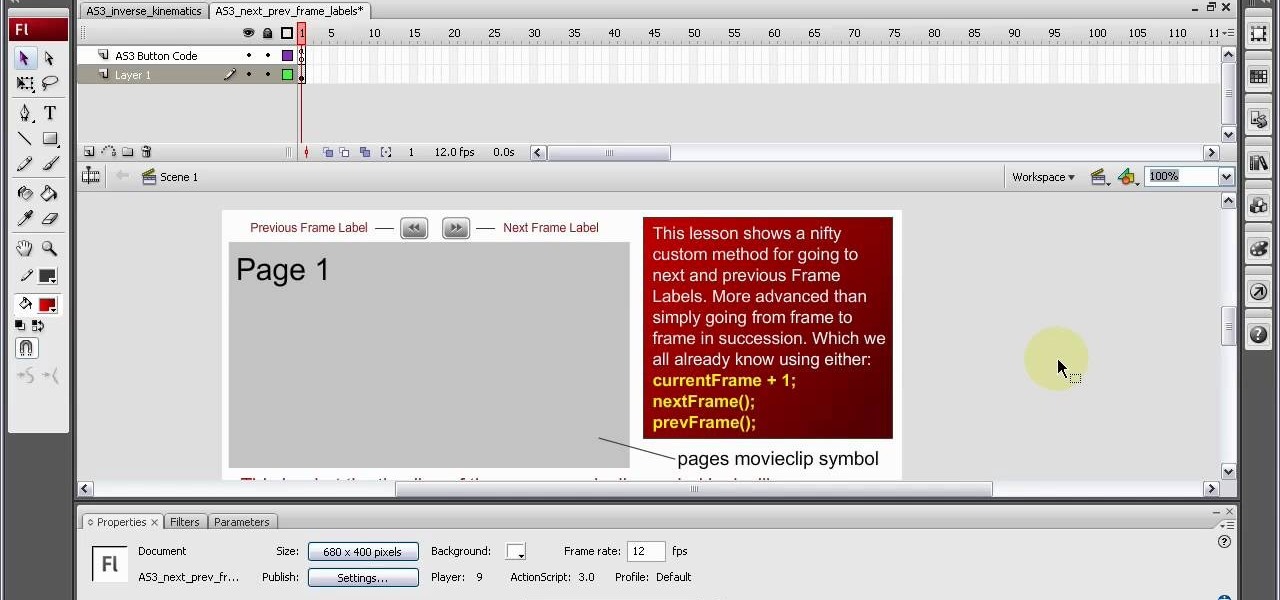
Frame labels are titles associated with certain segments of content (such as playing a tutorial in sequence and assigning each clip a separate frame label). This tutorial shows you how to set up a custom navigation system for your frame labels, so users can switch back and forth between segments.

This software tutorial shows you how to use Magic Bullet Frames plug-in. The plug-in is available for After Effects, Final Cut Pro,k Premiere Pro and Motion. Magic Bullet Frames allows you to take interlaced video and get the 24p look of film, right from within your editor — at high speed and high quality. Get started with Magic Bullet Frames in this After Effects tutorial.

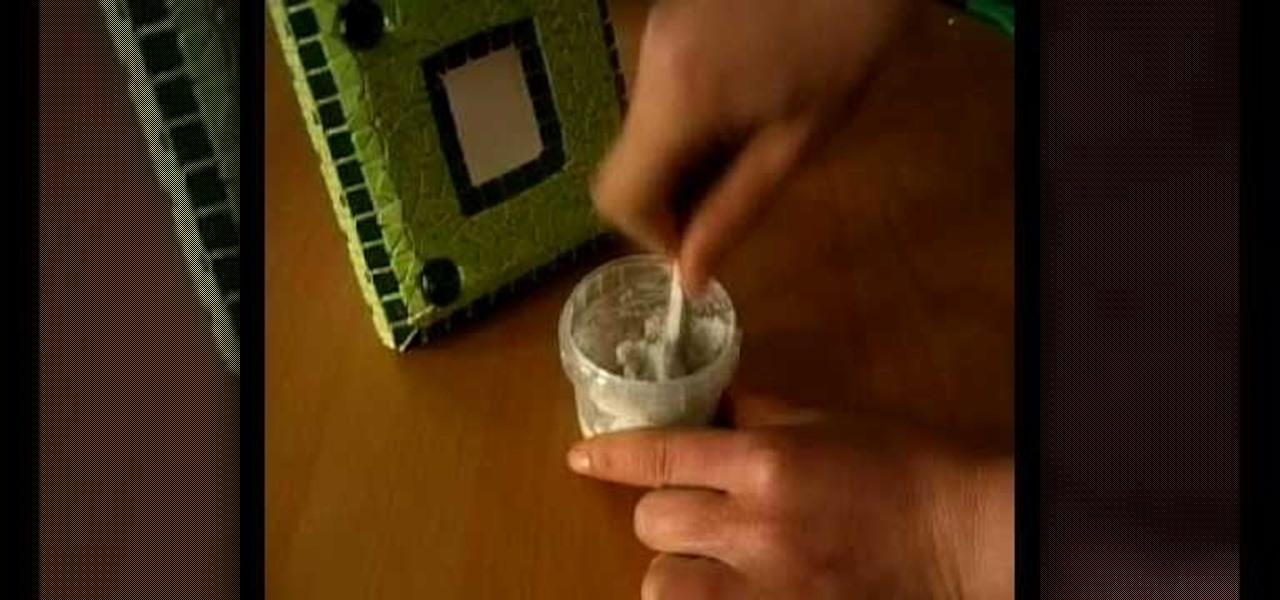
In this video, we learn how to make a mosaic picture frame with ceramic micro tiles. First, glue on the four gemstones. These will go on all four corners of the frame. Next, place the square mosaics onto the base. You will place these around the edges of the frame that are perfectly square. After this, cut the other squares in half and glue them onto the entire frame in the middle of the squares on the frame. Next, let the frame dry for two hours, then mix the powder together with water and r...

First go to import and click open external library and open your ball as shown before before and drag it to the library window. Now drag it to the first frame and insert key frame to 60 frame.

Stumped on what frame to use for your favorite piece of artwork or photo? The perfect frame will make your painting, photograph, or piece of artwork stand out on your wall. Here's how to find an ideal match.

Frames are a must-have for those special pictures, pieces of artwork, and momentos that need a safe place for storage yet need to be showcased. But purchasing a mass-produced frame at Ikea probably won't help your special objects feel, well, special.

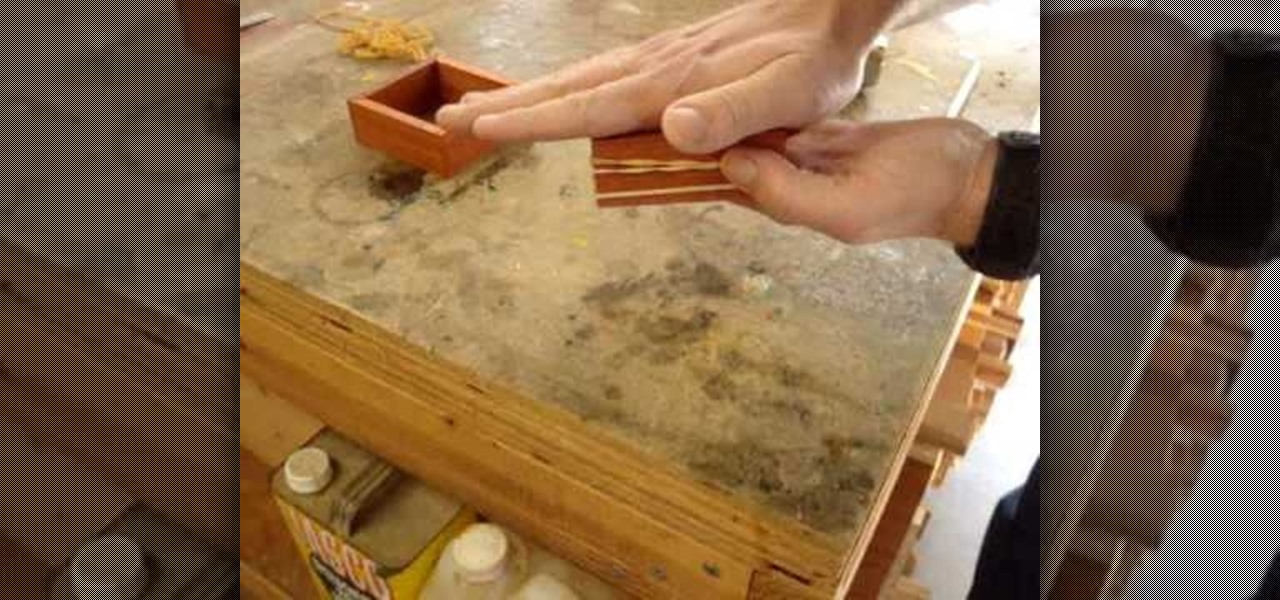
Most people have scrap wood hanging around in their garage collecting dust - so why not make a cool gift out of it? This picture frame box can be made in a couple of days and with a little elbow grease. It is a lovely gift for any occasion, and basically free to make.

In this video tutorial by photoshopuniverse you learn how to create a wood photo frame in Photoshop for your photos. Take the photo that you want to add a frame to, open it in Photoshop. Open the layers palette and double click to convert to a regular layer and increase the canvas size of the image to the required thickness of the frame. Create a new layer and fill in with the wooden pattern. Apply a mask and reveal the photo as shown. Apply the desired effects bevel and emboss to get the woo...

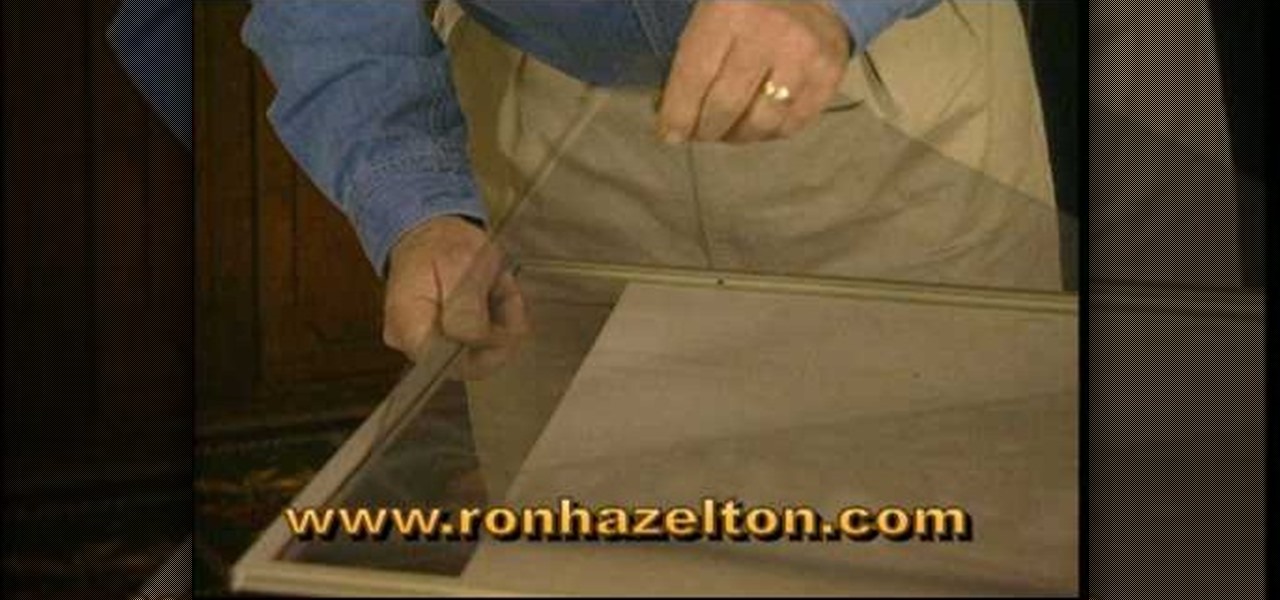
Ron Hazelton describes how to replace a screen in a door or window. The screen is held in the frame by a vinyl cord that can be removed with a knife. Lift the old screen out of the frame. With the new screen on a flat surface, using the frame as a template, cut the new screen a half-inch larger than the frame all around. Cut 45-degree notches in the screen at each corner. Place the screen evenly on the frame. Press the cord back into the groove on the sides first, then the top and bottom. Fin...

How to wrap picture wire around the hangers you've installed on your picture frame; learn this and more in this free online photography video about framing taught by expert Minnie Bell.

To do fading in flash, first drag an image onto your main window. Shrink it down so it fits on the window, then right click your image and hit copy frames, then come out to frame 15 and hit paste frames. Right click in the middle of the set of frames and hit "Create motion Tween" Go to the first frame and click on what you want to fade. Go to the color tab and then select alpha. If its not on 0, drag it down to 0. Now go to frame 15 and make sure its on 100. Now if you drag from left to right...

A great pair of sunglasses can make you look like a celebrity. Follow these steps to choose the best style for your face.

Creating a 3-D picture within a wooden picture frame is a great children's craft that promotes creativity and innovation. Make a 2-D image three-dimensional with this free arts and crafts video series.

Matting a picture helps it look professional, and is a necessary step if you want to frame it yourself. If you have a frame that is too large for the picture, but you love it anyway, matting will help fill it all out.

These are great, personal gifts that you can hand out to friends this holiday season. Find a picture and a quote you like, then dress them up in a picture frame! All you really need is the frame, some paint, a few old magazines and some paper!

If you loved The Da Vinci Code by Dan Brown, then listen up— there's been a new discovery found hidden within Leonardo da Vinci's most famous painting— the Mona Lisa.

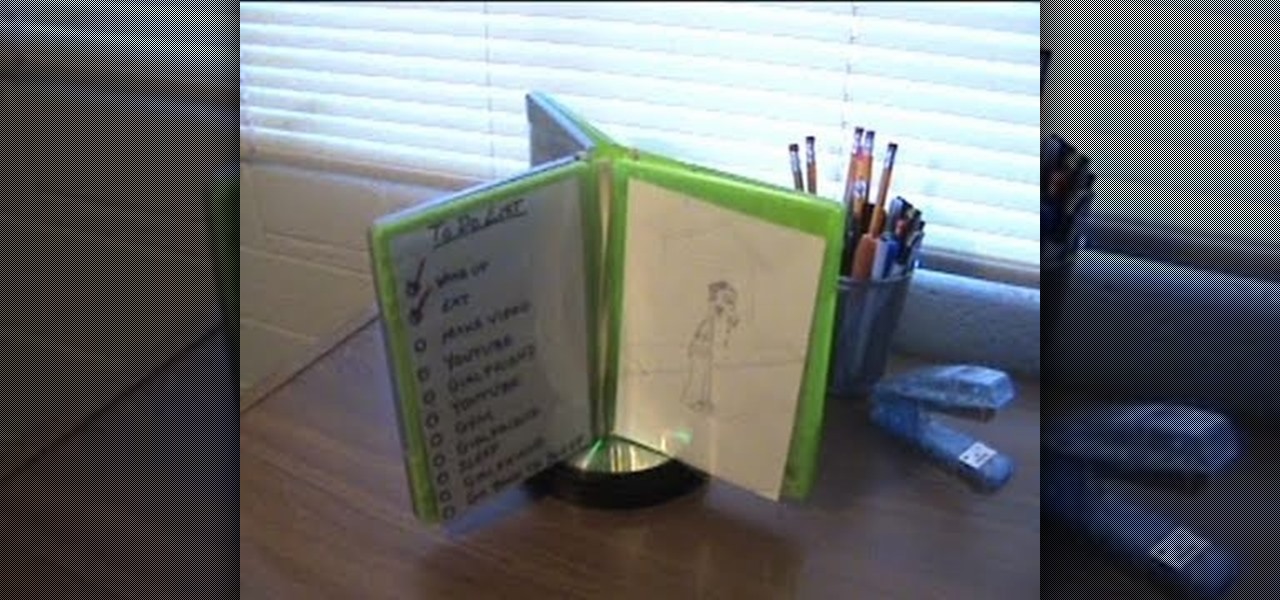
Create your own spinning picture frame with just a few dust-collecting items in your home! This video from Nextraker will show you how to build this interesting three-way picture frame, consisting of 6 open photo slots. You can simply put it on a hard surface, or you can make it spin 'round and 'round with a CD spindle.

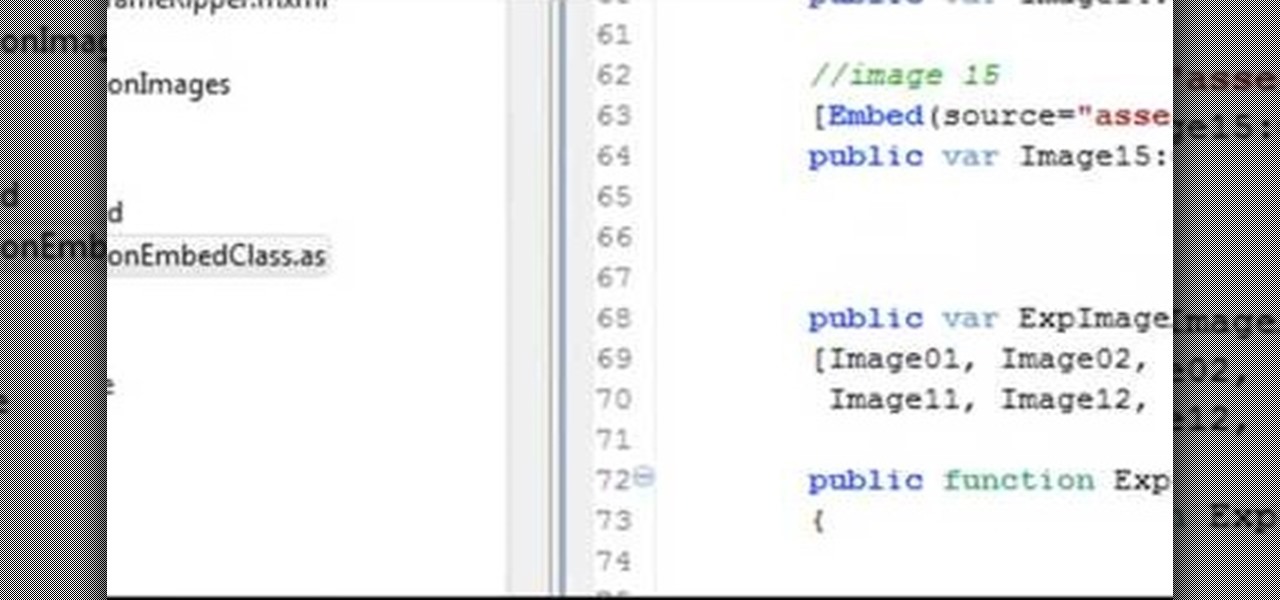
Make a Spark frame ripper

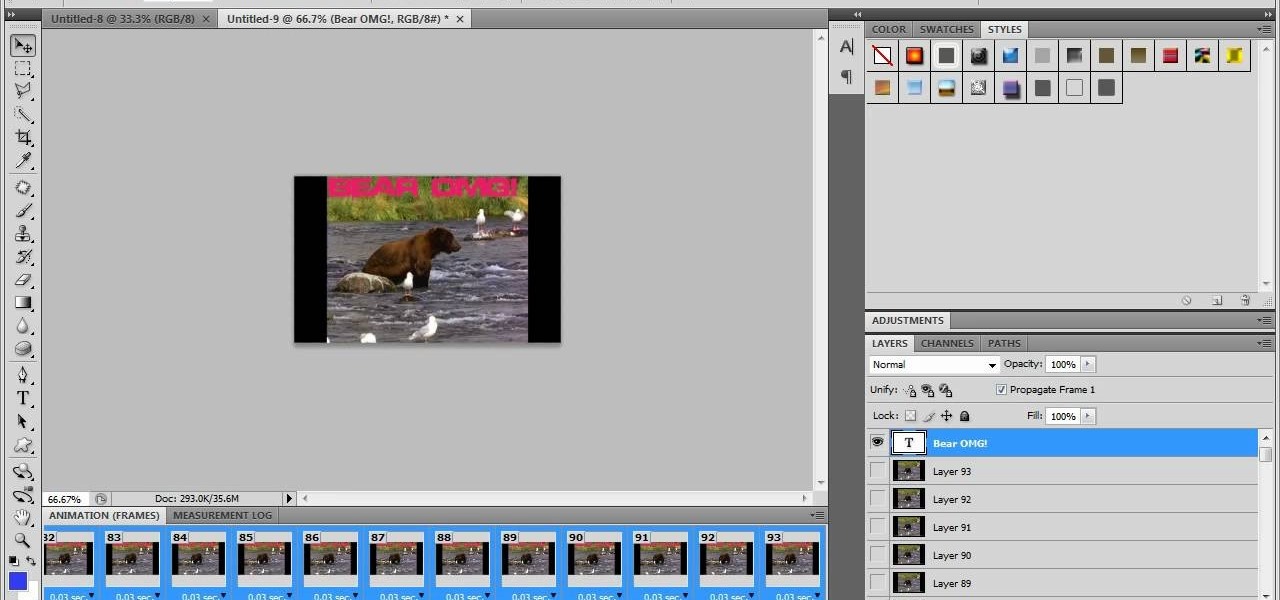
Learn how to make an animated GIF from a video clip using Adobe Photoshop CS4. You'll need to use an external editing program (like Sony Vegas) to create a small clip from your larger video beforehand. From Photoshop, go to "File" and select "Import" and then "Video Frames to Layers" from the pop-up menu and select your video clip. Choose "From Beginning to End" when prompted about range to import. The duration of the video clip will now be displayed in frames. By default, each frame is set t...

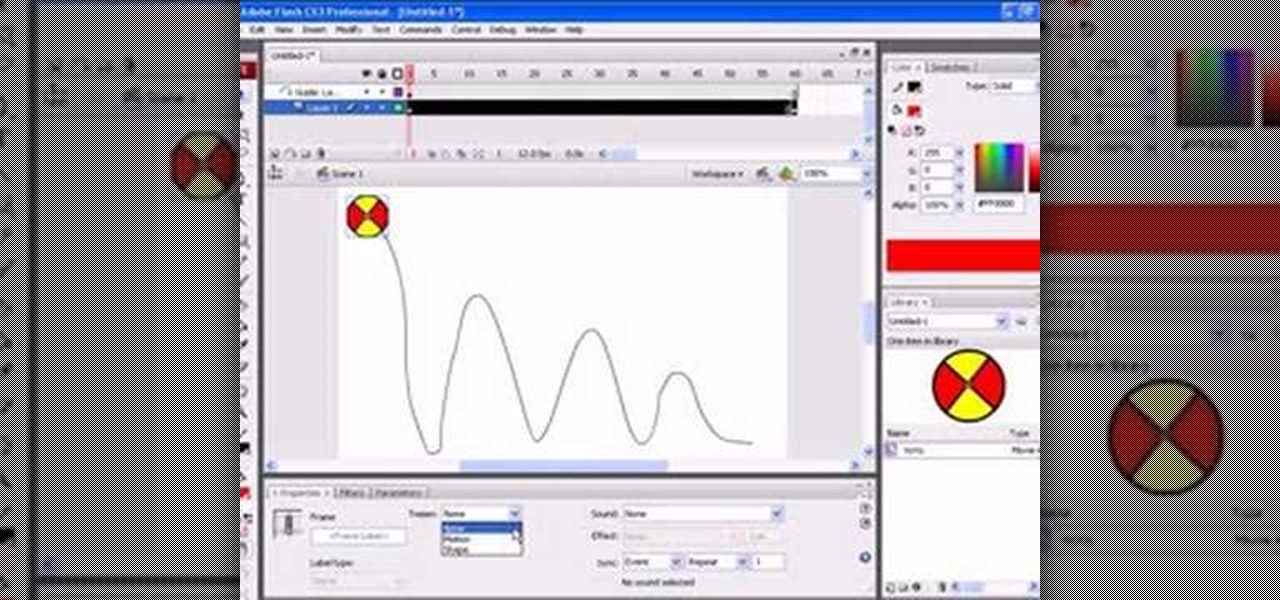
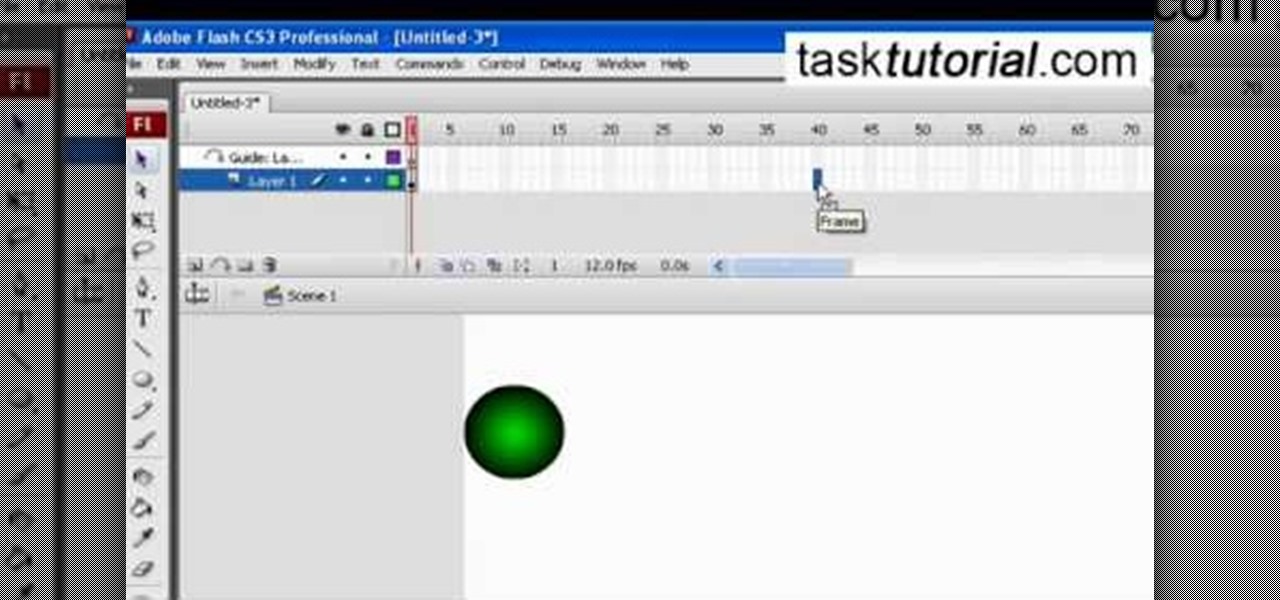
This tutorial video, from tasktutorial demonstrates how to create animation using the motion guide function in Flash. You will learn how to create an object, in this case, a ball, and create an animation that makes it appear to bounce. The guide shows you, how to add a motion guide by selecting a key frame and drawing it in. Then you will learn how to snap the object to your guide line, and add motion to it by selecting another key frame between the first and last frames, and snapping the obj...

In this flash tutorial the instructor shows how to make a black and white mask animation. To do this, first start by importing your image into the flash tool and bring it on to the scene. The image should be wider than the scene. Now select and distribute the layers. Now convert those images into movie clips. Now go to frame 80 and add all frames. Get back to the first layer and create a shape that is the your mask. Now go to frame 40, select key layer and add free transform tool. Now, mask t...

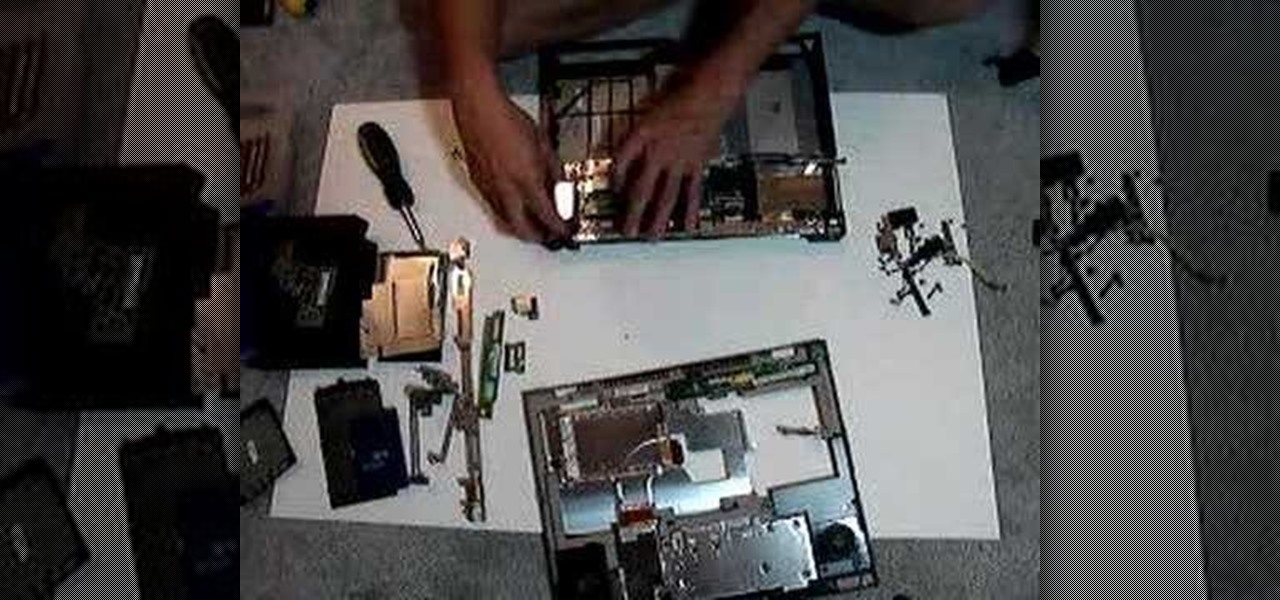
This is a laptop disassembly of a Dell Inspirion 7000, for the making of a digital picture frame. Watch this three-part video to make you the coolest kid on the block. See the disassembly in part one, the LCD retainer in part two, and the system board back panel in part three.


