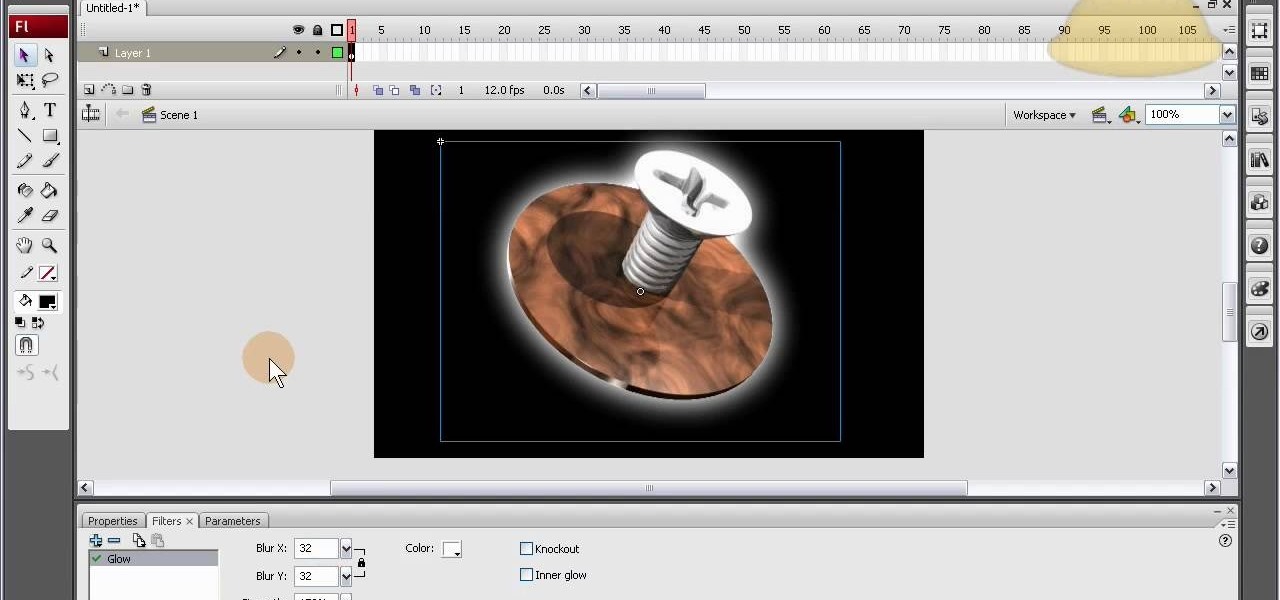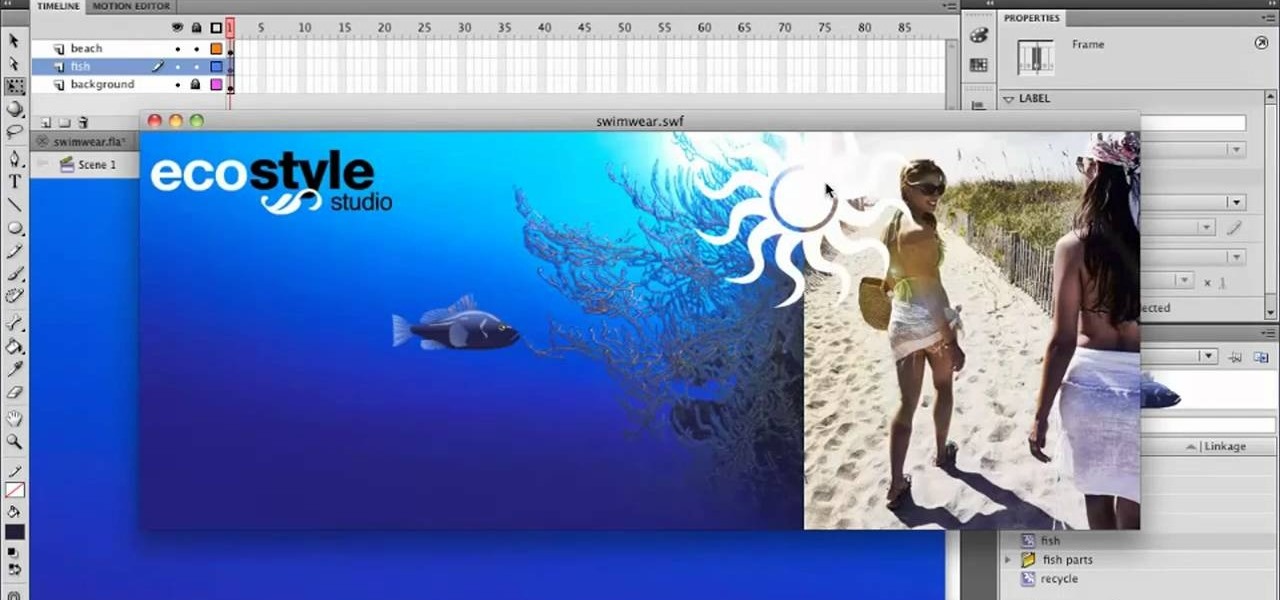
Learn how to create flowing glass rollover buttons. This clips takes a look at tweening in the timeline to create a seamless loop, using the pen tool a little, masking, and reversing frames. Whether you're new to Adobe's popular Flash-development platform or a seasoned web developer looking to better acquaint yourself with the new features and functions of this particular iteration of the application, you're sure to benefit from this free software tutorial. For more information, watch this Fl...

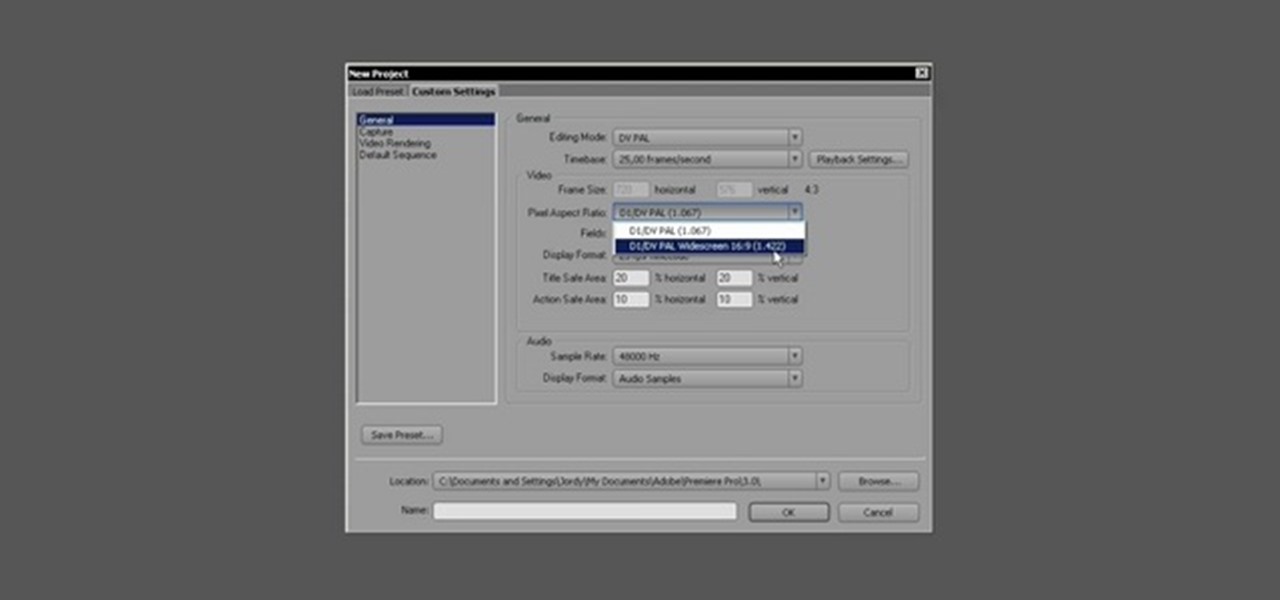
For a new user, Adobe Premier Pro can be overwhelming. There's just so much you can do! So, a little guidance, or shall we say "basic training," is what you'll need to get started editing your own home video or professional film. This five-part series is your basic training, taught by Jordy Vandeput, showing you the basic, need-to-know stuff in Premiere Pro CS3.

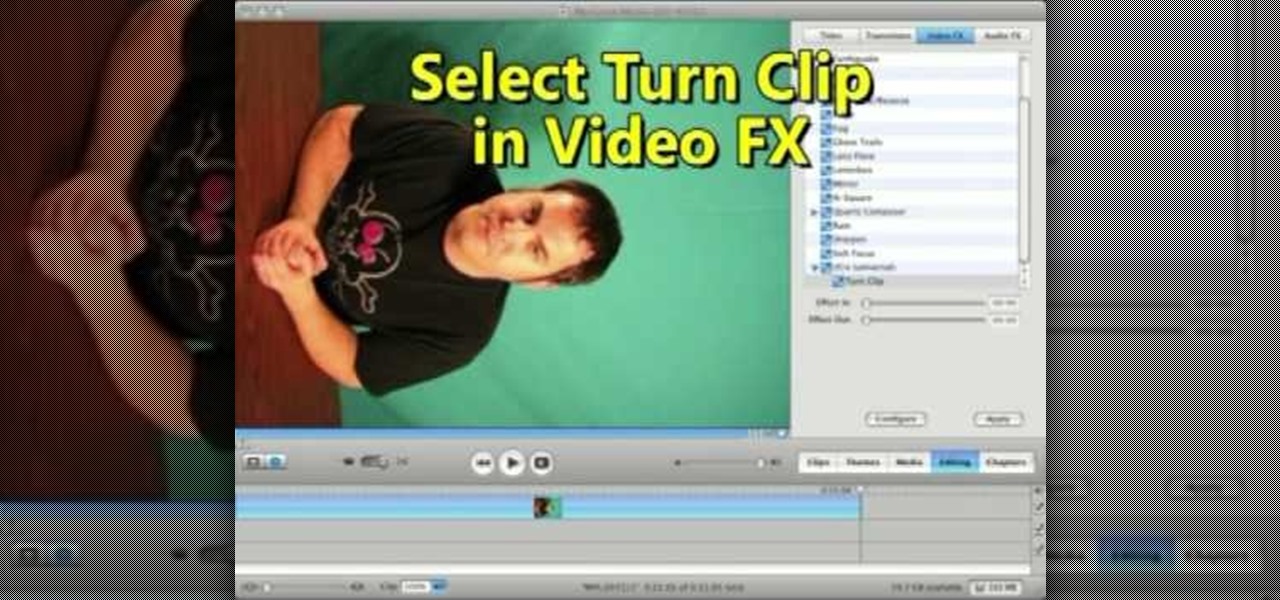
This video shows us the method to rotate a video clip using iMovie HD. Go to iMoviePlugins and download Turn Clip from it. Also make sure you have iMovie HD installed. Now add the video clip to the timeline. Go to the editing tab and choose Video FX and CFX enhancements. Choose Turn Clip from the resulting window. Now set the rotation angle. This can be configured to 90 degrees or 180 degrees. Click on 'Apply' and the software will render the rotation on the timeline. When everything is done,...

Twitter's official iOS app is adequate if you're not much of a tweeter, but if you are, there's a lot of useful features that are missing. Luckily, there are plenty of free Twitter clients available that you can use on your iPhone. These third-party apps have features such as customizable interfaces, post scheduling, and different browser options for opening links, to name just a few.

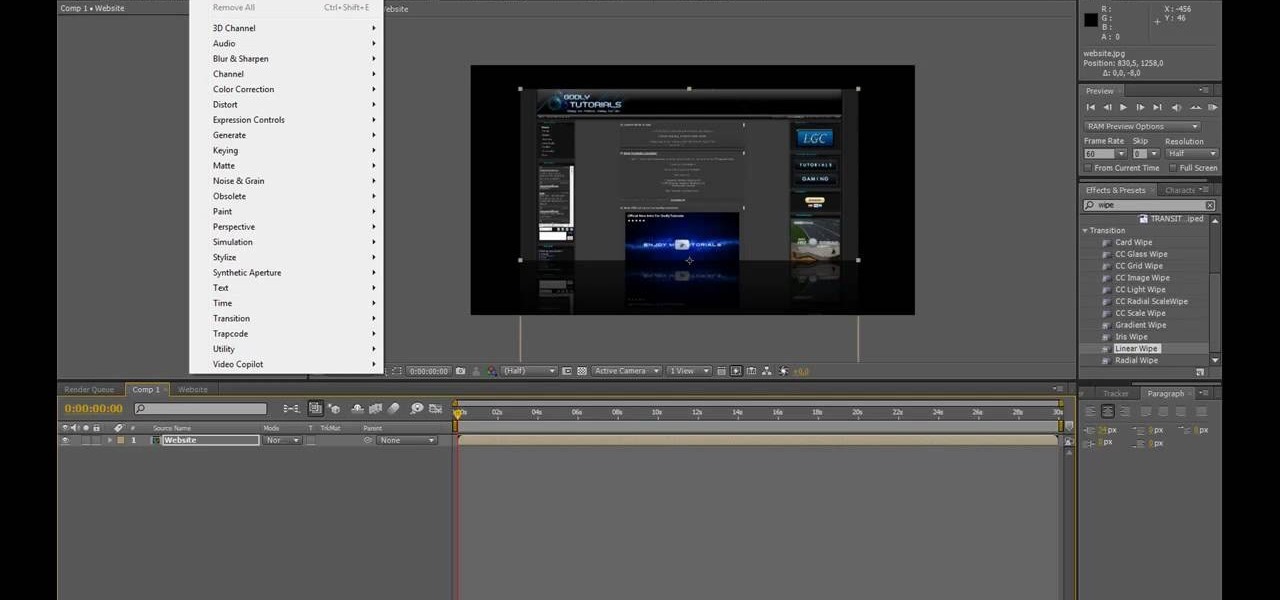
Open After Effects. Create a new composition by selecting "Composition" and "New" from main menu. Use default NTSC DV preset. Keep 30-sec default duration unless you need more time for the video scene to edit. Import several video clips by selecting "File," then "Import" from menu. Navigate to video files you want. Import at least 3 different video files using Import File dialog box. Double click on 1st video file you want to add to your timeline. The file will now open in a video monitor win...

Learn how to import your videos into iMovie by viewing this video. This tutorial shows the various methods used to import the video clips into iMovie, arranging the clips in the timeline, and optimizing the video footage in the editing environment.

Learn how to edit videos in this quick and easy tutorial. Use iMovie in this project to make a 5x5, which is a series of 5-second video clips compiled together into a 25-second video project. This tutorial details the various steps of video editing, including importing footage, arranging clips in the timeline, trimming & cutting, editing sound & music, adding text effects and exporting to a video sharing site like Vimeo.

Have multiple animations going at the same time in your Flash project! This tutorial shows you how to use the scene editor, timeline and other functions in Adobe Flash CS4 and Swift 3D to make multiple animations run concurrently in a single project.

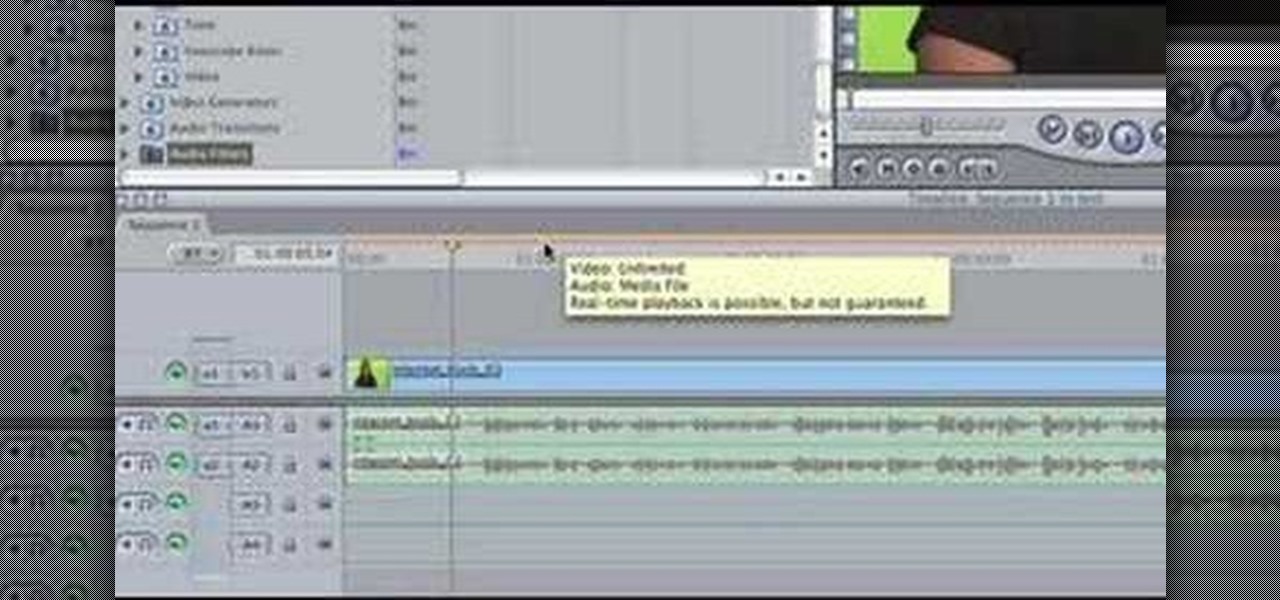
Learn the many ways to preview un-rendered clips in the Final Cut Pro timeline. Whether you're new to Apple's Final Cut Pro non-linear video editor or just want to better acquaint yourself with the popular video editing program, you're sure to benefit from this video tutorial. For more information, including detailed, step-by-step instructions, watch this tutorial.

When your edit is complete, or locked, the next step is to fine tune your audio. Adjust the audio levels of your clips to produce a balanced sound mix. In Final Cut Express, you can control audio levels in the timeline and the viewer. You can even add keyframes to make level changes over time.

Audio filters help you create a credible soundtrack. They can remove distracting noises, like the hum of an air conditioner, and add atmosphere, like an echo. Filters are accessed in the effects tab of the browser and organized into two categories: those provided by Apple and filters that come bundled with Final Cut Express. Drag a filter into the timeline and doubleclick it to edit it in the viewer.

Video filters let you adjust and enhance your clips for greater visual effects. Access Final Cut Express' filters in the effects browser. Simply position the timeline playhead over the clip, apply a filter, and the resulting changes are displayed in the canvas. Filters can be animated using keyframes, which work the same way with filters that they do with motion.

Use LiveType to create professional titles in your Final Cut Express project. Match the properties to those of your Final Cut Express project, add text, choose a font, and format your text using the inspector. The title shows up on the canvas and in the timeline. You can also add sophisticated backgrounds, effects, and animation.

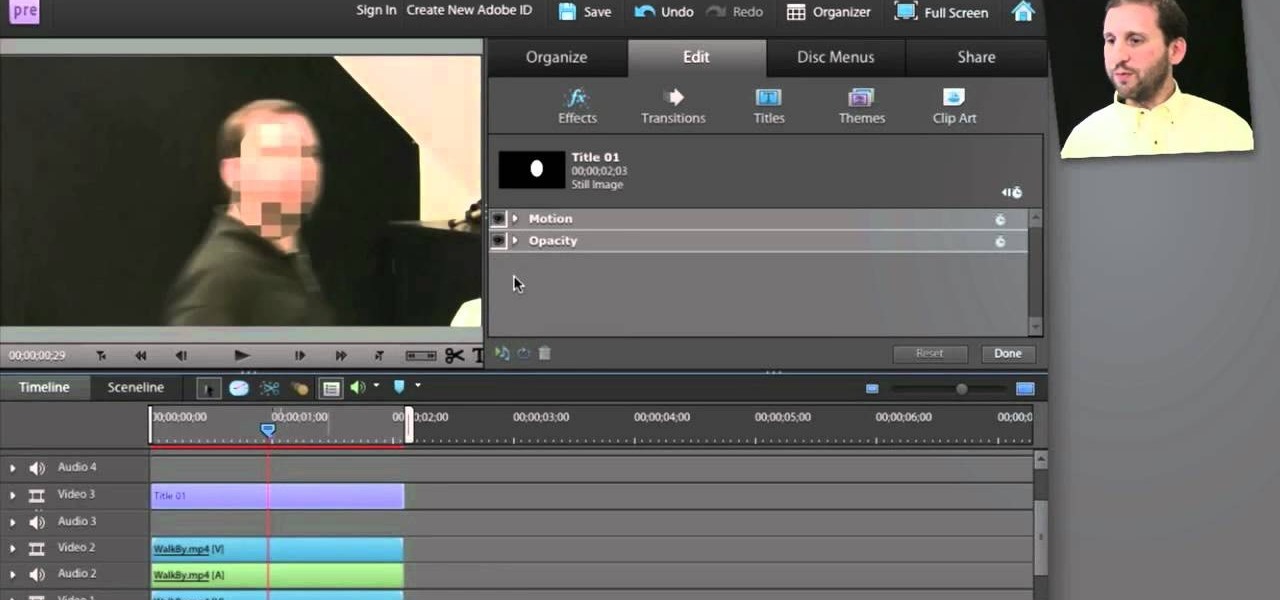
You've got your crisp, clean video and now you want to mess it up with some cool blur effects. Here's how to use Adobe Premier Elements to make it happen. It's a simple trick that can give you some professional looking results.

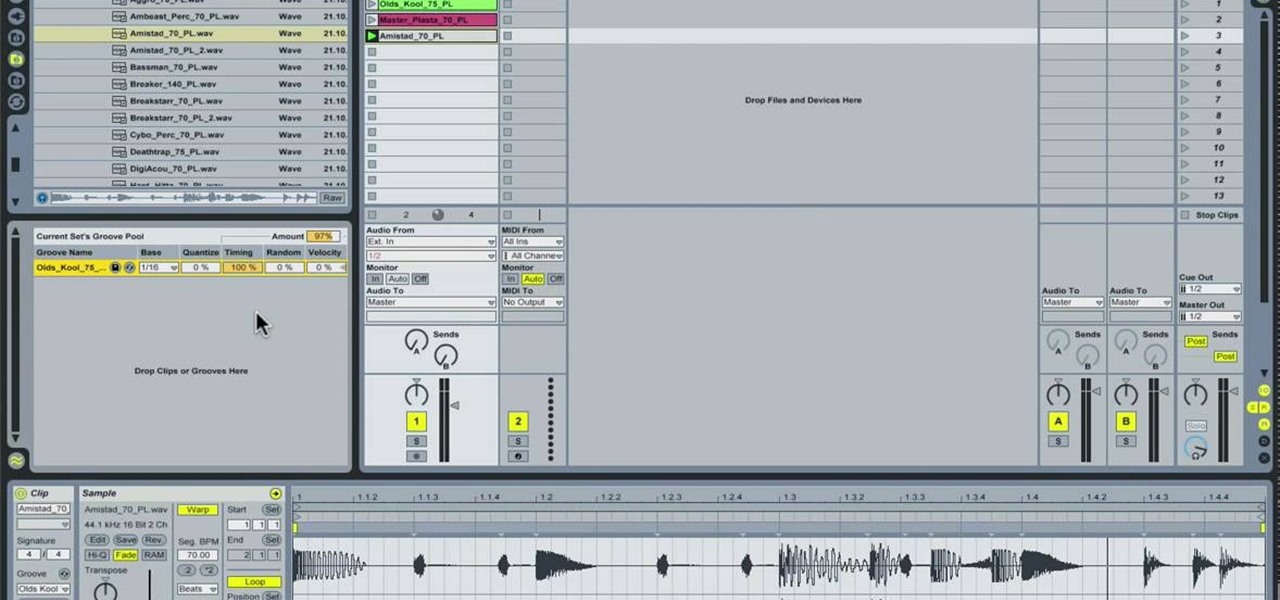
In this tutorial, we learn how to use the groove function in Ableton Live 8. A group settings consists on points along the timeline where hits sit. If you have something with no groove applied, it will sound robotic. By adding a groove, you will shuffle around the midi from the hard quantized parts. This will add more human element to the audio. There is a button on the left with two lines that show the library with options you can use. You can also apply this to other clips, scroll through t...

In this tutorial, we learn how to extract audio from CD with Vegas Movie Studio. First, open up Vegas Movie Studio and open up the audio from the drive you prefer by going into "project" then "audio cd". Once you do this, a new window will pop up showing all the different audio tracks that you can open. Play them before you open them, then when you find it click "ok" and then save it to the place it suggests. Now that selection will show up in your media pool, put this on your timeline. After...

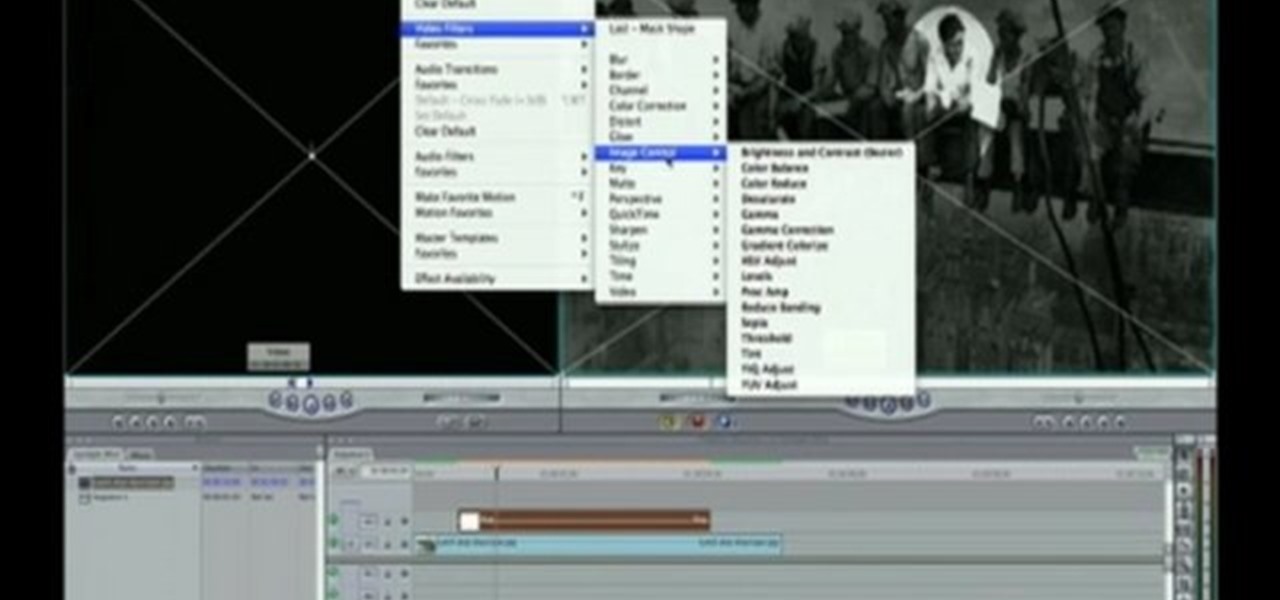
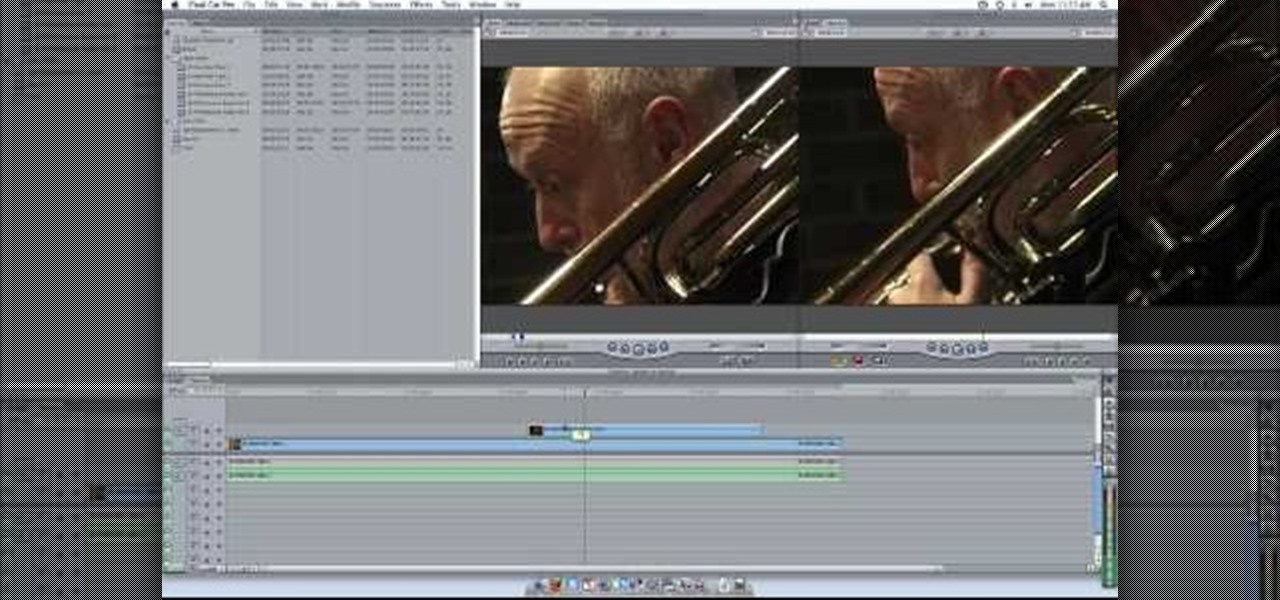
For this Final Cut Studio video tutorial, Zach King will teach you how to create a spotlight effect in Final Cut Pro. To create a spotlight effect, just drag your photo of choice into the timeline, set and in and out point, go to video generators, and use the slug. Then press the red overwrite button. Next, select the clip, go to the Effects tab, go to Video Filters, Matte, and then Mask Shape. Check out the rest of the process in Final Cut. Let the Final Cut King show you how!

The application the makes Apple's Final Cut Studio is the film editing app Final Cut Pro. With its ability to log and capture video onto your hard drive for editing, you can easily edit and process your indie film, or maybe even a professional movie. Final Cut Pro is a non-linear editing program that even the best editors use.

This video will show you how to make a stop motion film using an editing program called Windows Movie Maker. Find a place to film your stop motion movie. Preferably a well lit area where the light source is constant. Set your camera on a tripod and position at the angle you prefer. Place the object you want to use in your film outside of the camera's view, and take a picture. Move your object slightly into the camera's view and take another picture. Repeat this many times, until your object i...

Adding additional photos to a movie project in iMovie for iPhone is relatively simple, but incorporating more videos to your timeline is a little bit more involved, only because there's more that you can do. Unlike with photos, you can trim the length of new videos, select the audio only, and add overlay effects.

Using a green screen is an affordable and easy way to transport your video to anywhere imaginable, even to places that don't exist. You can use it to sit behind a desk in a busy newsroom or dance on the moon, but first, you have to know how to properly perform chroma key compositing two videos together. Fortunately, Enlight Videoleap on iOS makes it easy.

This tutorial shows a beginner how to reverse their timeline animations, both by using Action Script code or by using the timeline functions. Set up your Adobe Flash CS3 animation timeline going in one direction, and then completely reverse it!

In most cases, when you create a movie project in iMovie for iPhone, you're starting with just a few media clips. There's no reason to select every photo or video at once, and that's likely a hard task anyway. Adding additional media footage to your movie project couldn't be any easier, especially when it comes to photos.

You can overlay your videos in Sony Vegas Movie Studio. First drag the picture of TV set in the timeline and drag it to the whole timeline and then place your video above it as showing in the video. Now click on the pan/crop icon and select the picture of TV set. Now resize your window and set your video in the TV set as showing in the video. Now you can play your video but it pops up as the video plays so to fade in your video, you just need to do is to drag the corner of your video as showi...

Before you go ahead and delete your Facebook — don't lie, you've been thinking about it — consider this. Facebook offers users a wide variety of privacy options to mess with, which can help you find a little control over your information. We're not saying this solves Facebook's privacy crisis, but it might be a more reasonable option than throwing in the towel entirely.

The music and sound effects that play in the background of any videos you edit helps set the tone, so it's essential to get it right. Enlight Videoleap, an extremely powerful and popular mobile video editing tool for iOS, lets you quickly and easily add audio from your iPhone and the cloud, but things can still get a little confusing when you have a timeline full of clips.

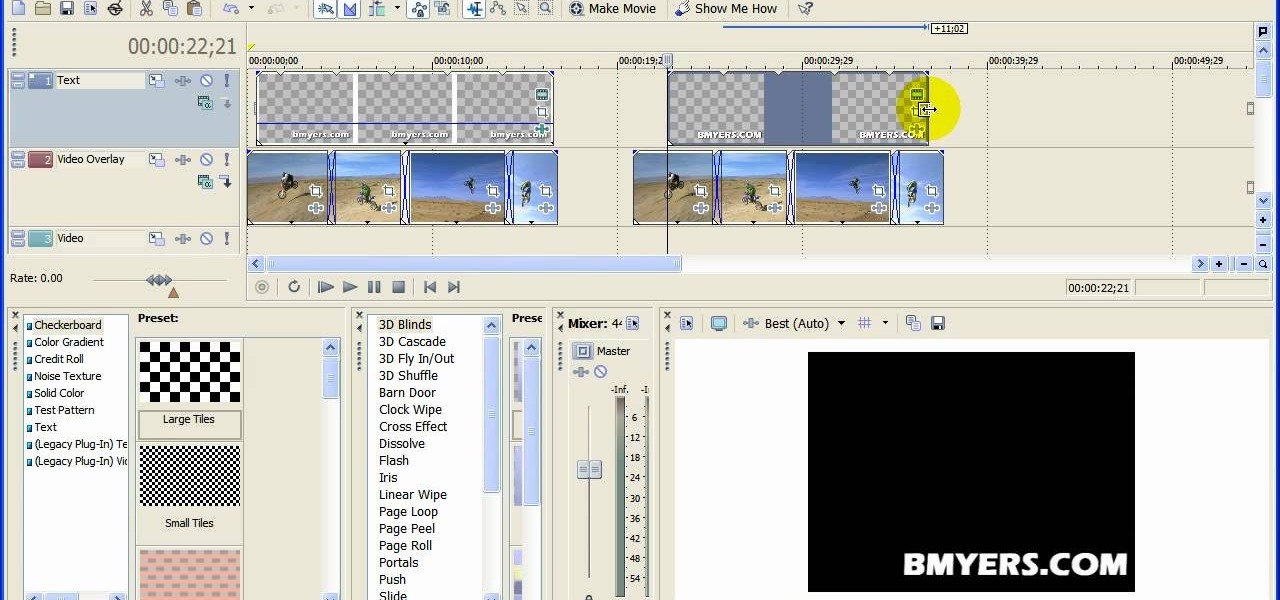
You can add watermark in YouTube videos using Sony Vegas Movie Studio. To do this, first you need to put your video in timeline. Now right click on top of your video and choose insert text media and type there whatever you want.

Just like in Instagram and other popular photo and video apps, iMovie for iPhone lets you add filters to your whole entire movie project. Not only that, but you can choose to add different filters to different video clips in your timeline, no matter if the clips started out as videos or photos.

This animation can be very useful to create banners, and shows you how to use ActionScript 3 and the timeline function of Adobe Flash CS3 to set the background of mountains and a moon. Then create a few flying bats and animate them to fly across the screen in a loop!

Transition between different screens in Adobe Flash CS3 animations. Using simple shapes, this tutorial shows you the techniques you can use to set up transitions by using labelled buttons, layers, the timeline and motion tweens for your next Adobe Flash animation project.

In this clip, you'll learn how to insert an animation with its own independently-controllable timeline within a second, larger frame animation. Whether you're new to Adobe Flash or merely unfamiliar with Flash Professional CS5, you're sure to benefit from this free video software tutorial from Lynda. For more information, including detailed, step-by-step instructions, and to get started using this great trick yourself, take a look.

Does your website feel a little bland? Do you want to give your viewers the impression of traveling from the world they know into another? Well now you can. This video will show you how to create a cool 3D door-opening effect that reveals a photo on your website using Flash CS4 and Actionscript 3.

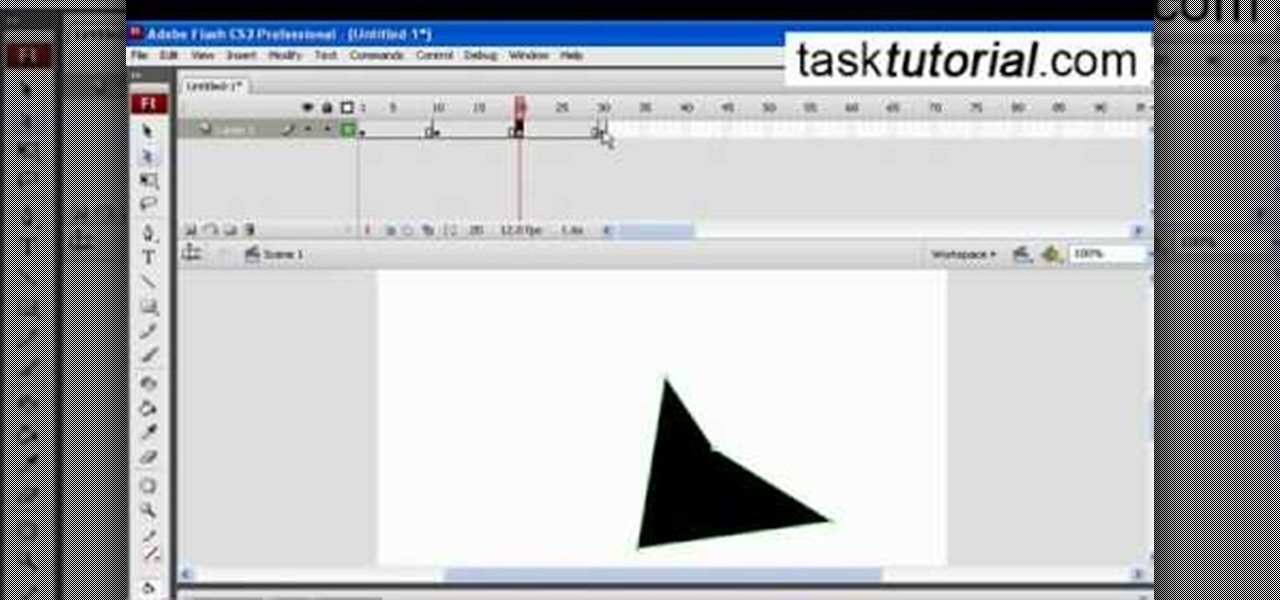
This simple video tutorial teaches you how to create an animation of basic shapes transforming from one shape to another when using Flash.

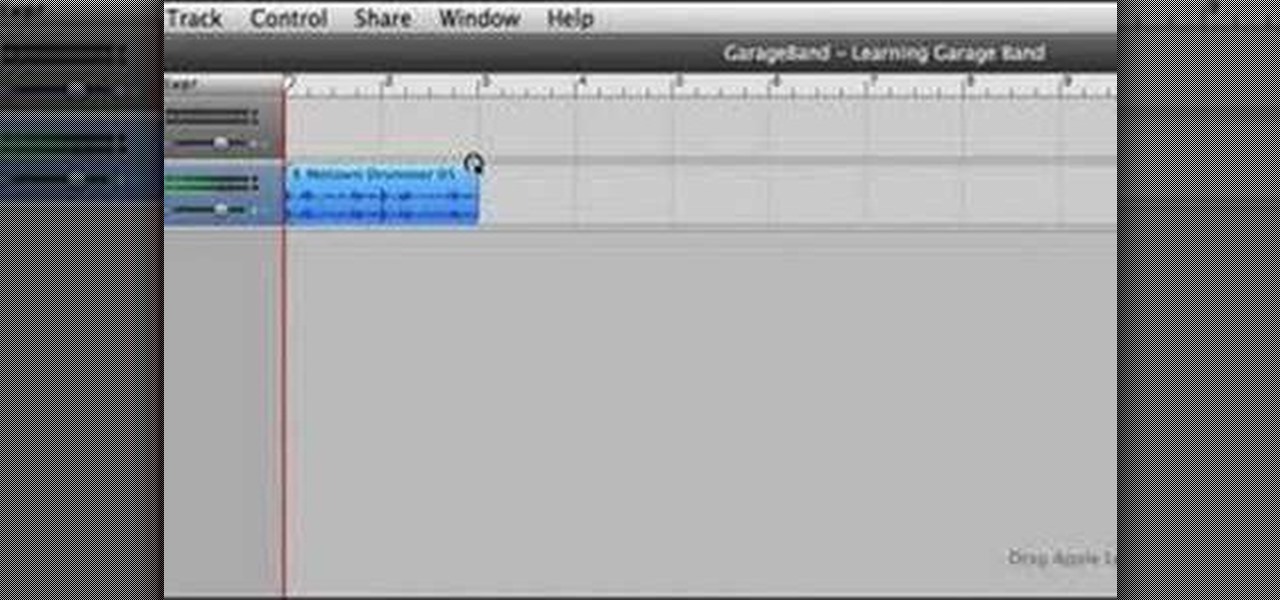
Elliott Berring shows us how to create songs in GarageBand using Loops. First, launch GarageBand and create a new music project. Keep the default tempo, time signature, and key. Click on the Show Loops browser, indicated by the Eye icon in the bottom left of the window. In this example, he starts with a drum beat by choosing All Drums, then Rock/Blues. Find a beat you like, then drag it into the timeline. Position your cursor over the top right hand corner of the blue bar of the beat you just...

Need money fast but don't want to take out a loan? Asking a friend or family member for money is a sensitive undertaking. If you take the necessary steps, you’ll get what you need and ensure them that their money will be repaid.

First you need to do is to open up the HD video file of Canon HV20 and then you can set the project properties. So go to file, import, media and open up the video file. Now drag it to the timeline and go to file, properties, click on the file folder called "match media settings" and open the same video file which you just opened. Now click on apply and then ok. But now video proportion is not fine. To fix it go to option, preferences, click on video tab and check the box which says "simulate ...

One of the many apps that is currently only available on iPhone 4G HD is iMovie. This app is just like the program on your computer and offers all of the same capabilities. You can even record clips at the last minute with your phone and add them into your Timeline. You can edit a whole movie in the palm of your hand - how cool is that? This app will NOT work on iPhone 3G, 3GS, 2G or iPod Touch, so do not waste your money if you haven't bought the new iPhone 4. Have fun!

Plangere Culture Lab demonstrates how to use the opacity feature in Final Cut Pro. The opacity feature is a beneficial tool to use when working with layers. Opacity is an attribute which relates to how much you can see through a clip. To layer clips, create a new video track on the timeline. Make sure that the source tab is in the right position. The track on the top of the stack is the dominant track and will be shown. Select the volume and opacity overlay button. Click on the line over the ...

Want to learn how to mask text using gradient in Flash? In this 3 minute video, the viewers will learn just that. First of all, create the text that you want to mask. Next, prepare the gradient that you will be masking your text with, remember to set alpha to zero. Select the free transform tool and rotate the shape over the text. Now convert it into a movie clip and have the gradient shape move from one side of the text to the other using the timeline.

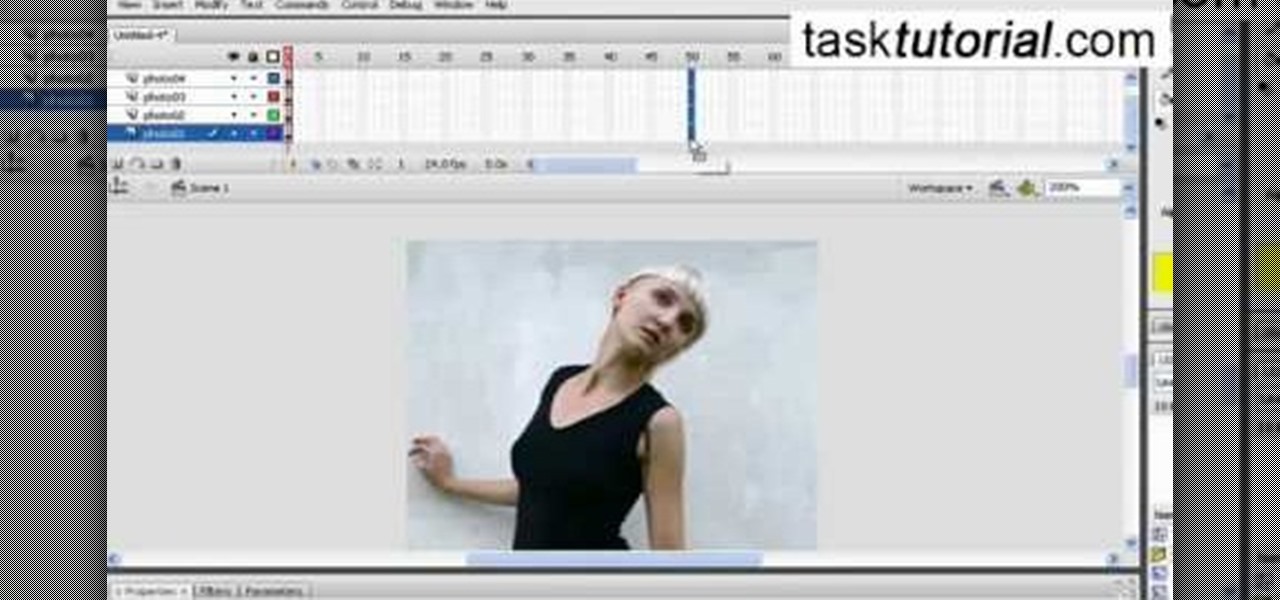
In this how-to, viewers will learn how to create a presentation which fades in and out among still photographs using Flash animation. First, each image is given its own layer in Flash. Then the images are converted into movie clips. A motion tween is created among each image and a few blank frames, to create the affect of a slow fade in and out. Then the layers are distributed sequentially on the Flash timeline so that as each layer fades out, the next fades in. The finished movie is tested, ...


