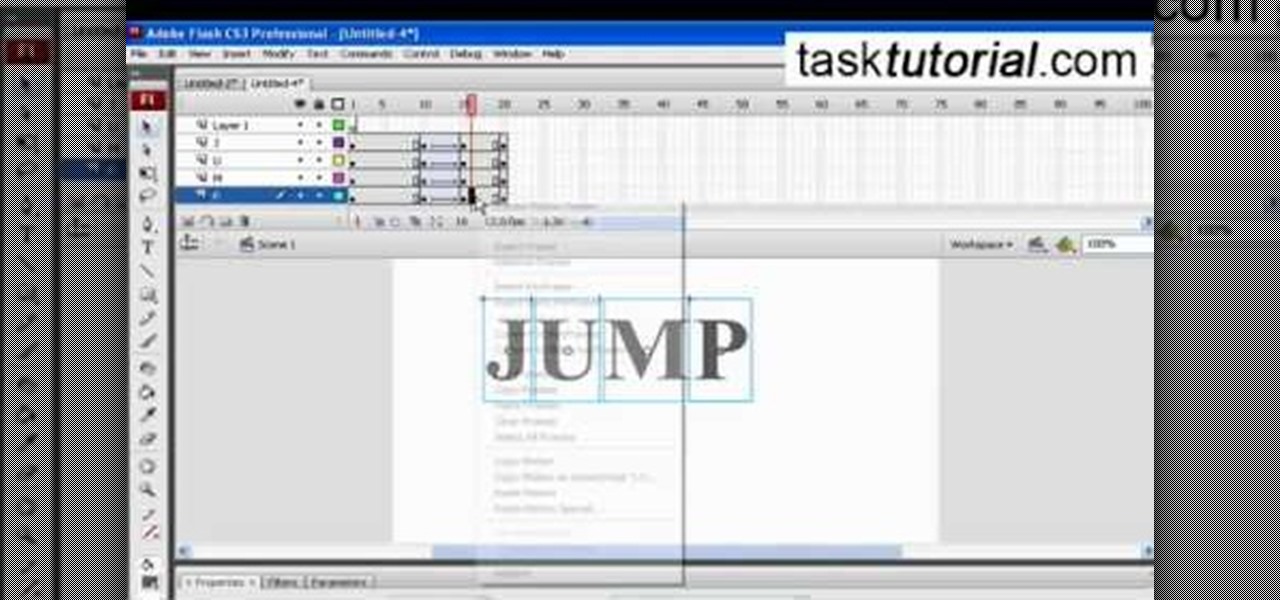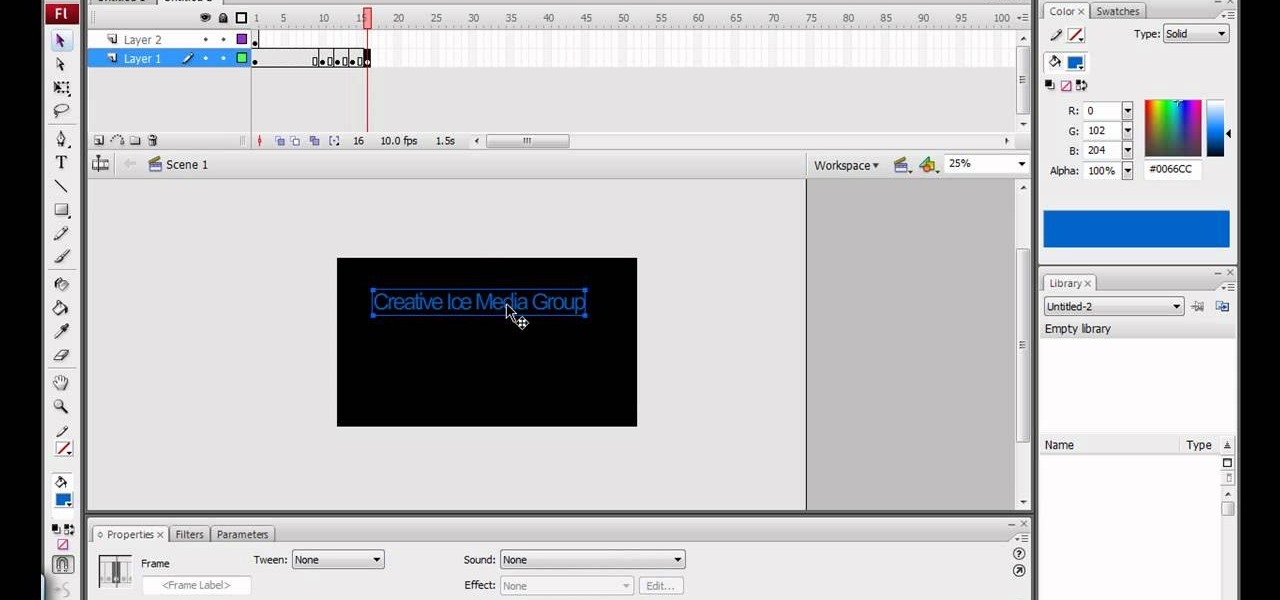
This video describes how to create a jumping letters in Flash, first create the text for example "JUMP" and using Break the letters each and then make the layer and now convert the letters into "Movie clips" and now we should add the key frames to our "time line”. Then moves the letters up by using the up arrow now copy the key frames from font end and paste on the back again for go up and come down the letters again and add the "motion between" for each letters and now skip the key frames by...

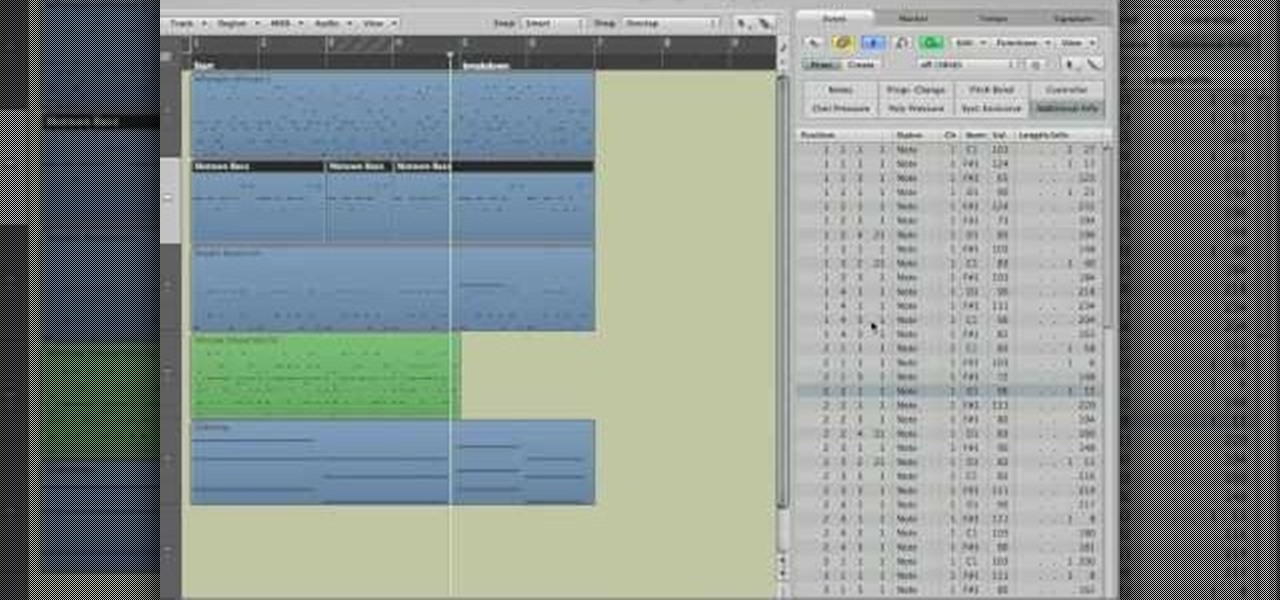
Get to know how to use Logic Pro's arrange page in this short tutorial. Use the arrange area to work with the audio of your song. Change the timeline by choosing a time and beat. Use the toolbar area to do some functions. Use the icons to easily open up media and list areas. Use the bin to store your audio. Use the browser to look for your audio songs. Use the event list editor to edit your MIDI information. Use the inspector to view the channel strips of your track. Use the editors in the bo...

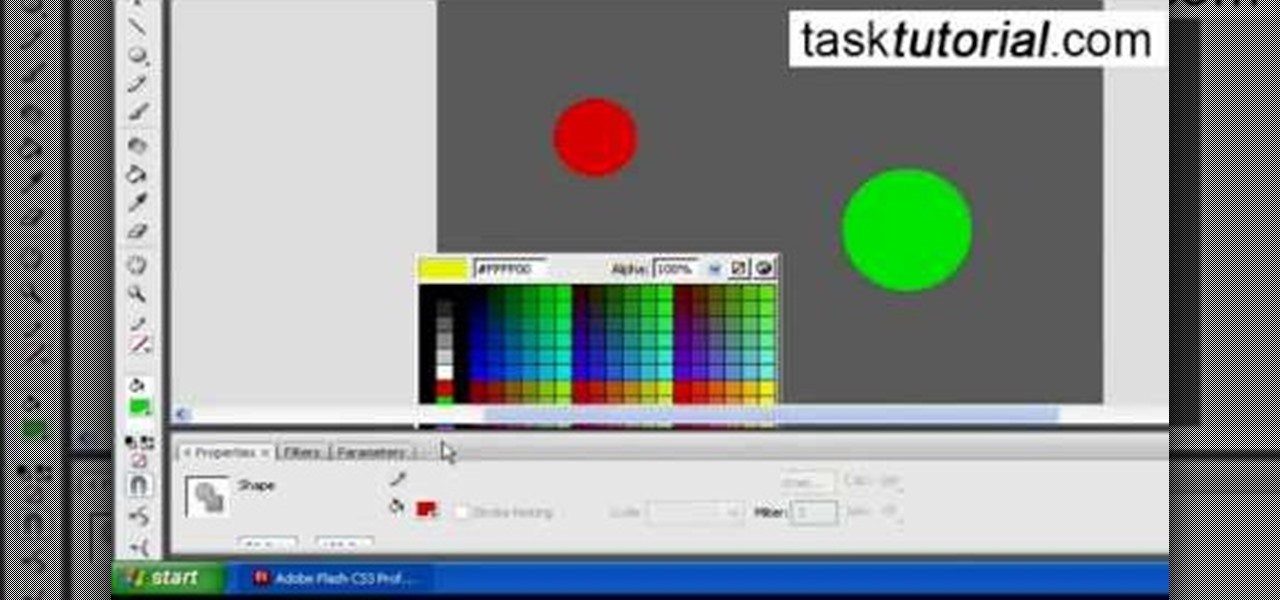
Tasktutorial.com shows us how to create drag and drop functionality into a flash program. Start off by making a few shapes in flash and then add color to each of them, a different one for each shape in order to differentiate between them. After doing this select all the shapes by dragging the cursor over them, once done distribute the shapes into layers by going into the 'modify' drop-down button at the top, then timeline and there will be the option to distribute. Now we have to turn the sha...

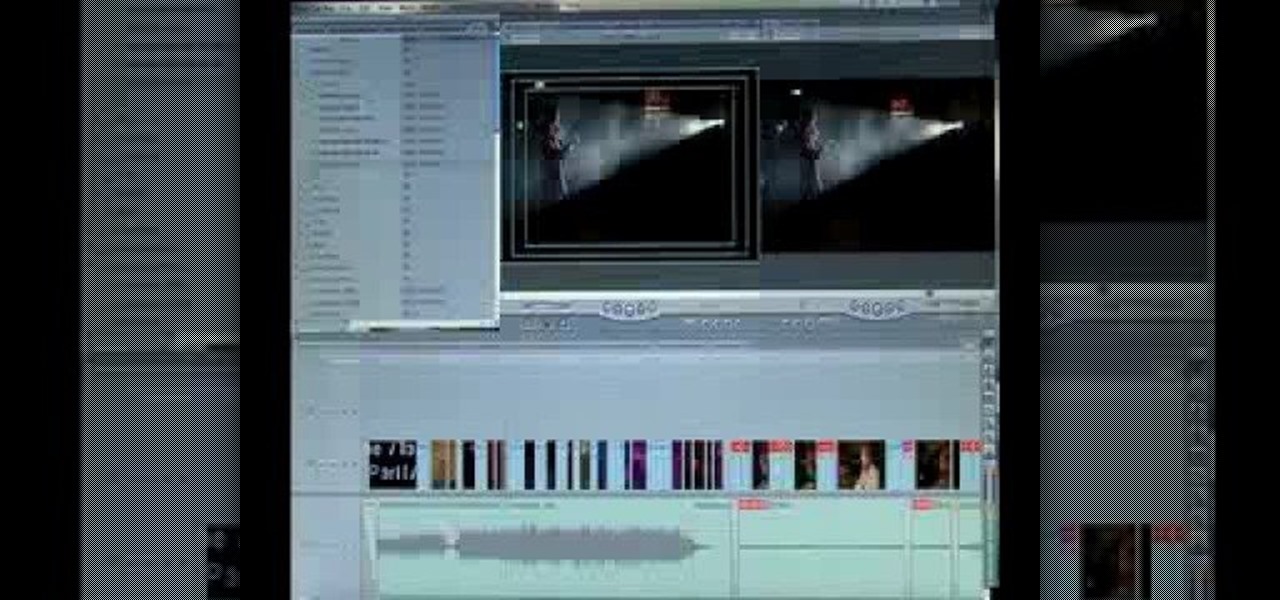
Forgot to take a few production stills on set? No problem, work with what you have... the actual video footage. See how to get photos from video with iMovie or Final Cut Pro 6.

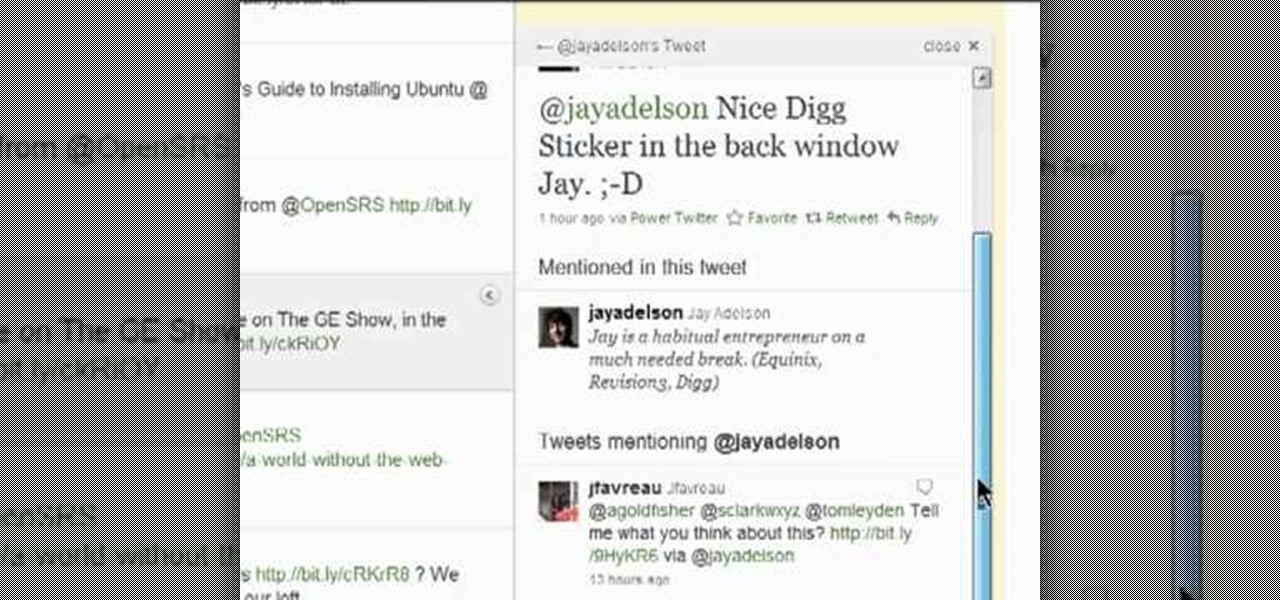
In this clip, you'll learn how to follow replies without leaving the Twitter timeline. What do President Obama, the Dalai Lama and Justin Bieber have in common? Why, they're all on Twitter, of course. Join the party. Whether you're new to Twitter's popular microblogging application or just missed a few of the essentials along the way, you're sure to benefit from this free video tutorial.

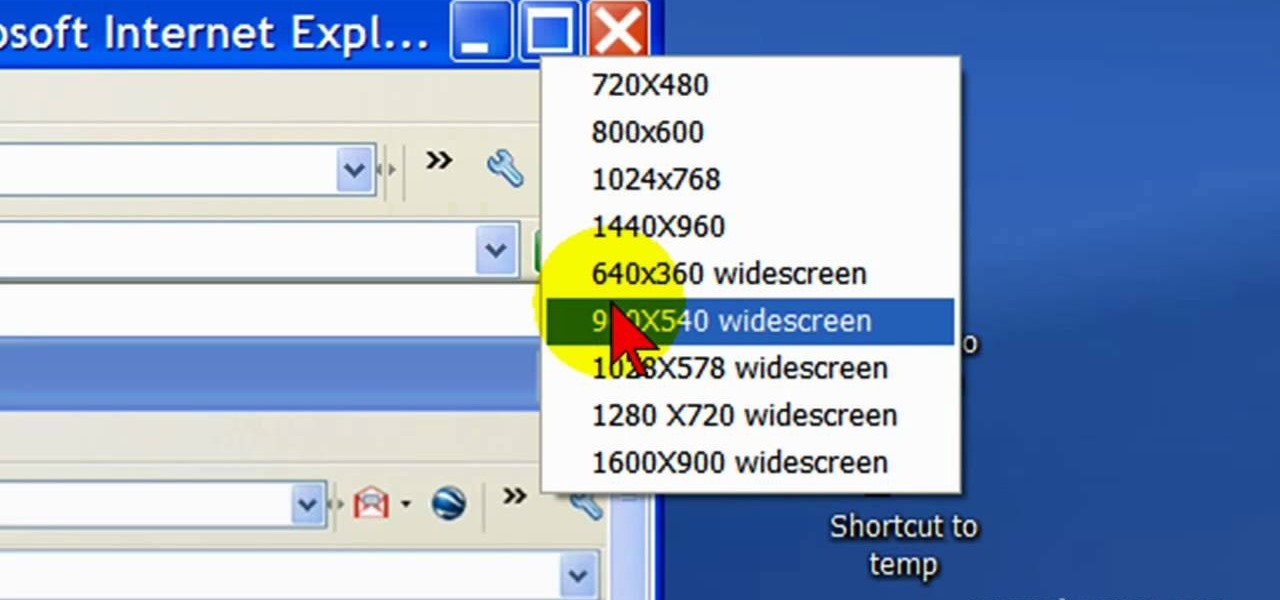
First open up the Camtasia studio and click on the link make a recording. It will open up the Camtasia recorder but before you start the recording you need to click on the tools, options and make sure the "save as AVI" is selected in file menu. Then click on video tab and select the "manual" in "video configuration", 30 in frame rate and click ok. Now download and install the software called "free sizer". Now we need to set the recording area to 1280x720. To do that, right click on the maximi...

SWF files loop by default if the length of the timeline exceeds one frame. With simple ActionScript, you can control and navigate a frame-by-frame animated sequence.

Speed up your Final Cut Pro workflow by using key commands when playing, creating, deleting and moving in and out points in both the viewer and the timeline. Whether you're new to Apple's Final Cut Pro non-linear video editor or just want to better acquaint yourself with the popular video editing program, you're sure to benefit from this video tutorial. For specifics, and to get started using these useful shortcuts in your own projects, watch this FCP lesson.

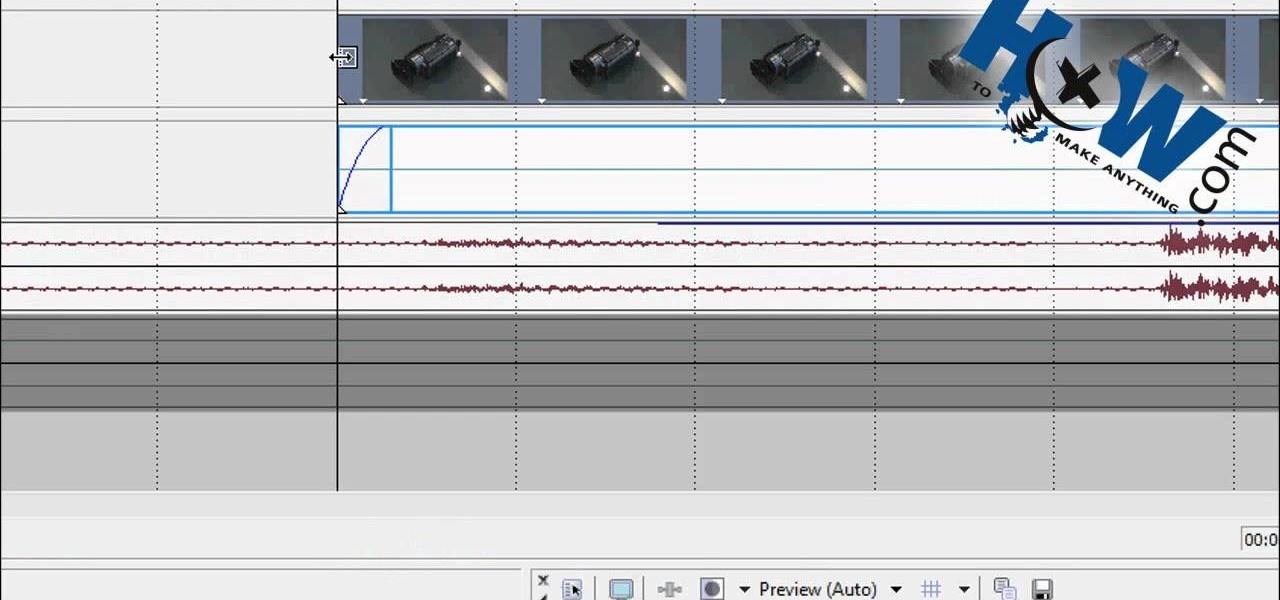
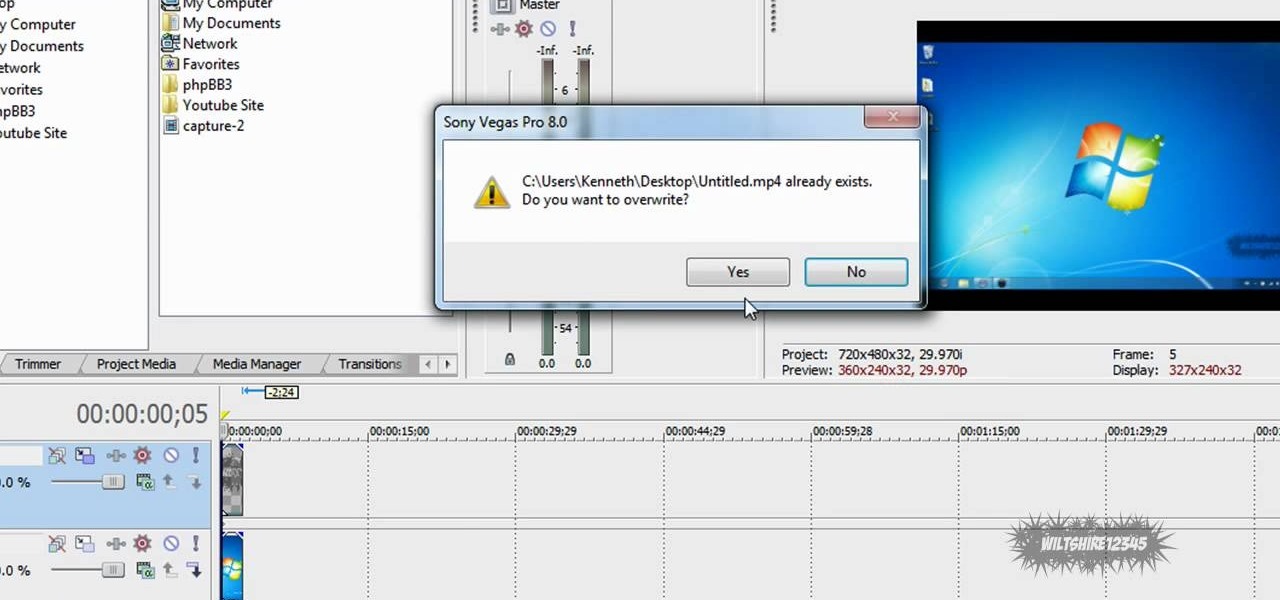
How to Make Anything demonstrates how to make a freeze frame in Sony Vegas. You can go to the preview window and click on save snapshot to file. The program will then create a jpeg which you can lay into your video to create a freeze frame. You can also use Vegas' velocity envelopes to create a freeze frame. First, zoom into your video in the timeline so that you see each individual frame. Make sure that quantize to frames is toggled in the options menu. Then, hit S to split the video. Right ...

First of all put your video on the timeline where you have a wave form representing your audio track control tools. If you right click on the audio tracks then you get a lot of options available to you. Click on the 'switches' then 'normalize' and this shall choose the highest peak and calibrate the whole audio to that peak. So if your audio is little low or it is too noisy then you can normalize it. Now click on 'channels' and then you have the option of picking left or the right channel. No...

This web development software tutorial shows you how to create an animated banner in Flash that you can upload to a website. You will learn how to use the timeline, learn Flash layouts, and discover animating as you create your website banner in this Flash tutorial. The video is best viewed full screen.

This 3D software tutorial shows you how to create and animate a free camera in 3D Studio Max. Not only will you learn how to animate the camera in 3ds Max, you will also learn how to use the timeline and auto key features. This 3ds Max tutorial is best viewed full screen.

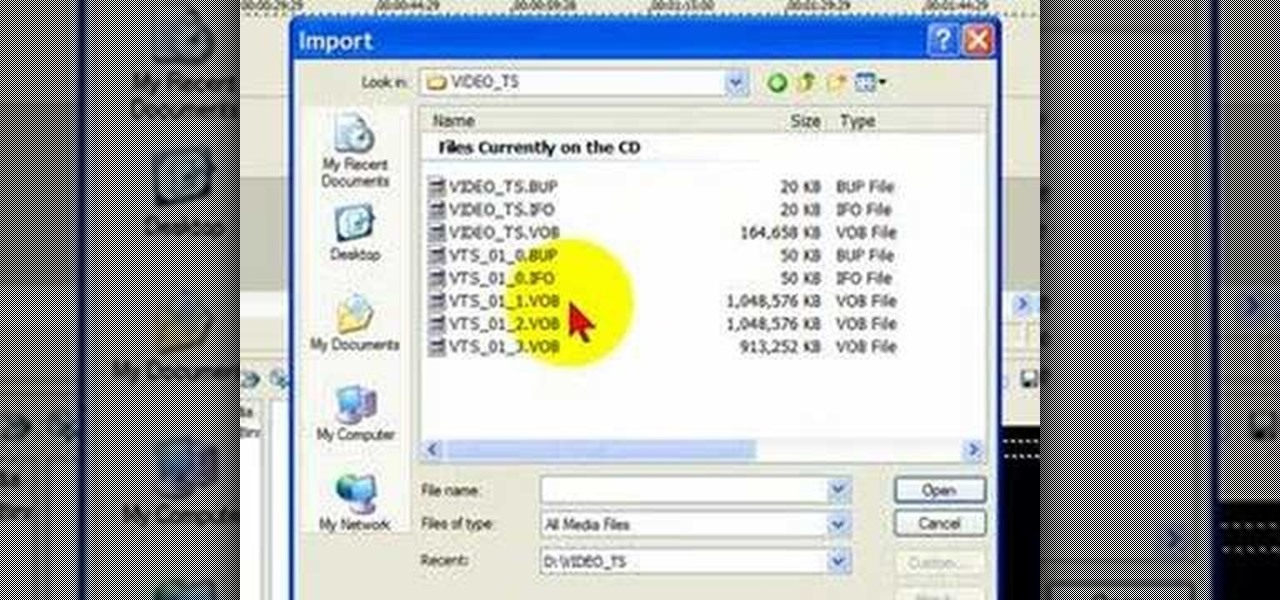
Here's how to grab video off of a DVD and import it into the timeline of Sony Vegas or Sony Movie Studio video editing program.

Once you've arranged your clips on the Final Cut Pro timeline you may want to add transitions between them. Adding dissolves and other effects to clips helps to create a smooth transition in your videos. They can also be fun and creative.

Jeff Schell introduces you to the ins and outs of the Time Remapping video effect that is new to Premiere Pro CS3. Jeff shows you how to use the Time Remapping controls in the Timeline panel to change the speed of a clip.

The track editor in DVD Studio Pro 4 is similar to the timeline in Final Cut Pro. In this video you'll learn the primary functions of the track editor and how to use it.

This video teaches you how to add titles to your video project in Apple iMovie. First open up your movie project or create a new project and import clips. I've already placed clips on the Timeline. After arranging your video you might want to add titles and credits to your project.

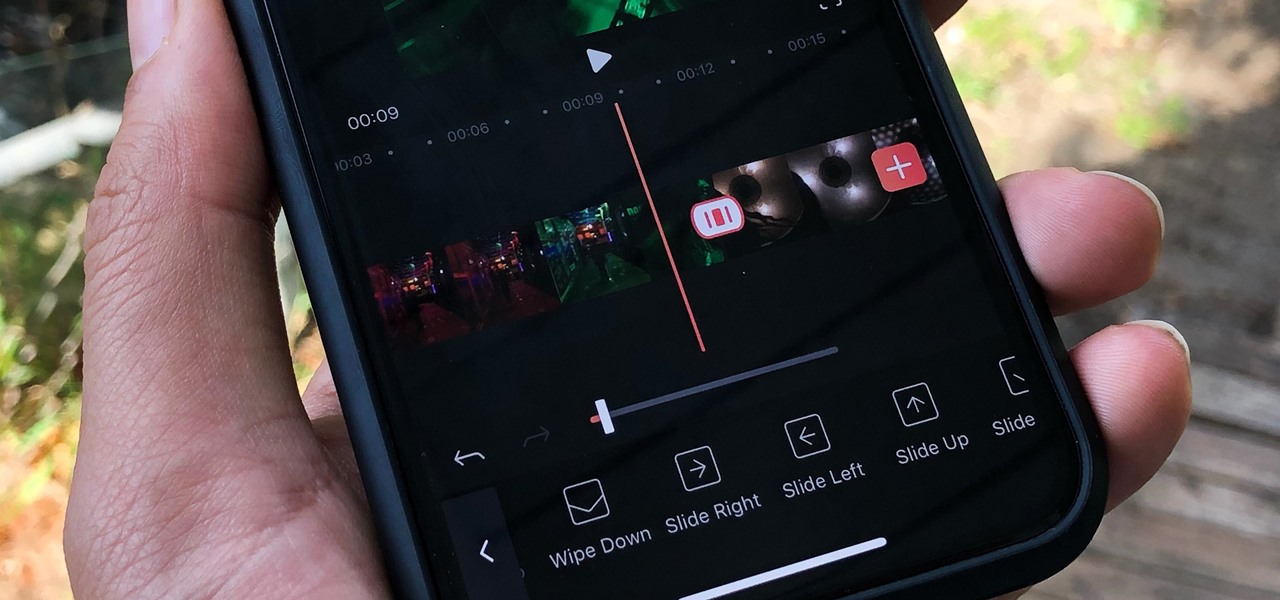
An edited video with lots of different clips needs great transitions to be successful. Transitions support your story and message, and without any, there's always a chance that your audience might lose track of what's going on and when. When editing in Enlight Videoleap for iOS, you can easily add cut, dissolve, iris, wipe, slide, and fade transitions to your video clips with just a few taps.

Remember TwtRoulette? TwtRoulette was an online app that turned you into a so-called Twitter spy, letting you peruse someone's own timeline feed exactly how they saw it themselves. So, if you wanted to see what tweets Ashton Kutcher was seeing in his home timeline from the 700+ people he follows, you could.

Following someone on Twitter is an investment. You virtually agree to have their opinions, tirades, and hot takes spewed across your timeline. It can get annoying real quick if they're known to post controversial comments periodically. However, there are other ways to stay updated on someone's tweets without you having to hit the follow button and go all in.

In this tutorial, we learn how to draw substitutions in Toon Boom Animate. When you are inside of the program, you will see the 'drawing substitution' preview window on the side of the screen. Create the animation how you like it, using different shapes, colors, etc. You can use the high camera map to see how it looks an make a mat to put around the stage. Once you're finished, save this to your computer and then extend out the timeline. To animate him, hit F5 and then drag out the length of ...

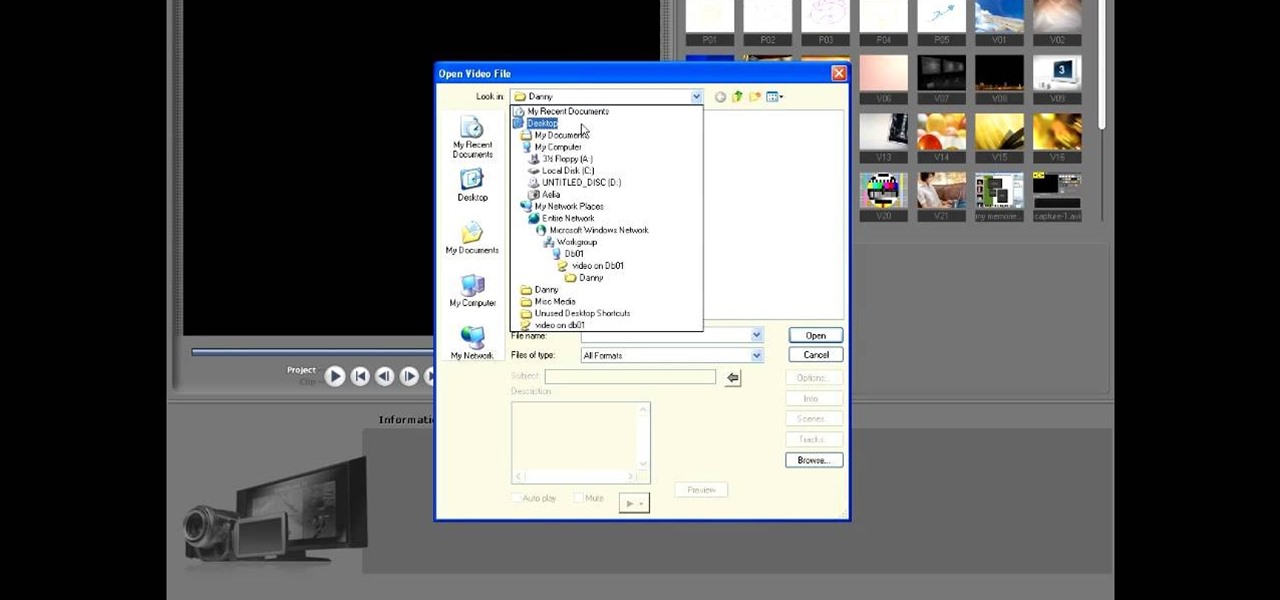
This video shows the method to import digital media in Corel VideoStudio. Click on the 'Capture' tab once the program is open. There are four options available. Click on 'Import Digital Media'. Now a dialog box opens asking you for the location of the place where you would be importing files. Keep the disk with the file in your drive. Click on 'Import'. You are now asked the file you want to import. Select the file and click 'Import'. The import can take time depending on its size. After the ...

IShowU and Shiny White Box demonstrate how to create still image effects in Final Cut Express. First, place your scroll bar in the front of the timeline and click on the clip so that it is selected. Then, click on the motion tab in the preview window. Hit the keyframe button in the scale option. Create a keyframe also where you'd like the effect to stop on the clip. Adjust the line. When you now play the clip, the image's size will be adjusted as you have designated. You can use the same tech...

This video tutorial from toptenreviews presents how to import media from a hard drive into Corel Video Studio library.First you need to start the application.From top menu click on Capture tab. Normally you would select one of the four options to capture media: Capture video, DV quick scan, Import digital media, Import from mobile device.These options are below the library. But in this case you will need to click on the folder icon above the library.This action will bring up a dialogue box wh...

Windows Movie Maker is a basic program that comes with windows, but it actually performs quite well. You can capture video with your webcam and import it into WMM or you can capture it in the program itself. Make sure your webcam is connected and click "Capture from video device". Click next and name the file, click next. Click best quality, then next. The start capture tab will start the recording and stop capture will cease it. Select finish when you are done. The video is then saved to the...

This video in the Software category will show you how to add a watermark to a video in Sony Vegas. This video tutorial is using Sony Vegas Pro8. Import a video into your timeline on which you want to put a watermark. Then go to the video layers on the left bottom, right click and select ‘insert video track’. This will create a blank video layer. Now find a picture that you want to use as a logo and drag and drop it into the blank layer. Edit it to the length of your video. Then go to ‘track m...

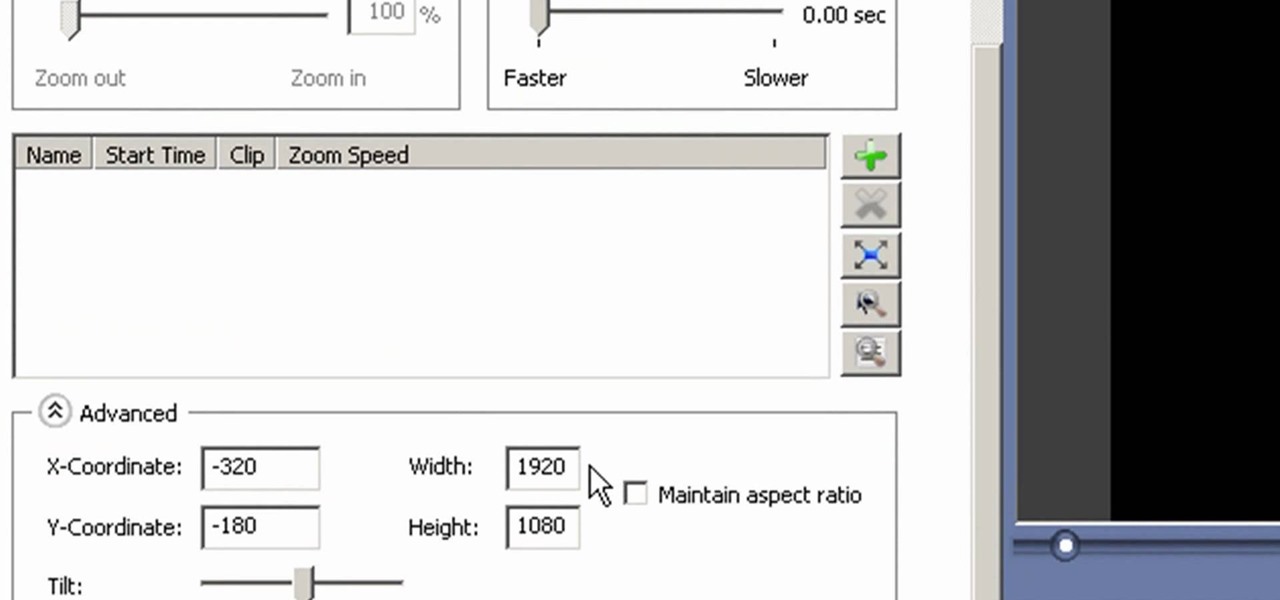
This video lesson will show you how to make HD/1080p videos for YouTube in Camtasia. The simplest way to make this is to record your video in 1920x1080 resolution and render it in that setting. That’s all that you need to do. But, if you have a smaller screen resolution and can’t get 1080p, you can use Camtasia Studio to convert it to 1080p. first add your media to the timeline and change the width to 1920 and the height to 1080 click OK and then close the box. In the preview, you will see th...

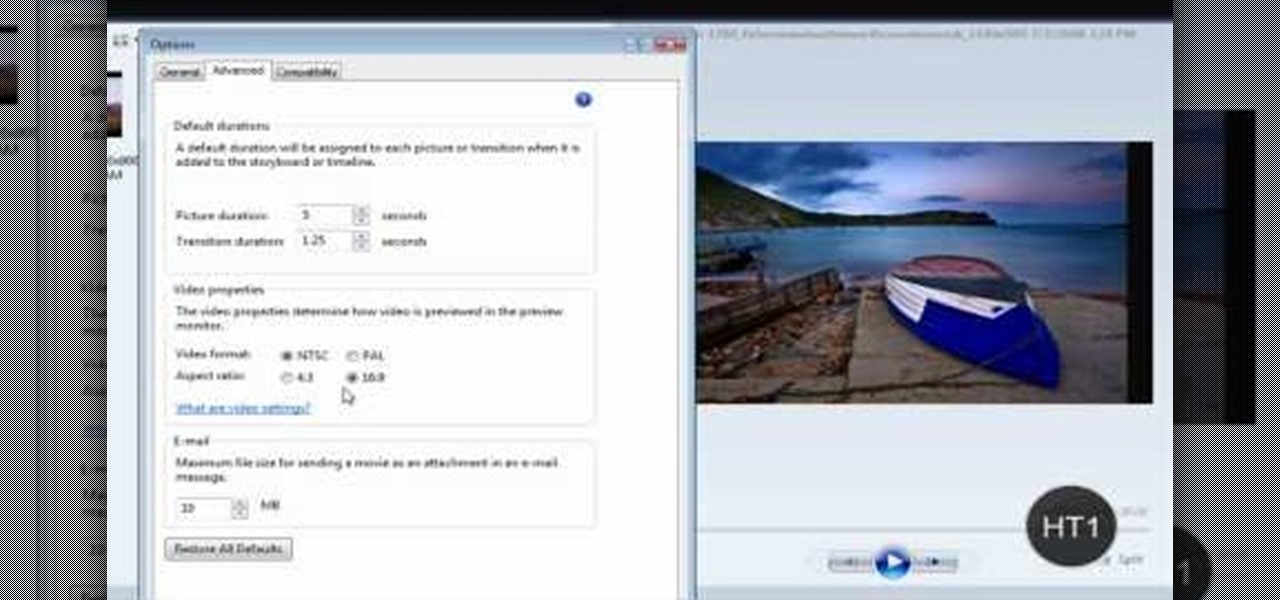
Windows Movie Maker can be used to make HD movies. This step by step clip shows you how. The first step is to import your picture or video and make sure they're in your timeline. When you've finished editing, go to tools and options and choose the advanced tab. In video properties there's video format and aspect ratio. Select NTSC and 16:9. If you're using a cell phone or video camera, you'll be using 4:3 which is pretty small for YouTube and similar sites in order to get full screen. Save th...

The video describes how to use Pinnacle Plus Studio. The narrator first describes the various tabs and features of Pinnacle Studio. He then describes how to import a video into Pinnacle Studio for editing. The video demonstrates how to add still photos, sound effects, music, and transitions to your video using the various tabs and options along with what the narrator calls the timeline. Finally, he describes how to make a movie after you have finished editing your video. He gives a good overv...

This video explains how to make basic moving text in Adobe Flash. First, insert the text in the top left corner of the stage area. Then convert the text to a symbol. After that you want to go to frame 30 in the timeline and insert the key frame. Then choose Create Motion Tween. This will enable you to create movement with the text. This video will show you the details involved in getting your text to move.

Interested in animation? Let's animate some photos with Adobe ImageReady. First, put all pictures in a single folder. Open ImageReady and import the folder with the pictures. The photos will be arranged in the timeline but they play too fast. You can adjust the timing of each picture which has an icon under it. To save it as a gift file, click Internet Explorer on the toolbar. Then right-click it to "save picture as" and save it. It will help you in making slideshows/presentations.

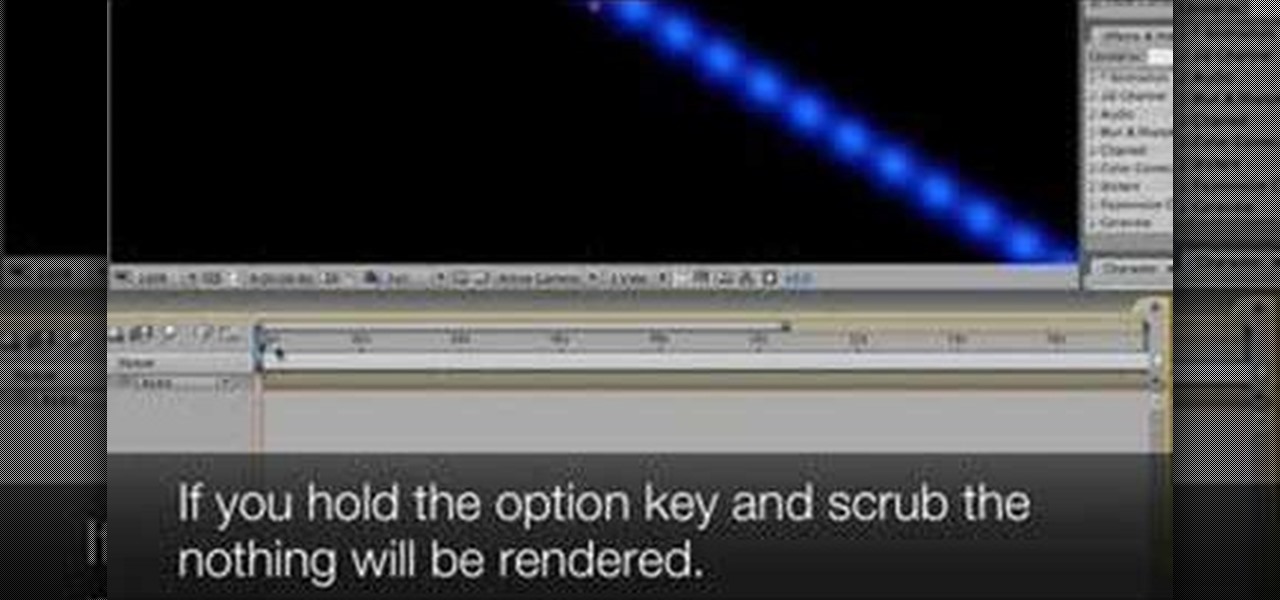
Take a look at this instructional video and learn how to scrub the audio with the program After Effects. You can go about performing this by simply holding the command key and scrubbing the timeline, then that will scrub the audio and render the video. If you hold the option key and scrub nothing will be rendered. But if you hold both the command and the option keys, no video will be rendered but you can scrub through the audio without waiting for the video to render.

We're so used to seeing things in particular ways that anything different just doesn't make sense to our brains. Culturally, we like to read things from left to right, and from top to bottom. Change that and our brains struggle to adjust.

SchizoFilms brings the viewers instructions on how to make an animated GIF in Windows Movie Maker. First open up Movie Maker. You will need to import pictures. To do this, click the button on the top left of the screen that reads 'Import Media'. Find your files here and import them into Movie Maker. Now, you will want to order the pictures in the sequence you want them to show up in. To do this simply drag and arrange them. Now, you can make adjustments for how long you want each to run by dr...

Not sure how to plan a funeral? A well-planned memorial service honors the deceased and comforts those who are grieving. Learn what steps to take when planning a funeral in this how-to video.

Step 1 Launch the Adobe Flash program and select “Flash File (Actionscript 3.0)” under the “Create New” menu. Change the workspace layout to “Essentials” by clicking on the drop-down menu in the upper left of the top menu bar.

In iOS 13, Apple added an important new feature to its HomeKit smart home ecosystem called HomeKit Secure Video. With it, you have a secure, private way to store and access recordings from your smart home IoT cameras.

Checking the weather ranks among the most mundane but essential tasks you can do on your smartphone. Thankfully, both the iOS App Store and Google Play are loaded with weather apps that add some much needed spice to this daily routine, giving you less of a reason to be caught unaware.

We've all been there. You're driving along with Google Maps pointing the way when you get a call from your friend asking you how much longer it'll be until you show up. You try to offer some lame excuse about how something came up last-minute, but you're interrupted, quite rudely, by Maps's voice guidance. The voice butts in again, and again, and again, to the point that you consider having Maps navigate you to the nearest cliff so that you can drive off it.

In a way, Twitter is the town square of our era, where people can share and discuss ideas on a wide variety of topics. While the tech giant has its own app for Android, it's pretty bare-bones when it comes to features. This has paved the way for third-party clients that are rich with customization options.
