In this tutorial, we learn how to make a colorful paper turkey. For this, you will need: colored paper in red, orange, yellow, white, black, purple, and brown, a bag, scissors, and glue. Now, take the orange, purple, and yellow papers and cut out two teardrop shapes of each. Then glue them to the top of a brown paper bag. Then, cut out eyes using the black and white papers. Glue these onto the top of the bag to make the eyes, then use the brown to cut out the sides of the turkey, and glue on....

In this video, we learn how to make Naruto gloves. First, you will need to take an old black sock, thread, needle, and scissors. After this, you will cut the top off the sock and then put it on your hand. After this, you will need to use the needle and thread to sew in between the fingers on the sock. When all of these are patched, up you will add a fake metal plate to the top of it. You can glue this on with a hot glue gun. When finished drying, you will be able to wear this out, enjoy!
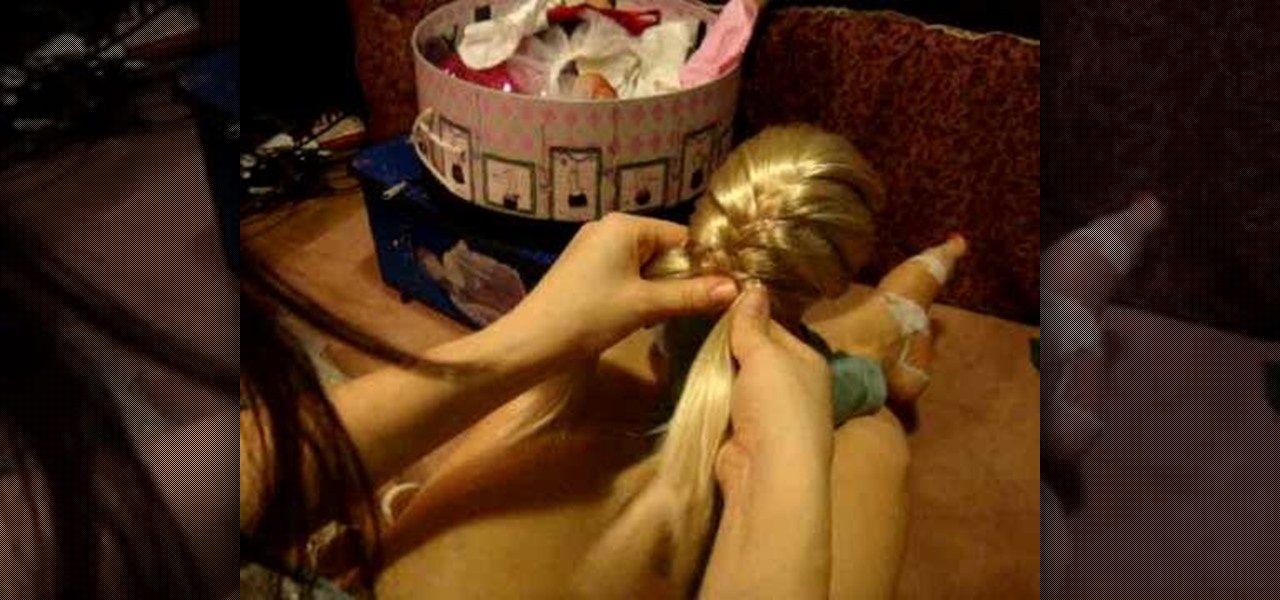
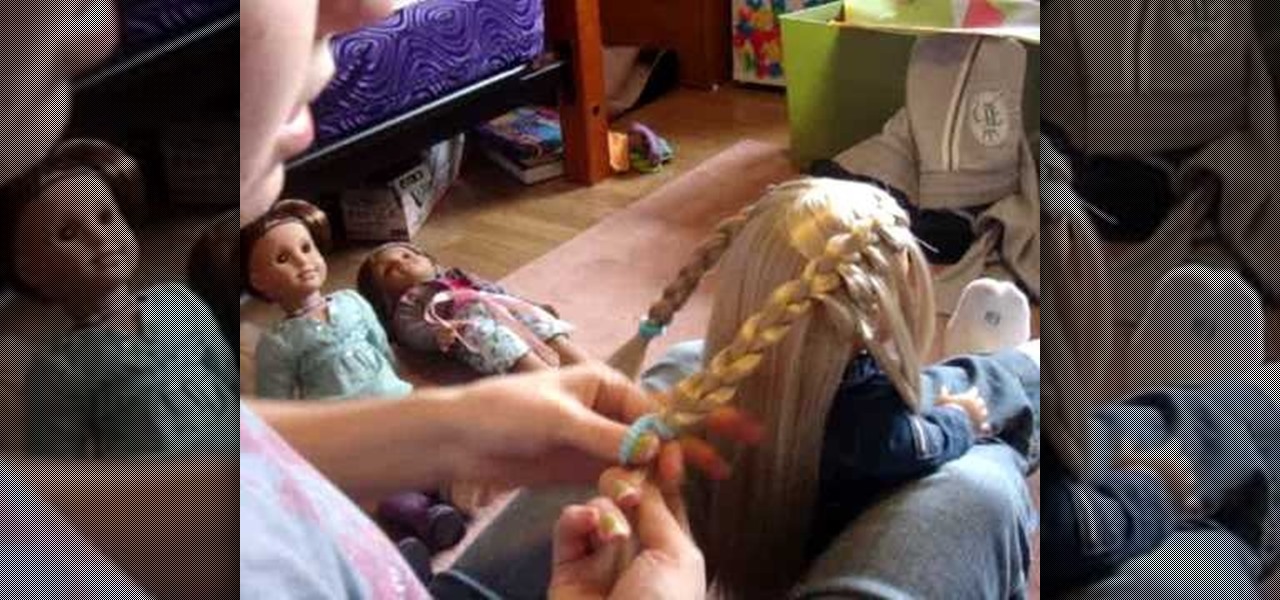
In this video, we learn how to do a fishtail variation on your American Girl doll. First, brush the hair out so it's smooth and then take a section from the top right side and top left side. Cross these together on the back of the head and then grab another piece of hair. Start to braid these together and push them from side to side. Alternate grabbing pieces of hair from each side of the head, making them as big or little chunks as you want to. As you continue to cross the hair, you will rea...
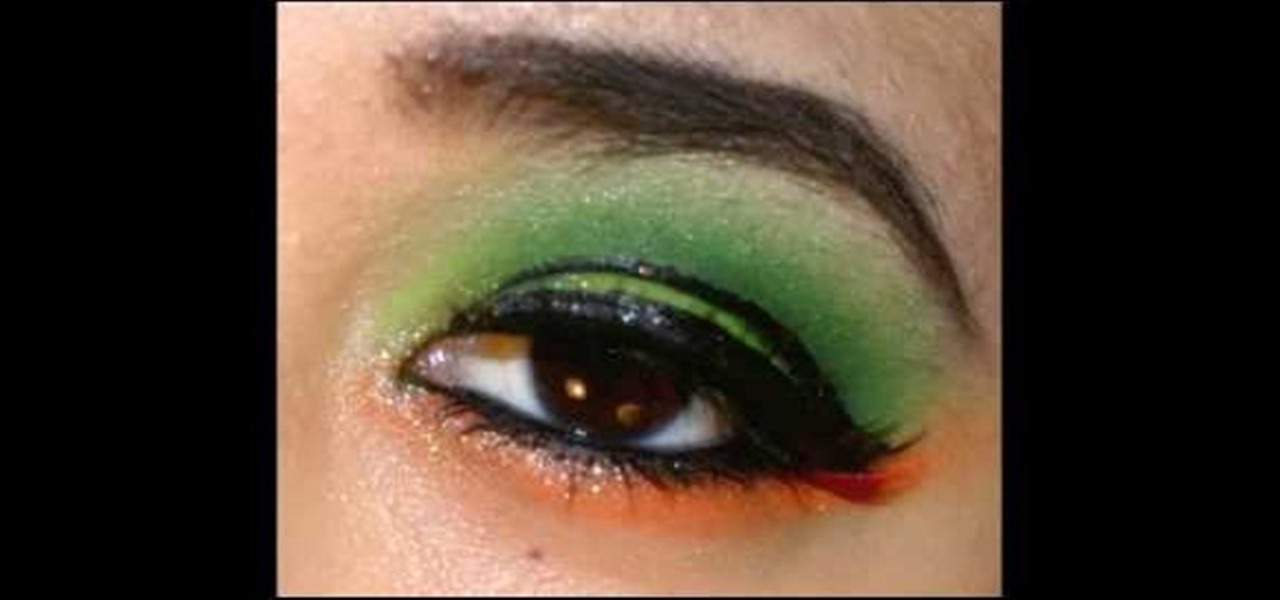
In this tutorial, we learn how to create a neon green and orange look using Kryolan UV. To start, you will brush a shimmery and sparkly white eyeshadow underneath the eyebrow on the brow bone. From here, apply a light green eyeshadow on the eye and into the crease. From here, apply a darker green shimmer shadow to the crease of the eye and blend it into the outer corner. Then, apply a sparkly orange eyeshadow on the bottom lash line, from the inner corner to the outer edge, meeting with the g...
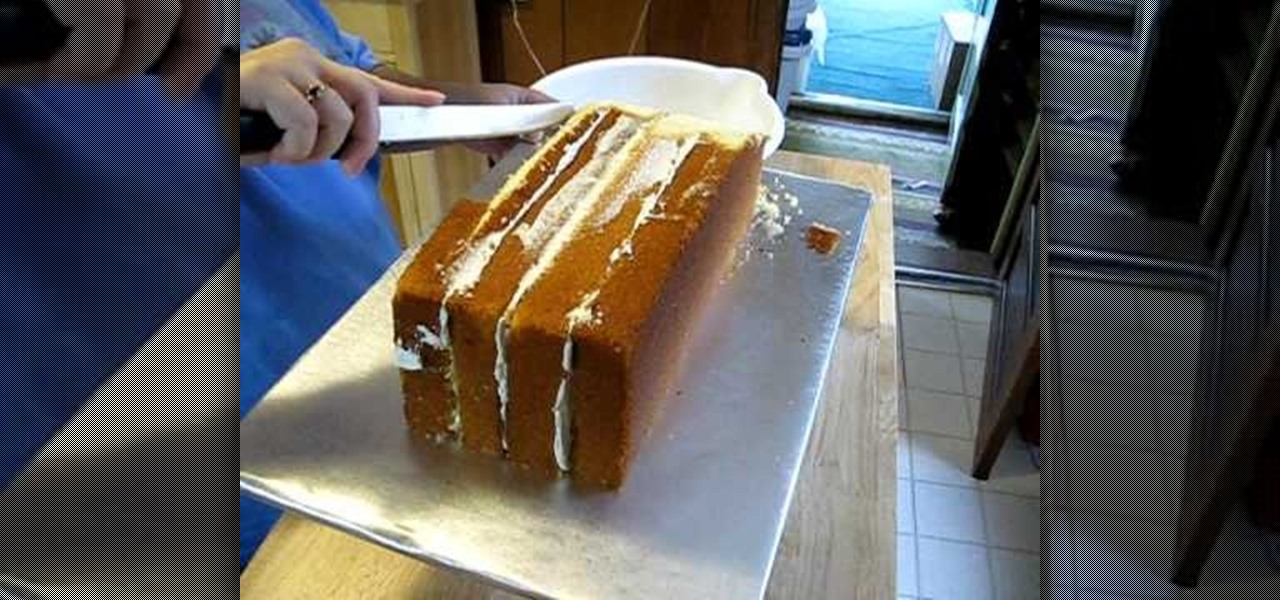
In this video, we learn how to make a VW beetle cake with buttercream. First, you will need to apply the buttercream icing onto the top of your cake and the sides. After this, you will pile on the other cakes to this with more icing inside of each layer. Then, you will start to cut the cake and it into the shape of the car that you want to make. Use an outline so you can follow it while you are making it so you know exactly how it is formed. Next, you will add in the parts for the wheels, the...
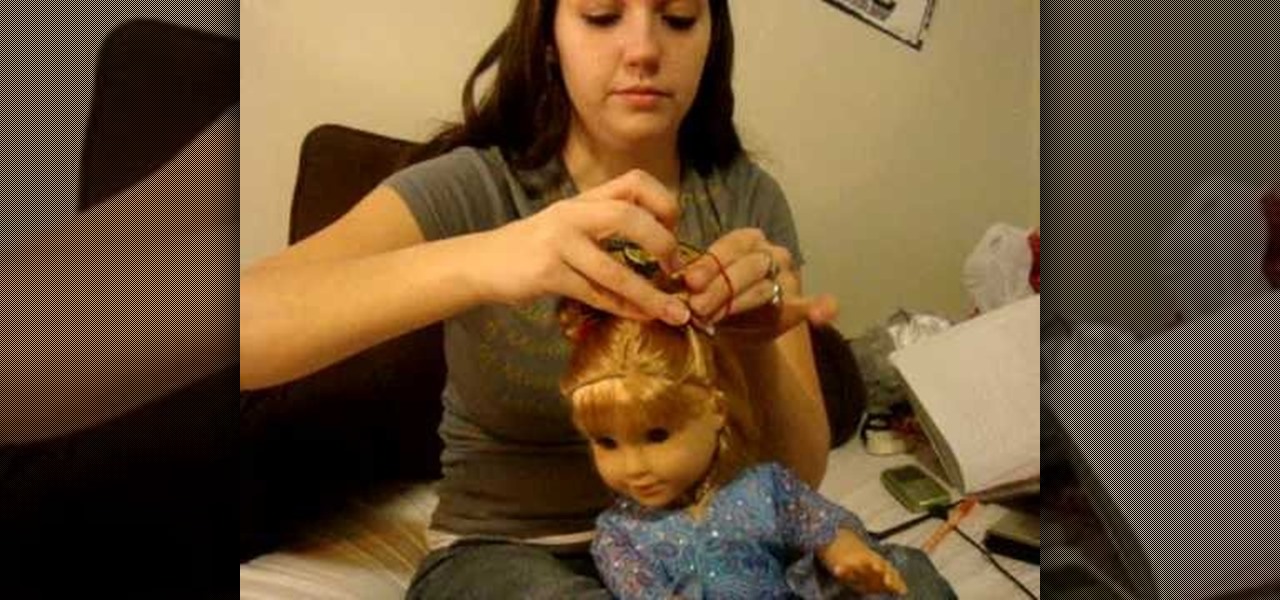
In this video, we learn how to do mini buns on your American Girl doll. Firs, you will grab a section from the top half of one side of the head. Then, you will put a rubber band around the hair. From here, you will twist the hair around the make a bun, then secure it with another rubber band. Repeat this on the other side of the head so there are two buns on the top of the head. This will look cute on the front and the back! If you want, you can keep going and make two more so you have four m...

In this tutorial, we learn how to do floating braids on your American Girl doll. First, take a small section from the top right side of the head. After this, brush it out and split it into three parts. Then, braid over three times and take a piece from the top and instead of adding it in, put it in the front over her arm. After that, braid over and take a section from underneath. Add this into the braid and then go over. Now, repeat the same process by putting the section of hair to the front...

In this tutorial, we learn how to make a buffalo wing dig. This is to be baked in a 9x13 baking dish. You will need: 2 packages cream cheese, hot wing sauce, blue cheese dressing, 3 celery stalks, 2 c your choice cheese, and 2 c chopped boiled chicken. Combine all of these ingredients together in a large mixing bowl After this, pour into your baking dish and add more cheese to the top. Bake this in the oven until golden brown on the top and enjoy! To make another dip, you will need: 2 c chees...

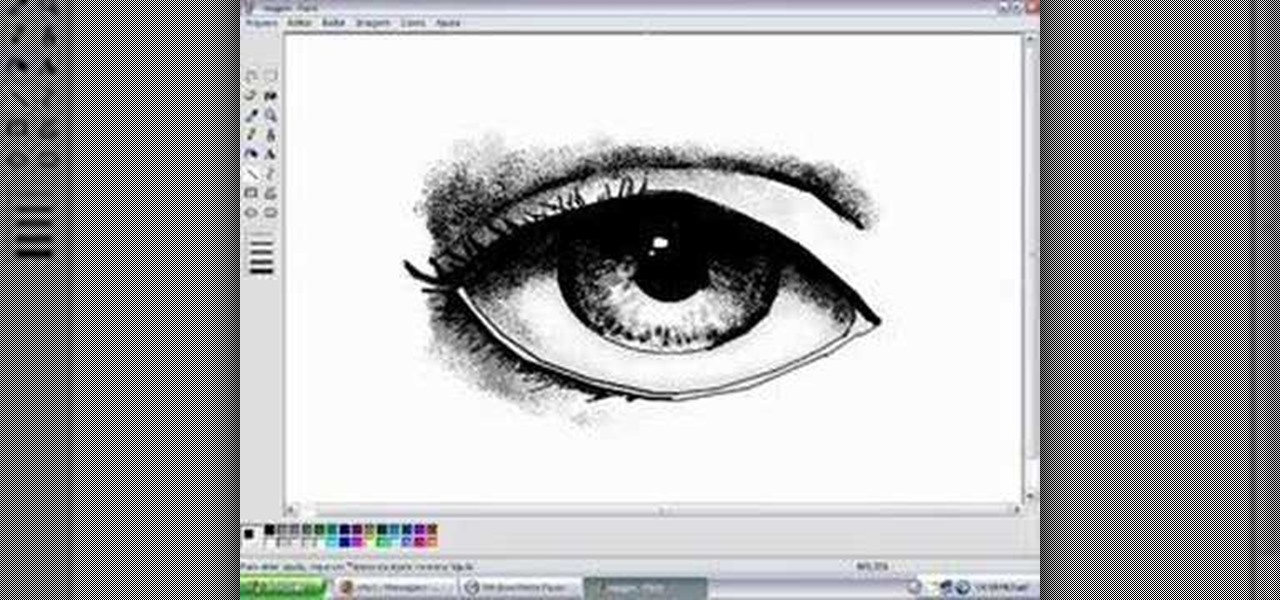
In this tutorial, we learn how to draw eyes in MS Paint. Start out by drawing the outline for the eye using a thin marker. After this, draw on a thicker line at the top of the eye and then draw on the crease of the eye above this. Now, draw in the details of the middle of the eye and start to shade in around the crease of the eye and the middle of the eye. From here, draw in the eyelashes on the top and the bottom of the eye, making them longer if they are for a woman. When finished, save thi...

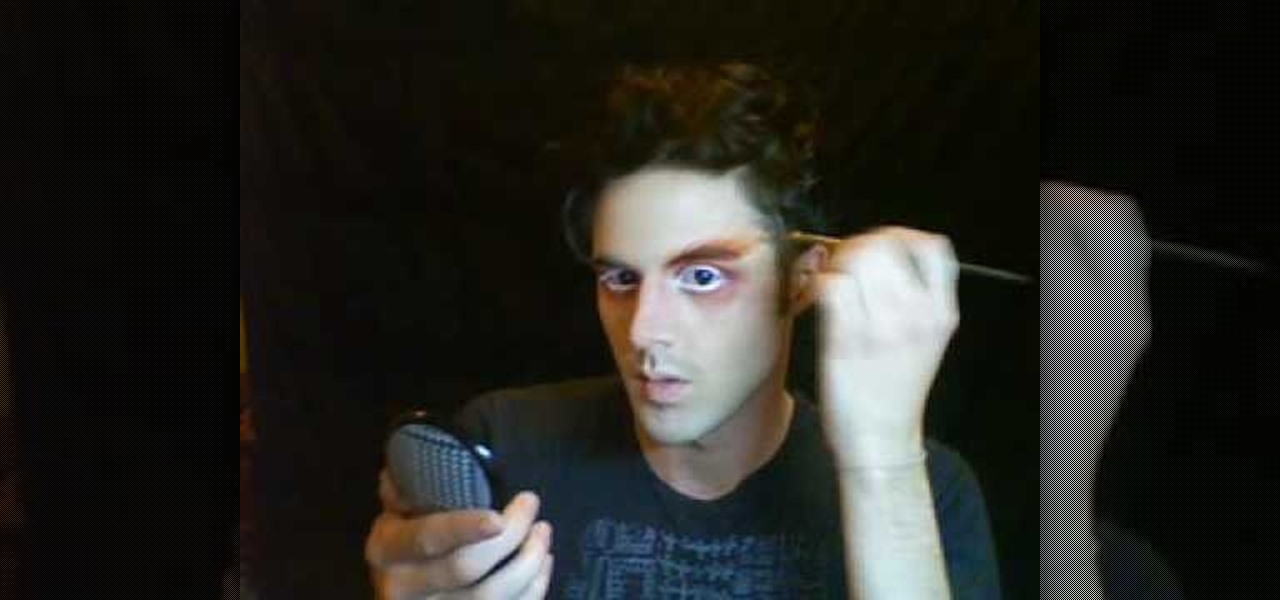
In this video, Logan Salter teaches us how to apply Mad Hatter makeup for Halloween. Start out by applying white eyeliner to the tops and bottoms of the eye, then apply it to your eyelashes until they are white. From here, apply orange eyeshadow underneath your eyes and to the tops of the lids. Blend this outward from your face and then add in a darker orange to create a contrast. Next, apply a pink shadow into the crease and under the eyes. Apply the orange shadow to the brows, then brush it...

In this tutorial, we learn how to do a cute down hair style on your American Girl doll. First, you will need to braid two braids on the doll's hair on each side. Tie it off at the end with a small rubber band. Do five of these around the head, from the top of the hair to the tip of the bottom! Line these up on the top so it looks even and not random. When you're finished, you will have a cute look that only takes minutes to create. If you want, you can tie this into a ponytail for an up-do!

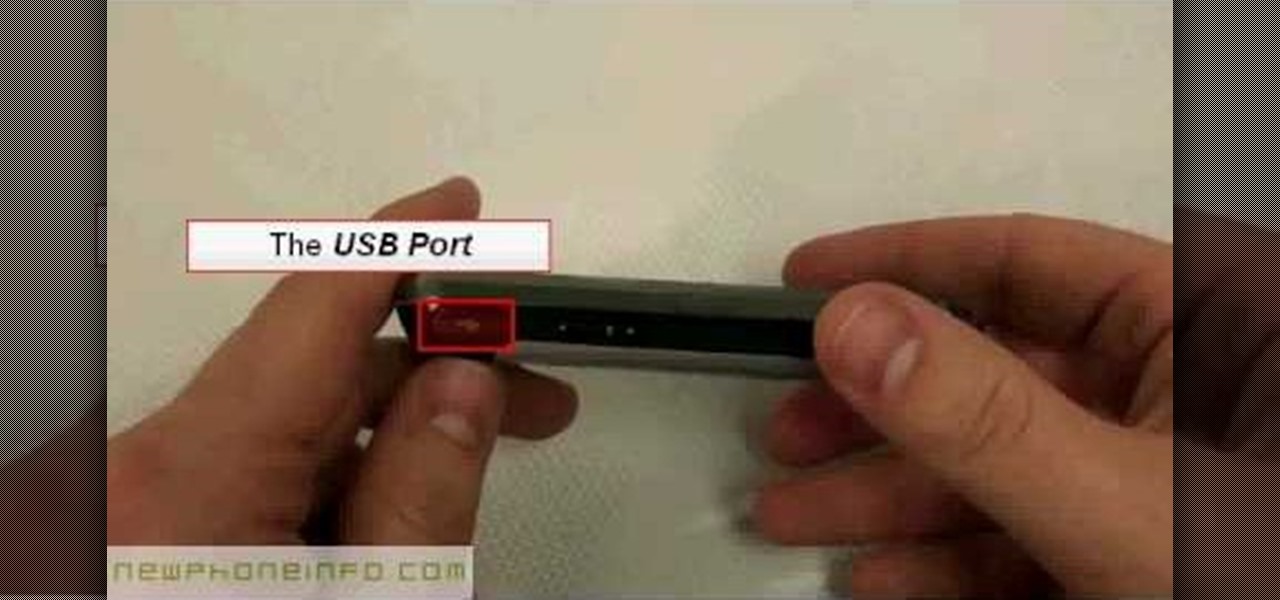
In this tutorial, we learn how to operate the LG GW620. In your main screen you will see your applications and a power bar at the top. To navigate, use your finger on the touch screen to swipe left or right. To open an item, use your finger to tap the icon. Other features on your phone include the home key which will return you to your home screen. The menu key will open the options available on that application. The back key will return you to your previous screen. On the top of your device,...

In this video, we learn how to make & decorate a bearing birthday balloon cake. Use a three dimensional pan to make this and use pound cake for a more firm cake. Start with outlining the mouth and doing the facial features. Then, fill the ears in with pink and place stars with icing piping onto the top of the entire area of the bear. To put the bear on the cake, you will place a plastic food rod into the bottom and into the top of the cake. Use markings on the cake to place him in perfectly t...

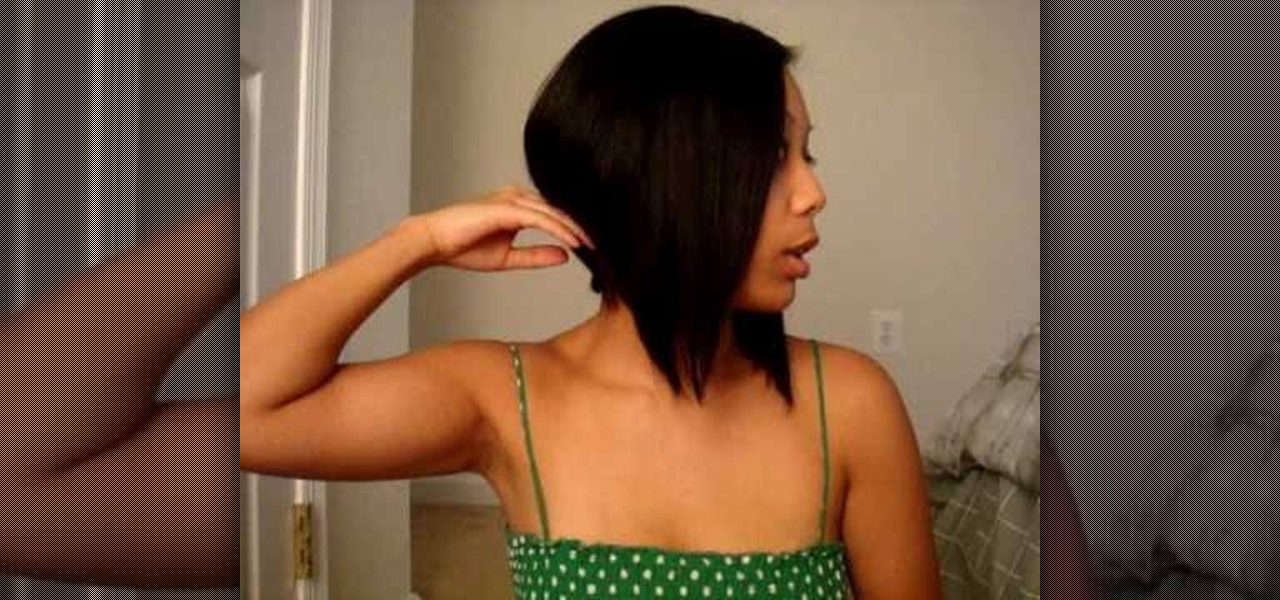
In this video, we learn how to style short hair for work. When you are styling short hair, it can be difficult at first but you can make it look great. Start out by straightening your hair and make sure it's dry. Then, grab some rollers and place them in your hair at the top and keep them in place with some bobby pins. After this, you will spray hair spray on top of the curlers and leave them in while you are straightening the bottom of the front of the hair to create a shine. After this, tak...

You don't need to be a guy to dress up as a drag queen. The very, er, diva-esque look can be achieved by girls as well if you're trying to have a little fun this Halloween.

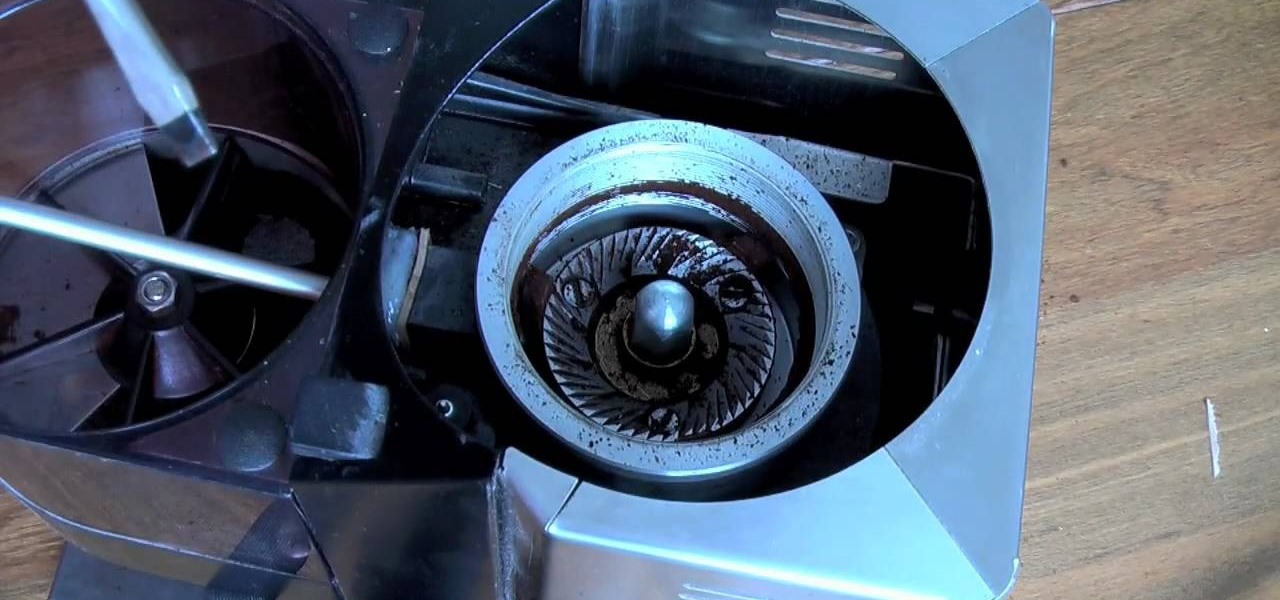
In this tutorial, we learn how to clean and replace the burrs in a coffee grinder. Start out by taking the bean hopper out, you will have to use a screw driver to remove this completely. Then, mark the top burr so you ,know where it was lined up, then spin the top until it comes off. Then, remove the parts off of this and clean them off. Make sure to put these all back together the way you took them off. Now, clean the bottom burr by prying it up with a tool and using an old toothbrush to scr...

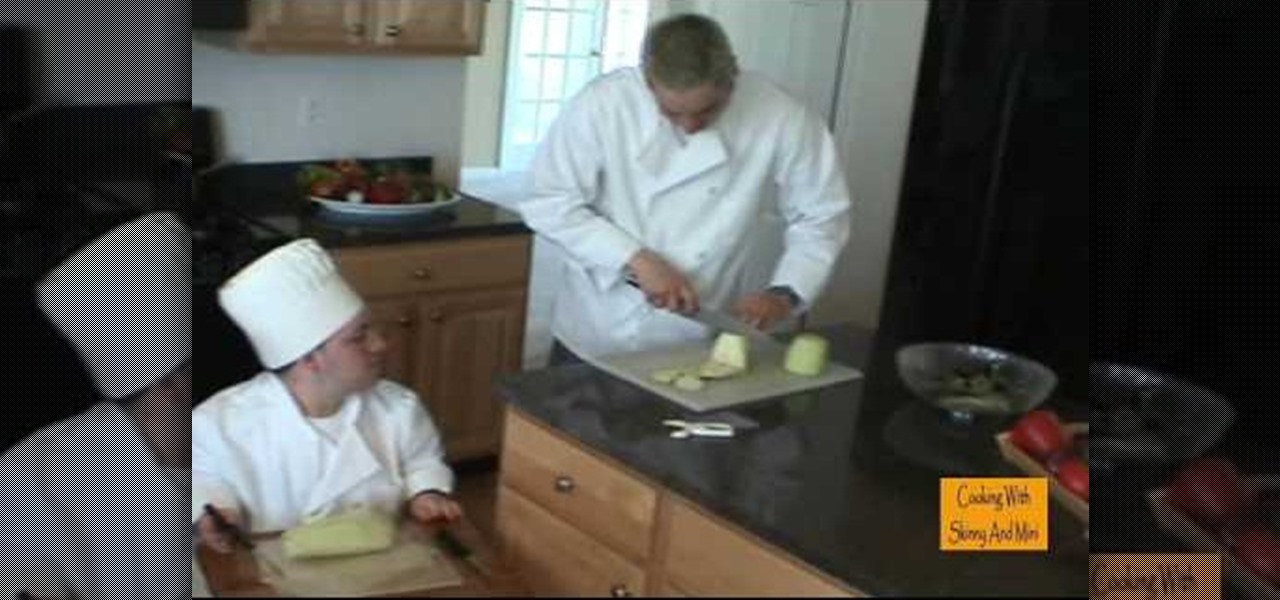
In this tutorial, we learn how to prepare a cantaloupe. First, cut the top and the bottom off of the cantaloupe. After you have these cut off, take a sharp knife and cut from the top to the bottom of the fruit. Cut just the skin off, making sure you get the least amount of orange left on the skin when it's cut off. Continue to cut all the way around the cantaloupe until there is no more green or skin left on the fruit. After this, cut the fruit in half and then scoop out all the seeds. From h...

In this video, we learn how to adjust your head seat. You want to make sure the top of your stem is adjusted correctly and the spacers are adjusted correctly. Go in and tighten the top cap pole until it's just snug. Then, when you grab your bike and roll it forward, go in and tighten it some more. If it's too tight, it's going to bind up and you won't be able to turn your handle bars. Loosen them up as much as you can without them being too loose. From here, you will be able to ride your bike...

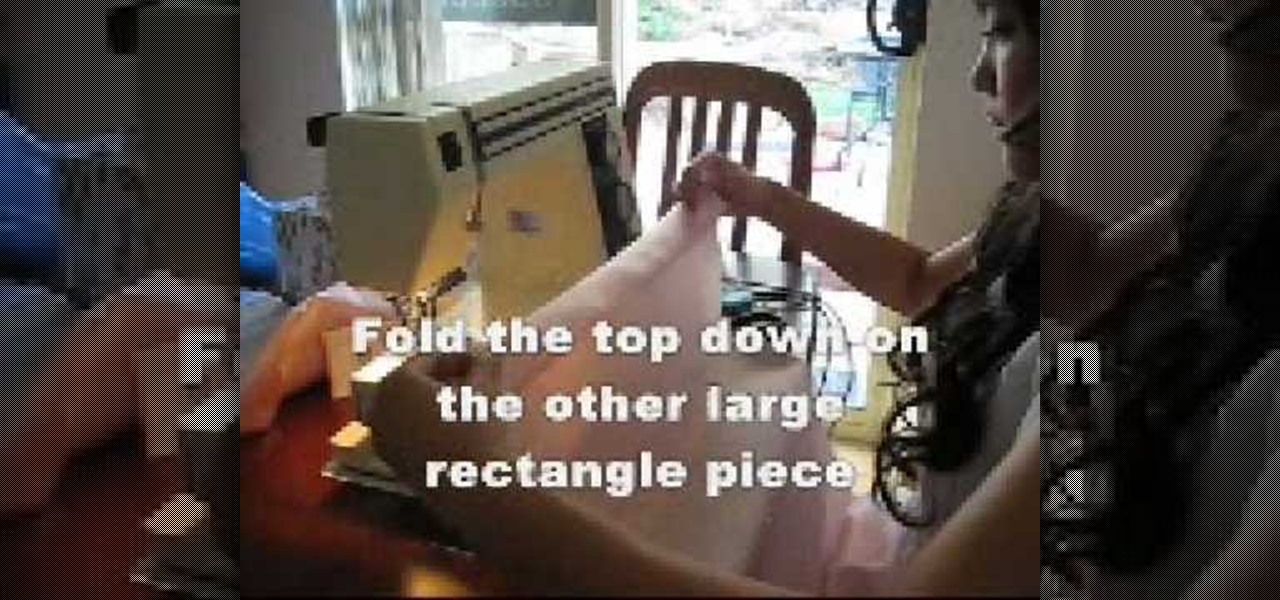
In this tutorial, we learn how to make a basic princess pillow case. First, you will need to have a large piece of pink silk fabric. Lay this out flat, then cut out a 45x75 cm rectangle. Once finished, separate the two pieces of the fabric, then cut a new piece 45x20 cm. Then, lay the fabric facing up and lay some lace on top with the frills facing inward. Sew together the fabric and lace all the way around the entire pillow case. Fold the top down on the other large rectangle piece, then rep...

In this video we learn how to create Alice in Wonderland's Queen of Hearts makeup. First, color the face white with paint and then apply blue eyeshadow to both of the eyes going up and over the eyebrows. Paint in black where the blue stops to create a new brow at the top of the head. Then, draw on a red hear to your lips and apply glitter over it. After this, apply false lashes to the top of the eyes and on the bottom. Then, apply eyeliners and blush to the cheekbones. When finished, go out a...

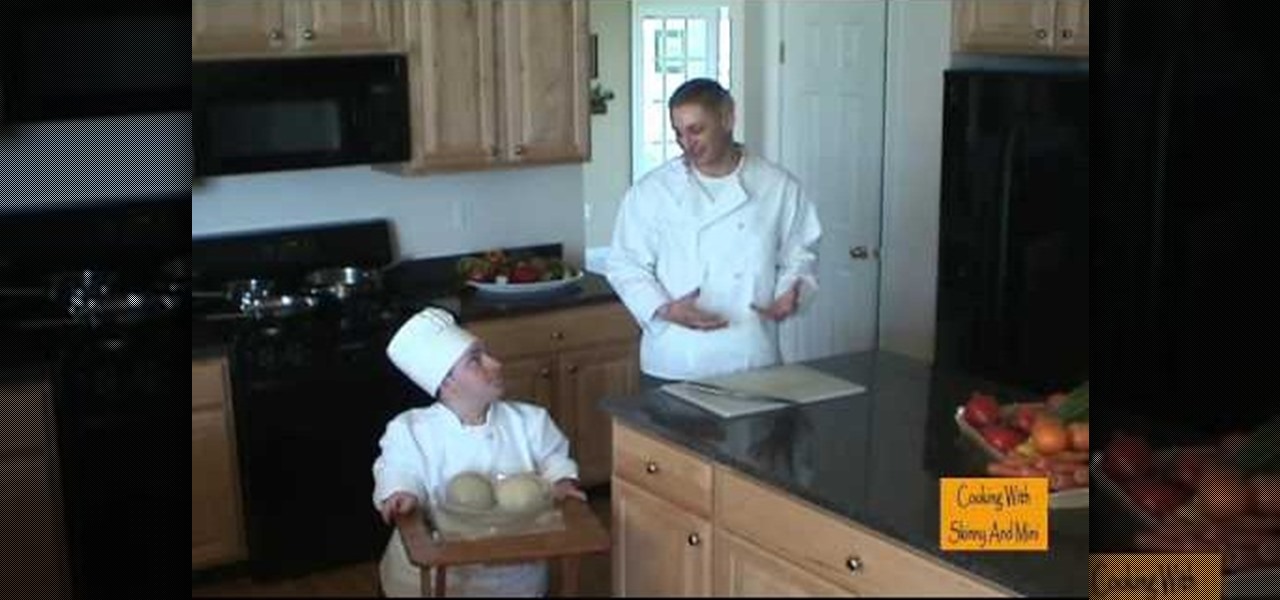
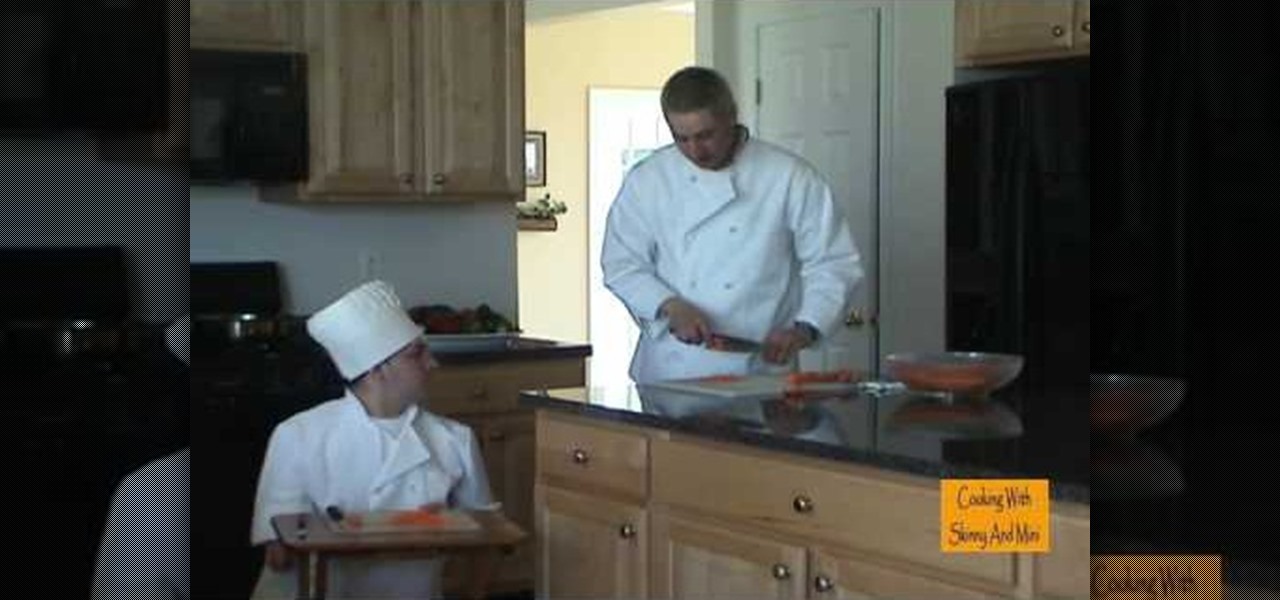
In this video Skinny and Mini teach us how to prepare carrots. First, take a peeler and peel the carrot from the top to the bottom all the way around the carrot. After this, you will cut the carrot. To julienne the carrot you will cut the carrot into small pieces. Do this by cutting the ends off and then cutting it in half. After this, hold the carrot from the top and slice down. After this, stack it and work all the way down. You can also slice the carrots into small slices or cube it if you...

In this tutorial, we learn how to make Dutch oven chicken. Ingredients are: 1 whole chicken, 1 chopped onion, 3 tbsp garlic, salt, pepper, cayenne pepper, paprika, Italian seasoning, and 28 oz diced tomatoes. First, melt some butter in a pot and then throw in your chopped onion. Let this heat up, then add in your garlic and other seasonings with it. Once these are combined, stick your chicken on top of them and sprinkle on additional flavorings of your choice. Cook for 1.5 hours on medium wit...

In this video, we learn how to draw an anime eye step by step. Start out by drawing the outline of the eye. Then, fill in the eye with details and create shadows as well. From here, you will add in further details, including the shading and lines that make it look more realistic. Make sure you draw in the creases for the top and the bottom of the eye as well as the lashes on the top and the bottom. Draw in the details on the inner corner of the eye and add a white spot to make the eye appear ...

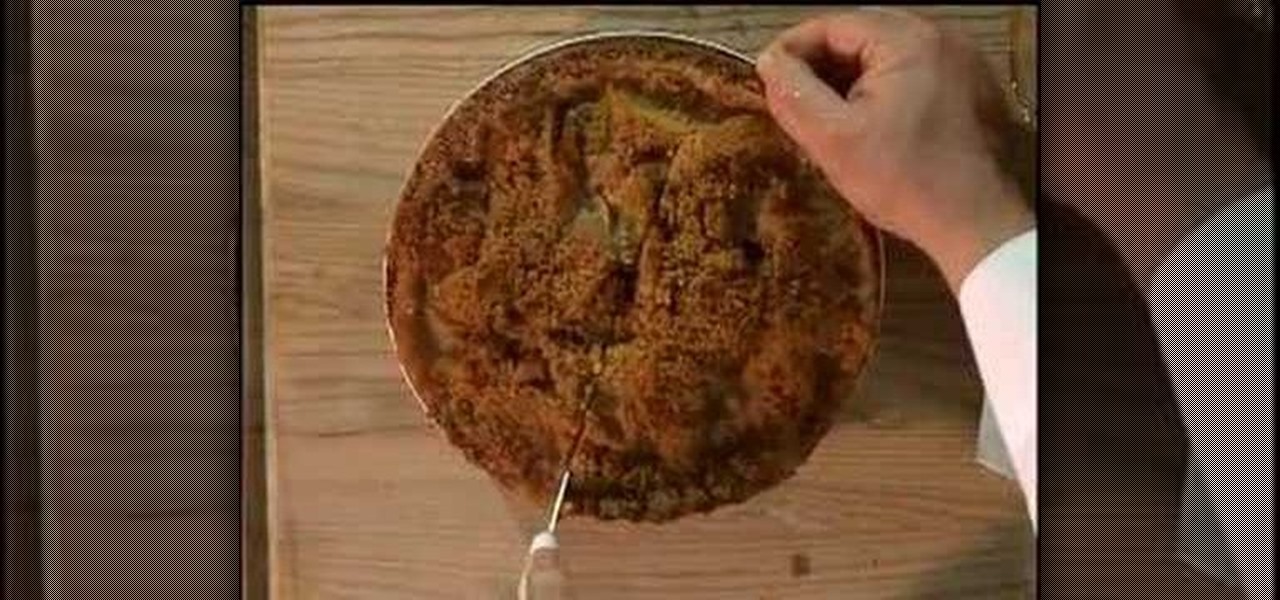
In this tutorial, we learn how to make a peach pie. First, add in sliced peaches with corn starch, sugar, cinnamon, ground coriander, and lemon juice. Mix this all together until the corn starch is mixed, then let it sit for a few minutes. Then, grab a store bought pie crust and pour the peaches inside of it. Add in chunks of butter to the very top of the pie and then sprinkle with a mixture of sugar, brown sugar, and cinnamon. Bake this at 400 degrees for 45 minutes until it's brown on top a...

In this tutorial, we learn how to apply red eyeshadow with glitter eyeliner for a party. Start by applying a red shadow all over the eye, out into the outer corner of your eyes. Next, add a black color to the outer edge of the eye and blend in with the red in the crease of the eye so there are no hard edges. From here, apply a pink and white shadow underneath the eyebrow to create a highlight. Next, you will take a glitter eyeliner and apply it to your upper lash line, then take a small brush...

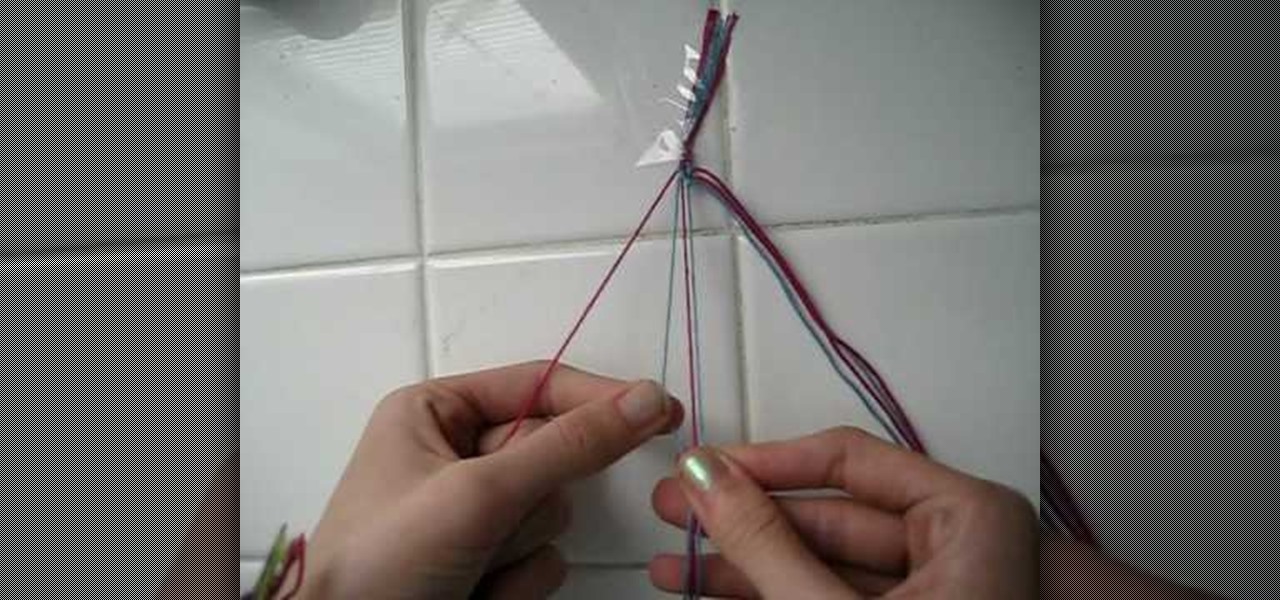
In this video we learn how to make a friendship bracelet with vertical hearts. First, tape your strings to a wall, they should be two colors with four of each. Arrange them so they are alternating colors until you reach the other side. After this, grab the first string and set it aside. Then, take the next two and tie them in a knot at the top. Tie the third string with the fourth at the top as well. Continue to do this until you reach the seventh string. Continue to tie the strings until you...

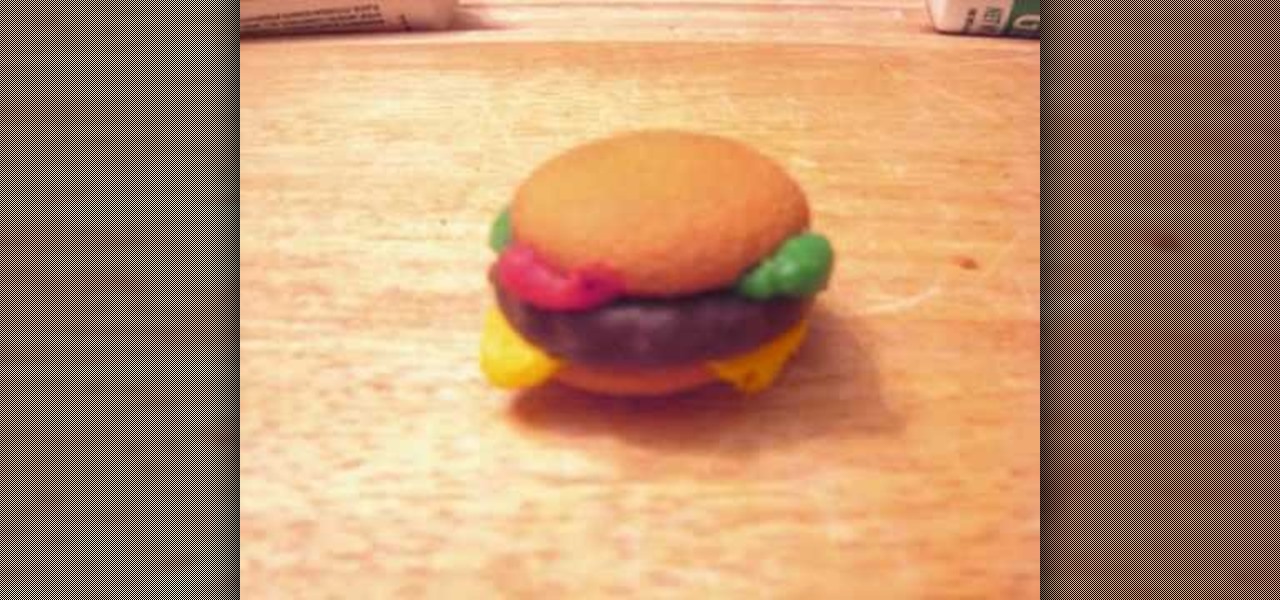
In this tutorial, we learn how to make no-bake burger cookies. To make these, you will need: Nilla wafers, grasshopper cookies, honey, red icing tube, yellow icing tube, and green icing tube. Now, take two Nilla wafers and sprinkle the icing onto each side, making it look like ketchup, pickles, and mustard. After this, place the grasshopper cookie in the middle and the other wafer on the top. Add a dab of honey to the very top, then spread it with your finger and add on some sesame seeds. Ser...

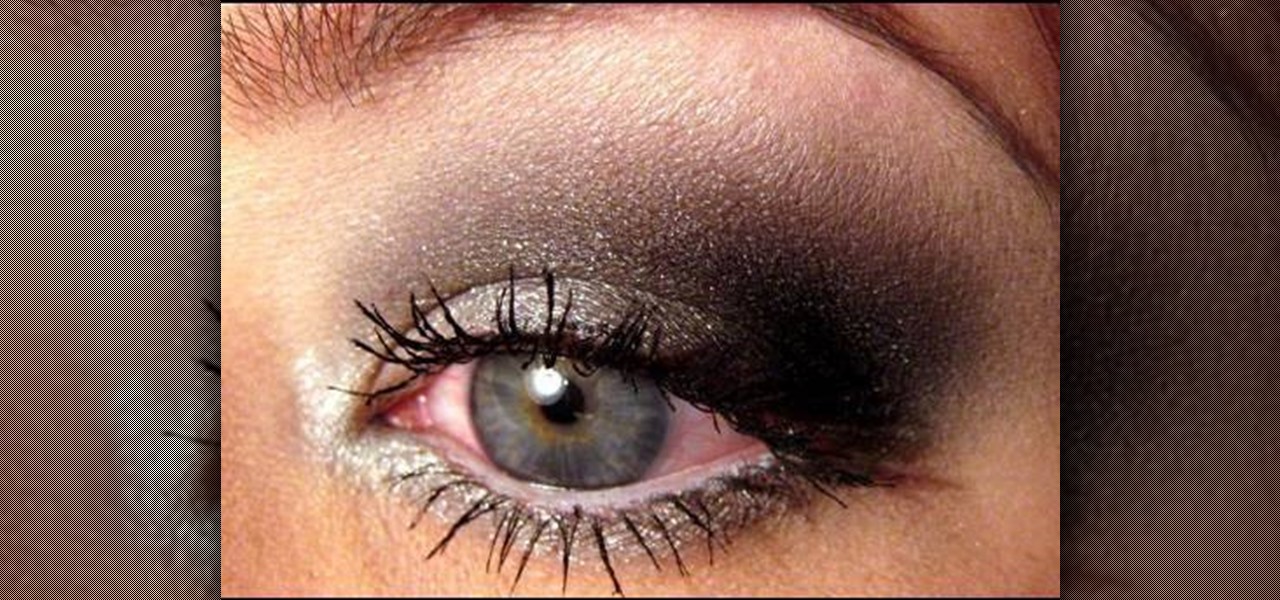
In this tutorial, we learn how to apply a silver smoky makeup look for a hooded eye. Start out with a silver color brushed all over the eyelid. After this, brush a darker color in the crease of the eye, blending in the outer corner of the eye. From here, blend this up towards the brow bone. Place black on the outer corner of the eye to deepen the area, then blend out. After this, apply a light shimmer underneath the brow for a highlight and blend with the bottom colors. Apply the silver color...

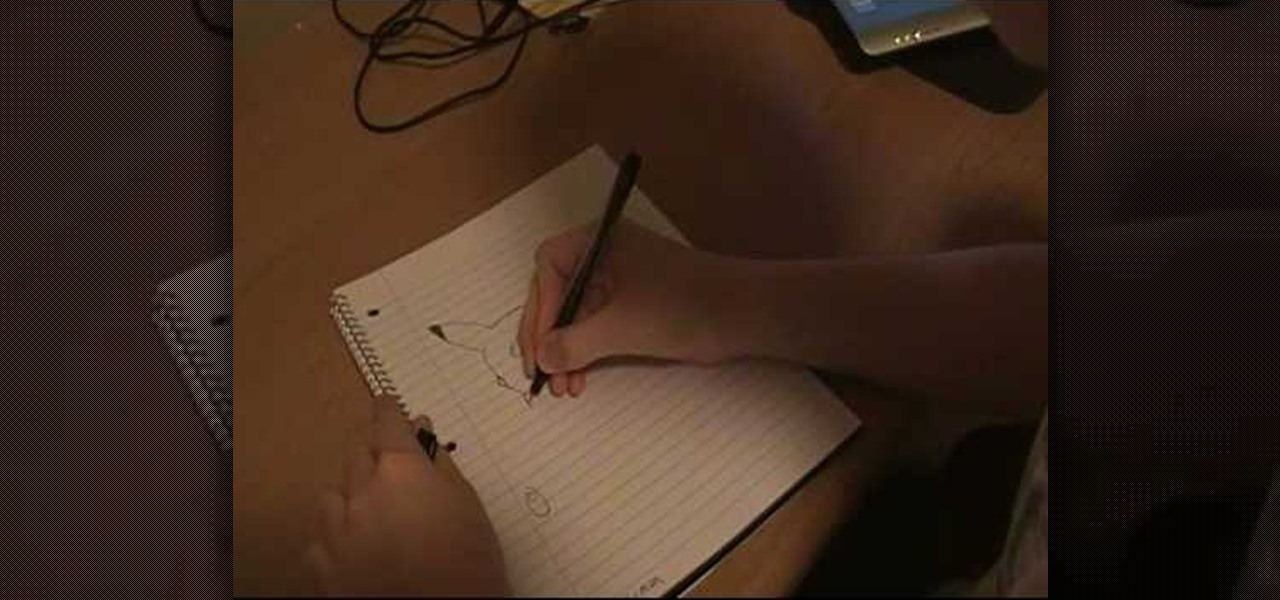
In this video we learn how to draw Pikachu from Pokemon. First, draw the ears and the top of the head. After this, create the sides of the head and color in the tops of the ears. Draw in circles for the eyes and then draw in the nose, cheeks, and smile. Continue on to draw the rest of the body and the details of the chin of the character. Add in the details for the side of the body and then add in shading and body lines wherever possible. When you are finished, share this with others and be a...

In this video we learn how to make a decorative paper rose. First, take a piece of paper and cut several heart shapes out of it, making them different sizes. Once these are cut out, curl the edge over with a toothpick, pencil, or by hand. Set these aside, then use a grab a green sheet of paper. Roll the edge of the paper up and then cut the rest of the paper from it. Create a leaf in this and then tape it all around. Now, twist this tightly and place the curled ends of the heart shapes away f...

In this tutorial, we learn how to prepare eggplant. First, cut the top and the bottom off of your eggplant. After this, grab your eggplant and hold it so it's standing up. Then, grab a sharp knife and cut down from the top to the bottom so the skin comes off of the vegetable. Go all the way around until you remove all of the skin from the eggplant. You can also use a peeler to do this to speed up the process. When all the skin is off, use your knife to cut the eggplant into slices and then cu...

In this tutorial, we learn how to take apart the Google Nexus One. First, take the battery cover off, then remove all the screws along the side and top of the phone on the back. Next, use an opening tool to pry the case off of the back. Then, pry the bottom cover off and then remove the two T5 screws underneath that. After this, take the casing tool off of the back and then remove all the Philips screws. Now, remove the three flex connections and the cable connected and set them aside. Pry th...

This video tutorial is in the Fine Art category which will show you how to fashion a wallet from duct tape. For this you will need an X-acto knife, duct tape of any color and a tape measure. Rip off a piece of tape about 10 inches long and place it sticky side up. Rip off another piece of same length and place it on the 1st piece face down but, covering only half of the tape as shown in the video. Fold down the 1st piece on top of the 2nd so that you will have only one half piece of sticky ex...

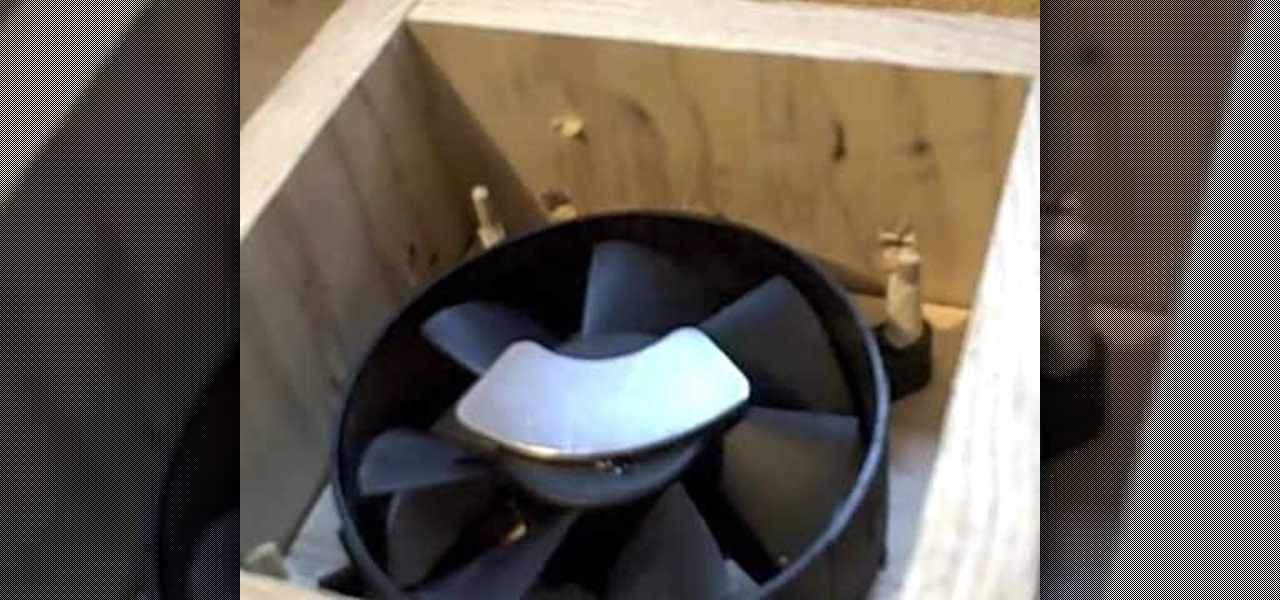
In this tutorial, we learn how to build a magnetic stirrer from computer parts. This is a simple thing to make, and is great if you are going to be mixing chemicals and don't want to get your hands dirty. First, you will need to create a wooden box with the top empty. Then, place a computer fan into the middle of the box and pin it down. Place a magnet from the hard drive in the middle of the fan, then place a stirring rod on the glass that will go on the top of the wooden box. Now you will b...

In this tutorial, we learn how to draw a parallelogram given base, angle & altitude. First, you will draw the base of the parallelogram, using your ruler to measure out the line. Next, you will draw a dotted line perpendicular to the line that you just drew that is 3 cm in length. Then, you will draw another dotted line on top of the one you just drew. This dotted line shows where the top of your parallelogram will be. Then take your protractor and draw it at the angle the problem gives you. ...

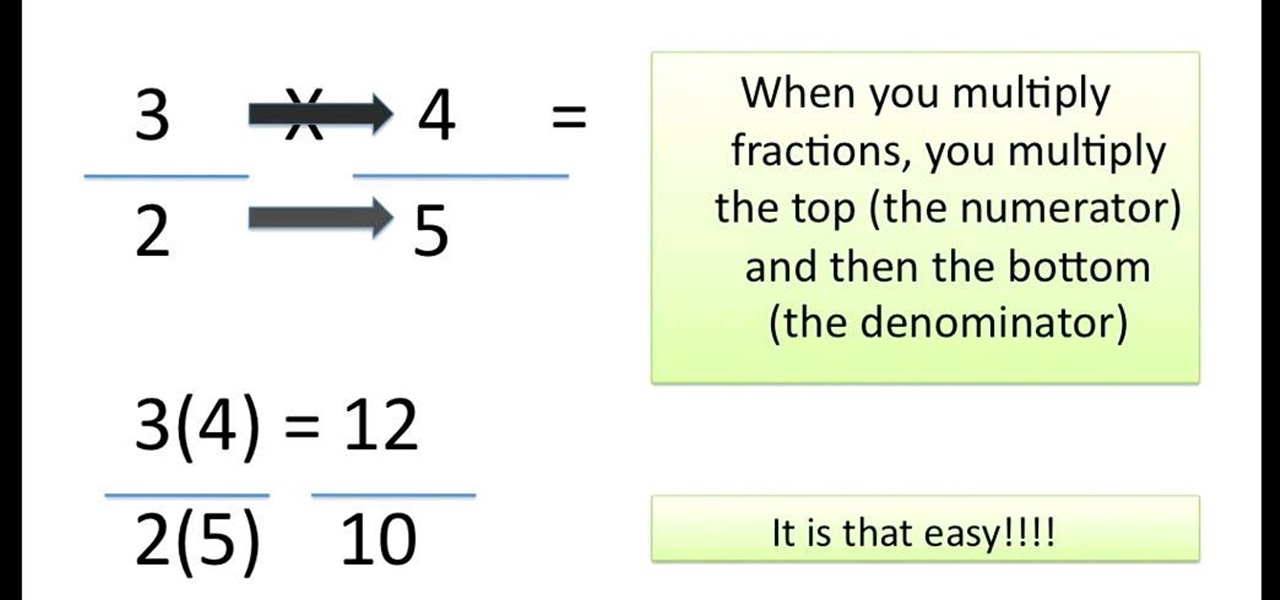
In this tutorial, we learn how to multiply fractions easily. First, you will need to know where the numerator and denominator are in the equation. Numerator is on top and Denominator is on the bottom. When you multiply fractions, you multiply the top and then the bottom of the fractions straight across. Once you have multiplied them, you will write your number out as a fraction. Make sure you reduce your fraction as much as you can, or else it will not be a correct answer. To reduce it, see w...

In this tutorial, we learn how to release point in basketball with Tom. If you hesitate or hang, you will lose power in your legs and your ball will go short and flat. When you reach the top of your jump you will want to release your ball to get the most height out of it. When shooting the jump shot, pay attention to what it feels like when you are going to shoot. You want to feel powered up not effortless or underpowered when you are shooting. Time your release and make sure you have a high ...

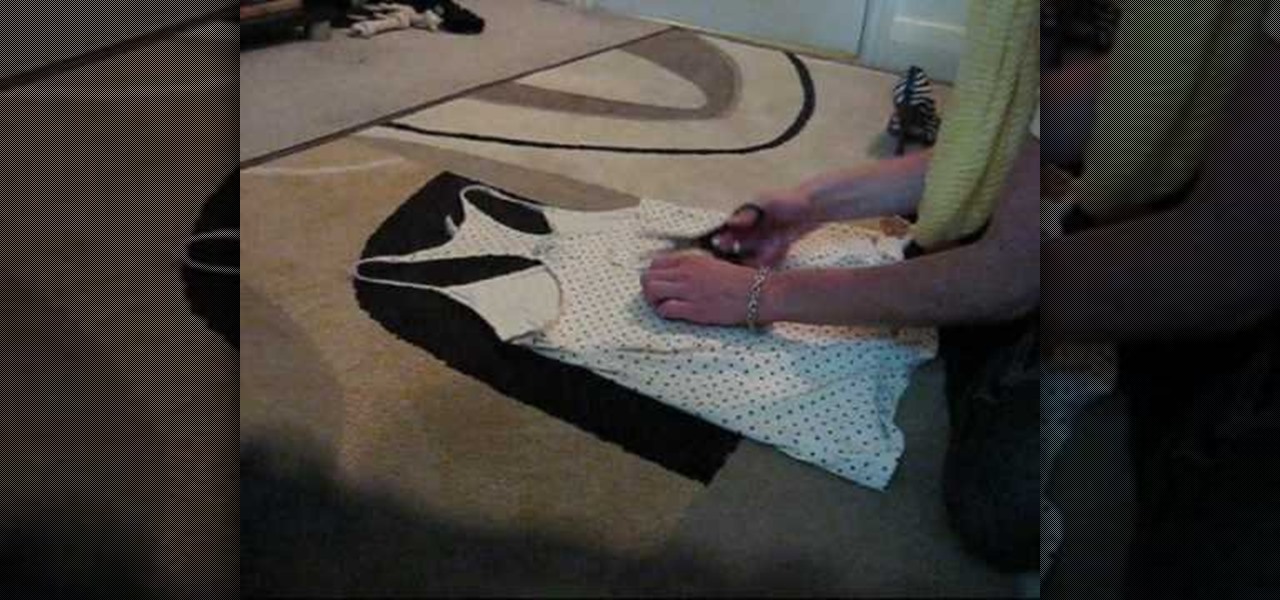
Your tanks and your tees aren't fitting just right, don't throw them away or toss them in a storage box just yet. Grab some scissors and cut that sucker up, then mold it in a better fitting, unique and cute shirt. The easiest part is simply slicing up the back up the shirt, but then comes the strings. Watch and see for yourself. This is a great way to transform a normal T-shirt or tank top into something more creative.

In this video, we learn how to make a "purt" or a "shirse". To start, grab an old shirt with buttons and measure out an area from the top to cut down. After this, cut the area out cutting the top and the back of the shirt. Then, take a sewing machine and sew the sides together. After this, grab a tie that you have and wrap it around the front of the shirt that you have just sewed. Now, when you want to look like you are wearing a shirt and tie without actually wearing one, you can slip this o...

In this video, we learn how to extract sodium to make sodium metal. First place soup can in a pot of water and place the sodium mixture into the can. Place a cap on top and leave it on while the can is cooling off. It should create a tight seal until you will be able to open it. Once you can open it, pour mineral oil on top of the sodium. Filter out this mixture to find the chunks of sodium that is in the mixture. While wearing gloves, take out the sodium and place it into water to see if it ...


