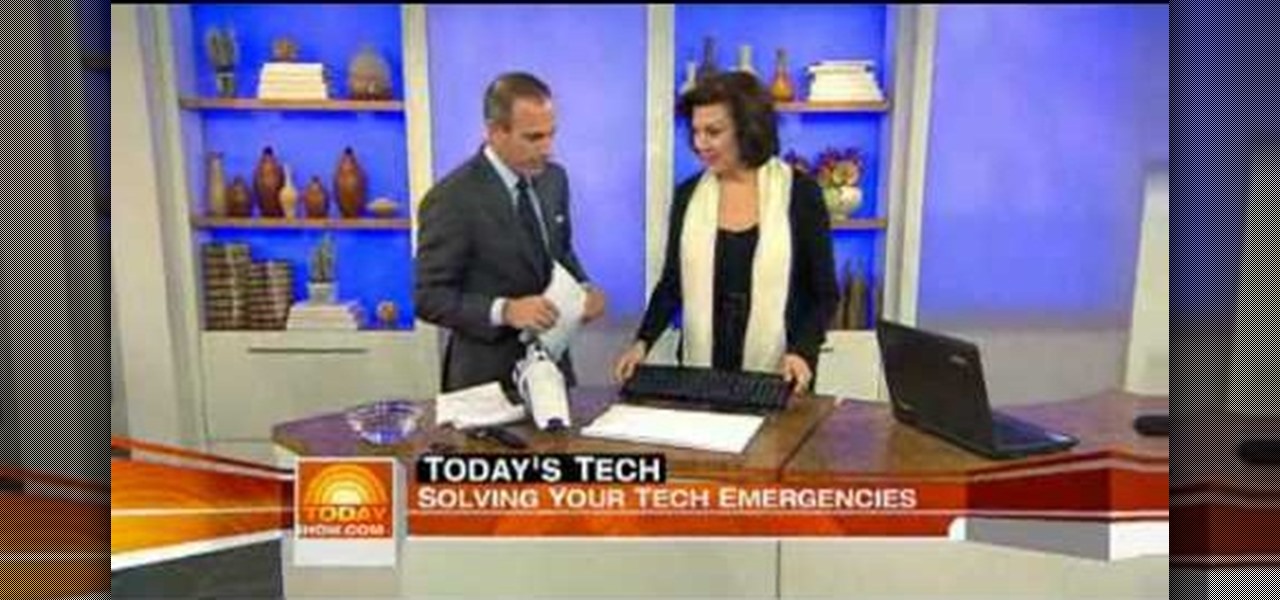
Today's Tech shows you how to fix a cell phone or computer that has gotten wet or jammed. With a wet cell phone, you must act quickly or it may be permanently damaged. The first thing you should do after pulling it out of the water is to take the battery and SIM card out. Dry both of them off. If you drop it in a liquid that is not water, rinse them off quickly. If you have a vacuum cleaner handy, you can use it to suck the water off. You can also place the phone on top of your cable box. Wai...
This video demonstrates how to throw a simple clay pot: a flattened salt holder. In order to throw this simple clay pottery piece, you will need: clay, a pottery wheel, and water.

First of all you have to need a bonsai and scissors. In the type of the tree shown in the tutorial which is a fifteen year old, once you have got the branch structure established then you can prune the leaves over it. Start from the bottom branch chop of the leaves that are out of symmetry with your scissors. Cut from the outside to the inside. Now move towards the upper branches. Chop off extra new branches which are coming out from the main branches. Reduce the leaves in a fine length all a...
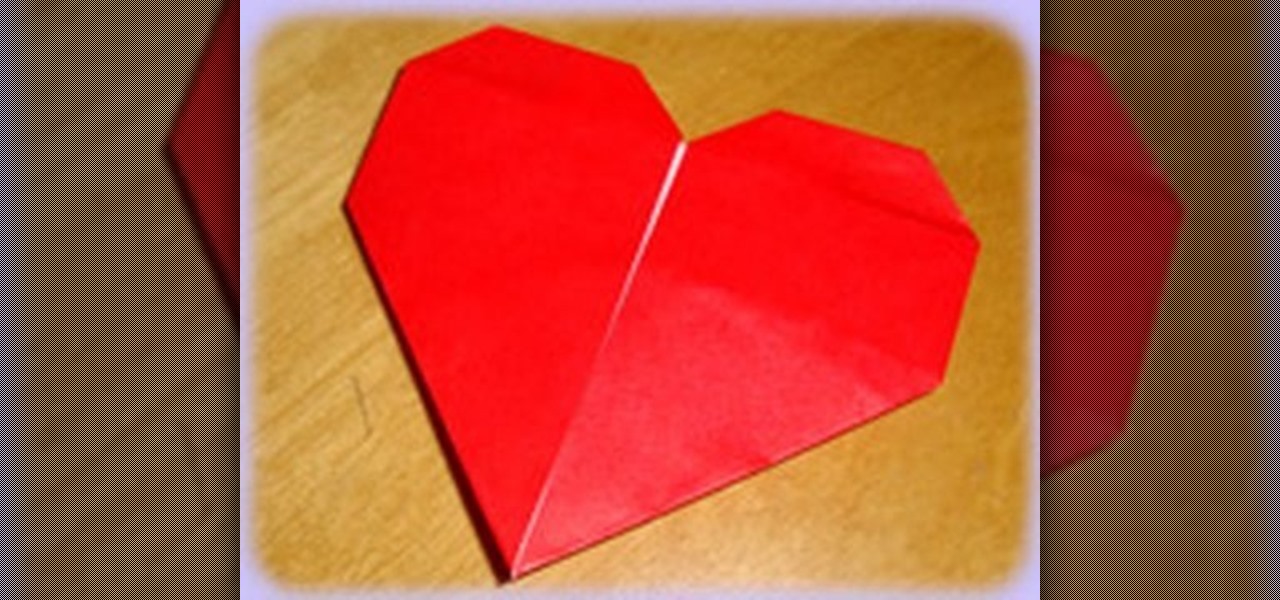
This video shows us how to fold a simple origami heart. Firstly a piece of paper is taken and is cut in the form of a square and then it is folded into half to form a rectangle. Then it is properly creased and then using a knife it is cut into two halves. Then one of the pieces which are in the form of a square is taken and is folded vertically to form a thinner rectangle. It is creased and then unfolded and then the paper is folded horizontally to form a square and it is creased and then unf...

This video is a demonstration of how to do an interesting artistic design on your nails with dark orange, pink, yellow and white, which can be done in different colors if you like. First apply neon pink to the end of the nail in a diagonal pattern. Quickly, while the pink is still wet, add some white dots and use a toothpick to marble the white by swirling it into the pink. Next use orange, overlapping the pink a little, and dot some white into the orange while it's wet to create a swirled ma...
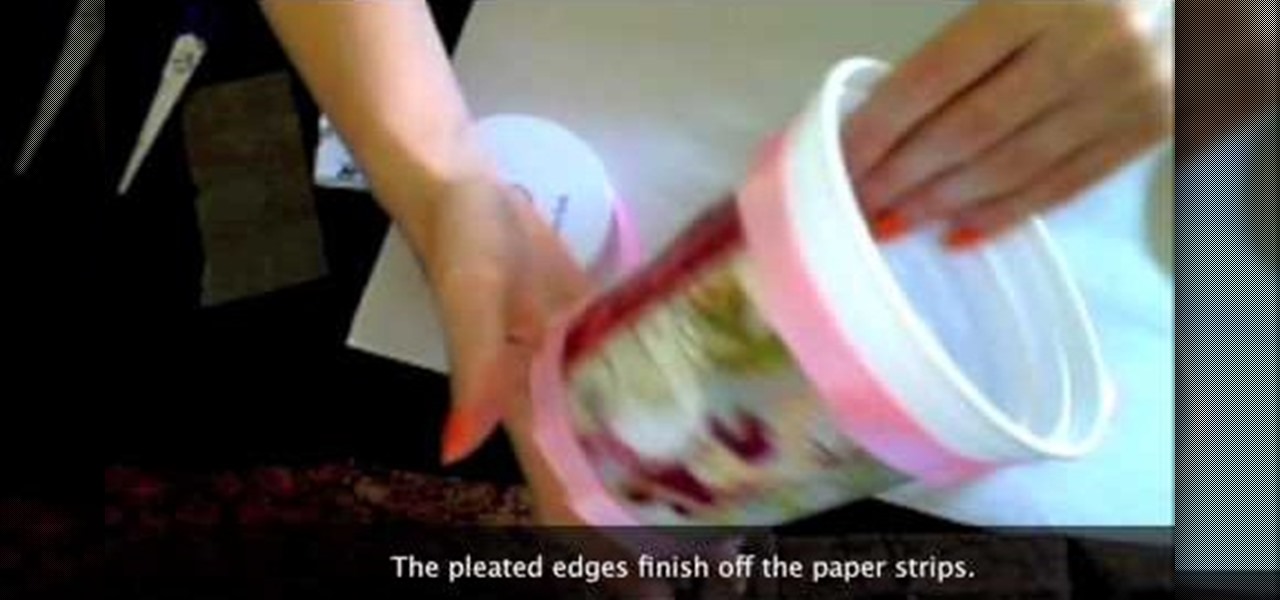
Creativity Prompt demonstrates how to turn a yogurt container into a mini-album. First, measure the lid's diameter. Then, cut a corresponding circle from your patterned paper. Use Mod Podge to adhere the paper circle to the lid and seal it with another layer of adhesive. Next, cut a bunch of different 4 x 1 inch strips of patterned paper. Adhere the paper strips to the yogurt container with Mod Podge. Seal it with another layer of adhesive and set it aside to dry. Measure the bottom of the co...

First of all go to the website source forge and download the file 'DVD Flick'. Once you get it you now need to install this in your computer. Accept the ‘user agreement’ and then choose the folder where you wish to put in this file. You may also choose to store this in your programs directory. Then click on the ‘next’ and then ‘install’ to continue. This shall take some time. Now open this application. Take any YouTube videos. First of all click on the 'add title' from the left side top menu ...
ARHSphysics shows viewers how they can build a simple barometer using household items! First, you need to get a container that is the height of an index card. Your best bet is to get an empty soup can of food can. Make sure you wash the can. Now, you will need a latex glove, cut a semi circle from the glove and attach this to the top of the can using a rubber band. Get two straws and attach them together at the ends. Cut a slit in each one and attach the straws. Attach the straw to the top of...
Ian shows us how to draw Yoshi from the Mario Brothers video games. First, you draw three quarters of a circle, for the snout. Next, on the top right edge of the circle, before the opening you've left, you draw two ovals on top of it for the eyes. Next, finish out the circle (snout) by connecting the bottom end with back of the farthest-right eye, using a outward-bulging line. Draw a smile at the bottom of the circle, then fill in the eyes with a black oval in the bottom right corners of both...
First of all you need a pencil and a sheet of white paper. You have to start with the cap and then the round face. Now draw the eyes and the mouth. Draw the badge over its cap. Now draw the ears. Then you have to draw the two hands. Draw the body and make some pockets as shown. Now draw the boots. Now make the eyebrows. Make the soles of the boots. Shade in the forehead with your pencil and then wipe it with a tissue paper. Then use an eraser to erase it a little. Now darken the eyebrows. Mak...
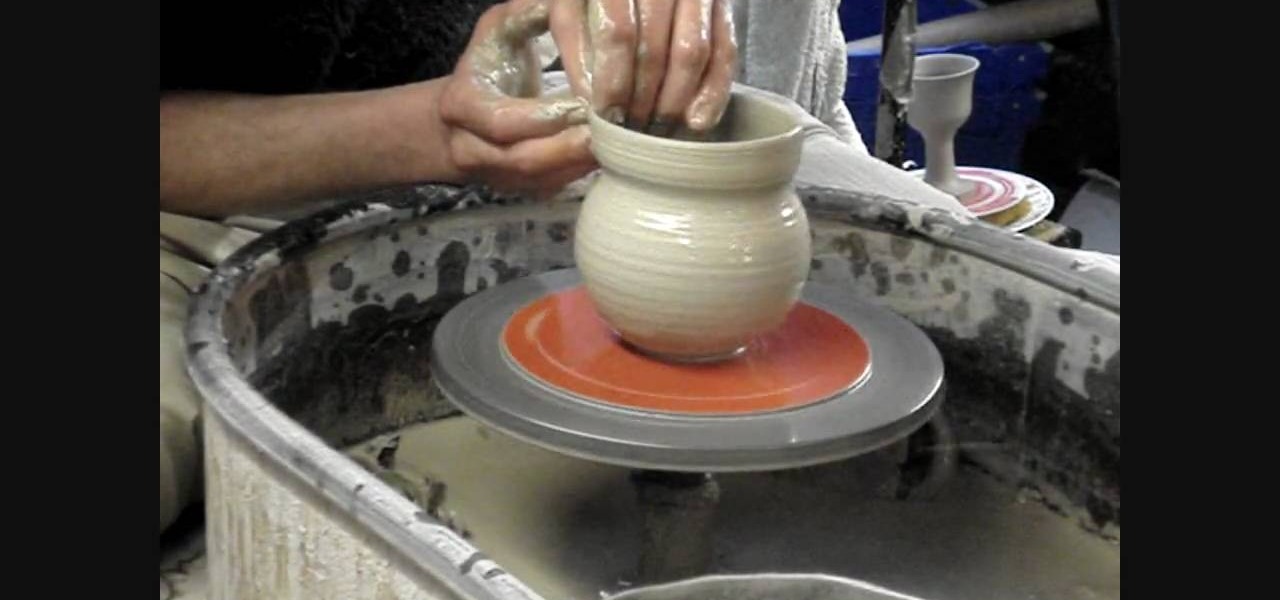
In this how-to video, you will learn how to make a small jug with a handle using a wheel. Place the clay onto the wheel and start spinning it. Grasp it with your hands as it spins and make a vertical shape. Use your thumbs to make the interior bowl shape. Now, use your hands to make the clay more vertical. Keep doing this until you get the desired height. Now, insert your hand into the interior to widen the shape. Make the top more narrow with your fingers. Make the edge stick out as well wit...
This video demonstrates how to create an origami ninja star. Prepare a square shaped piece of paper. Lay it down on a table or on a flat surface. Fold the paper right across the middle in a vertical orientation. Fold it once more in the same manner as the first fold, now creating a more slender vertically standing rectangle. Fold the upper portion of the origami diagonally forming a small triangle on top of the rectangle. Do the same on the bottom portion of the origami. Fold the upper portio...
First of all use a grey color shade to draw the outline sketch of the figure. First draw the trapezium in the front. Now draw a rectangle at the side of the trapezium. Make a flat top to the figure. From the middle of the trapezium draw a string protruding downwards. Now divide the figure into three equal sections. Now you have to darken sections on the rectangular side. Draw the vertical lines of the rectangular side curved outwards at the far end. At the front end of the rectangular side ma...
This video demonstrates how to setup a printer on a Macbook Pro.Open the document you wish to open. Go the File menu on the top bar menu and select Print. On the Print dialogue box, you will notice that no printer is selected. Click on the drop down menu to select Add A Printer. Click on the IP found on top of the window. Change the protocol to IPP or Internet Printing Protocol. On the address bar, type in the address of your printer then click on Add. Once done, you can now print your docume...
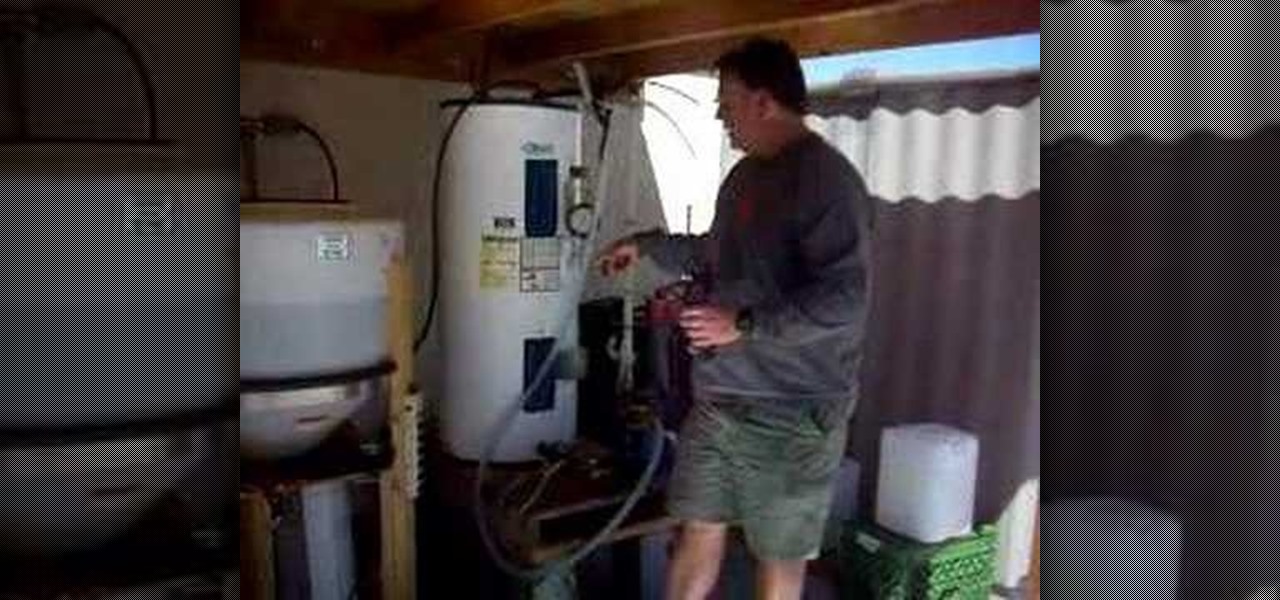
In this video, Tom Carpenter explains how to filter vegetable oil into bio-diesel at home. After collecting a large amount of waste vegetable oil, place 30 gallons of it into a modified (by removing the top heating element) water heater. Use a pump and hose to circulate the liquid through the water heater. Heat the oil to 120-130 degrees Fahrenheit. In a separate container, mix methanol and sodium/potassium hydroxide (methoxide). After disconnecting the heating element from the water heater, ...
Before beginning you should start to focus on shampooing your roots and scalp and conditioning your hair and ends of hair. This will help by saving the ends of the hair and the main body of your hair from unnecessary damage. Shampoo is a very strong product and as you work it into your scalp and roots it will naturally move down your hair grabbing dirt and old product from your hair. So, focusing on shampooing the ends of your hair and the main body of your hair is not needed and it can be da...
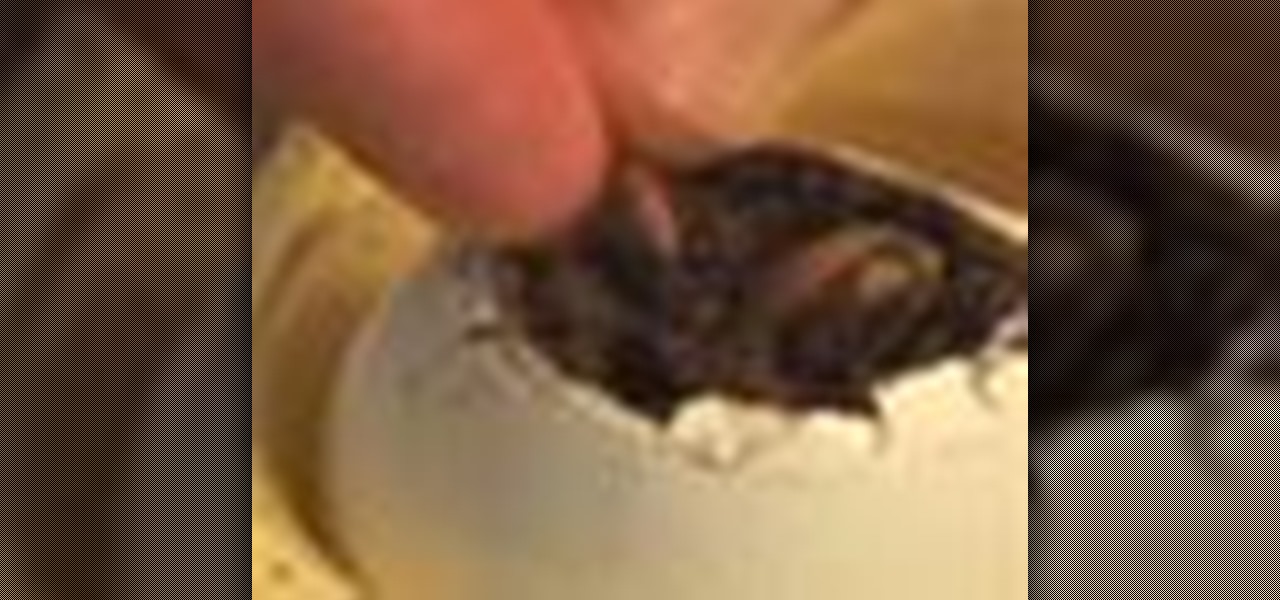
When you start planting something, you will need to nurture and grow a seed. You can plant a seed in a small pot and transfer it later, or you can save yourself the mess and trouble and try the tips in this video. In this tutorial, learn how to plant seeds in an eggshell! Eggshells make great little planters and the best part is - they're biodegradable so instead of repotting your seedling you can just plant the whole egg in the ground!
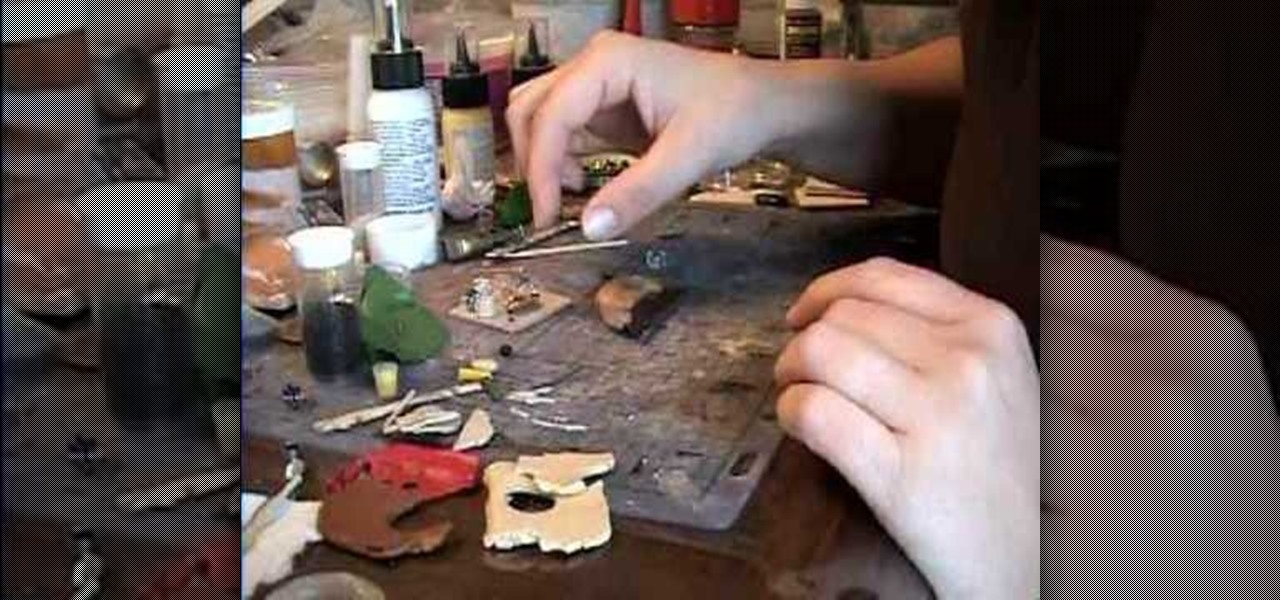
Create a loaded hot dog perfect for any dollhouse kitchen! Learn to create a hot dog topped with ketchup, mustard, sauerkraut, cheese, onions, and relish all out of polymer clay! First start the onions out of translucent clay. Roll it out in the pasta machine and cut off little strips and bake them. For cheese take strips of orange clay and cut them at an angle. Do this same technique for the relish, the sauerkraut, mustard and ketchup. To create the hot dog roll out a brown colored piece of ...
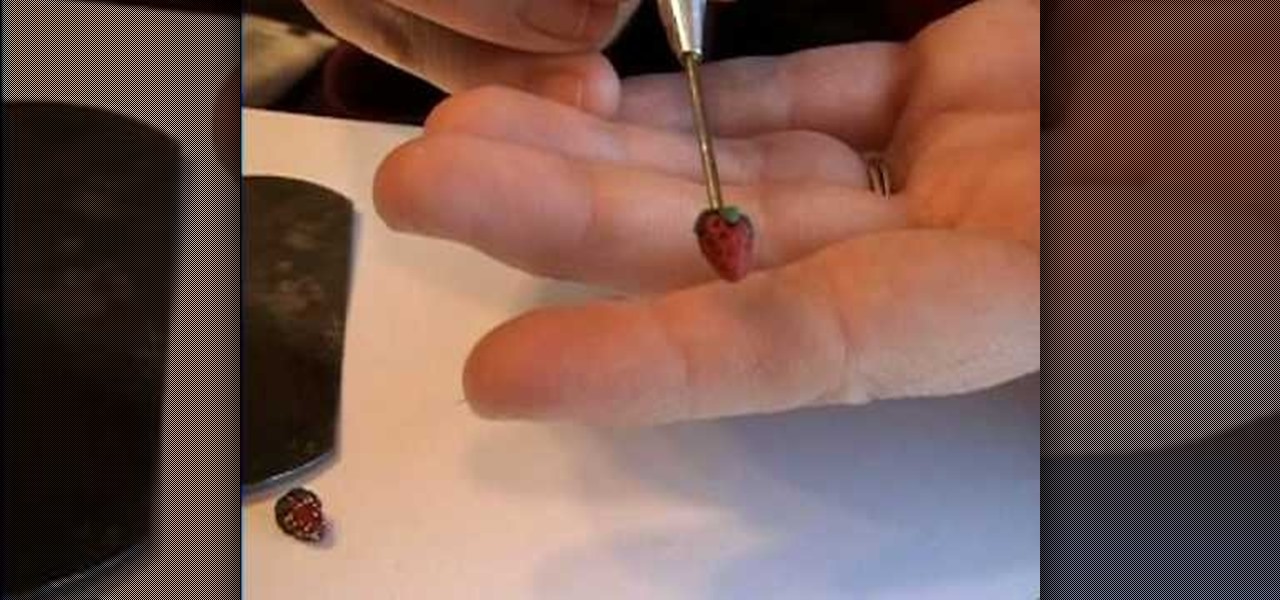
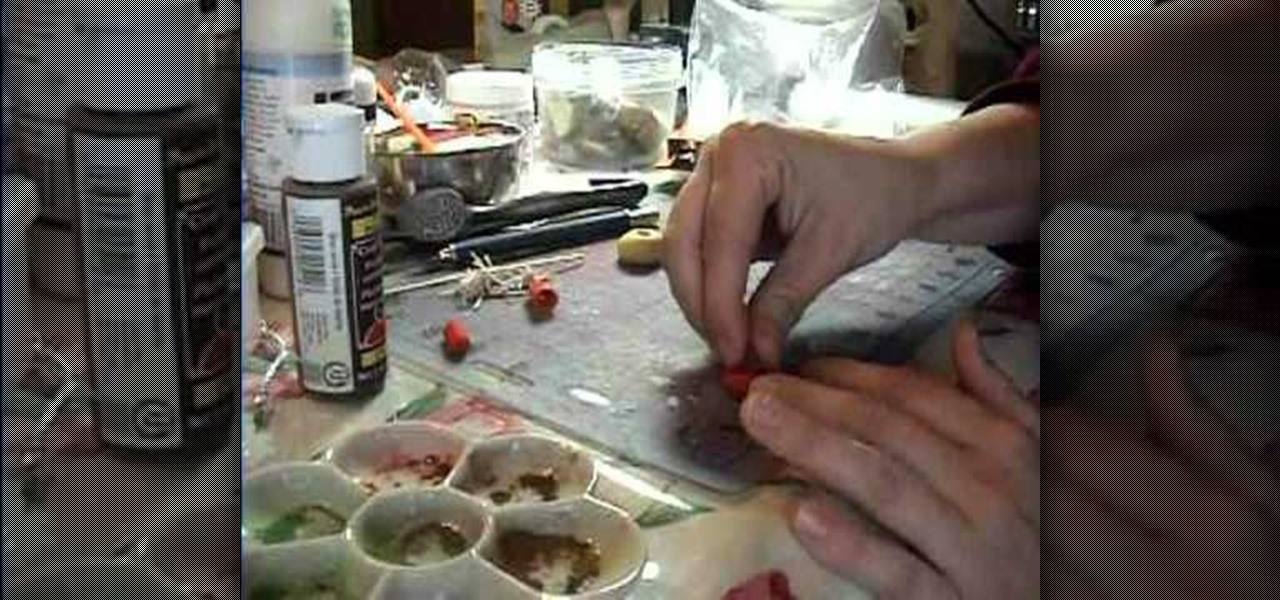
Garden of Imagination shows you how to Make a Strawberry for a miniature dollhouse from polymer clay. take a pinch of dark red clay, roll it into a ball, then a cone-shape around one centimeter or just under half and inch long. Poke a toothpick into the center of the fat end of the cone. Use another toothpick or a small ball-ended poker tool to put many small depressions around the tapering sides of the cone to represent pips. For the leafy strawberry top, use a small star-shaped cutter to cu...
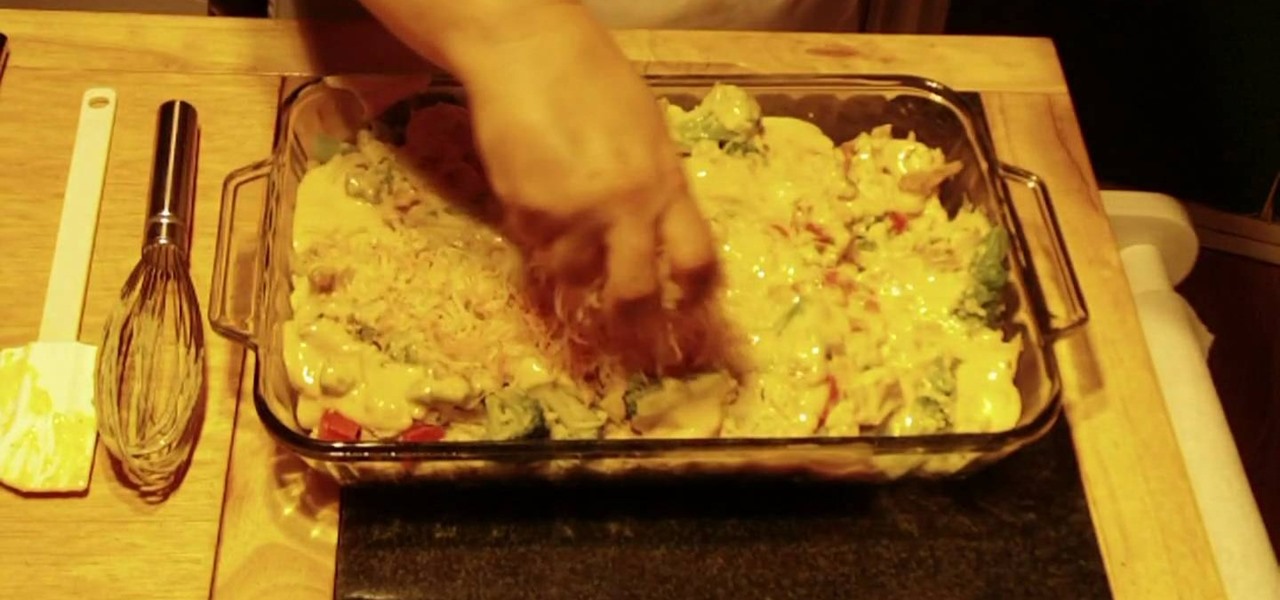
TooTiredTeacher shares her quick and easy de-stressing recipe of cheesy baked chicken and rice. Ingredients: 3 cups of cooked rice1 chopped roasted chicken 2 cups of cooked broccoli, 1 cup of sautéed onions, 1 cup of sautéed carrots, salt, pepper, garlic powder, parsley, 1/2 cup flour, 2 cups of milk, 2 cups Velveeta cheese, cubed 1. In a baking pan, mix cooked rice and chicken. 2. Add in the broccoli, onions and carrots. 3. Season with pepper, garlic powder, parsley and salt, then mix and se...
This tutorial demonstrates how to make LEGO Menorah which is used for decorative purposes. First a 1/3 angle brick and a transparent red color stud dot are taken. Then three red cans are taken. Now one of the red can is fixed to one side of the angle brick, leaving the middle open, fix one more can on the other side. The red stud is placed on the middle, on top of which the third can is placed. Now the first menorah is formed which can be placed on tables, walls, etc.
First of all open the image of Daniel Craig. Go to 'layer' and create a 'duplicate' the current layer. Then from top choose 'colors' then 'saturation'. Now click the 'r' from right side bar and also adjust up the 'hue' to 108 till he looks green. Now adjust the 'saturation' bar till 100 and then click 'ok'. Now go to 'filters' at top bar and then click 'distort' and then 'iwrap' filter. This shall open a new screen. Drag the image large. Now click 'move' and then 'deform radius’. This shall m...
Straightening curly hair. Things you will need to get started are a scrunchy, clips, hair brush, flat iron, heat protector spray, and gel if you choose.
This is for an ankle that has been rolled to the outside of the body. Start by cutting a piece of rock tape that is about the length of the distance from the mid arch to right below the kneecap. To tape the ankle sit on a table put your heel on the edge of the table with your toes pointed down. With an ankle sprain this will be very painful so go really slow. Pull an inch of backing off the tape and anchor it about mid arch and then pull the backing off of the rest of the tape. Then with your...
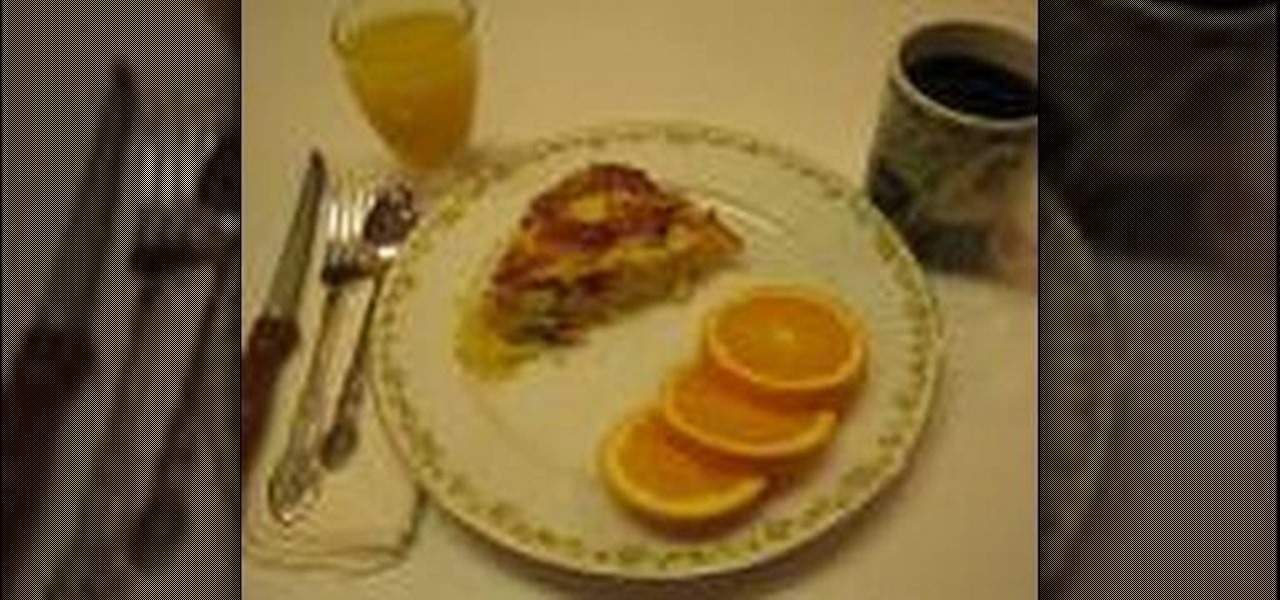
Betty delivers as usual with a great breakfast casserole recipe. This is a great, light treat to complement fruit or eggs.
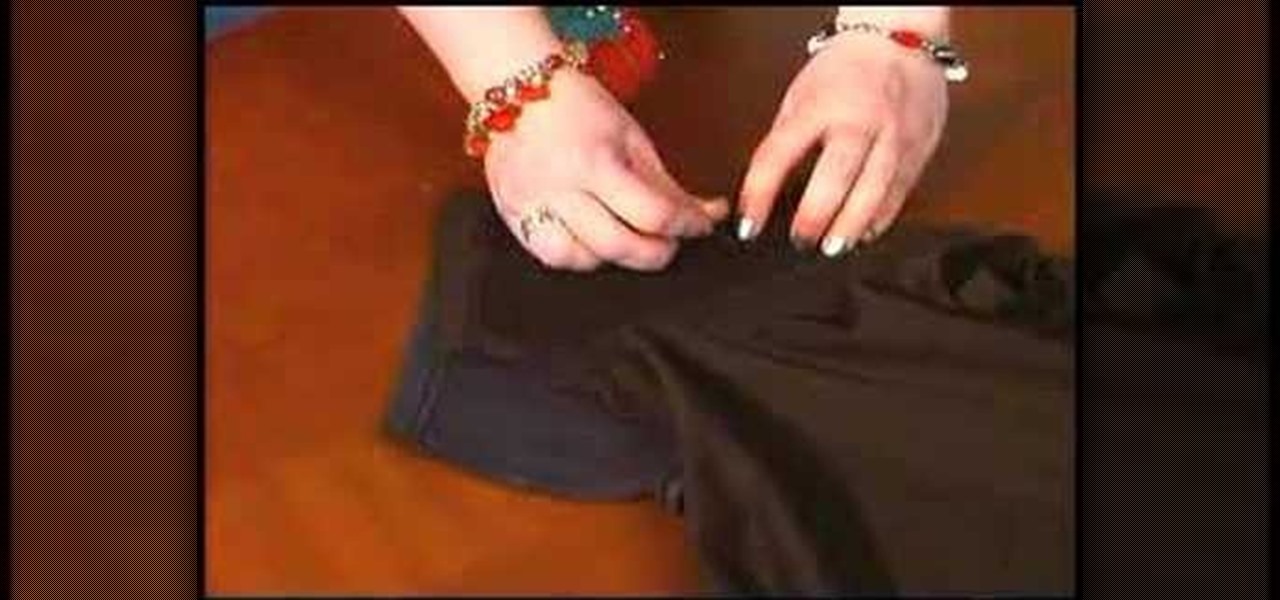
If you've ever wondered how to resize a T-Shirt to a smaller perfect fit, then follow these simple steps presented by Stacey from Sewing Republic. To shrink down your T-Shirt, follow theses steps: You will need an oversized shirt, a smaller shirt to use as a pattern and your sewing machine. 1. Turn both shirts inside out, and lay the fitted shirt on top. 2. Fold the sleeves back and pin the shirts together. 3. Trace around the fitted shirt with a fabric marking pen. Add 1/2 inch for your seam...
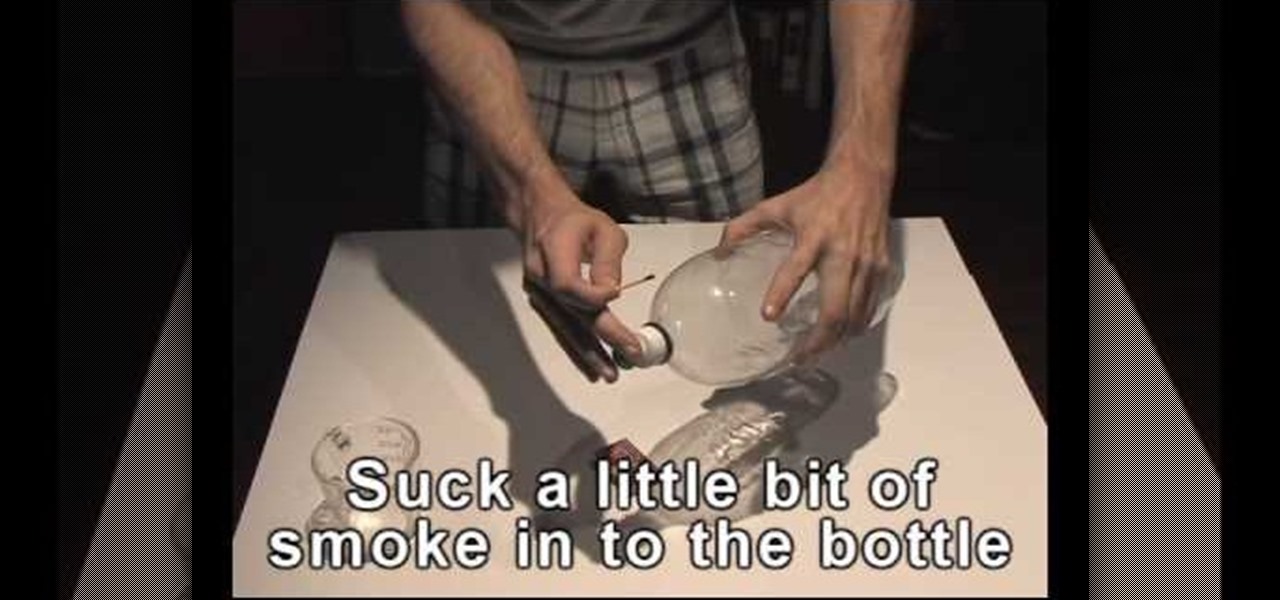
This video features a really cool science experiment that is easy to do and fun to watch. Items you will need are a plastic 2-liter bottle with a sports bottle type cap (the kind you pull up on in order to sip liquids through the top), about a quarter of a cup of water and two matches. First, take the cap off the bottle and pour the water into the bottle before putting the cap back on the bottle. Then, simply open the pull top on the cap (so that when the bottle is squeezed and released air i...
Garden of Imagination shows viewers how to make realistic looking bread loaves for a dollhouse. First, you need a beige ball of clay or a color that looks like that of bread. Take your ball of clay and warm it up in your hand. Lay it on your table. With the center of your palm, press the ball of clay down. This will give you a nice bread shape. Now, take a twisted wire and make a tic tac toe board on your bread to act as creased. Use rolled up tin foil to give the bread texture. Now, use chal...
In this video, professional soccer player Chris Murray, who play for the Wilmington Hammerheads, shows you how to properly kick a soccer ball. Different kicks provide different types of movement and are performed with different areas of the foot.
In this video, Meg will show you how to make your own wreaths. You’ll be creating two scenes on your wreaths : a woodland and an aromatic one. You’ll need 2 cardboard rings (one slightly smaller) cut in wreath forms, green moss, a hot glue gun, a knife, some pretty fabric, and a handful of old corks.
First of all, you must get in to the screen and start to made a base for your ice rocket. Then you chose your pen size and start to draw the ignition rocket body and the base for the ignition metal for your rocket.
Use the tread on wire-nut, to create a mold for mini clay cupcakes. Usually used for joining together electrical wires, the repeated lines of the wire-nut will here be used to form the ridges expected on a cupcake bottom. Press the wire-nut into a small piece of clay to form a depression just as big as you want your finished cupcake to be. Bake in the oven to solidify into a mold. Dab the dried mold with a bit of cornstarch or baby powder; this will prevent fresh clay from sticking to it too ...
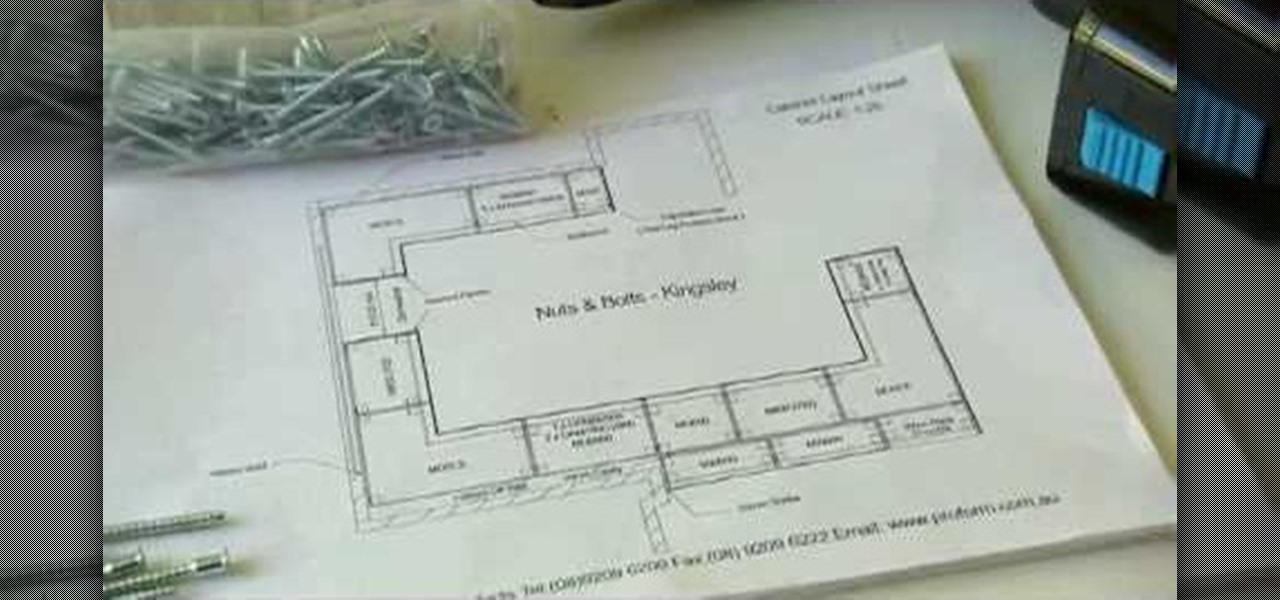
This video demonstrates how to assemble a kitchen flat pack. Everything needed comes packed flat, plus cupboard doors and bench tops are included. The flat pack is a pre-cut custom designed kitchen that can be assembled by yourself. First assemble the cabinets according to the instructions that are provided. The holes are pre-drilled making assembly quick and easy. After you have completed the assembly of your cabinets, attach the adjustable feet to the base so you can level the cabinets with...
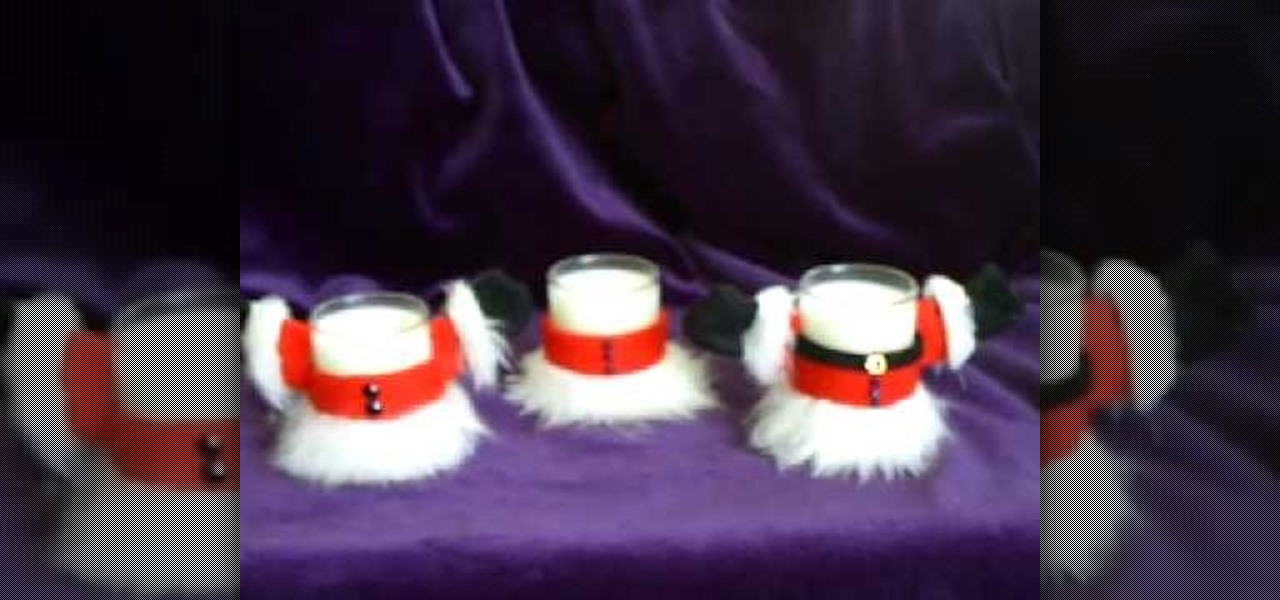
Debra Hardy provides detailed instructions on how to make darling decorative Santa soy votive candles in this video. She first cuts the red felt into 6 3/4 inch by 2 inch strips for the Santa suit, wraps it around and adheres it to the bottom of the glass votive. Next, she secures a smaller strip of the white faux fur on top of the red felt also towards the bottom of the candle to create the bottom of Santa's jacket. Debra then instructs the viewer to cut a 6 3/4 inch by 1/4 inch black felt s...
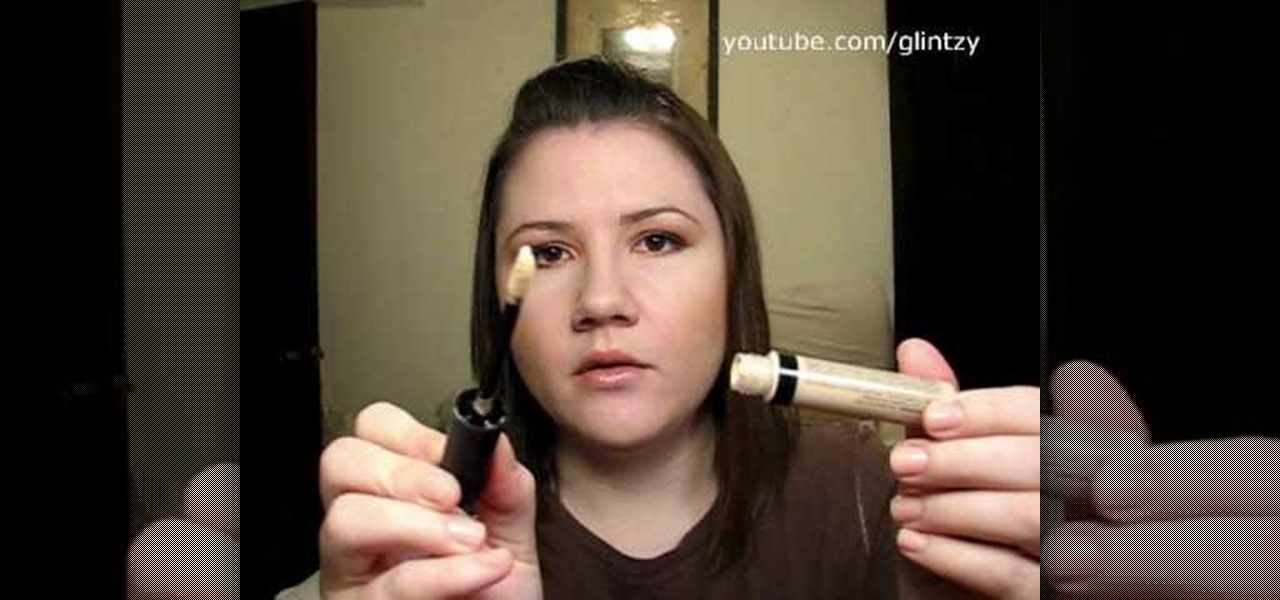
Glintzy shows viewers how to sanitize all of their makeup products. To do this you will need, a spritz bottle with rubbing alcohol in it and some paper towel. You should always wipe down wherever you put your makeup on with a germ killing spray. Also, always clean the outside of your makeup to make sure this is clean because you are always touching the makeup. Also, don't forget to clean the handles of your brushes. Foundation you cannot sanitize if it does not have a pump so you have to be r...
To begin take a 28 gauge copper sheet and cut out a pattern that you wish your earrings to be. Your pattern can be any shape that you wish. Cut out both earrings. Next sand your two earrings so that a texture will begin to arise on the copper sheet. Then you can color the copper with colored pencils to add the colors that you would like. Now with a break machine feed the copper sheet into the break in order to form the texture on the earrings. Then take a pair of pliers and exaggerate your pa...
In an episode of Cooking with Dave, viewers are shown how to cook collard greens with ham! First, in a pot on medium high put a little olive oil and garlic in the bottom of the pan (about 2 teaspoons). Put a whole chopped onion to add flavor! Stir all ingredients in the pot so far. Before you can cook the collard greens you have to clean them in the sink using water and stripping the leaves from the stem (throwing away the stem). Wash the leaves in the sink in water, even ripping up the leave...
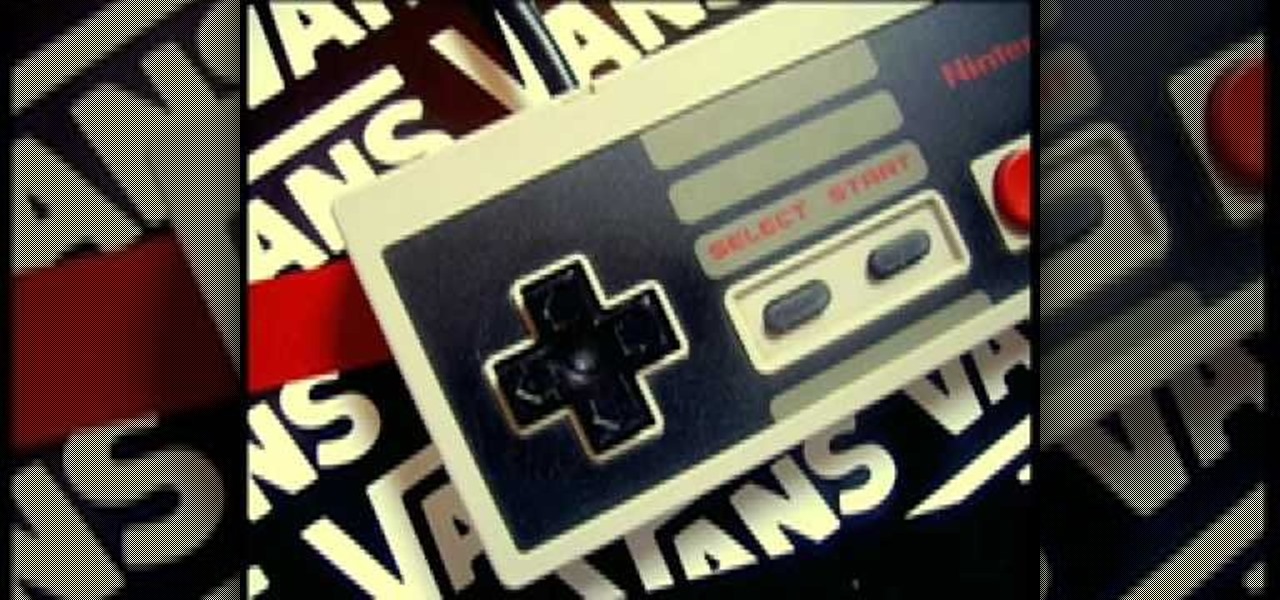
The video tutorial is about creating an 8 or 16 bit Nintendo Character necklace. The first step is to select or search an 8 or 16 bit game character, the person in this video tutorial recommends choosing a sprite (which is a 2D character. Doing online search will help a lot in finding a Sprite character. The second step is to gather the supplies such as Perler Beads and Peg Boards. The peg board will be used in assembling the Nintendo Character necklace. Other supplies includes ring, chain an...
GFI stands for Ground Fault Interrupter and is used in areas that have water. The first thing you should do before replacing anything electrical is shut off the power in the area you are working. When you remove the old outlet, you will notice a series of wires going into the bottom of the outlet and a series of wires coming out of the top. What is happening here is that the power is coming in from the bottom and then going out through the top. The reason for this is if something trips the fa...
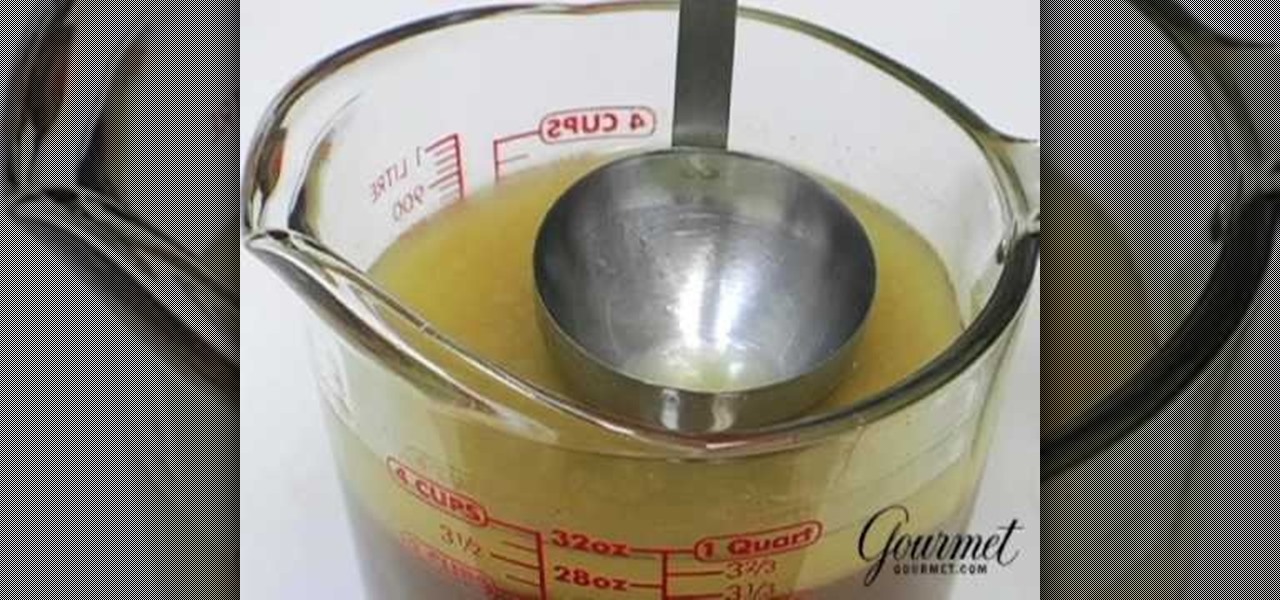
De-fatting turkey stock is very easy. All you need to do is use a specially made measuring cup that is made to de-fat stocks. Take the pan juices and the pre-made turkey stock and pour it into the measuring cup. When you pour the stock or pan juice into the measuring cup the fat will rise to the top of the cup because it is lighter When you pour the stock out of the measuring cup, the stock will come out, and the fat will stay in the cup. If you don't want to get a specially made measuring cu...