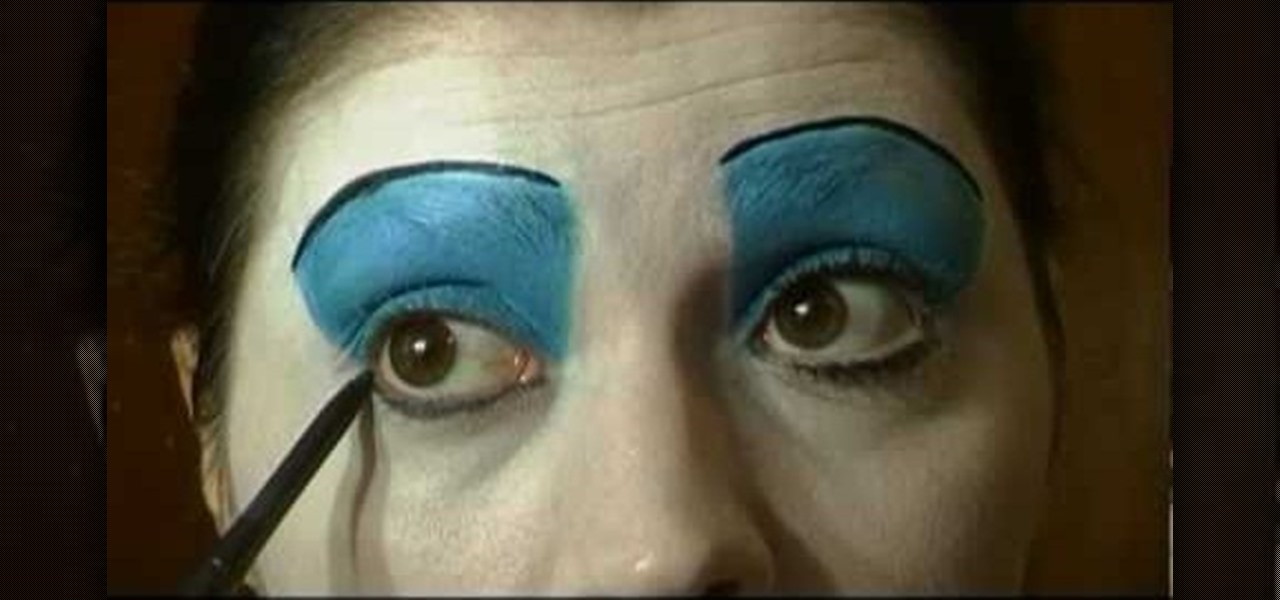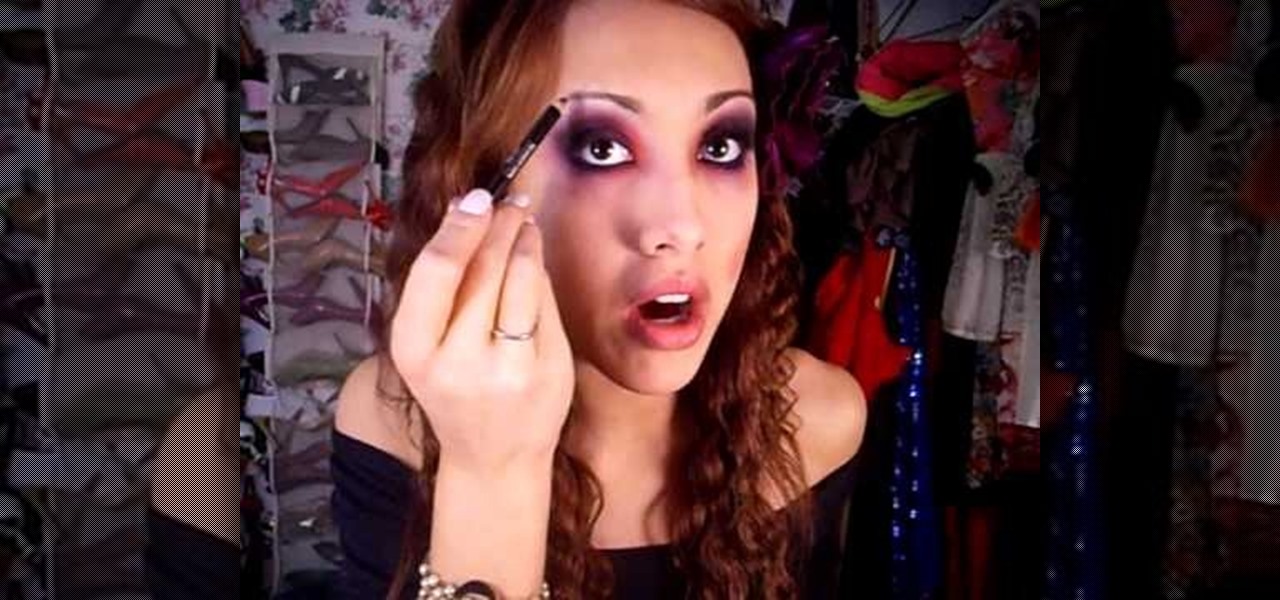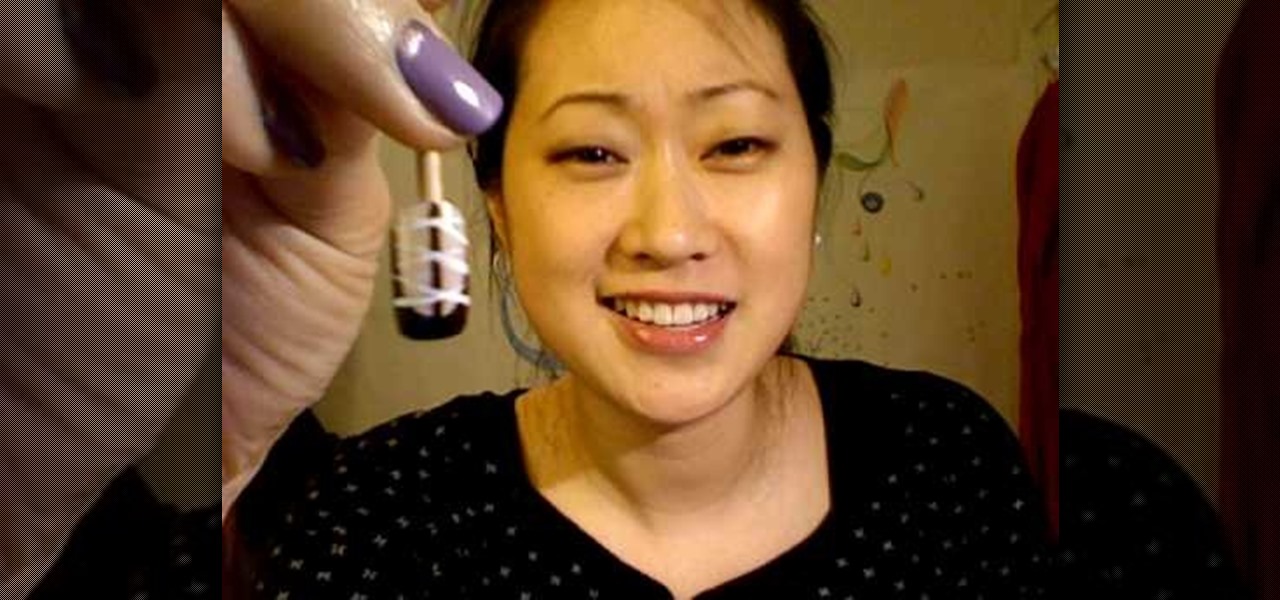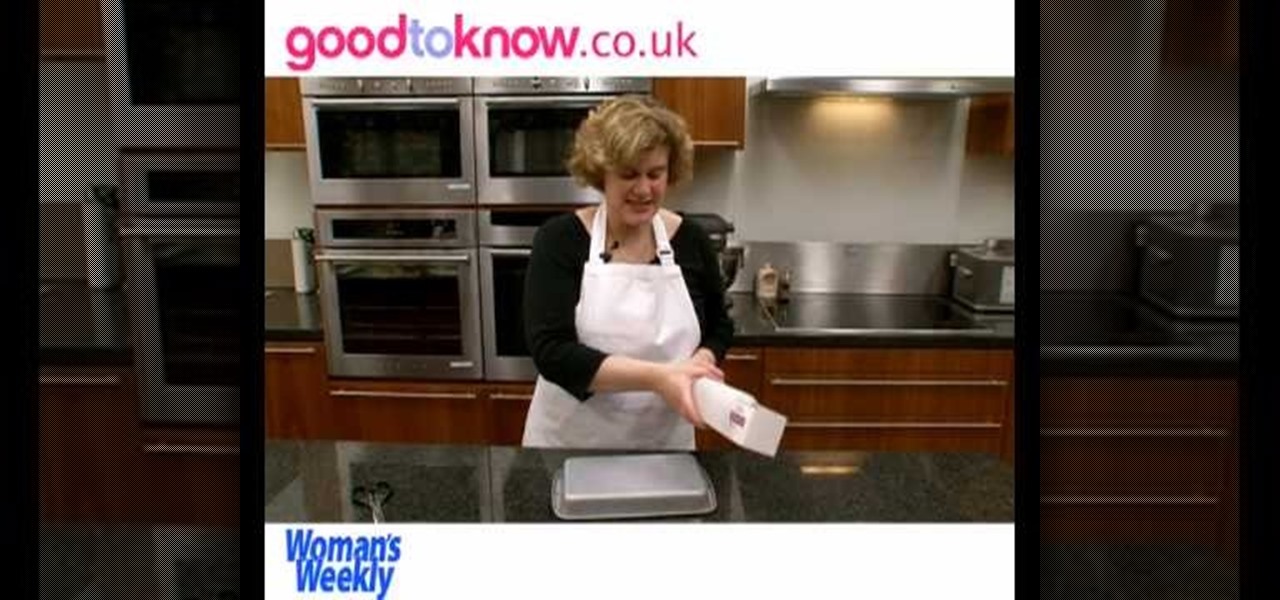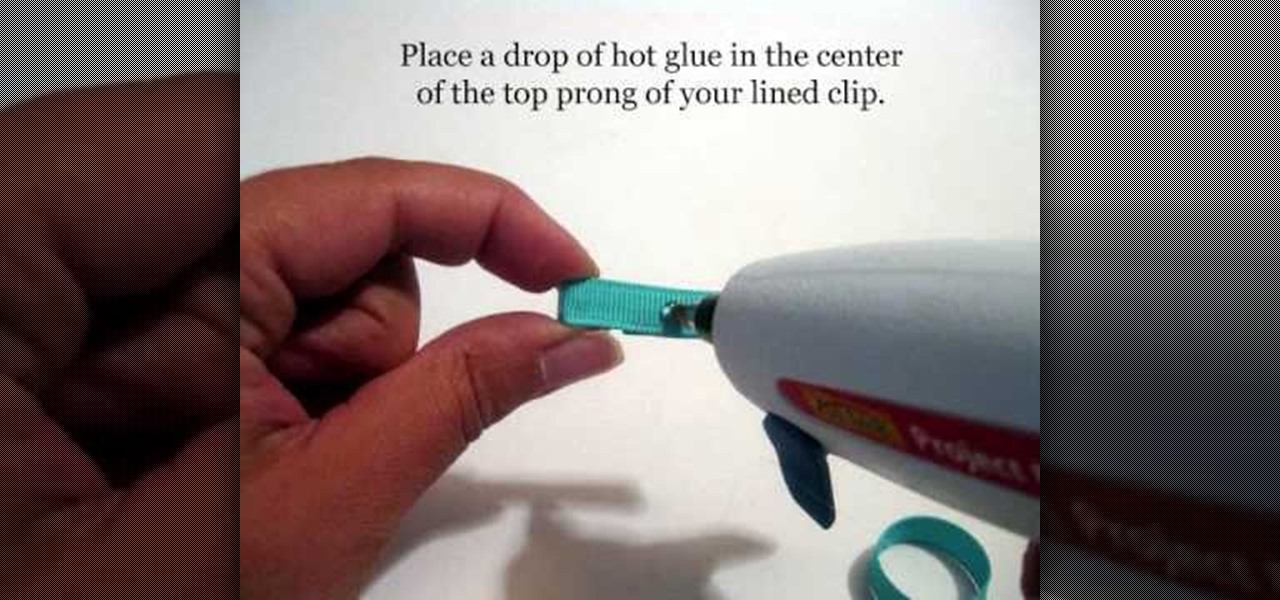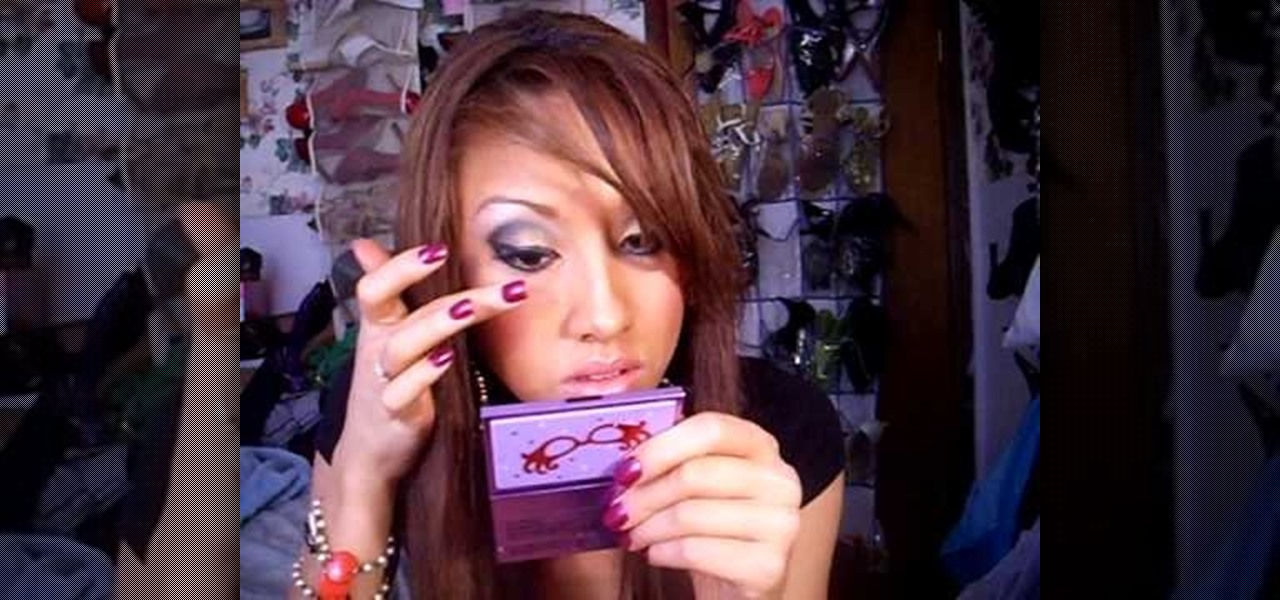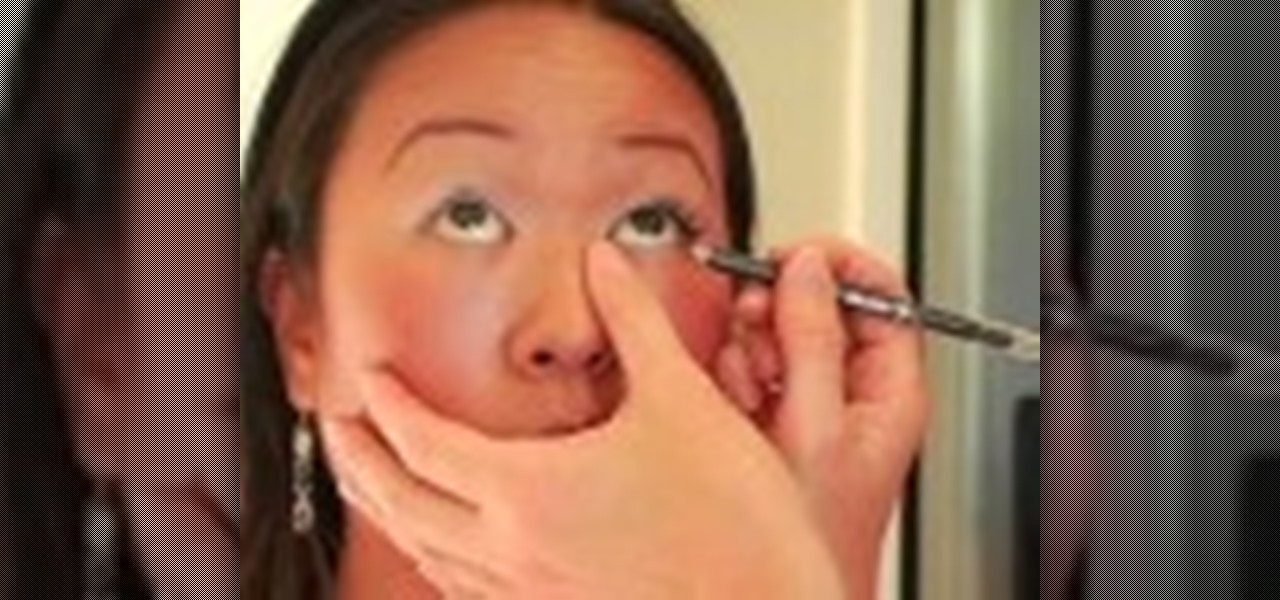
In this tutorial, we learn how to transform into Sailor Moon for Halloween. First, apply matte makeup onto the entire face, and white eyeliner on the bottom of the eye. When finished, place hair back into pins and apply Sailor Moon wig onto your head. Next, use liquid black eyeliner to draw a dramatic line from the crease of your eye line to the outer edge on the face. Next, draw a thin line underneath the white eyeliner on the bottom of the eye, drawing small lashes onto the bottom of the ey...

Veering from common practice, XDA commenter, "the_commenter", discovered a changelog for the upcoming version of Android 4.4.3 tucked away on Google's servers.
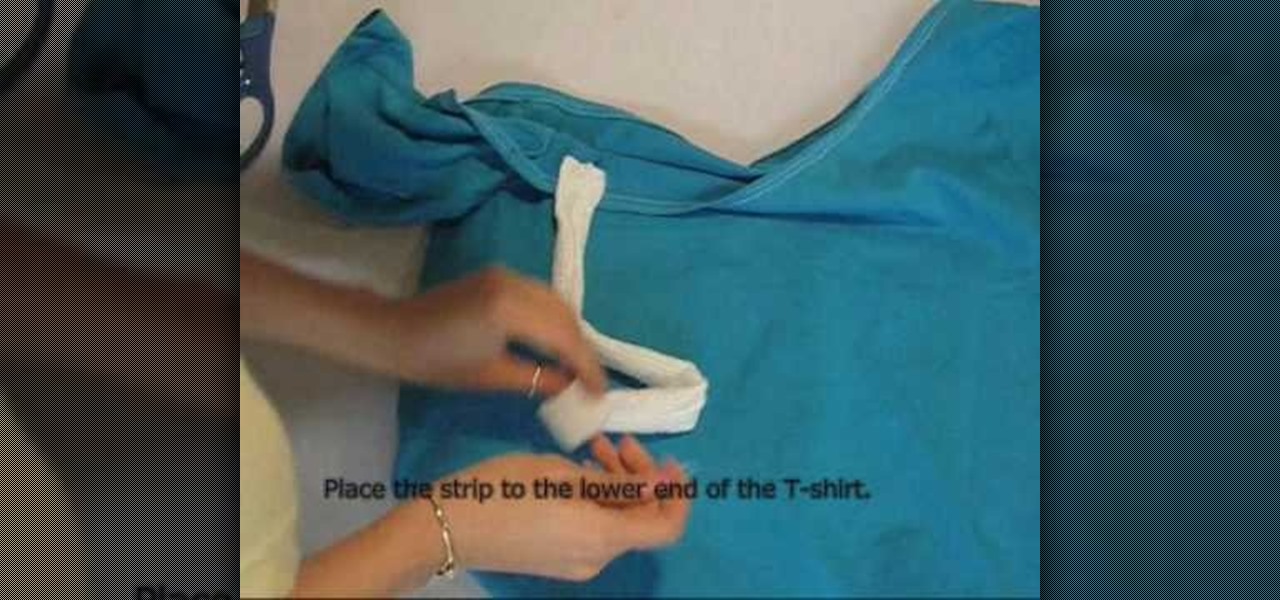
In this video, we learn how to reconstruct a t-shirt into an off the shoulder top. First, take a large shirt of your choice color and cut along the line on the shoulder, leaving a 1/4" seam allowance. Next, roll the hem and sew with a sewing machine. Next, cut a strap 4" wide and fold in half, then sew along the edge. After this, use a safety pin to pin one side to the shirt and then to the other side of the shirt. After these are secure, draw marks along the neck line of the shirt. Cut out t...
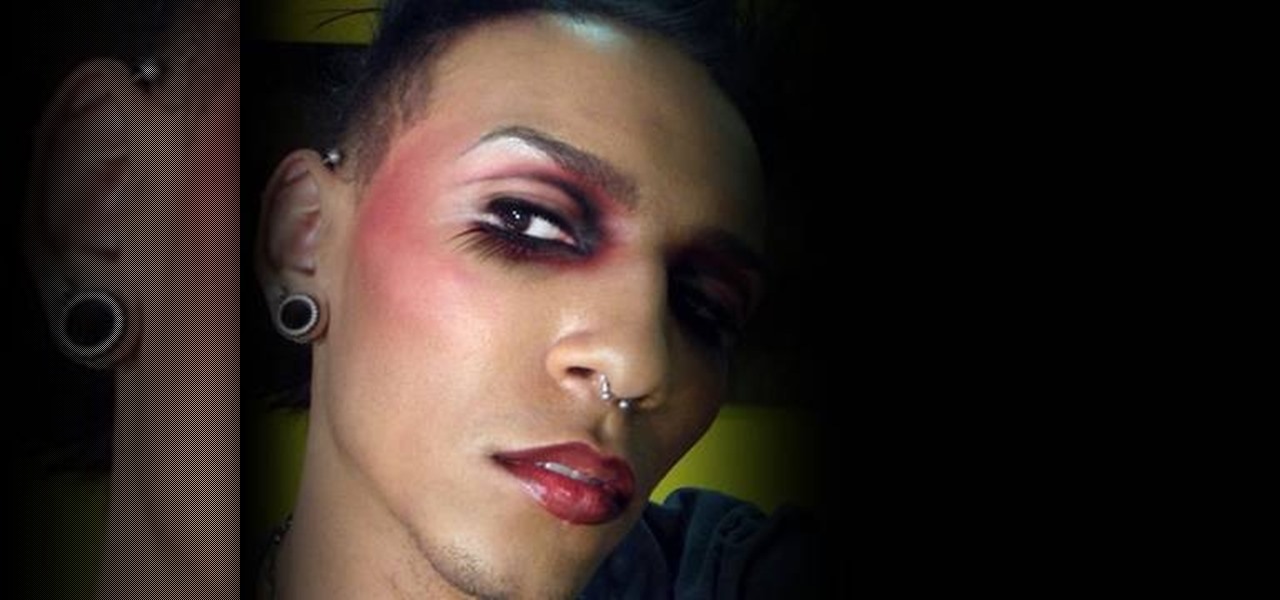
In this tutorial, we learn how to create a space age Mars inspired makeup look. To start, apply red pigment on the inner corner of the eye up to the eyebrow. After this, blend this over to the crease of the eye on the outer edge. Create a long line on the outer edge of the eye. Next, apply a darker red color on the crease of the eye and continue to blend all around the eye. Next, use a light red color to brush on the eyelid, then apply black eyeliner on the top and bottom of the eye . Use fal...
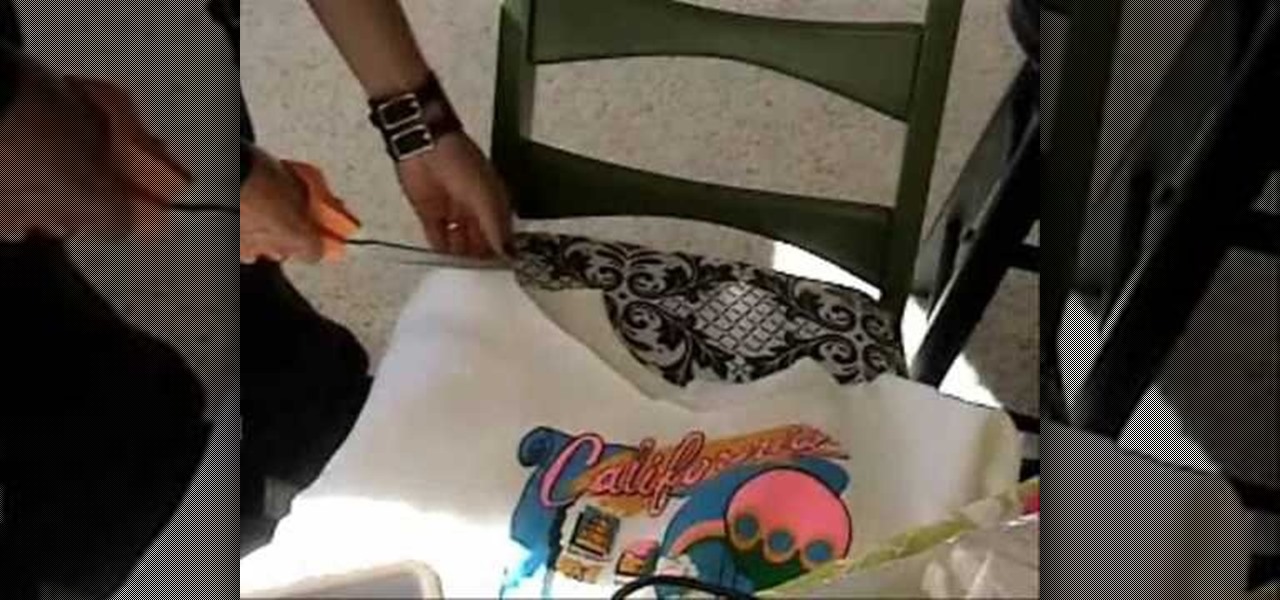
In this video from kandeejohnson we learn how to cut a sports jersey or sweats into trendy summer tops. On a football jersey, she cut the shoulders off, right above the seam. And where there was too much fabric, she folded it and pinned it so it wouldn't hang too low. With a sweatshirt on, look in the mirror and see where you want to cut it. Make snips which will be your mark so you know where to cut. Make a rough cut of it while you are still wearing it. Now take it off and straighten all th...
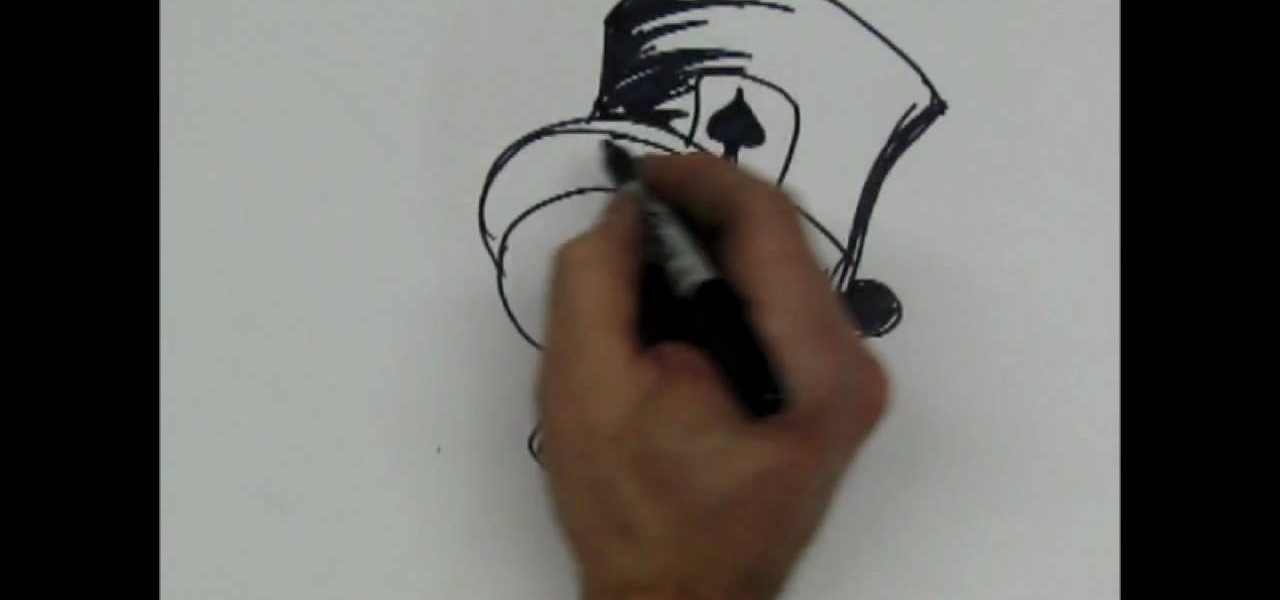
In this tutorial, we learn how to draw a skull with a top hat. First, use a Sharpie marker to draw the nose of the skull and then the eyes. Color these in completely black, since you want be drawing eyeballs in them. After this, draw the skull around it. Draw in the teeth clenched together and then add in lines around the head of the skull to show cracks in the bones. After this, add in additional details around the jaw line and on the head of the skull. When finished, draw on the hat to the ...

In this video, we learn how to make a great 3D paper snowflake. First, fold a square blue piece of paper into a triangle. Then, draw lines from the middle to the top going in the triangle shape. Cut these lines on both sides, avoiding the middle and the very top. Make sure you don't cut in the middle either. After this, open up the folder and take the inside. Roll it up and then tape it together so there's a ring on the inside. Flip it over, then make another ring on the top side and tape it....

In this video, we learn how to draw a graffiti spray can. Start out by drawing the top of the can with the nozzle on the very top. Use a half circle with a thick line under it to make the top. Next, draw the rest of the can creating a face on the side of the can with a mouth, nose, ears, and eyes. Then, draw in the bottom of the can using a circle shape and filling it on black so it looks sealed. Add in some lines to show the can spraying, then write in graffiti letters underneath to finish!

To make mini cupcake earrings first take a piece of sculpey and make a cylinder. Make vertical indentations around the cylinder, similar to those an the edge of a quarter. this forms the bottom of the cupcake. Next take another small piece of sculpy and role it into a line like a piece of yarn. starting at the edge of the top of your cylinder coil the line of sculpy around the edge and up, similar to a piece of novelty poop. this forms the cupcake. stick a earring finding through the top of t...

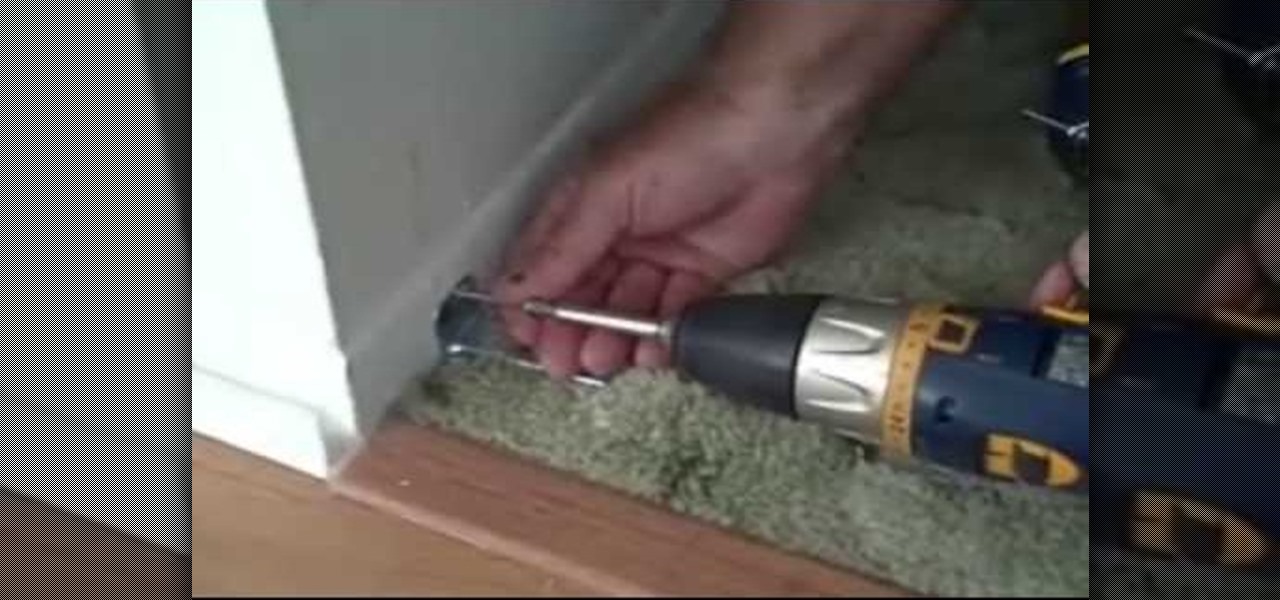
This video shows the method to install bifold closet doors. The doors are of two sizes. They include a thirty inch and a twenty four inch door. The video first demonstrates the installation of the thirty inch door. This is then repeated for the other door. The middle line of the upper part is drawn over the opening. The middle line is extrapolated to the sides to put the bottom support. The tracks are installed on the top. The floor bracket is fitted at the bottom. The top glides are installe...

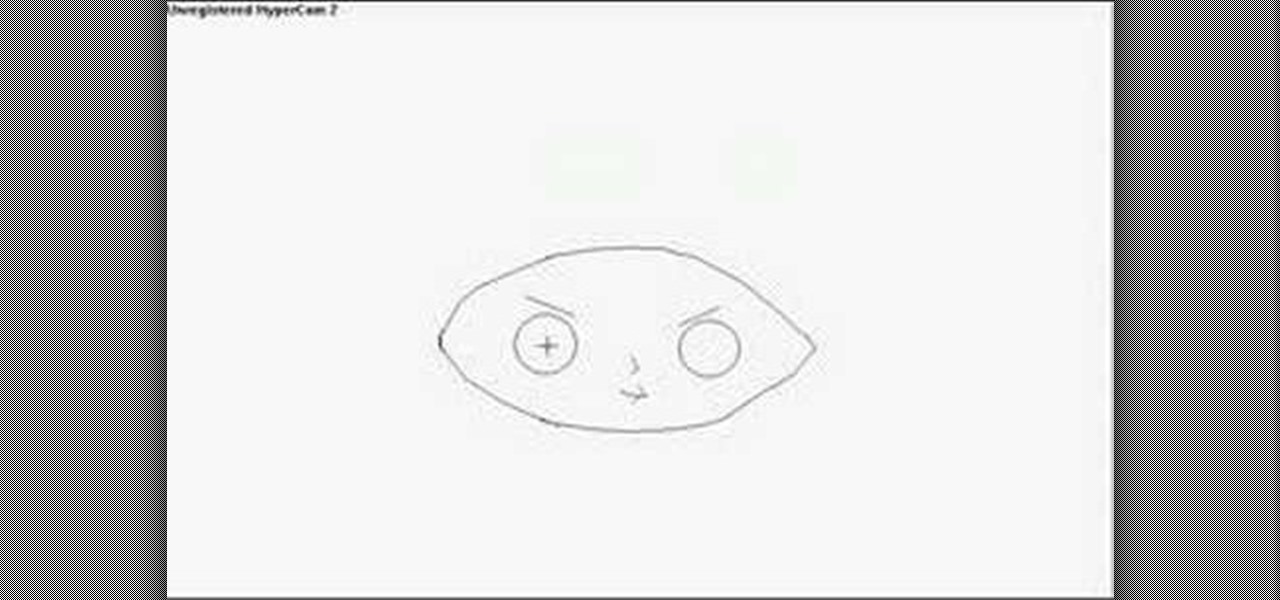
Drawing Stewie from The Family Guy on your computer is fairly easy. First you're going to make a horizontal oval, then draw what looks like a football shape just in between those lines. Now erase the excess lines outside of the head shape. Next, insert two circles-fairly far apart on the head-with a slanted line above both for the eyebrows. A small line in the middle pointed towards the right makes Stewie's nose, and a simple mouth is completed with a three small lines at the bottom. Draw two...

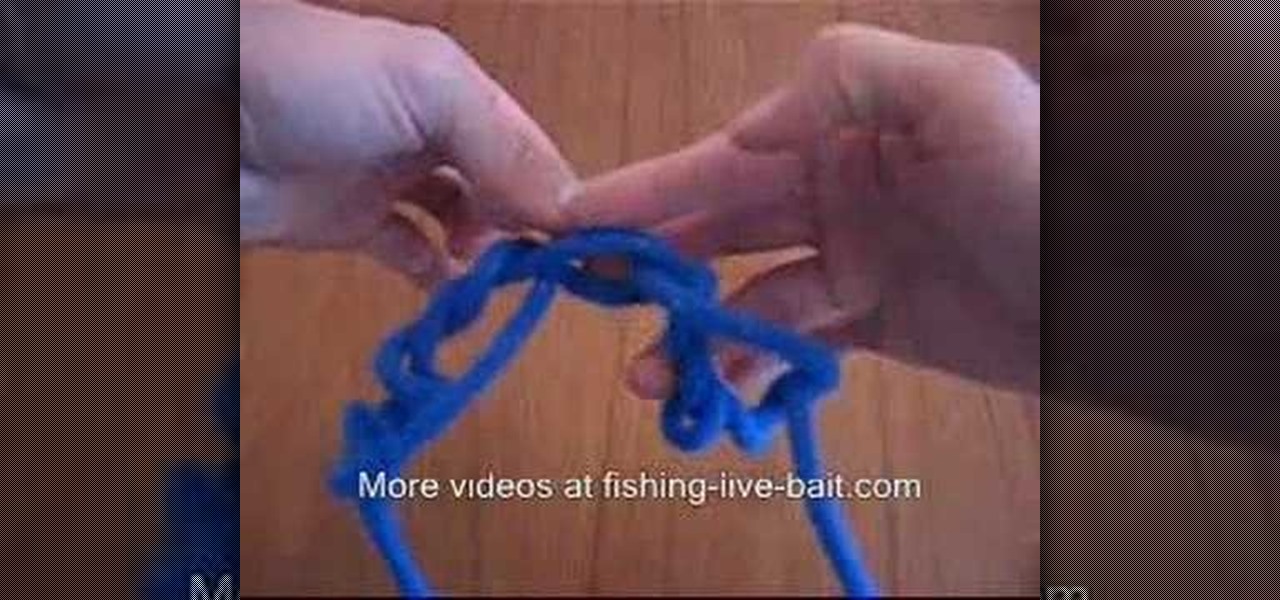
Learn the right way of tying 3 handy fishing knots by watching this video. The first knot shown is the 'Clinch Knot'. One end of the fishing line is passed through the eye of the fishing hook. This end is pulled and wound around the main line about 6 to 8 times. Thereafter, the free end of the line is passed through the small loop formed at the beginning of the winding process. The winds are gently pushed to tighten the knot. The free end is then tucked in to complete the clinch knot. The nex...

Ask around anywhere that Android users gather online, and you'll find that SwiftKey is almost unilaterally the most highly-recommended keyboard for our favorite mobile operating system. It's no surprise either—SwiftKey's combination of insanely accurate word predictions and rapid-fire gesture typing comprise a hard combination to beat.

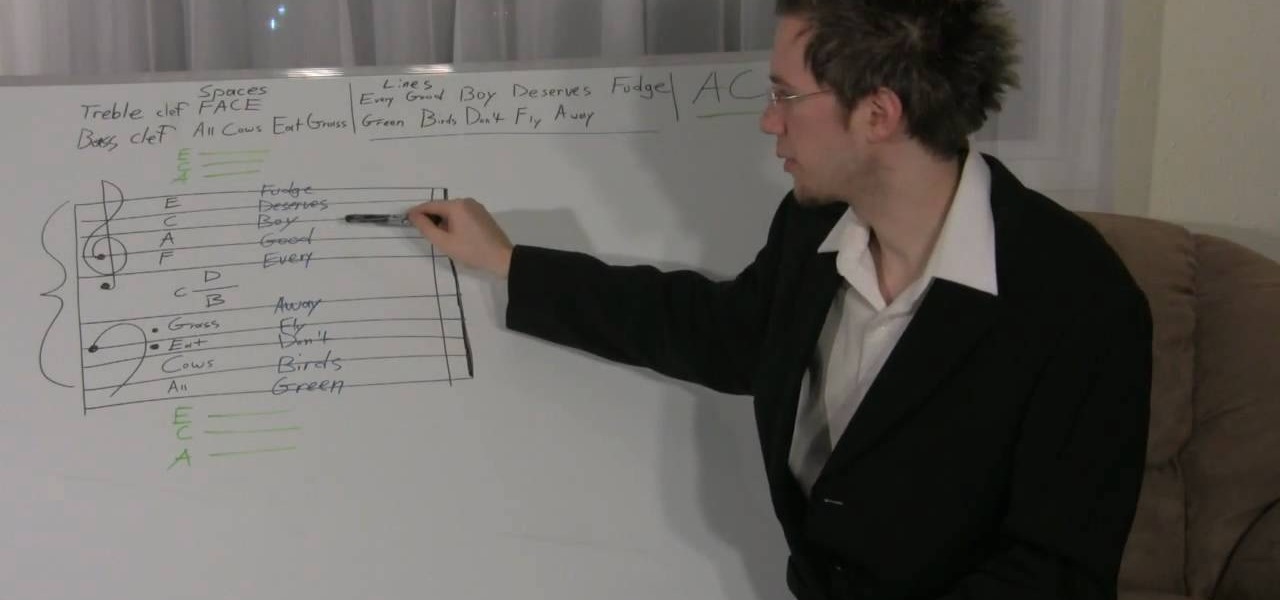
Now that you know what a staff is, how many lines and spaces are in a staff, and what the different clef's are, it's time to learn where the notes go in each one. It's crucial to understanding note placement and everything else that involves using the staff to learn the sayings for each space and line. For the Treble Clef spaces, it's "FACE", for Treble Clef lines it's "Every Good Boy Deserves Fudge", for Bass clef spaces it's "All Cows Eat Grass" and for the lines he uses "Green Birds Don't ...

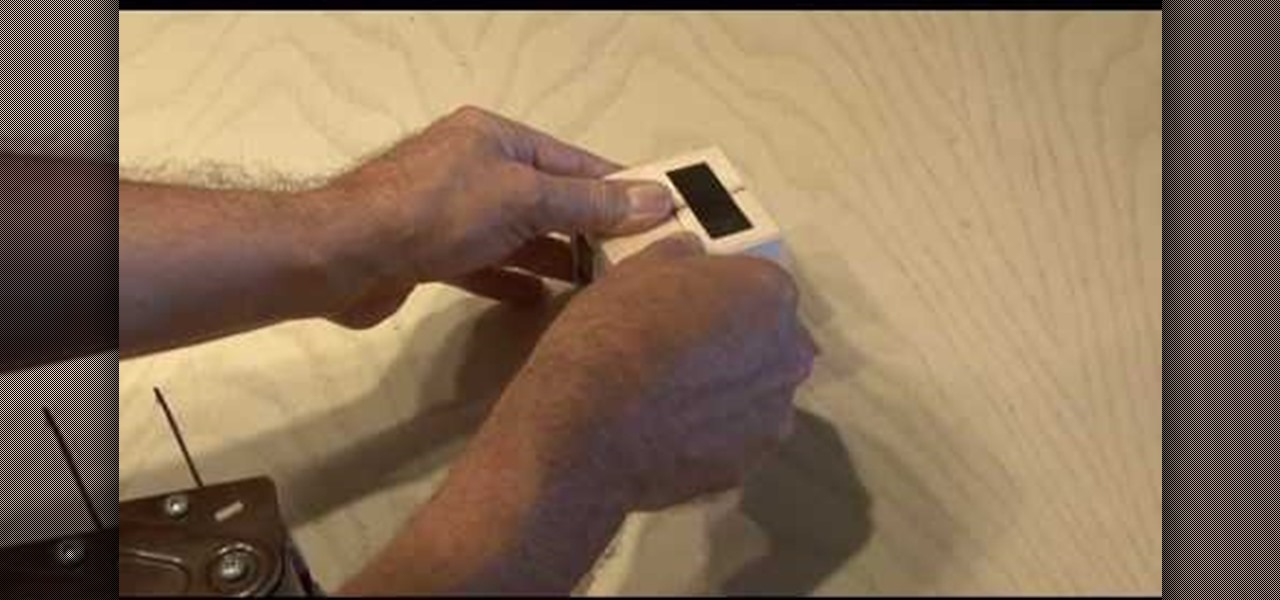
In this tutorial, we learn how to make a photo cube. This project can be done in a couple of hours and only costs a couple of dollars! To start, you will first get an exact measurement of the width of your wood. After marking these, you will cut the wood using a band saw. After the eight blocks are finished, line them up in a cube and use clear packing tape to secure them together. Use a sharp blade to trip the tape. You can then open up the cube to show six different sides and tape your phot...

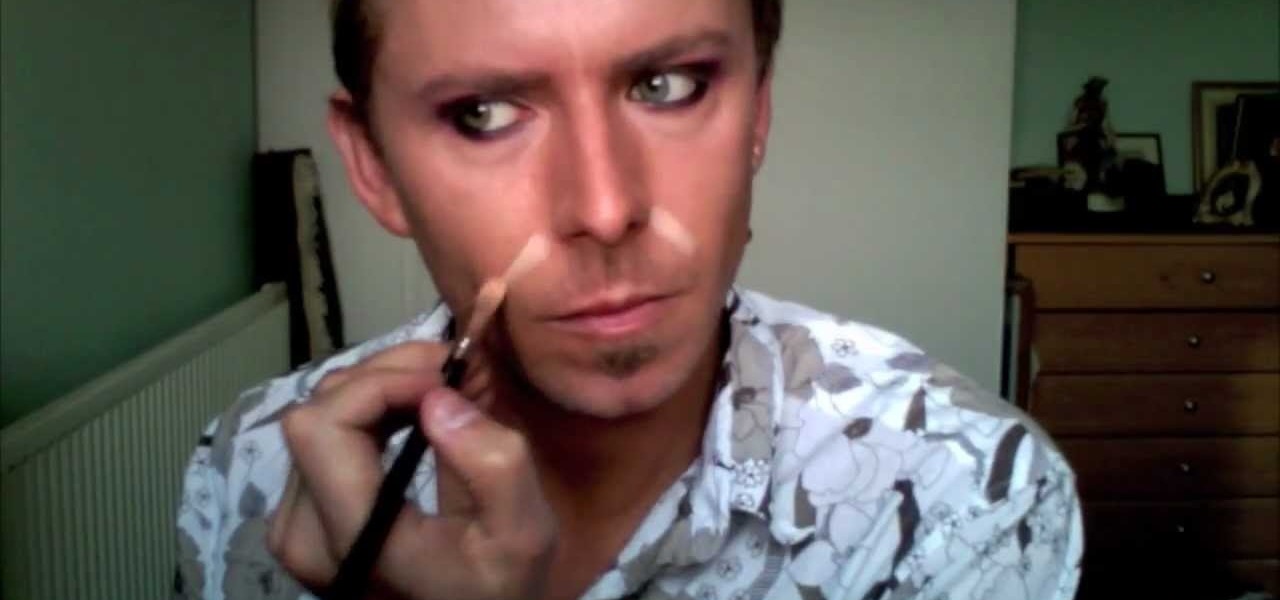
This video gives an awesome makeup tutorial for the Queen of Hearts from Tim Burton's version of "Alice in Wonderland". In Burton's film, Helena Bonham Carter plays the vicious Red Queen, a character not to be messed with. Even at Halloween. Also, you'll get some costume ideas to help compete your Queen of Hearts costume. See how to transform yourself with all of the following products:

In this tutorial, we learn how to create a burnt burgundy contoured face and eye look. First, apply a primer to the entire eyelid as a base. Next, apply a shimmer pink eyeshadow with an eyeshadow brush. Next, line the lash line with black eyeliner, and then blend a burnt burgundy eyeshadow onto the outside corner of the eyelids. Circle the brush so the colors all blend into one but will still have the darker color on the outside. Next, take the same burnt burgundy color and pant it onto the b...

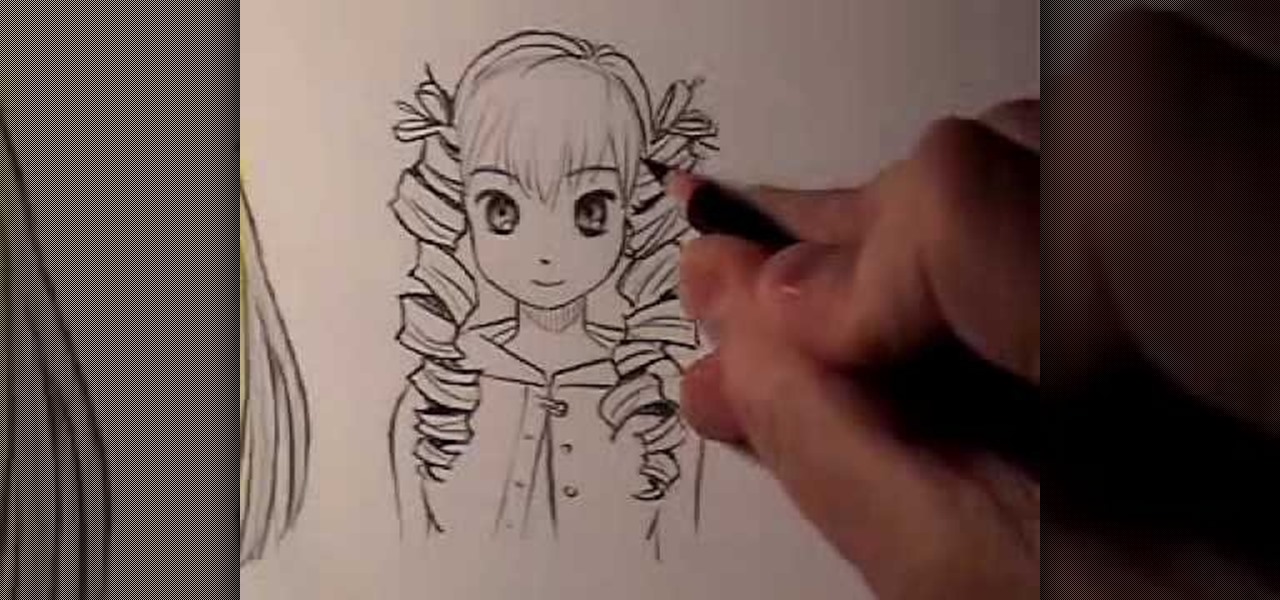
In this tutorial, we learn how to draw Manga hair (curly vs. straight). When drawing the straight hair, you will draw lines first at the top of the head to indicate how the hair is coming out of the head. Then, draw some lines around the head you've sketched. Curve the hair around the body and draw it going behind the shoulders. Draw gentle curves so it looks more realistic. Add in lines in the hair to make strands. For curly hair, start by drawing in different shapes that kind of looks like ...

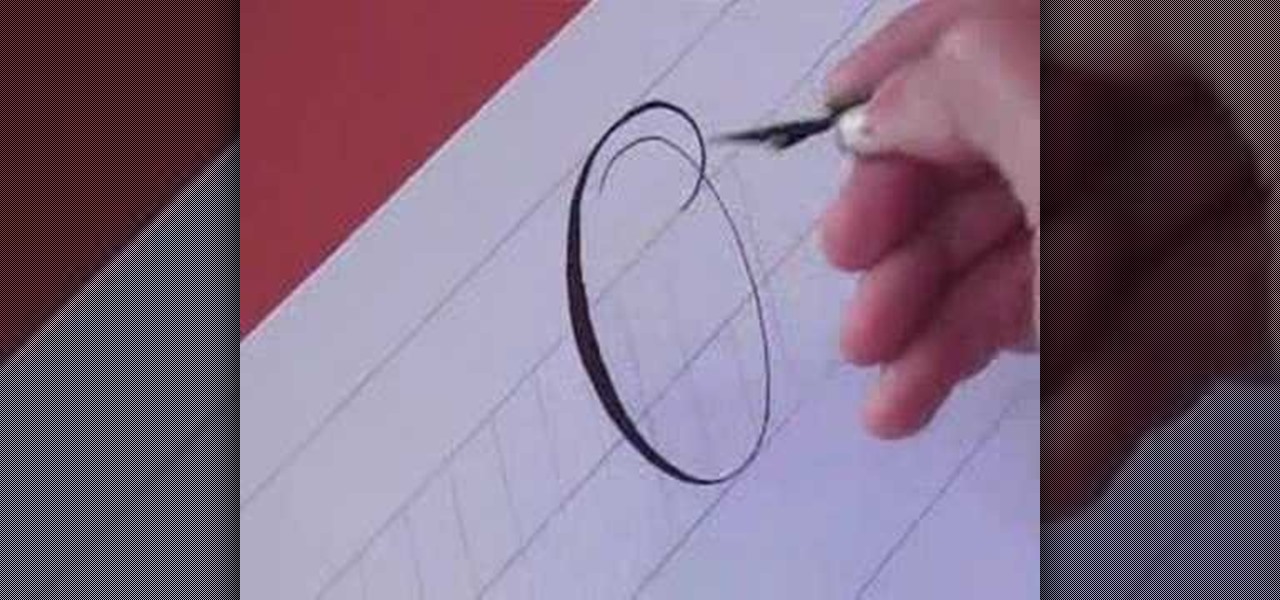
In this video, we learn how to write the letter O in calligraphy copperplate. Take your calligraphy pen and make a medium thick half loop at the top, dragging it down into a thicker line on the left side of the word. Then, continue onto the other side of the O with a lighter touch of the pen making a very thin line, finishing with a loop in the middle. Make the smaller O just like normal, making the thick line on the side and finishing with a small loop bending out to the right at the end. Wh...

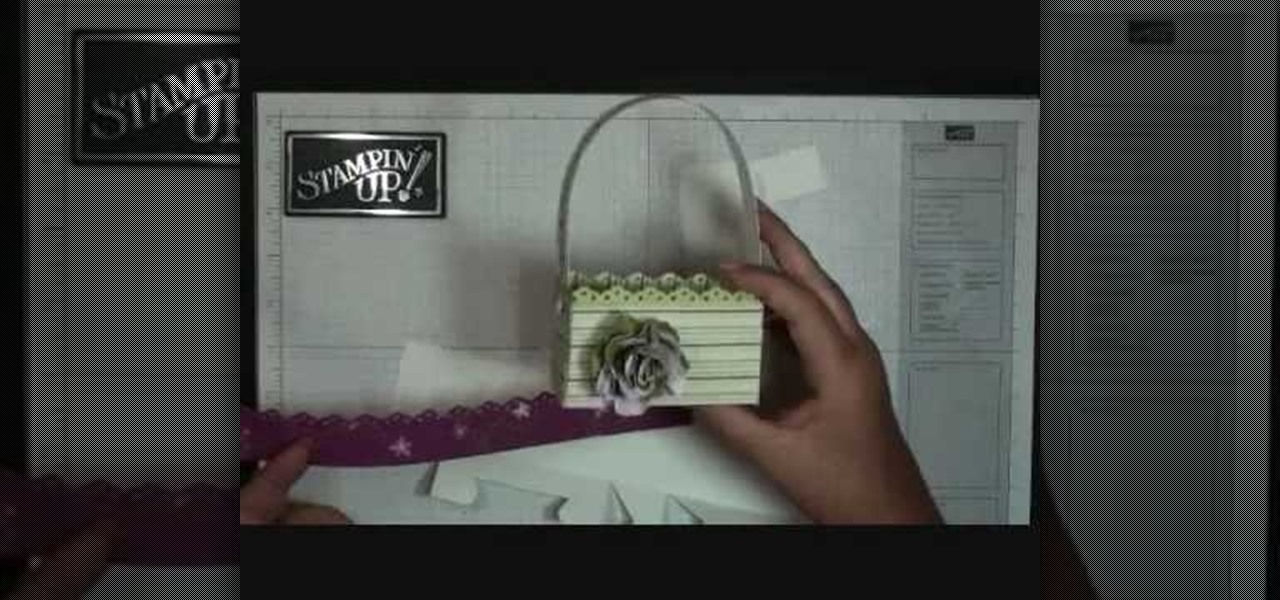
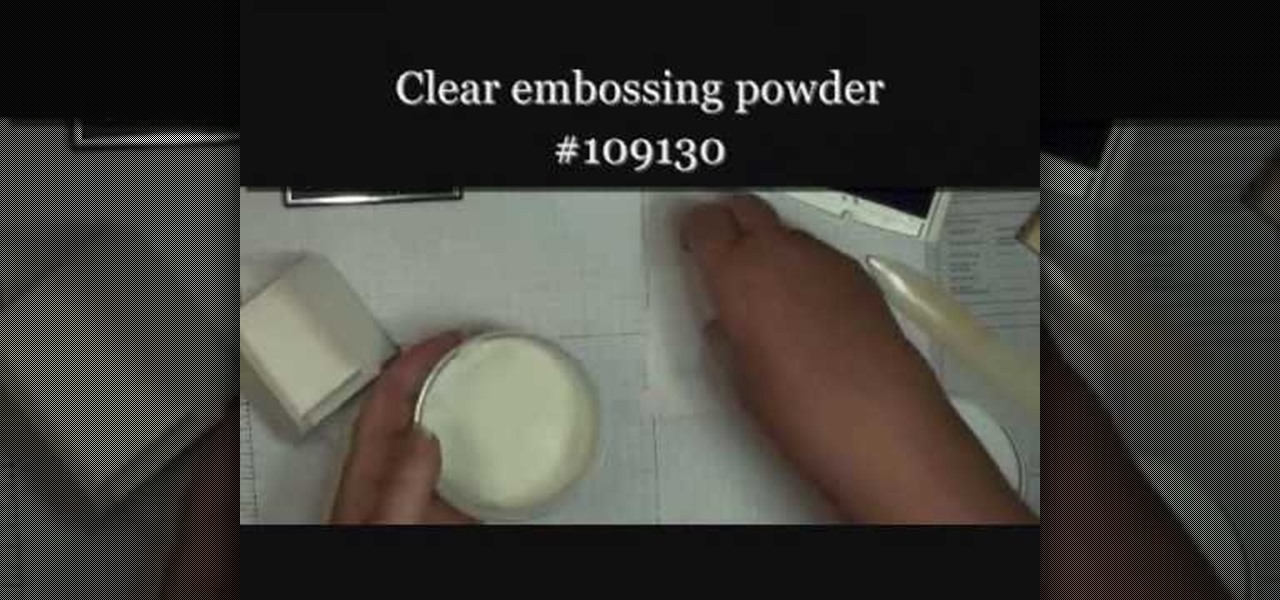
This video tutorial is in the Arts & Crafts category where you will learn how to make a mini Big Shot Box with Stampin' Up! For this you got to use the Bigz Die Box #2. Cut a Whisper white card stock at 6" x 11", place it on the die box and run it through the machine to get the box template. Cut off one edge of the template along the score line with scissors. This will be the top part of the open box. Now fold the bottom part of the box along the score line. Take a strip of cottage wall desig...

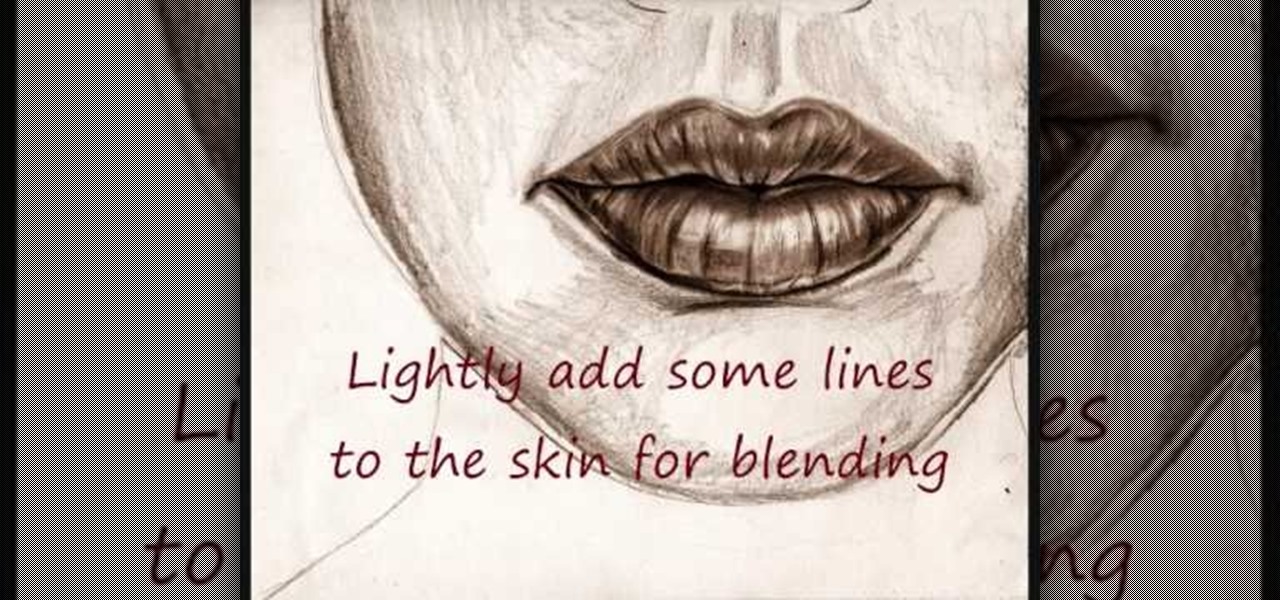
In this video tutorial, viewers learn how to draw lips. Begin by drawing a horizontal line for the mouth and draw a Mickey Mouse shape in between the line. Then sketch the upper lip with the 2 smaller circles on top and draw the lower lip with the large circle as guidelines. Now users may draw the rest of the face. Then darken and define the upper and lower lips. Now lightly sketch some lines on the lips to show depth. Then darken and shade the lips. This video will benefit those viewers who ...

This video teaches you how to apply make up for a vampire look. Start by applying black eye-liner to your upper and lower lash line. Make sure to apply it pretty thick. Next, blend out the liner with a flat brush. Blend up on the upper lash line so that the liner is covering the eye lid. Blend the lower lash line downwards. Next, take a fluffy brush and dark red eye shadow and apply to the inner half the upper lid and also to the lower lash line. Add the same shadow to the inner corners of th...

Miss 80 Million provides viewers with a step by step tutorial on how to create a ballet slipper look for your nails. Use black sparkle nail polish. Create a French tip with a very deep smile line that goes all the way to the corner. Use the same polish to draw a line straight down the middle vertically. Let it dry. Next take white Art Deco nail polish to create a diagonal pattern across the nail first one way then the other making sure the lines meet in the middle. After it dries, apply a top...

Follow along as Sue McMahon, Cookery Editor for Women's Weekly, shows us how to line a tray bake tin.

This video shows us how to make infant mini clip hair bows.This requires a high temperature hot glue gun.Three ribbons of the length 4",3" and 1.75" are required.Also needed are an alligator clip,sharp scissors and a lighter.Take the ribbons and seal it with a lighter just enough to melt the ends.Insert a 4 inch long ribbon in between prongs of alligator clip.Make sure the ribbon is centered and flat side of alligator clip is down.Quickly fold the ribbon over the top prong and press firmly to...

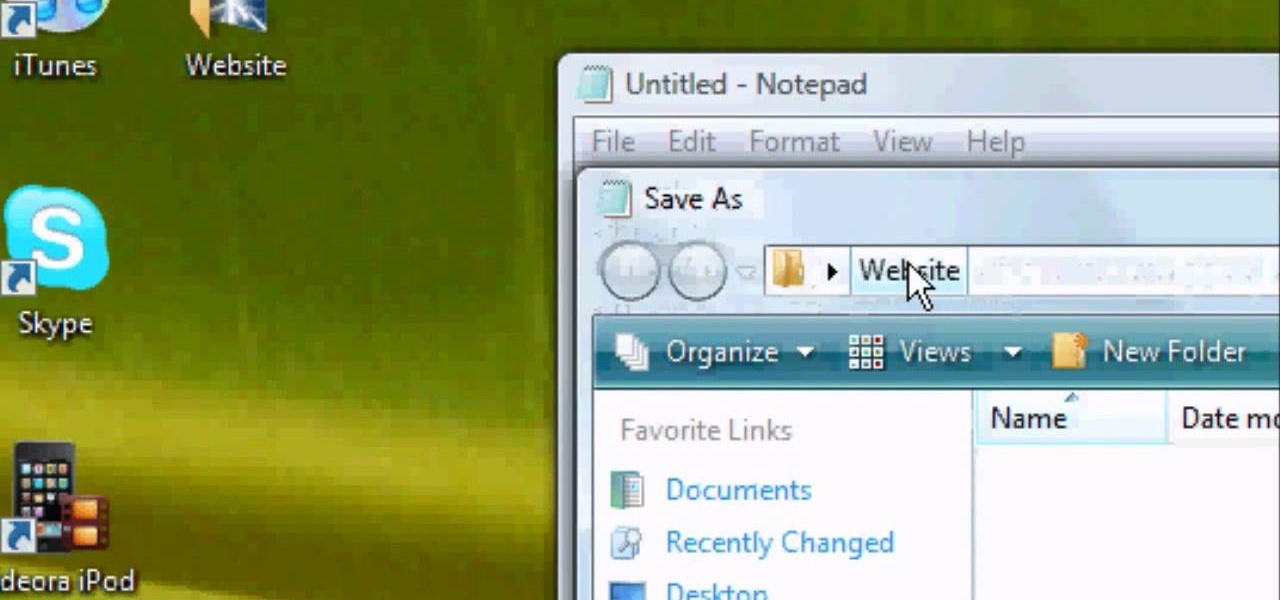
First of all you have to open the 'notepad'. Now you have to type in "<html>" in first line. Write "<head> in second line. Write "<title>this website contains text wrapped around images</title>". In the fourth line you have to type '<body bgcolor="#999999">'. This shall add a light orange color. Now find out the name of the image. Here the name of the file is 'image.png'. Then in the next line you have to type in "<img src="image.png">this text should hopefully wrap around the outside of the ...

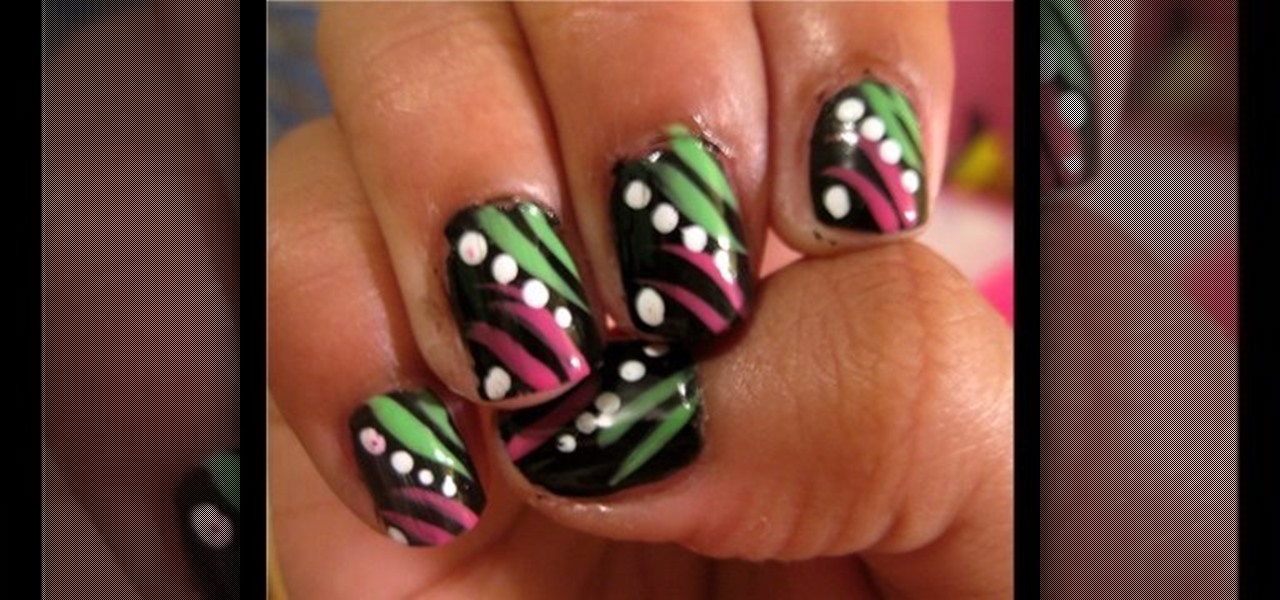
This video shows the viewer how to create a funky neon nail look. This is done by first applying a clear base coat to each nail. After this the nails were completely covered in a matt black finish. This was allowed to dry. Then 2 diagonal lines were made going from the top left corner to the left hand side of the middle. These lines were done in a bright pink color. The 2 other lines were made in parallel to these starting in the bottom right hand corner. They were done in the same way so tha...

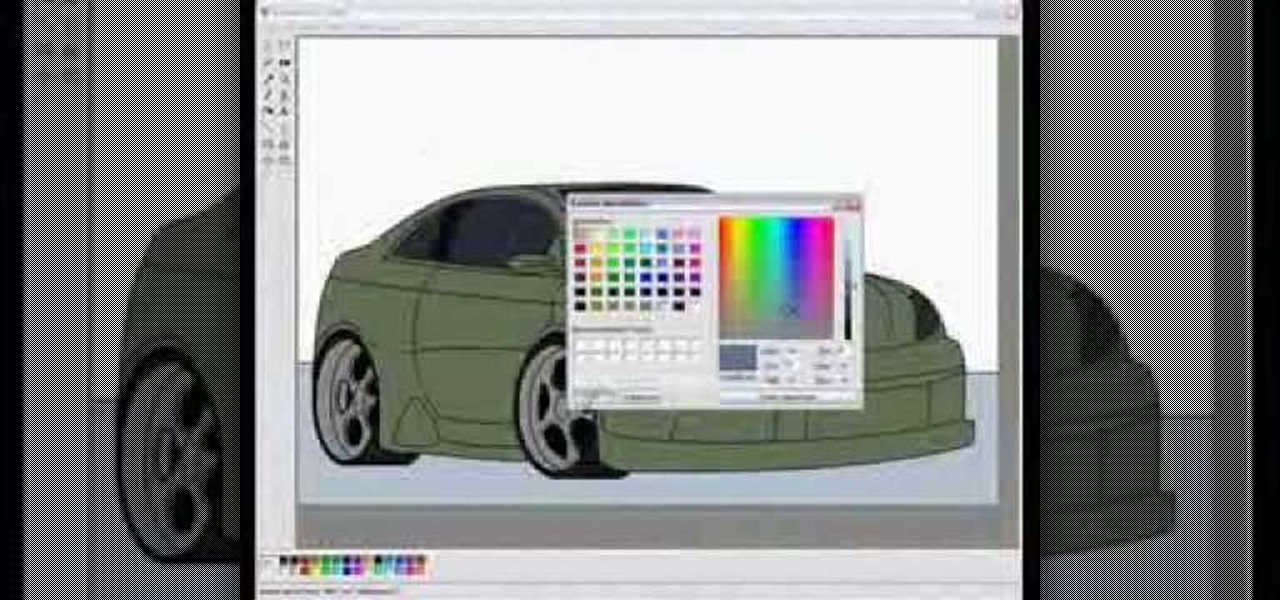
Microsoft Paint has the capability to allow you to draw an awesome realistic car. This video will show the line and filling tools that someone uses to make a sporty car. You can make whatever alterations and adjustments to create your own unique dream car. Draw in wheels of the car first. Unless you plan to draw a perfect side view of a car, you need to use perspective. Using the circle shape tool, draw two circles for wheels. One circle should be slightly lower on your screen, and that circl...

In this video, we learn how to write the letter K in calligraphy copperplate. Start by running your calligraphy pen on the paper going from a thin line to a thick, making a line curved to the left ending with a dot at the end of a small loop. Next, make a loop to drag out across the top on the right hand side and curve it down to make the K letter. Do the same to make the lower case letter, except making a loop for the top of the letter instead. When finished, let the ink dry and you've got y...

In this tutorial, we learn how to make a small folding box for Easter. First, cut a shimmery white piece of card stock to 6" x 8 1/4". After this, score the paper at 2 and 3/8". Then score again at 2 and 7/8", flip it over and do again on the other side. After this, cut the four corners with score lines off, then fold the score lines that are left. Now, grab an Easter stamp and stamp the inside of the box underneath the top flap. Place a candy inside of the box, then fold it up and place an E...

In this video, we learn how to create a gold and dark blue eyeshadow look. To start off, apply a primer to the top of the eyelid. Next, apply a gold eyeshadow to the entire eyelid, adding more on the crease of the eye going down to the bottom line. Next, brush a dark blue eyeshadow along the crease of the eye onto the outer edge of the eye. After this, apply a black eyeshadow to the outer edge of the eye and then blend the colors together. Next, draw black eyeshadow onto the bottom of the eye...

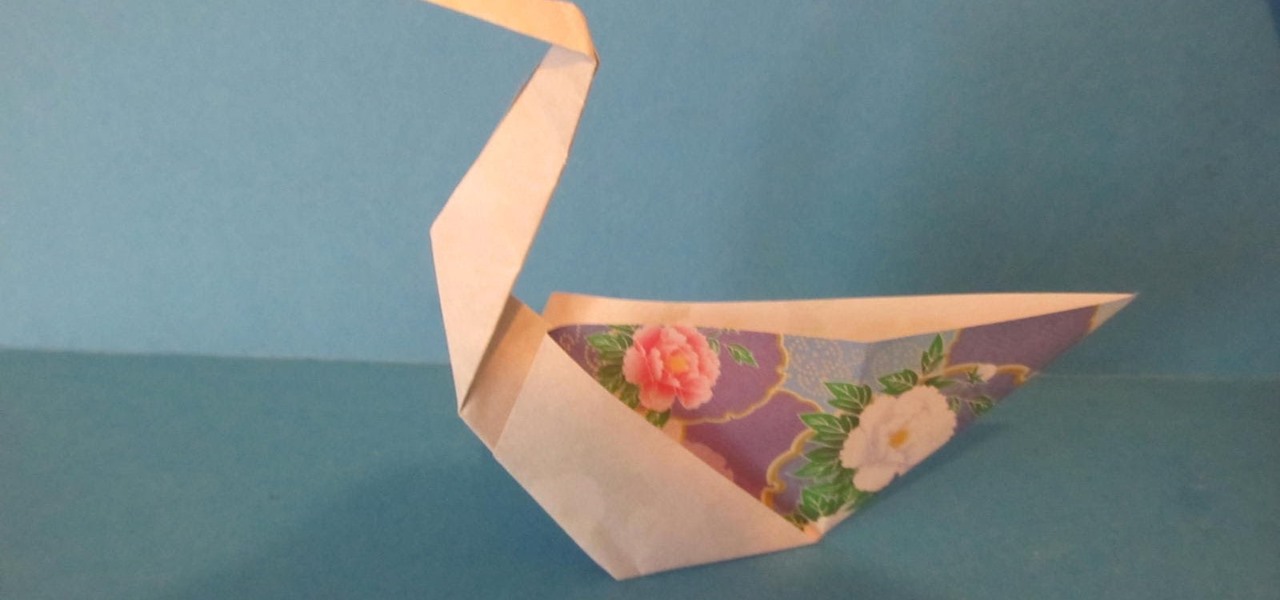
This video shows us how to fold a simple origami swan. Here are the following steps: Step 1: First of all take a paper and then crease it diagonally and then open the crease and then fold the paper on the crease line so that a cone is obtained with a triangle on the top.

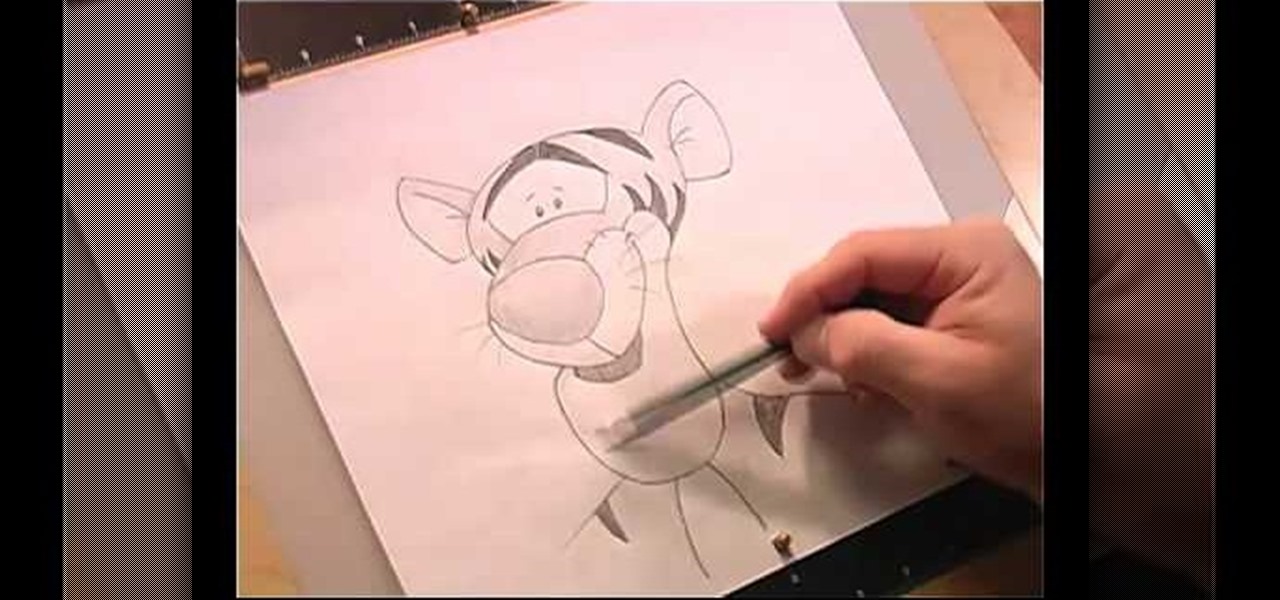
This video is describing the steps needed to draw Tigger from Winnie the Pooh. The first step is to draw an oval on your black paper. Draw diving lines, and make sure that one is a little bit below center. Next draw in his muzzle by lining up the top part of his muzzle with the bottom part of his eye. Next draw his chin. You can draw the bottom by taking the distance of the head and putting the same amount of distance between the head and the muzzle that there is between the muzzle and the ch...

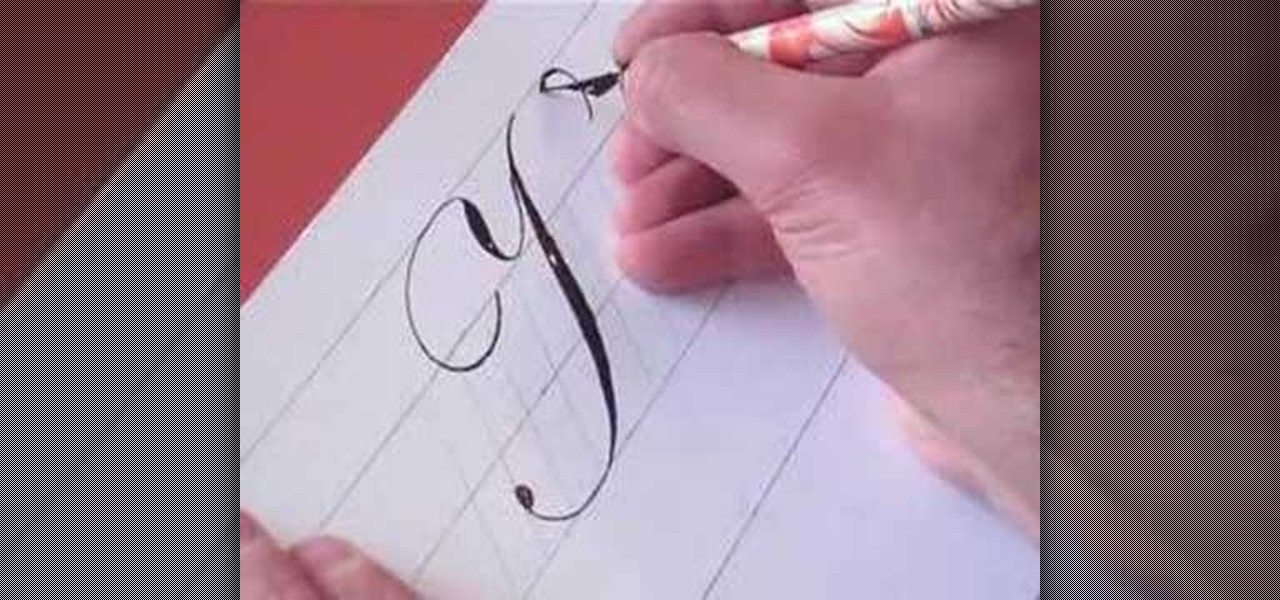
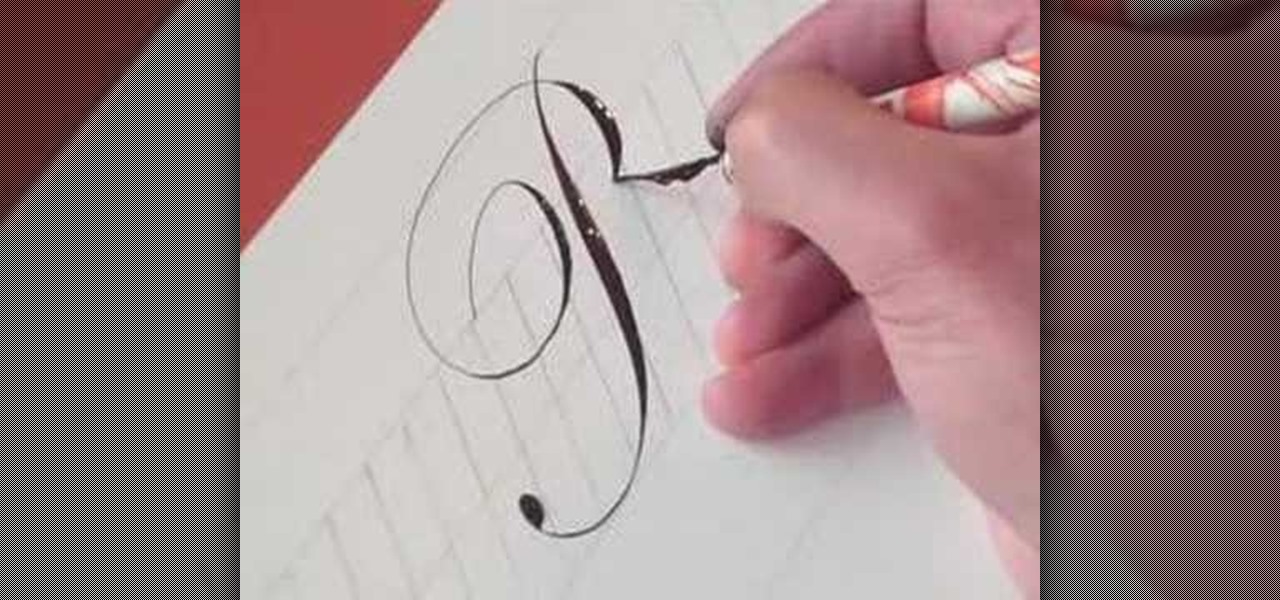
This video demonstrates how to write the letter P in calligraphy copperplate. The technique that is illustrated in this video show you the proper way draw the letter P effectively and beautifully. The video first shows you how to draw the capitalized letter P. The first step is to create a slightly S-curved stroke downward from the top margin to the bottom-middle margin--thickness in the middle. You end the line with a curled tail. To complete the letter you then have to draw a looping, curle...

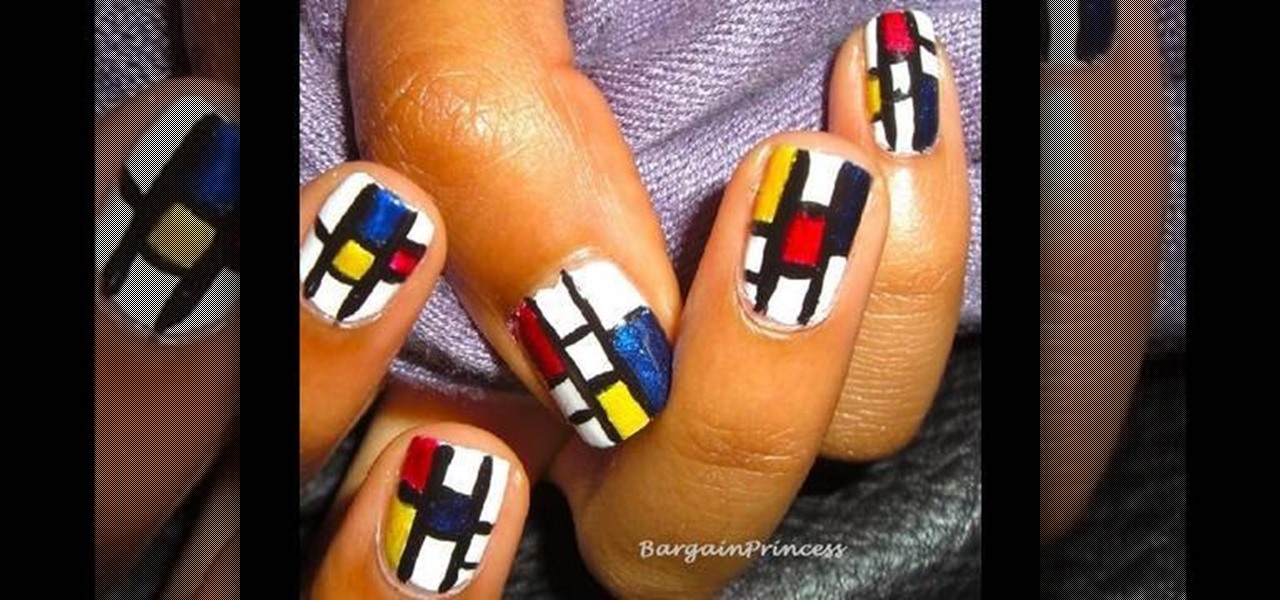
This video shows how to paint Piet Mondrian inspired block print nails yourself. Apply a white base coat and top coat. Use black nail art paint because of the thin brush. Paint two black lines the length of your nails. Then paint black lines going across the width of the nails to make random size boxes. Dab the color of paint you are going to use on a piece of paper and use the nail art brush to get the paint off of the paper and apply the different color paint to the boxes. Wait about 10 min...

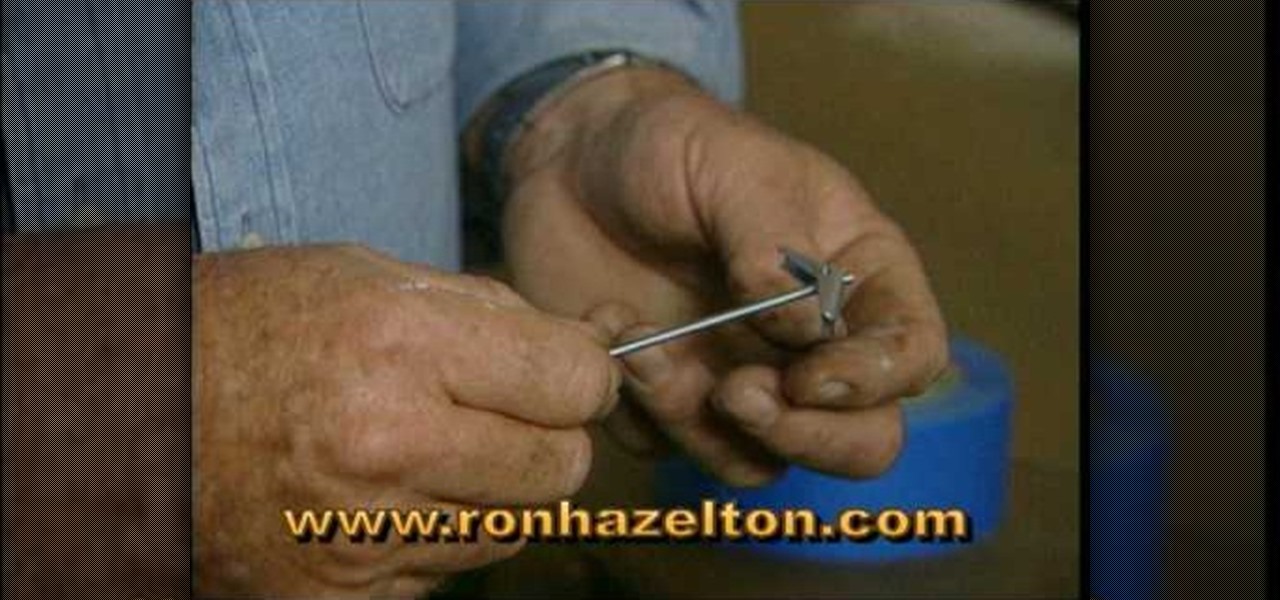
Ron Hazelton shows the most secure way to hang heavy mirrors or art on plaster walls using toggle bolts. Attach a sturdy hanging wire to the piece if necessary. Draw a level line on the wall where the top of the piece will go. Stretch the hanging wire taut and measure the distance between the wire and the top of the frame. A two-bolt system will keep the piece level. Drill two holes this distance below the wall line. Using masking tape prevents the plaster from chipping. Fold the toggle wings...

This tutorial teaches you how to apply individual false eyelashes video tutorial. Applying individual false eyelashes is a great way to achieve a dramatic and glamorous evening look. You will need individual false eyelashes, individual false eyelash glue, a piece of tin foil, a small pair of scissors and a pointed pair of tweezers. Apply your desired eyeshadow first, a light shimmery eyeshadow creates the best effect for this look in terms of contrast against the false eyelashes. Pour a very ...

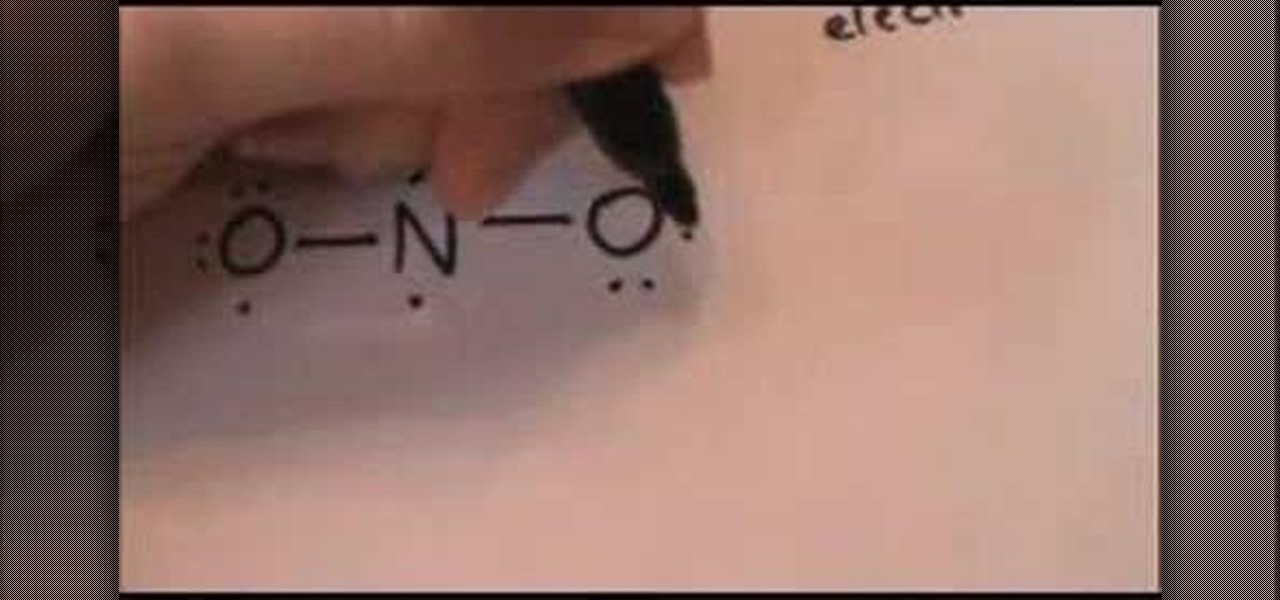
This video shows you how to draw the Lewis electron dot structure for the nitrite anion- first you start by drawing the symbols o, n and o, in that order, and then you proceed to draw two dots on the top of the n, and one on each other side.On the 'o' on the far left, you draw two dots on the top, and two dots on the left, putting just one dot on the bottom and the left- the right 'o' mirrors this pattern.Next you link all three letters with two lines, using the single dots on the left and ri...

Pants too long or too short? Skip the cost of a tailor – hemming your own pants is "sew" easy. You Will Need

Real rockets require top ingenuity from physics and engineering experts, but you can construct a smaller replica that costs almost nothing can can be made from materials you already have at home or can find at a hardware store.


