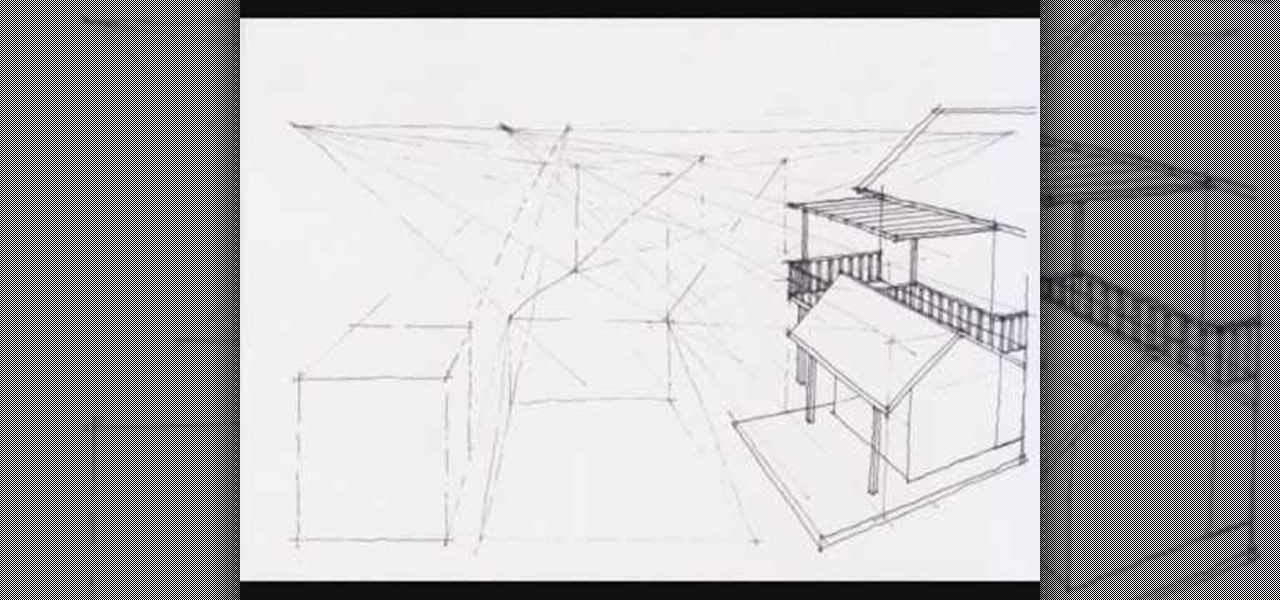
This is a video tutorial in the Fine Art category where you are going to learn how to make a hippie chiffon one shoulder top. The materials you will need are chiffon, studs, elastic thread and elastic. Use a simple tank top pattern to cut out the chiffon. Elongate the center of the fabric; this will give it the flowy look. Shirr 5 rows into the middle of the fabric making sure the elastic is on the wrong side of the fabric. Fold in half, right sides together. Sew the side seam and the shoulde...
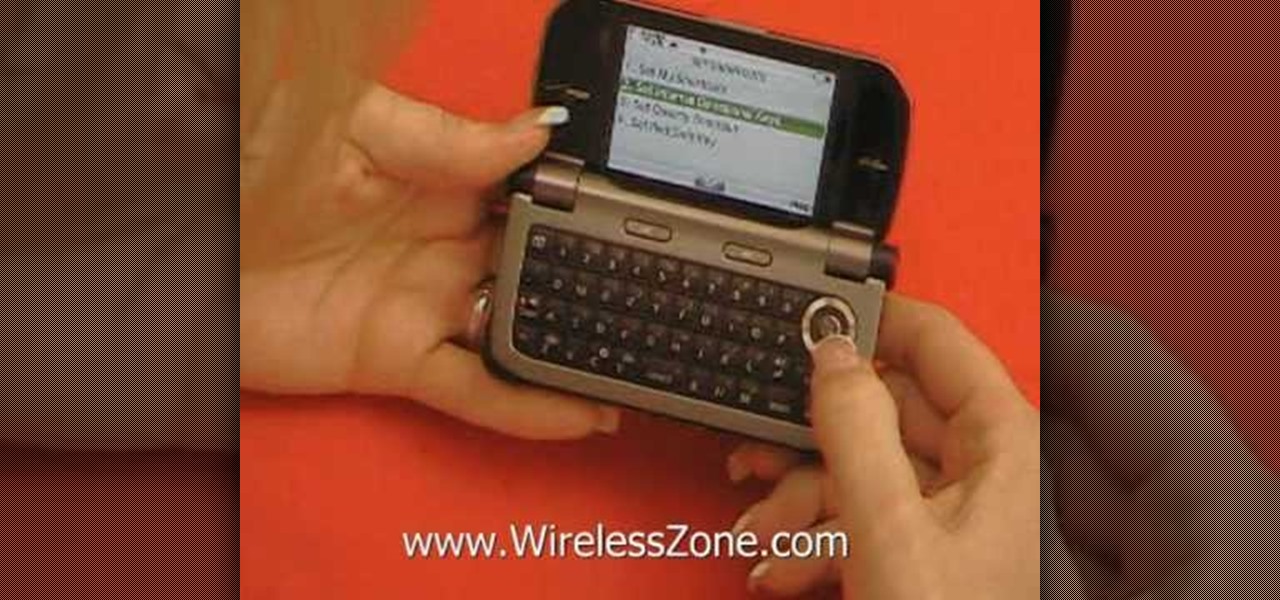
In this video, we learn how to access Casio G'zOne Brigade QWERTYShortcut. From your idle mode with the flip open, press the middle button. Then, press '9', which is settings and tools. After this, press '7' or scroll down to 'phone settings'. Then, press '2' for shortcuts and then press '3'. After this, go up to text message and select the center key to set. Now, from the main screen you will be able to start composing a message just by selecting any key. This makes it easy to write a text q...
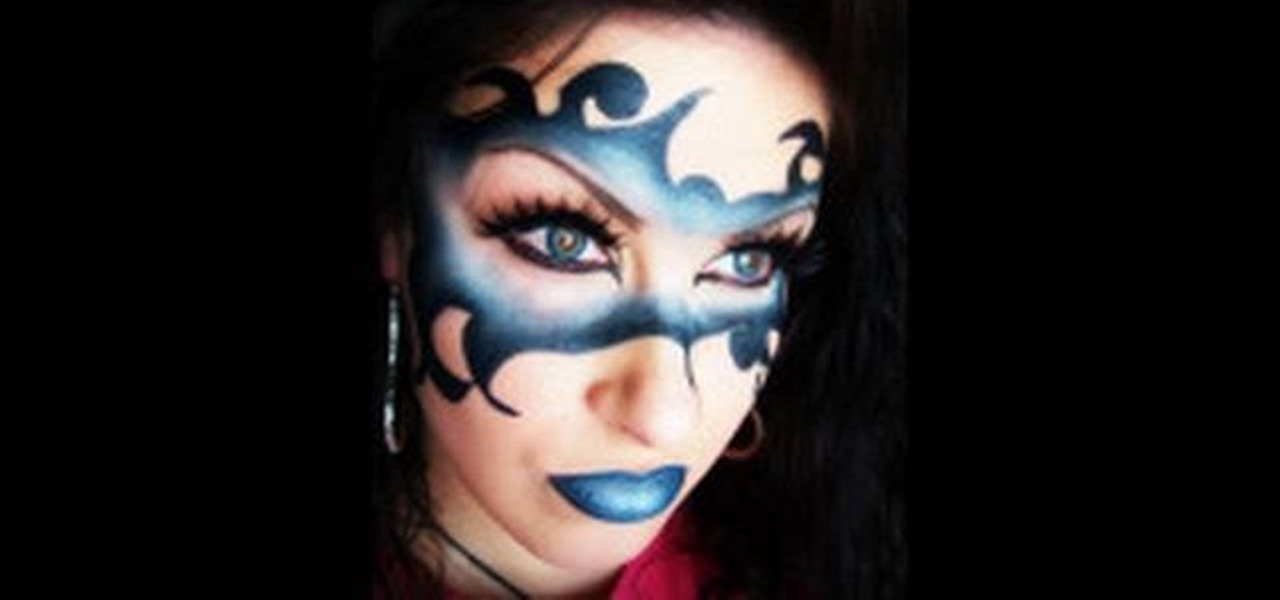
In this video, we learn how to apply a Mardi Gras devious mask with makeup. First, use a sharp black eyeliner pen to draw the mask around your eyes. It should be above your eyebrows and on your cheeks around your nose. After this, color it in with different shades of blue, leaving the center clear. After this, you will apply black eyeliner to the top and bottom of the eyes. Draw out the line on the outer edge to create a cat eye effect. From here, apply false eyelashes on the top of the eye a...
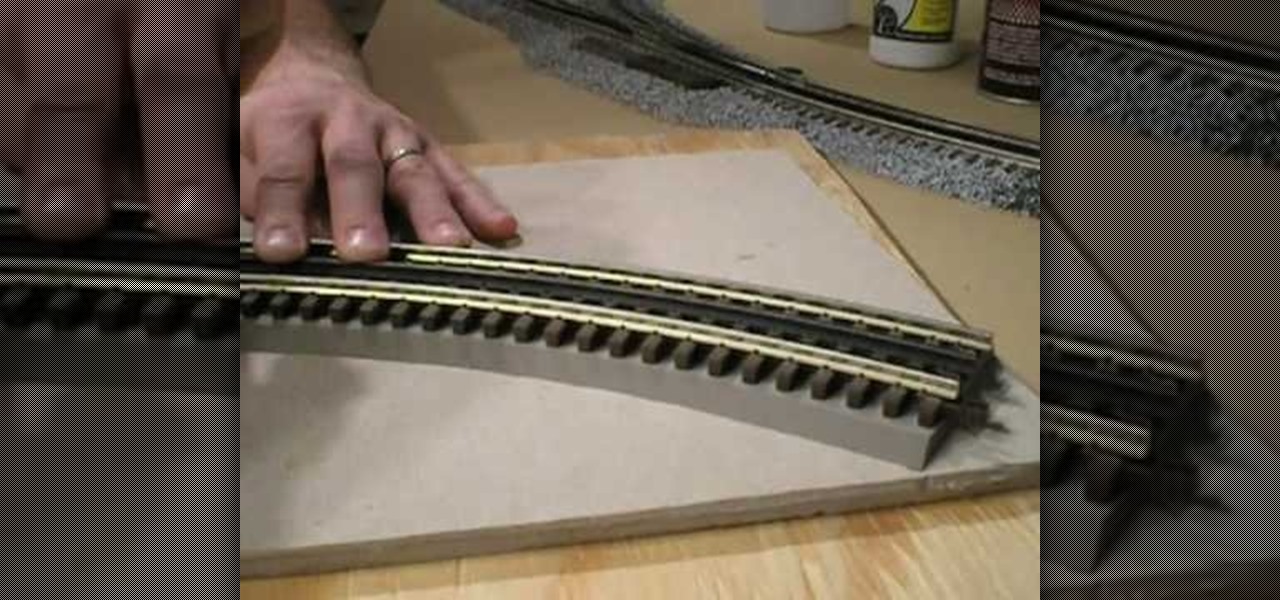
In this tutorial we learn how to lay and ballast O-Scale 3-Rail track. First, lay the track down on a piece of bare plywood. Also, you will paint the wood to prevent it from absorbing liquid when you place glue on it. Put the track down onto a flex bed and then set the flex bed on the wood. From here, place the track onto the road bed and line it up. Make sure the track is centered completely. After this, take a track screw and secure the ends down. Continue to do this throughout the entire t...

In this tutorial, we learn how to make an array of paper roses. Use any colors of paper you want with this to add a special touch to them! Now, you will take the pattern or color of your choice and fold it up into a square. after this, fold it into a triangle and then cut the edges of this off. After this, cut the bottom off and open it up, it should be a flower shape with a hole in the center. After this, repeat with several other papers and then cut the flowers up into halves. From here, yo...
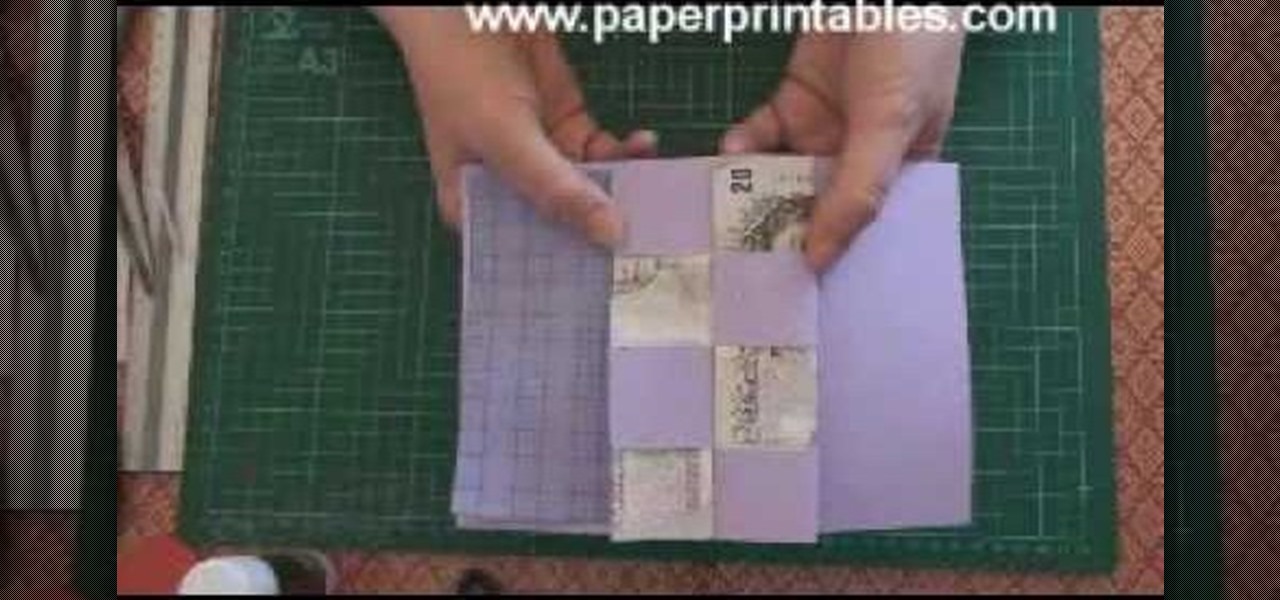
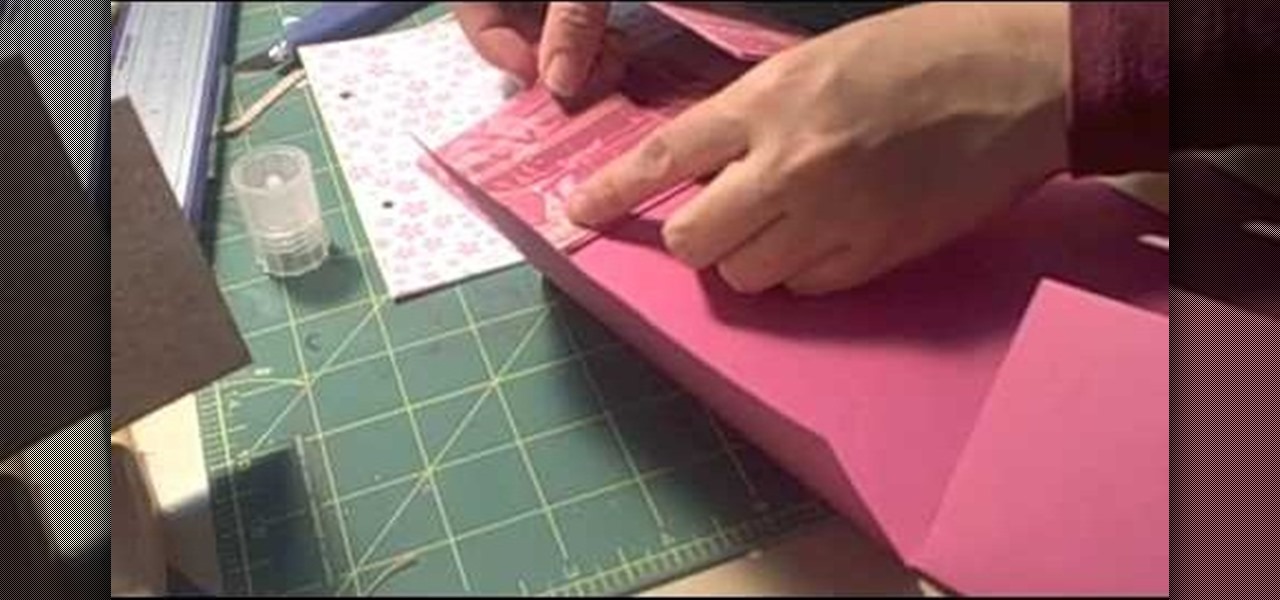
In this video, we learn how to make a pop-up concertina money card. To start, you will first need to take a piece of paper and measure your money on the inside of the paper. Then, cut this out in a strip and cold your money in half lengthwise. After this, measure the depth out from the center using a ruler. Then, fold the paper in half and on the sides where you marked. Then, you will cut three holes in the middle of the paper and these will hold the money in. Stick the bill in the middle of ...

In this video, John shows us how to perform Jeff Hardy's Swanton Bomb pro wrestling move. Start out by jumping off the corner top of the ring. Make sure you stand there for a few seconds to center yourself and make sure you're balanced. Then, you will twist your body so it flips over and you land on your back. Keep your body straight and make sure you don't land on your head. Once you have found your balance on the jump off location, spread your feet out and make your arms at your side like a...
In this tutorial, we learn how to make cute little hair clips. These will add a fashion statement to any hair style and they are easy to create! To start, you will take some thin ribbon and bend it all together until it creates a large ribbon. After this, you will wrap it together in the center until it's a bow shape. From here, add in more colors or accessories. Then, use a hot glue gun to attach a clip to the base of it. Let this dry and then you can clip it into your hair! Make a lot of th...
In this tutorial, we learn how to recycle a plastic bottle to make a toy bottle rocket. First, take a large plastic bottle and a sharp knife, then cut it in half. After this, take the side with the cap on it and then paint on the inside of the bottle. You can paint whatever you want on the inside, feel free to use different colors and get as creative as you want! From here, take some bottle caps and poke holes in the center of them. Then, string these together by pushing a string in the middl...
In this tutorial, we learn how to build a catapult out of rubber bands & a wire hanger. To do this, you will first need: one wire hanger, plastic spoon, rubber bands, small marshmallows, and measuring tape. Now, hold your hand in the center of the hanger and pull up both sides around it. After this, fold back the front for balance and straighten it up so it's stable. Next, you will take one rubber band and put it around the sides. Then, take the spoon and put it in between the rubber band and...
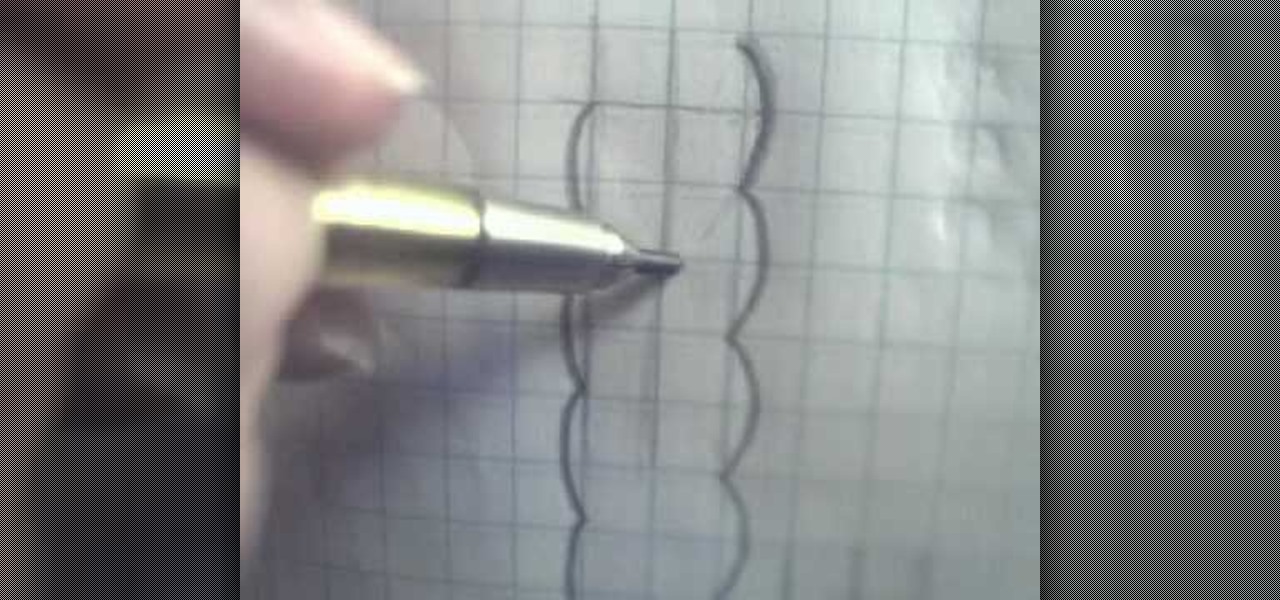
In this tutorial, we learn how to draw braided hair. Start off using grid paper and a pencil to practice. Then, draw two lines parallel together and draw a line in between each of those. From here, draw on a circle around these and continue the pattern all the way down until you reach the end of the lines. Then, draw a line in the center where the circles meet and start to shade in the area to the right, creating a line coming out of it from the left. Practice doing this to get a better idea ...
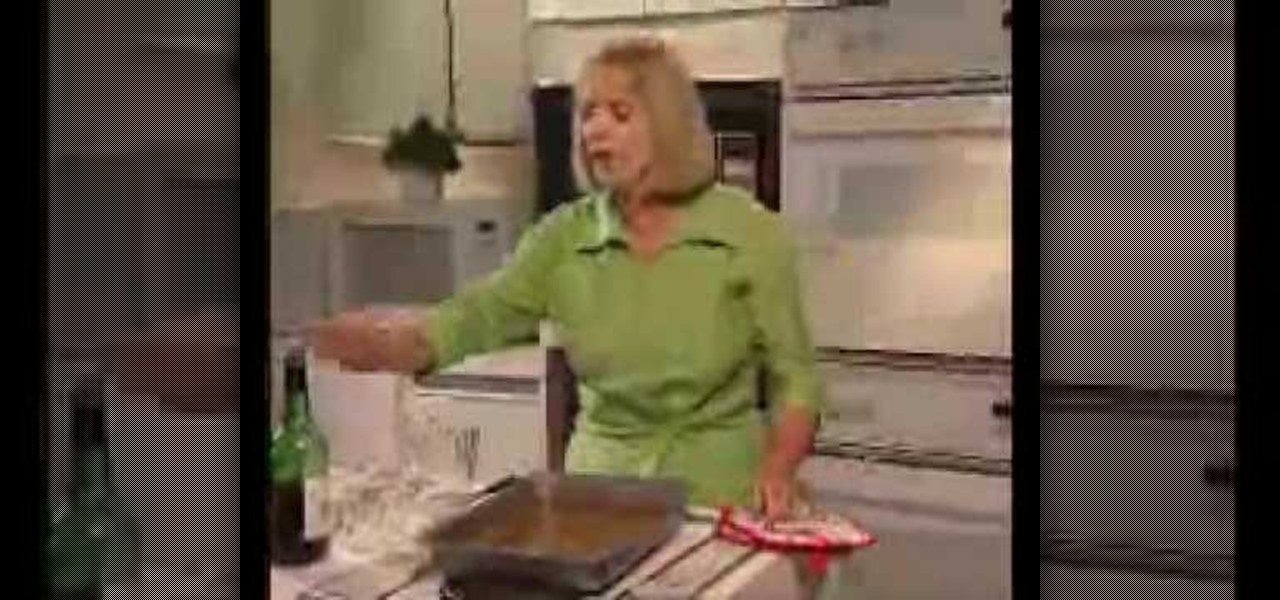
The quality of the turkey you roast in the oven on Thanksgiving day is tantamount to how successful your Thanksgiving table will be - turkey is, after all, the center of the celebration for most families (unless, of course, you're going the tofurky route).
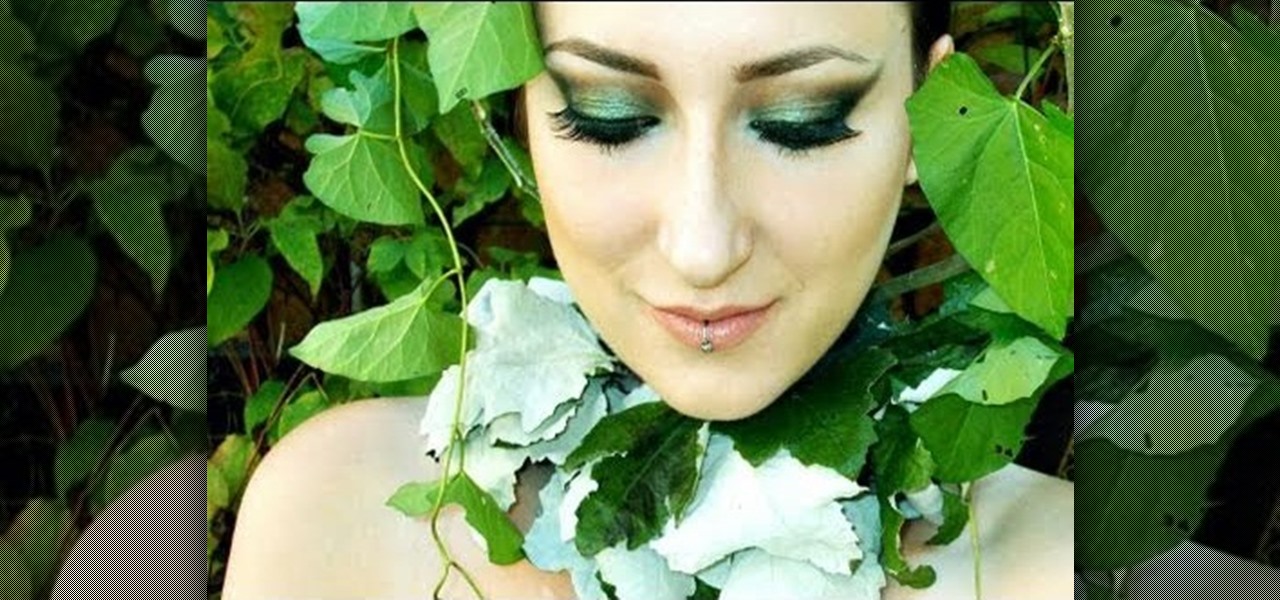
The great thing about dressing up as a forest nymph/wood nymph/fairy/mermaid this Halloween? You can more or less get away with doing the same makeup look for all of them, with a few modifications, of course.
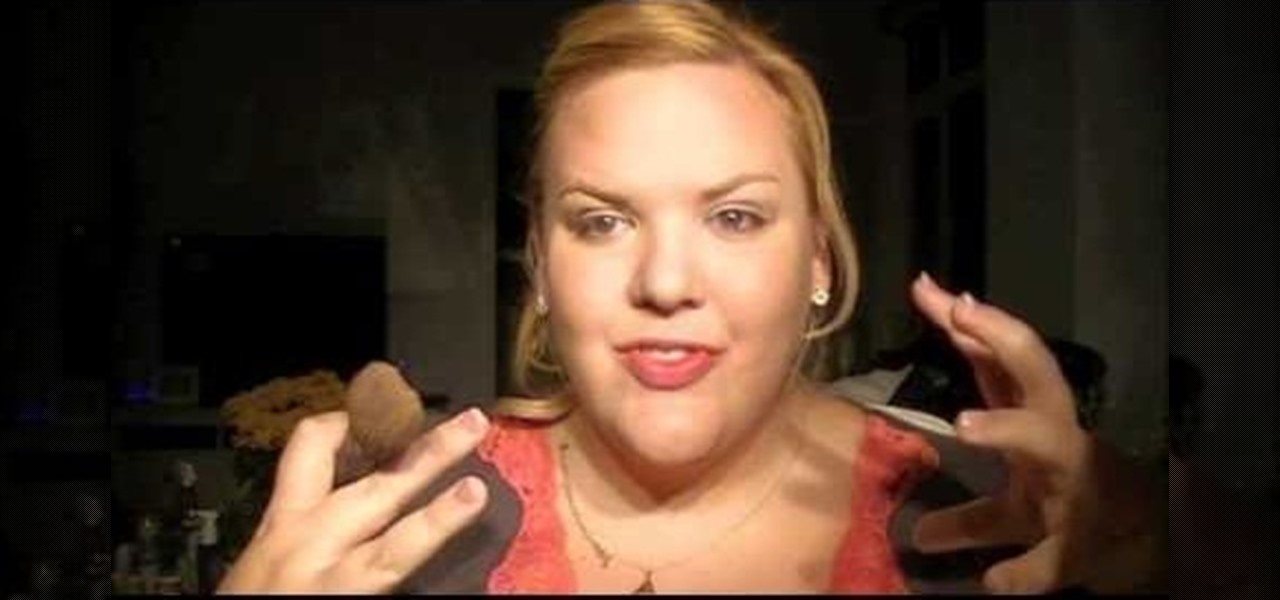
Most gals (older than 10) avoid dressing up like Minnie Mouse because, to be honest, you can easily end up looking quite ridiculous. Between the foam cartoon hands and the mouse ears with a polka dot bow in the center you really just end up feeling and looking like a sad clown.
Fall is now in full swing, which means that the vibrant, colorchanging leaves on all the trees in your neighborhood are taking center stage in the fall scenery. In lush hues of orange, red, sienna, and emerald green, leaves are the most colorful and multidimensional seasonal treats.
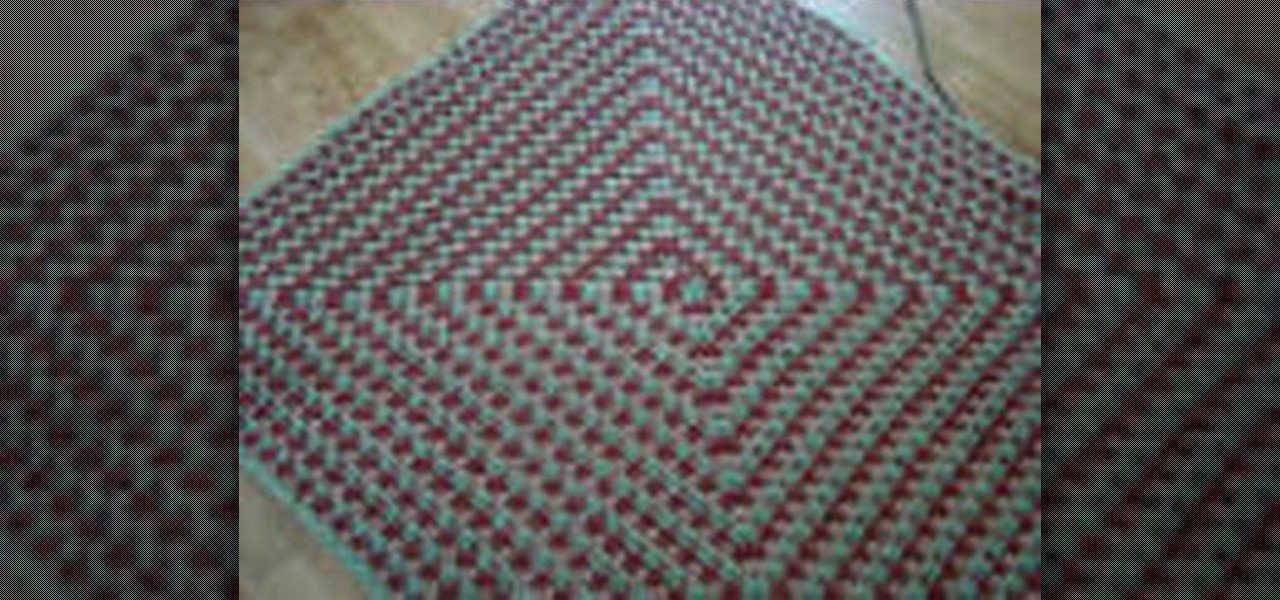
In this tutorial, we learn how to crochet a super fast 3 color granny square. Start out with your first color on the crochet needle. Then, chain four and put the needle back into the first chain. Before you pull everything tight together, you will move your middle finger into the stitch with your thumb so when you pull it will wrap around your fingers. Then, chain three and do this over twice more to create the outlining area around the hole. From here, you will use two other colors using the...
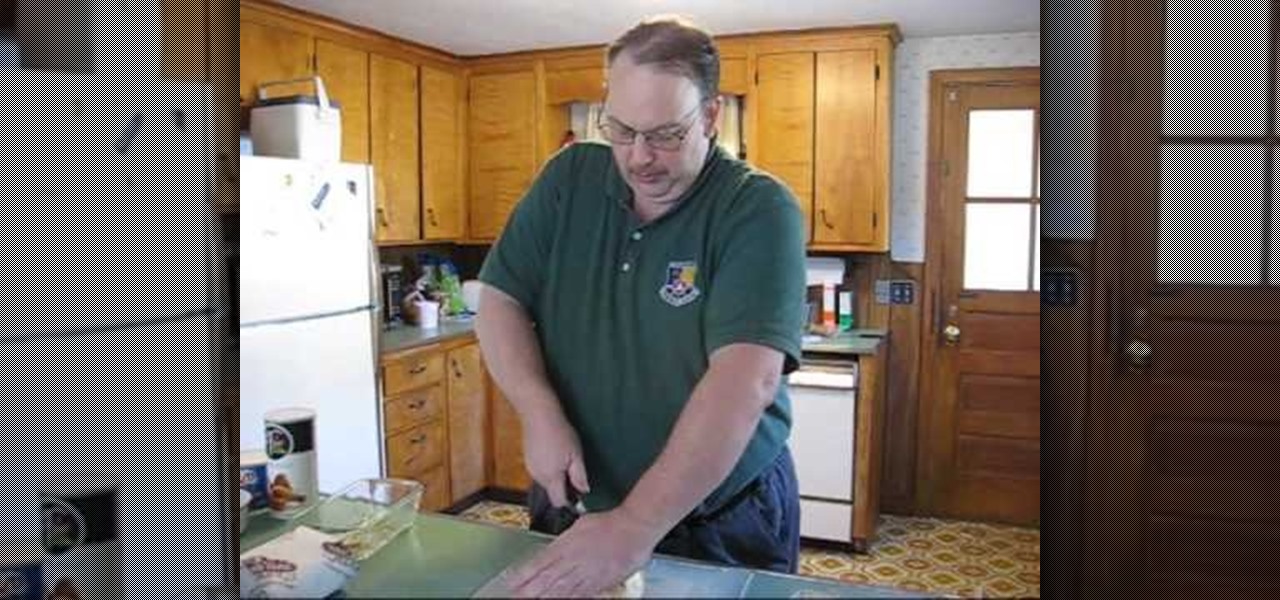
In this tutorial, we learn how to cook and peel deviled eggs. After you have boiled your eggs and they are fully cooked so they are hard, let them cool off for a few minutes. When they are cooled, you will break off the shell of the eggs and throw them in the trash. From here, you will cut the egg in half and let the yolk of the eggs fall into a mixing bowl. Place the white part of the egg on a serving dish. Then, mix together your egg yolks with some salt and any other seasonings that you pr...
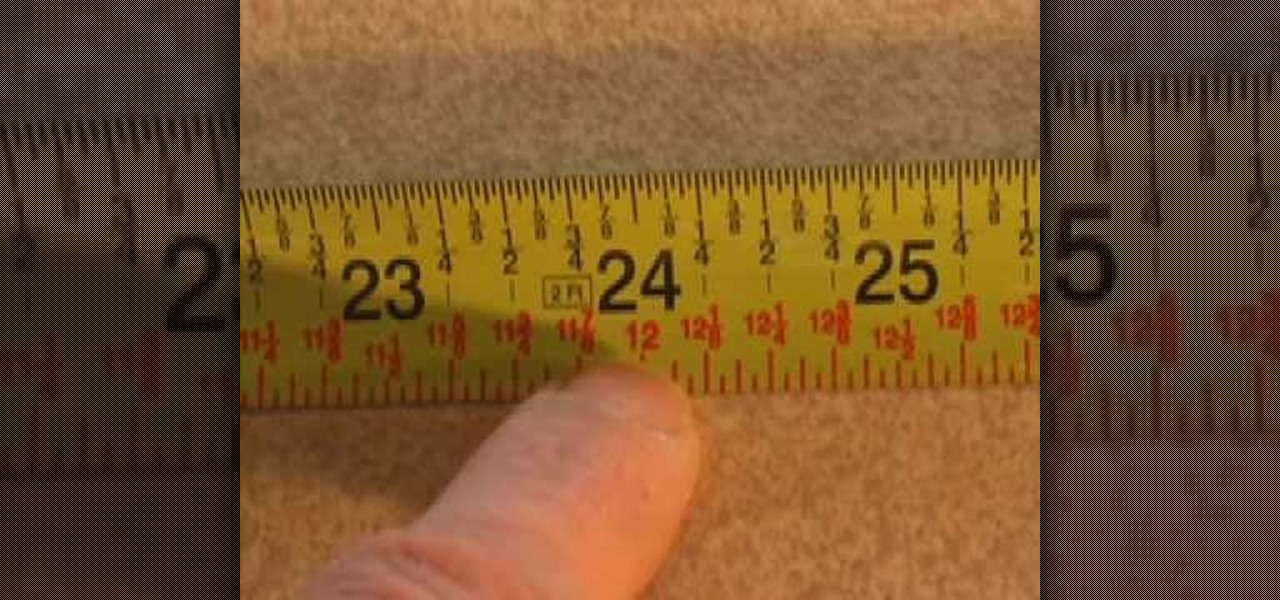
In this video we learn how to take accurate measurements in your home projects. First, you need to pick up the right tape measure for your project. Once you have picked out the right tape measure, you'll be able to use it for what you are trying to do. Now, learn how to read the numbers that are listed on the tape measure and find the precise measurement of your project. Make sure you take down all of the inches so you build everything correctly and don't have to go back and fix anything that...
In this video we learn how to do basic folds to make a paper football. First, fold a piece of paper in half and then fold each half in towards the center crease. Next, choose one and turn it over to make a triangle. Then, flip this triangle up and make another triangle. Continue to fold new triangles until you reach the end of the strip. Once you reach the top, you will have excess paper left over. Fold this down and then tuck the flap into the triangle so you are left with a triangle. Flick ...
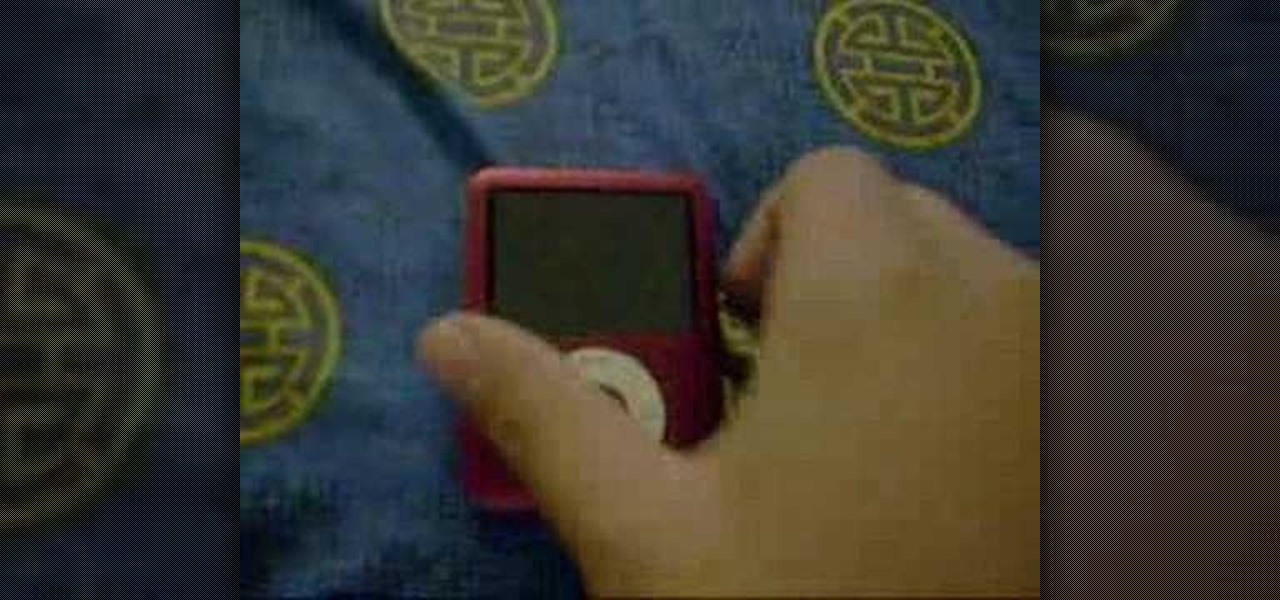
This video tutorial is in the Electronics category which will show you how to unfreeze an iPod Nano. Doing this is really simple and easy and doesn't take much time. This video is not meant for unfreezing iPod shuffle or iPod touch. If your iPod Nano freezes and stops responding, press the enter button in the center and the menu button located at the top part of the ring simultaneously. Hold the buttons down for a couple of seconds till the screen powers up again. Your iPod Nano is now unfroz...
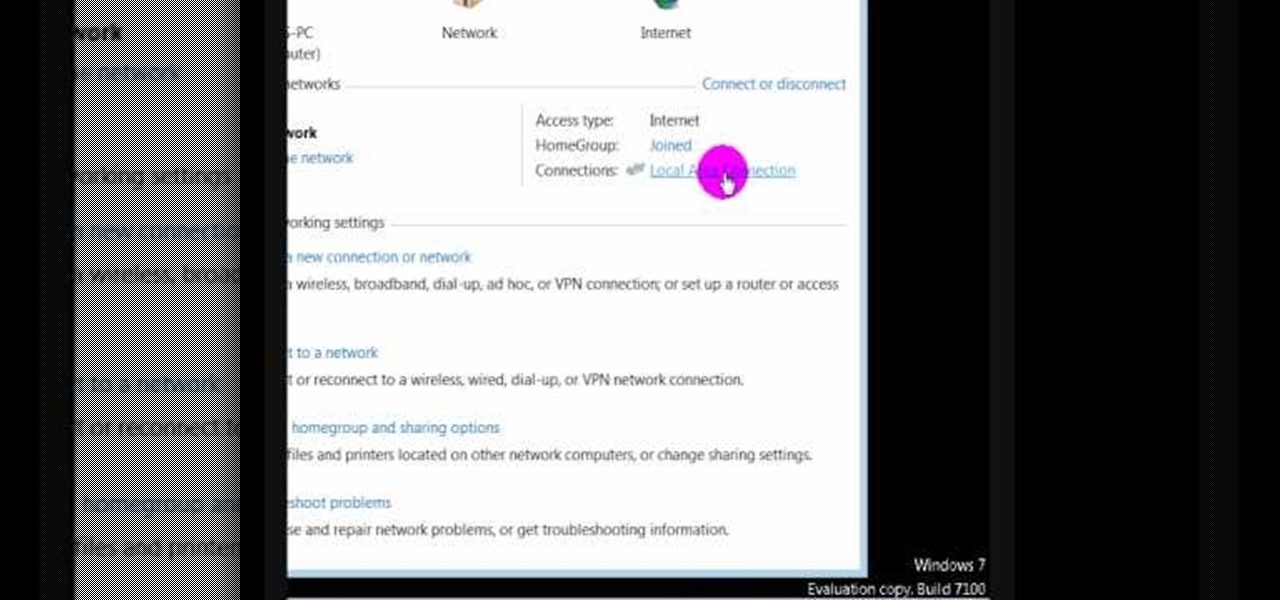
In this video we learn how to find the IP address of your computer. First, go to your desktop and click on the network in the lower right hand corner. The network and sharing center will now pop up on your computer. Click on the link that says "local area connection". Then a new window will pop up, click "details". Once the information comes up you will be able to see your IP address along with a ton of other information about your network. Another way to find your IP address is to go to the ...
This video tutorial is in the Arts & Crafts category which will show you how to make a flip square album. Take a 12 x 12 inches square cardstock and make a score line at 3 inches on all 4 sides of the paper. Now cut along the score line at the top and bottom of the paper up to the 3 inch line. Next you fold along all the score lines inwards and you have all the flaps ready. Then mark along the edge of the center part of the sheet and punch two holes for tying the album as shown in the video. ...
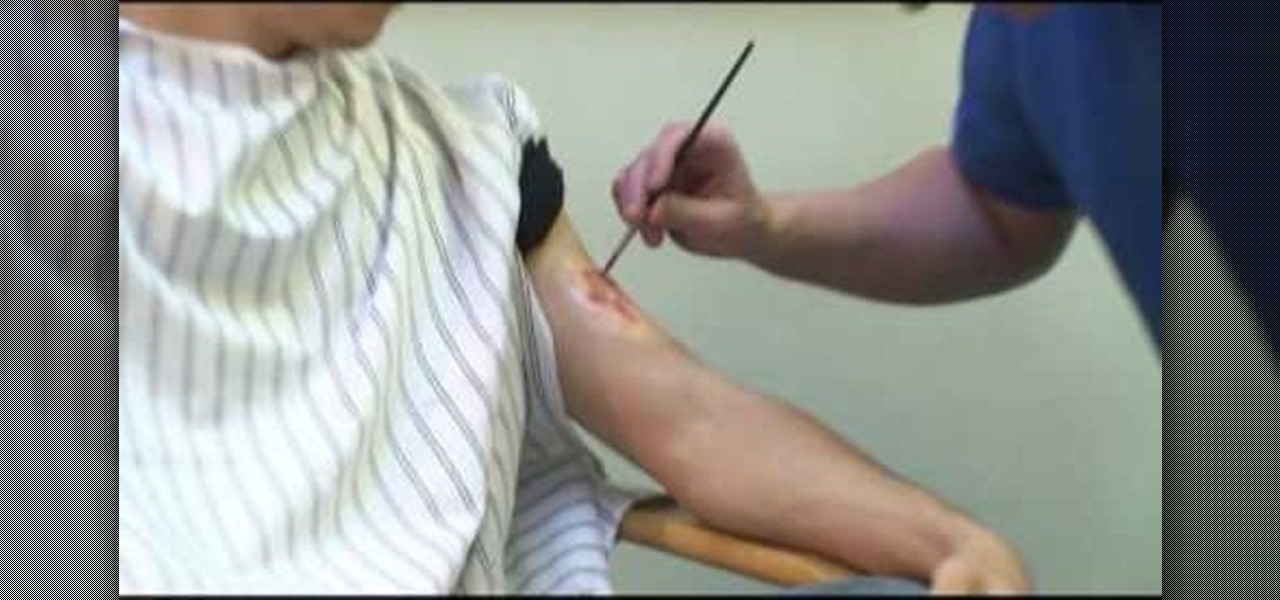
In this tutorial, we learn how to apply injury makeup with Emmy winner Brad Look. First, clean the area with water, then use glue and powder to apply the surface of the injury. After this, use more makeup to cover up the piece on the skin and blend the edges into the skin so they mix in completely. In the middle, add in some reds, purples, and blacks to create a realistic looking injury. Make sure there are textures and highlights on the would to make it look more real. Make the injury radiat...
In this tutorial, we learn how to draw Ino Yamanaka. Start off by drawing the head, drawing lines in the center to use as reference points. After this, draw the rest of the body, including the hands, torso, and neck. Now start to draw in all of the details. Draw the eyes evenly apart, then add in frown lines, a mouth, eyebrows, and any other details of the face to make it complete. Next, start to erase the reference lines and draw in the hair of the character. Draw around your basic outline t...
In this tutorial, we learn how to draw Rock Lee. First draw a circle for the head, making a chin underneath and using lines to reference where the facial features will go. After this, draw eyes that are slightly aligned to the left hand side of the face. The right eye should be larger than the left, both off center. Then, draw two dots for the nose and a "u" shape for the mouth. After this, draw a larger circle around the head and then draw in angry eyebrows above the eyes. Start to erase the...
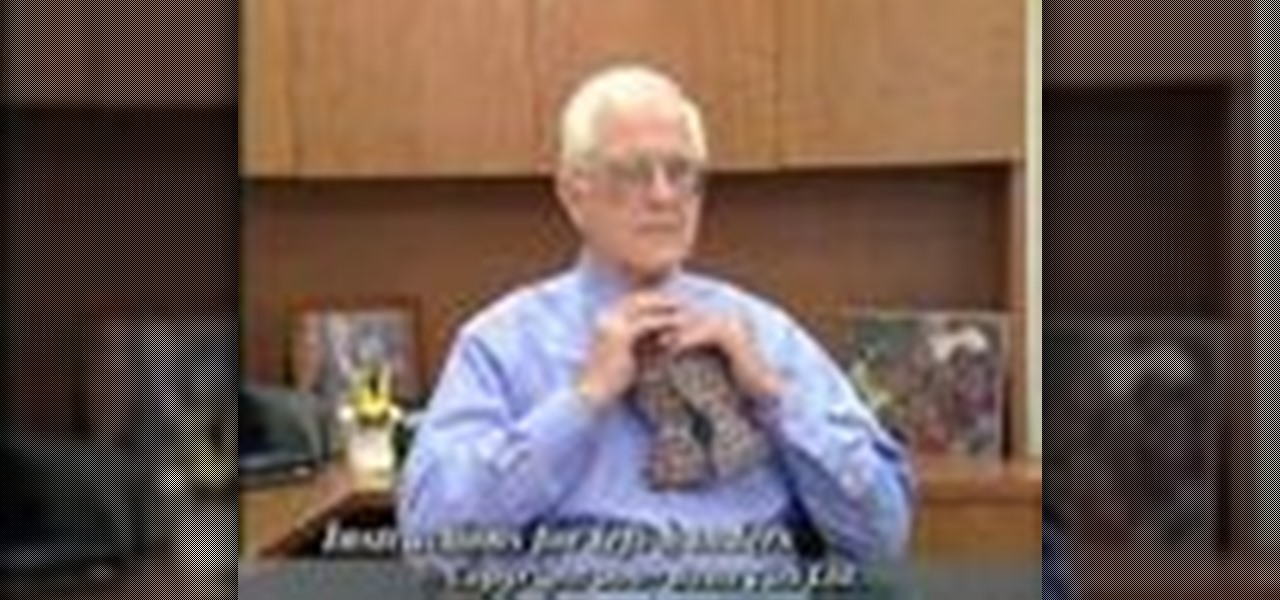
In this tutorial, we learn how to tie a bowtie left- handed. First, put the tie around your neck and adjust the two tails. The right should hang 1" lower than the left. Then, cross the longer over the shorter and push up over and through to make a simple knot. Form a bow with the back bow using your thumbs and fingers. Next, take the front tail and pull it behind the just-made bow to create the center of the full bow. Then, push the new one right through the knot in the opposite direction. Th...
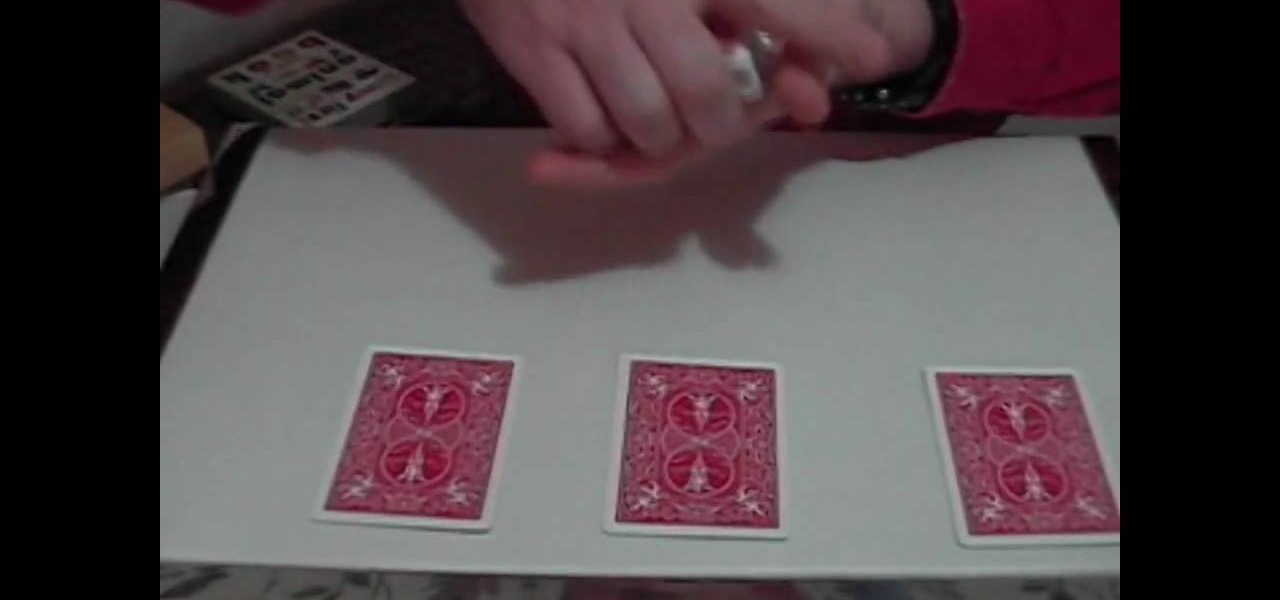
This is a video tutorial in the Magic & Parlor Tricks category where you are going to learn how to do the "Three Aces" card trick. For this trick you need a deck of cards and you shuffle it nicely. Then you flip the deck and reveal the center part of the card and say it is the ace of hearts. The actual card is the 3 of hearts. Place this card face down on the table. You repeat this process and similarly take out a clubs and diamonds card. Then you perform a magic gesture and say all three car...
In this video, we learn how to make a great meatloaf. To make this you will need: salt, cumin, garlic, milk, barbecue sauce, bread crumbs, onion, eggs, and ground beef. Start by mixing all of your dry ingredients together in a separate bowl. After this, take the ground beef and mix in the bread crumbs and eggs to the meat. Use your hands to combine everything together, then add in the dry ingredients and work everything together with your hands. Form this into a loaf shape, then place into a ...
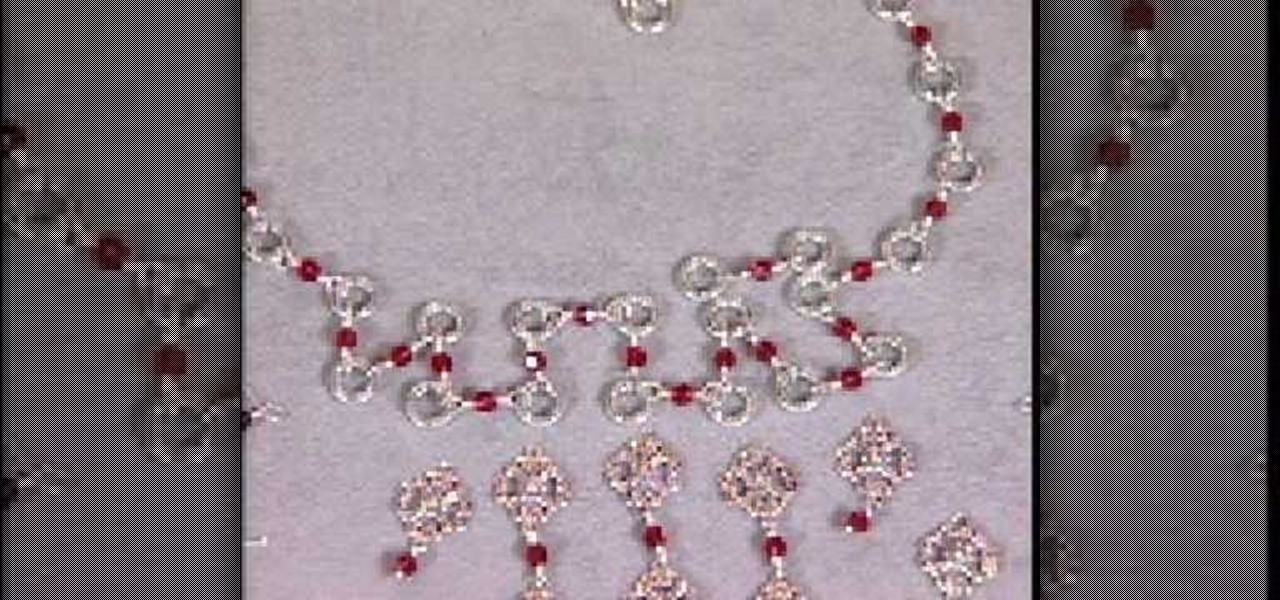
In this tutorial, we learn how to make a silver vintage-style bead necklace. First make sure you have silver wire and glass beads in the color that you prefer. Now, you will string the beads through individual wires and close them so these can be applied to the center of the necklace. This will create a long chandelier like quality on the necklace. After this, you will create the base of the necklace with the same color beads and silver. You will want to follow the pattern of creating silver ...
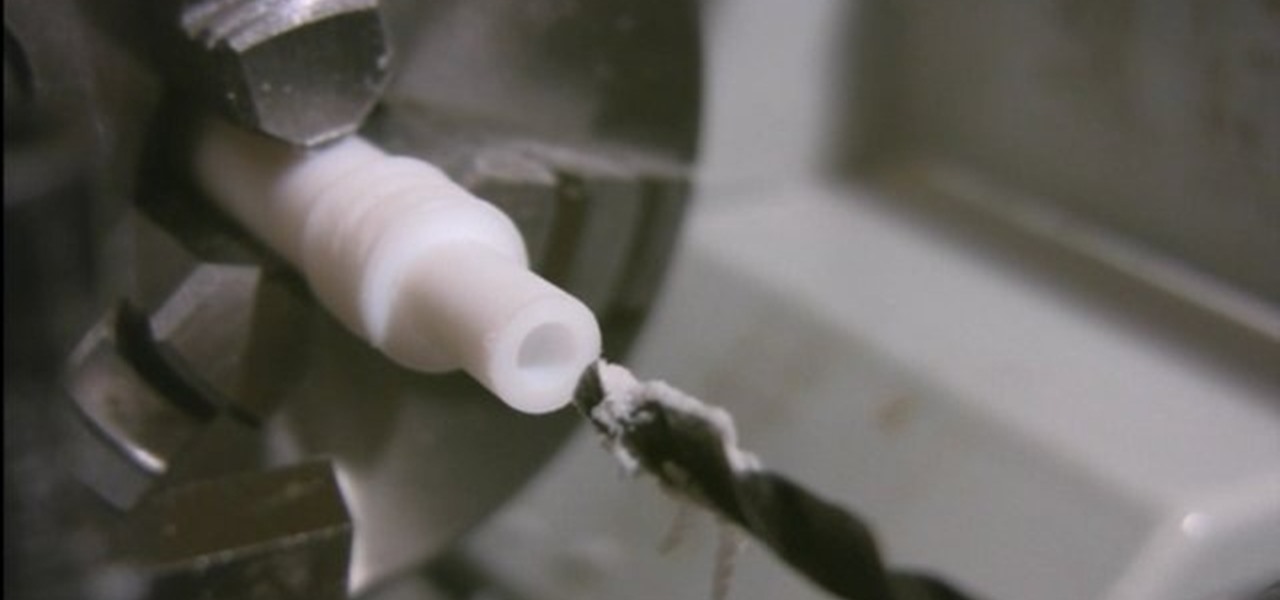
This video will show you how to create wheels for a fingerboard using a lathe. First, you should take a plastic tube and insert it into your lathe, using various drill pieces to cut down the plastic tube to the correct size. After this has been done, a drill which is attached to the lathe and adjusted to go straight through the tube can be made to create a hole through the center of the tube. You can then insert a small piece of metal into the tube in order to create the holder which will att...
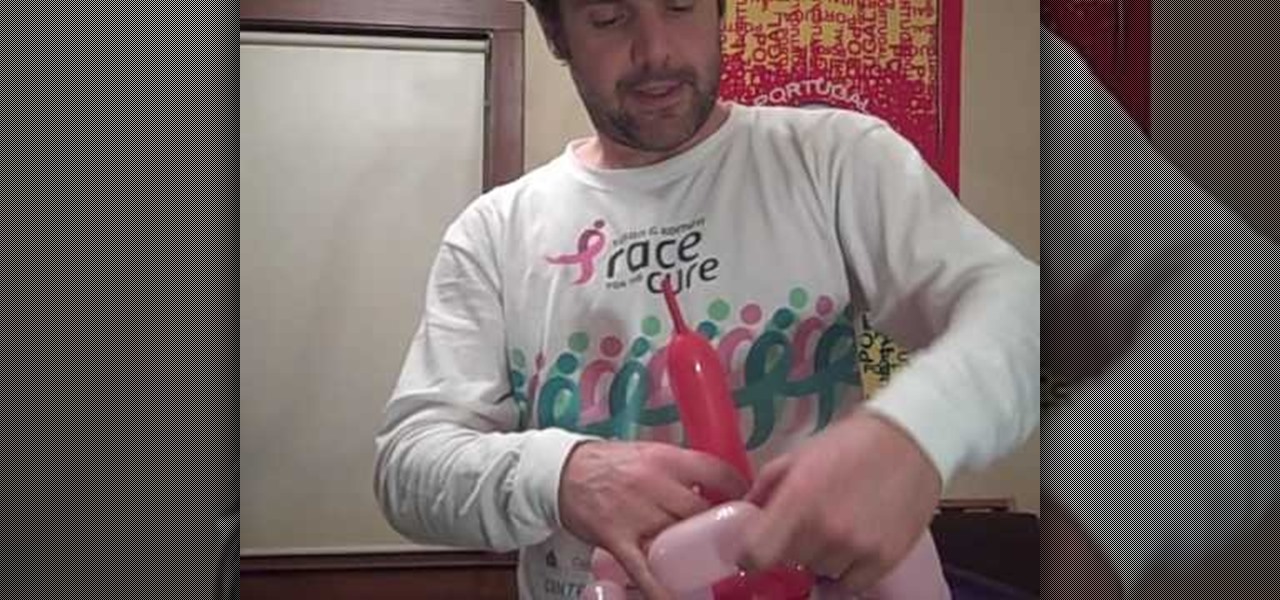
Balloons come in various shapes and sizes and if used properly, can be combined to create complex shapes that mimic real life objects. Choosing the correct color of balloons also adds to the realism in the completed object.
With all the stuff we have to do these days and our constant connectivity to the internet, it's no wonder most of us have a hard time taking a break. And no, by break we don't mean checking your Facebook and updating your satus.
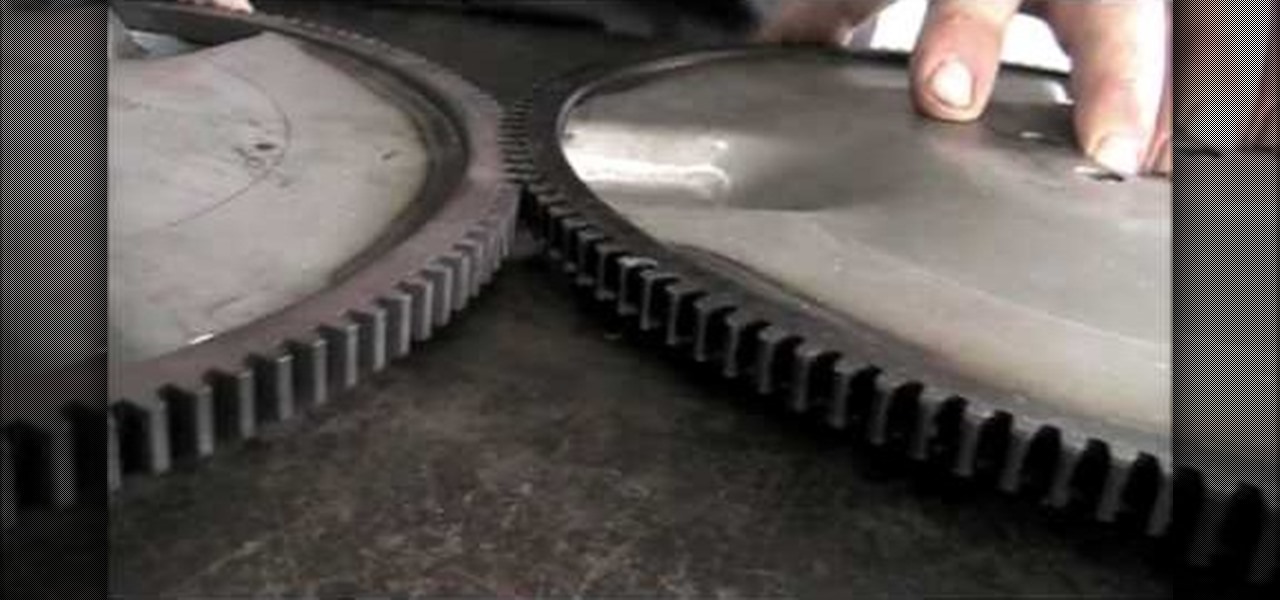
When replacing flywheels on an LLV (Long Life Vehicle), which is a postal truck used by the United States Postal Service (USPS) and made by Grumman, always look for the quality of the new flywheels ordered. Just because they're new doesn't mean they're good. The ring gear can sometimes be welded off-center to the plate, which will make the starter teeth grind the new flywheel. If you don't want to replace the fly wheel a second time, watch this video to see how to spot check them.
In order to paint a geometric, tribal, ornamental design for your nails, you will need the following: base coat nail polish, hot pink nail polish, a gold/brass/copper nail polish, a dark nail polish, and a clear top coat or a shimmer.
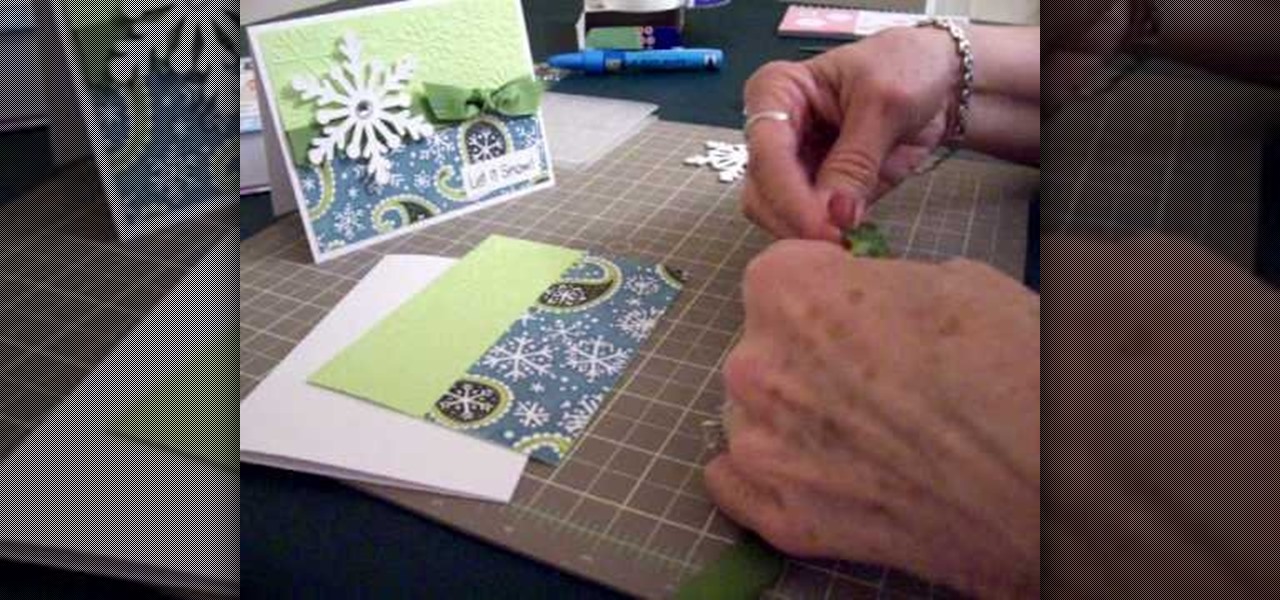
In this video, we learn how to make a snowflake card using Cricut Winter Woodland. You can find the snowflake on page 35 of the manual, then cut it at 3.5", cutting it four times to make it thick and chunky. The top of the card can be run through the Cuttlebug with a snowflake design, and the bottom can have a holiday snowflake print. The sentiment should say "let it snow" and you can place a green bow in the center next to the thick snowflake you make. You can write what you wish on the insi...
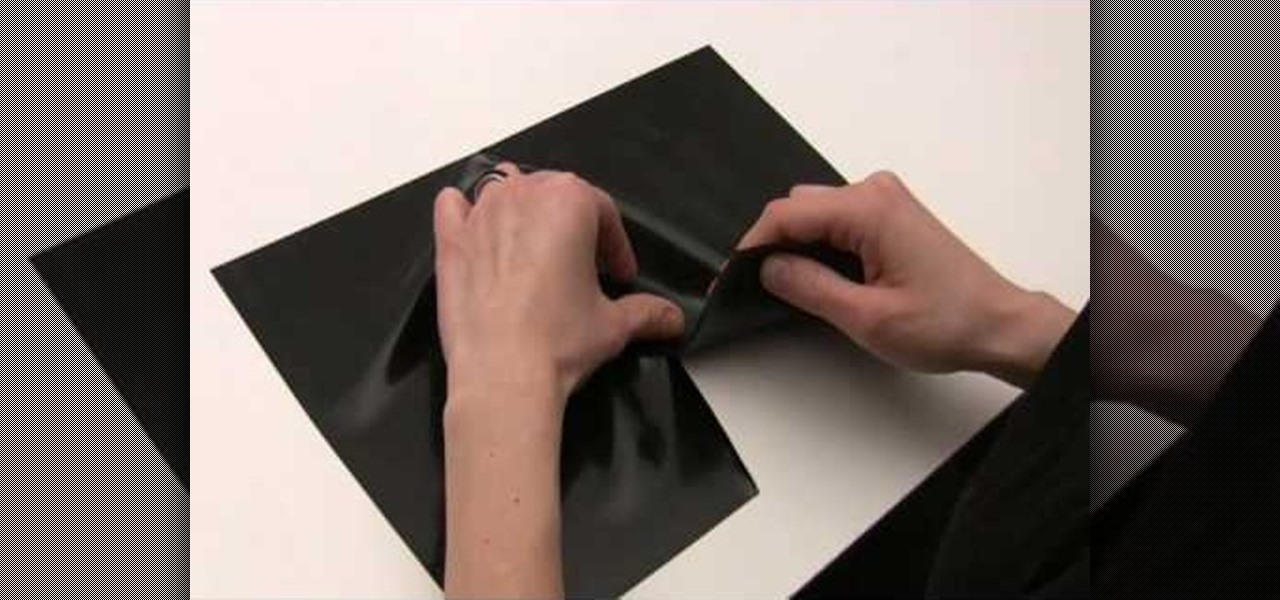
In this tutorial, we learn how to glue straight and curved latex seams. First, press each piece of latex down so it's just touching in the middle. After this, use your finger to press down on the middle, then take a roller and roll over the middle until it's perfectly straight. Now, stretch out the latex to make sure that both sides are stuck together. To glue curved latex seams, place the pieces together slowly, pushing your finger down in the center as you go to make a curved effect. Once y...
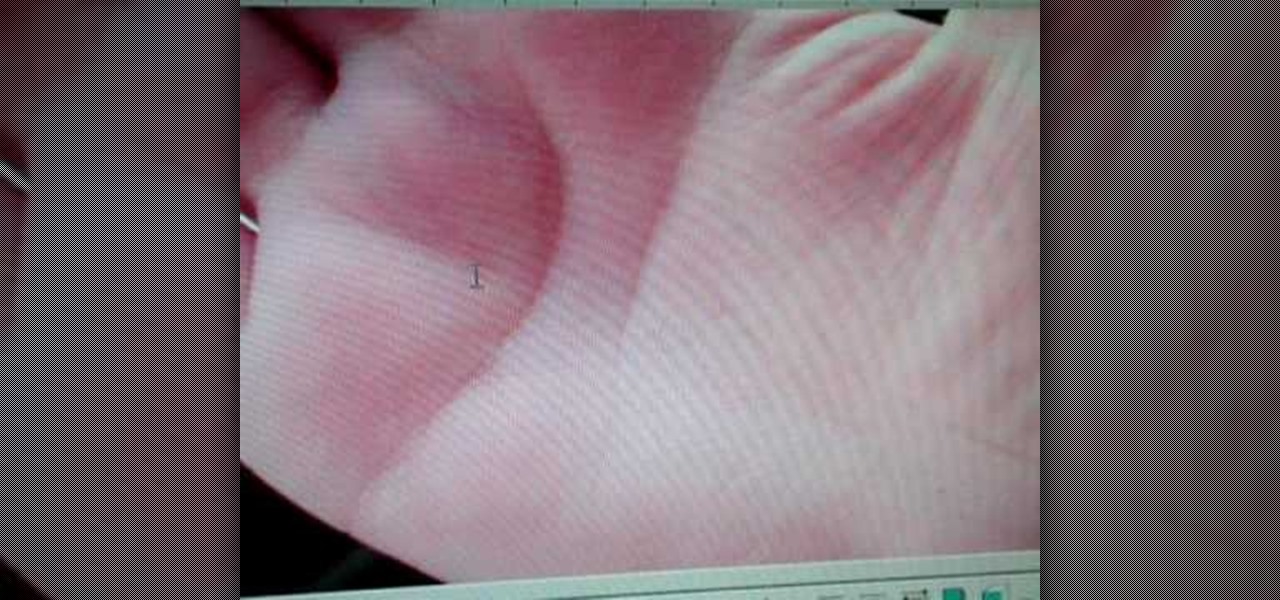
In this Spirituality video tutorial you will learn how to palm read with Peter John. If the heart line, the first line on top of the palm, is well formed and curves around towards the center of the first finger, the person is quite good and balanced. If the head line is quite long along the palm and bends towards the lower part of the palm, the person is more practical and mathematical. When you see more than one line on the mount of Apollo or the mount of Sun, the person could take more than...
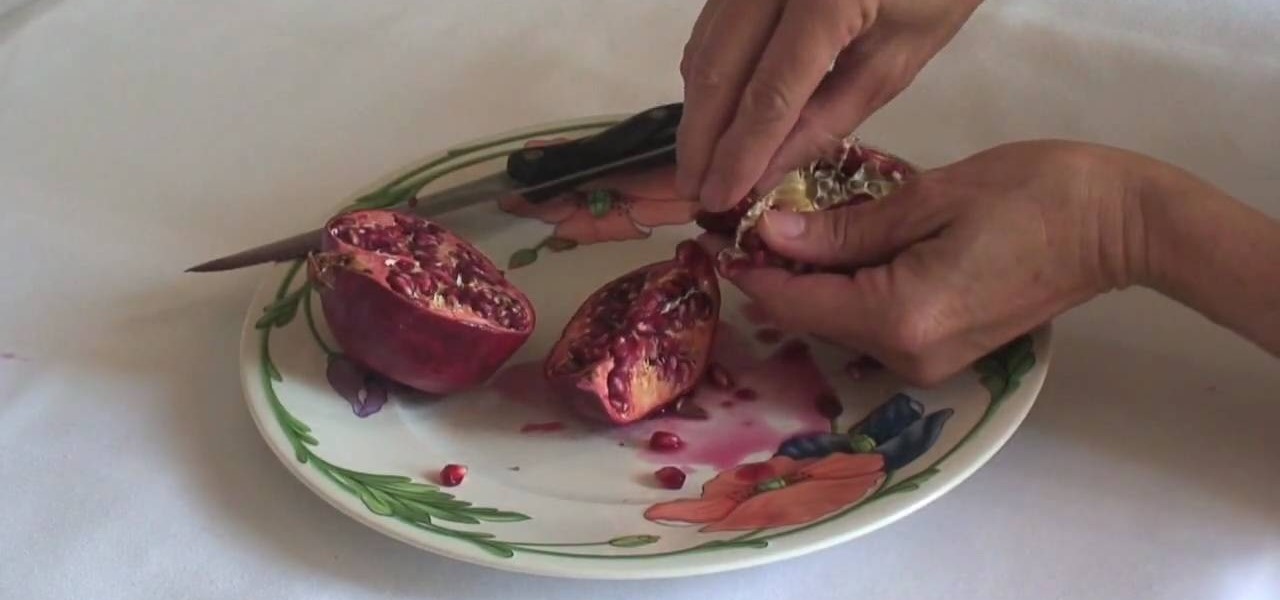
In this tutorial, we learn how to prepare a pomegranate for eating. These are very messy fruits, so make sure you place it on a surface that has a plate underneath it. Take a sharp knife and cut down the center of the pomegranate until you reach the bottom. Now, quarter the halves and push the skin back so the seeds are exposed. As you do this, you can pick the seeds off and eat them, or place into a bowl to eat later on. When finished, enjoy eating these delicious seeds with your favorite fl...
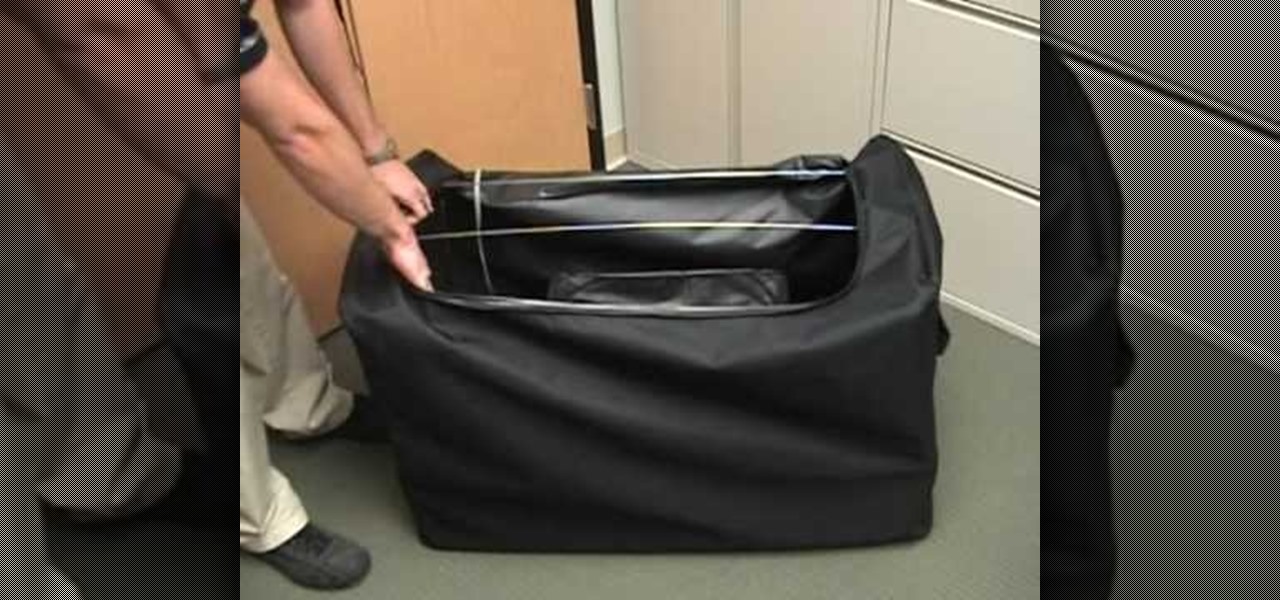
A Pack Tite Unit is used to treat items that may be infested with bed bugs. It can be used to treat suitcases and other items that can't be easily washed in hot water. Be careful not to allow any items to touch the heating unit. Place your item in the center of the rack. Place the metal safety rack on top of your item. There are also side racks available. Zip it closed. Make sure it is zipped as far as it will go. This will kill bed bugs and eggs, because it will heat items up to 140 degrees....
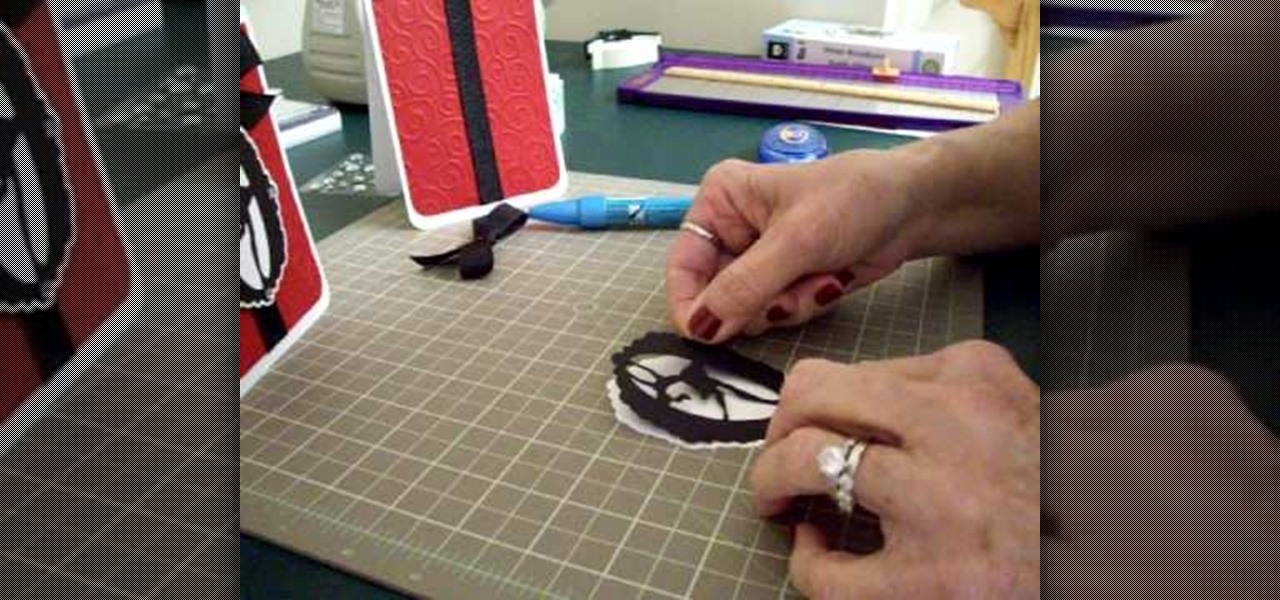
Make a simple, elegant card using Winter Woodland. Go to page 50 of manual. Cut tag and skater at 3 inches. Use 8 1/2 x 11 cardstock and cut vertically to 4 1/4 inch. Fold from top to bottom. Round corners of cardstock and red matte. Make red matte 4x5. Run red matte through cutter bug using swirls folder. Insert between two plates and run through. Place black grosgrain ribbon down the center. Stick to front of card. Glue skater to background. Place square crystals around skater. Create and p...