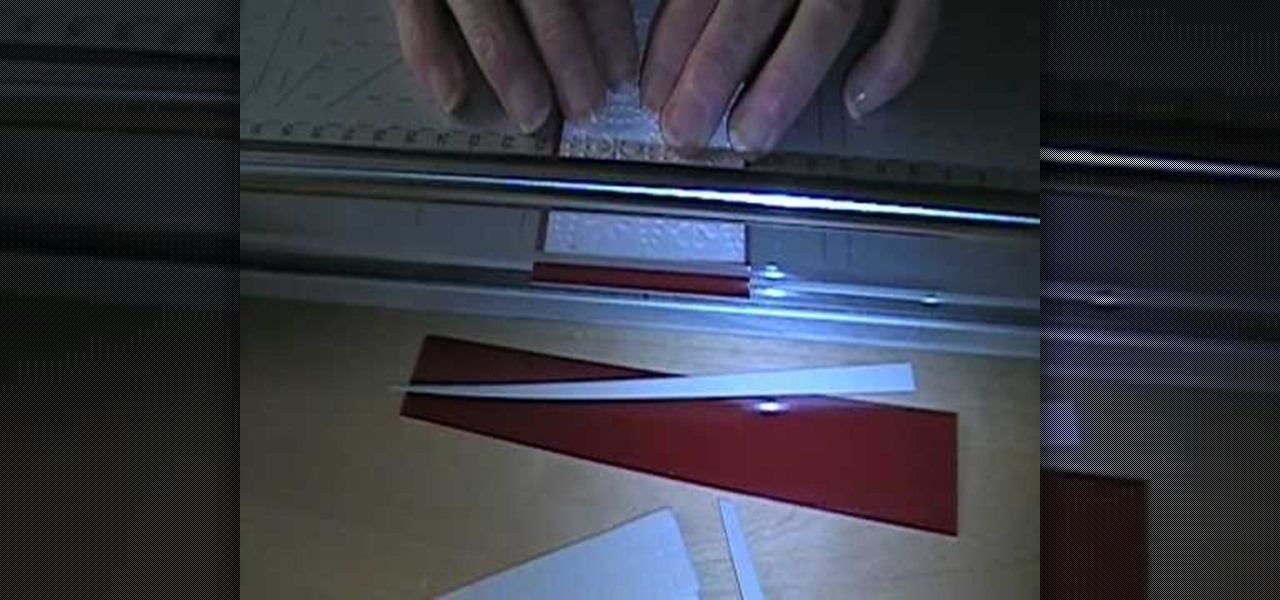
How To: Make quick cuttlebug cards
In order to make cuttlebug cards, you will need the following: cuttlebugs, ribbons, two sided tape, a trimmer, and cardstock.


In order to make cuttlebug cards, you will need the following: cuttlebugs, ribbons, two sided tape, a trimmer, and cardstock.
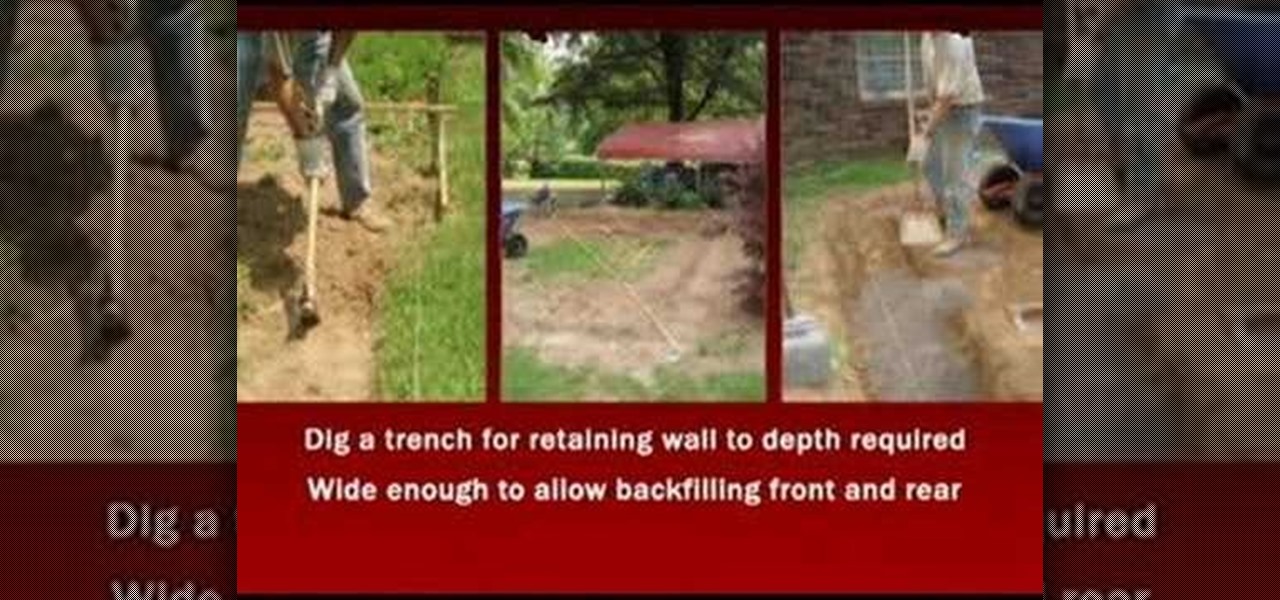
In this tutorial, we learn how to build a backyard patio. First, determine the location keeping in mind other buildings and landscape features. There should be a retaining wall around the patio so measure out all the different dimensions. Position a cap block at the highest center location. Then, use a level to transfer the patio height over the proposed location. You will then have to figure out how many blocks you need. When you calculate your digging depth, take into account your foundatio...
MySpace gives users the ability to hide their friends list. This video walks you step by step through being able to view this list. First, go to the desired profile. You'll see the hidden friends list. Now, click on "Edit with notepad" and code will pop up on your notepad. Because the list is on the page, editing the source code will make the list appear on the page. Next, type the command >table border=0 cellspacing=0 align="center">. Now you'll be instructed on how to delete the source code...

In this tutorial, we learn how to do a yoga revolved side angle pose with Dina Prioste. First, come to a low lung with your right leg forward. Put your hips down so your left thigh gets closer to the floor. Deep inhale and exhale while twisting to the right. You can stay upright or lean down with your elbow on your knee. Keep breathing deeply and find your center while concentrating and relaxing. You can come to a full lunge if you are confident in your strength, or stay in the pose you are i...
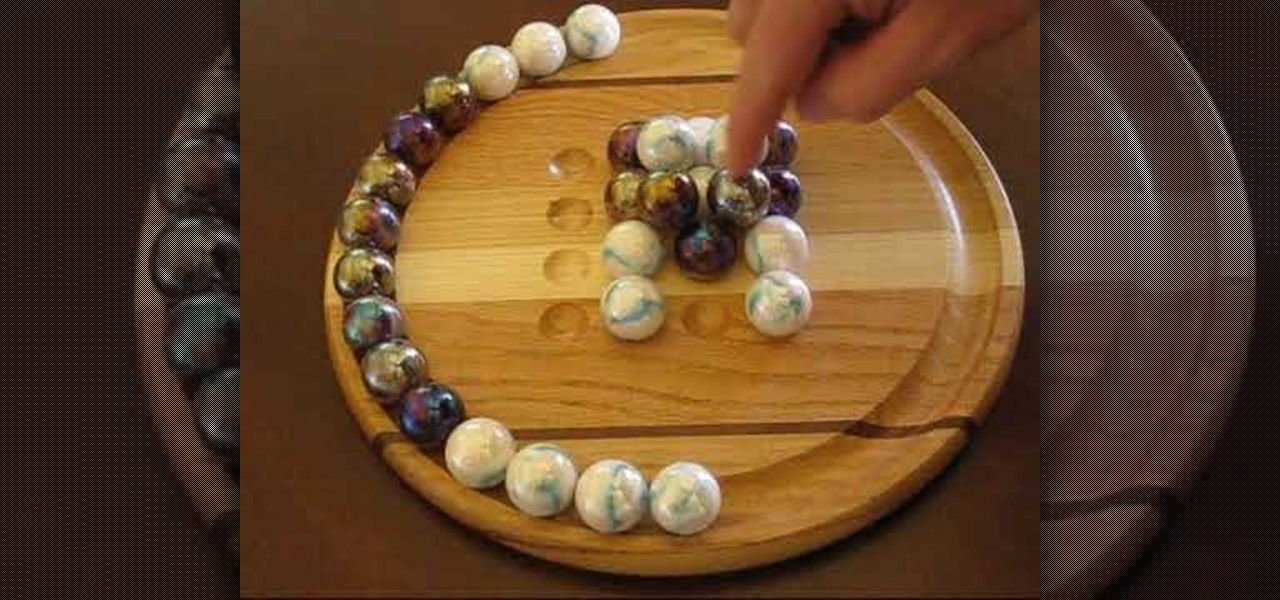
In this video tutorial, viewers learn how to play marble pyramid. This is a 2 player game. Each player has 15 marbles. Players simply take turns placing the marbles onto the field. When 4 marbles form a square, a player is able to place a marble in the center to raise the marble level. Players continue placing and stacking the marbles until it forms into a pyramid. The player with the last marble on top wins the game. Players are also able to stack using their marbles from the field. This vid...
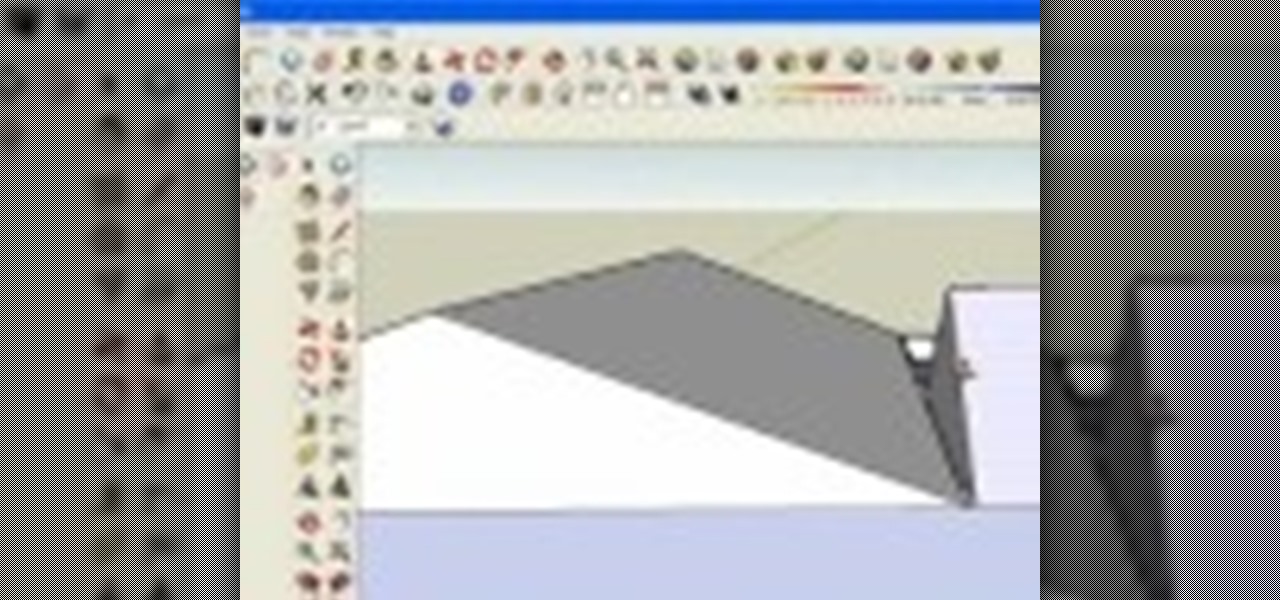
In this Computers & Programming video tutorial you will learn how to intersect roofs on Google SketchUp house. This demonstration tutorial opens up a project where the building is already constructed and slanting roof is to be added. The building is in 'L' shape. Hence, the slanting roofs are in different directions and both have to intersect at one point on the center line. First the roof of the longer section of the house is made. Then that of the shorter section is made with a gap between ...
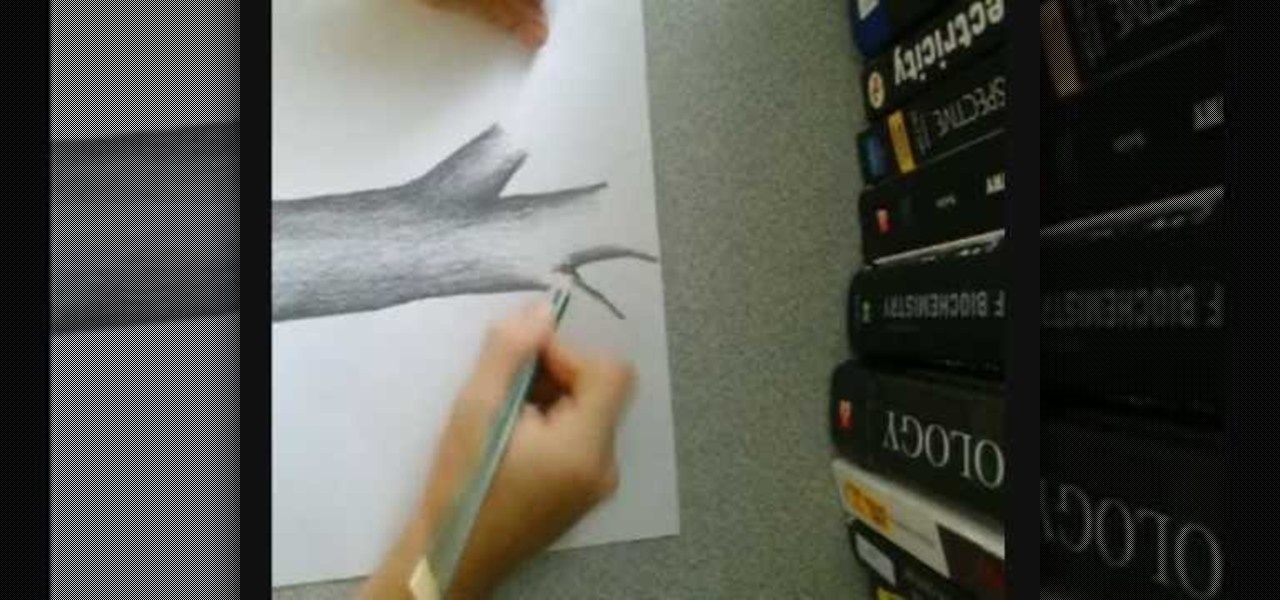
This video demonstrates how this artist draws a tree using a pencil and paper. After creating the outline of your tree trunk, darken the line and add shading as necessary throughout the tree to add dimension to your drawing. The darker shading is focused on the outside edges of the trunk, lightening as you go towards the center of the trunk. Sharpen your pencil as necessary, since it is easier to add detail to your tree with a sharp pencil. Add further branches to your initial trunk and creat...

In this video tutorial, viewers learn how to fold a pocket square into the winged puff and rolled puff. For the winged puff, begin by folding the pocket square diagonally in half to form a isosceles triangle. Then fold the two edges towards the middle to form a diamond shape. Now fold the two outer points into the center and fold the bottom flap up, creating a pentagon shape. For the rolled puff, cup the pocket square in one hand, then roll the top of the pocket square downwards with the othe...

This video demonstrates how to draw a detailed half face portrait of a person by drawing the eye and hair. Begin by drawing the outline of the eye, adding detail such as the inner fold of the eye where the tear ducts are as well as creases above the eye. Draw the pupil of the eye, adding highlights to the center. Then, continue by drawing highlights and further shading details to the rest of the eye, including eyelashes and then the eyebrow. Continue by drawing the outline of the face near th...
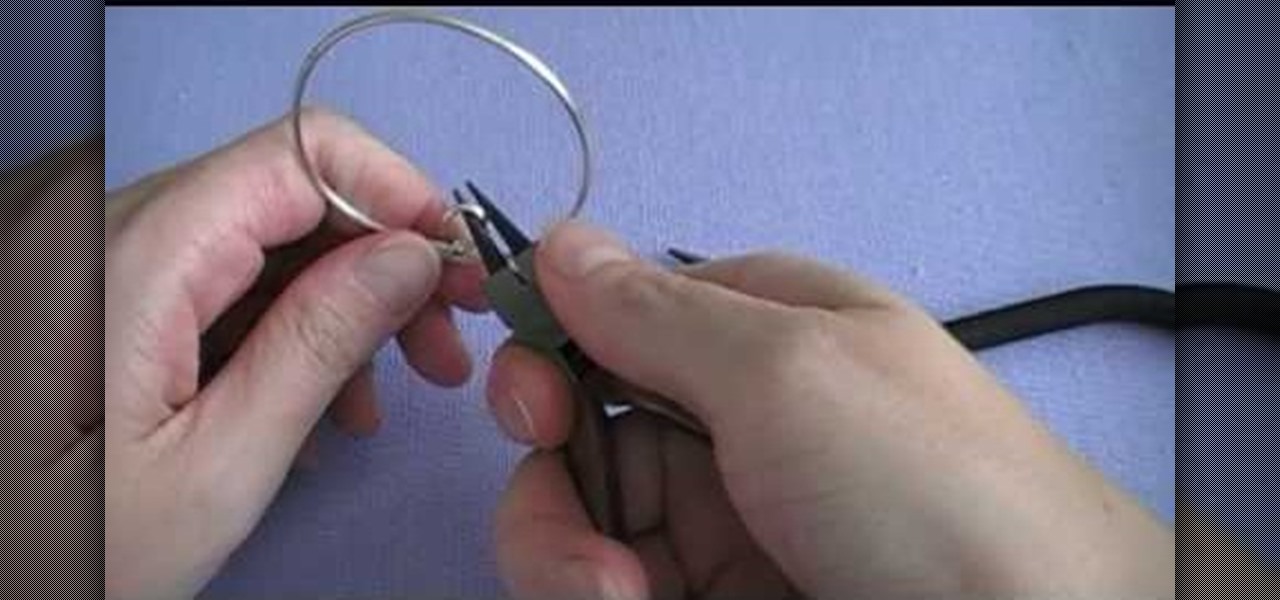
As seen in "Avatar" (sort of), the Tree of Life represents all the connections we have to one another as life forms, past, present, and future. It's really quite a deep concept, and is one explored in a beauteous way in this wire wrapping project.
Want to watch Internet television on your television? It can be done! And this home theatre how-to from the folks at CNET TV will show you how to do just that, integrating by integrating a Windows PC into your home entertainment center. For more information, including detailed instructions, and to get started using the Internet on your own TV, watch this free video tutorial.
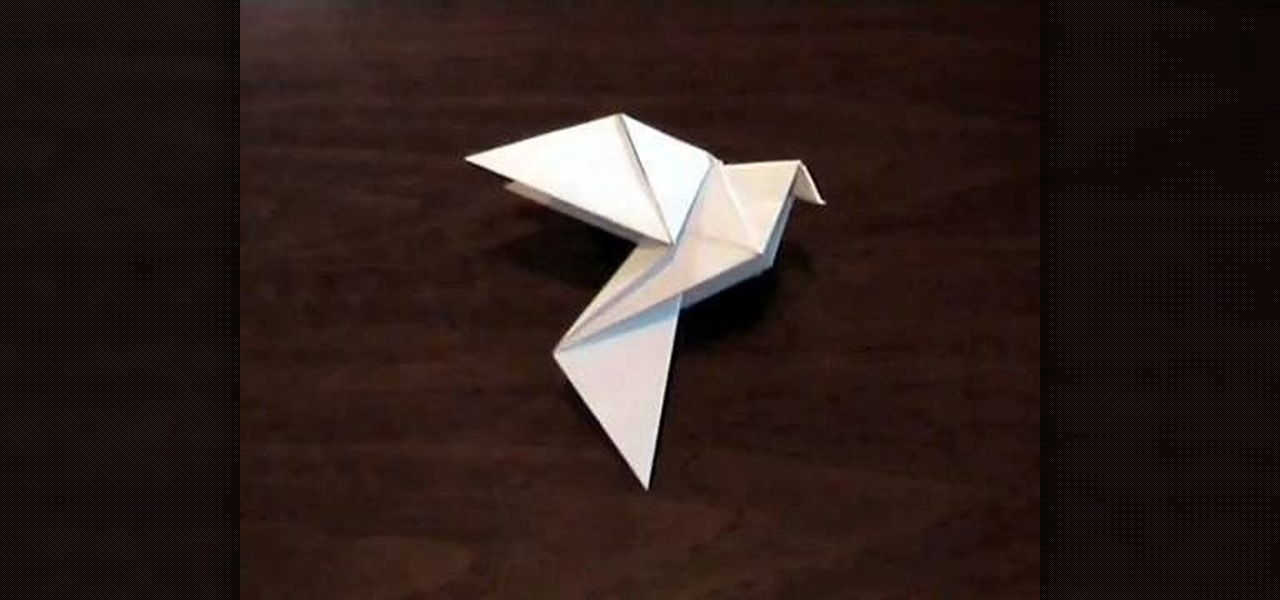
Doves are peaceful symbols of the spiritual rebirth that Easter centers itself on, and are springtime animals that herald the coming of a new season. Celebrate these cute springtime birds by crafting an origami dove.
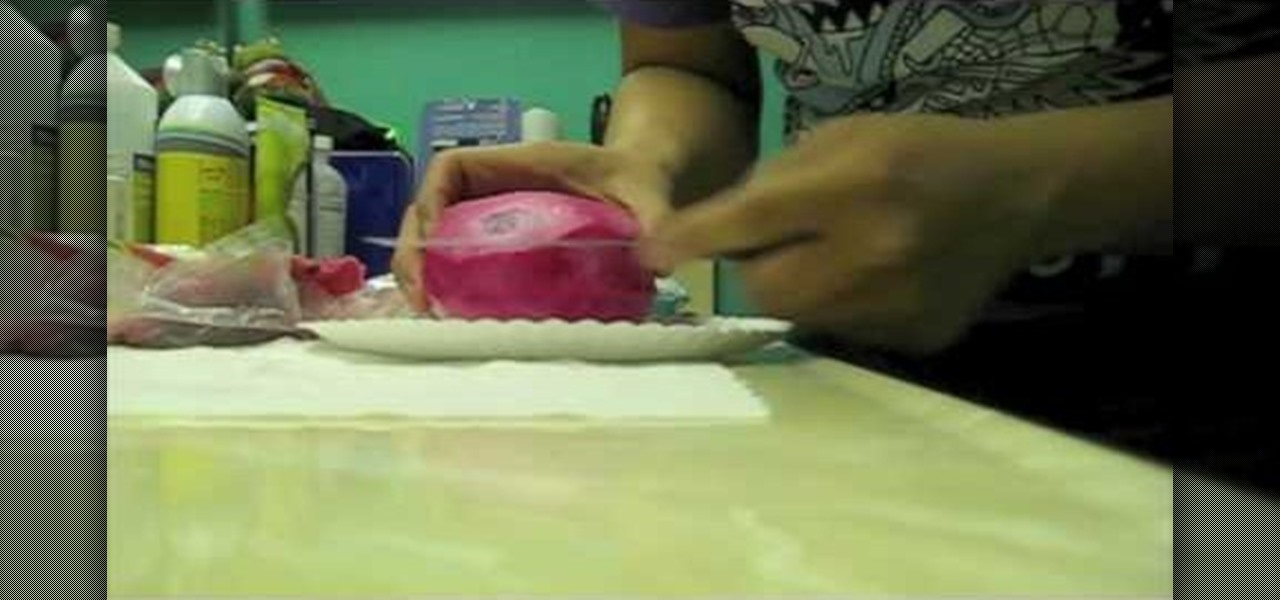
Jaqueesha demonstrates how to prepare and eat a dragonfruit. To prepare the dragonfruit you will need a knife, plate and paper towel. Preparing a dragonfruit involves simply peeling it and cutting it into pieces. First, cut off the stem which is not edible. Then, peel off the outer purple part off of the fruit can stain the skin so be sure to wash your hands after you work with the fruit. Dragonfruit has the texture of a mango. Slice the dragonfruit in half lengthwise. Then, cut each dragonfr...
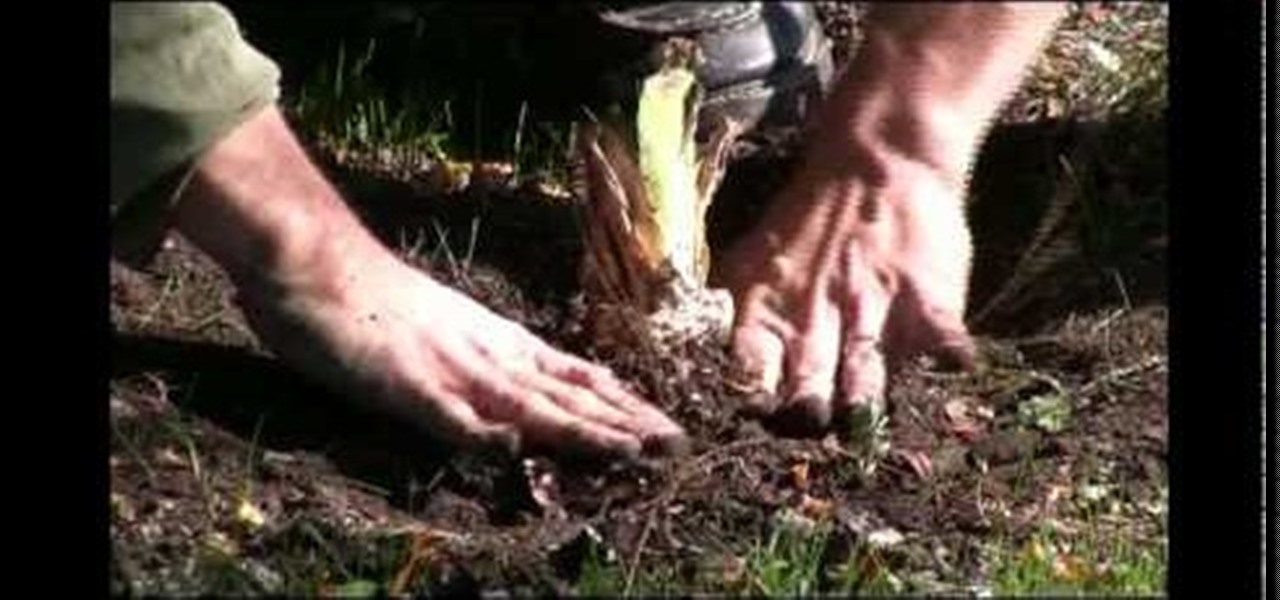
This video shows how to plant an iris. Be sure to select a spot that gets about six inches of sun a day to plant an iris. When planting more than one iris, be sure to space them about a foot apart. This will encourage them to grow tall. When you dig the hole, don't dig it too deep. Also, make a little mound in the center of the hole. Spread the roots of the iris over the little mound so that the hole drains and the plant doesn't rot. You want about a third of your rysem sticking up out of the...
To make the country bump hairstyle as seen on Carrie Underwood, Dean Banowetz, a stylist from American Idol demonstrates for BeautyTV. First, he takes a section of hair from the forehead to the crown and from the center of one eye to the other. Then he sections it from side to side and back combs the hair lightly to create the bump in the front. Additional back combing or a tail comb can be used to increase the volume of the bump as desired. After smoothing the top layer of hair over the bump...
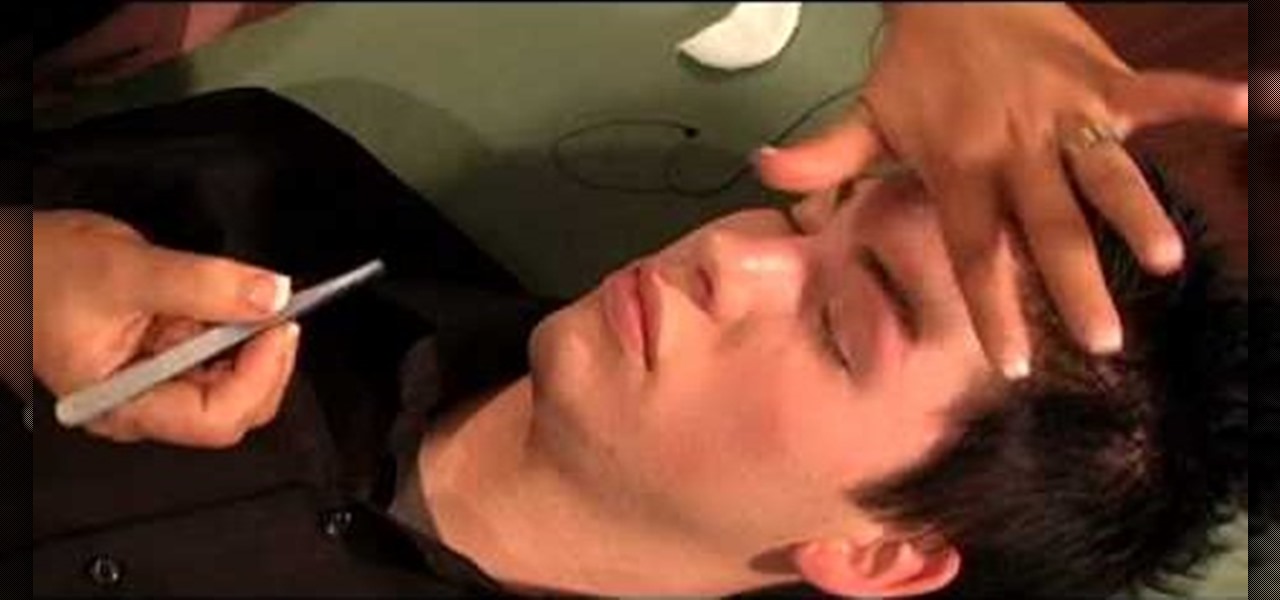
This is a video tutorial that is showing its audience how to remove their excess eyebrow hair by simply using a thread. The first step in removing your eyebrow hair with a thread is to ask the client how they want their eyebrows to look when you are finished. Take two threads and place them between your fingers, crossing the thread in the center. Then you should begin to slowly shape the eyebrow. Ask the client to close their eyes so that you will have access to the whole eyebrow. For men mak...

To prepare a bedroom for walls to be painted, remove as much furniture and objects from the room. You can leave the larger furniture in the center of the room, covered. Fill in any holes or cracks in the wall with a patch. Also, remove any hardware or outlet plates from the wall. Next, place masking tape at the base boards so you can paint below the carpet level. Tim suggests using a drop cloth rather than a plastic cloth to cover the floor. Drop cloths last much longer and are more convenien...
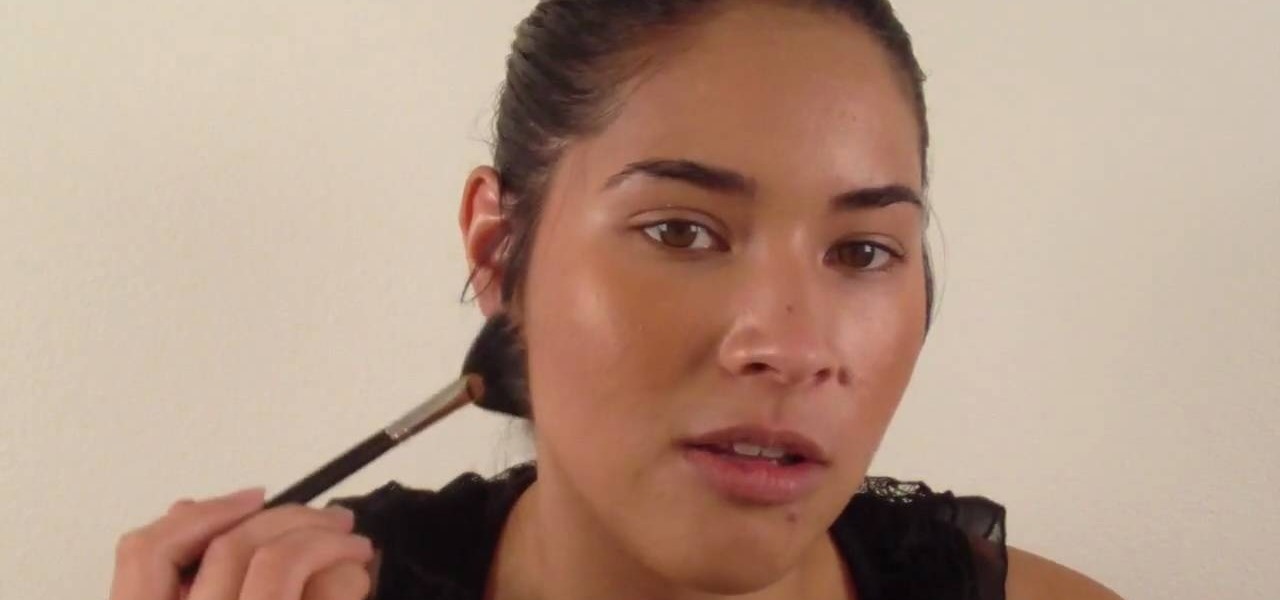
This video shows how to contour and highlight your face. First, sculpt your face using the MAC 184 brush, which is a dual fiber brush, and Sculpt Sculpting Powder. Brush the powder from the forehead down the side of the face and under the cheekbone, then underneath the jaw. For a more contoured look, use the 168 brush, which is a fluffy angled brush, concentrating on the hollow of the cheek, and using more powder.
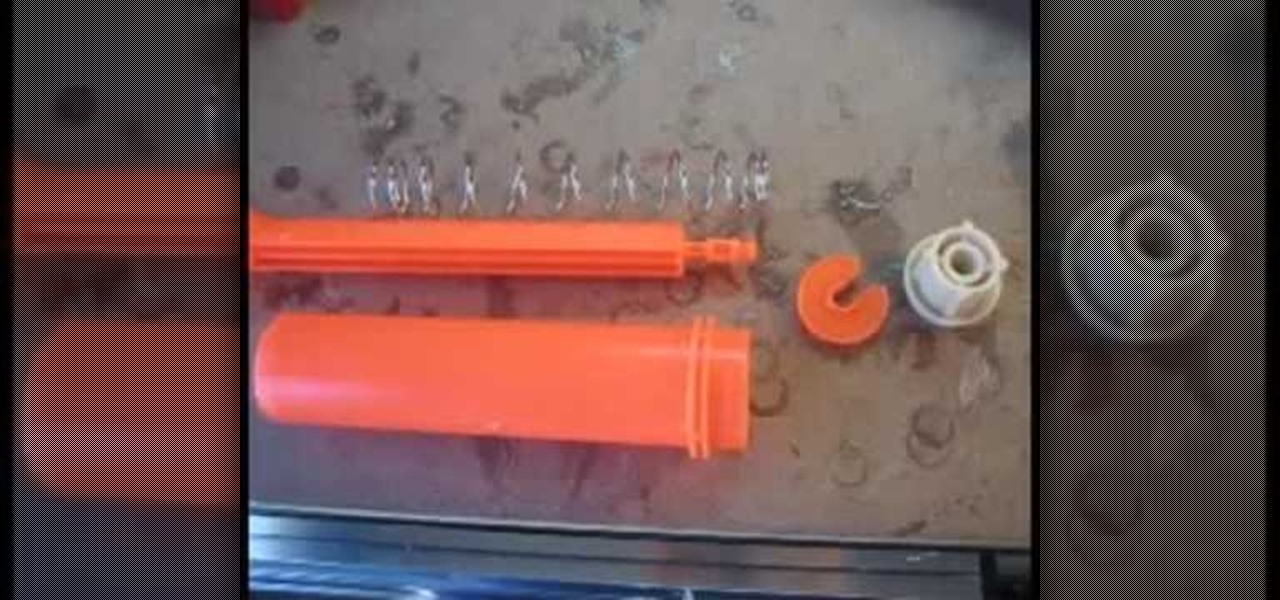
In this Hobbies & Toys video tutorial you will learn how to modify a Nerf Big Bad Bow to shoot farther. Open up the front part of the shell by removing the screws. Make sure the spring on the launch piece stays together and pull out the barrel. Then dismantle the white restrictor piece and drill a hole in the center for more airflow as shown in the video. Now cut off the orange barrel as close to the wall as possible with a pipe cutter and sand it off. Take an extra piece of CPPC pipe and ram...
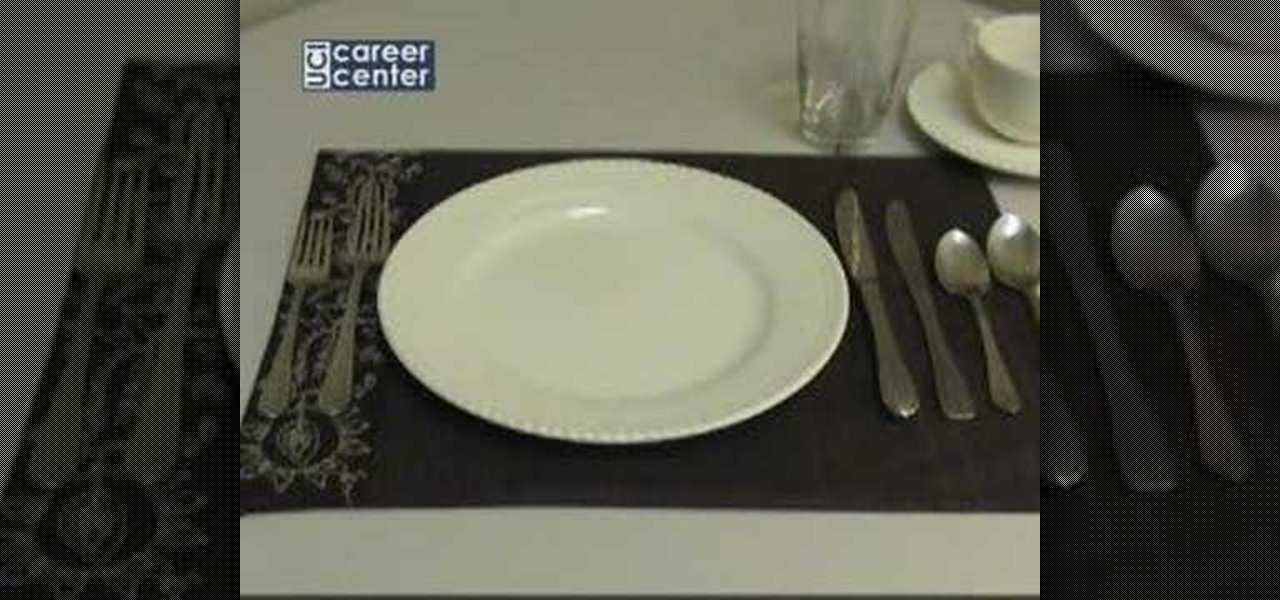
To set the table for a formal dinner, place a plate a little bit to the left of the center of the meal sheet. Place two forks to the left of the plate, The smaller fork is for the salad, and should be placed on the outer side. The inner fork is for the dinner. Place two knives to the immediate right side of the plate. The outer knife is for the salad, and the inner knife is for the dinner. Place two forks to the right side of the knives, the outermost spoon is for the soup, and the inner spoo...

In this Arts & Crafts video tutorial you will learn how to make a lily flower from folded paper with origami. For this, you need a square sheet of paper. First you fold it in half and then fold it in half in the other direction. Next you fold it diagonally across to form a triangle. Then fold it again across the other diagonal. Open up the paper and push the diagonal folds inwards slightly so that the center point is pointing upwards. Then press the folds in to form a triangle. Take one of th...
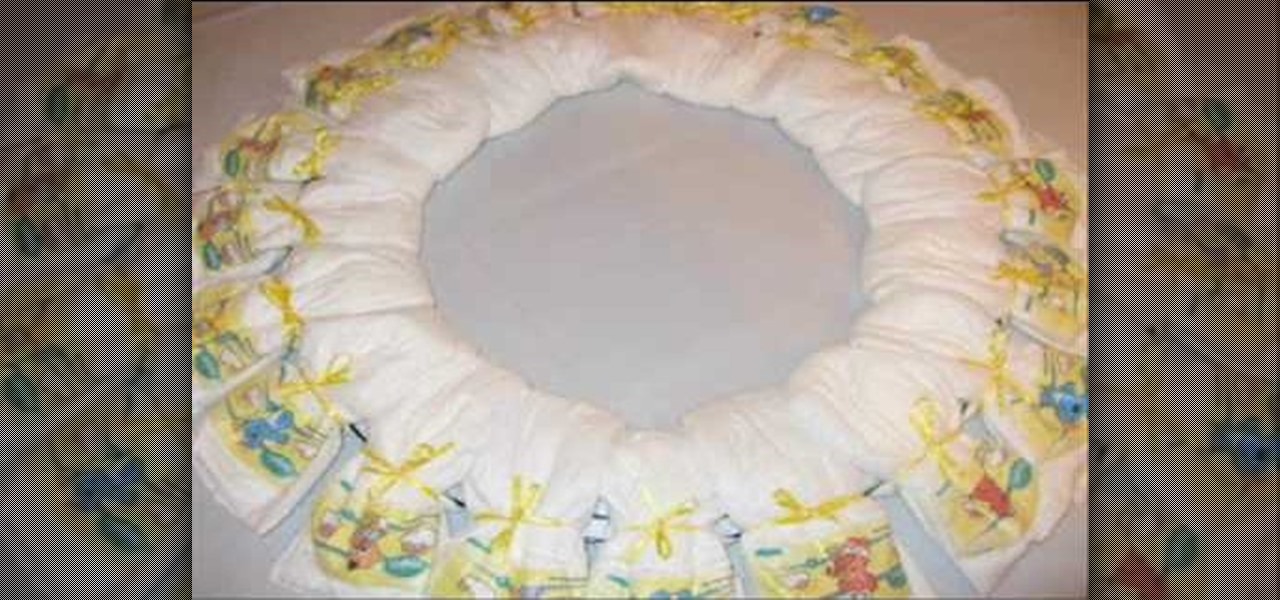
In this how-to video, you will learn how to make a disposable baby diaper wreath. You will need 20 size 1 disposable diapers and a wreath that is 12" to 18". Scissors, ribbon, and bows will be needed. Purchase some baby accessories such as pacifiers and toys. First, open the diapers. Put them in a sandwich shape around the wreath. Time them to the wreath with the ribbon. Do this until the entire wreath is filled. Make sure they are tied on tight. Place a toy on every three or so diapers. Tie ...
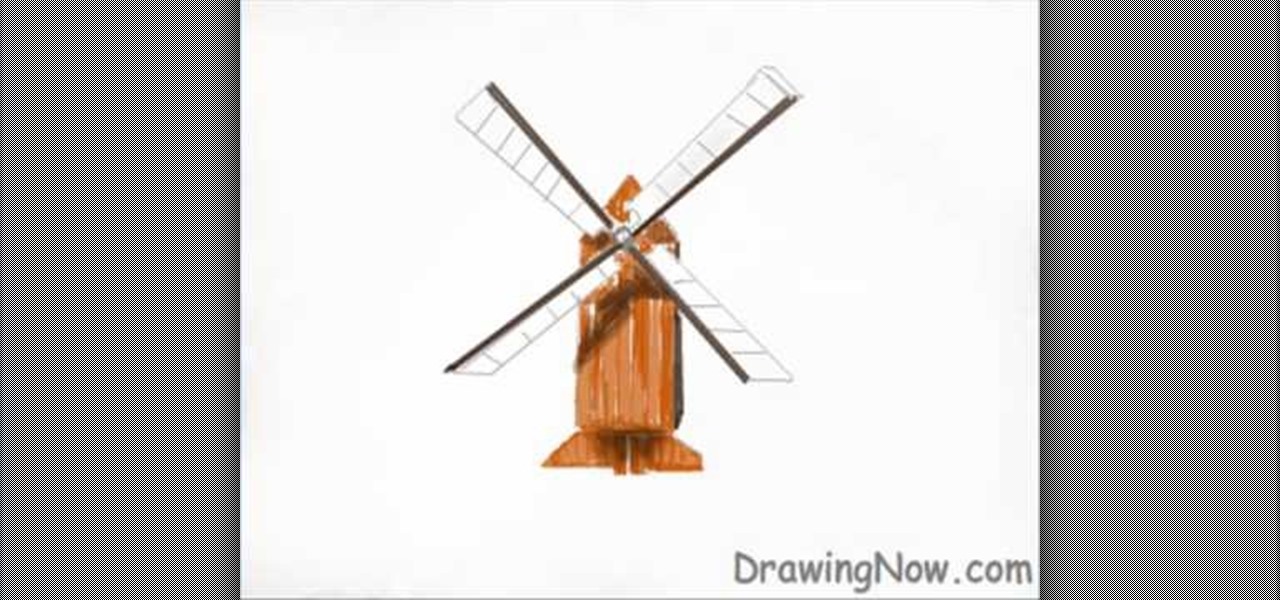
In this how-to video, you will learn how to easily draw a wind mill from scratch. First, start off with the building of the mill. Next, draw the arms of the wind mill. Include the flaps on the arms. Next, fill in the smaller details such as the center of the rotation. Next, you can fill in the color of the building. In this case, brown was used. Next, fill in the arms of the wind mill. Add appropriate shading on top of the building. You can also add shading to the arms. Next, fill in the back...

This video shows how to paint your nails with a very attractive red and yellow nail art design. Using a glitter nail polish, dip it in yellow glitter powder. Pat it on the nail, rather than brushing it on. Then apply large glitter shimmers randomly all over the nail, and this forms the background.

In this Home & Garden video tutorial you will learn how to divide hosta. Hostas are one of the best plants for your garden. They grow very fast. Hence, you have to divide them to keep them healthy. The best time to do this is either early spring or during fall. Take a flat shovel and dig a hole about 3-5 inches around the base of the plant and then pull it out. You can use a big knife, your hands or even the shovel to divide the bunch of plants. Move the foliage a bit so that you can see the ...
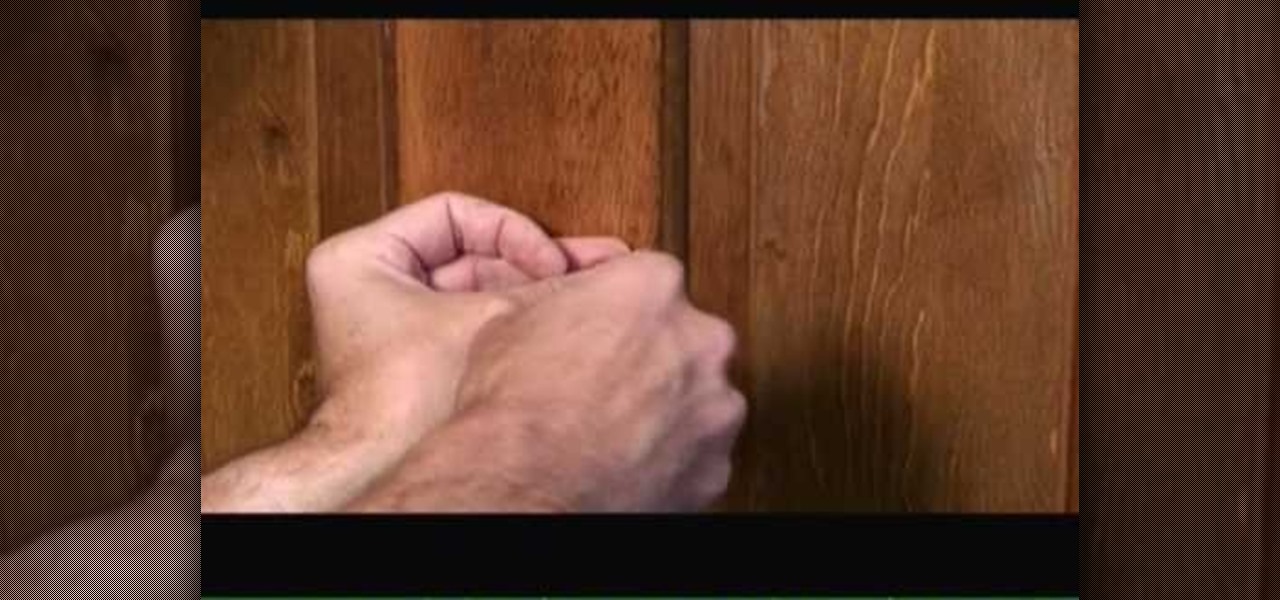
In this video, Mark Donovan shows us how to mount a mirror on a door. First, take the mirror and position it the height you want it located. Then, mark the top with a pencil and make sure the mirror lines up with lines on the door and it's in the center. Now, screw in the door attachments in the thickest part of the mirror. Attach the mirror and screw the screws so that the mirror is completely secure. Now, you can hammer in the screws to make sure they are completely attached to the door and...

In this Computers & Programming video tutorial you will learn how to update a website with an FTP client (v† la FileZilla). Download FileZilla client from www.filezilla-project.org. Find your server IP address from your web host, which will be found in the hosting control center. In the video, it is GoDaddy.com. Open your filezilla client and put in the IP address of your web host and your username and password for your hosting account. Then click ‚Äòquickconnect‚Äô. This will connect you to ...

You have to start by placing the handkerchief on a flat surface, you grab the center pull up and you will see all the points dangling dry your hand down and then what you need is to fold the bottom up then if you twist the hand around the handkerchief just to hold it in place . The way it should actually be folded is with the fold in behind and the puff in front but it is easier if u wrap it around your hand. The way it will be placed in the pocket is by simply pushing it down, the edge of th...
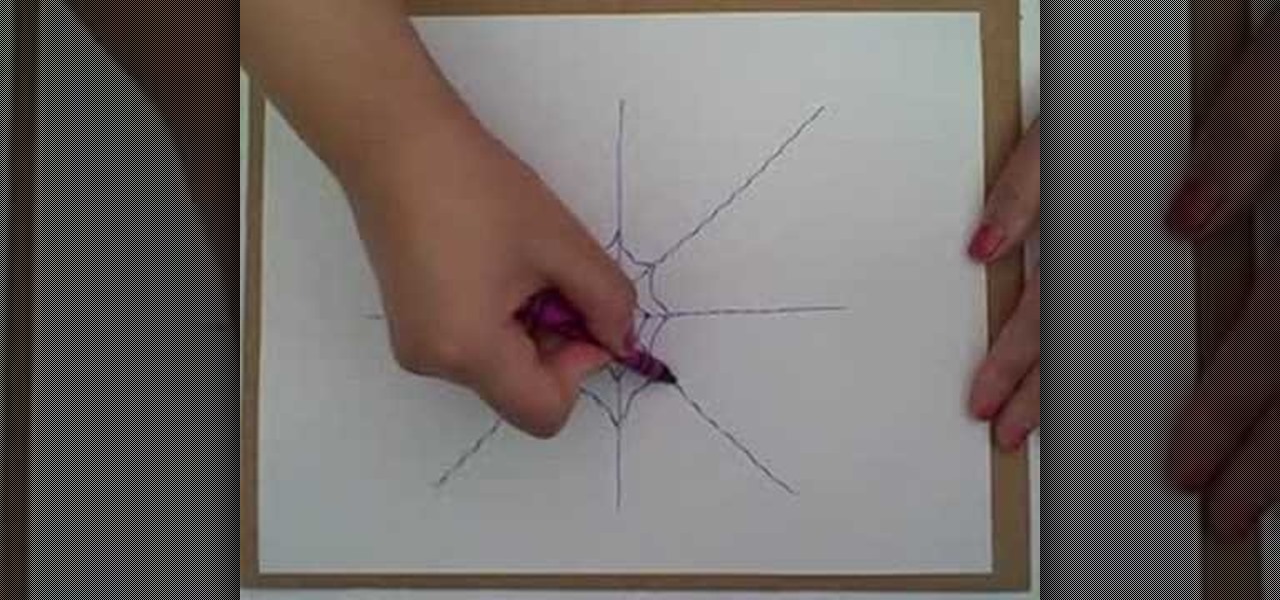
This how to video shows you how to create a basic spider web. This will be helpful if you do not know how to create the basis for a basic web. You will need a crayon and a piece of paper. First draw a large plus sign in the middle of the paper. Next, make two intersecting diagonal lines. You have formed the basis of the web. Next, Draw a curved line crossing in between each line. Start this at the center. After you go around the lines once, draw another line above the previous. Keep on doing ...

In this Family video tutorial you will learn how to make a spiral sun catcher. Take a contact paper and draw a spiral on it starting at the center and drawing out wards. Now remove the backing of the contact paper and lay it down sticky side up. With markers, color in the spiral. Then take the contact paper and lay it on top of the backing and smooth it out. Now cut along the line of the spiral with scissors. Tie a piece of ribbon to the inside end of the spiral and now you have a spiral sun ...

This video demonstrates how to paint a rabbit in leftover ground ink. The style used is called sumi-e. Using a the side of a thick brush, create a filled in circle in the center of your page. This will be the head. Below this circle, add an elongated abstract oval shape for the body. Add a small circle at the back bottom area of the body for the tail. From the top back of the head, add two long thick lines for the ears. Using the thin tip of a brush add the details of the face including the n...
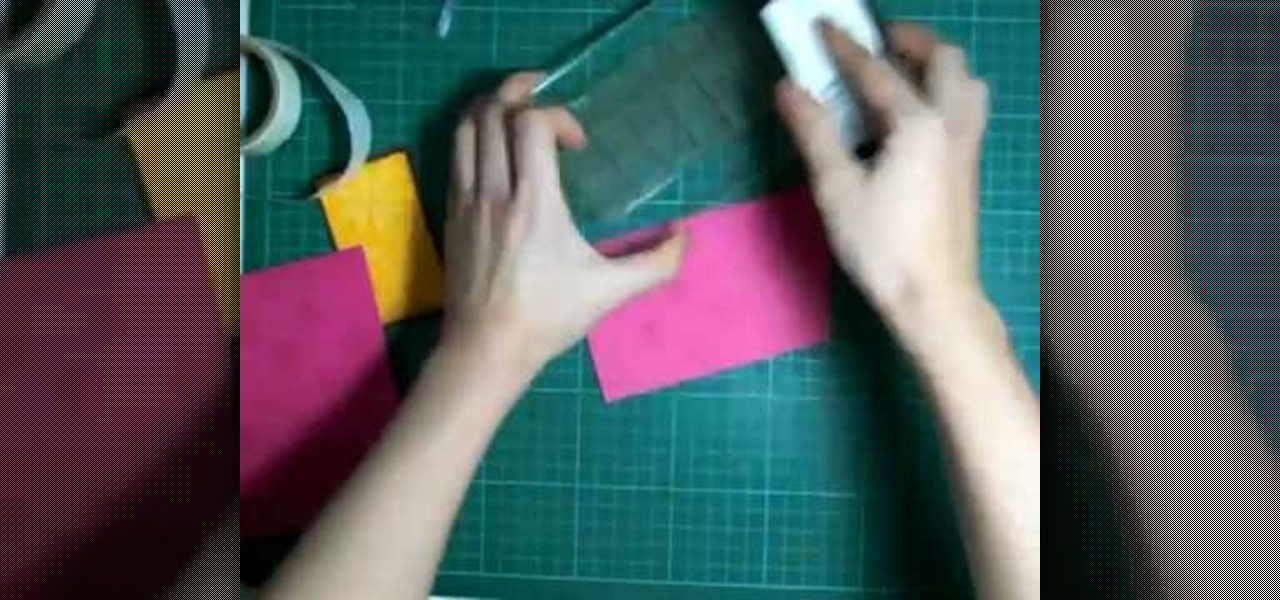
In order to make a Cuttlebug Smoosh Card, you will need the following materials: card stock (at least 3 different prints or colors), a ruler, distress tool, double sided tape or glue, distress ink, watermark stamp pad, decorative accessories, and scissors.
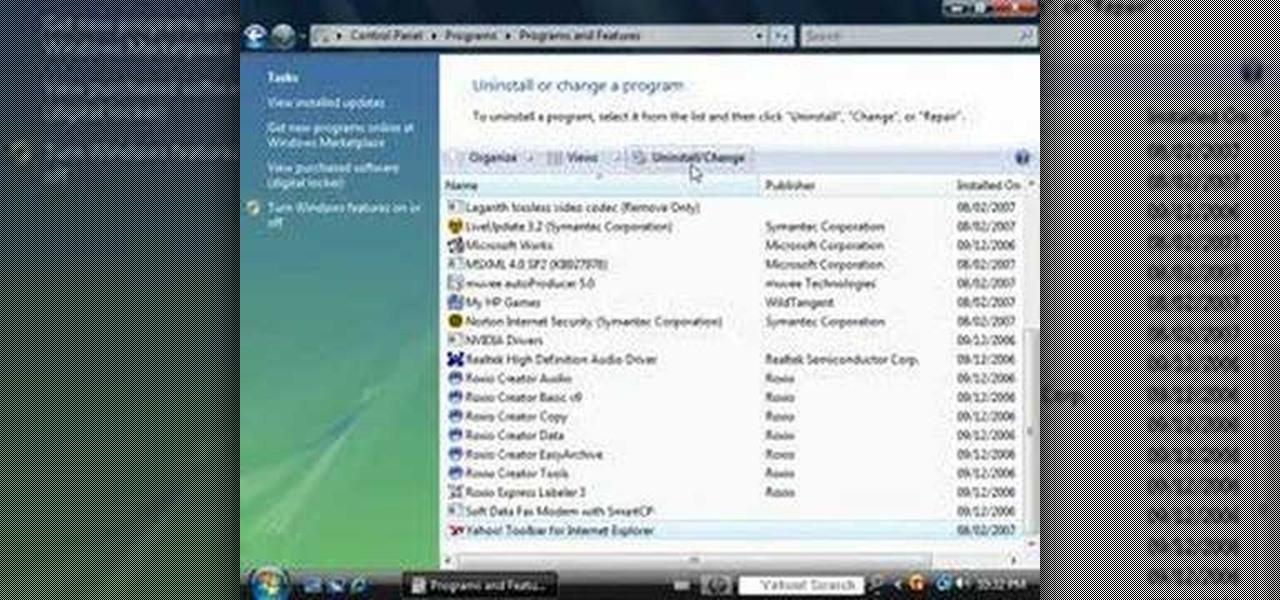
1. Go to Control Panel from the start menu and select Uninstall a program. 2. Start Menu>Control Panel>Uninstall a Program

In this video tutorial, viewers learn how to play the game, Borderlands online with Hamachi private network. Users will need to first download the Hamachi private network. Then open Control Panel, and select Network and Sharing Center. Under Tasks, click on Manage Network Connections. Click on the Advanced menu and click on Advanced Settings. Move the Hamachi network up and click OK. Now open the Hamachi and create a new network or create on. Type in the network ID and password. This video wi...
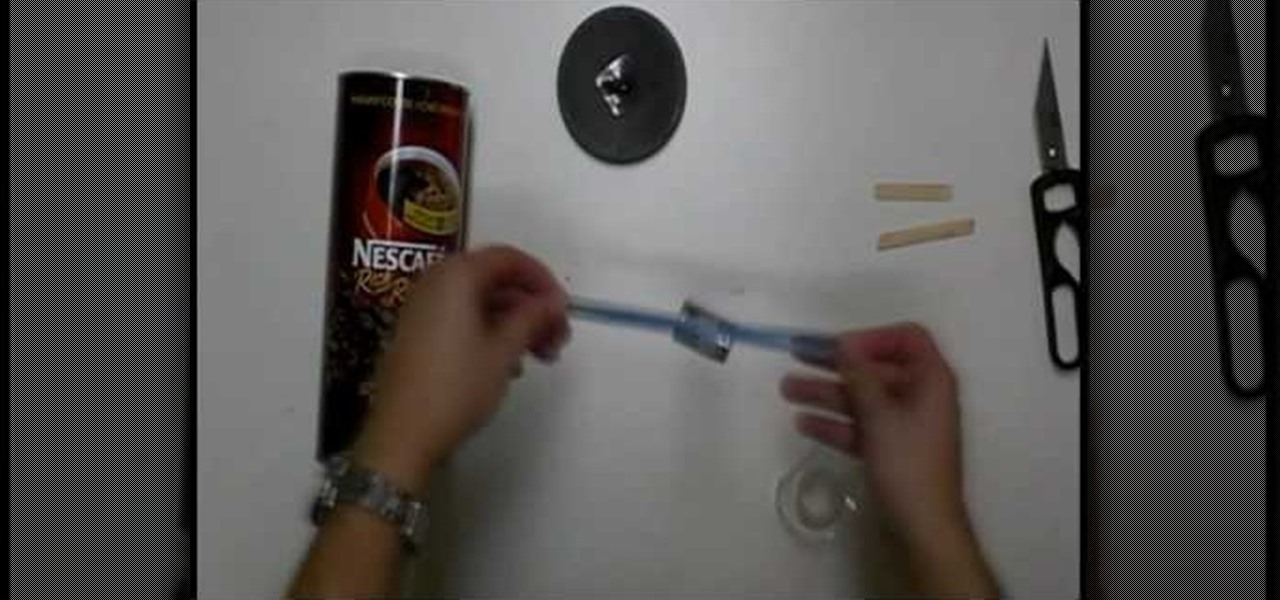
This video tutorial in Hobbies & Toys category will show you how to build a magic rollback can. For this you will need a can with lid, rubber band, weight, tape, sticks and scissors. Make a hole in the center of the lid of the can and also on the bottom of the can. Attach the rubber band to the weight with the tape as shown in the video. Pass one end of the rubber band from inside the can through the hole in the bottom of the can and put a stick to hold it in place. Pass the other end of the ...

This video is a demonstration of how to make a Chinese paper star out of newspaper. First take a folded piece of newspaper and fold it in half again the long way, and then again, to make a narrow strip. Fold the strip in half to crease it, then fold the strips at a right angle in both directions. Fold the outside edges in toward the center twice and then in a triangle. At this point you will have a thick diamond shape. Repeat with another sheet of newspaper. He demonstrates how to join the tw...

First you draw a triangle then you attach lips to the triangle then you go up and over to make his head. make two half circles to make two eyes. Draw two ears on the top of the little dogs head. Then from the head you draw down to proceed to make his body. You can make him a little fatter if you like fat dogs. Draw his tail. And for a little extra look you can add a spot over his eye. You can also draw a collar on him and if you draw a circle at the center of the collar you can even name him ...

This video illustrate us how to draw professor E. Gadd in Mario paint. Here are the following steps:Step 1: Draw a circle and within the circle draw another circle at the center.Step 2: Now from the periphery draw another circle so that half of the circle is in the circle and the other half on the outer part of the circle .Step 3: Now draw another circle another circle in similar manner on the opposite side.Step 4: Now draw three circles within the two circles drawn so that they form a hazel,...

In this video tutorial, viewers learn how to connect an Xbox360 with wireless internet. Begin by connecting your computer to a wireless network. Click on the Start menu and select Control Panel. Go to Network and Internet, and select Network and Sharing Center. Under Tasks, click on Manage network connections and select your wireless connection. Right-click on the connection and select Properties. Go to the Sharing tab and check both the sharing options. Now click OK. This video will benefit ...

This video shows rather than tells you how to draw a cartoon figure. There are no words of explanation. It starts with a simple Mario game character already drawn on the paper. Then you see a hand with a pencil come into the frame. This hand draws the eyes first, then the nose and a mustache. Then it does the outline of the face and the ear. The perspective is slightly to the side of the face, not directly in the center. The outline of the hat comes next, with the emblem on it. The final area...