A camera determines what you will record as you animate a scene in 3ds Max. In this 3ds Max video tutorial you will learn how to add a simple camera to your scene. You'll also learn how to navigate the viewports. Make sure to hit "play tutorial" in the top left corner of the video to start the video. There is no sound, so you'll need to watch the pop-up directions. Place a simple camera in 3ds Max.

In this 3ds Max video tutorial you will learn how to render a single image or a frame sequence. You learn how to assign the output format, choosing compressor, and render both animations and still images. Make sure to hit "play tutorial" in the top left corner of the video to start the video. There is no sound, so you'll need to watch the pop-up directions. Render in 3ds Max.

In this Illustrator CS2 video tutorial you will learn to create a picture clipping mask. In another words, you will learn how to clip a picture with any closed vector path. Make sure you select both objects when applying the Make Clipping Mask command. Make sure to hit "play tutorial" in the top left corner of the video to start the video. There is no sound, so you'll need to watch the pop-up directions. Create a picture clipping mask in Illustrator CS2.

In this Illustrator video tutorial you will learn to create a print-ready postcard. Learn how to add crop marks, outline text, and save documents for print. This example uses CMYK and PMS colors. Make sure to hit "play tutorial" in the top left corner of the video to start the video. There is no sound, so you'll need to watch the pop-up directions. Create a print-ready postcard in Illustrator CS2.

In this tutorial you will learn how to create glossy web icons in Illustrator CS2. Very often you will be able to download royalty-free icons from the Internet, but the problem is they are not customized to fit in with your existing web site's design. So creating your own icons is always a good way if you have the time to do it. Make sure to hit "play tutorial" in the top left corner of the video to start the video. There is no sound, so you'll need to watch the pop-up directions. Create glos...

To create great looking 3D text in Bryce 5 all you need is a paint program and Bryce. In this Bryce 5 video tutorial you will learn how to create 3D text by making the text in Photoshop, importing it into Bryce as terrain, using a boolean, and adding texture. Make sure to hit "play tutorial" in the top left corner of the video to start the video. There is no sound, so you'll need to watch the pop-up directions. Create 3D text in Bryce 5.

In this Bryce 5 video tutorial you will learn how to create footprints in sand. Learn how to use Photoshop to create footprints, and then import the image as image height map in Bryce 5. You will then be shown how to edit terrain, apply edits, and create footprints! Make sure to hit "play tutorial" in the top left corner of the video to start the video. There is no sound, so you'll need to watch the pop-up directions. Create footprints in sand with Bryce 5 and Photoshop.
For video post-production, Photoshop CS3 Extended now includes video-format and layer support to edit video files frame by frame. The resulting video can then be exported to a variety of formats including Flash. In this Photoshop CS3 video tutorial you will learn how to create a simple animation in Photoshop CS3 Extended. Make sure to hit "play tutorial" in the top left corner of the video to start the video. There is no sound, so you'll need to watch the pop-up directions. Create basic anima...
In part one of this two part Photoshop CS3 Extended video tutorial you will learn how to import Poser 3D models direct into Photoshop as .obj files. When you export from Poser, make sure you have one folder with a .obj file, a .mtl file, and the textures. Make sure to hit "play tutorial" in the top left corner of the video to start the video. There is no sound, so you'll need to watch the pop-up directions. Import & texture Poser characters in Photoshop.
Photoshop CS3 Extended has support for popular 3-D formats, which allows users to render and incorporate rich 3-D content into their 2-D compositions, including texture editing on 3-D models. In this video tutorial you will learn how to edit texture on a Poser 3D model. This tutorial is part two and follows "Import and texture Poser characters in Photoshop". Make sure to hit "play tutorial" in the top left corner of the video to start the video. There is no sound, so you'll need to watch the ...
In this Photoshop CS2 video tutorial you will learn how to select and cut with the Freehand Lasso tool. This tutorial is aimed at new users. Make sure to hit "play tutorial" in the top left corner of the video to start the video. There is no sound, so you'll need to watch the pop-up directions. Use the Freehand Lasso tool in Photoshop CS2.
Photoshop's History Brush is great for fixing an image, but it also lets you use previous states of the image to create new effects. In this Photoshop CS2 video tutorial you will learn to use the history brush. Make sure to hit "play tutorial" in the top left corner of the video to start the video. There is no sound, so you'll need to watch the pop-up directions. Use the history brush in Photoshop CS2.
In this Photoshop CS2 video tutorial you will learn how to use Vector Path tools. Learn to draw a path, select points on the path, and refine it. This example involves cutting an image from the background using clipping paths. Make sure to hit "play tutorial" in the top left corner of the video to start the video. There is no sound, so you'll need to watch the pop-up directions. Use clipping paths in Photoshop CS2.
You need to digitize your images before you can use them in Photoshop. In this Photoshop CS2 video tutorial you will learn to import images from a scanner and a camera and how to touch up the image with the Curve feature. Make sure to hit "play tutorial" in the top left corner of the video to start the video. There is no sound, so you'll need to watch the pop-up directions. Import images from a scanner & camera in Photoshop CS2.
It is easy to find out the RGB value of a color using Photoshop. In this Photoshop CS2 tutorial you will learn to use the colour sampler toolset. This example shows you how to sample colours, read RGB %, and measure image width. Make sure to hit "play tutorial" in the top left corner of the video to start the video. There is no sound, so you'll need to watch the pop-up directions. Use the color sampler toolset in Photoshop.
If you have a group of large files that need to be sent to a client, you might want to compress it into one single file for easy access or even protect its content from outsiders with a password. This video will teach you how to create password-protected zip files with WinRAR. WinRAR provides full RAR and ZIP file support, and can decompress CAB, GZIP, ACE and other archive formats. Make sure to hit "play tutorial" in the top left corner of the video to start the video. There is no sound, so ...
Moving the camera back and forth between different positions can be a troublesome task. In this Poser video tutorial you will learn how to use camera dots to record camera positions and then remove the dots. Make sure to hit "play tutorial" in the top left corner of the video to start the video. There is no sound, so you'll need to watch the pop-up directions. Use camera dots to record camera positions in Poser.
In this video tutorial you will learn how to perform single-frame head morphing. Learn to use the face room, adjust facial features with morph, fine-tune the adjustments, and apply it to the current model on stage. It's easy... and fun to do it too! Make sure to hit "play tutorial" in the top left corner of the video to start the video. There is no sound, so you'll need to watch the pop-up directions. Perform "face sculpting" in Poser.
You can manipulate other objects beside human figure objects in Poser. In this Poser video tutorial you will learn how to link imported objects to models using the Change Parent menu. Make sure to hit "play tutorial" in the top left corner of the video to start the video. There is no sound, so you'll need to watch the pop-up directions. Link imported models to Poser figures.
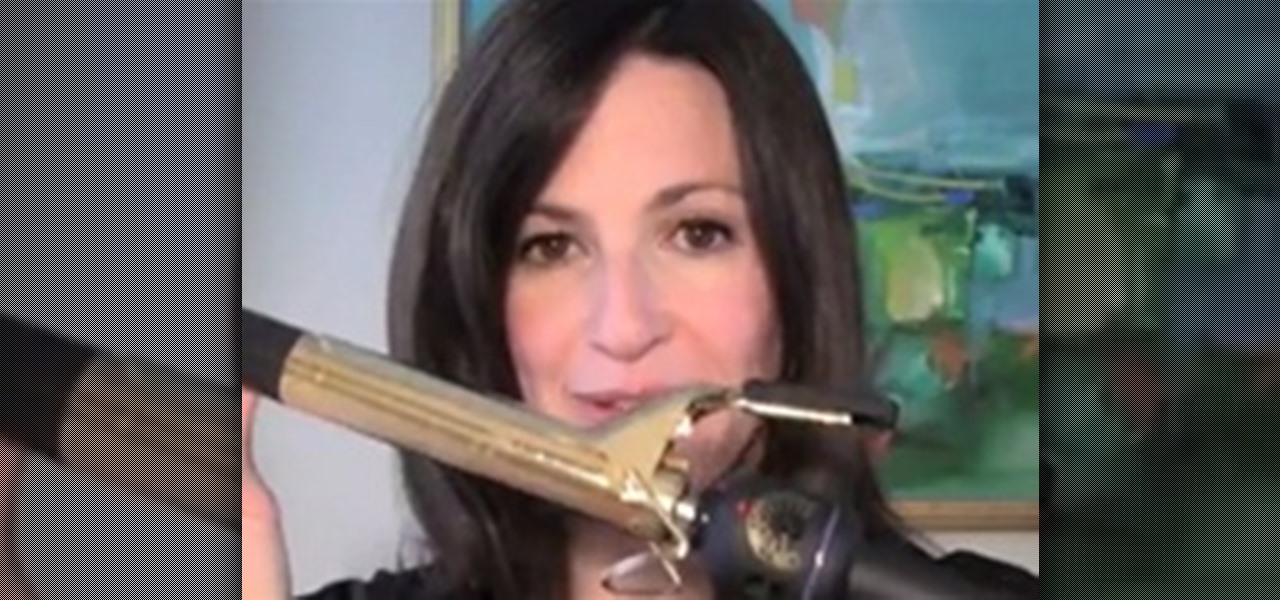
In this video, we show you how to get easy, loose, carefree waves in four steps. Use a curling iron without the clamp to make sure you waves are crimp-free. Tools
To start off with, you need to have an activity to do while the challenge happens (poker, running, something....I prefer a poker game because it forces everyone to be near each other and bathrooms nearby) Everyone takes a laxative, wears an adult diaper and eats taco bell, and sits around playing poker. There are enough bathrooms for all but one person. The loser is the person that poops first, and as soon as they do everyone else can go relieve themselves. Afterwards, the loser can't change ...
preaty simple get 2 speed boats an maybe a 150 ft bungie rope tie one end to me an the other end to one of u guys an have the boats go as fast as possiable in opposite directions... laugh ur ass off.so we start out in one of those gryo machines that go every witch way for ten mins an make it crazy fast so were extra dizzy... the start of the track will be the rope bridge with some type of nasty substance (ur choice) under that. seconed part will be hurterls over barb wire should leave a mark ...
In this tutorial, we learn how to properly pinch the stem of plants. This will help for stems that grow beyond the head and ruin the look of the plant. All you have to do is simply pinch the stems of the leaves that are growing outward and the ones that look unruly. You just need to take your two fingers and pinch the very stem of it, being careful not to damage the plant. For a medium sized plant, this will only take a few short minutes and it will make the plant look much better. It will al...
Mike and Rajo from the SubStream's "Film Lab" have some tips regarding production, specifically... cinematography and gaffing.
In this Illustrator CS2 video tutorial you will learn to use the Pathfinder MinusBack tool. With it you can remove parts of a shape or remove the part of the shape which is overlapped by the selected shape. Make sure to hit "play tutorial" in the top left corner of the video to start the video. There is no sound, so you'll need to watch the pop-up directions. Use MinusBack to create new shapes in Illustrator CS2.
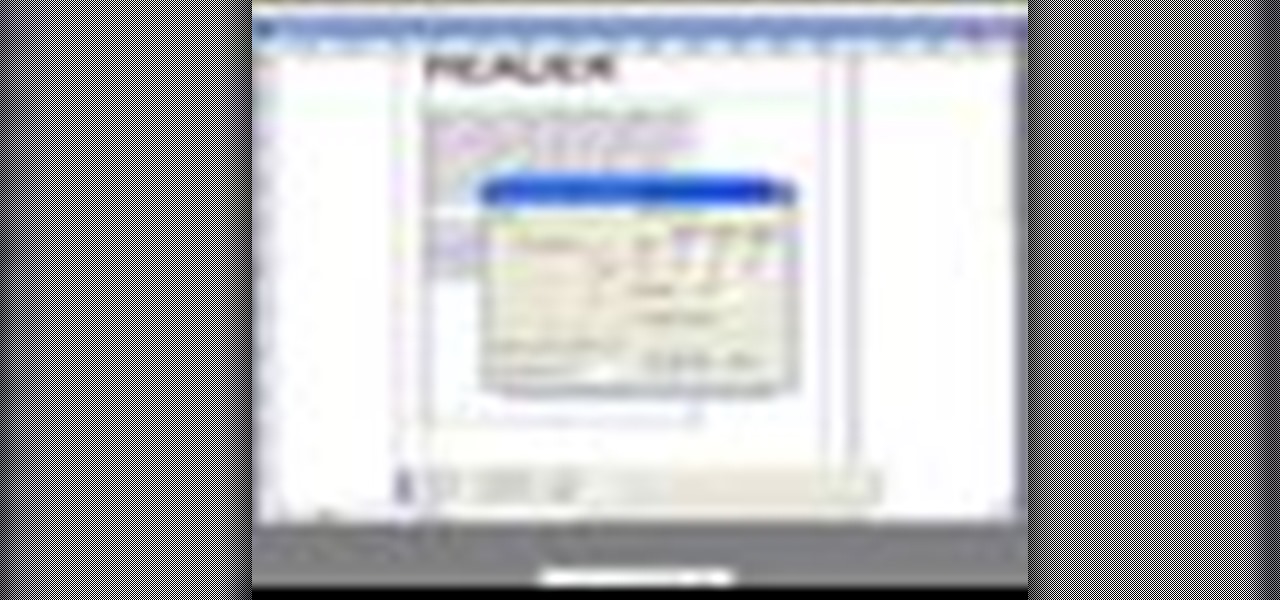
In this QuarkXPress video tutorial you will learn how to create a new page, and add a header and some body copy. Learn how to use the text tool to create and edit a block of text and how to hide the guides using keyboard key. Make sure to hit "play tutorial" in the top left corner of the video to start the video. There is no sound, so you'll need to watch the pop-up directions. Add text to a page in QuarkXPress.
QuarkXPress is a drag-and-drop WYSIWYG page layout program. In this QuarkXPress video tutorial you will learn how to add blank pages to a document using the Document Layout menu. Make sure to hit "play tutorial" in the top left corner of the video to start the video. There is no sound, so you'll need to watch the pop-up directions. Add blank pages to a document in QuarkXPress.
In this video tutorial you will learn how to edit master files. Master files work almost like templates in QuarkXPress. If you change the master file, all files created based on the master file will change too. Make sure to hit "play tutorial" in the top left corner of the video to start the video. There is no sound, so you'll need to watch the pop-up directions. Edit master files in QuarkXPress.
A tab character is a control character in a document that represents movement to the next tab stop. In this QuarkXPress video tutorial you will learn how to add a in-between tab character. Make sure to hit "play tutorial" in the top left corner of the video to start the video. There is no sound, so you'll need to watch the pop-up directions. Add in-between tab characters in QuarkXPress.
A style sheet is a group of paragraph and/or character attributes that can be applied to selected paragraphs and characters in one step. In this QuarkXPress video tutorial you will learn how to create a paragraph style sheet and apply it to text blocks. Make sure to hit "play tutorial" in the top left corner of the video to start the video. There is no sound, so you'll need to watch the pop-up directions. Create a paragraph style sheet in QuarkXPress.
Step and Repeat is one of the great time-saving features of QuarkXPress. If you need multiple items and you know where you want them, consider the Step and Repeat command. In this QuarkXpress video tutorial you will learn how to use Step & Repeat to replicate items in your pages. Make sure to hit "play tutorial" in the top left corner of the video to start the video. There is no sound, so you'll need to watch the pop-up directions. Use the Step & Repeat command in QuarkXPress.
In this 3ds Max video tutorial you will learn how to switch from wireframe to solid (shaded)view. Wireframe view provides faster rendering time, while solid view gives you a more polished look of what your work will look like when rendered. Make sure to hit "play tutorial" in the top left corner of the video to start the video. There is no sound, so you'll need to watch the pop-up directions. Switch from wireframe to solid view in 3ds Max.
In this Adobe Acrobat video tutorial you will learn how to create a custom stamp and apply it as a watermark. It might be a good way to add copyright notice to your PDF documents. Make sure to hit "play tutorial" in the top left corner of the video to start the video. There is no sound, so you'll need to watch the pop-up directions. Create a custom watermark in Adobe Acrobat.
In this Adobe Acrobat video tutorial you will learn how to touch up text in a PDF file. This video shows you how to open a PDF file, and edit the page title, as well as change fonts and font colors. Make sure to hit "play tutorial" in the top left corner of the video to start the video. There is no sound, so you'll need to watch the pop-up directions. Touch up text in Adobe Acrobat.
It's important to assist your readers as they browse through your PDF document, especially it has a lot of pages. In this Adobe Acrobat video tutorial you will learn how to create basic buttons for navigation between pages. You'll see how to create a default view state, and save buttons with actions inside the file. Make sure to hit "play tutorial" in the top left corner of the video to start the video. There is no sound, so you'll need to watch the pop-up directions. Create page navigation i...
In this Adobe Acrobat video tutorial you will learn how to add an url link inside a PDF page. Many Internet businesses use this feature to promote their websites by distributing free ebooks. Make sure to hit "play tutorial" in the top left corner of the video to start the video. There is no sound, so you'll need to watch the pop-up directions. Add a url link inside a PDF page in Acrobat 5.
In this Adobe Acrobat video tutorial you will learn how to use the Rubber Stamp Tool. You use the Stamp tool in Acrobat 5 to apply a stamp to an Adobe PDF document in much the same way you would use a rubber stamp on a paper document. In addition to the standard stamps offered, dynamic stamps obtain information from your system and from the Identity panel of the Preferences dialog box, allowing you to indicate name, date, and time information on the stamp. Make sure to hit "play tutorial" in ...
PDF is no longer limited to text and images. In this Adobe Acrobat video tutorial you will learn how to add movie clip to PDF files, and adjust clip properties. Make sure to hit "play tutorial" in the top left corner of the video to start the video. There is no sound, so you'll need to watch the pop-up directions. Add movie clips to PDF files in Acrobat 5.
If you have just downloaded a 500-page PDF ebook, you might really enjoy this video. In this Adobe Acrobat video tutorial you will learn how to navigate multiple page documents using free scroll, thumbnail view, focus square, and view documents as spread. Make sure to hit "play tutorial" in the top left corner of the video to start the video. There is no sound, so you'll need to watch the pop-up directions. Navigate multiple page documents in Acrobat 5.
Double clicking any bitmap based object will get you into bitmap mode. You'll be able to use all the bitmap tools like the Lasso, the Paintbrush, and the Magic Wand. In this Fireworks 8 video tutorial you will learn how to use Paintbrush, and how to set brush preferences. Make sure to hit "play tutorial" in the top left corner of the video to start the video. There is no sound, so you'll need to watch the pop-up directions. Use Paintbrush in Fireworks 8.