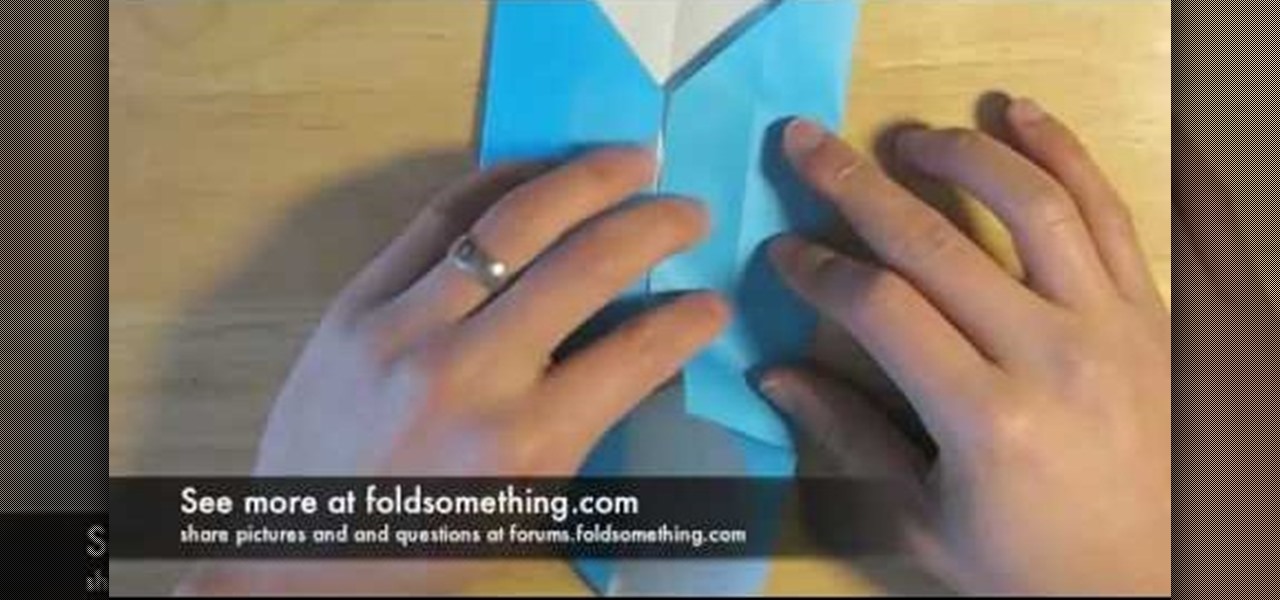
Links of Love is showing you how to make origami heart shaped cuff-links. Start with a 20.5 cm square of paper. If you want to make a cuff link you can wear you should use a square the size of 4 to 5 cm. Fold a good crease and then unfold. Fold two corners in toward the middle and then unfold. Fold one side in toward the middle crease. Only crease up to the crease of the corner fold. Unfold and fold the side into the new crease just made. The creases are guidelines that will be used later on ...

In this how-to video from projectink we are shown how to make a lamp out of a tequila bottle. There's no need to spend 100 bucks on a lamp when making your own is cheap and easy and fun. These are the supplies you'll need: A bottle (we're using a Jose Cuervo tequila bottle), a plastic bag, super glue, a hot glue gun (or you can use epoxy), a screwdriver, a lamp kit (you can get these at the hardware store for about 12 bucks), and a glass-cutting drill bit. For the glass-cutting bit, try and f...
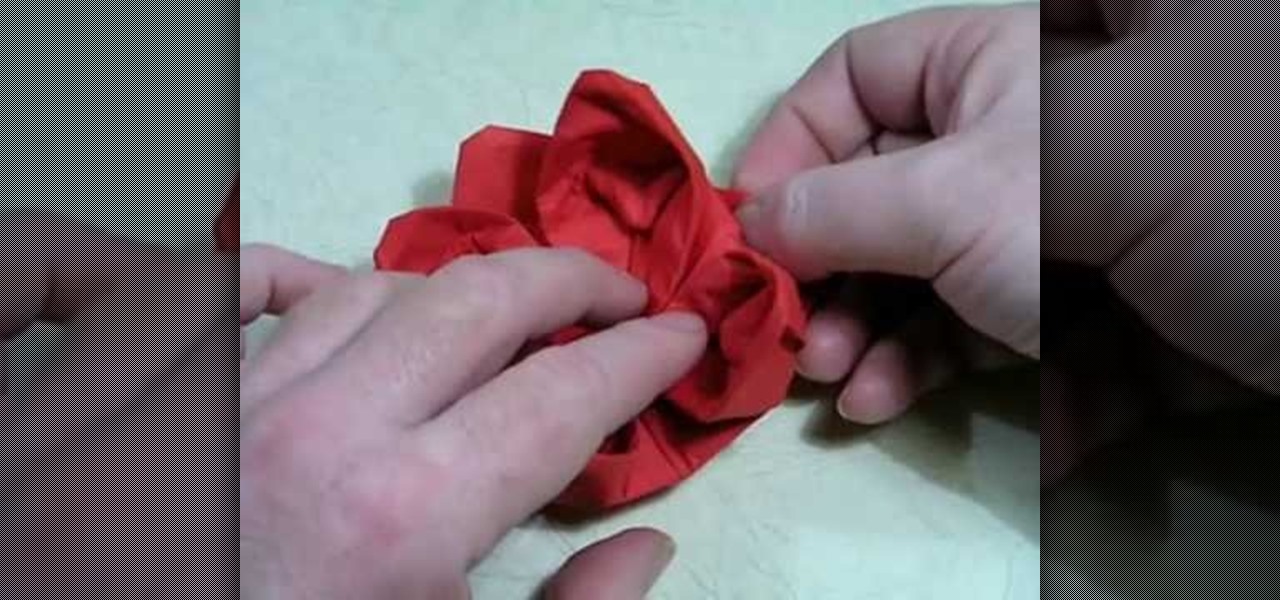
With this how-to on the ancient Japanese art of paper folding, you'll learn how to make a strikingly beautiful water lily from a paper napkin. For complete, step-by-step instructions on assembling your own paper lotus flower, watch this origami how-to and, if you like, read along below.

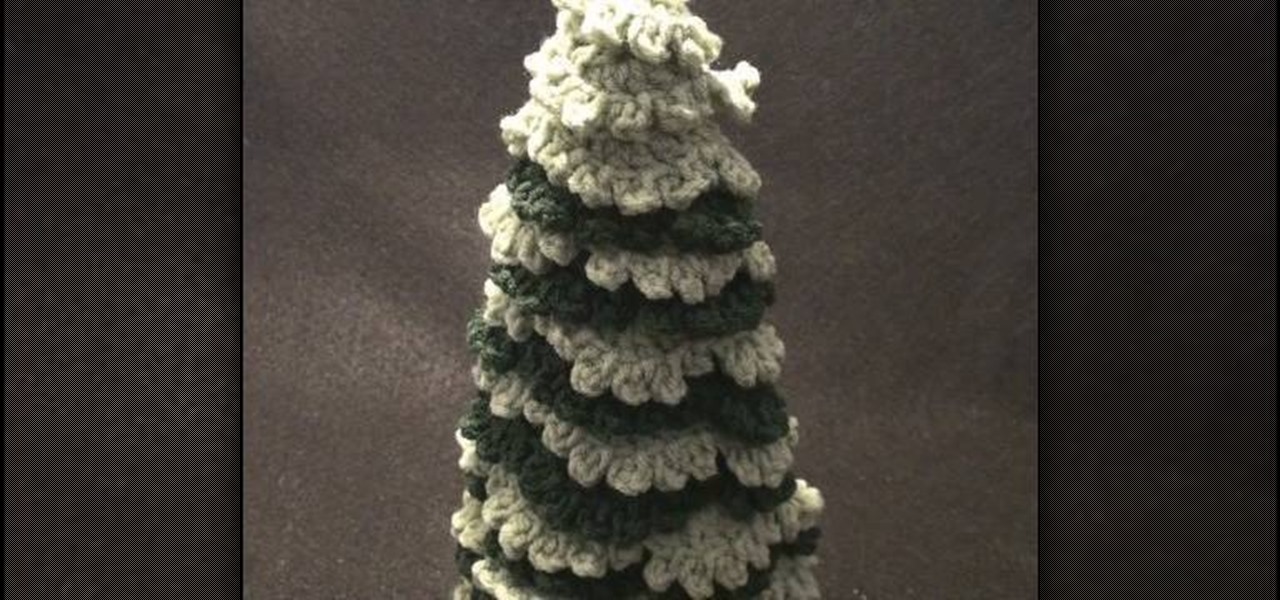
Materials Needed: - Use a Size K Crochet Hook - 2 strands of 4 Ply Yarn Round 1: Start with the Chain 4, then join and wrap. Pull a loop up. Work 12-Full Size Half Double loops through the loop. Then join in the beginning Half Double crochet. Round 2: Start with a chain (1 loop). then work 2-Half Double crochets, in each stitch around for a total of 24-Half Double crochet on round 2. At end of round 2 join in beginning Half Double crochet. Round 3: Start with a chain (1 loop). Do 1-Half Doubl...
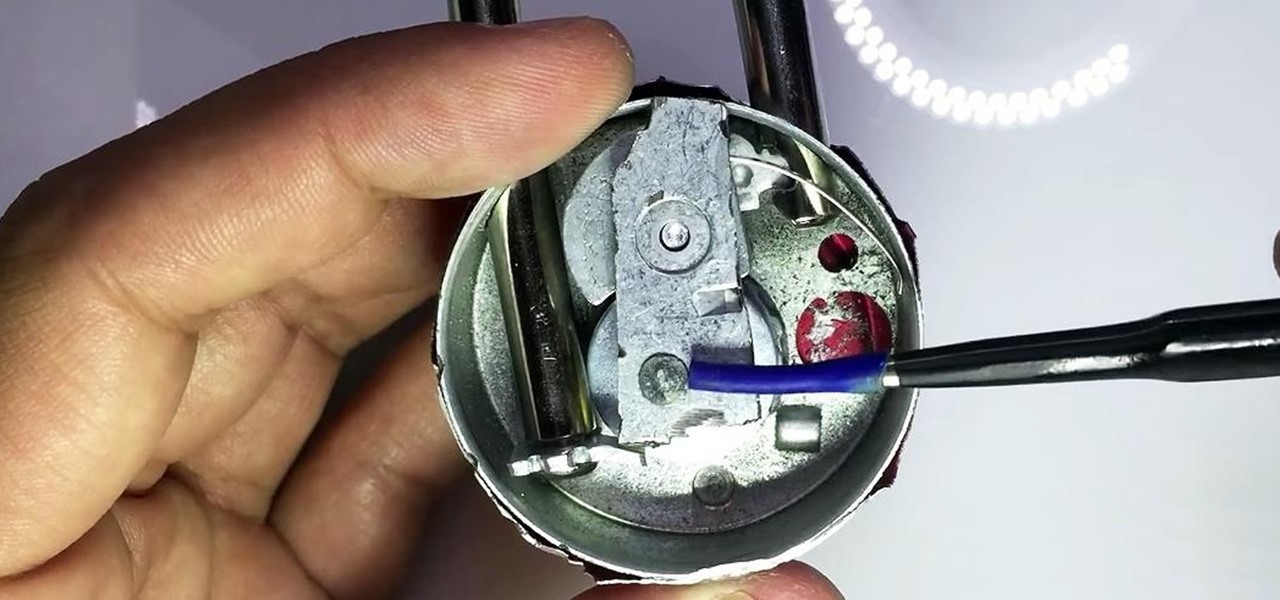
In my last guide, I showed how you could crack the combination of any Master Lock combination padlock in 8 tries or less using my online calculator. Now, as promised, I'll be showing you how I devised the attack, which is based off the well-known technique that reduces the 64,000 possible combinations of a Master Lock down to just 100. Here, I will be drilling open a Master combo lock to show you how the insides work.

The best part about April Fool's Day is that everyone is fair game. Even big tech companies like Google and Twitter get in on the action every year. It encourages even the most uptight, unfunny party-poopers among us to have a little fun driving each other crazy with pranks — even at work.

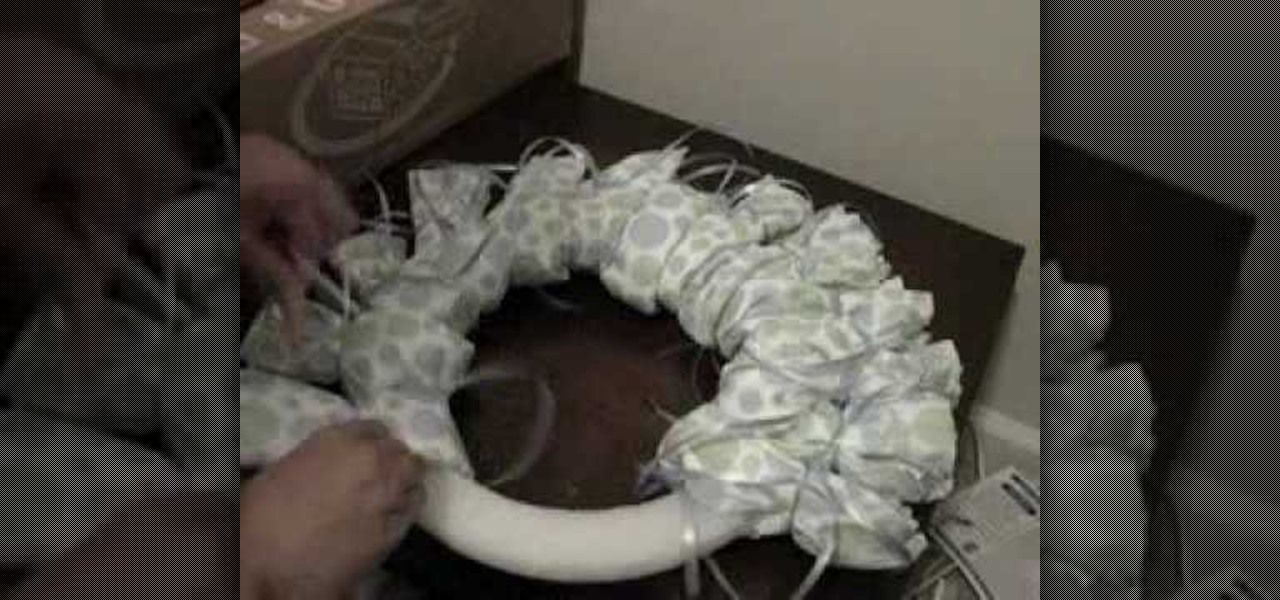
Notthecoolmom gives a craft lesson on how to make a diaper wreath for a baby shower. To make the wreath you will need the following materials: a package of 56 size 1 diapers (preferably with a design of some kind), a Styrofoam wreath, a spool of ribbon, and rubber bands (optional). Start by laying your diapers around the wreath to get an idea of spacing. Be careful not to make your wreath too full. You don't have to use all of the diapers it depends on the size of your wreath. To put the diap...

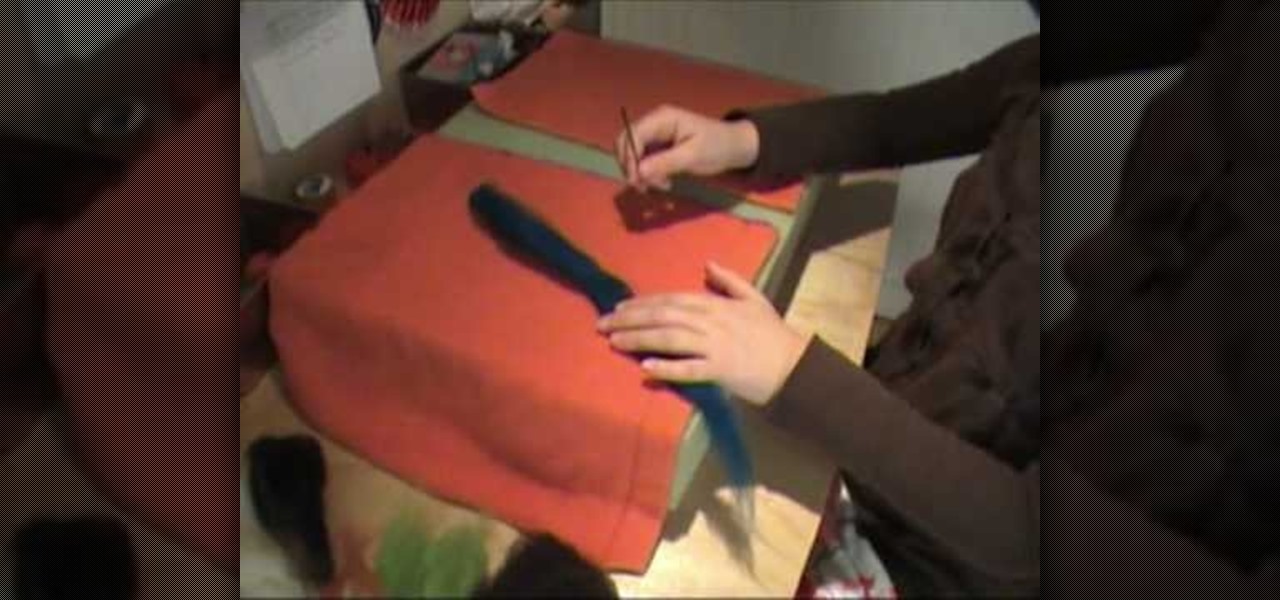
Olivia shows how to make ‘Woolen Mittens’ in this video, by recycling an old sweater! She begins by washing an old sweater in cold water. After washing, she puts the sweater in a dryer at high heat mode, to shrink it. The washed, dried and shrunk sweater is then placed on a table. The required length of the mitten is decided, taking care that the bottom end of the sweater shall be placed at the point where the mitten ends on the arm. The arm is then placed on the sweater and a mark is made ab...

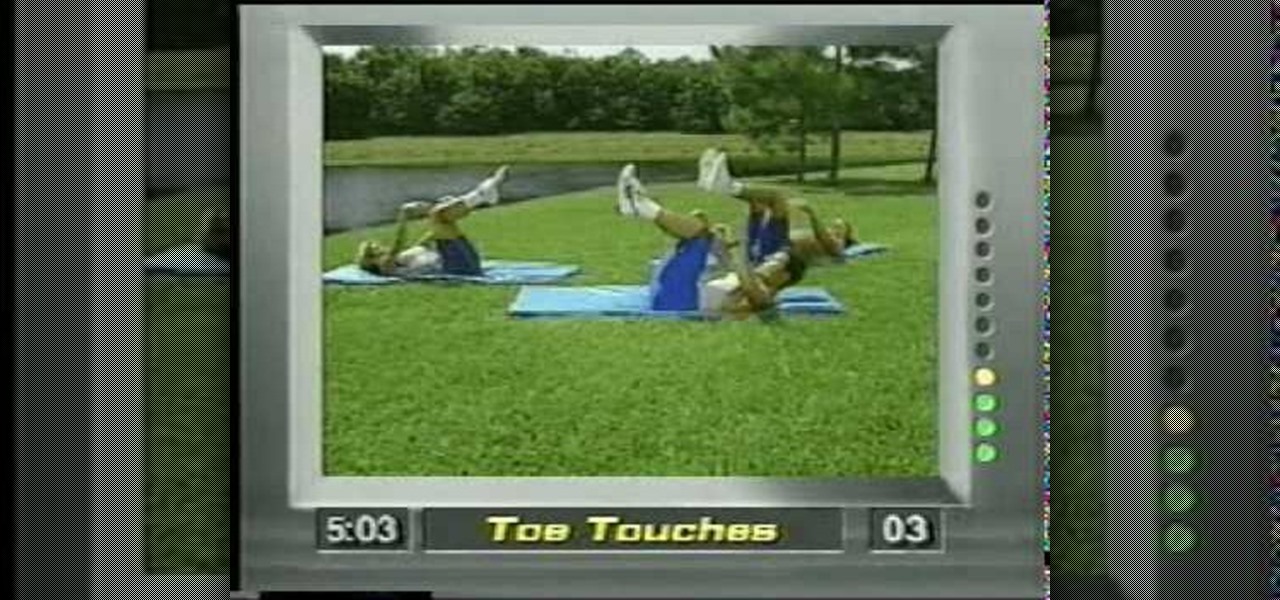
UAV Corporation has put together an 8 minute routine of 9 moves to improve the tone of your abs! -Note: There are 9 movements with 45 seconds dedicated to each one.

Place slip knot on hook. Hold yarn taut with 2 sets of 2 of fingers placed about 1½” apart, with tail in other hand. Create loop that crosses over bottom of 1st strand with loop toward right side. Fold loop over main strand going past tail. Insert hook below at tail strand. Pull up a loop using main strand for this loop. Pull 2 ends of yarn taut while leaving slip knot on hook. In 1st chain work 1 single crochet. Skip 2 chains; work 1 double crochet in 4thchain. Picot stitch by chaining 3 & a...

Start with a totally bare eyelid to create the base for the winged eye. It's important to go for a gel eyeliner. This allows you more precision than liquid eyeliners. Pull the skin taut at the outer eye, look down & using a flat brush, apply liner into lash line itself on top eyelid, in between root of lashes. Taking the line from the inner corner of the eye, put color in lash line all the way to outer corner of eye. Close eye; pull lid towards ear so skin is taut. Repeat base step; this time...

You're standing right in front of us, but your voice sounds like it's coming from over there! Color your friends impressed by learning the fine art of ventriloquism.

You've got style. You've got class. You've got... No reason to still be wearing a clip-on. Show off your suave side with a perfectly knotted tie. Watch this video to learn how to tie a bow tie.

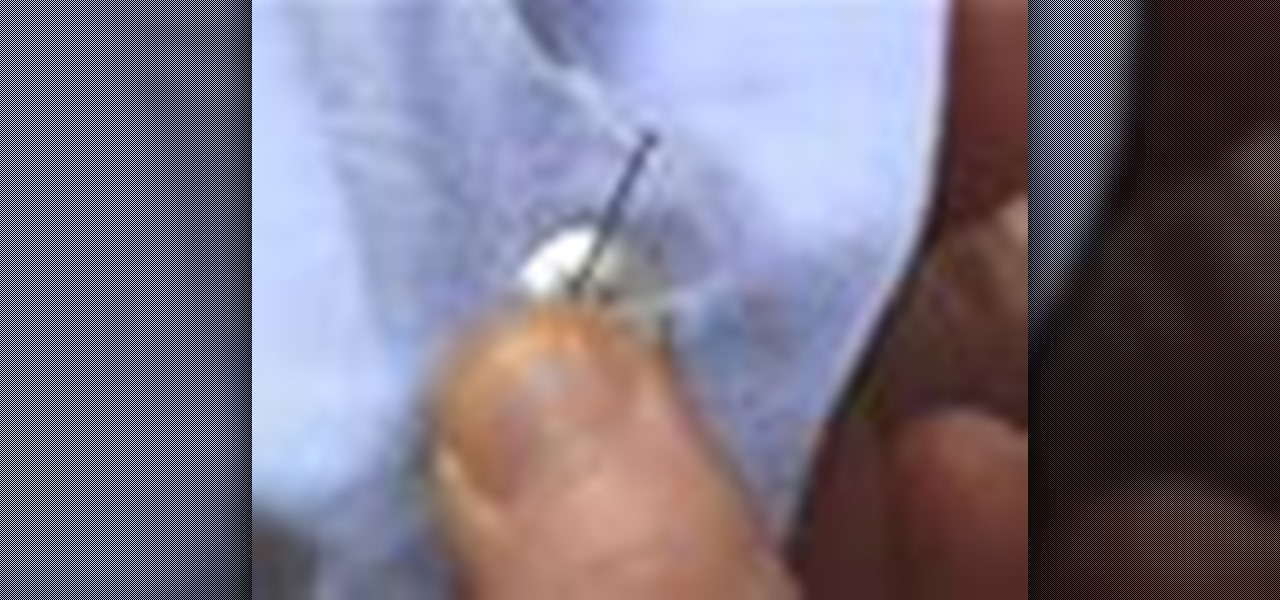
Learn how to sew a button by hand. Not wearing your favorite shirt because it’s missing a button? Don’t worry—sewing on a new one is simple and fast.

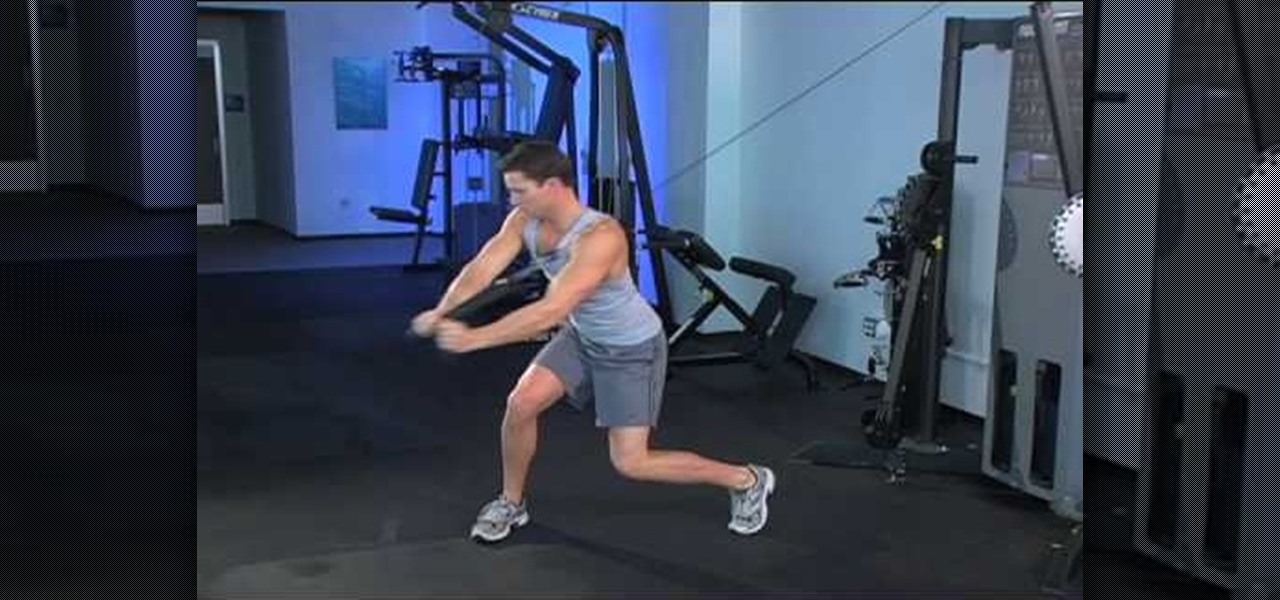
Learn how to do cable Russian twist. Presented by Real Jock Gay Fitness Health & Life. Starting Position

In Unreal Tournament 3 Editor you have to combine textures and materials and then apply them to a surface. This tutorial shows you how to make those materials.

Learn how to export scripts from Unreal Tournament 3. This is helpful information for mod developers.

This video shows you how to smooth a terrain height map in Unreal Tournament 3 Editor (UT3).

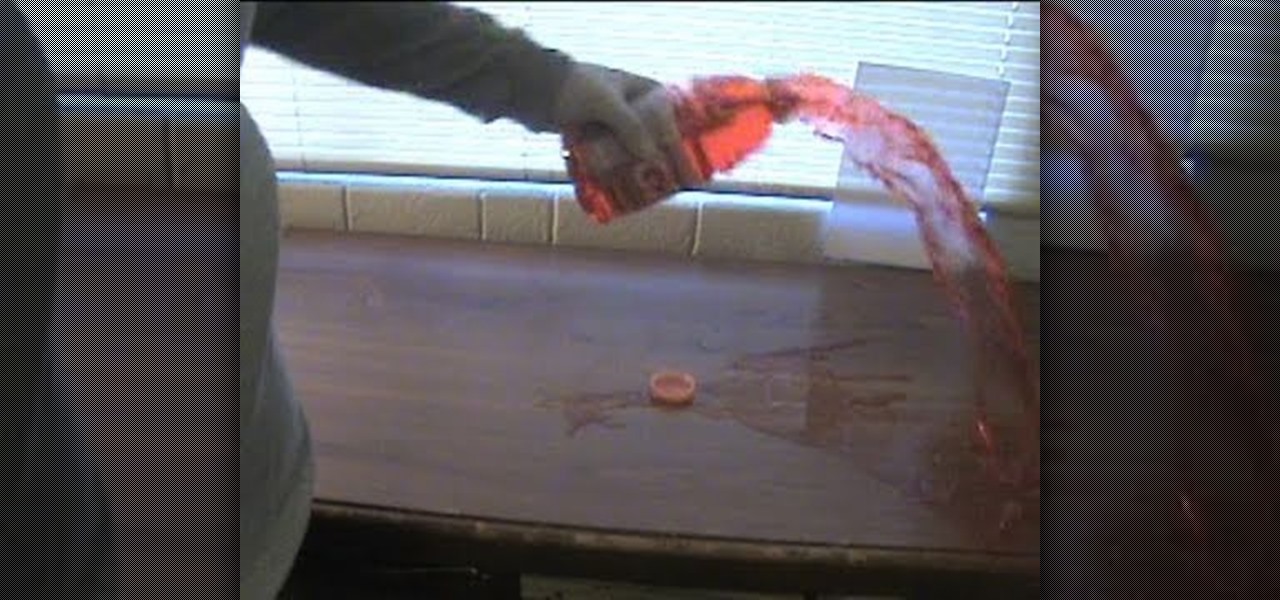
Think Nextraker's pranks are too hard? Then he's got the perfect prank for you— the Gatorade prank. He calls it the "upside-down Gatorade prank". This is by far one of the easiest gags ever. All you do is turn the bottle upside down, on its top, and slowly and carefully twist the cap until it seems to be loosened all the way. Then, just sit back and wait for you victim to pick it up and spill liquid all over the place. This could be used for other drinks, as well.

In this video, we learn how to stretch your ears by taping. When you get to a certain size, taping is the only thing you can do, which is also very easy. To do this, you will need to have Teflon tape, which is a light and flimsy type of material that isn't sticky. You will need to wrap the tape around your plug until it's all the way around, not pulling it too tight so there isn't too much pressure. Do this several times, depending on how much you want to stretch it, then you will be done and...

In this tutorial, we learn how to pitch a large tipi. First, work on the tripod and get it lifted up. Recruit people to help you get it lifted up and pull it up with a rope. Use poles to help keep it in place so it won't fall back down. Swing the tripod up until it's in the air. Place them to where they will go according to your measurements. Use a tape measure to see where everything should go, so you know you are putting it in the right spot. After this, your tipi will be pitches and set up!

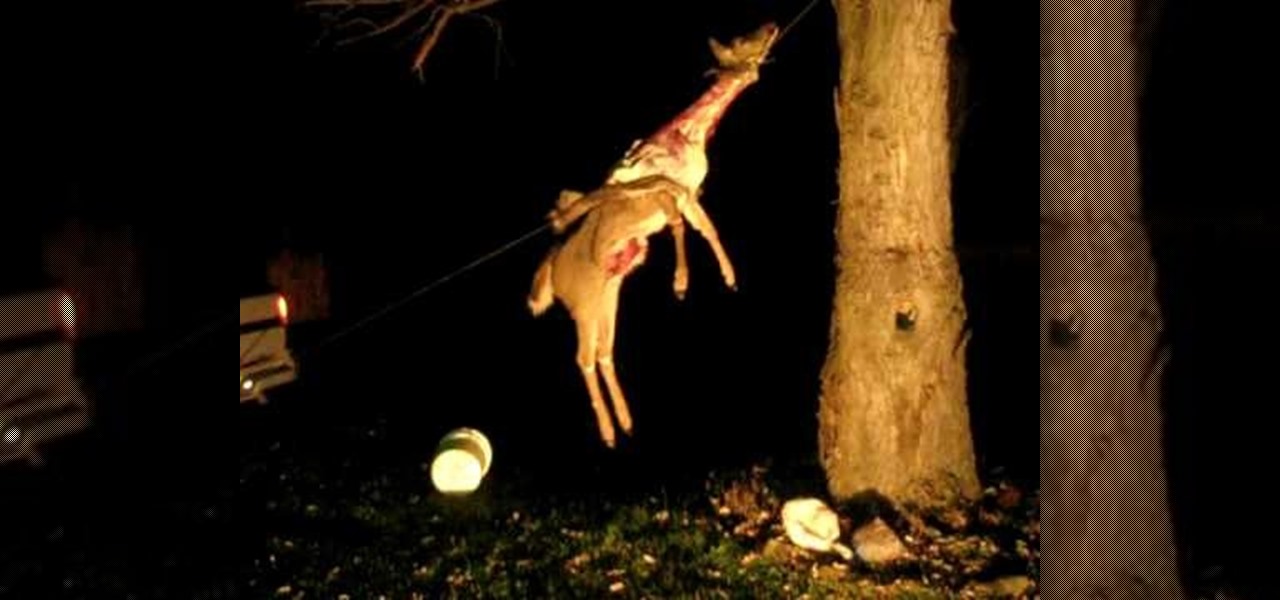
In this tutorial, we learn how to skin a deer with a golf ball. First, hang it up by a tree around its neck. From here, taper down from the shoulders until you reach the bottom. Then, cut each of the ankles right around the knuckle and slice it down the front like normal. From here you will take a golf ball and stick it in the hide. Hold the hide over the golf ball and then make a ball with it. Then, take a slip knot and wrap it around the golf ball, tightening it up tight. From here, you wil...

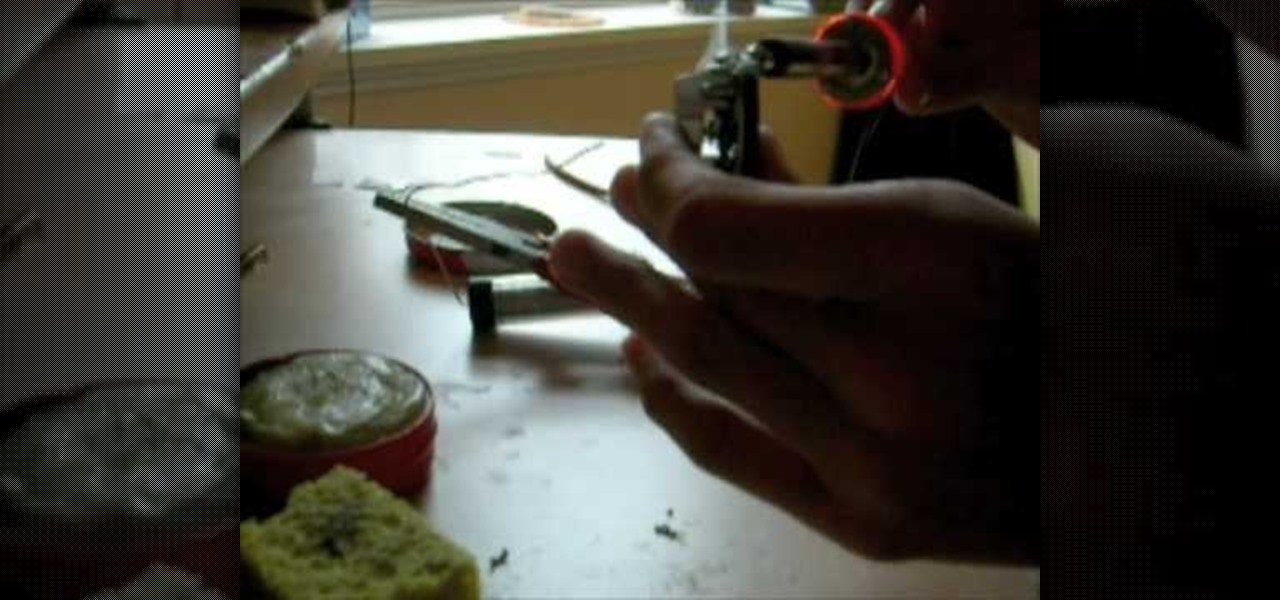
In this tutorial, we learn how to solder wires to your rc car motor. First, you will put the flux on the out wires. Put a small amount on, but make sure it's evenly coated all around. After this, do the same process for the motor tabs. Then, tin the wire and then wipe off with a damp sponge. From here you will do the same thing for the motor tabs, taking the back off the motor tabs to make it easier to move around. After this, put the wire on top of the tab and pres with the iron. Now you sho...

In this video we learn how to skin a deer the easy way. First, you will lay the deer down on its back and remove the fur from the stomach area. By this time, the legs and arms of the deer should be cut off. Next, you will use your knife to cut all the way to the throat and around the neck area. From here, you will pull the fur back from the deer all the way around. Once you get to the back, you will need to turn the deer around to get the rest of the fur from the back.

This ain't your mother's long hippie skirt from the '70s. While a few months ago we would have never thought we'd wear a dress longer than our knees, fall fashion is dictating that the long skirt - and by long we mean down to the ankles - is back in style.

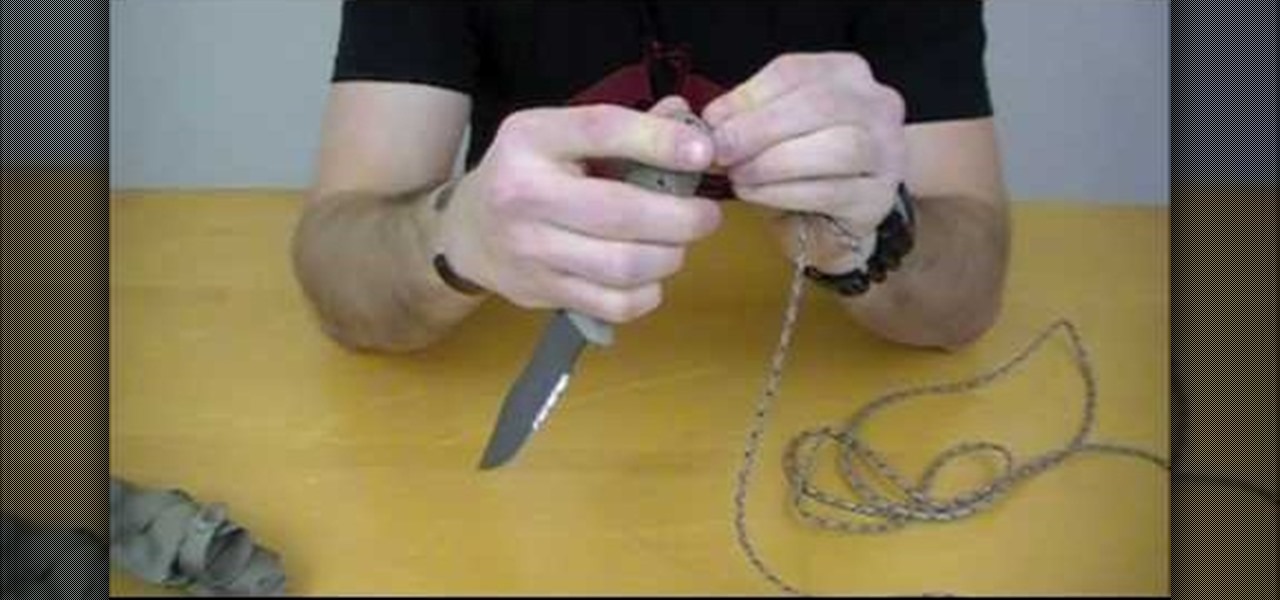
In this video, we learn how to tie a Knute hitch. The purpose for this is to make an easy dummy cord on something with a hold for it. To start, tie a simple overhand knot in one end and then make a bite in the knot. With this bite, insert this into the hole in your item. Once it's through, take the end with the knot and put it through the loop. Then, pull the end of the string until it's tight over the item with the hole. Then you can use this as a handle so you don't lose your item!

In this video, we learn how to make a pretty ribbon bow. First, take two pieces of ribbon that are the same size. After this, take one of them and fold it into the ribbon for breast cancer awareness. Then, fold the top down and hold it with your fingers. Then, bring the other ribbon in and fold it down where your fingers were holding the ribbon in place. Once you do this, you will end up with a cute ribbon that only takes a couple of minutes to make! You can pull down the edges on it and then...

In this tutorial, we learn how to tie a silk scarf. The first way to do this is to place the scarf on you with the sides facing down, then push both back and let drape on the shoulders. The next way is to let the sides drape down, then tie them together in the center of your body to wear with a large coat. Another way to tie this is to fold it into a rectangle, then wrap it around the neck and place one half into the other, then pull up to the neck. Any of these ways will look great and can g...

Vocal breaks are a serious problem for singers just starting out. For those of you new to singing, Kevin Richards offers some advice on how to avoid vocal breaks.

Working with friends is always fun in Shank, but if one person doesn't really know the strategy that you need to employ to wine a boss battle, well, you can just forget it every going any better than bad. But don't worry, in this video, you and your friends can work to succeed against the Bouncer boss in Co-Op mode! You will just need to employ a simple tactic of waiting for him to use his stomp attack, and then lining up a timed trigger pull from both of you to start a double attack against ...

In this video, we learn how to do a single crochet going through back loops only. First, do your foundation crochet, then start doing single crochets. With the chain, there is two loops, the back and front. To the back loop, you would go through these with your crochet hook, then pull on the yarn to continue to crochet. Make sure you find the difference between these so you know which loop to go through. Start to do back loop crochets and continue until you reach the end of the line. Make sur...

In this video, we learn how to do a changing spot combination. Start off by standing in front of the mirror with your right foot in front of your left. After this, do four open turns. On the fifth turn, do a quarter turn to the right, opening the entire body to the right side. Then, open up your entire body and rotate around until you get to the front. At the end, pull the move in to a pirouette and end up in the front of the mirror again. With practice, you can master this spot combo, just k...

In this video, we learn how to remove the dashboard and wheel to replace bulbs. First, remove the negative battery cable, then remove the steering wheel. Next, remove the cluster bezel, with Phillips head screwdrivers for the screws. Pull back on the bezel and remove the clips from the bottom by prying it apart. Remove the cluster next, followed by the top piece of the steering wheel joint. Once this is removed, you will be able to slide the cluster out and squeeze the cables to remove it. Fr...

In this video, we learn how to do some easy hairstyle for school. To do an easy bun, take a hair tie and put it in the hair in a side twist bun. Let some of the hair stick out, then take bobby pins and stick them in the bun to secure it, then you're done! The next look requires you to take your bangs and braid them together. After this, pull the braid behind your head and secure it with a bobby pin. The next look requires you to braid a section on the side of your hair, then put it into a pon...

We've gathered some of our favorite pranks with the seasonally appropriate for all you college kids out there. You're more than likely cohabitating with a complete stranger, and what better way to make a good first impression and develop a strong personal relationship than subject them to a hilarious prank?

This prank is one of the first that a modern kid learns in elementary school, which makes it great for use on parents and other older people. All you have to do is print or write up a sheet of paper with the phrases "I am we Todd it" and/or "I am sofa king we Todd it." When you victims reads it, it will sound like they are saying something different, and you will be amused. Good for you.

This prank is about as simple as it gets. All you need is some kind of tray, some flour, string, and a part of your house where there is a pull-chord light switch (most likely the basement). Just remove the light switch chord and dangle your new string in its place, attached to your container of flour above. When your victim tries to turn on the light, bam! They'll be hit with the flour.

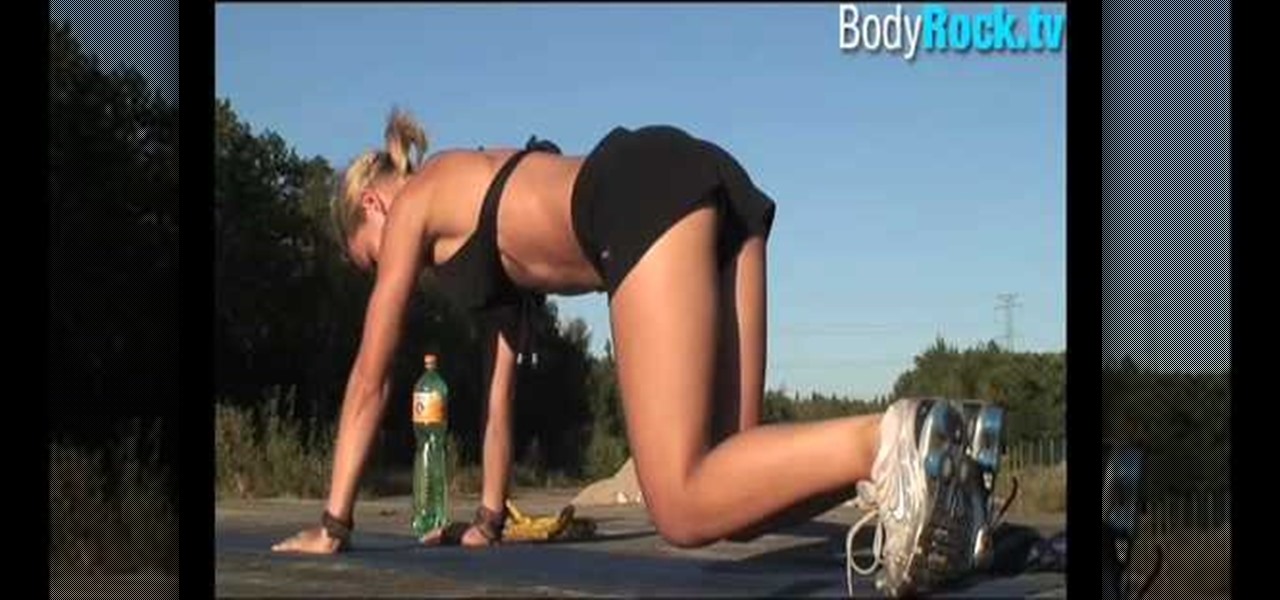
In this tutorial, we learn how to lose belly fat and strengthen abdominals. Start off by jumping rope. Doing this outside when nothing is around you will help you stay focused and allow nothing to get caught on your rope. Next, you can sit on a yoga mat with weights and pull your arm back while holding in your inner core. You can also lay don on your mat, then raise your body up and twist, keeping your legs flat on the mat. Continue to do these exercises one after the other, and drink water w...

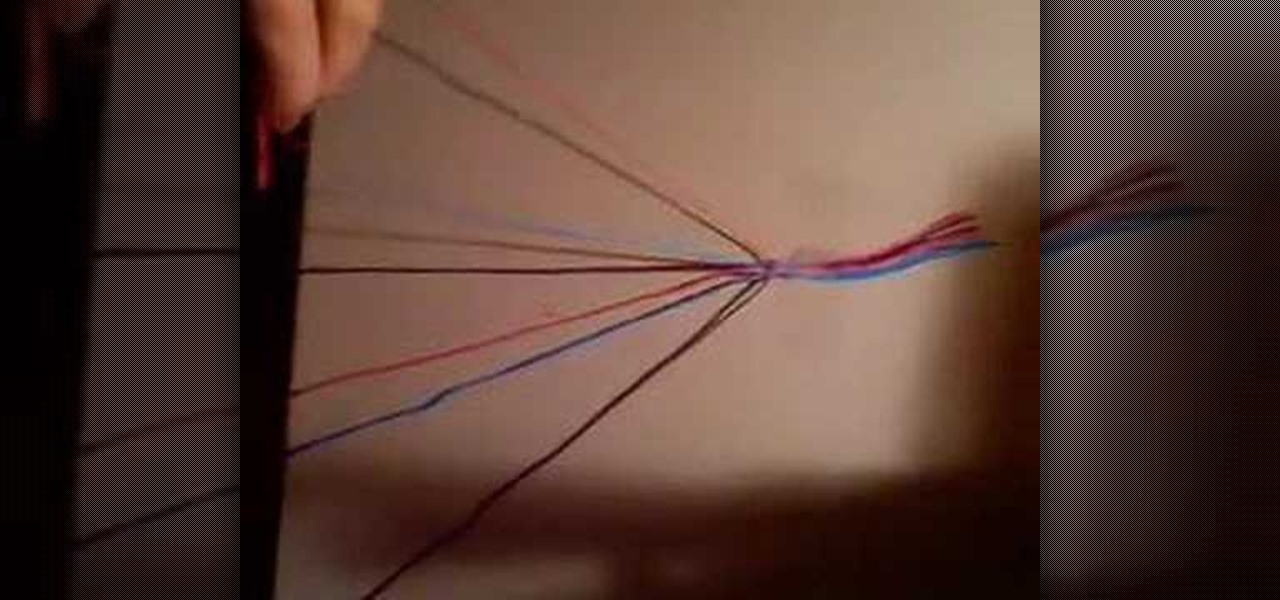
In this tutorial, we learn how to make a simple friendship bracelet. First choose three colors and then cut two strands of each 3 ft long. After this, tape the strings together at the end and tie a knot. After this, start to tie the strings, one underneath each other. Make sure after you do each color, you pull on the string tightly. As soon as you finish wit all the colors of the bracelet, continue to the bottom of the bracelet and tie it at the end. When you are ready to wear it, tie it aro...

Art should be playful, not intimidating. And with this video tutorial, you'll see just how easy crafting can be. Learn a basic watercolor technique that will make your creations stand out and sparkle.


