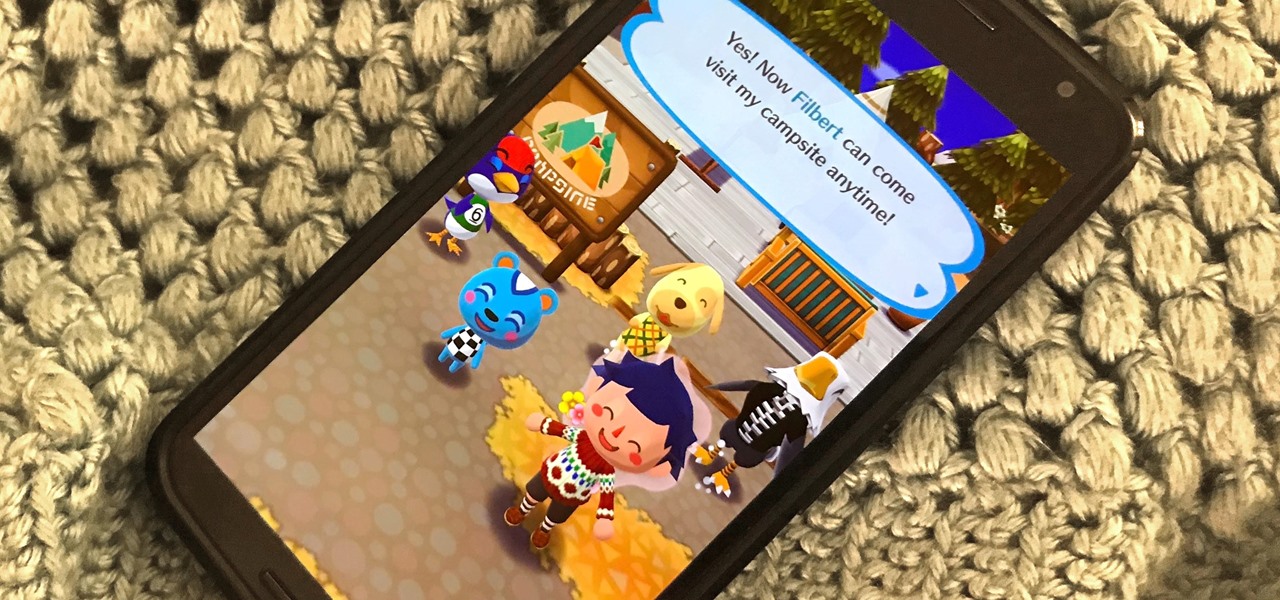
Friendship has always been a staple of Animal Crossing games, and Animal Crossing: Pocket Camp makes no exceptions. Check out this guide if you're interested in how to maximize time with your furry friends.

With the recent launch of the LG V30 and the Pixel 2 XL, LG has reintroduced the world to POLED. This display tech was showcased at CES 2015 and billed as a rival to Samsung's AMOLED displays, then promptly disappeared from the market for two years. But now that two of the biggest flagship phones this year are using the technology, many folks will be wondering what makes POLED different.
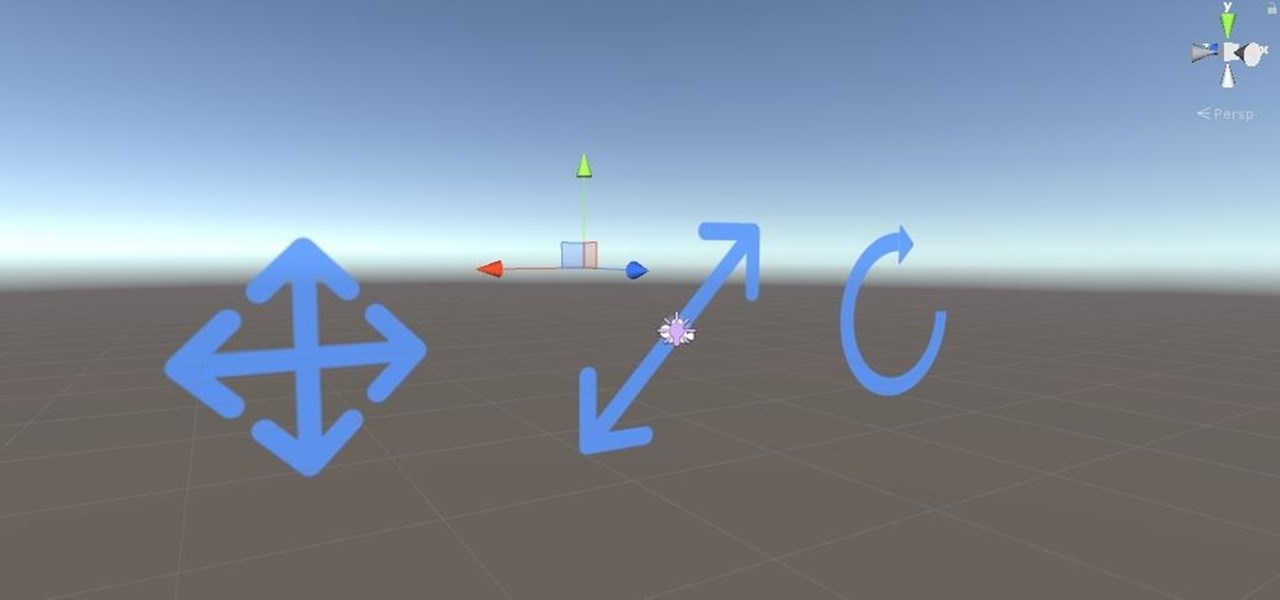
Alright, calm down and take a breath! I know the object creation chapter was a lot of code. I will give you all a slight reprieve; this section should be a nice and simple, at least in comparison.

After previously learning how to make the material of an object change with the focus of an object, we will build on that knowledge by adding new objects through code. We will accomplish this by creating our bounding box, which in the end is not actually a box, as you will see.
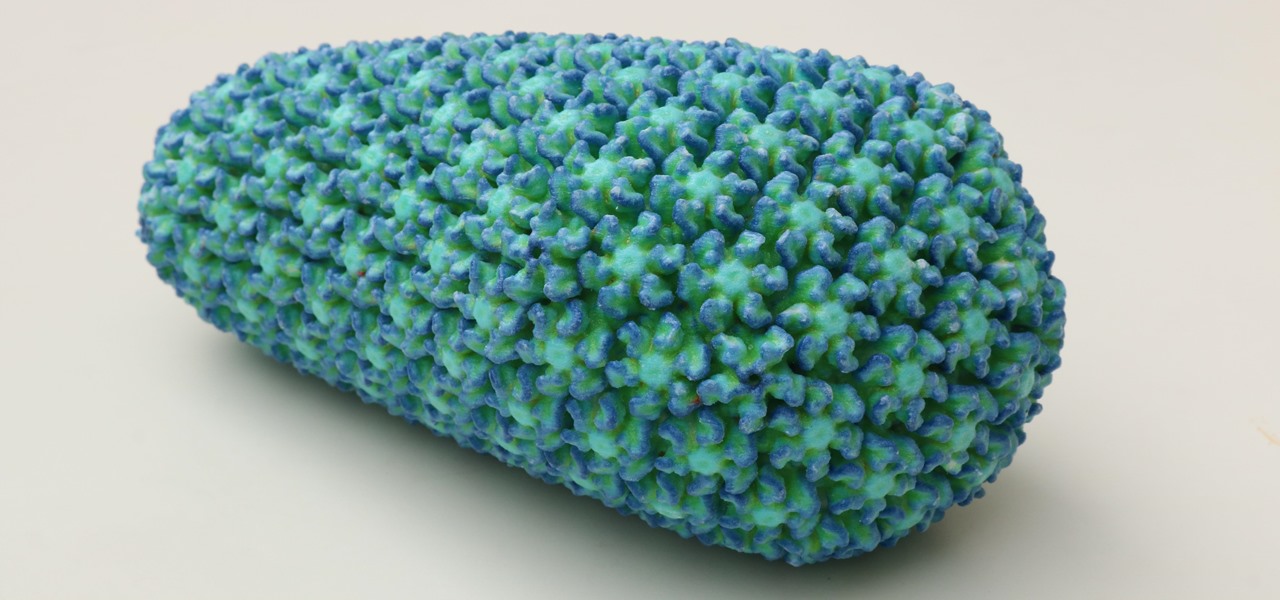
While some researchers look for drugs to treat HIV, other scientists delve deep into the virus itself for answers on how it causes infections.
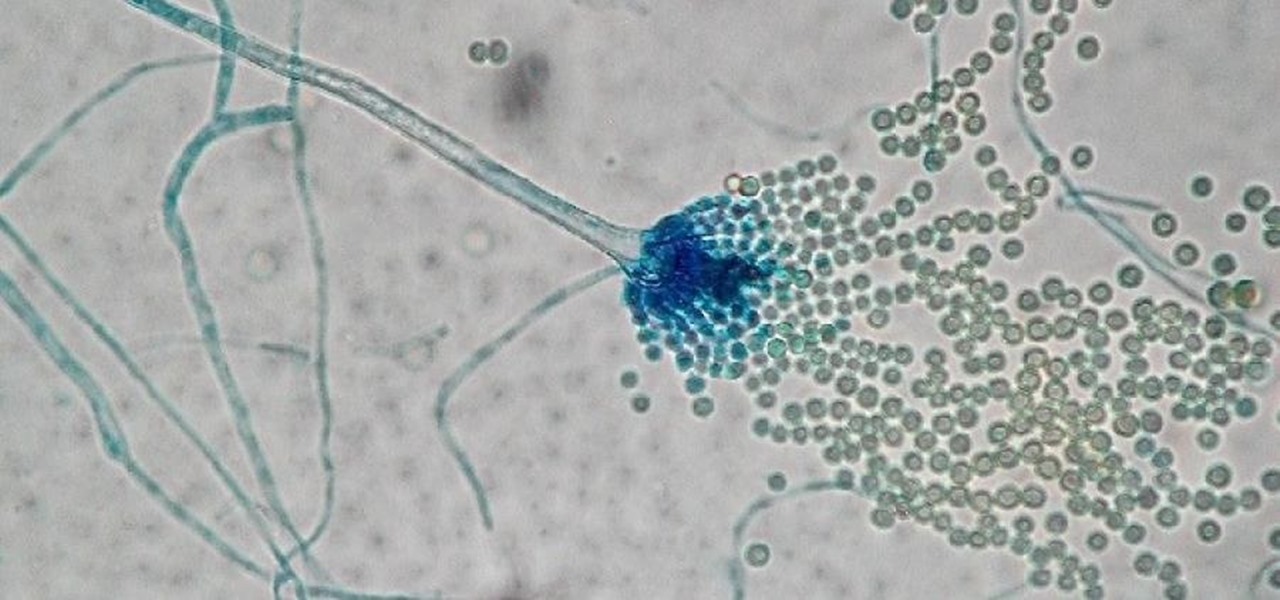
Add breathing in your house as another possible danger to your health. If your home is sick, it's possible you could get sick too.

With summer just ahead, you, or your children, may be looking forward to some pool time or the water park. When planning water-based fun this year, keep a heads-up for microbes.

Every Friday, Next Reality reviews the latest headlines from the financial side of augmented and mixed reality. This Market Reality column covers funding announcements, mergers and acquisitions, market analysis, and the like. This week's column is led by two companies cashing in on visual inputs.

In the summer of 1976, 4,000 American Legionnaires descended upon the Bellevue-Stratford Hotel in Philadelphia, Pennsylvania, for a four-day convention. Several days later, many of the attendees experienced symptoms of severe pneumonia. By the beginning of August, 22 people had died. The Centers for Disease Control and Prevention (CDC) estimate that about 180 people were sickened and 29 people died before this mysterious outbreak burnt out.

All fields of study have their own language. For people interested in learning about microbes, the language can sometimes be downright difficult — but it doesn't need to be. From antibiotics to xerophiles, we have you covered in an easy-to-understand glossary.

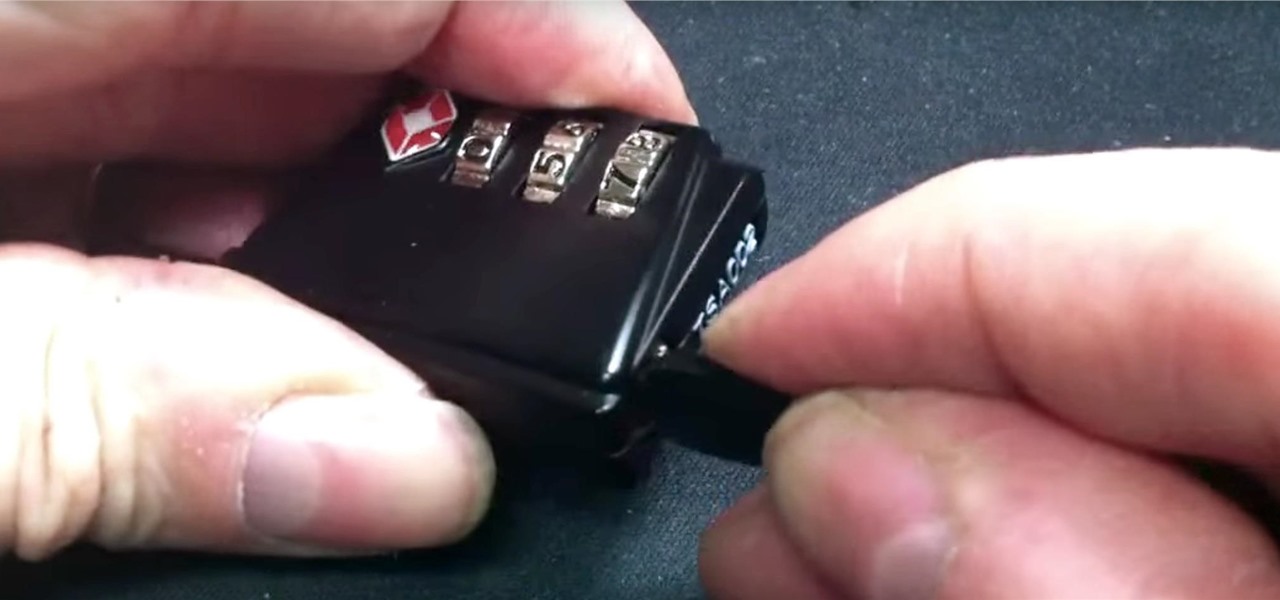
Last year, the Washington Post's Ashley Halsey wrote an article on what really happens to your luggage at airports. In it, they unwittingly published a photo of the master keys the TSA uses for TSA-approved baggage locks. Now, thanks to that picture and a French lock-picking enthusiast, anyone with a 3D printer can make their own master keys to unlock any TSA-recognized locks.

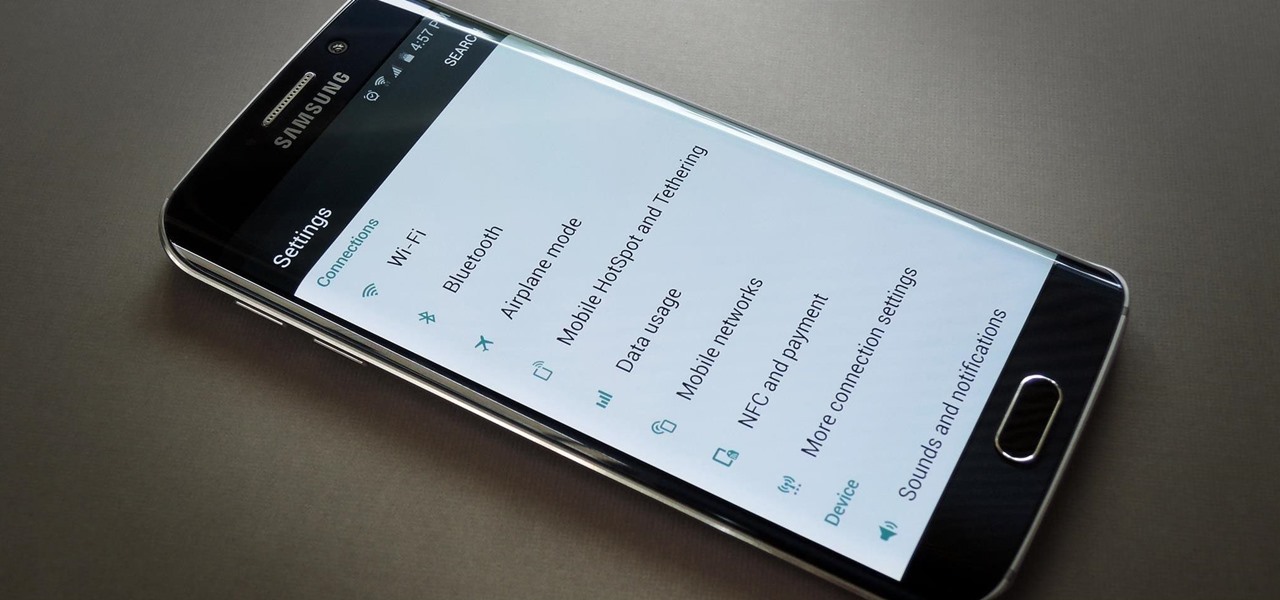
When the Galaxy S6 hype-train was building momentum ahead of the phone's release, many reports had Samsung cutting back on its much-maligned TouchWiz skin. In the end, these reports were either highly exaggerated or entirely fabricated, because while not as egregious as previous devices, Samsung's signature bloated UI and duplicate apps are definitely present on the Galaxy S6.

Google's got a hit on its hands with this one. Android 5.0—AKA "Lollipop"—will be making its official debut next month, but a new preview build has given us a glimpse into the future, which looks brighter than ever.

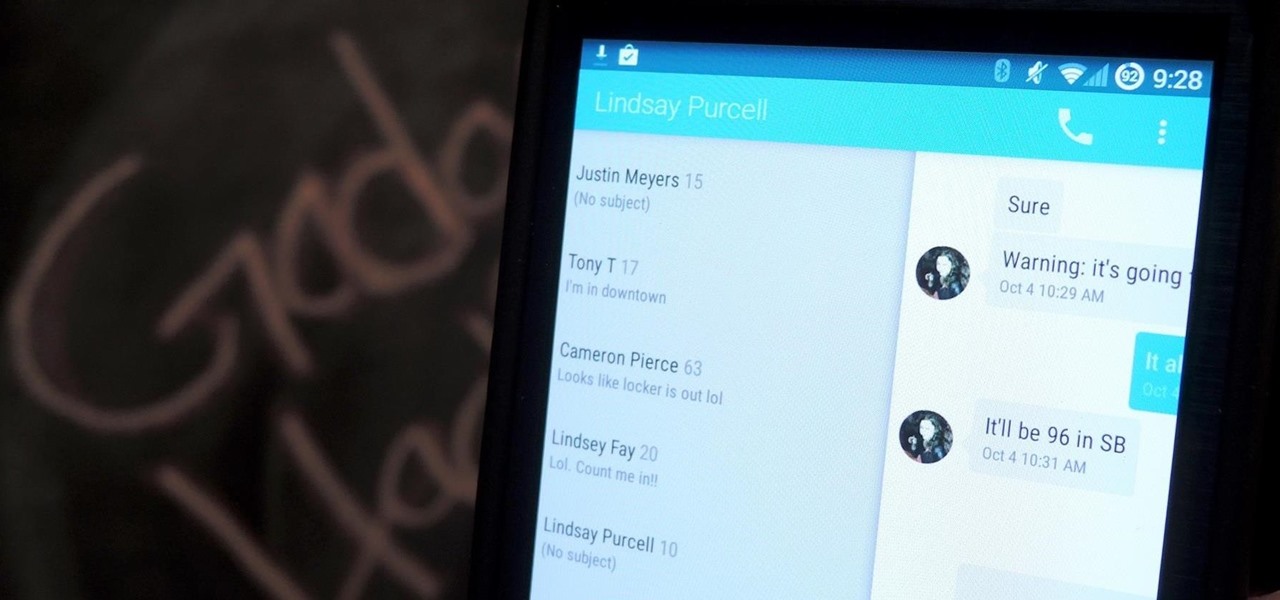
Google's Android L developer preview has given Android a more refined look, with developers excited to update their apps with the new Material Design UI. While some apps are slowly getting updated, QKSMS (QK for quick) is a 3rd-party text messaging app that was built with Material Design in mind.

Most of us have conducted an investigatory science project without even knowing it, or at least without knowing that's what it was called. Most science experiments performed, from elementary to high school students and all the way up to professional scientists, are investigatory projects.

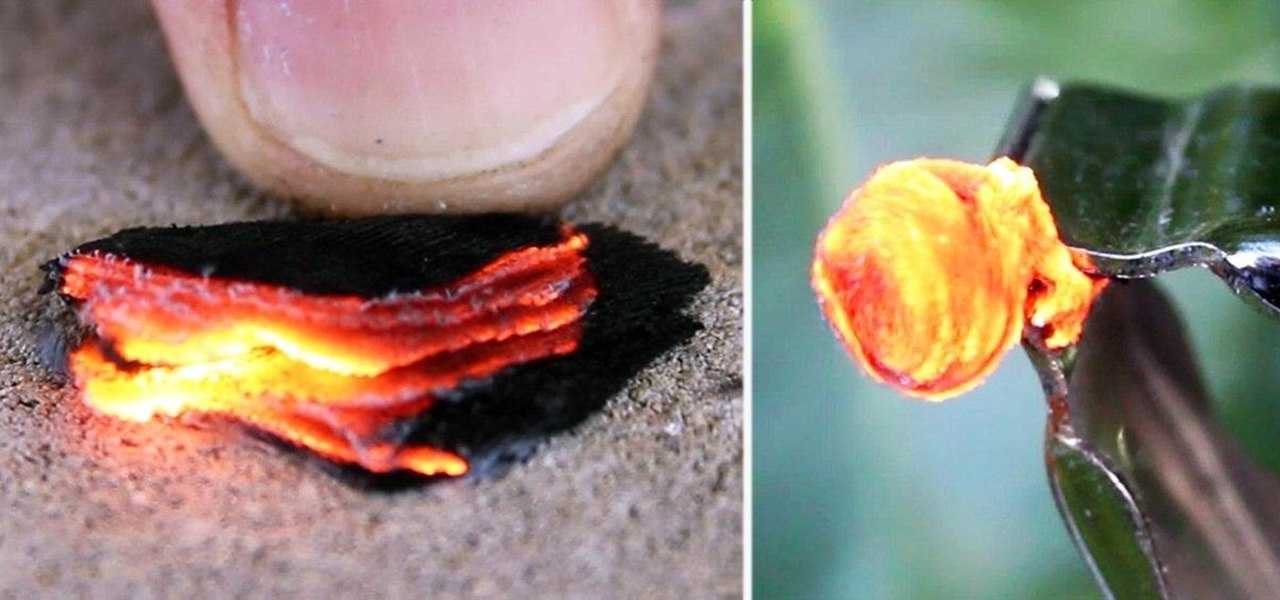
For this project, I sacrificed some of my kids' clothes and a can of tuna to make some high-quality fire starter! Here's how to make a great batch of char cloth to add to your emergency survival kit.

First of all, I would like you all to meet my good friend Iggy. There he is, in all his scaly reptilian glory. As you can see, he spends a lot more time on top of his cage than inside of it. You see, Iggy here doesn't deal well AT ALL with confinement. I don't know if it's possible for a lizard to be claustrophobic, but if it is possible, then Iggy definitely is. When his previous owner gave him to me, I tried to keep him in the cage, but I quickly realized that it was a bad idea. When confin...

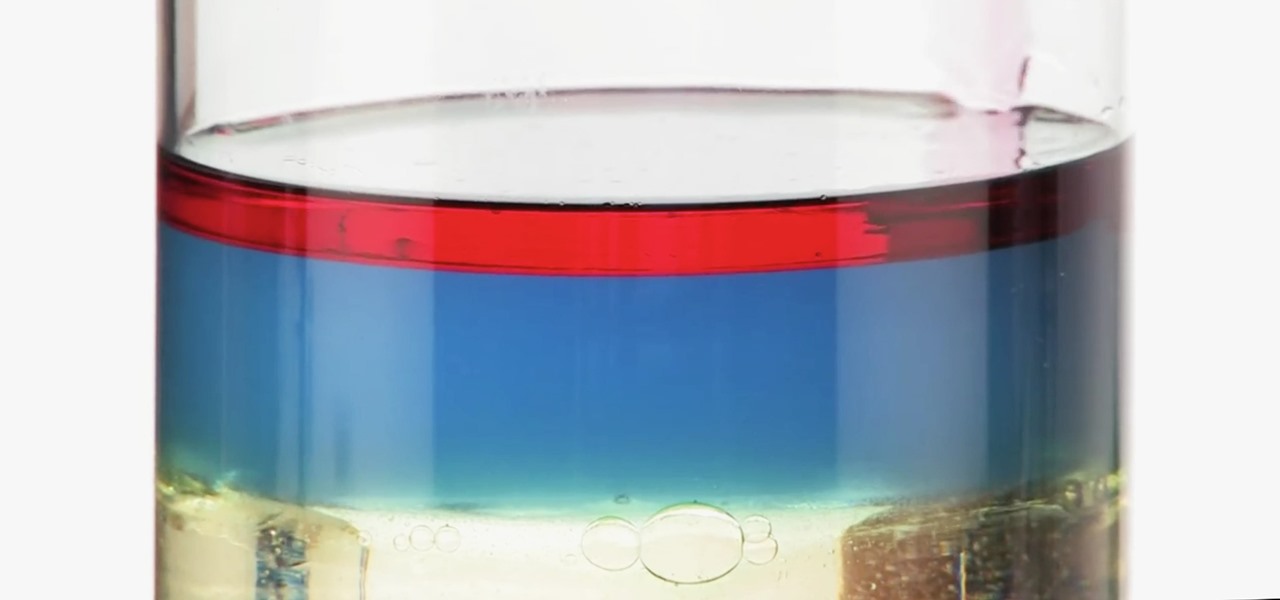
Ralph Waldo Emerson once observed that "the seed of science" was "wonder," and taking a look at this nine-layer liquid tower from Steve Spangler's Sick Science! channel, one can't help but do just that — wonder. How is this possible? Is this magic or what?

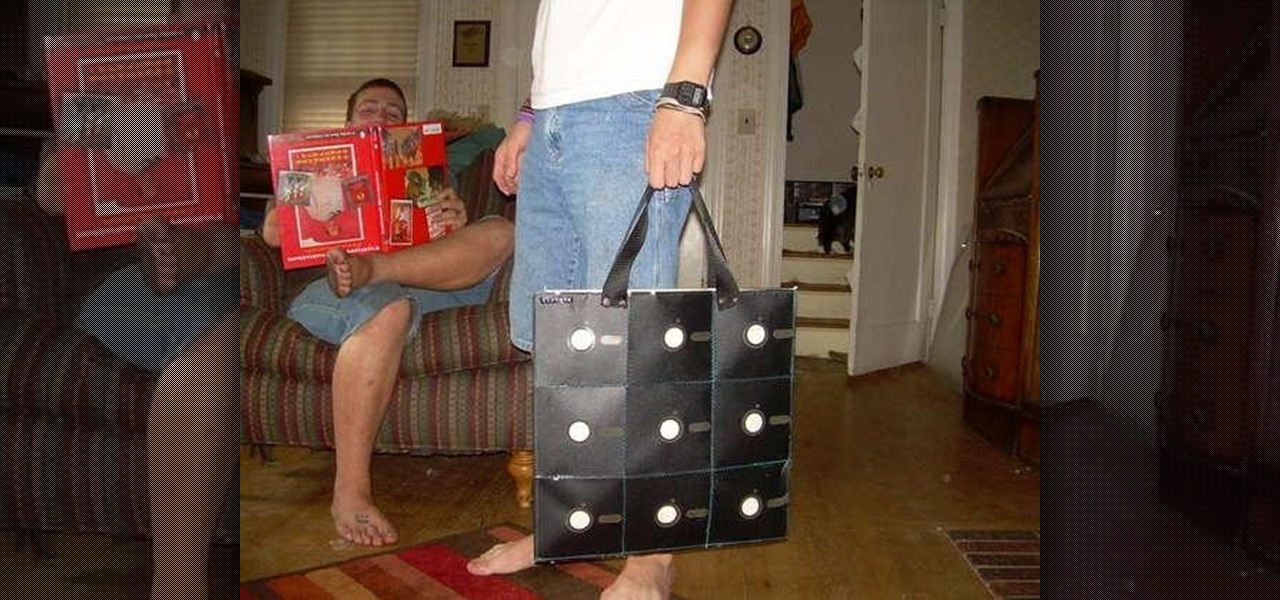
Stand out from the high street fashion clones with stuff you’ve fashioned yourself. It’s easy to take old pieces of electronic junk and transform them into all sorts of fun ‘n’ funky geeky accessories. Like a totally useful tote bag, a what-on-earth-is-that wallet and a bedazzling belt. It’s terribly geeky but chicy too. Here’s how…

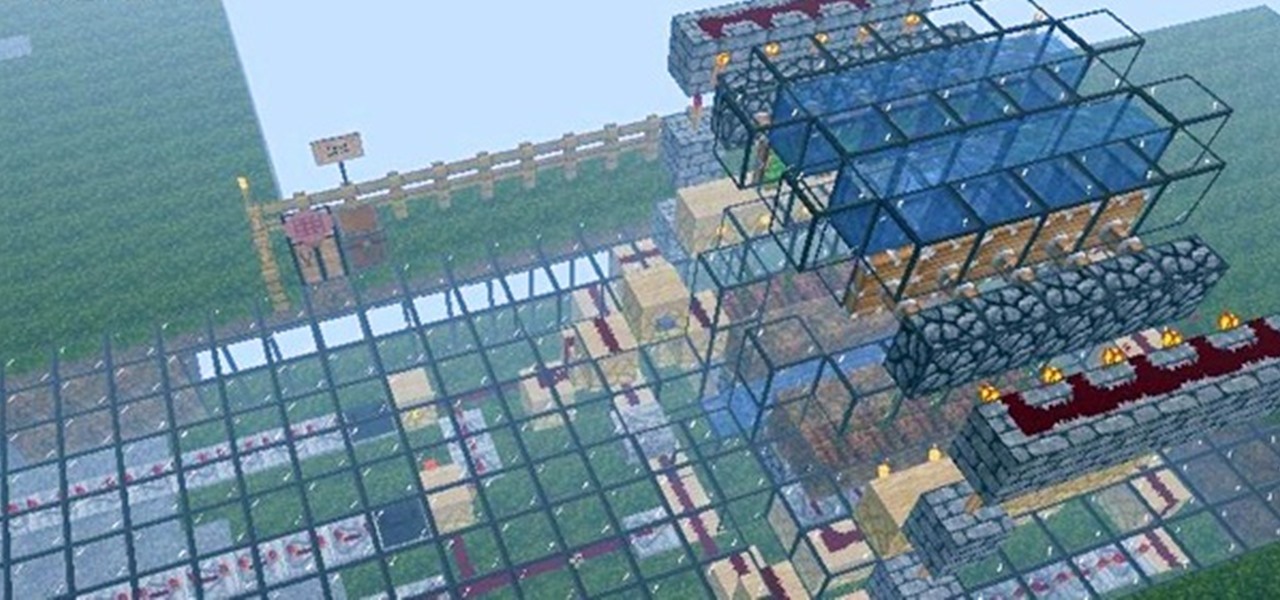
Firstly, let me say a few quick things: Once built, this is a lazy (one button) way to harvest melons, but this is going to be a complex and lengthy build.

Are you an avid gardener who tends to your plans on a daily basis? Then before you step foot outside the door today, check out this video to learn a plethora of tips for going green with your gardening.

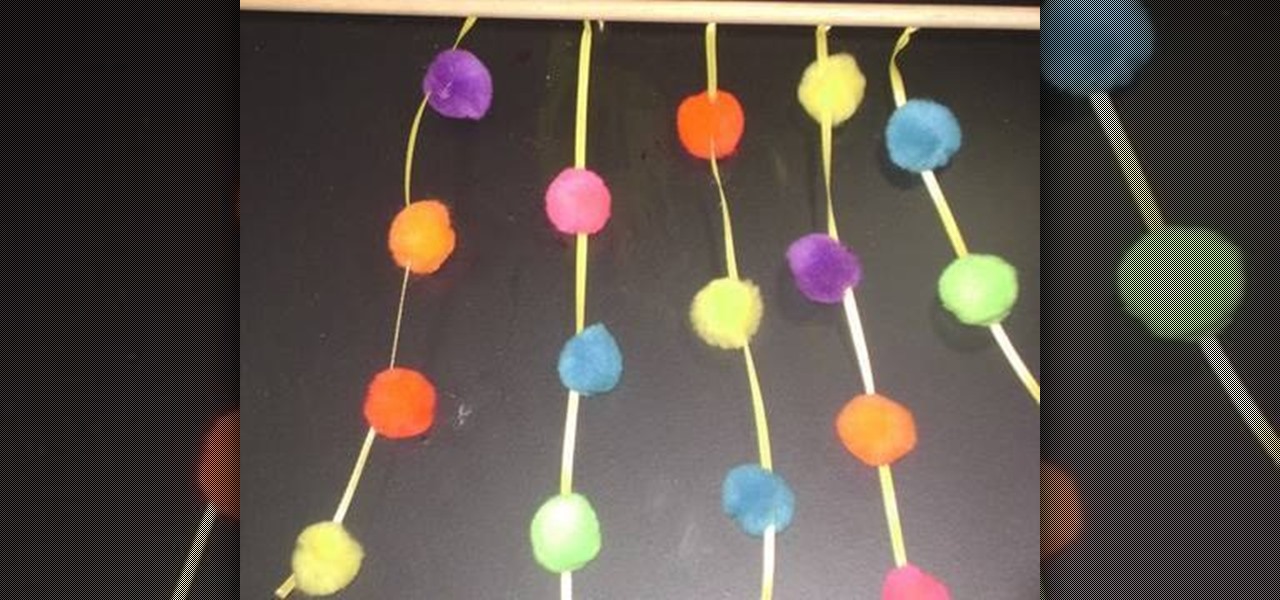
Children like to have fun things in their rooms. A pompom curtain is perfect for a little girl to have and pretend it is the entrance to her castle. A young boy might like a plain colored pompom curtain to pretend it is the entrance to the dungeon where he keeps his monsters!

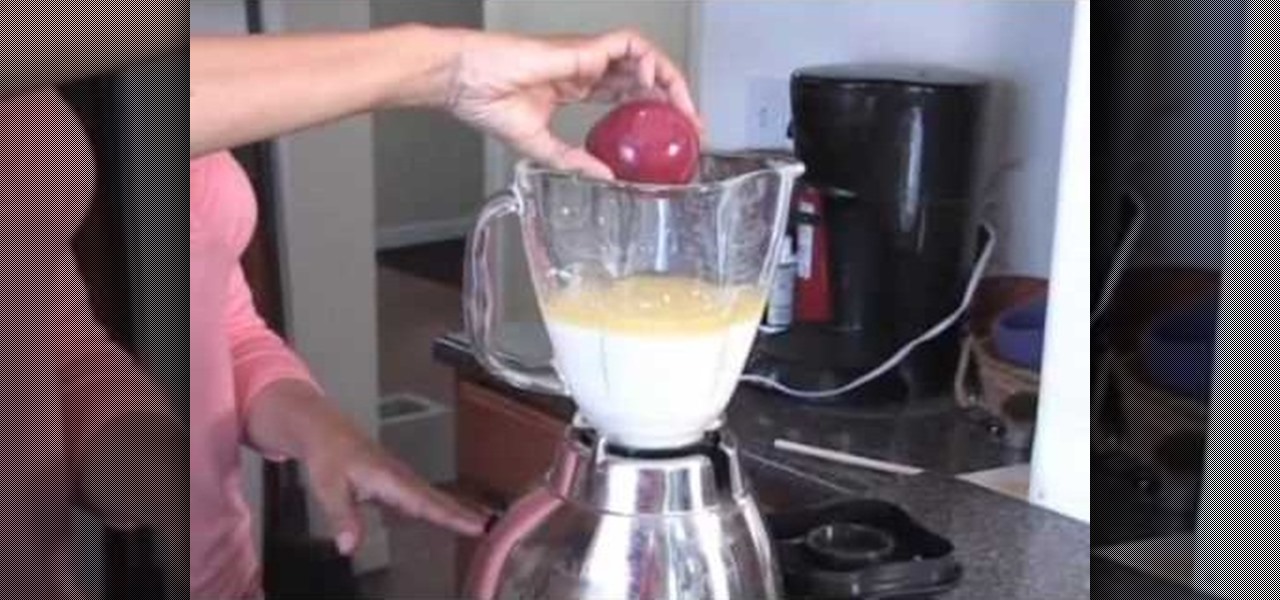
In this video, Tam will be teaching us how to make Tam's healthy kitchen Vegan cornbread. The materials you will need to start with is a large bowl to mix the ingredients. First you will start with a bowl of whole wheat pastry flour. Then add a teaspoon of baking soda, with 1 teaspoon of sea salt, and 2 teaspoons of baking powder, then mix it up. Then add 1 and a half cups of organic corn meal and mix that up well also. Then have 2 cups of organic soy milk in the blender ready, also with 2/3 ...

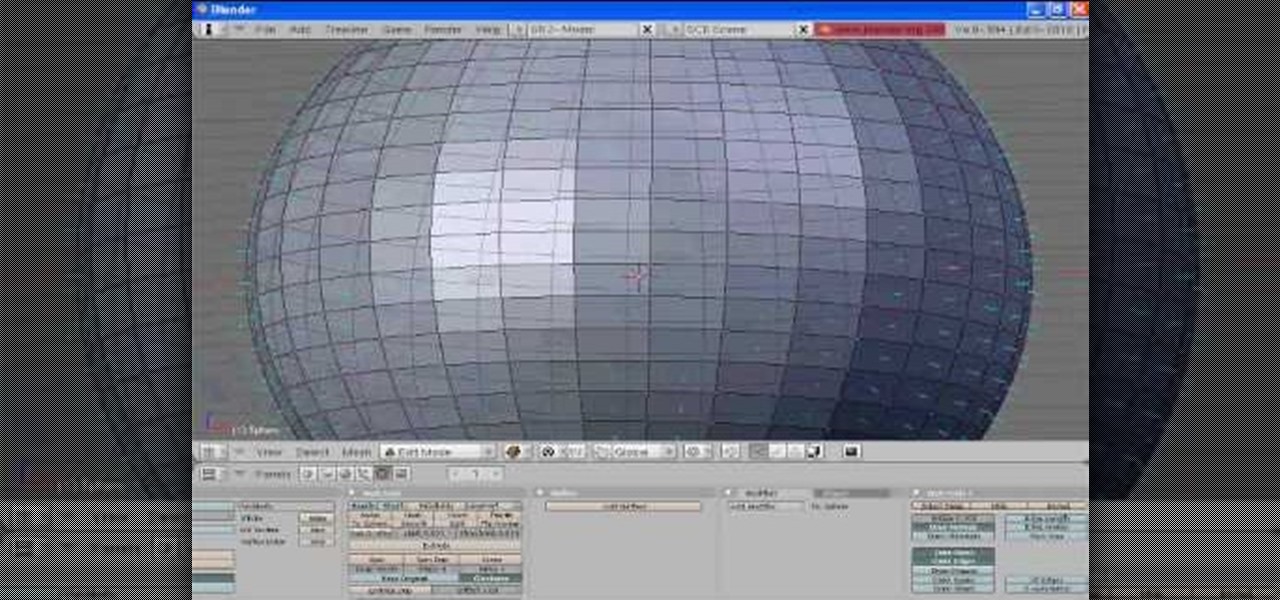
In order to unwrap and object and export it in Blender, you will need to import and object in blender, by go to "file". Click on "import". Click on "wavefront". Then, go to the parent directory. Select the object, by right clicking. Then, go into edit mode via the drop down menu, underneath the object. When your "normals" are visible and facing the right direction.

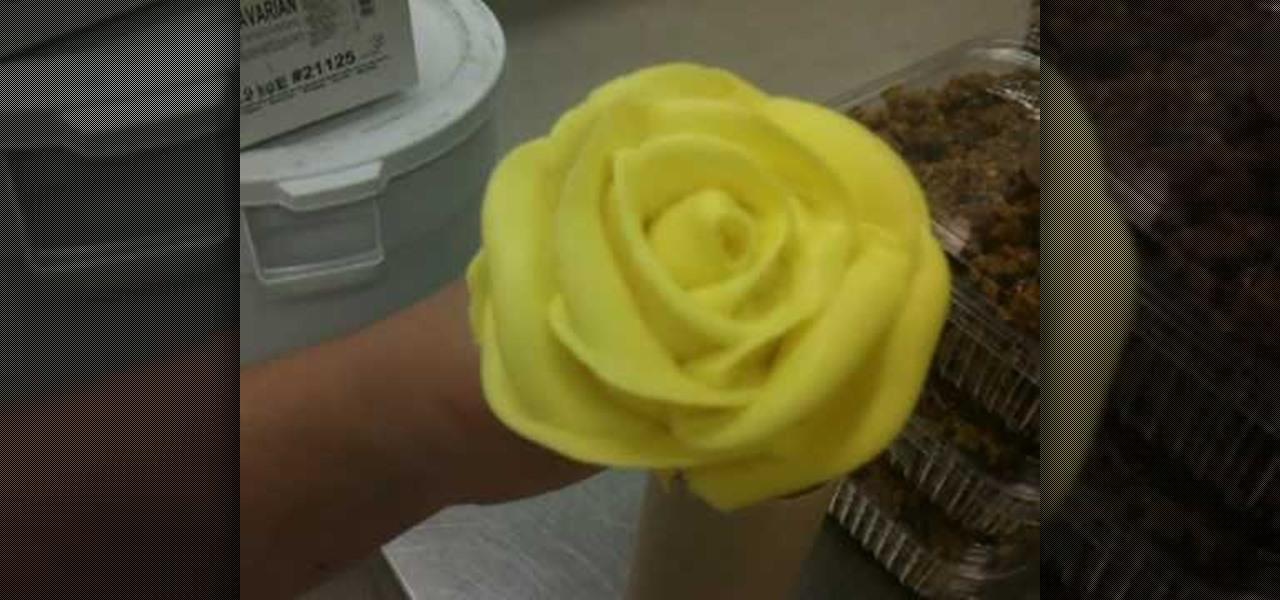
This beautiful yellow icing rose looks really difficult to create, but with the right tools it's as simple as practicing (and probably messing up a few times). Whether you want to add a special edible decoration to a Mother's Day cake you're baking or a batch of vanilla cupcakes, this rose is an elegant and never ostentatious choice.

In elementary school, we all experienced the wonders of papier mâché, that wonderfully malleable mixture of paper and glue (or maybe paper, flour, and water). Once it hardens, it's a homemade work of art. And homemade papier mâché is art on the cheap, allowing your imagination to soar without breaking your budget.

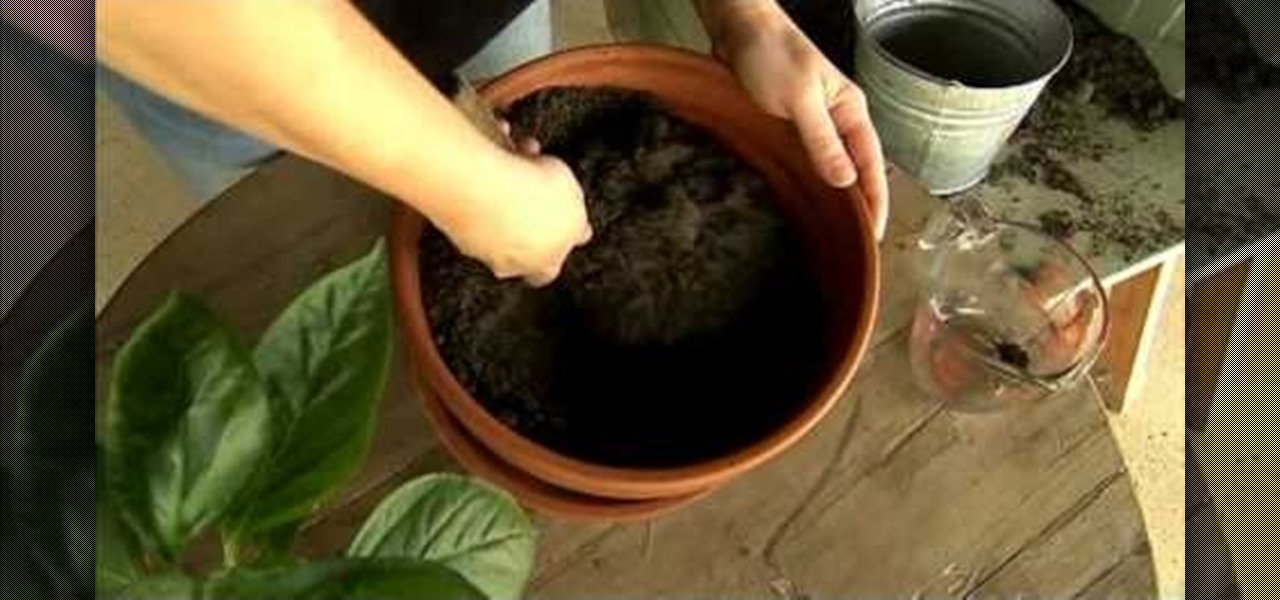
The one thing that can make your home garden flourish is by taking care of it and meeting the needs of your plants. One of those needs is great fertilizer. And the best fertilizer comes from the heart, not the store. Get great results in your garden by making your own fertilizer and compost at home.

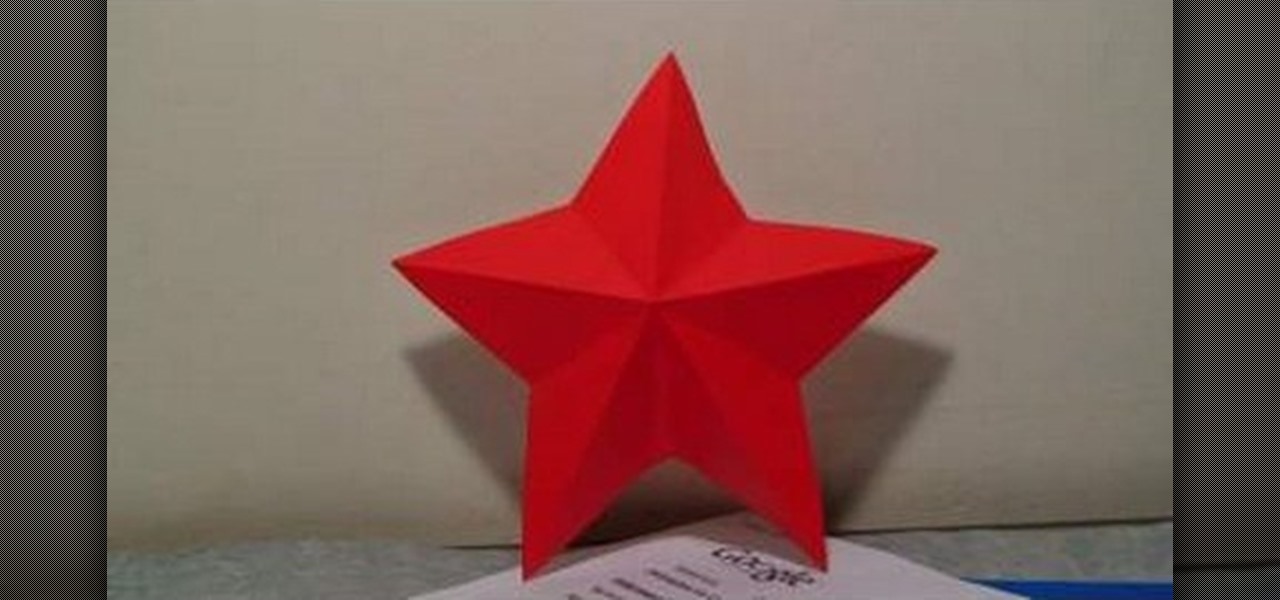
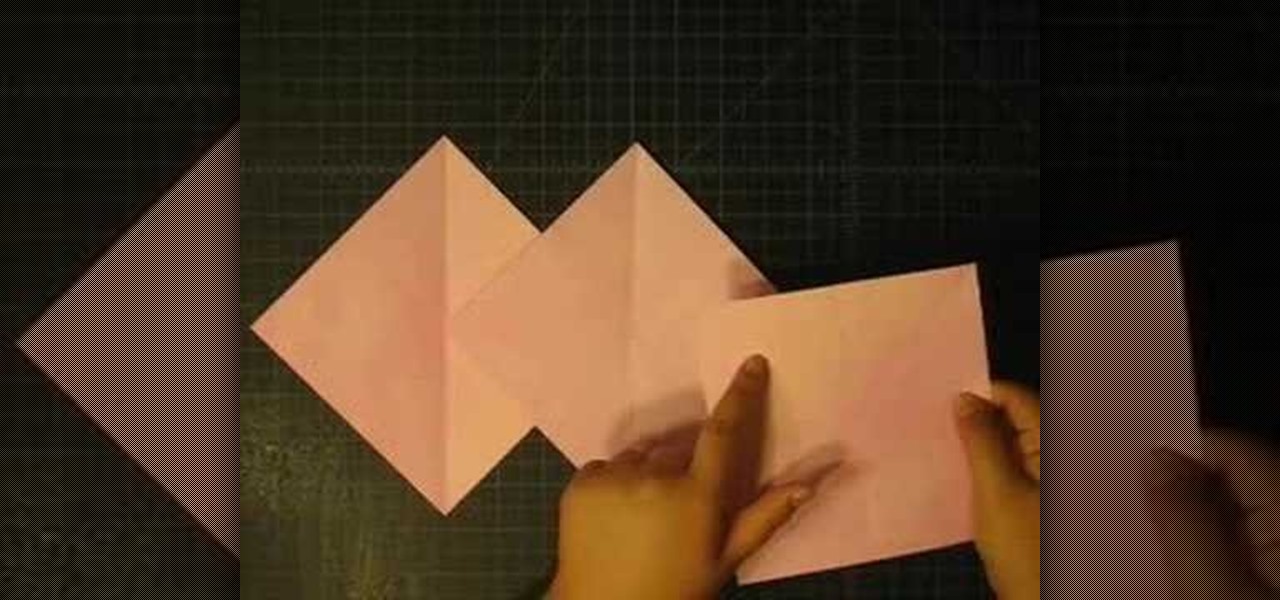
This video is about making a kirigami simple star. The materials required are two sided piece of paper, a scale and a cutter knife. Fold the piece of paper in half to form a rectangle. Now fold the upper and lower half of one end to form triangle. Make sure when you fold the paper it is in a clean line and the unfold the paper. The paper will have a square with four triangles in it. Now bring the other end of the paper such that it fits into one of the triangles of the square. Now fold the pa...

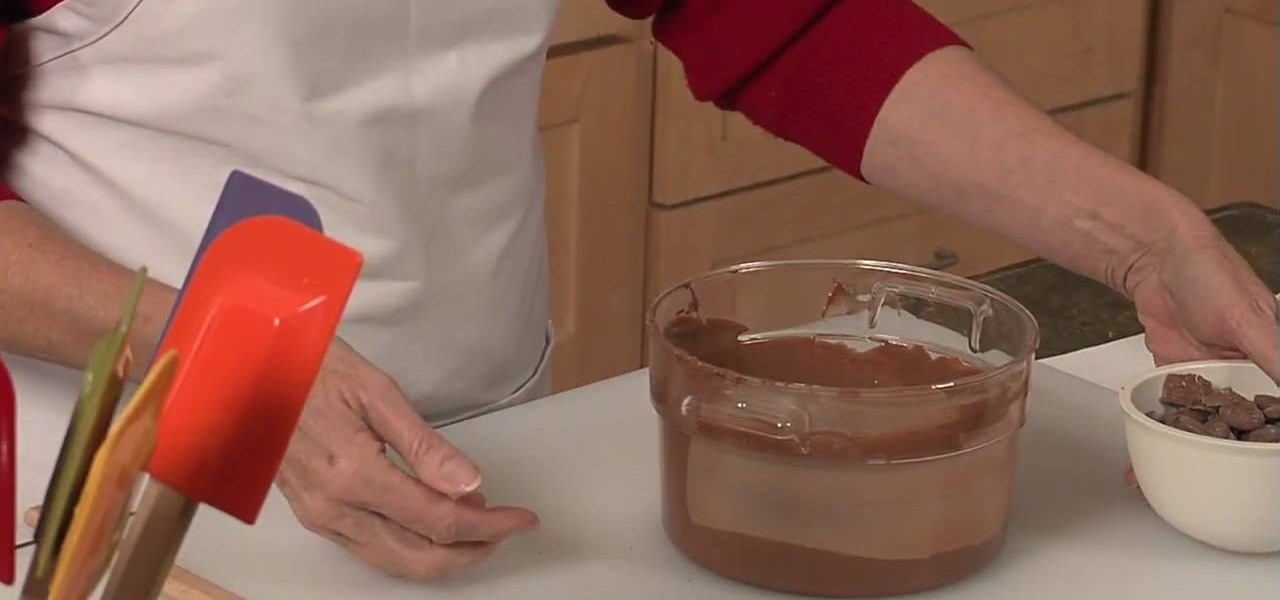
Lynn of CocoDelirious shows us how to temper chocolate - in a microwave! - in this delicious-looking video. She reveals that a sophisticated double-boiler setup is unnecessary; all that you need is a microwave, a candy thermometer, a microwave-save bowl, and a spatula. Glass and ceramic bowls - or any material that will retain heat - are a bad idea when dealing with chocolate. Lynn demonstrates melting the chocolate bit by bit, with short duration microwaving, no more than a minute at a time,...

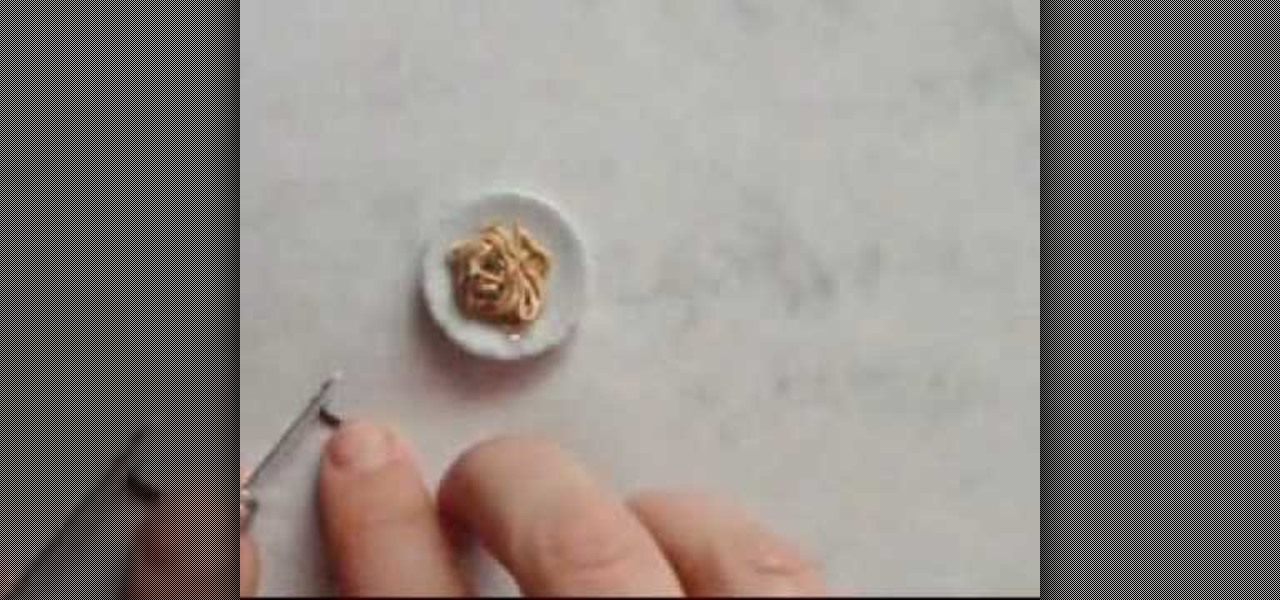
1. Collect all the materials need to create the ramen noodles clay. These are the polymer clay (color light yellow for noodles and green for green onion) ,FIMO Deko Gel, the mini plate, mini metal stick or needle, cutter, scissor, and toothpick.

This video teaches how to increase the surface area of the support under your tripod by using snow shoes. You can get snow shoes from various manufacturers. The bottom of the snow shoe has a very wide surface area. You can compare this with the width of the tripod base. The snow shoe makes the tripod more stable on the ground when you are using it on mud or snow or on sand. The snow shoe stops your tripod from sinking into the ground. On top of the snow shoe, you have a little rubber strap an...

This video shows you how to make a tech deck quarter pipe. You will need the following materials: wood pieces, cardboard, a small metal bar, glue, and scissors. The first thing you will need to do is cut out the base, this requires cutting out three equal parts (as seen in the video). The base pieces are then glued onto a back board for support. Small slits are then cut in each base to allow space for the metal bar. Glue the bar onto the base, making sure that only the bottom of the bar gets ...

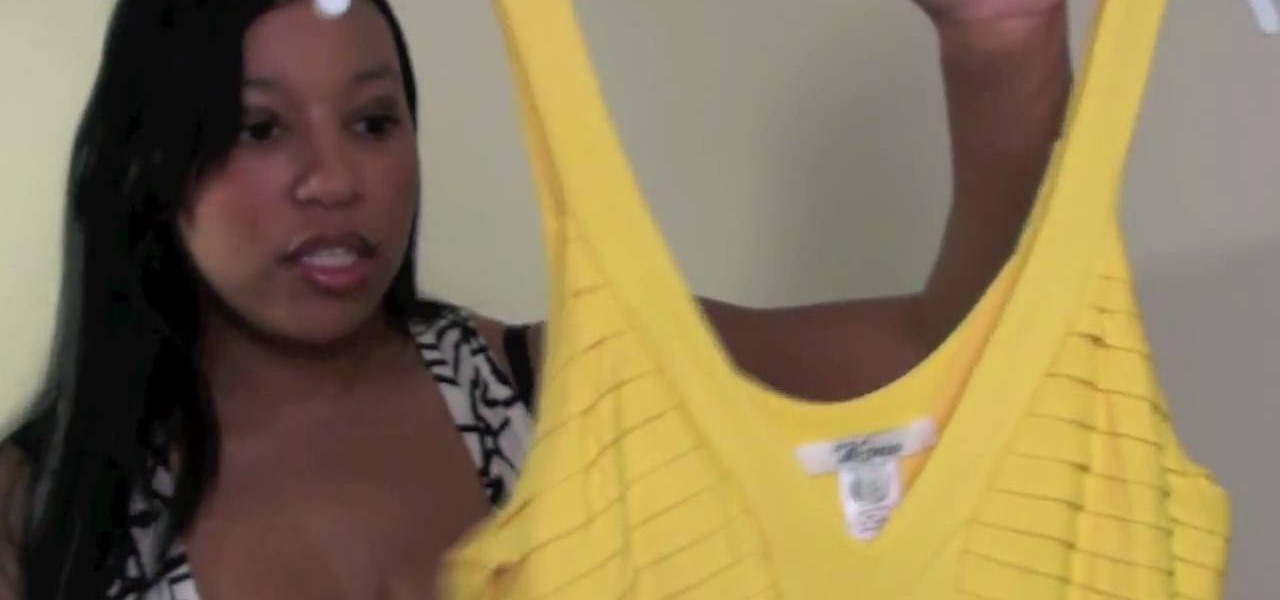
A big problem for many women is how to keep your tummy from showing. Well, YouTube user BeverlyLaneTV is here to help show you how by giving you examples of what you can wear. There are many ways to avoid the tummy showing but the easiest and most efficient way is simply clothes. Ruffle dresses are the first and the best way to cover your tummy and what this does is it give you a camouflaged look and it make a slender line across your mid section . Next are banded tops, which the band is at t...

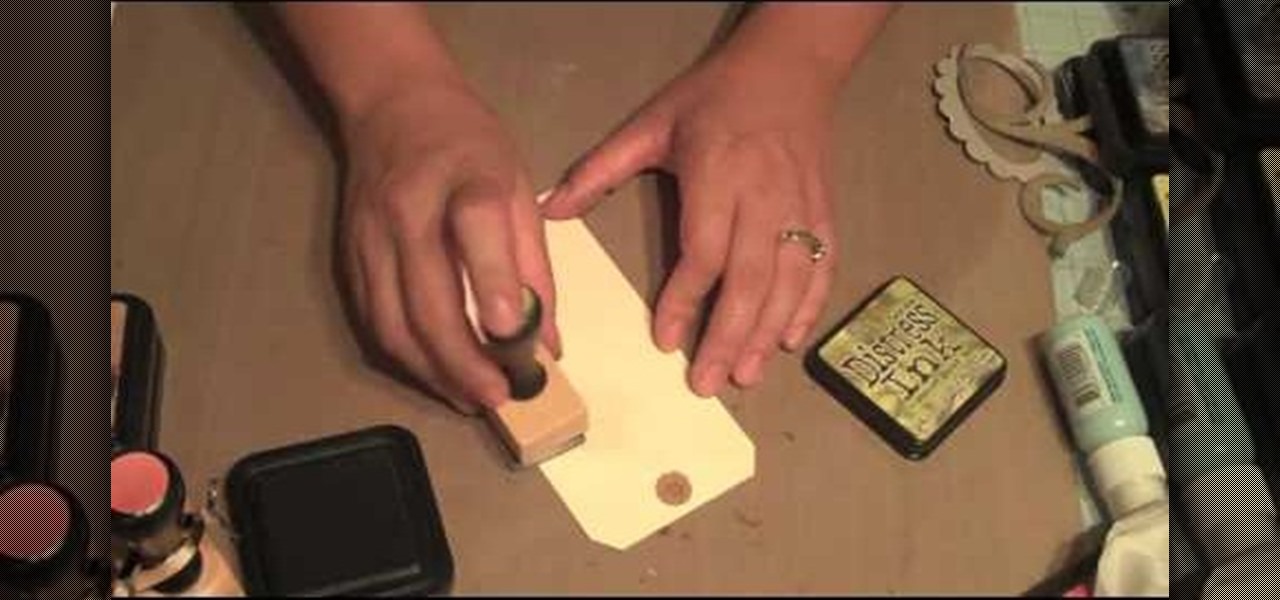
First of all you have to arrange for materials like ink blending tool, ink blending foam, some tags to be used as practice surface and a distress ink pad. The tutor advises that you must not use a blending tool like a stamp and never make a lot of impressions using it on any surface. Instead of stamping the ink on the surface like a stamp you have to be careful while using it. Use a blending tool in such a way that the whole ink goes slowly onto the tag. Start by working the blending tool on ...

The narrator starts by explaining what a squash book is. A squash is designed to keep photos, journalling or what ever you like. To start we require a 4x4 pattern paper and 3x3 chipboard. We then glue the chipboard onto the pattern paper. We then cut the corners of the pattern paper. We then fold the flap in and glue down. We repeat this to form another cover. Next we grab a 6x6 pattern paper, we then complete a series of folds. One diagonal, half horizontal and half vertical folds. We repeat...

You can make beautifully decorated cookies with just powdered sugar, water, and food coloring. Before you start decorating cookies, it is important to understand color theory. Primary colors are blue, red, and yellow. When you mix those colors you get secondary colors. Blue and red make violet. Red and yellow make orange, and blue and yellow make green. If you mix all three primary colors together, you get brown. To make black color, mix together green and red and a few drops of blue. Also, p...

Making a Elephant Toothpaste Volcano!

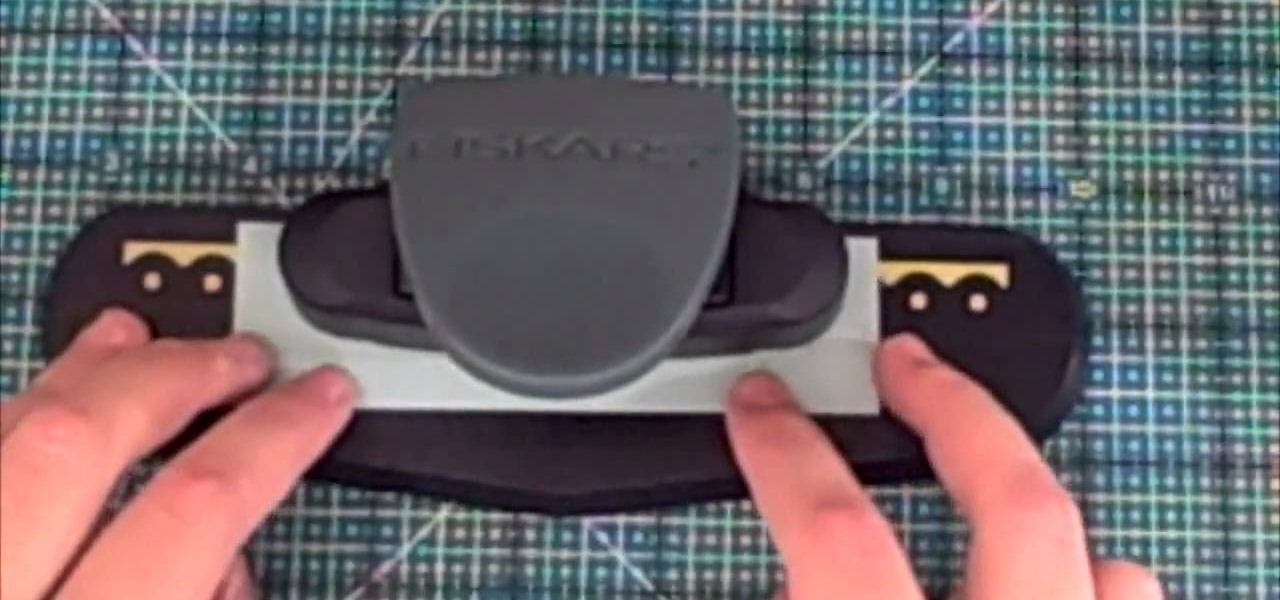
This video is part of the lawn fawn card series and it explains the making of a card using border punches and a stamp.The materials required are a set card-polka dot basics from paper tray ink.This card has a variety of dots on it. Remove the big open circle polka dot and lay it on the aqrualic and place it on a plastic bock with grids on them.Using a color box cover the stamps with ink.Now place the block over the card so that the grid lines with its length and press on it.The polka dots wil...

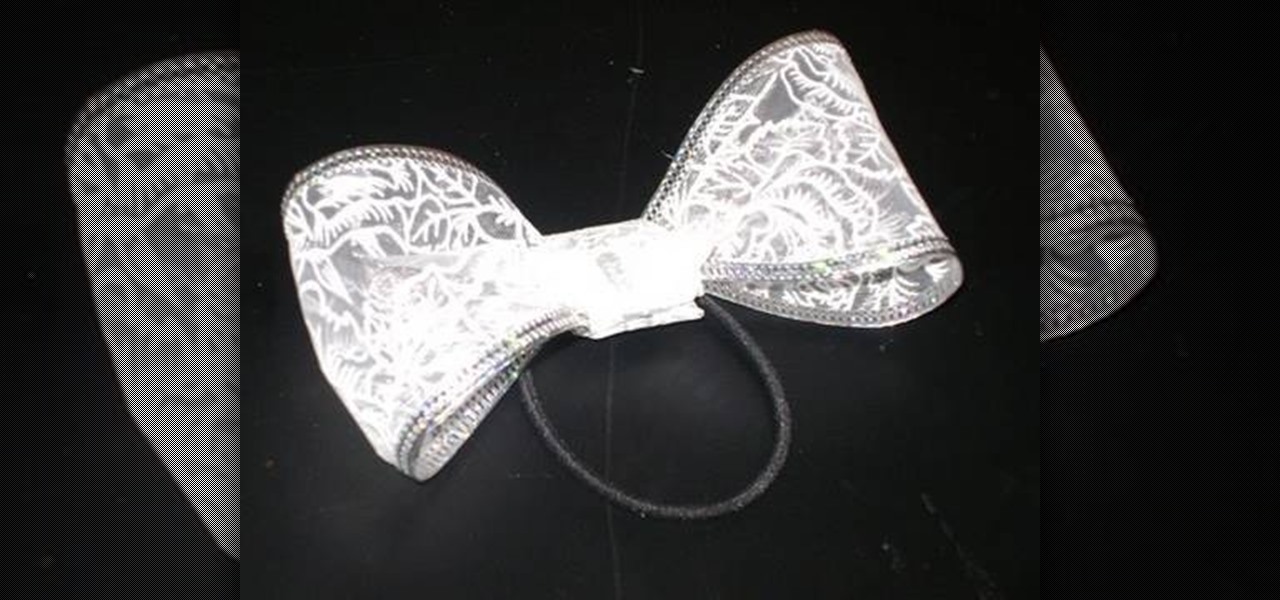
Materials required are lace, hair band, scissors and glue. Start by cutting off a piece of lace around ten inches length using a scissors. Now apply glue at the edges of one end of the lace. And then join the other end of the lace together to form a circle. Now hold this lace at the middle and then push in the middle. Press in at the centre so that it is divided into a Bow as shown. Spread the edges a little to make it appear fine. Now cut off a piece of lace around four inches using a scisso...

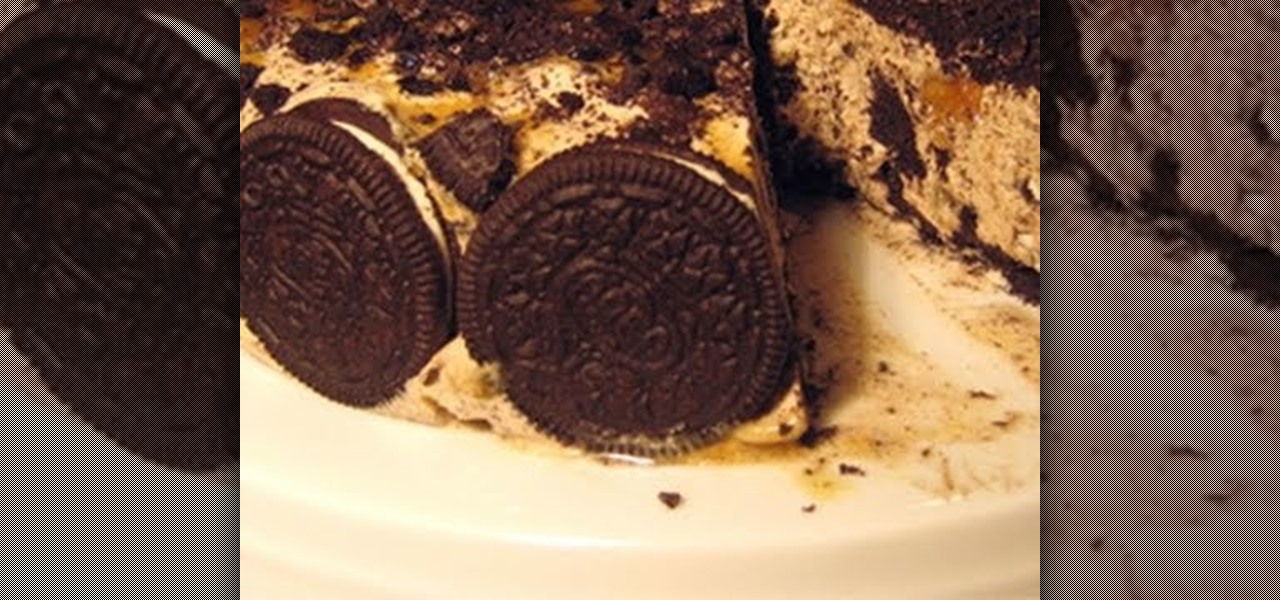
This video is part of Laura in the Kitchen series and in this video Laura explains about the making of Oreo Ice Cream Cake. The materials required are vanilla ice cream, store bottle of caramel sauce, stored bottle of chocolate syrup, some walnut cookies and walnut in syrup. The video begins a plastic wrap in a nine spring can and the wrap is to enable the easier lifting of the cake. You have to place the ice cream in a bowl for 45 minutes at room temperature to make it nice and soft. Laura p...


