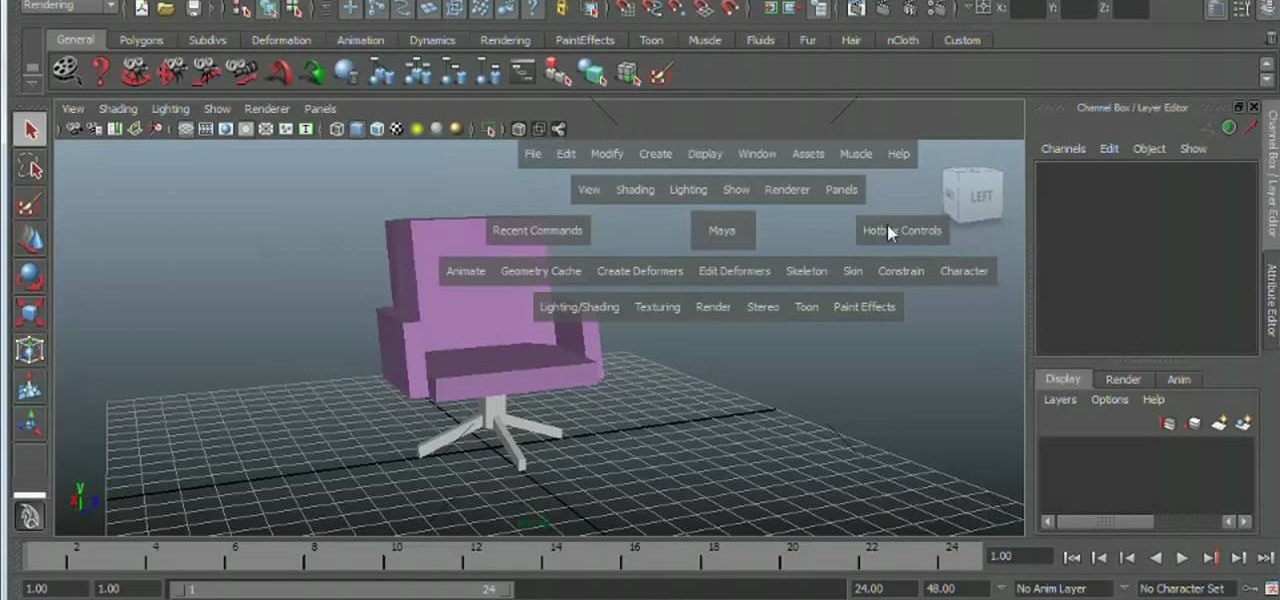
Meet the Maya 2011 Hotbox tool, a highly useful on-screen device for navigating your projects. Whether you're new to Autodesk's popular modeling software or a seasoned 3D artist just looking to better acquaint yourself with the Maya 2011 workflow, you're sure to be well served by this video tutorial. For specifics, and to get started using the Hotbox to navigate your own Maya projects, watch this free video guide.
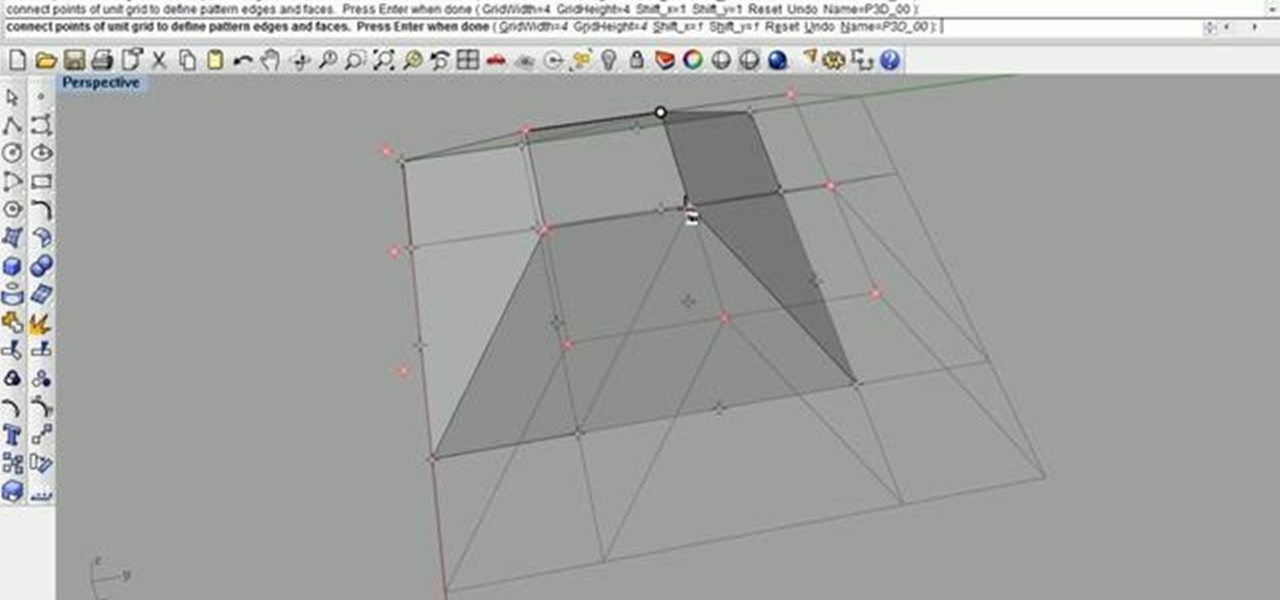
Learn how to use 2D and 3D library patterns in the Paneling Tools plugin for Rhino. Whether you're new to Rober McNeel & Associates' popular NURBS-based modeling application or a seasoned 3D arts professional just looking to better acquaint yourself with Rhino 4's new features, you're sure to be well served by this video tutorial. For more information, including step-by-step instructions, watch this free video guide.

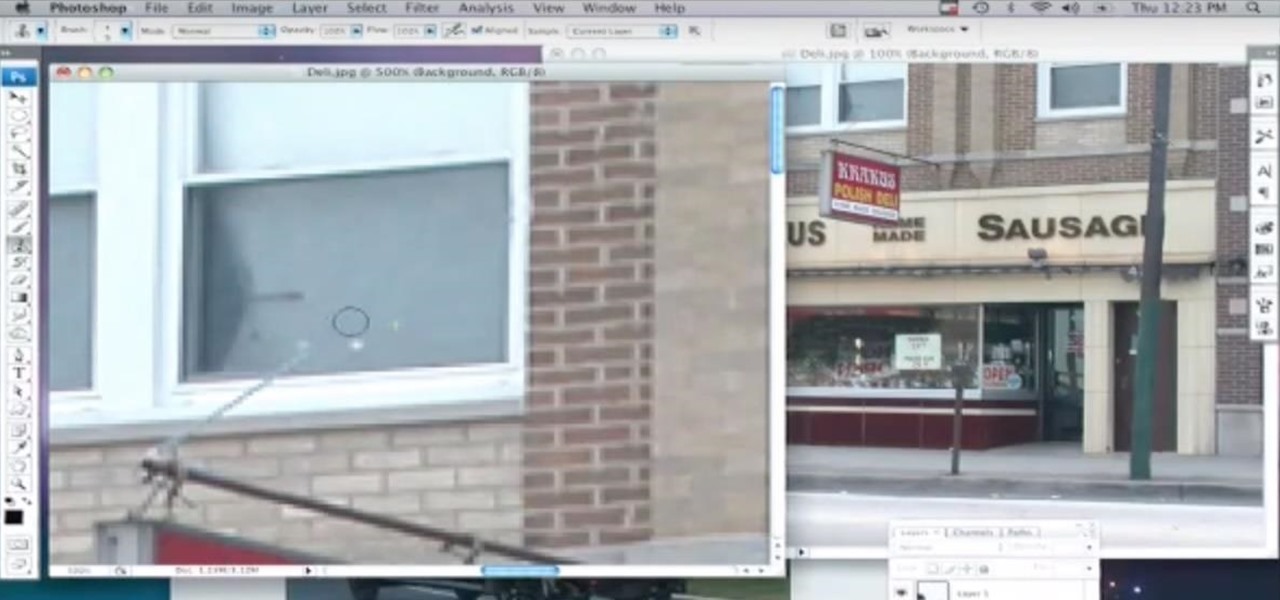
Learn how to take advantage of Adobe Photoshop CS5's much undervalued Scrubby Zoom tool with this video tutorial. Whether you're new to Adobe's popular image editing software or a seasoned graphic design professional just looking to better acquaint yourself with the unique features of Photoshop CS5, you're sure to find something of value in this video tutorial. For more information, and to get started using CS5's Scrubby Zoom feature yourself, watch this video lesson.
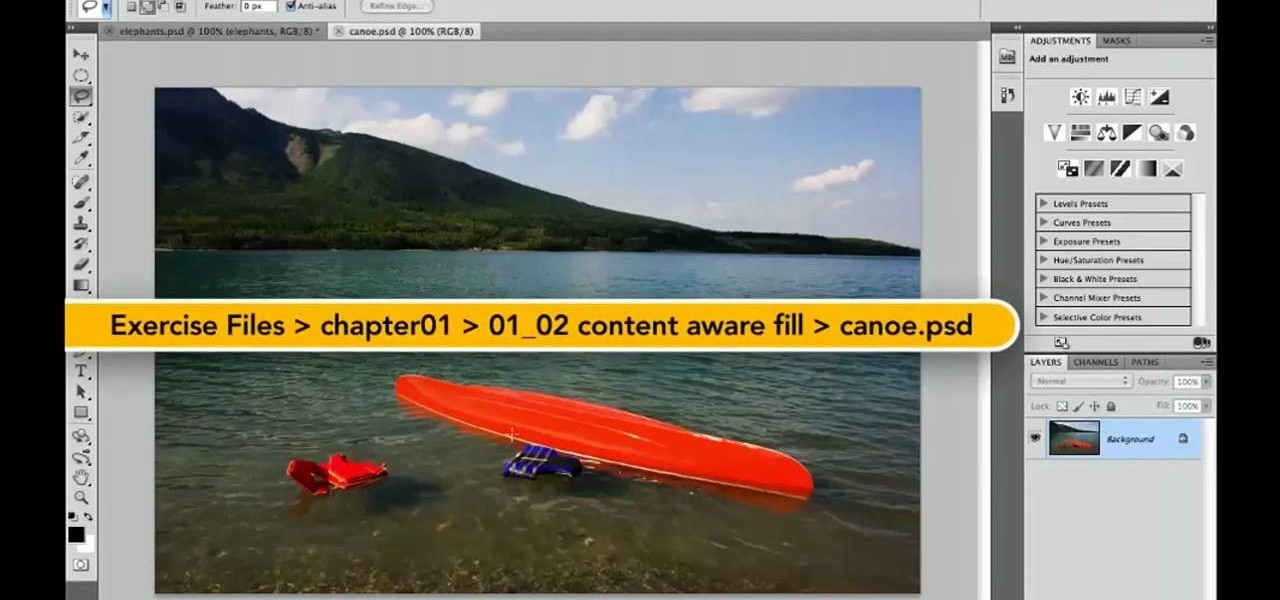
Whether you're new to Adobe's Creative Suite or a seasoned graphic design professional after a general overview of Adobe Photoshop CS5's most vital new features, you're sure to be well served by this from the folks at Lynda, which presents a detailed, step-by-step overview of how to use Photoshop's new content-aware fill tool to selectively and seamlessly erase material from a digital image.
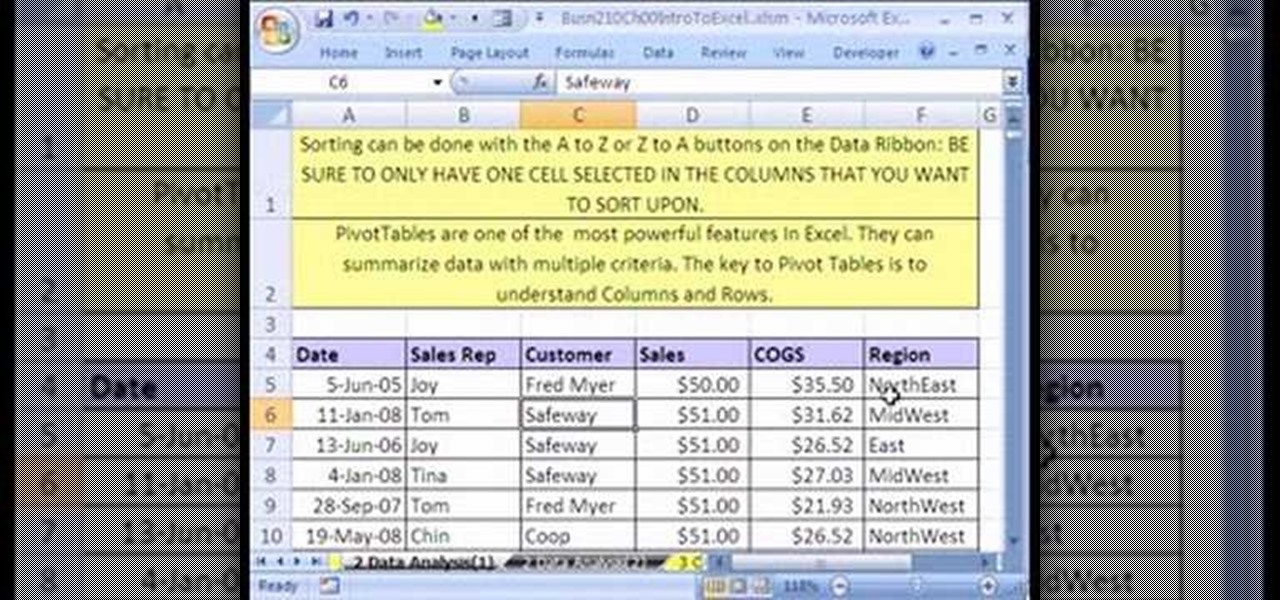
If you use Microsoft Excel on a regular basis, odds are you work with numbers. Put those numbers to work. Statistical analysis allows you to find patterns, trends and probabilities within your data. In this MS Excel tutorial from everyone's favorite Excel guru, YouTube's ExcelsFun, the 3rd installment in his "Excel Statistics" series of free video lessons, you'll learn how to use Excel's sorting and pivot tables (PivotTables) data analysis tools.
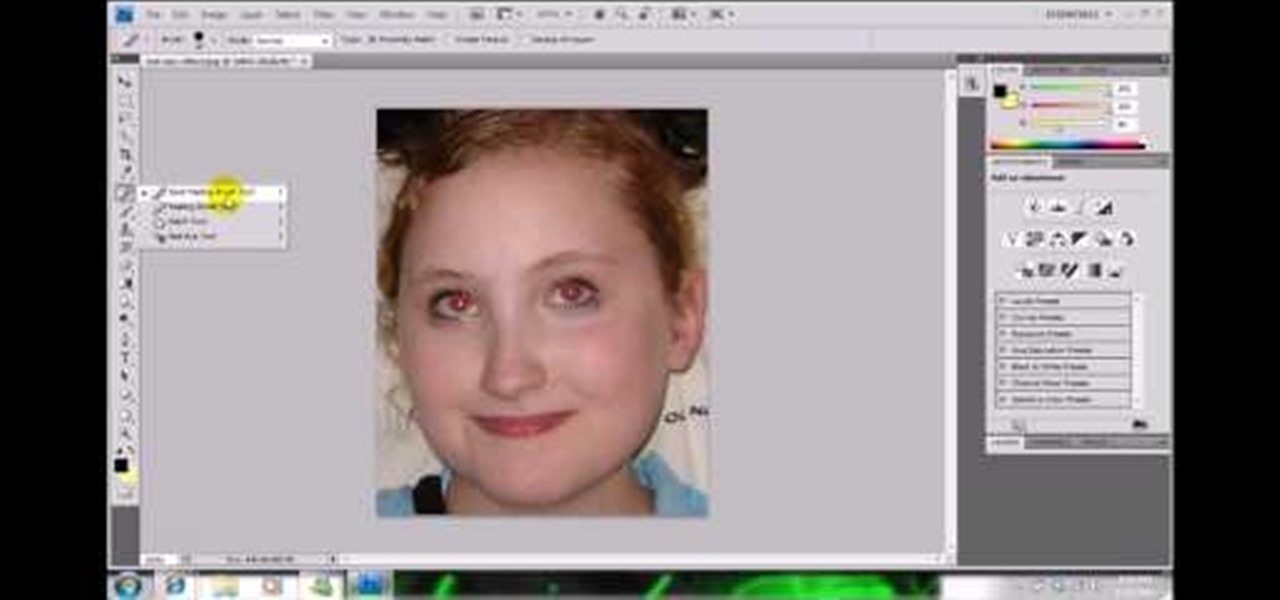
In this video, we learn how to get rid of red eyes while using Photoshop. Make sure you have Photoshop open with your picture up and you're ready to go. First, on the left hand side you will find a "healing brush" tool (which is 7 tools down from the top), click on that and then click "red eye tool". Next, you will click on each of the red eyes in your photo. After this, it will change the color of your red eye to the normal color. If the photo needs changed, you can also change the contrast ...

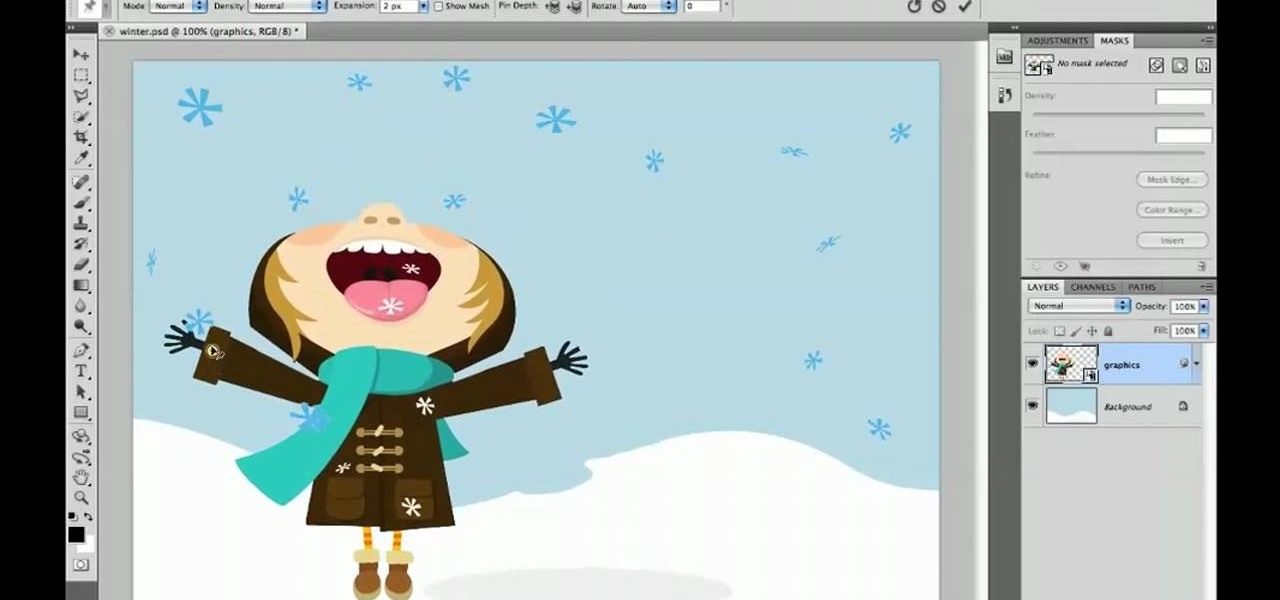
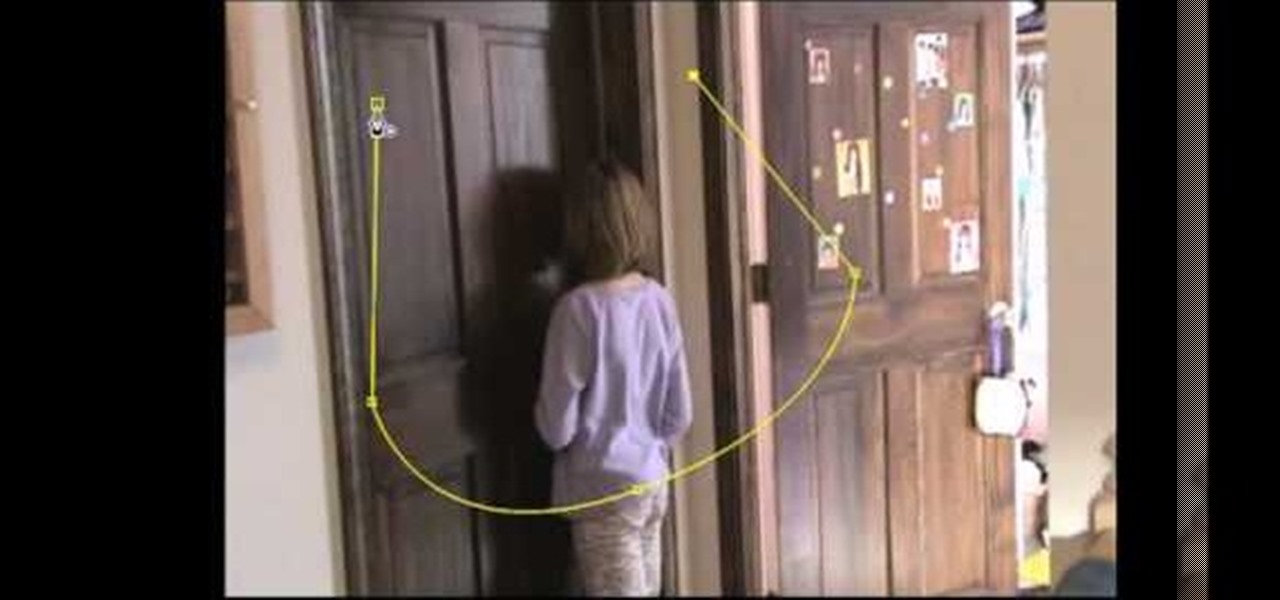
In every new version of Photoshop, there's one new feature that wows the crowd. In Adobe Photoshop CS5, that feature is Puppet Warp. In this video lesson from Lynda, you'll learn how to use the Puppet Warp tool to intelligently deform graphic and photographic objects.

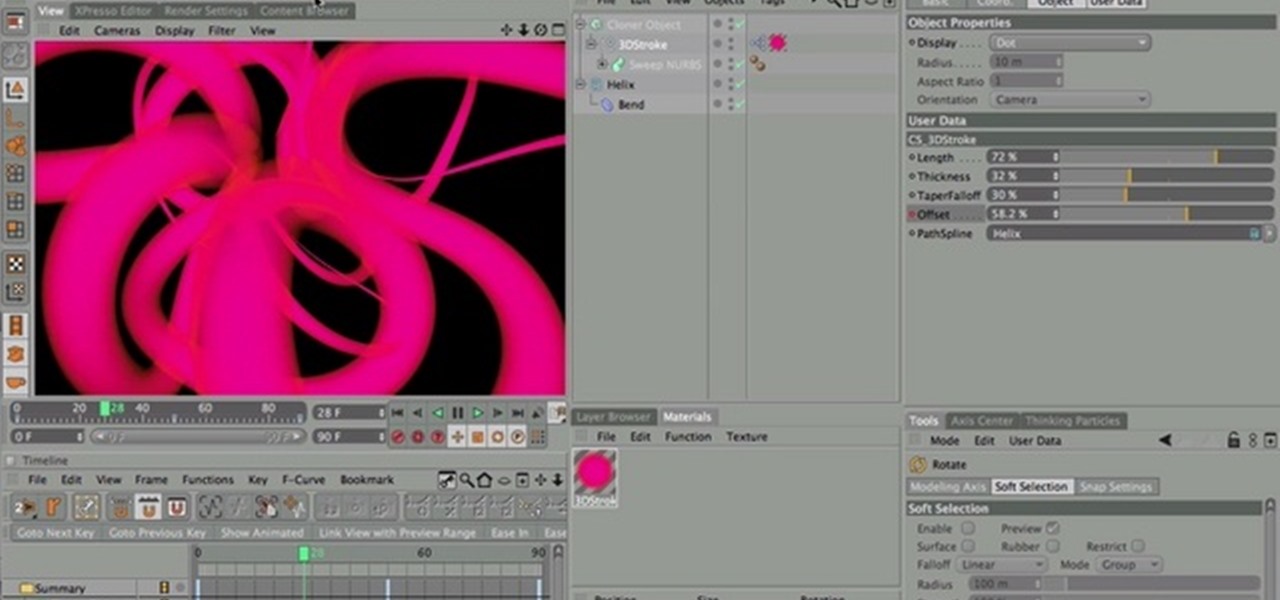
Nick from Greyscale Gorilla does a great walkthrough of the CS Tools bundle for Cinema 4D. He demonstrates installation as well as basic uses for simply accomplishing complicated 3D effects.

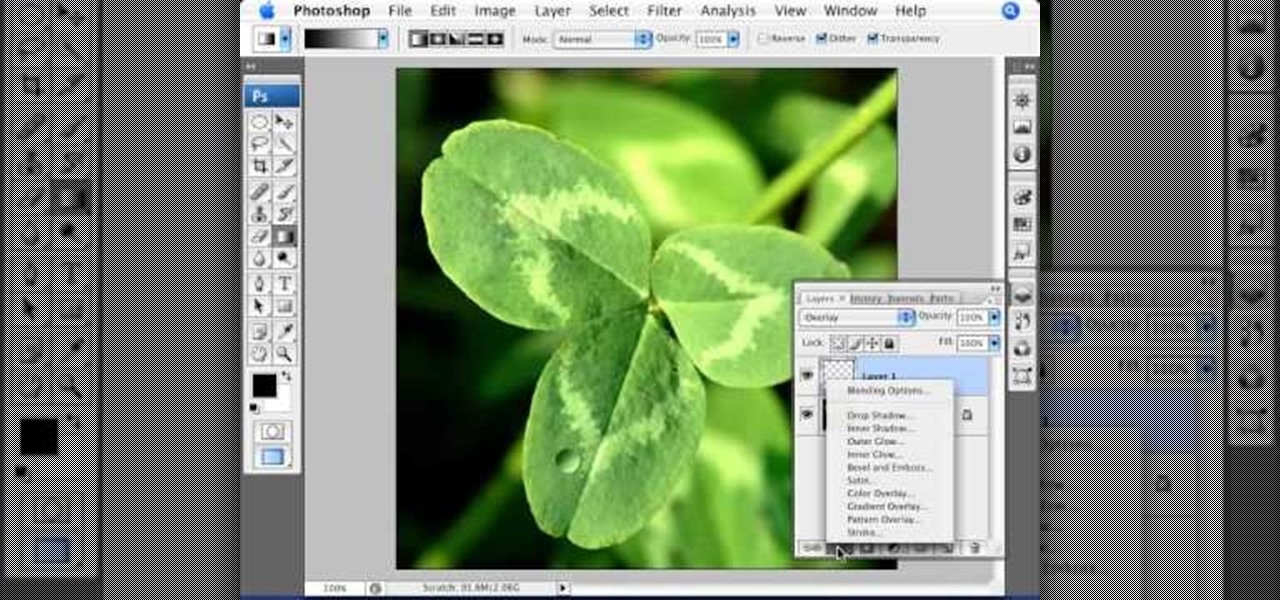
This video offers Photoshop users a detailed procedure for adding simulated water droplets to photographs. A male voice-over describes each step in a conversational tone, and his instructions are easy to follow and apply. As he narrates, each step is carried out on screen, allowing you to find the different Photoshop tools and settings when you do it yourself. The procedure uses the gradient tool, drop shadow, and liquefy filter to create a water droplet to a clover leaf. In addition to showi...

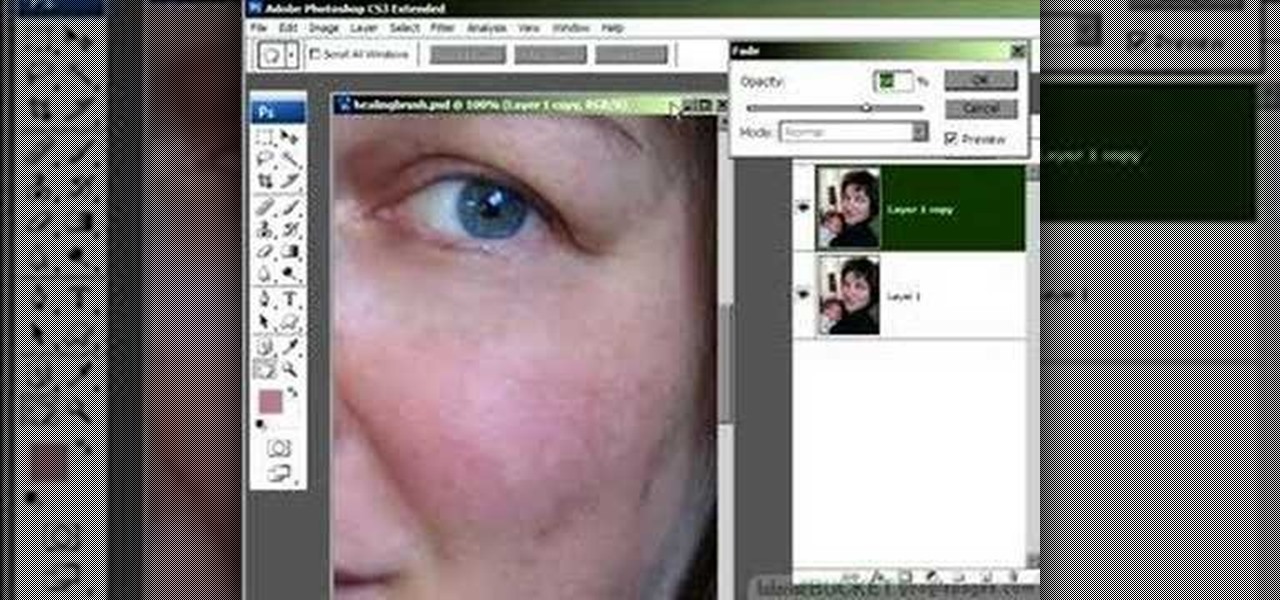
Do you love to edit your photos in Photoshop? Watch this quick video that contains some really neat tips on how to use the healing brushes and patch tools in Photoshop. The spot healing brush makes it easy to brush away blemishes or other marks on the skin. It's good for small spots, not larger areas. You can use the patch tool for larger jobs. These two tools combined will give you a pretty impressive end look. It can remove tattoos, wrinkles, acne and so much more!

This video shows you how to enhance the sky in pictures using a program called Adobe Photoshop. With this program you can use a gradient tool to layer different areas and change the color to enhance the picture of the sky. You can also invert colors and do a lot of different things using this tool. It is a very helpful tool to have because it drastically changes how bold the sky looks and could help a photographer out a lot to learn this skill.

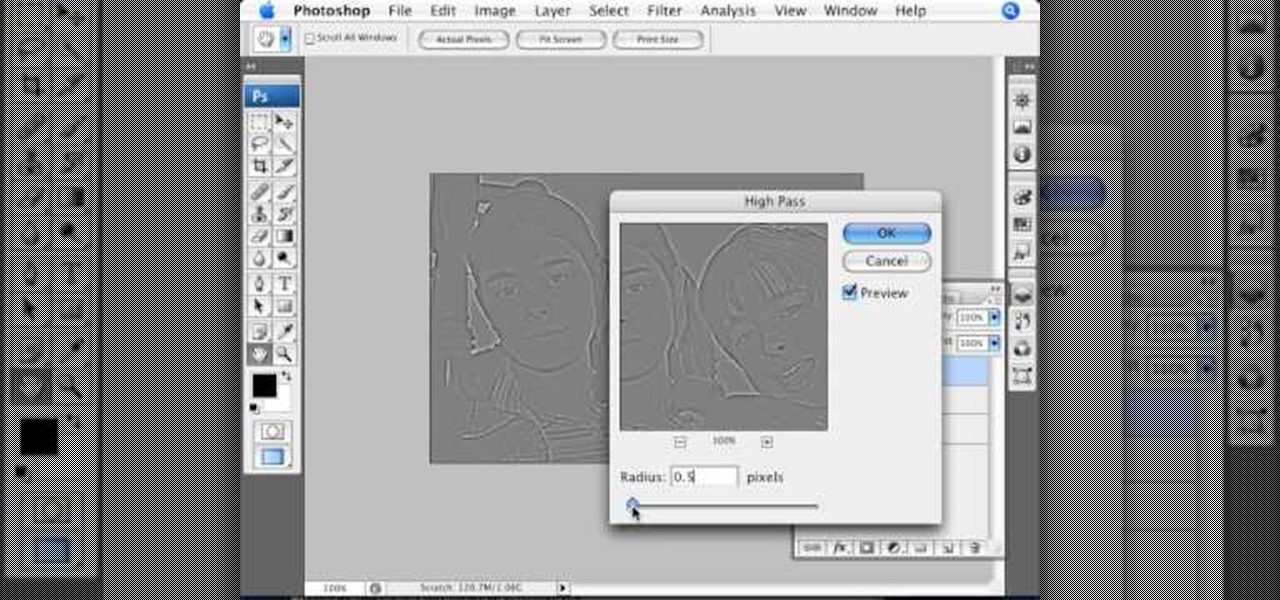
This Photoshop tutorial video teaches you how to make any photo look like it was hand drawn. The image selected should have a relatively simple background, because a too detailed image will not turn out properly. Use the high pass tool and the sketch paper tool and you pretty much have your hand drawn image. Follow this video for extra tips on how to get your image to look like hand drawn perfection.

Acrobat 9 Pro is an essential tool for creating, reviewing and sharing comments with others you work with. In this video you will learn about commenting PDF files and the methods for including others in your review process with Adobe Acrobat and Adobe Reader. Learn how to use comment tools and review cycles in Acrobat 9 Pro as well as how to collaborate via email or Acrobat.com and share pages.

See a tour of the new fur system in Houdini 9.5! It presents a workflow for adding fur to a character, then dives into implementation of the tools to help build that fur.

Systm is the Do It Yourself show designed for the common geek who wants to quickly and easily learn how to dive into the latest and hottest tech projects. We will help you avoid pitfalls and get your project up and running fast.

Systm is the Do It Yourself show designed for the common geek who wants to quickly and easily learn how to dive into the latest and hottest tech projects. We will help you avoid pitfalls and get your project up and running fast. Search Systm on WonderHowTo for more DIY episodes from this Revision3 show.

Pixel Perfect is the "perfect" show to help you with your Photoshop skills. Be amazed and learn as master digital artist Bert Monroy takes a stylus and a digital pad and treats it as Monet and Picasso do with oil and canvas. Learn the tips and tricks you need to whip those digital pictures into shape with Adobe Photoshop and Illustrator. In this episode, Ben shows you how to create hair and fur with the pen tool in Photoshop.

Pixel Perfect is the "perfect" show to help you with your Photoshop skills. Be amazed and learn as master digital artist Bert Monroy takes a stylus and a digital pad and treats it as Monet and Picasso do with oil and canvas. Learn the tips and tricks you need to whip those digital pictures into shape with Adobe Photoshop and Illustrator. In this episode, Ben shows you how to detail an automobile headlight in Photoshop.

Get started using Adobe After Effects with the help of The New Boston! This beginner's tutorial is bound to answer the many questions you have about the popular digital motion graphics and compositing software. The main purpose of After Effects is for film and video post-production.

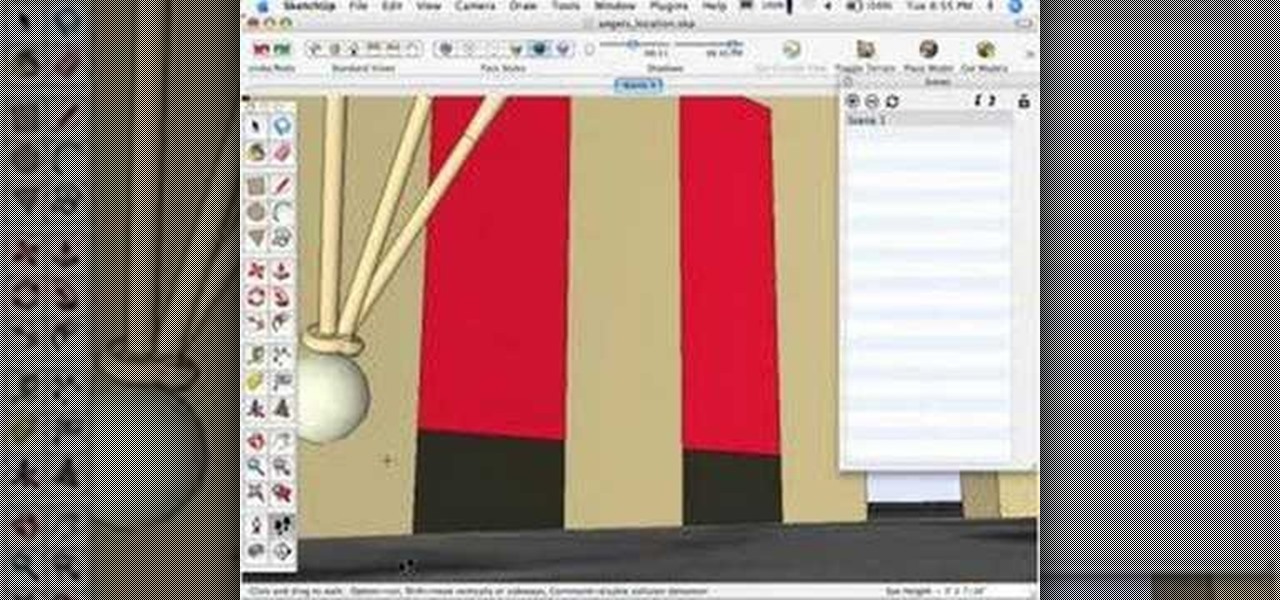
If you've ever wondered how to get more precise views of your model, The Sketchup Show episode #12 is for you. Alex covers the three basic "camera" tools in SketchUp, and explains how you can manually adjust view settings for the height and field of view of your SketchUp camera.

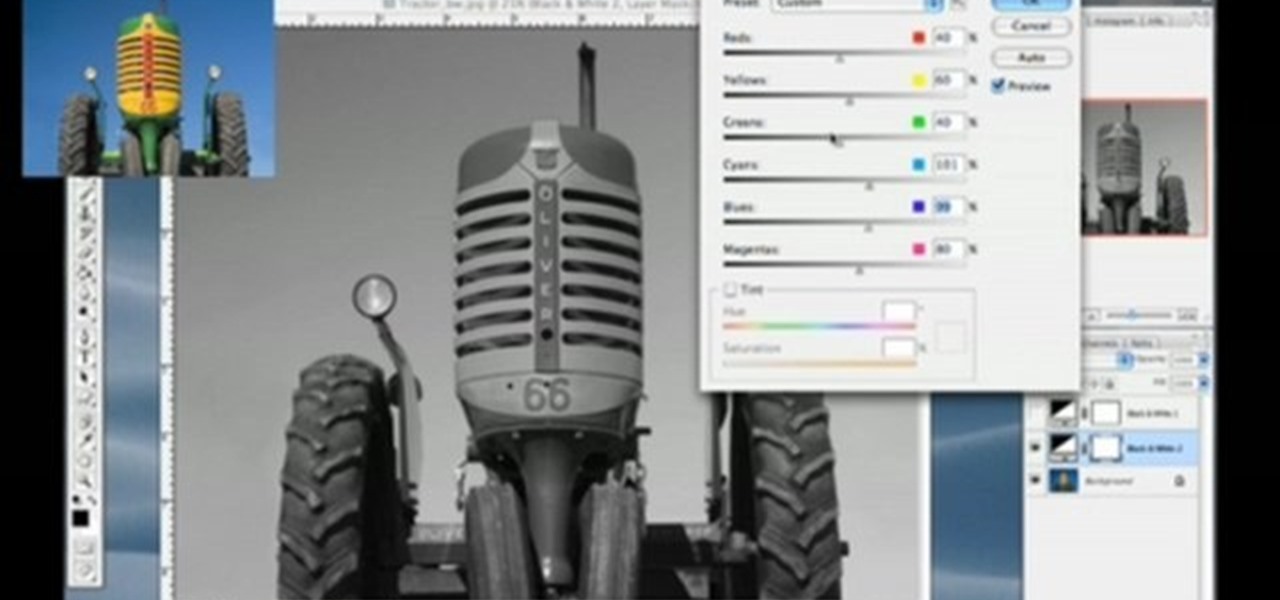
In this tutorial Lindsay Adler will teach you how to do exquisite black and white conversions in Photoshop (cs3 and newer). Using the black and white adjustment layer tool in Photoshop, photographers are given complete control and simplicity for converting images to black and white. Lindsay will introduce you to the power of this Photoshop tool and provide several tips on making conversions.

If you need help with 3D concepts in Illustrator, Bert's going to show you how to wrap an invisible 3-dimensional shape made in the 3D Extrude and Bevel tool with Map Art tool. Curled ribbons for campaign posters are just the beginning with this Illustrator tutorial!

Photoshop wizard Bert Monroy shows you how to use Photoshop's cloning tool to remove people, places and things from your photos. Eliminate modern elements from your streetscapes to make them look old. This Photoshop tutorial shows you how.

This Apple software tutorial shows you how to edit MIDI notes in Logic Pro 8. Learn to edit note velocity and duration using the Piano Roll Editor tools and pencil tool in Logic Pro 8.

When you want to remove red-eye in a photo, simply use the iPhoto red-eye removing tool. iPhoto provides tools to correct other defects, as well.

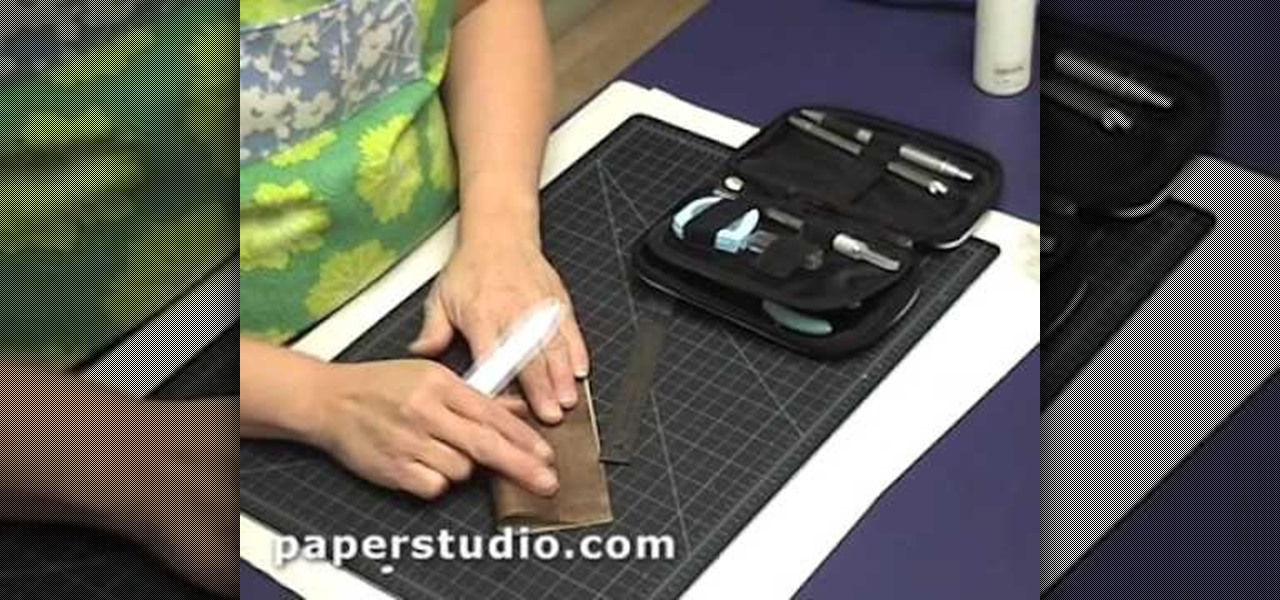
If you are new to book and paper arts, whether scrapbooking, making personalized stationary, or home-made cards, this video is for you! It is an inexpensive hobby and you only need a few tools. This video shows you a few of the necessities and how to use them!

Take a peek at the tools and equipment Patrick Norton and David Randolph have acquired over the years as they walk you through the must have gadgets every geek should have on their workbench.

Now that everyone has an Android or iPhone in their pocket, there's no excuse for being late to an appointment or job interview. Thanks to that GPS receiver in your smartphone, navigating your way through city streets and highways is a cinch, in or outside of your vehicle. But once you get inside a building, that fancy GPS feature doesn't know what to do. Which direction is the elevator? How do you get to room 819? Where's the nearest fire exit? The bathroom?

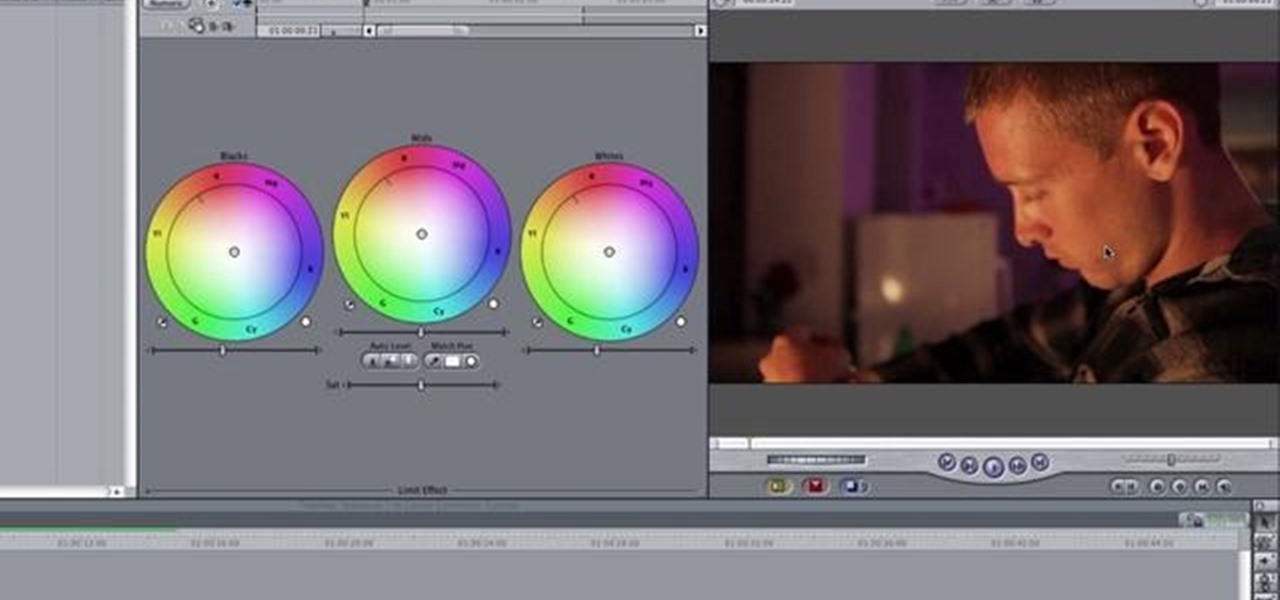
In this three part-software tutorial, you'll learn how to use the 3-way color correction filter to do color grading and correction in Final Cut Pro. Whether you're new to Adobe's popular motion graphics and compositing software or a seasoned video professional just looking to better acquaint yourself with the program and its various features and filters, you're sure to be well served by this video tutorial. For more information, including detailed, step-by-step instructions, watch this free v...

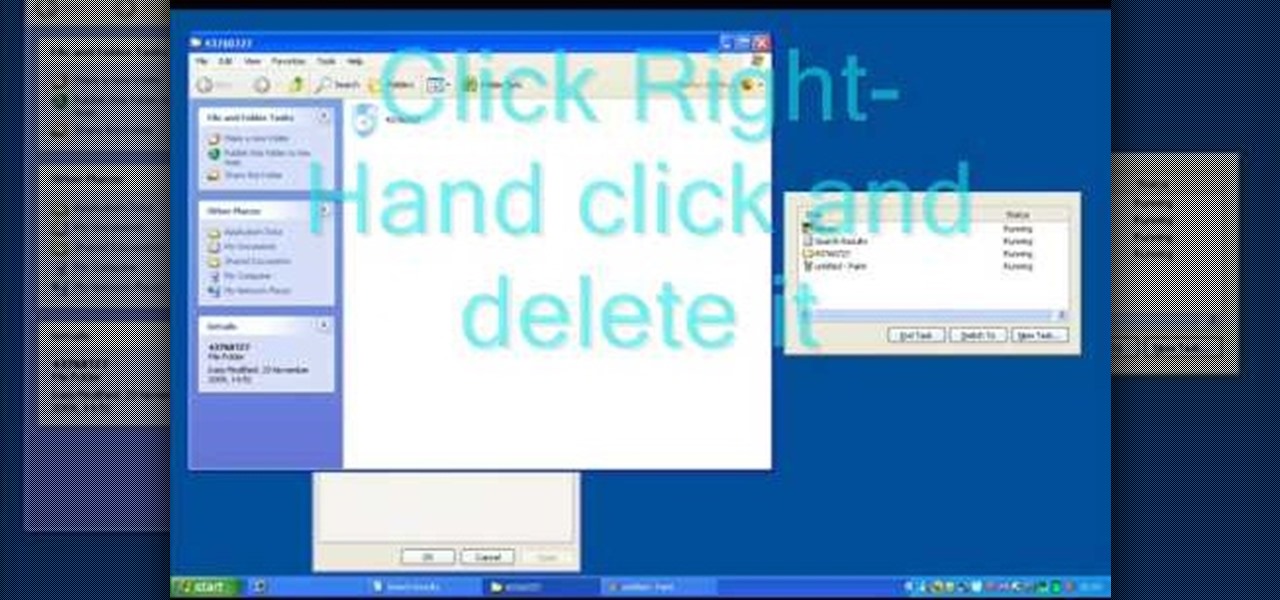
In this tutorial, we learn how to remove security tool in less than one minute. First, restart your computer, then press "ctrl+alt+del" when your new window starts up. After this, wait for a few seconds, then if you see the security tools pop up, end the task for it. Then, go to the start menu, then all programs, then look for any security tools. Right click, on "find target" then delete it! After this, your security tools will be deleted and will stop annoying you. You will be able to delete...

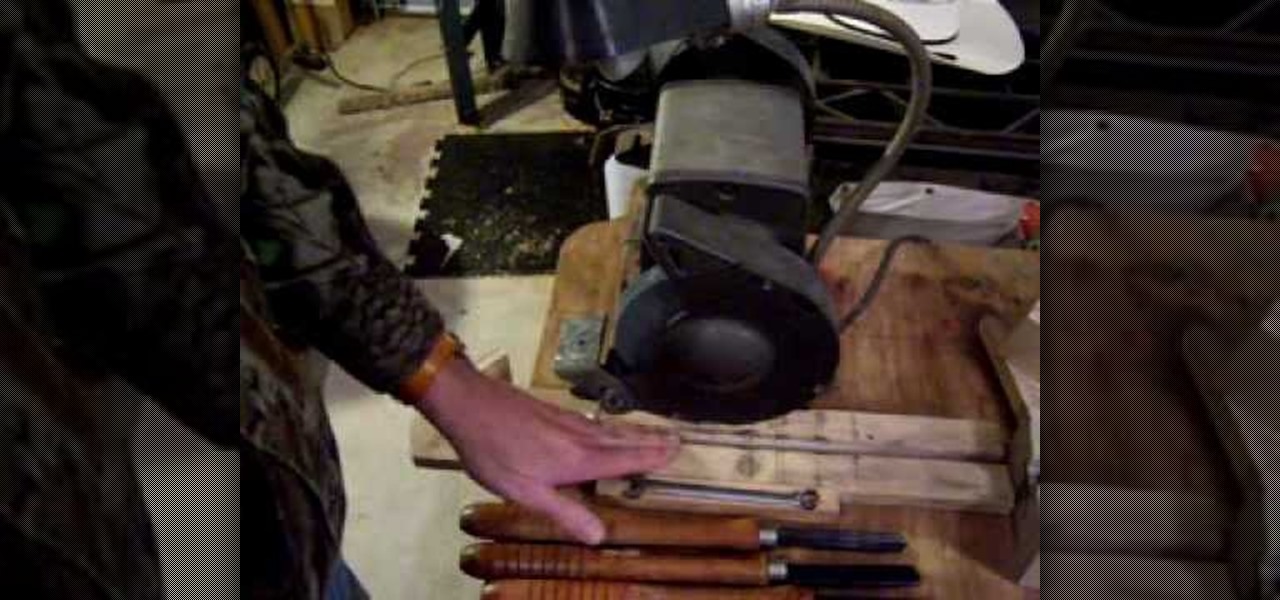
When molding or carving pieces of wood using a lathe, it's important that you have the right tools for the job. This includes having your tools nice and sharp for when you need them. You can actually pay someone to do this, but how about you save some money?

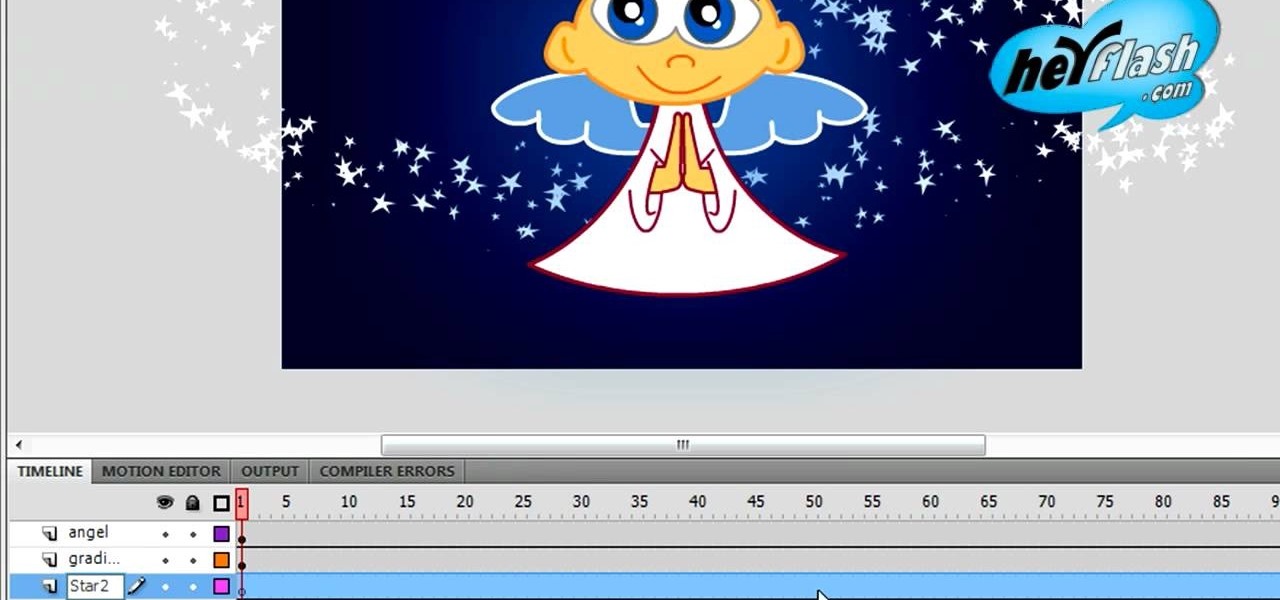
The custom spray brush tool in Flash CS4 is a powerful one indeed. It allows you to spray colors in shapes governed by movie clips, which is very handy for making your paint brush tool match areas that you have to color in frequently. This video will show you how to use the tool effectively to create colored images quickly, adding objects like twinkling stars to your movie with ease. This will make it both more interesting and easier to make!

Learn how to use the Gaussian blur tool to add mood to your digital photos while maintaining sharpness and detail. Meet the Adobe Photoshop pen tool! Whether you're new to Adobe's popular image editing software or simply looking to pick up a few new tips and tricks, you're sure to benefit from this free video tutorial, which presents a complete overview of how to use the Gaussian blur filter when touching up a photo. For more information, and to get started using the Gaussian blur tool yourse...

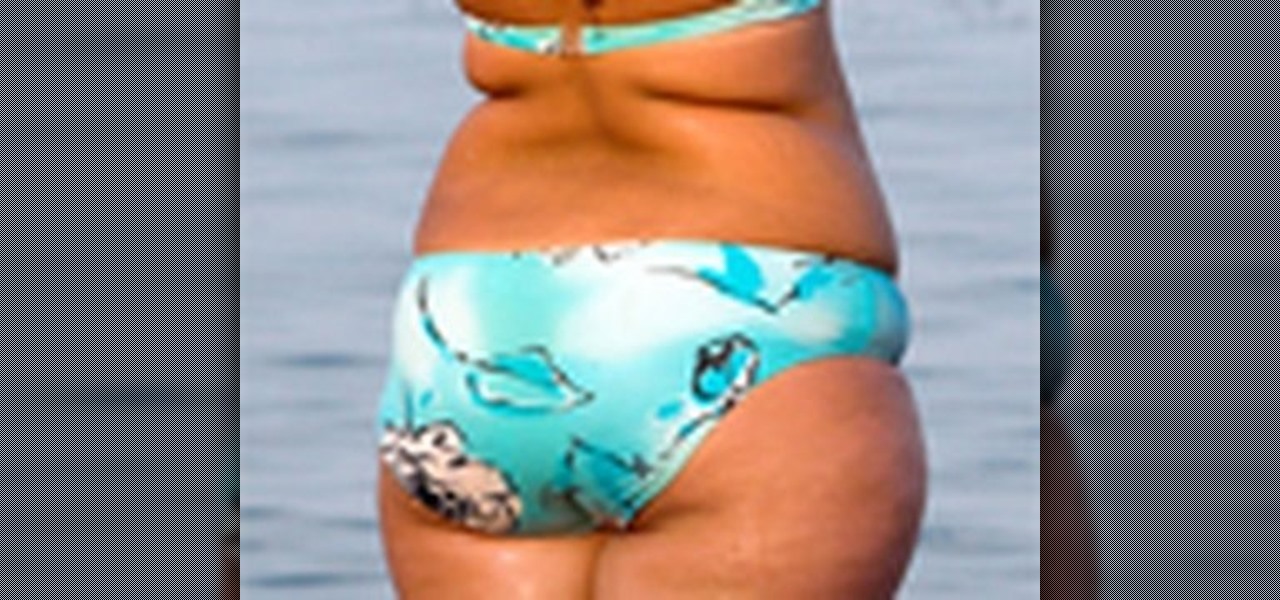
This video shows the method to do weight loss using Photoshop. Open the image and go to 'Filters' and 'Liquify'. Click on the 'Forward Warp Tool' on the left. Zoom into the back area and drag the mouse in towards the body to make it thin. Keep the 'Brush Pressure' high to get a sharp result. 'Brush Size' determines how large the brush is and the area affected by it. Use the 'Pucker Tool' and click on the ass to reduce it. Reduce the sides of the ass with the 'Forward Warp Tool' and reduce the...

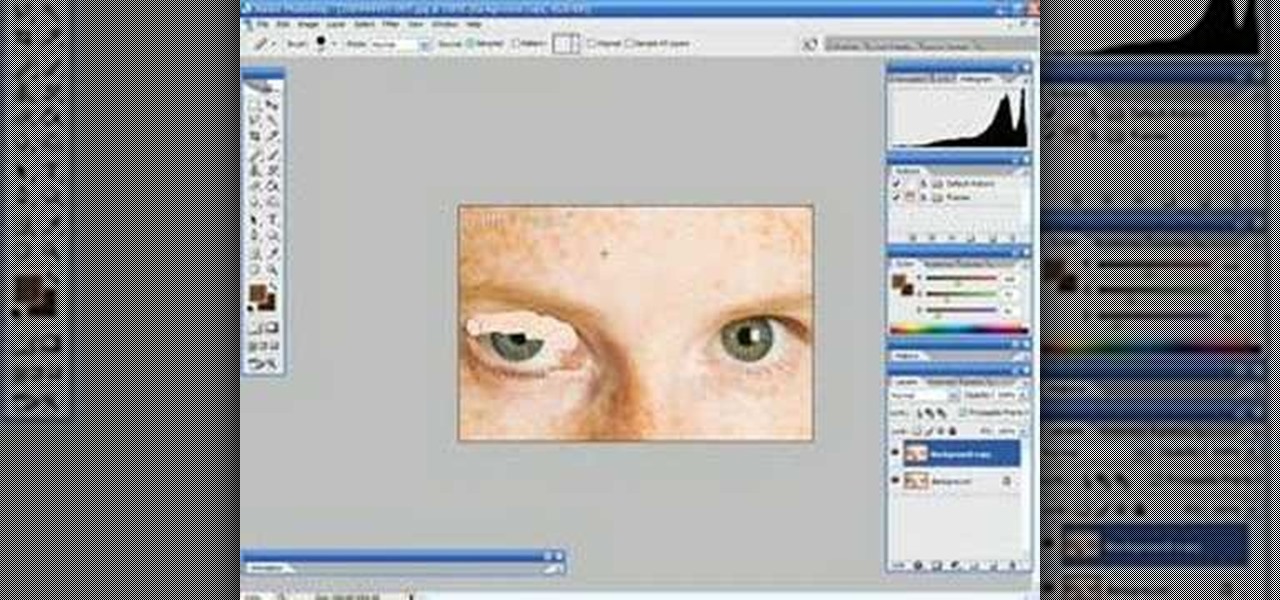
In this Software video tutorial you will learn how to make a winking animated GIF in Adobe Photoshop. Select a photograph of two eyes and duplicate the layer. Now copy the top eyelashes and paste them on top of the bottom eyelashes. Go to the eye drop tool and select a dark color. Then go to paint brush, choose a brush with size 1 and select darken in the ‘mode’ dropdown menu. Reduce opacity to 50%. Now darken the lower eyelashes as shown in the video. Then go to healing brush tool and se...

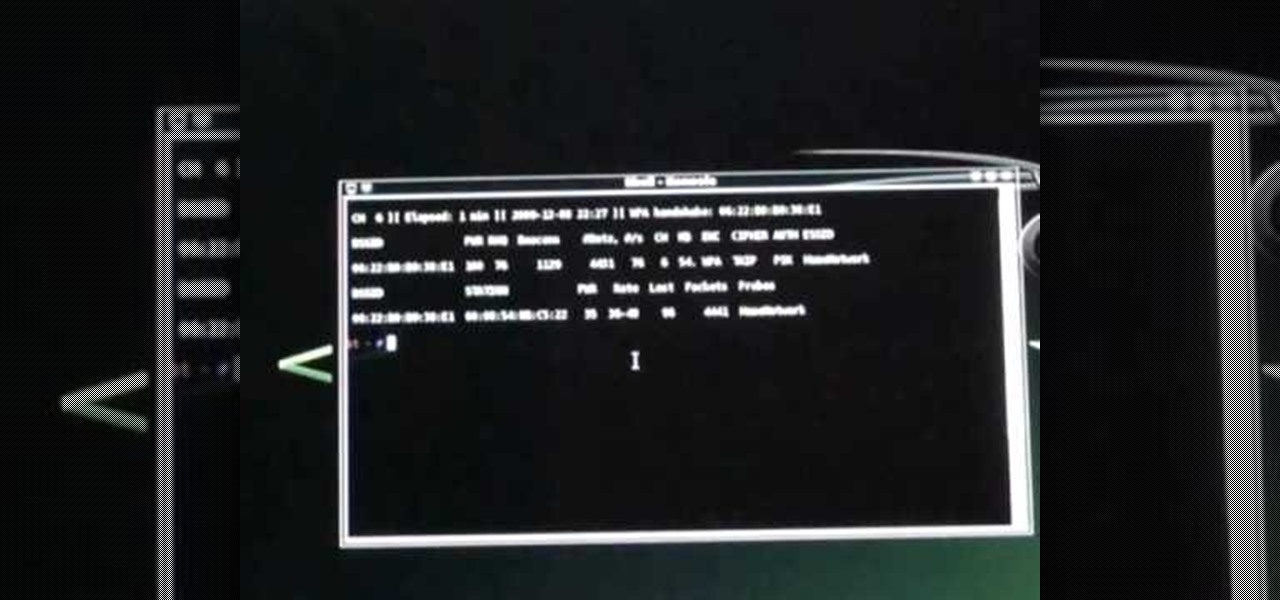
In this video we learn how to crack WPA using Back Track. The first step is the boot into Back Track using a VMware Virtual Machine Image. Next you need to open a shell console. In the console you will type "airmon-ng" and press enter. This does a check to find the wireless guard interface name. Next, type "airodump-ng wlan0" and press enter. This will tell it what wireless card to use and scan for wireless networks. You are looking for the one that comes up WPA. Copy the MAC address then typ...

How to fix and repair the LCD screen on the HTC Touch

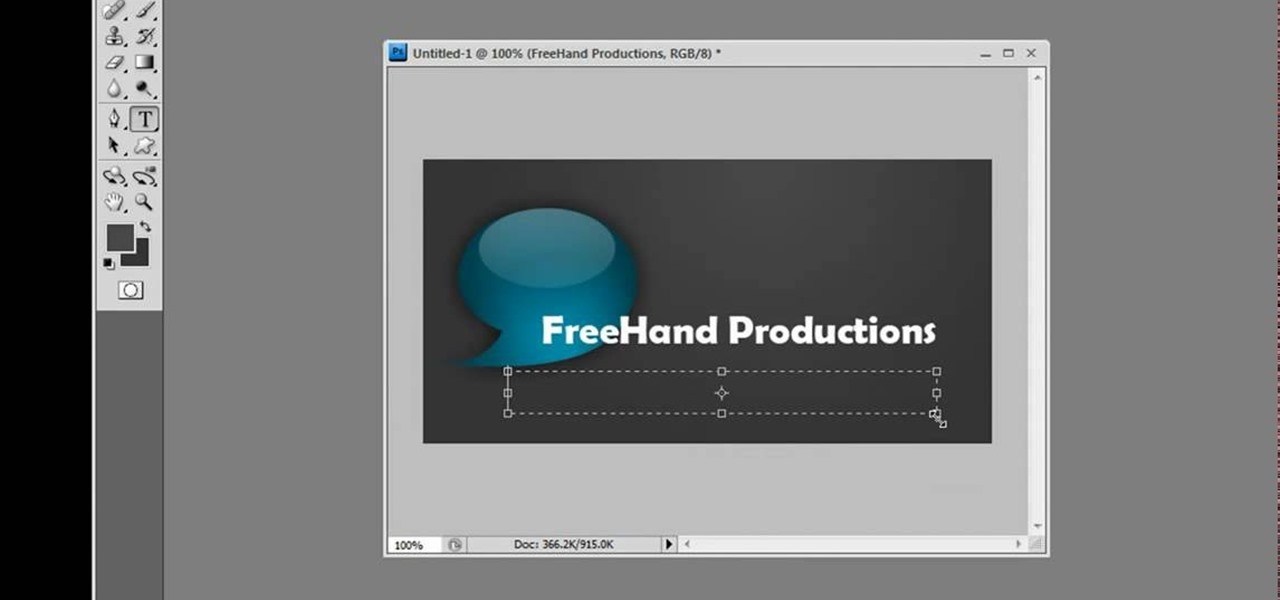
This video is a tutorial on creating an Icon Logo in Photoshop Cs4. Go to File and open a new document. In the Layer option, set up a new layer and give it a name. Using the pen tool, create a shape for your logo, it can be anything you like. When you have the shape you want, right click and select Make Selection. Now you can fill the shape with a color. Press ctrl+U for the Hue/Saturation option to get the exact color that you want.

In this video tutorial, viewers learn how to make a real flame text in Adobe Photoshop. Begin by opening a flame image in the program and select the text tool. Type in the text and position it over the flame. Now go to Select and click on Load Selection. Once the selection is created, delete the letter. Then select the marquee tool. Right-click above the selection and select Feather. Now create a new sheet and fill it in black. Using the move tool, drag the selection to the new sheet. Go to F...

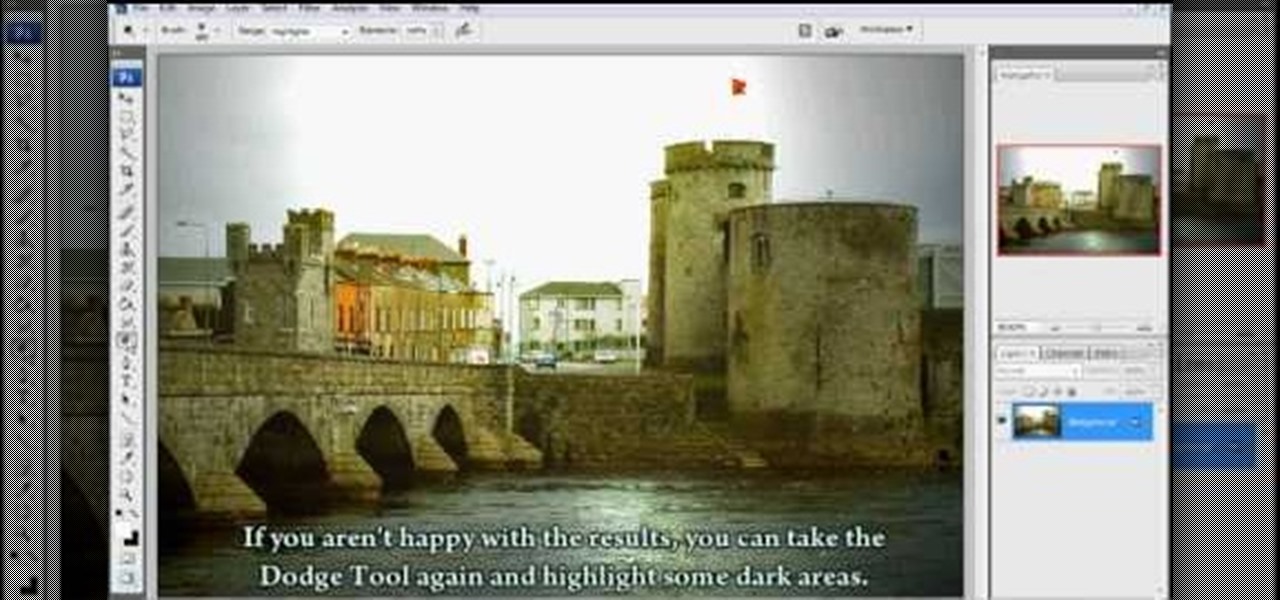
Clicks are made on "Image",then "Adjustments", followed by "Brightness/Contrast" ; contrast is set to 30 and brightness is set to 60 to add more light to the picture. "Adjustment", "Variations" are clicked in that order and both yellow and red are increased. "Filter", "Render", "Lightening Effects" are chosen in that order and a new window appears; within which the style is set to "Soft Omni". The brightness is decreased ;similar to the way it was increased, and contrast is increased to 60. T...


