How To: Customize your Windows 7 login screen
Check out this tutorial and make Windows 7 you're own by customizing the log in screen. This is fun to do and will, no doubt, make you feel more connected to your PC.


Check out this tutorial and make Windows 7 you're own by customizing the log in screen. This is fun to do and will, no doubt, make you feel more connected to your PC.

Excel's solver tool is a really powerful way to perform nonlinear interpolation. Whether you're new to Microsoft Excel or simply looking to pick up a few new tips and tricks, you're sure to enjoy this free software tutorial. For detailed instructions on how to do nonlinear interpolation within an Excel spreadsheet, watch this helpful guide.

A vernier caliper is a great tool to use if you're interested in measuring things externally, internally, and in some cases the depth. It gives you a precise measurement and includes both metric and inch measurements on the upper and lower part of the scale. It's an easy tool to use and can be helpful in certain situations. So sit back and enjoy this tutorial on how to read a vernier caliper. Enjoy!

Take full of Photoshop CS5's new 3D text tool with this free video lesson. Whether you're new to Adobe's Creative Suite or a seasoned graphic design professional after a general overview of Photoshop CS5's most vital new features, you're sure to be well served by this video tutorial from the folks at Brusheezy. In it, you'll learn how to fully utilize Photoshop's three-dimensional text feature to easily create and manipulate 3D titles.

In this video Richpin explains how to remove a bolted hub wheel bearing that has gotten frozen onto the car and cannot be removed by conventional means. He explains how to recognize the problem, presents the homemade tool he uses in the repair, briefly explains how to make the tool, and then uses it in conjunction with a sledgehammer to break the bearing off of the car.

This quick, beginner tutorial will show you how to use the cloning tool in Photoshop version CS4. This is really simple to do and is pretty fun to play around with. You can add more eyes to a person's face, create another dog that looks exactly like your own, and make dozen batches of bread with just using one loaf. So sit back and enjoy!

This Photoshop tutorial is one that is widely used amongst professionals and everyday people. It can be used to add shadows to photos, darken the skin of family, friends, or even models, and even make the sky in a photo look more menacing. This tutorial focuses ont the burn tool and how it can strengthen an image's tone. Enjoy!
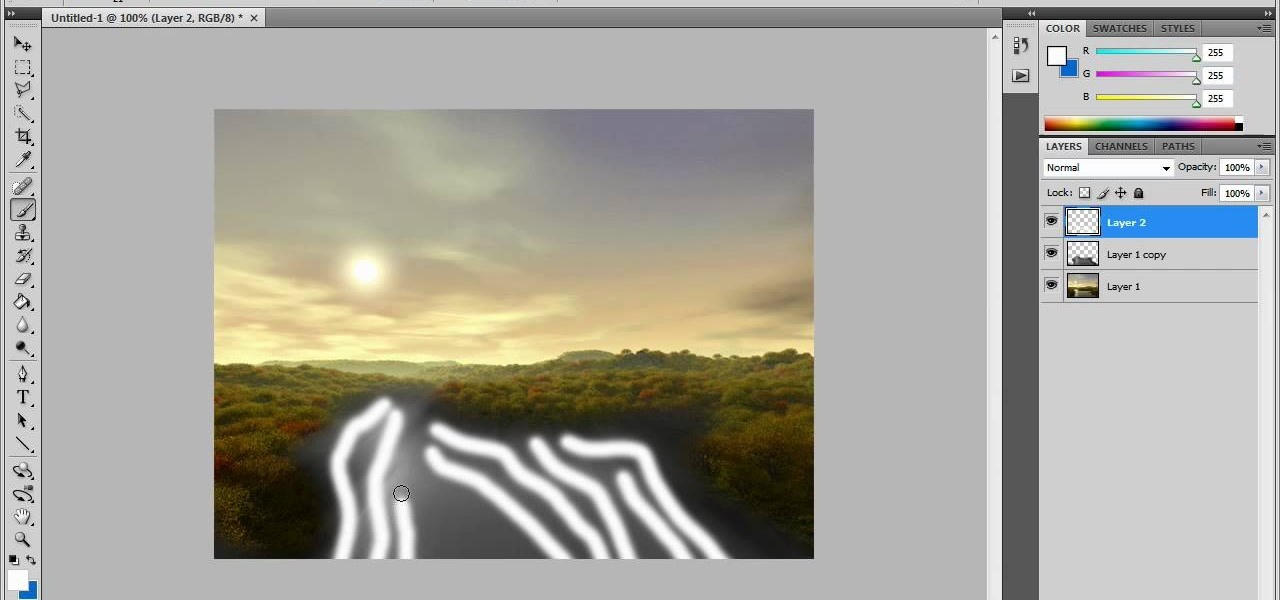
In this video tutorial, viewers learn how to create fog using Adobe Photoshop. Begin by importing the image into the program and duplicate the image. Now go to Filter, select Blur and select Radial Blur. Set the amount to 100, Blur Method to Zoom and Quality to Best. Now select the rectangular marking tool and select the sky. Then open the Hue/Saturation menu and set the Saturation to -100. Use the eraser tool to remove the gray from the edges. Now use the paint tool and paint white streaks o...

In this video tutorial, viewers learn how to change the color of lips in Adobe Photoshop. Begin by importing the image into the program. Select the quick mask tool and then select the brush tool. Now color the part that you want to retouch. This will allow the mask to create a selection. No click on the masking tool to create a selection. Then select the marquee tool. Right-click the selection and click on Select Inverse. Right-click the selection again and select Feather. Make it 1 pixel and...
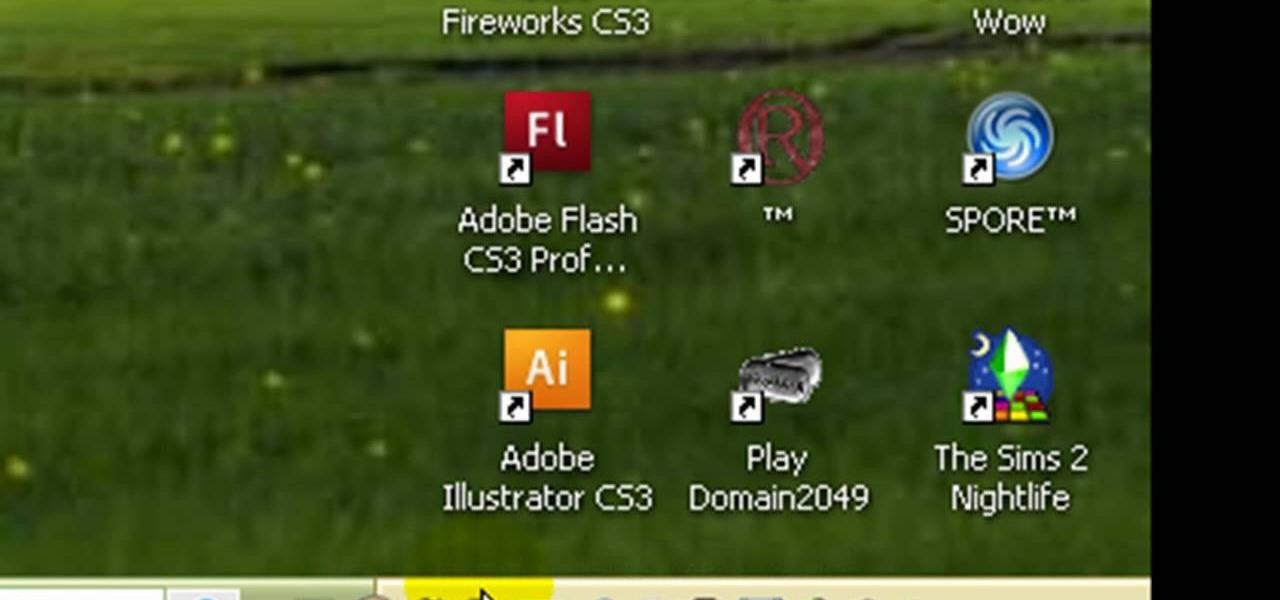
In this how to video, you will learn how to use Daemon tools lite. First, download the program and install it on to your computer. Click, next and agree to the terms. From here, select what components are going to be used. Click next until you are finished installing. Now you can run the program. It should be on the system tray. The virtual drive should automatically be installed and be called device 0. You will see it if you right click the icon on the system tray. Now you can mount ISO file...

Repairs Universe demonstrates how to remove a Sony Ericsson LCD screen. First, remove the battery from the device. Use a safe pry tool and run it along the side of the phone to unclip the clips and release the top cover. Then, slide the phone forward and release the top cover. Next, remove the keypad from the device. Then, remove the LCD screen by prying the clips oven with the safe pry tool. Use the pry tool to pop the pop clip to fully remove the LCD screen. The new LCD screen is now ready ...

This video shows how to make a real 3d text in Photoshop. First open up Photoshop. Create a new document File > new. Then select width then OK. Fill the background with black. Then go to the text tool and write whatever we want. Choose a font with fat letters. Right click on the text layer and go to "Blending options". Then edit the text in our way. We can create a Gradient Overlay, Contour, Stroke and Outer Glow. We can add any effect we want. Again right click on the text layer and click "R...
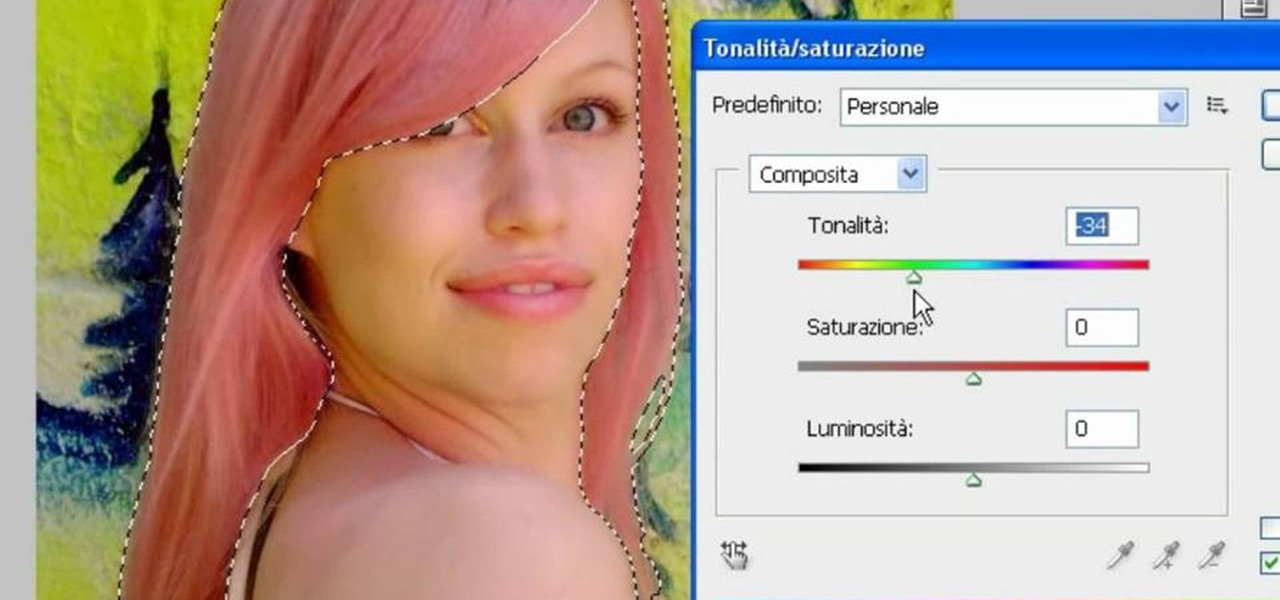
In this video, we learn how to use PhotoShop to change hair color.. First, select the mask tool inside PhotoShop. Now, zoom in on your picture and brush the hair that you want to change the color of. Zooming in and using smaller or bigger brushes will help you be more precise. After this, zoom out and press on the mask tool to create your selection. Then, select the marquee tool and right click and choose "inverse selects". Now, click on "image", "regulations", then "tonality/saturation". Now...
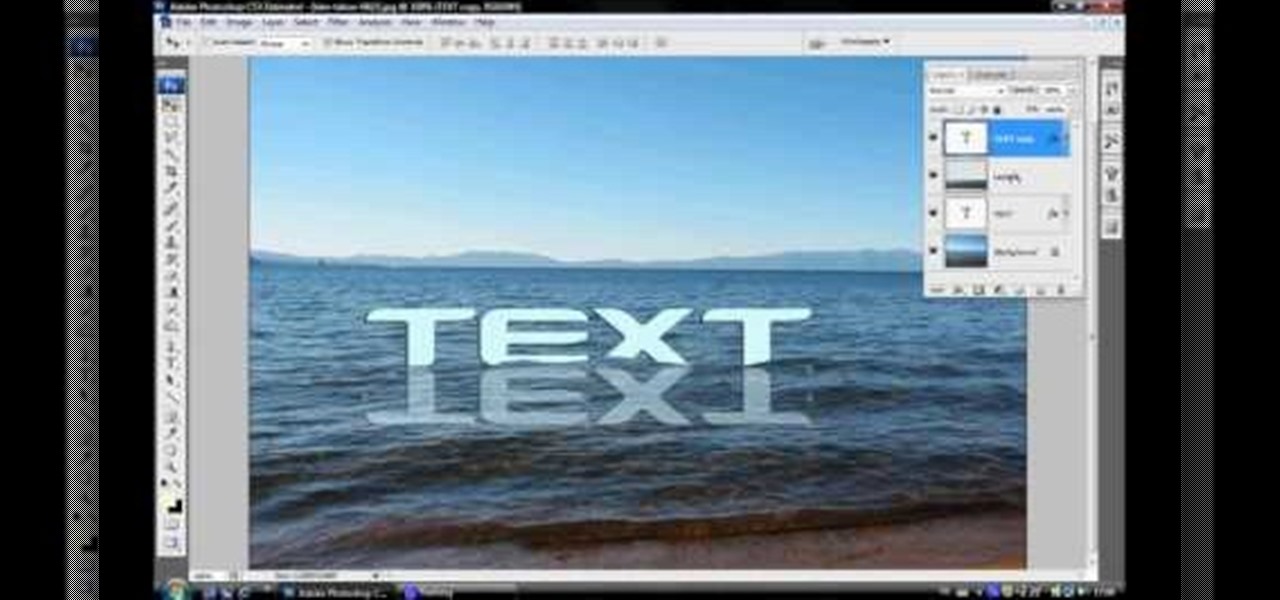
In this video tutorial, viewers learn how to make floating text on water. Begin by importing the water image into the program. Begin by selecting the polygonal lasso tool in the toolbox and select the top of the water. Once you have made the selection, right-click on it and select Layer via Copy. Then select the text tool and type in your text. Create a contour to make the 3D and give the text a light color. Then place Layer 1 over the ext layer and use the selection tool to place it behind t...

In this video tutorial, viewers learn how to use the Tile Visuals tool with the Voice Over application on a Mac OS X computer. This feature will dim the screen so that the user will be able to go over the Voice Over commands. To enable Voice Over, press the Command and F5 key. To tile the visuals, press the Command, Option and F10 key. Now when users navigate through the screen, only the contents over the Voice Over cursor can be visible. To return to the normal view, press the Control, Optio...
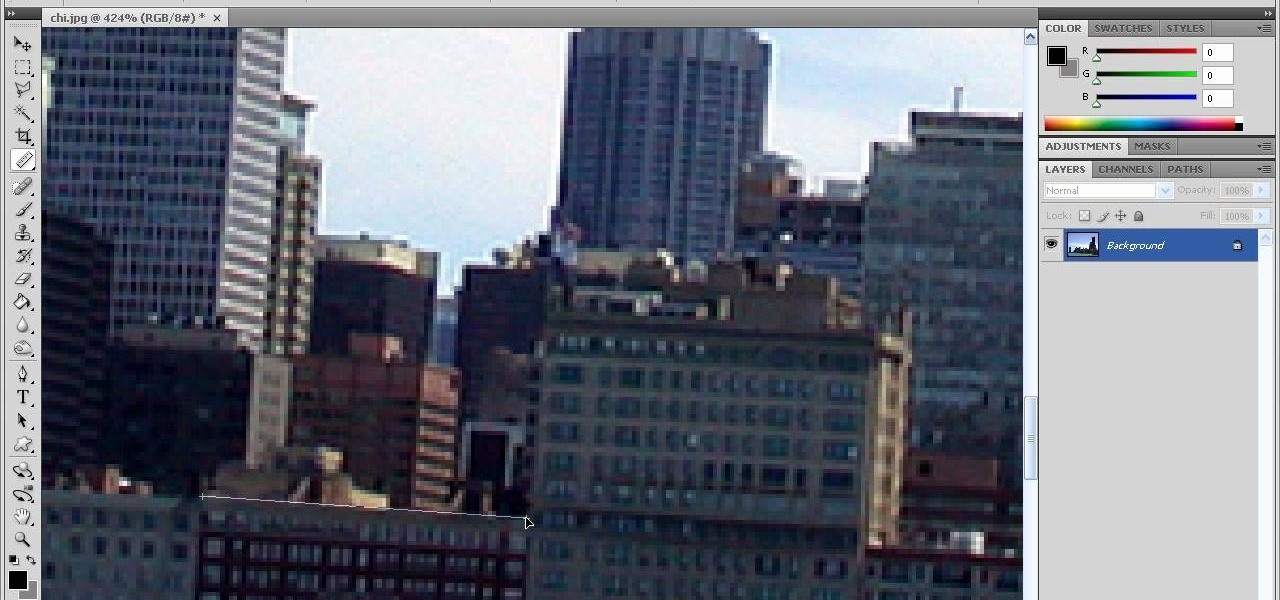
In this how-to video, you will learn how to straighten crooked photos in Photoshop. First, open the photo you want to straighten in Photoshop. Next, use the ruler tool under the eye dropper tool. Select it and zoom in to an area. Find a crooked line to straighten, such as a building rooftop or ground line of some sort. Click, hold, and drag. Next, zoom out. Go to image, image rotation, and arbitrary. Click okay and your image will be adjusted. Go to the crop tool and crop out the spaces. Hit ...
One of the things you can do to manipulate your images in Photoshop CS3 is to change and replace colors. You can use this tool to edit your photos to your liking and enhance their appearance.
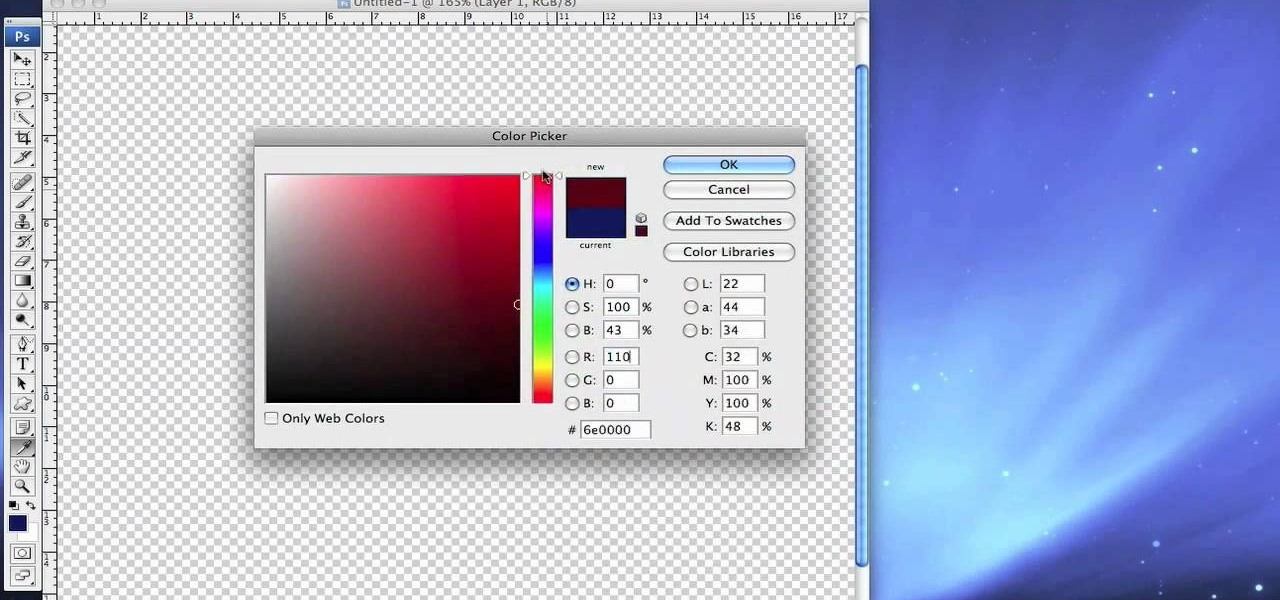
The shape stamp tool in Photoshop is similar to using old fashioned clip art. Shapes are extremely easy to access and you will get the hang of them quickly. These shapes can be used to enhance your existing photos or to create graphics like banners and icons. In this tutorial, you will learn exactly how to access and use the shape stamp tool in Photoshop CS3. You will no doubt have this down pat in no time and will soon be on your way to using stamps - just one of Photoshop's many helpful tools.
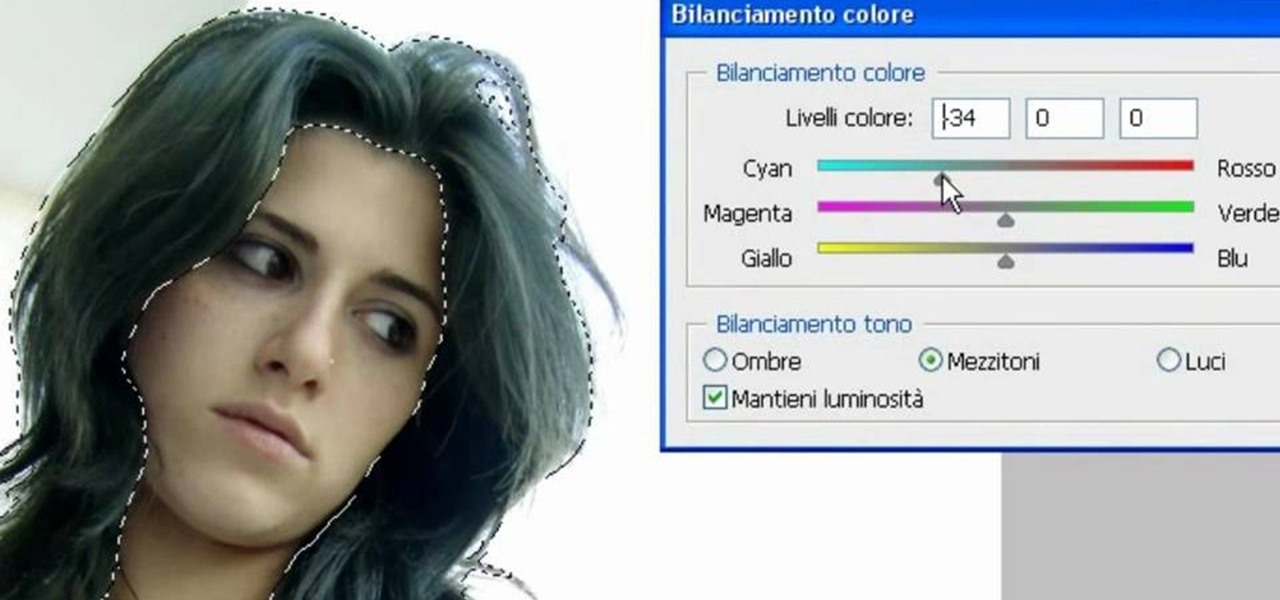
In this video, we learn how to change the color of dark hair in PhotoShop. First you will want to open up PhotoShop and open up the picture you want to change, zooming in so you can see the hair up close. Next, open up the mask tool, then use the brush to color the hair. This will only highlight the hair to change the color in the future. Use different sized brushes when you need to. Once you've done this, click on the mask tool to create the selection. Now, select the marquee tool and click ...

River City Graphix Tutorials demonstrates how to make a reflection in Photoshop. First, fill the background layer with black. Then, select the text tool and a color of your choosing. Type the words that you would like to reflect. Next, duplicate the layer to make a copy of the layer. Hold shift and bring it down, setting it on the bottom of the other layer. Select the rectangular marquee tool, right click to get the free transform tool. Right click again and then flip the image vertically. Se...

To open the Windows Task Manager the long way

In this how-to video, you will learn how to remove tattoos using Photoshop. First, open the image in Photoshop. The patch tool is the easiest for removing these type of tattoos. If the tattoo is very ornate and complicated, it will take longer to remove. First, select the patch tool, which looks like a band-aid. Hold it down and select patch tool. Zoom in on the tattoo and draw a selection around it. Once it is selected, click the left mouse and hold it down. Drag the selection to an area sim...
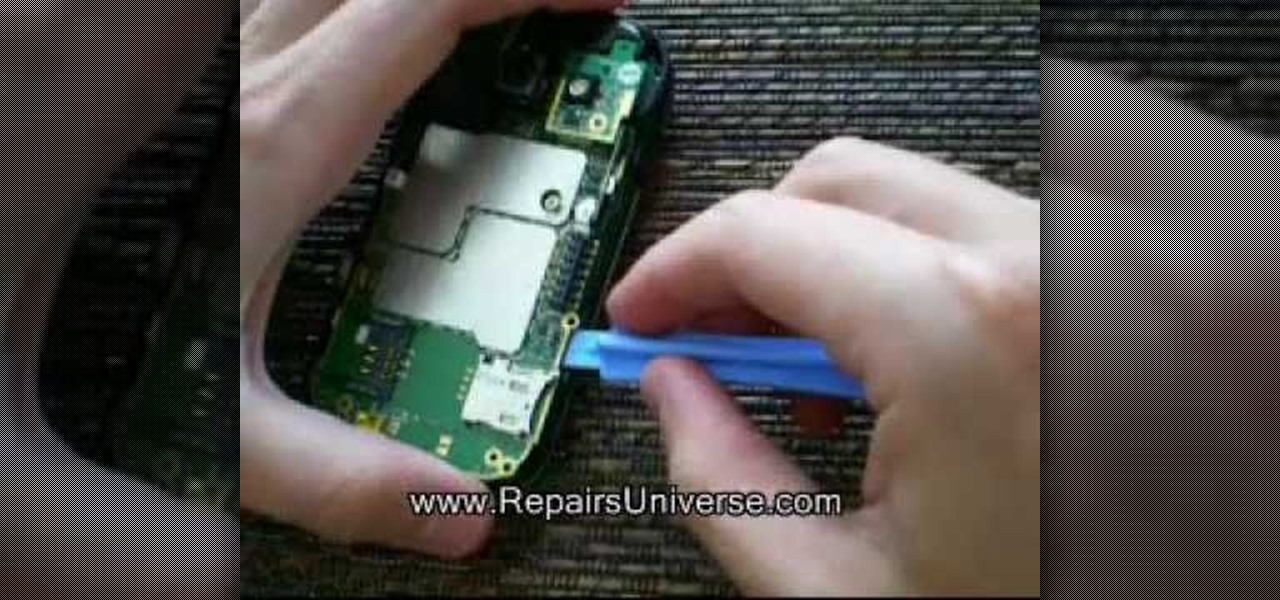
This how to video shows you how to take apart an HTC 8525 and replace the LCD screen. First, remove the SIM card and the battery. Next, remove the screws in the back. Using a pry tool, slide it along the edge of the phone at the bottom to release the clips. Once they are released, remove the back piece. To remove the motherboard, release the ribbon connector with the pry tool. Carefully lift the motherboard from the case. Remember that it is still connected to a ribbon that must be released. ...
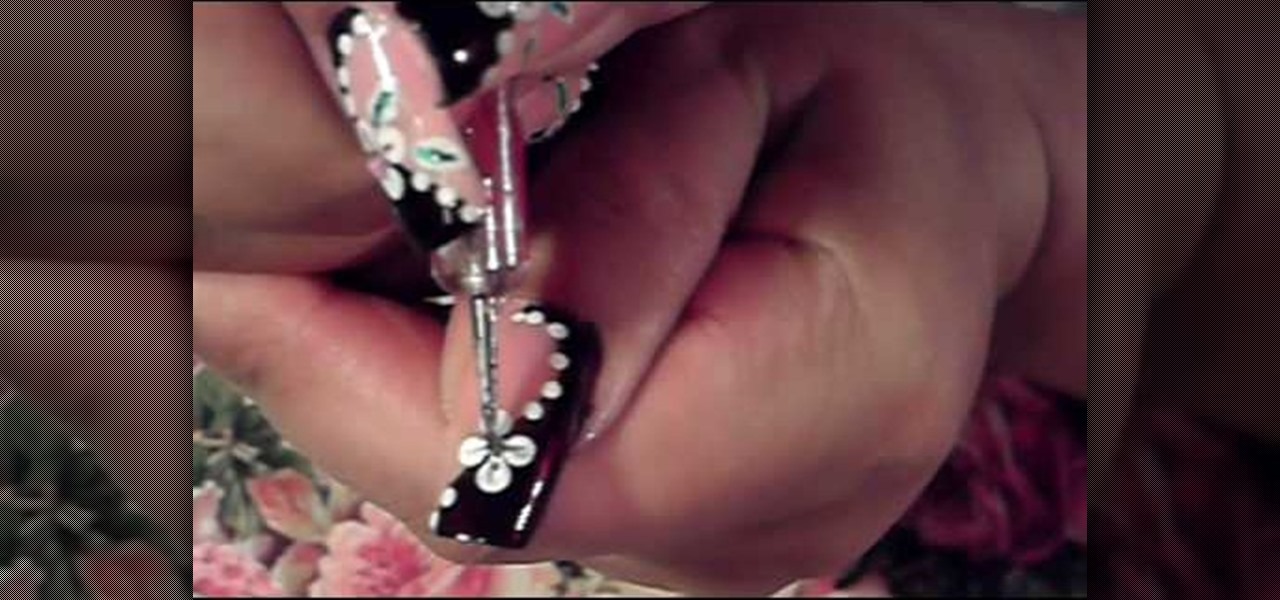
dark brown and pink white flowersdark and rich colors are used: brown, pink, white and green. firstly lightest color is used for the base polish then dark colors applied. first, with dark brown polish a simple curved line drawn on the nail from bottom to top then dark brown polish applied to fill the back part of the previous line. then put some white polish onto a white paper and use it with dotting tool to put flowers petals as a dot on to your nail. then with another dotting tool put dots ...
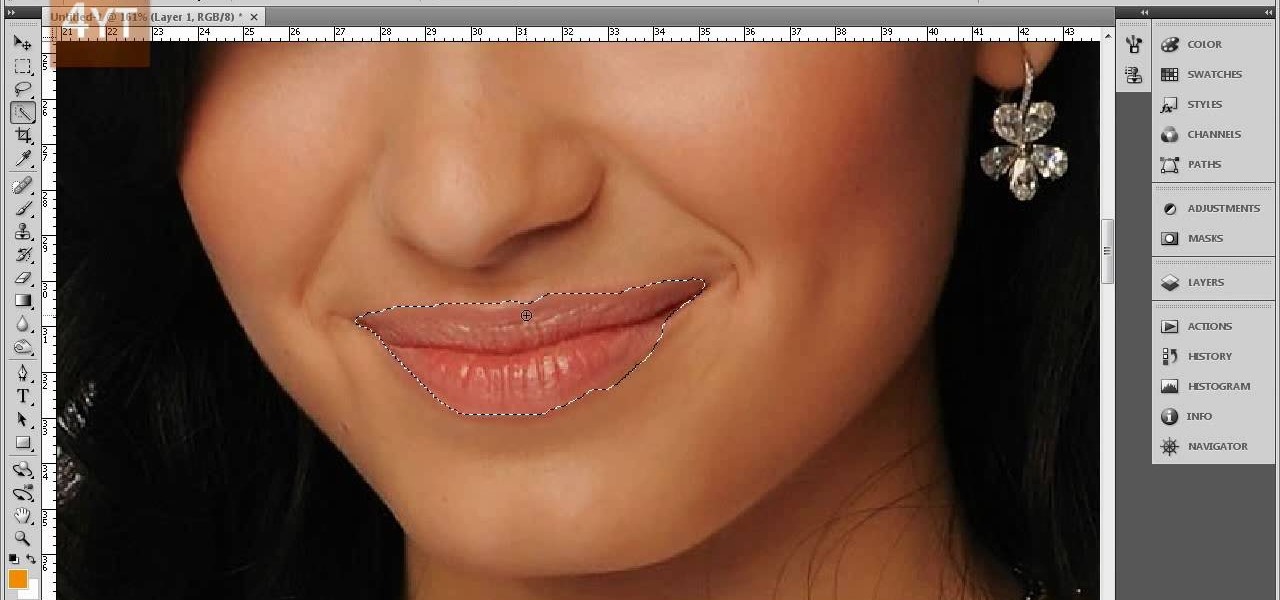
Forget to put on lipstick before a photo? Or perhaps you want to spice up an old photo of someone you love. Well their is a way, as 4YouTutorial demonstrates step by step using Photoshop CS4. First upload a photo or image into Photoshop. Next access your Photoshop layers and delete the default locked layer. After, activate the zoom tool and zoom in on the photo where the lips are located. Next choose the quick selection tool (make sure it's on plus) and drag it over her lips. This process can...
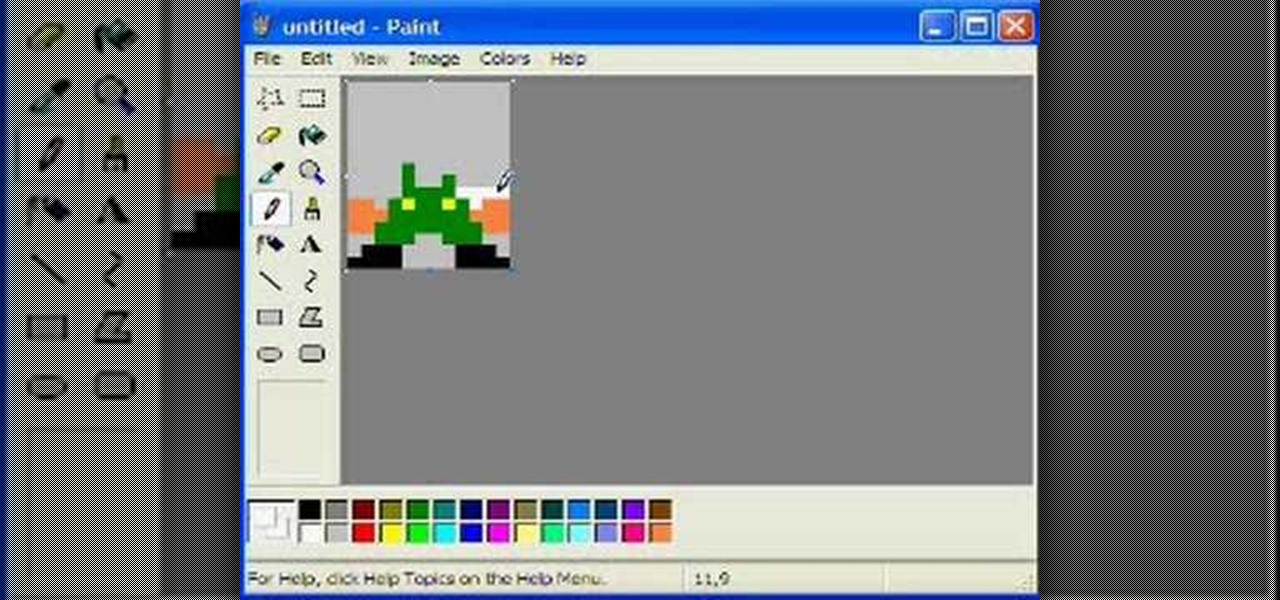
This simple tutorial teaches you how to create a classic 8-bit Luigi from the Nintendo franchise Super Mario Brothers in the Microsoft paint program. To start, open Paint. Select Image-> Attributes and change the image width to 12 pixels and the height to 16 pixels. Use the zoom tool to zoom in 8x and select the paint bucket tool to make the background gray, because a large portion of Luigi is white. Then use the pencil tool (set to 1 pixel) to begin drawing Luigi starting with his black shoe...
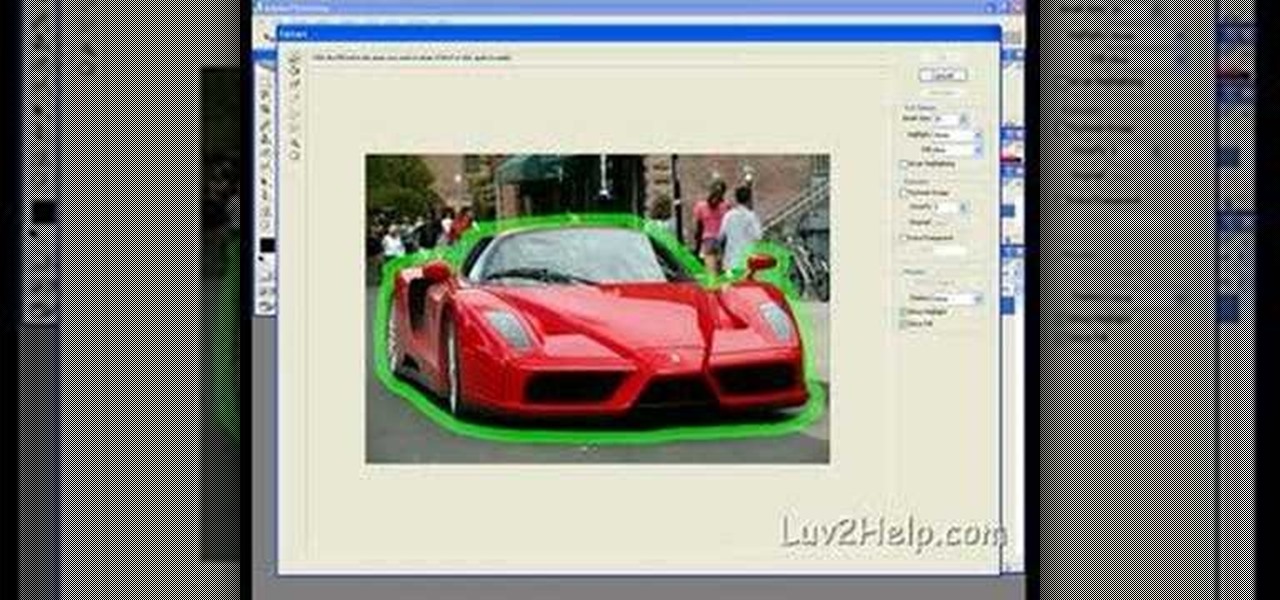
In this how-to video, you will learn how to crop an image using Adobe Photoshop CS4. First, open Photoshop and open the image you want to crop. Next, press filter and select the edge hollow tool. Carefully draw around the image you want to crop. Once this is done, click on the fill tool and left click in the middle of the image. Now, press preview to see if you missed any spots. You can clean these spots up by pressing the clean up tool. This will allow you to erase these particular spots. On...
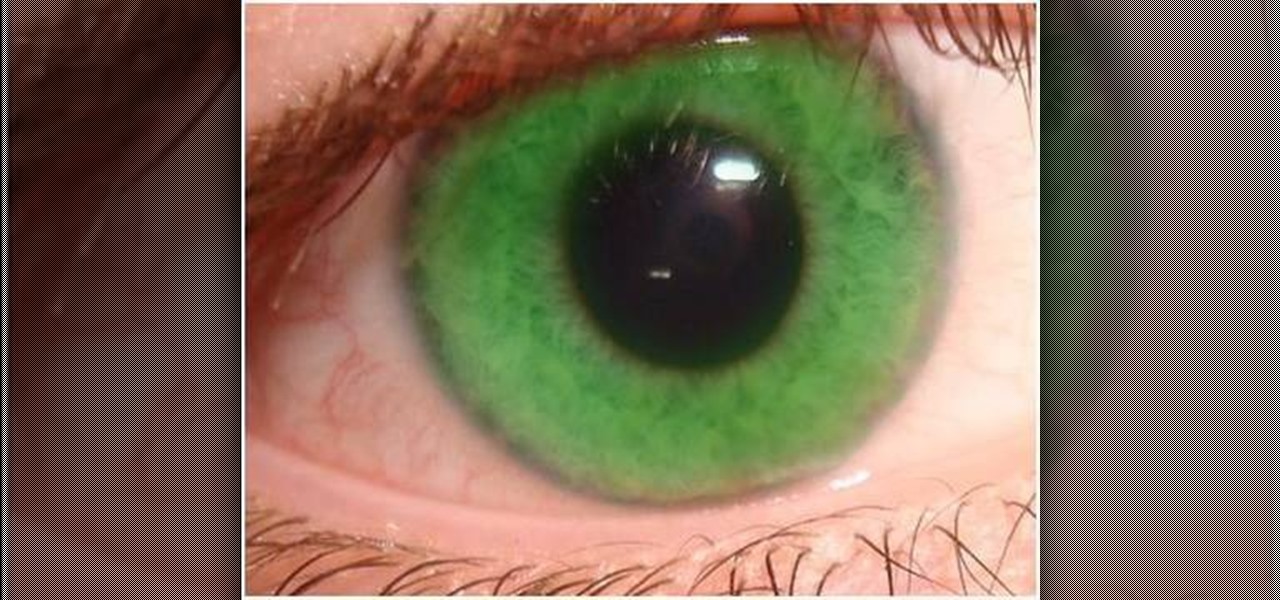
Stevmay09 will be teaching you how to digitally modify your eye color for free using GIMP. First you need to zoom in on the eyeball then click on the free select tool. Then start on the corner of the eye and make your way around the entire eye. Once you have the area around the eye selected you need to create a new layer. Make sure its filled with transparency then select the color you would like the eye to be. Then get the paint brush tool and select the icon shown then increase the scale an...
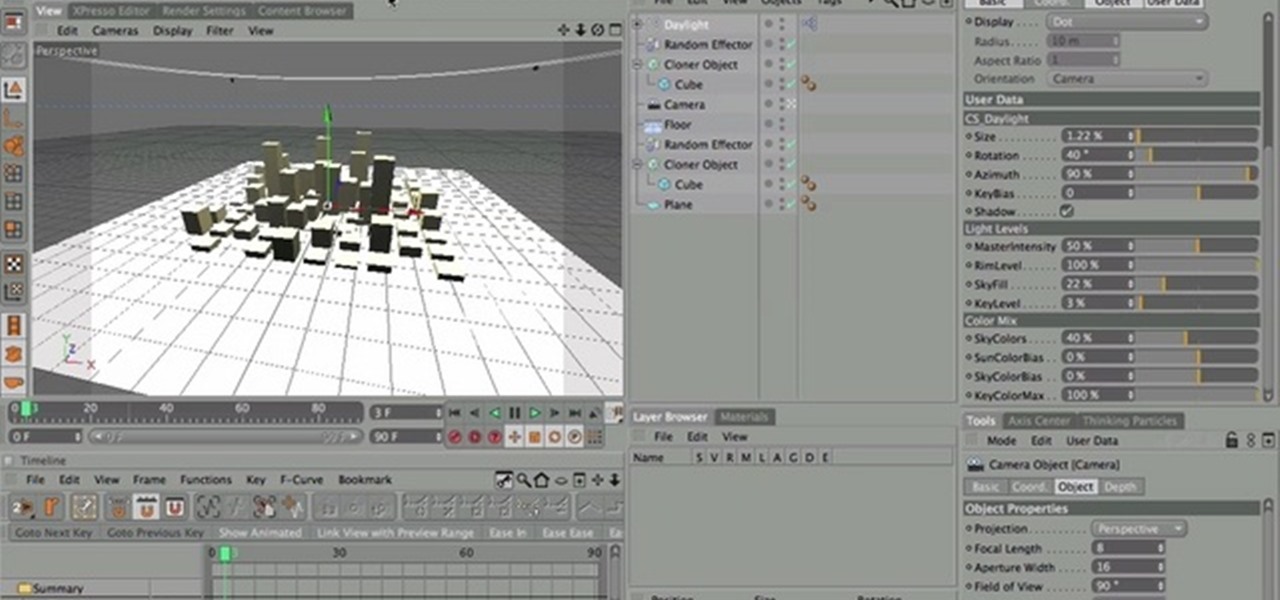
Nick from Greyscale Gorilla demonstrates how to use the ever-useful CS Tools plug-in (Daylight) for Cinema 4D. This feature enables you to fine-tune your key light and other precise ambient settings.

Nick from Greyscale Gorilla show you how to use the CS Tools plug-in "Cubes" in Cinema 4D. This feature is especially helpful for random shape arrays.
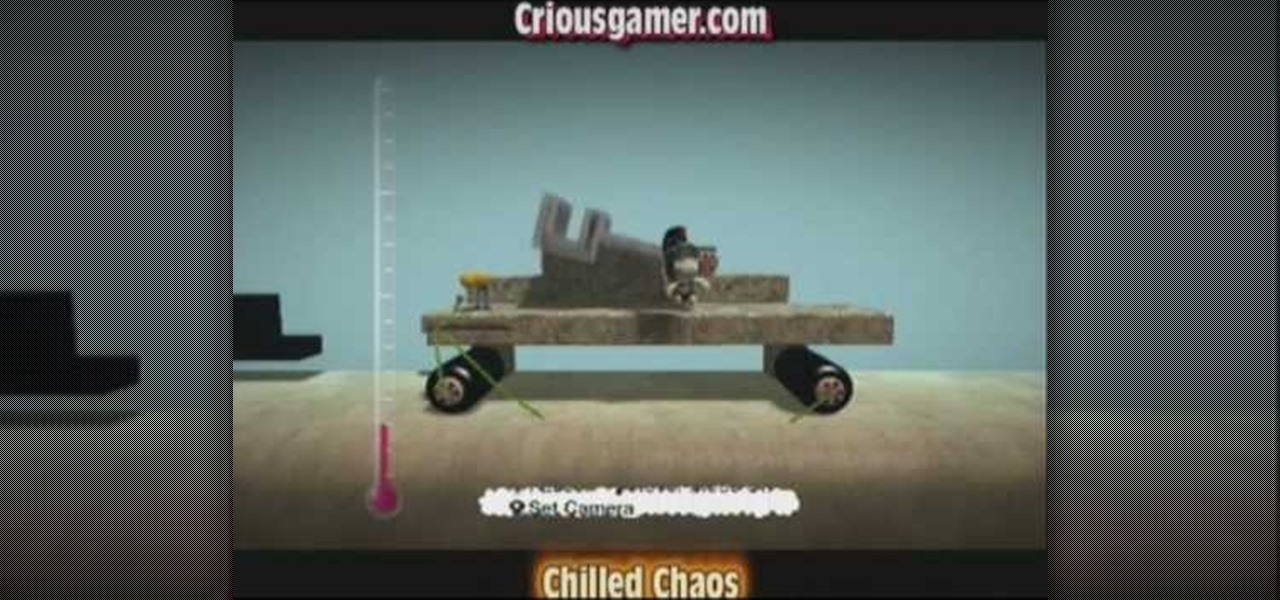
This video is by chilled chaos demonstrates how to make a moving catapult in LittleBigPlanet. In materials first use the cardboard to draw and two legs at the bottom. Detach it from the ground. Take the rubber tool from the tool box and make two wheels. Take bolts and attach to wheels. Make the switches on it and set the right and left direction. Do the setting for the wheels. Make a basket and attach it with the previous structure that it can move up and down. Set the timings to set the spee...

In this Hobbies & Toys video you will see how to remove the clutch bell and shoes from an RC vehicle. You will need a 2. 0 wrench, a 3. 0 flat end screw driver, a clutch shoe tool, T wrench, the fly wheel tool and a battery termination puller. The first step is to remove the clutch bell by unscrewing at the very end and it will come off. Now pull the clutch bell out slowly and it will come out. Next you got to remove the clutch shoe using the clutch shoe tool. You can watch the video for the ...
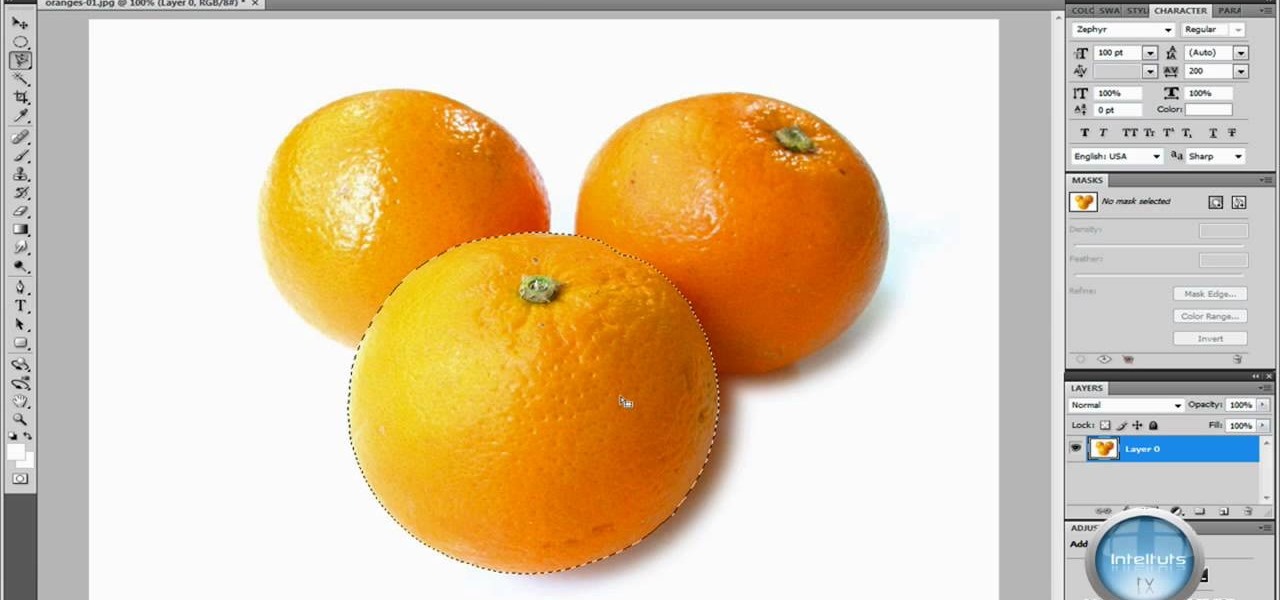
In this Software video you will see how to extract and apply color correction in Photoshop CS4. First select the object and extract it. The tool that you use to extract will depend on the type of image. For example, for oranges, select the Magnetic Lasso Tool from the left hand panel. Take the cursor, click on the outer line of an orange and drag the cursor along the outline of the orange. The tool automatically creates anchor points. You don’t have to click. But, if you want to create an anc...
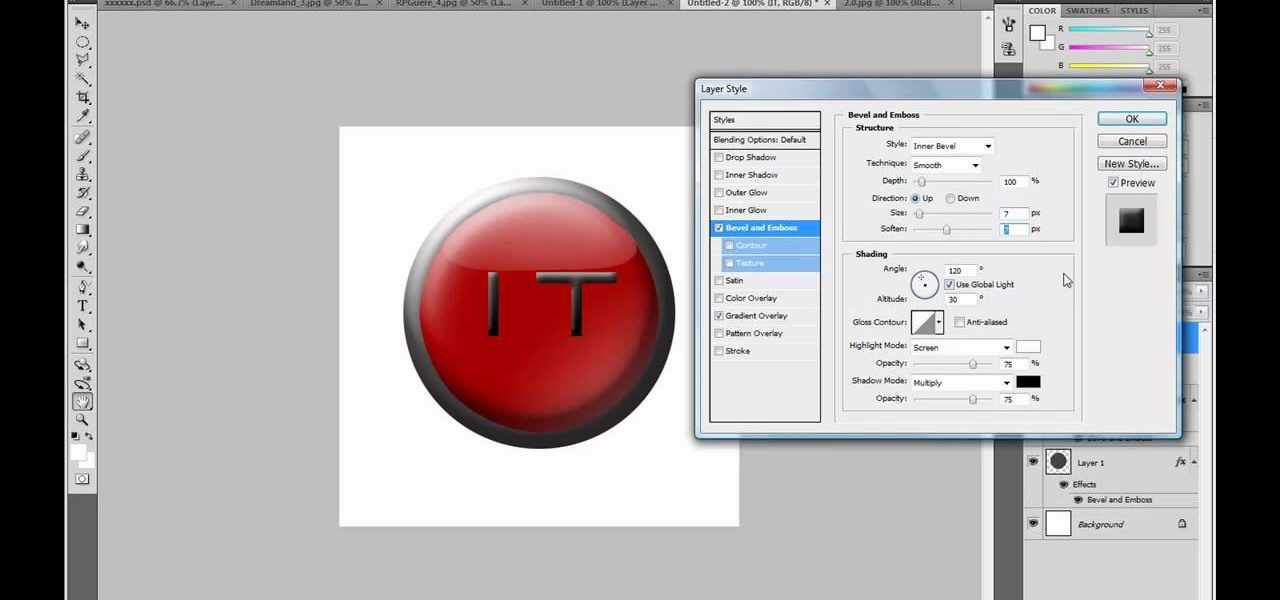
Adobe Photoshop CS4 is a common and popular tool for logo creation. In this video the finer details of using CS4 to create logos, specifically for use on YouTube, are explained. Lighting effects, glossing, and glowing are covered thoroughly with step by step instructions on using layers and shading are provided, and the video carefully demonstrates each process before moving on. Many options are shown, as well as detailed examples of each technique and even the basic tools inherent to Photosh...

In this video you will learn how to make a bow and arrow from household items. In order to do this, just follow these steps: The first thing to do is to get your tools. Get any tool that will help you to cut things. Now, you need 2 yard flags and an elastic. Take 1 yard flag and cut it in half. Use a tool to bend 2 loops on each end of the flag. Make the arrow using the same cutting process and put the elastic on the bow. Fire the arrow with the bow and you're done.
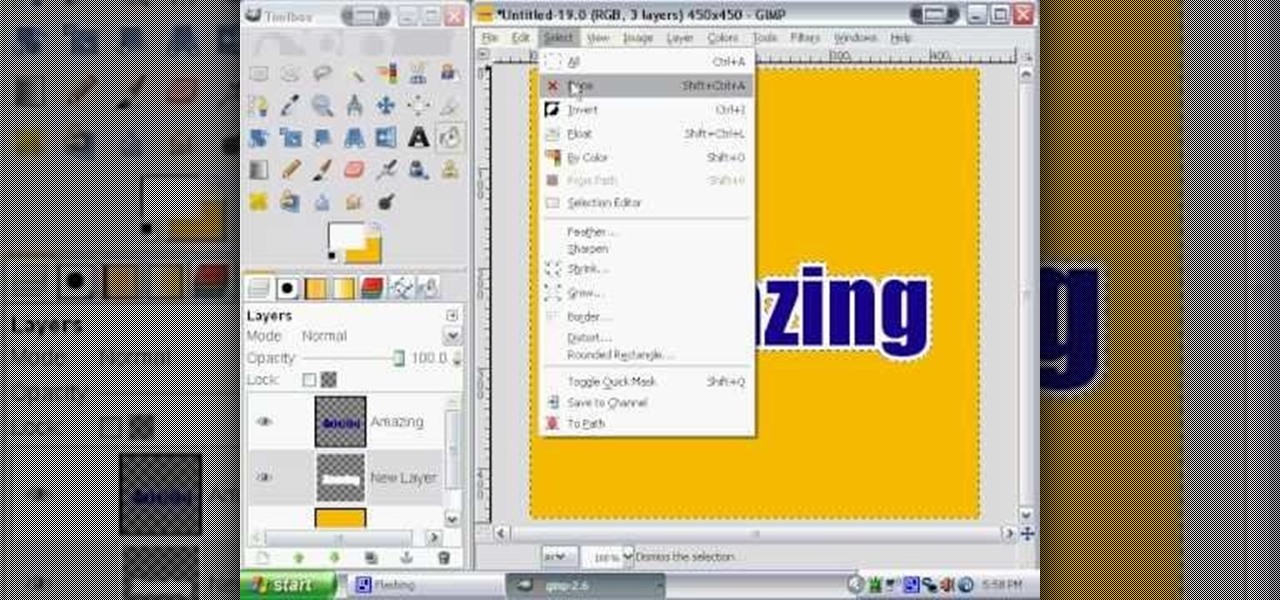
Click in File and New to create a new document, press OK and select the text tool and click once on your file and write something, then close the window. Click in move the active layer to make easier to move the text. Go again to the text tool and click on the Color to change the text color. Press Crtl+O, select the background layer and change the color to the one you want, now select the bucket tool and click on the background to paint it with the color you have selected. Go back to the text...

In this video you will learn how to draw a Kung Fu Panda on your computer. The first thing to do is to create the sketch using a crayon tool. After you've done that you need to take a brush tool and draw on the sketch with a black color. The next step is to paint the background using a spray tool or a bigger brush. To paint the Panda you will need a smaller brush and you have to be careful. After that, draw the details and the shadows. In the end, you will know how to create a beautiful maste...
In this video, the poster is teaching YouTube users how to use Daemon Tools mount games image files. That’s very useful to many people that cannot burn ISOS or any other image files into a blank media (CD, DVD). With the tips provided by this video, anyone can use Daemon Tools to mount the image in a virtual CD/DVD drive. Daemon Tools is a Freeware program and you can download it at many websites on the internet.

In this video the instructor shows you how to mount ISO images. You can use your ISO images of CD or DVD with out burning them on to real disks. Using this you can play a DVD with out a DVD player. Use DVD shrink to extract the copy of ISO image from your DVD. Go to internet and install Daemon tools lite program. After installing you will see an icon in the tray icon which says daemon tools. Right click on it and select the Virtual Devices option for the menu. Inside it select the virtual dri...
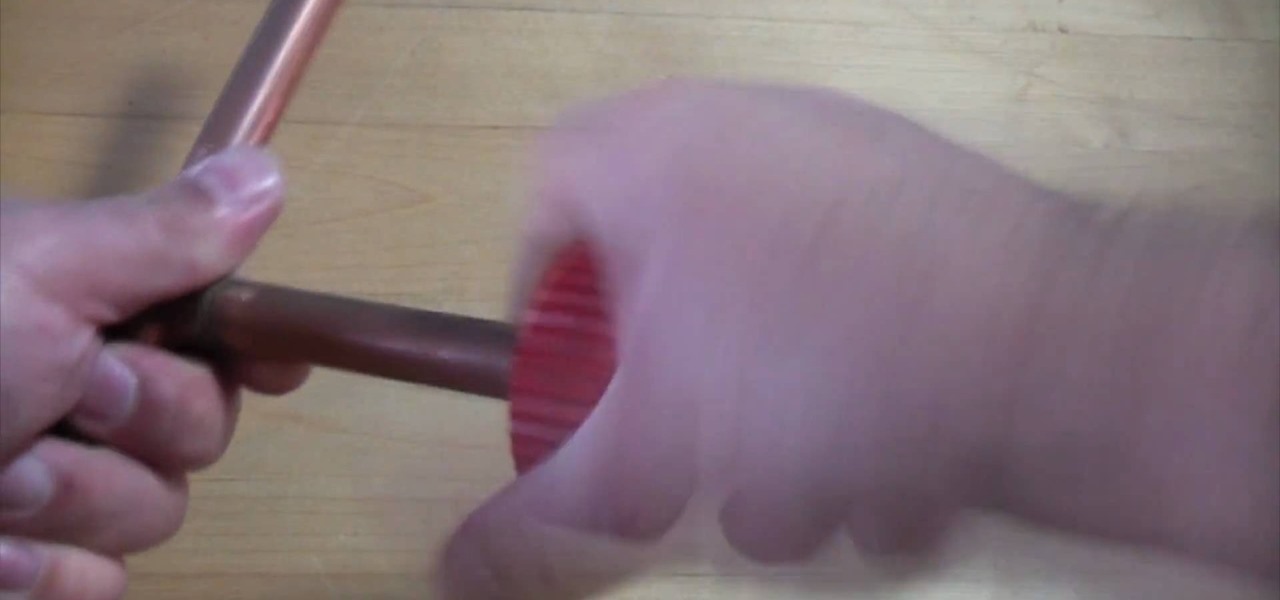
This shirt video will show you how to cut copper pipe with the right tools. Cutting copper pipe is simple if you have the right tools. This short video clip clearly demonstrates how to go about cutting copper tubes. Among other things you will be using a pipe slice. The video also shows you how to remove the burrs before attempting to join the pipe. You are advised to never use a hacksaw.