In this video tutorial, viewers learn how to use the Tile Visuals tool with the Voice Over application on a Mac OS X computer. This feature will dim the screen so that the user will be able to go over the Voice Over commands. To enable Voice Over, press the Command and F5 key. To tile the visuals, press the Command, Option and F10 key. Now when users navigate through the screen, only the contents over the Voice Over cursor can be visible. To return to the normal view, press the Control, Optio...

When it comes to displaying your own sense of style, there are so many different options to choose from. You can focus on the hair, hands, whole body, or even your toes. Either way, you can customize and create any stlye you can by easily choosing which jewelry to wear or how to wear your hair style. This video tutorial will help give you another great option to help achieve that personalized look. Find out how to make awire wrap ring easily. Enjoy!
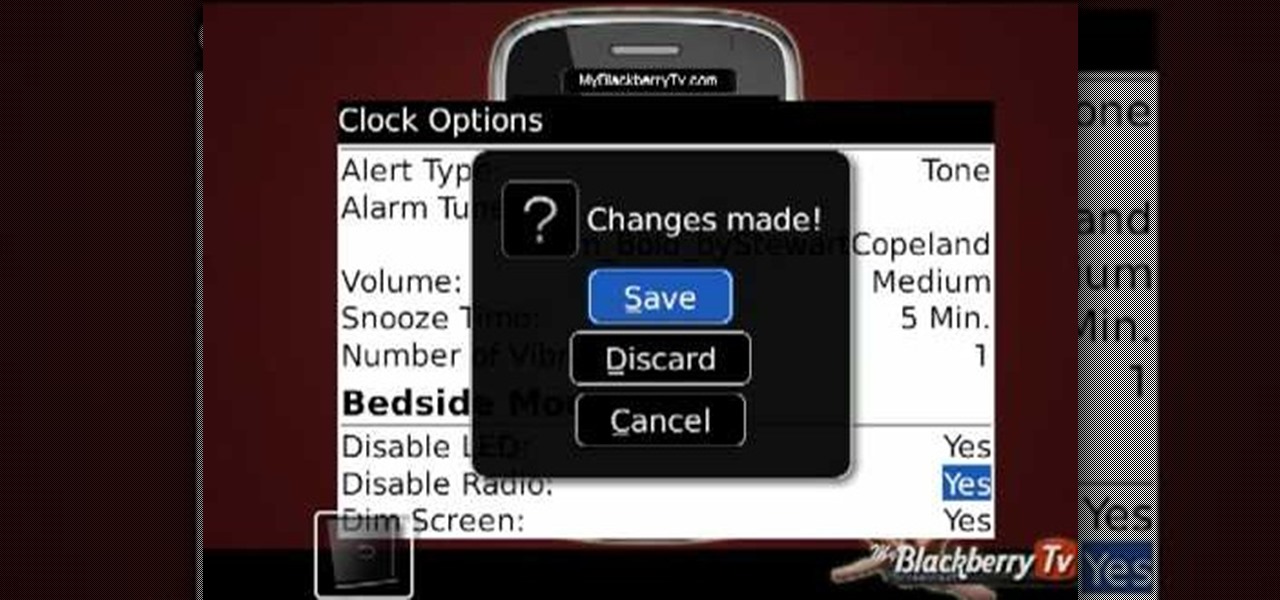
This video, by MyBlackberryTV.com, shows us how to put a Blackberry in "Bedtime Mode" to hold all of the messages while the user is asleep. This prevents the incessant "ding" when a message is received to the phone, thus allowing the owner to get a restful night's sleep.
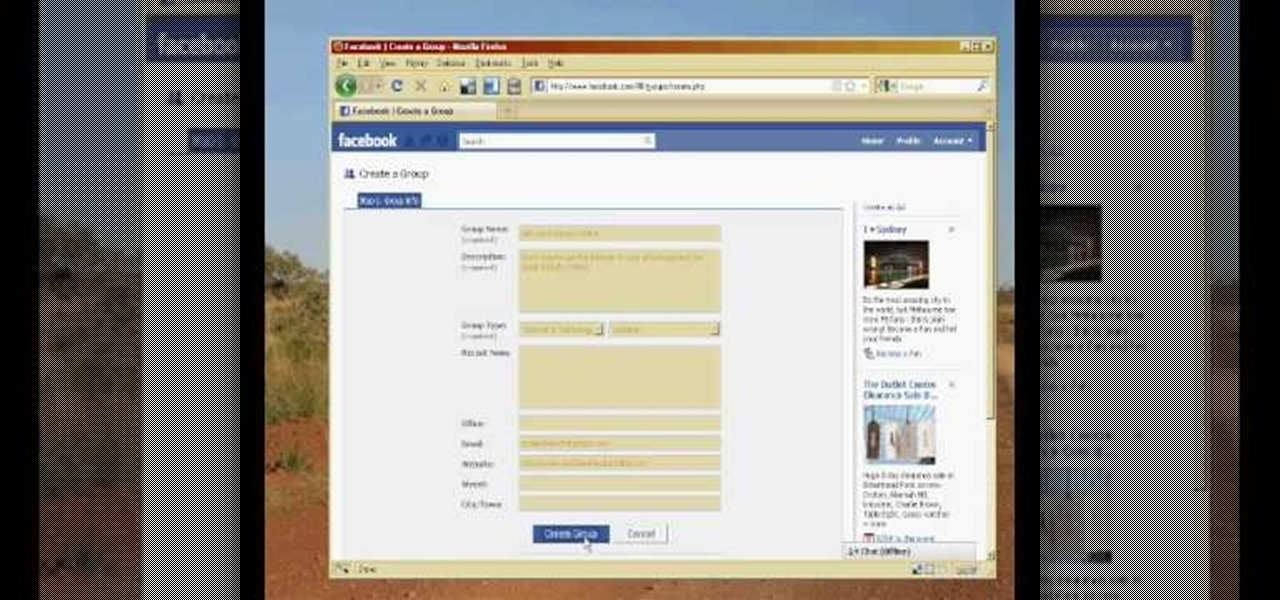
In the homepage at the left handside of the facebook account, a click is made on group. The name, description, group type,email address and website information of the group are filled in. A click is then made on the "create group" button. The security details which appear on the window appear after the "create group" option was selected and saved by clicking the "saved" option. The group is published to the facebook wall, after which the group is customized . The group can be personalized and...
In this tutorial, we learn how to make Firefox the default web browser. First, go to tools on your Firefox page and then click on options. Then, click on advanced and check that Firefox will be the start up browser. Click "ok" and then that window will disappear. You can now open up different windows and this will now make Firefox your default browser without having to change constantly with another browser. if you want to change this at any point, you can always go back to your advanced opti...
1.First download correct firmware for the iPhone or iPod Touch. And change the dot extension of the file before that open the explorer and select Tools menu then go to Folder options, open view tab and deselect "Hide extension for known file types" option and click ok.2.Now right click on the file and click rename and change the extension as ".ipsw". Now open the iTunes and make sure the iPhone is connected with the data cable to the system. Now press down the home and power button of the iPh...

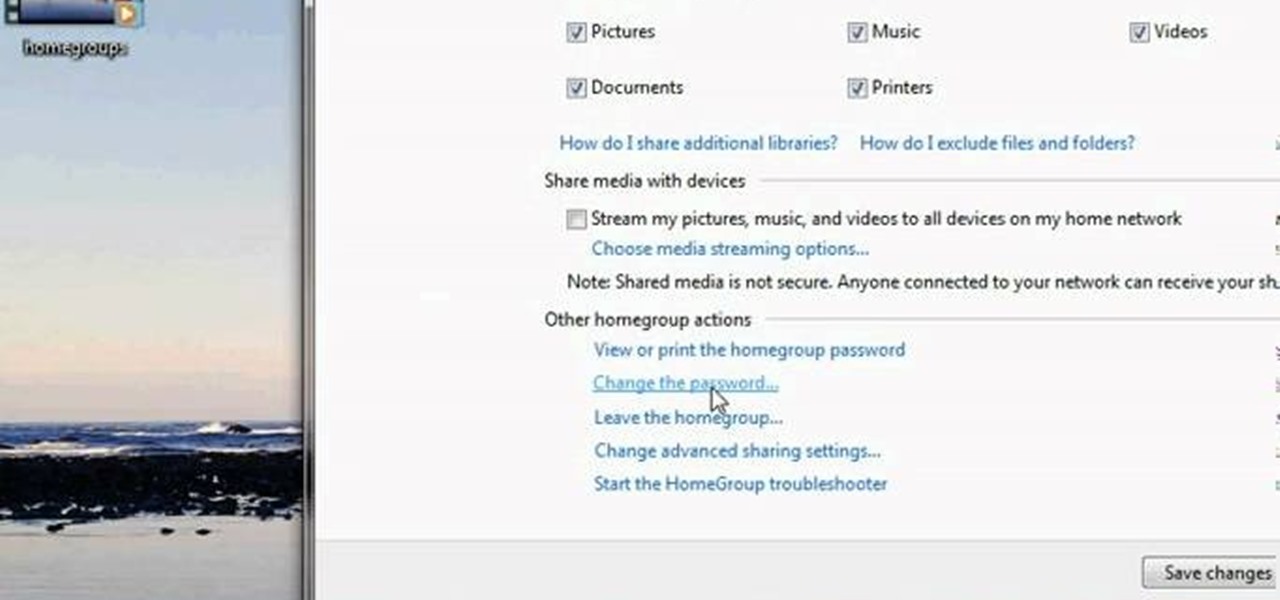
This video tutorial from pctechbytes presents how to quickly set up Homegroups in Microsoft Windows 7.This feature allows to easily share files between computers with Windows 7 operating system.Press Start button, select My Computer option. In the newly opened window select Homegroup from the list to the left. Select View Homegroup Settings link.In this window you can choose what types of documents you want to share with other Windows 7 operating system users.You can share pictures, documents...

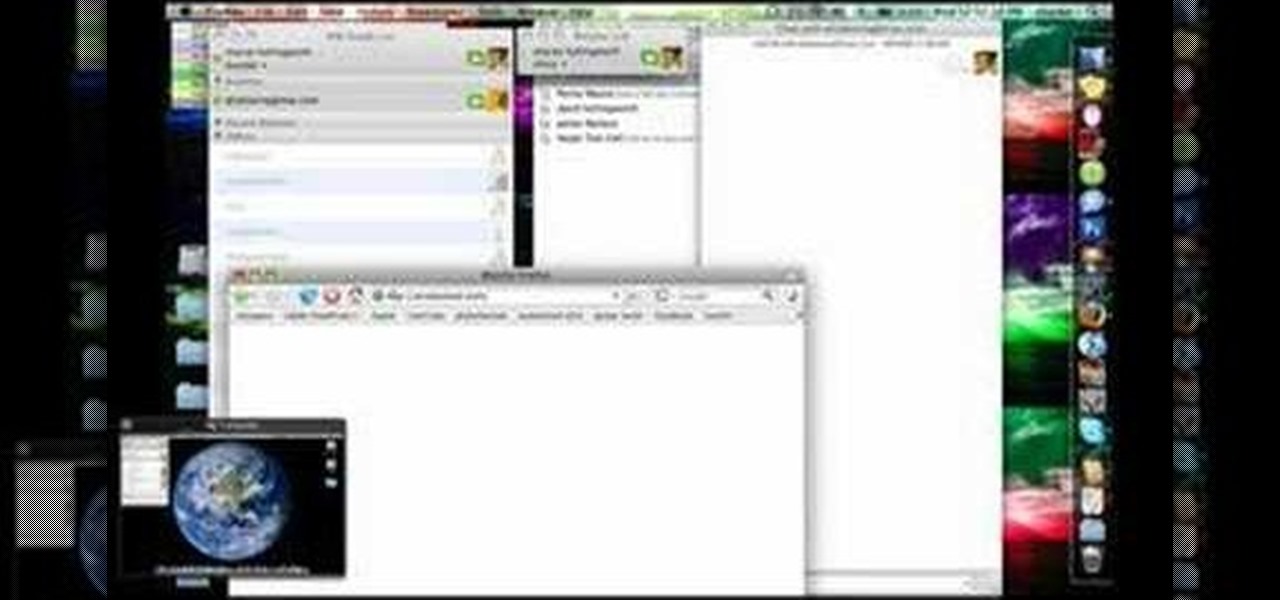
This video tutorial from pirateskool presents how to enable screen share function in iChat application in Leopard operating system.Firstly, you need to ensure Screen Sharing function is enabled. From menu dock on your desktop, choose System Preferences option.In the opened window select Sharing. Make sure Screen Sharing is checked.Now you can close system preferences window.To establish screen sharing you need another user, who has Leopard operating system and iChat communication application....

Namuoc demonstrates how to create a line chart in Excel. To create a simple line chart in Excel 2007, first highlight the cells in your worksheet that you would like to include in the chart. Then, select the insert tab on the top of the worksheet toolbar. Next, click on the line option. Select the two dimensional line graph option from the given choices. Move the chart to a new sheet. Label the new sheet in the appropriate field and click the OK button. Your line chart will now be created usi...

Some data can be very confidential. In such case you need to encrypt the data so that it does not go into the wrong hands. There are lots of encryption software available to encrypt the data. But to use them first you need to install then and this can take lot of time. You can also use Windows built in compression client to encrypt information. To use this feature you need not install any software and it is a fairly simple process. So select a file that you want to encrypt, right click on it ...

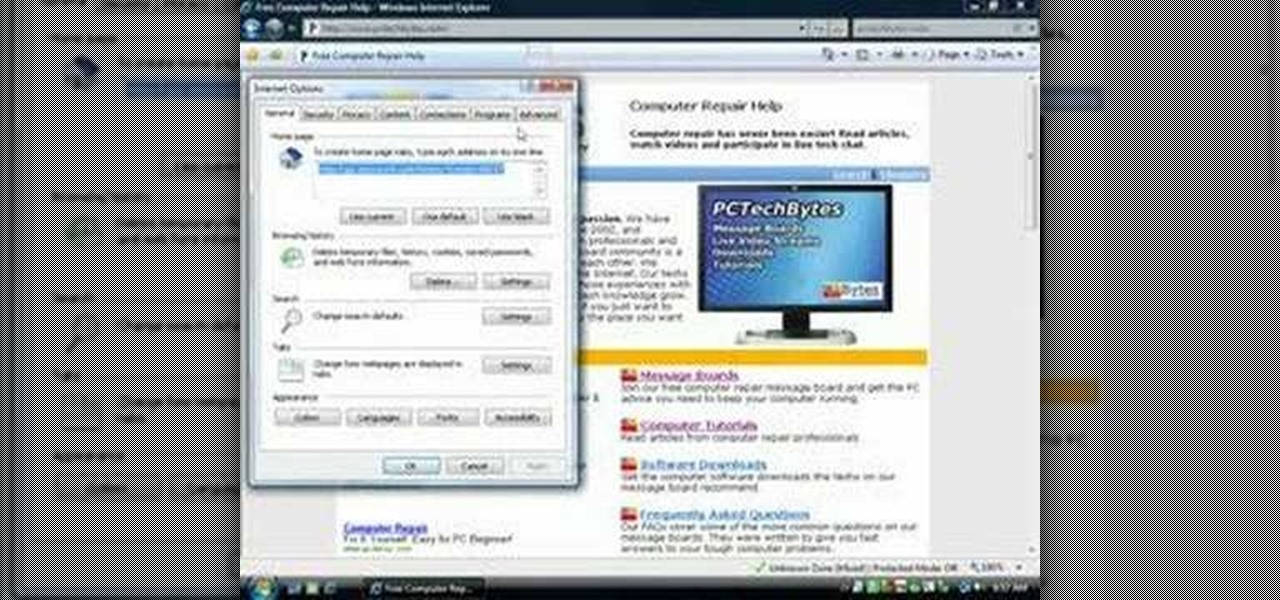
In this video, we learn how to remove our browsing history on Internet Explorer. First, click on "tools", then click on "delete browsing history". If you want to delete all of your browsing history, then click on that option. Most people are content with only deleting temporary internet files as well as browsing history. Getting rid of these will speed up your internet a bit. Another way is to go into "internet options", click under the "general" tab and choose which files you'd like to delet...

In this how-to video, you will learn how to use the zoom function in the Mac OSX. This will help if you are visually impaired. Next to the space bar, there are two keys. There is the command key and the option key. Hold them both of them down at the same and press the number eight key. Once this is done, the desktop will be zoomed in. To zoom in even further, press control, command and plus. Do the same except with the minus key to zoom out. Press option, command and the number 8 to reset the...

In this how-to video, you will learn how to turn off sticky keys in Windows XP. You will need a computer running Windows XP in order to perform this. First, go to the start menu and click control panel. Go to the accessibility icon and click it. A new window will open. From here, uncheck the option for sticky keys. You can make any further changes in this window. Once you are done, click okay on all the windows to save the new setting. Now you will not have sticky keys when using your compute...

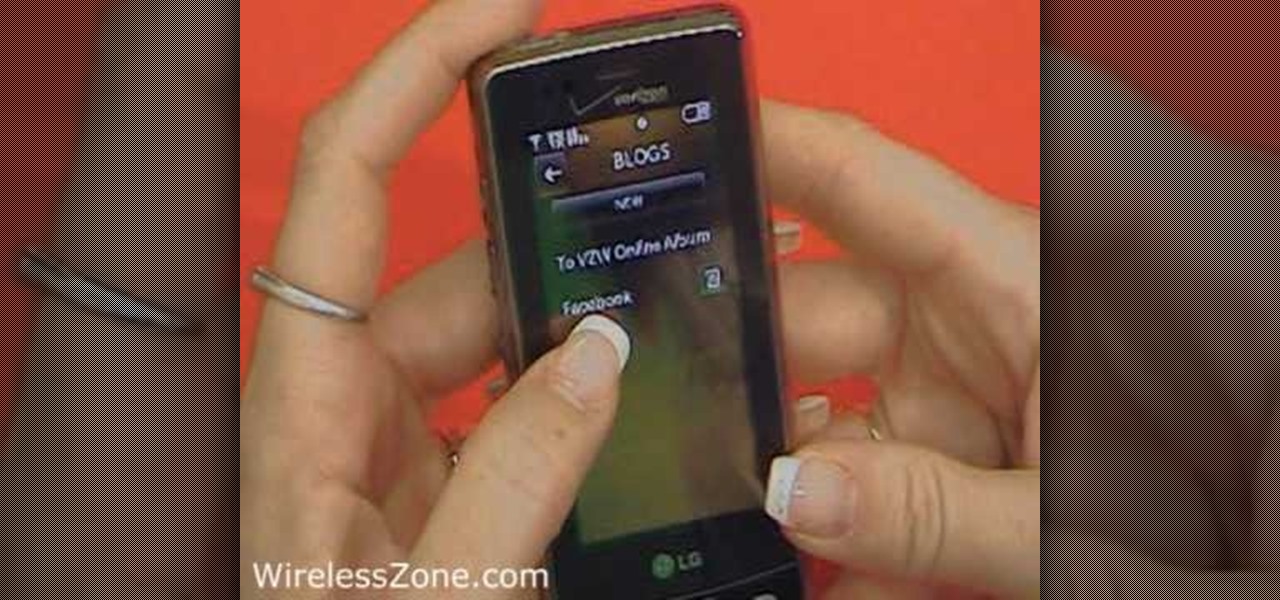
In this how-to video, you will learn how to upload photos and videos to Facebook or MySpace using your mobile phone. First, go to messaging and scroll down to blogs. Here, enter whichever blog you want to upload to. Next, go to message and create a new picture message. A new option called blog will be in this menu. Now, press the option and click on your blog of choice. From there, you can put in text and select your picture or video. Now you can press send. This will send the file or video t...

In this Video Games video tutorial you will learn how to fix a PS3 Black Screen of Death. For this you got to put the PS3 into stand by mode. Press down the button located at the top end of the console for 7-10 seconds and listen for 3 beeps. Repeat this step again. Then this message is flashed on the TV screen – ‘connect the controller using a USB cable etc’. Once you connect the USB cable, the trouble shooter prompt comes up displaying 6 options. You can use the 6 options to troubleshoot yo...

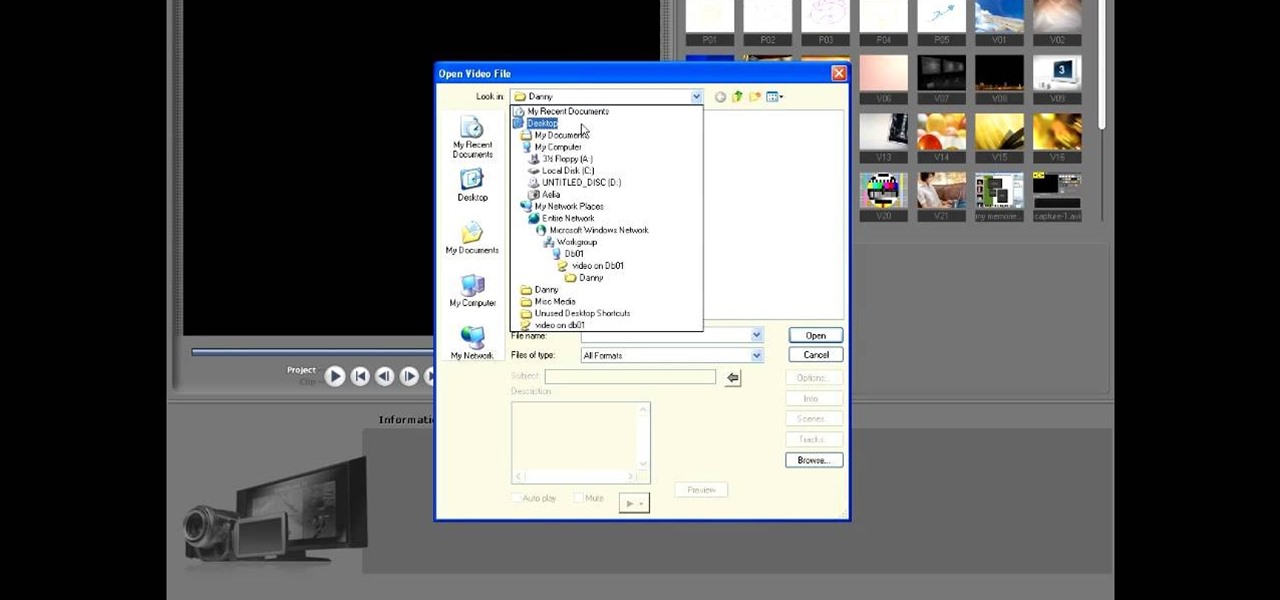
This video tutorial from toptenreviews presents how to import media from a hard drive into Corel Video Studio library.First you need to start the application.From top menu click on Capture tab. Normally you would select one of the four options to capture media: Capture video, DV quick scan, Import digital media, Import from mobile device.These options are below the library. But in this case you will need to click on the folder icon above the library.This action will bring up a dialogue box wh...

Steps taken to get the Copy to and Move to folder function in Windows 7 are:1. Go into the description and click the download link, to download the files2. After downloading the registry file you will see a zip file, which you need to extract using the software called Win Zip.3. After extracting the zip file, you will see two registry file (copy to and move to) execute both the registry file and give Yes, so that the file gets installed successfully.4. After successful installation, it is rec...

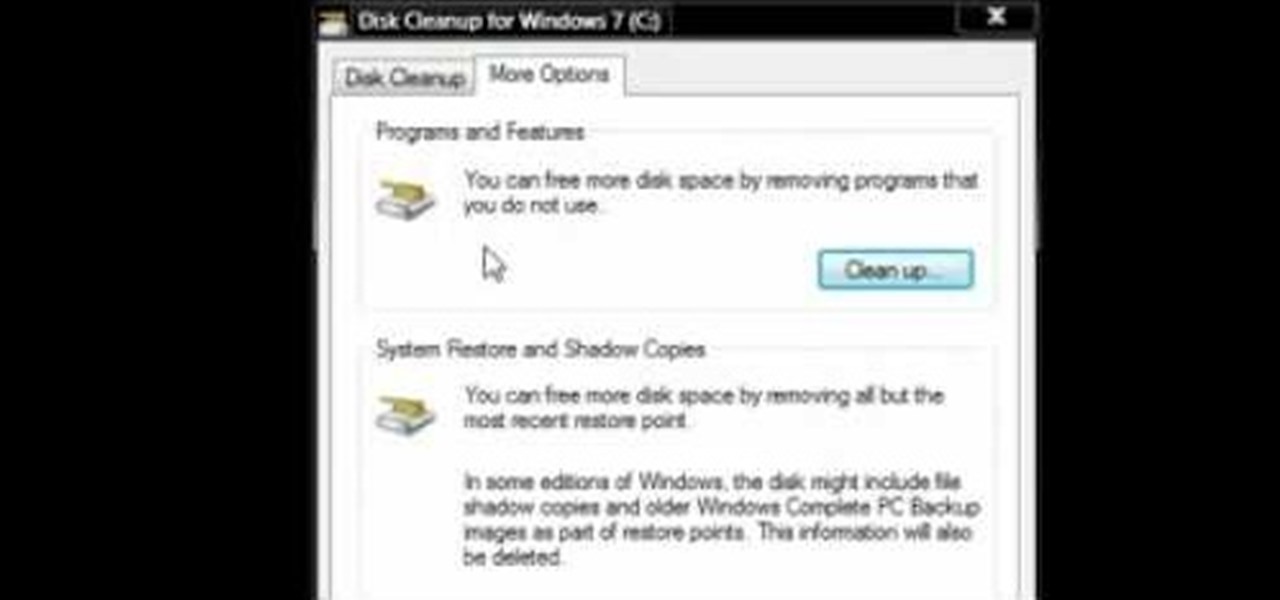
Watch this video to learn how to use Windows' built in cleanup software to reclaim memory space by removing old backups of windows. 1. Go to the start search bar and type in "disc cleanup". 2. Click on disk cleanup and wait for the program to gather information about your computer. 3. When it is done, go to "more options". 4. Click "clean up" on "system restore and shadow copies" option. 5. Click delete. 6. Close the window. Depending on how old your computer is, you should have reclaimed qui...

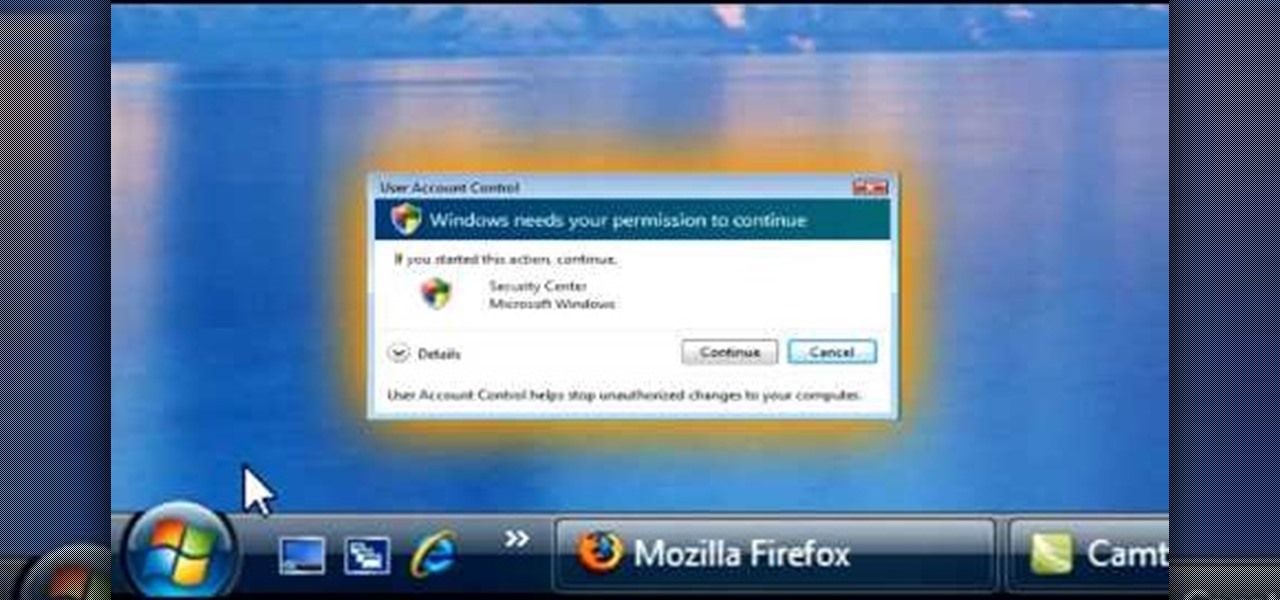
This is a Computers & Programming video tutorial where you will learn how to enable or disable the UAC option on your computer. UAC stands for User Account Control and this tutorial is for Windows Vista. With UAC enabled you are more secure. First, click ‘Start’, type in ‘msconfig’ and click on ‘Tools’. Here you scroll down and select ‘Enable UAC’ or ‘Disable UAC’ and click ‘Launch’. You will need to reboot your PC for the change to take effect. An alternate method is to go to Control Panel, ...

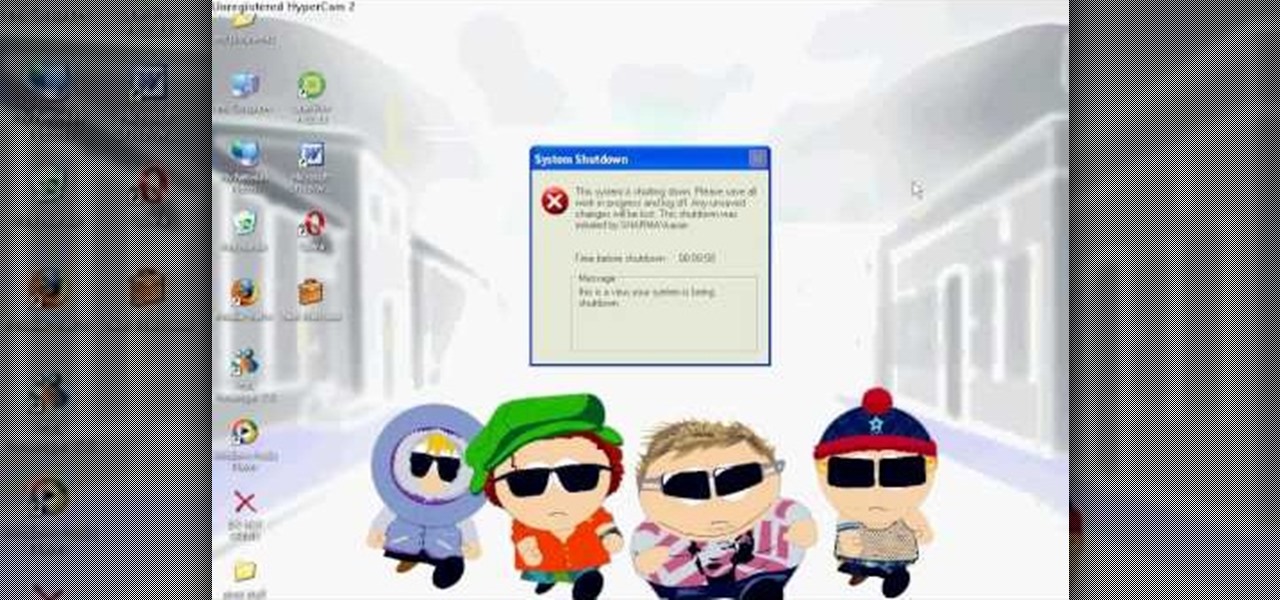
Karn demonstrates how to make a fake and funny harmless virus that will shut down only your computer. First, go to your desktop and right click to access the right click menu. Then, choose new from the menu options and select the shortcut option. A window should open. In it type -s -t. The -t will represent the number of seconds you want the virus to activate. Also type -c. Create a message like, "This is a virus, your system is being shutdown." Name the shortcut anything that you'd like. The...

To quickly disable the UAC option on Windows Vista operating system on a computer first go to the control panel on your computer. Then go to user accounts, next click on turn user account on or off and you will be prompted to type in your password. Type in your password and press enter. Then uncheck the box that says use UAC to help protect your computer. Then click the okay button to finish. You can now exit out of the control panel and go back to your desktop. The UAC on your computer shoul...

1. To disable the UAC (User Account Controls), first click start button and type "msconfig" into the start search text box.

To delete your browser history on your computer you will need to follow a few simple steps. To begin you will first need to open a new browser window. Then you will need to go to your tools and click on the internet options tab. Once you are in the internet options you will need to click on the word delete. Then you will be asked what you want to delete. Click on delete history, or simply go to delete all. If you go to delete all then also make sure that you check the box that says delete off...

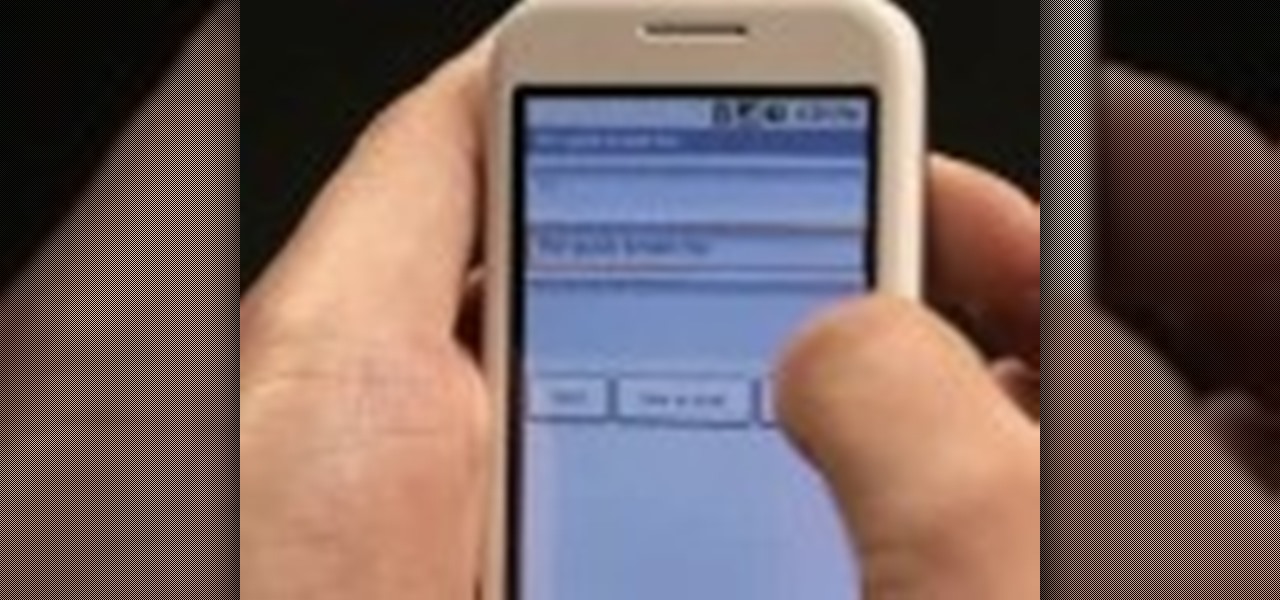
This video shows the viewer how to use the copy and paste function on an android smart phone. This feature is only demonstrated for text. The text is copied by highlighting it with a long press. A second press brings up a menu; copy is one of the options. Once the text has been copied it can be pasted into the desired location by moving the cursor to this point. Another long press will then bring up a menu with the option to paste the original text. Furthermore the video also explains how whe...

In this video tutorial, viewers learn how to make a reflective text in Adobe Fireworks CS3/CS4. Adobe Fireworks a bitmap and vector graphics editor. Begin by opening Fireworks and create a new project. Create your text and then duplicate it. Align the duplicated text under the original and flip it vertically. Click on the color and select Fill Options. Select Gradient and keep the second option at Linear. Drag the opacity on the left to zero and the right to 100. This video will benefit those...

This video shows the viewer how to disable User Account Control within either Windows 7 or Windows Vista. This is done by clicking on the start menu and then type ‘Microsoft config’ into the search box. This opens the ‘system configuration’ menu. Select the ‘tools’ section. For Windows Vista there is simply an option to disable User Account Control. For Windows 7 click on the ‘change UAC settings’ option before clicking launch. In Windows 7 the slider should be dragged to the bottom. Both met...

In this Software video tutorial you will learn how to embed a YouTube video in PowerPoint with or without Internet. You will see two ways of doing this with and without internet access. When you have an internet connection, open up PowerPoint and click on the office circle button on the left hand corner. From there select ‘PowerPoint options’ and check the box that says ‘show developer tabs in the ribbon’ and click OK. Once the developer tab is in your ribbon, select that and go to the area t...

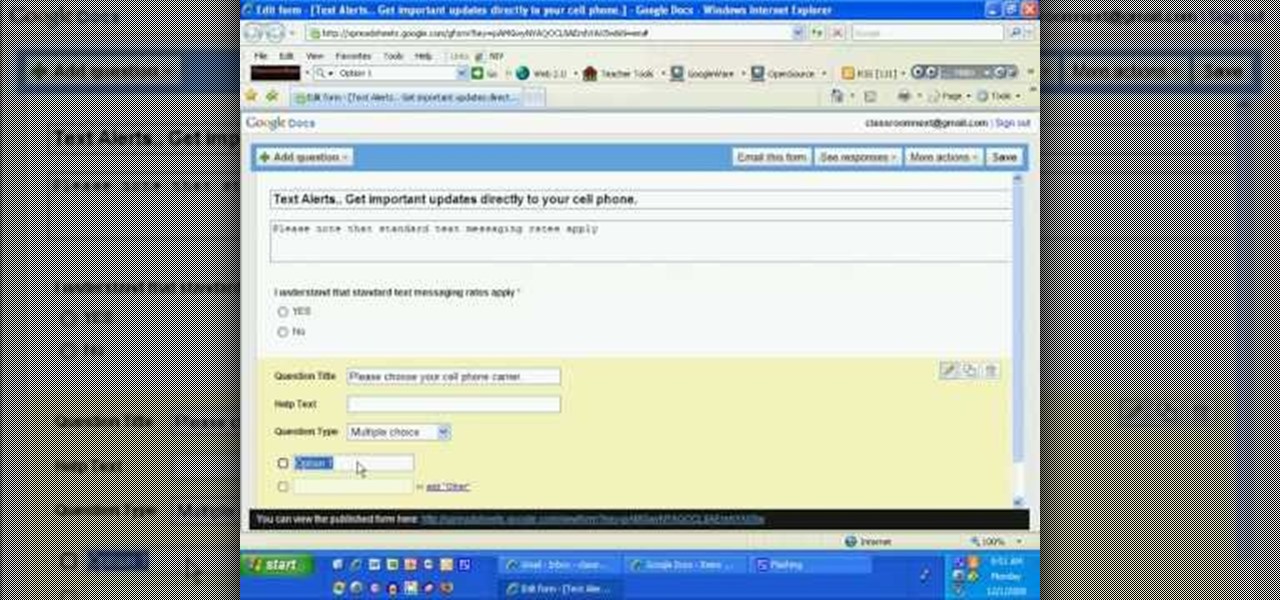
This video explains how to create a database text alert using Google Forms. In Google documents click on new, then form. After naming the form and typing in that standard text messaging rates apply, our presenter selects multiple choice yes or no options. Select it to be a required question so that the user can make sure they understand terms. You can choose to select any or all of the questions to be required. You can then type in various questions for the user to answer-our presenter wants ...

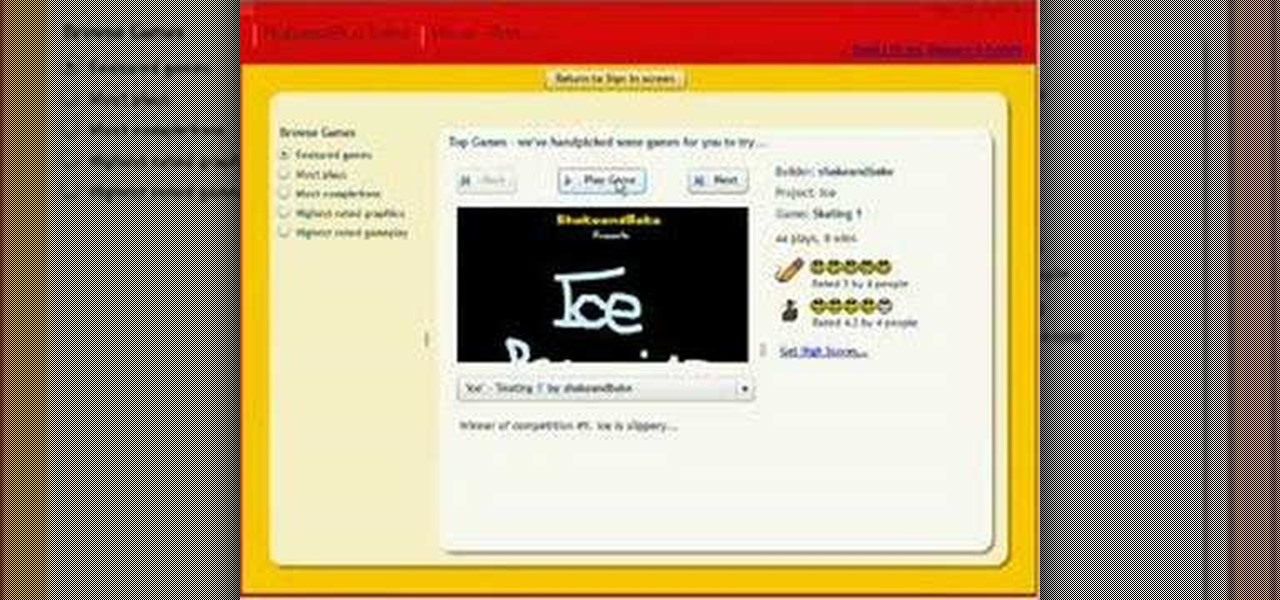
In this demonstration video, learn how to make flash games using My Game Builder. This program will allow you to create your own games for yourself and your friends. The program is free to use at My Game Builder. Once you launch this web page, you will be able to do three things: Play games, browse other users' games, or make games. Under Play Games, you will find different game types as well as featured games. Under the Browse feature, you can see how other people are creating games. Lastly,...

This video shows the method to create a photo montage in Sony Vegas. Go to 'Options' menu & Preferences. Go to the 'Editing' tab & 'New still image length (seconds)' and put the corresponding value and hit 'OK'. Open the pictures from explorer and you have a montage in which pictures last for a few seconds when another one comes up. Go to 'Tools' menu and 'Scripting' option. Click on 'ApplyTransition_1_2'. Choose 'Standard Cross Fade' from the drop down menu. Fill in 'Overlap Frames' which te...

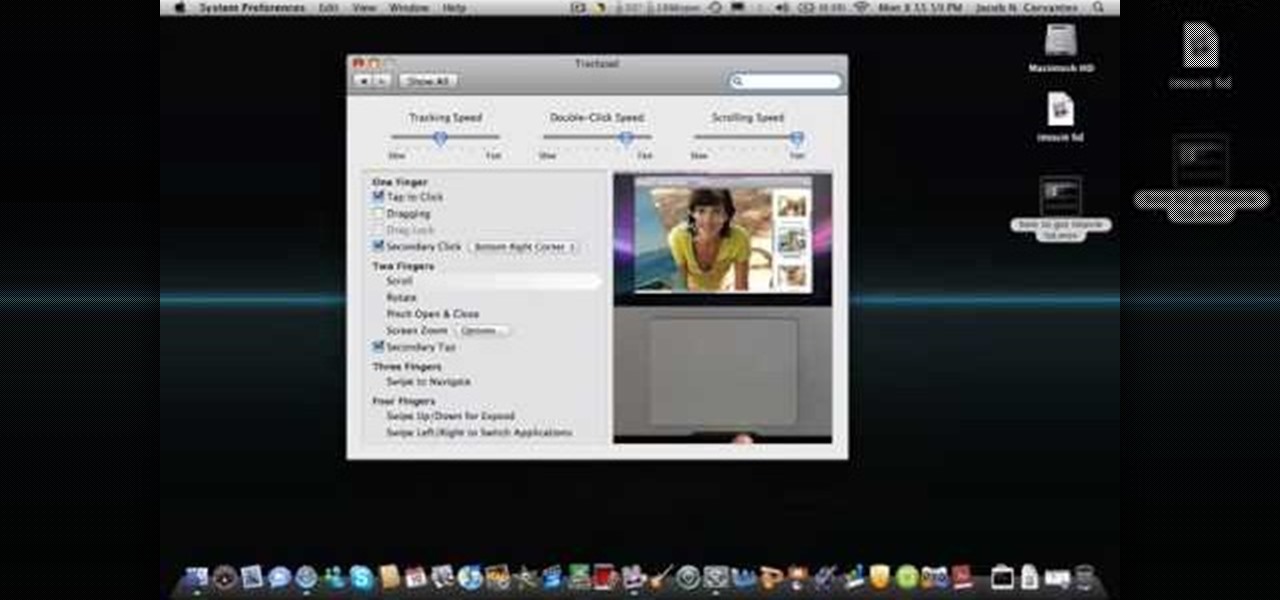
This video explains how to right click on a Mac laptop like Macbook Pro or Macbook. First you need to check if your right click is enabled. You can do so by right clicking and seeing if the menu opens up. If the menu does not pop up, it needs to be configured. The video explains how to enable the right click by going to the system preferences and then to the trackpad. Once you are in the trackpad menu, the video explains the options that need to be checked in order for the right click to work...

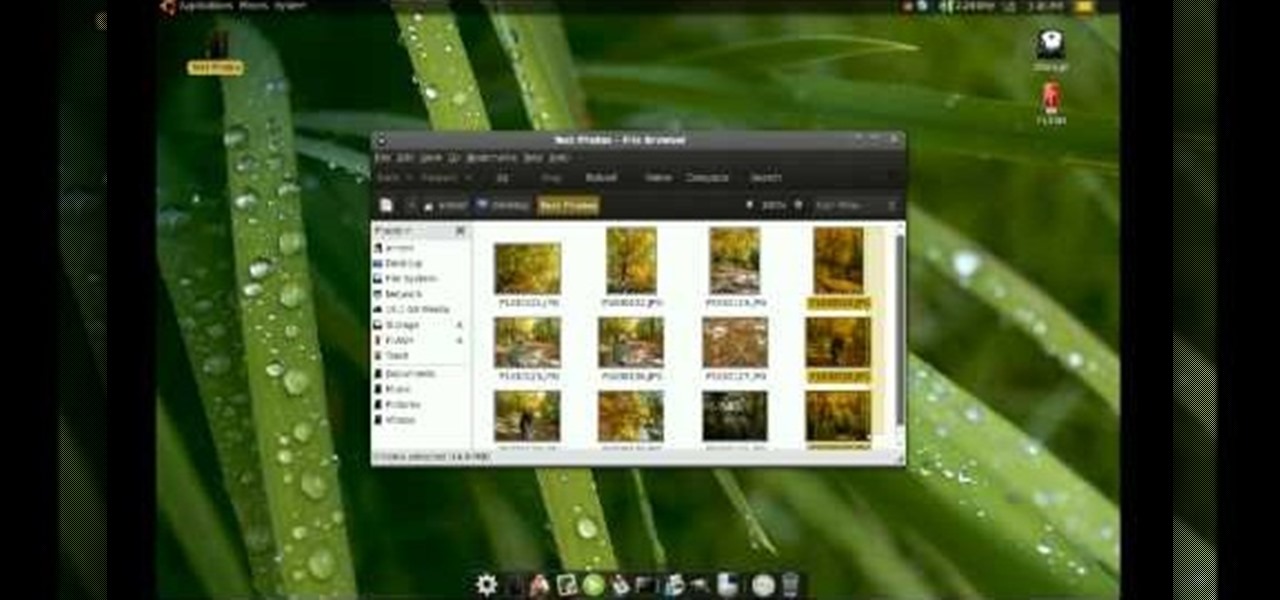
This video shows the method to recover deleted files in Ubuntu using Testdisk. The demonstration is done by deleting a set of pictures and recovering them later. The test disk is installed at first. Then we click on the terminal icon and go to the list options available. These include selecting the list of drives available, partition table type and the type of file system in the original photos. Then the system asks you to select the part to be analyze and destination folder. The tool then re...

In this video the instructor shows how to map a network drive in Microsoft Windows XP. Network drive is similar to the disk drive that is present on your computer like C drive, D drive but instead of pointing to a hard disk on your computer it points to a server that has enabled shares. Shares allow you to create or edit files and folders. By mapping that server share to a folder in XP you can use that share as a normal drive. To do this go to start menu, right click on My Computer and select...

This video discusses how to add a sound effect to your video in Pinnacle Studio. You first select the video you wish to add the effect to and then, on the left hand side, select the sound effects button. It looks like a loudspeaker with a few lines coming out. The options include humans, gunshots, animals, instruments squeaks to name a few. You then have a variety of different sounds from that genre of effect. Select one and then drag the effect to the time bar when you want to have the effec...

First add a person as a friend by sending him a request. 1. Open your Facebook account, select friends. Now in the option search for people, give my name and press enter. Now a list is displayed, select add as friend and send a request.

In this video tutorial, viewers learn how to record audio, using Camtasia Studio 6. Camtasia Studio is a screen video capture program. The user defines the area of the screen or the window that is to be captured before recording begins; it is also possible to capture the entire screen area. You can also talk, and use a videocam. Begin by selecting the Camtasia Studio icon in the taskbar. Right-click it and select the sound option. When the window pops up, enable all the options to be able to ...

The video describes how to use Pinnacle Plus Studio. The narrator first describes the various tabs and features of Pinnacle Studio. He then describes how to import a video into Pinnacle Studio for editing. The video demonstrates how to add still photos, sound effects, music, and transitions to your video using the various tabs and options along with what the narrator calls the timeline. Finally, he describes how to make a movie after you have finished editing your video. He gives a good overv...

HelpVids user mel_bone teaches you how to cut, copy and paste to the clipboard in Microsoft Word 2007. Select the first paragraph by either triple clicking on it or selecting it with your mouse. Click "Copy" in the top ribbon or press "ctrl + c". Then use "Paste" or "ctrl + v". To cut a paragraph, select it and click "Cut" or press "ctrl + x". Using the paste options, you can only paste the text, without its formatting. By clicking the small icon next to the Clipboard tab, you will open the p...

Johnhaydon teaches you how to use Seesmic to manage your Facebook stream. For the Seesmic desktop app you have to go to the bottom left corner of the screen and click the little icon of gears. This will bring up an options menu. Click the Accounts tab. Then click on Facebook and add your details there. Next to each post on Facebook, in Seesmic, to the right, you will see a small icon. Click that and you will have options like commenting. You can also reply to a post by clicking the dedicated ...

MicroHelper demonstrates how to transfer music, pictures, videos from an iPod to any computer using the SharePod application. Go to Get SharePod, click download and save the winrar file into your desktop. You can either use WinZip or winrar to open any .rar file. After finishing the download, extract the files. Click on the SharePod icon to launch the program. Once the SharePod program has launched, connect your iPod to your computer, the SharePod program will show the contents of your iPod. ...


