Windows 7 is the hot, new operating system replacing the past XP and Vista systems. Windows 7 is the most simplified, user-friendly version that Microsoft has developed - ever. Get acquainted with your new version of Windows straight from Microsoft.
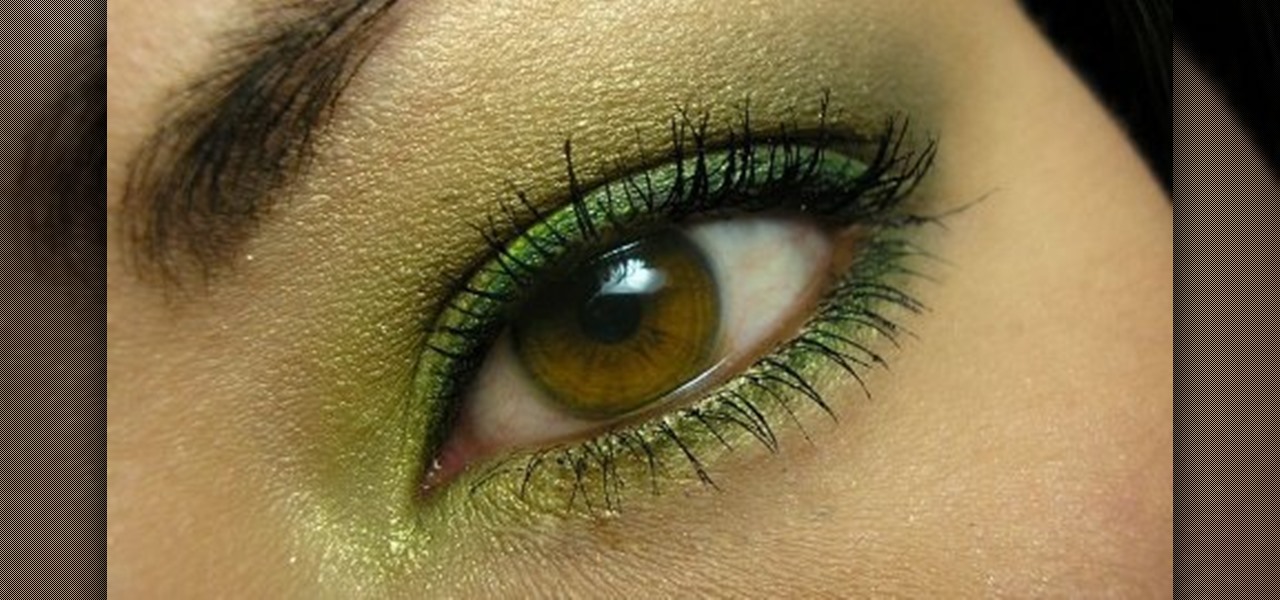
This video shows you how to create beautiful make-up using the loreal hip products. Products Used:
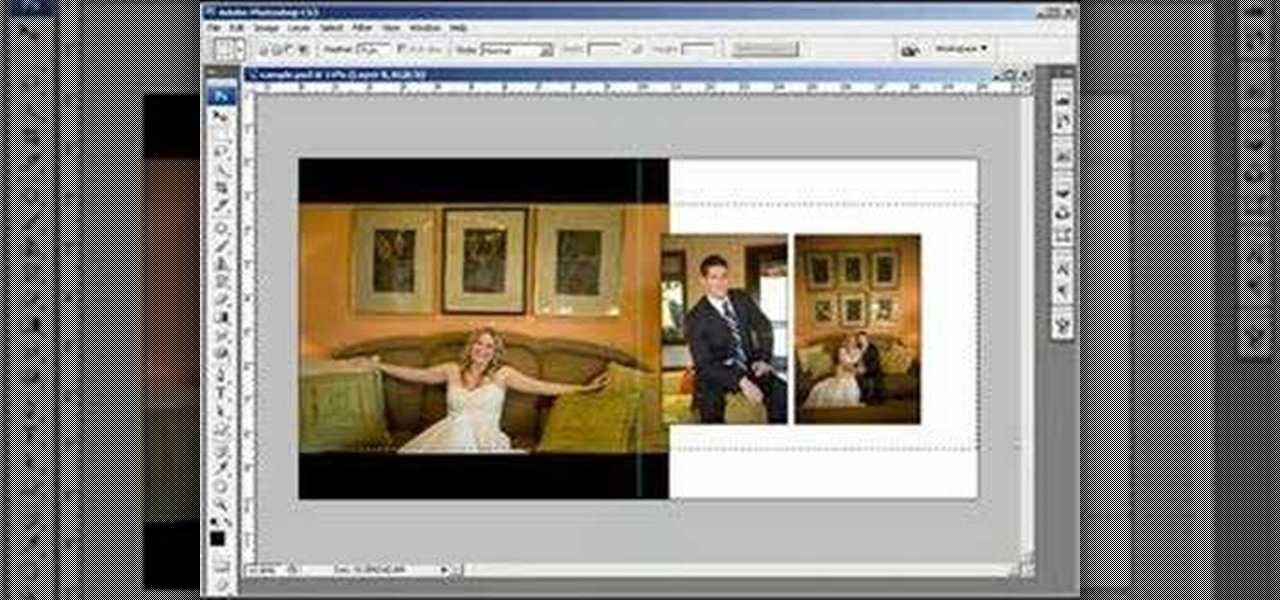
This two part Photoshop CS3 tutorial shows you how to design a flush mount two page spread. Great for anyone wanting to create a photo album, or design project. Also great for professional photographs or graphic designers that need to create two page layouts for catalogs etc. Learn how to design a two page flush mount album design with basic background design elements in Photoshop CS3.
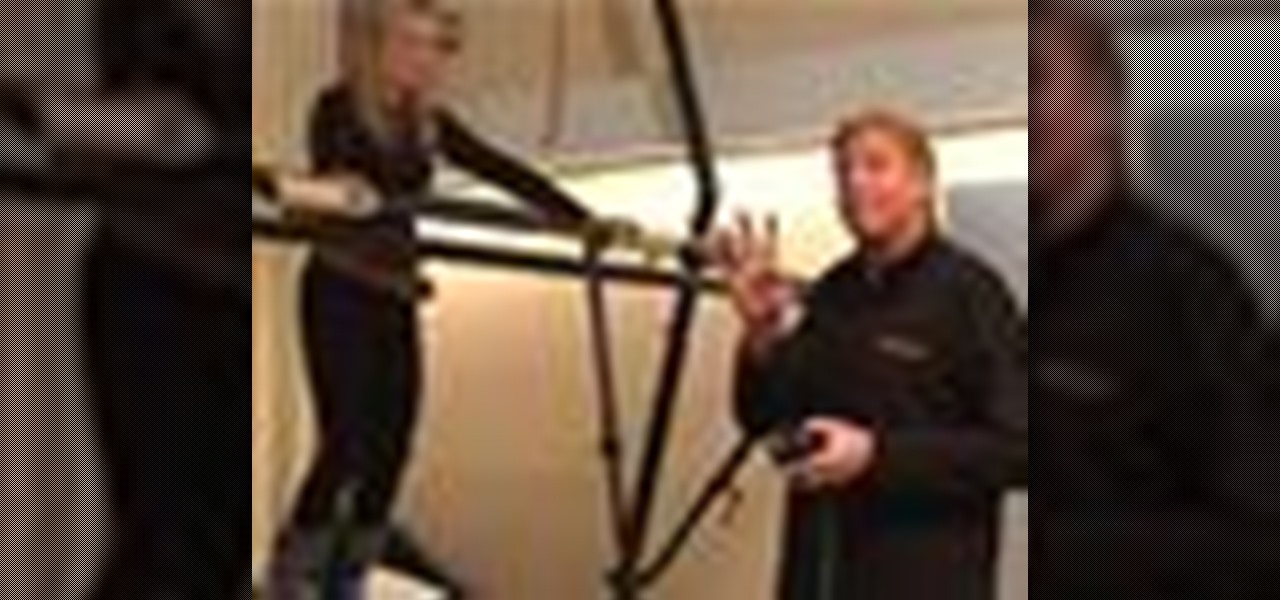
Work on turns for skiing over bumps or moguls. Learn skiing tips and techniques in this video lesson from a ski instructor. Take action: re-center on uphill foot, practice ouch, tip, drift, and flatten skis, don't rush middle of turns, and be patient. Bill, the host of this how-to video from Live Strong, is a former world-class freestyle competitor and elite coach. He is now the indoor ski simulator coach at the Aspen Club and Spa at John Clendenin's Ski Doctors. Laurie is a long-time aspen r...

Many educators and institutions are already integrating podcasting successfully into their curricula — with great results. Podcasting enables educators to use music and recorded audio to enhance learning. The addition of photos and video to podcasting allows educators to add a wide range of visual content to their teaching and address even more learning styles.

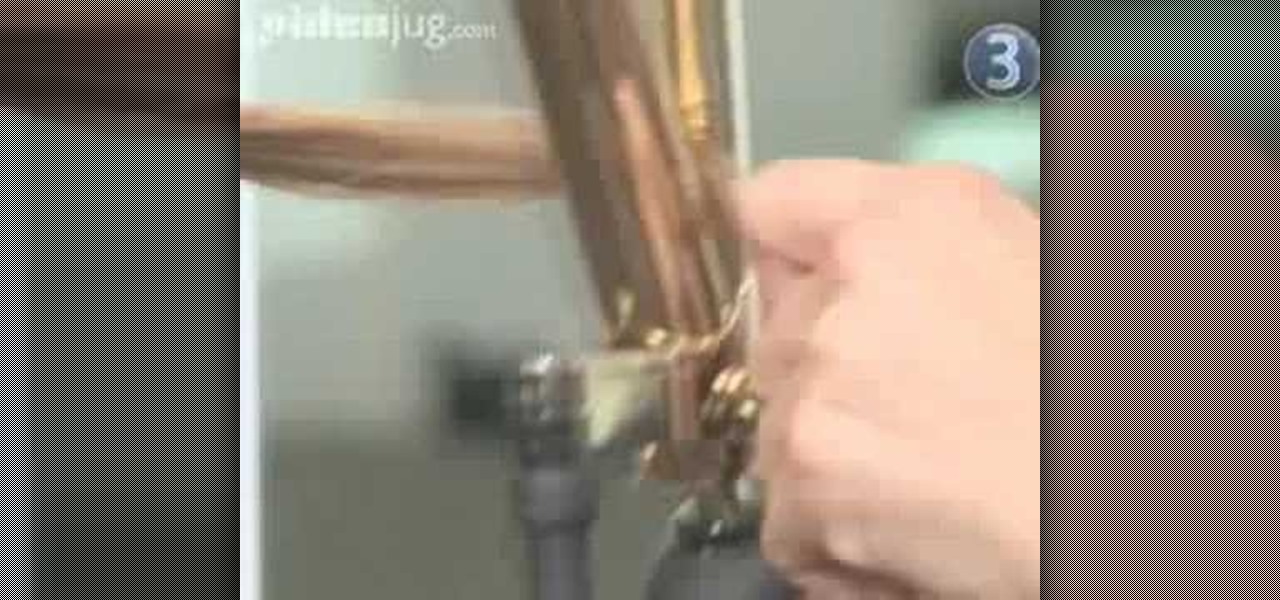
Six steps to clean a membrane keyboard. IMPORTANT - NOT FOR LAPTOPS or NON-MEMBRANE KEYBOARDS

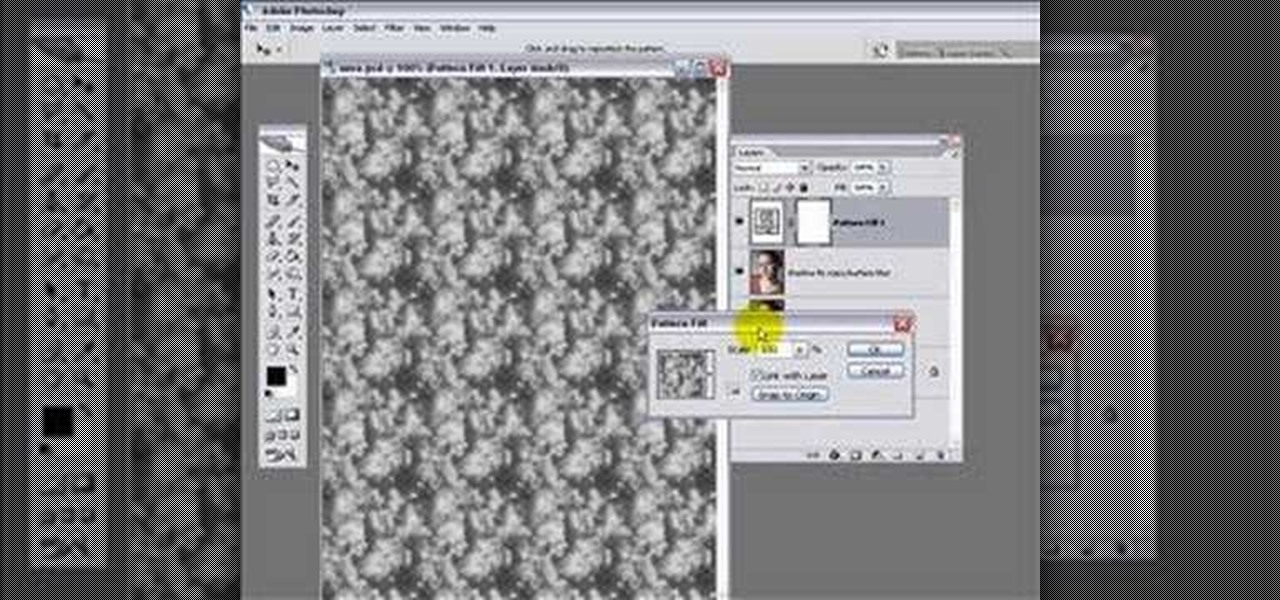
Photoshop Mama shows us another way to render a watercolor from a photo using filters in Photoshop in this video series. This method produces subtle pencil sketch lines in addition to the luminous watercolor effect. This is a detailed tutorial that is going to take some time but you will learn a lot in the process!
This video series shows one method to produce an artistic watercolor effect from a photo. Instruction also incudes tip for "actionizing" this method, in Photoshop. Remember, this is an artistic idea so make your own interpretations and additions!
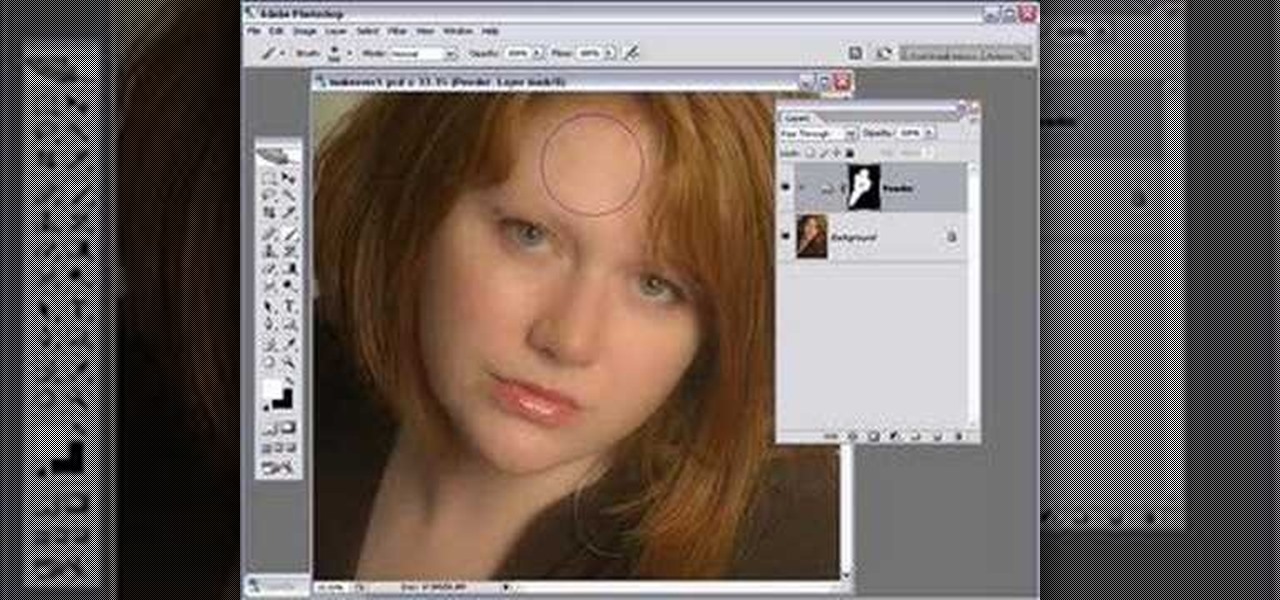
This is actually a real tutorial showing the steps of how to do glamour photo retouching in Photoshop CS2.
Here is the final video in the CNC Stomp Pad Tutorial Video Series. In this video, we go over the final assembly of the stomp pad. Then we watch as we used double sided... More» tape to adhere it to the snowboard. Finally we take a look at some final photos of the CNC Stomp Pad on the Snowboard. One Final Note: The Stomp Pad works perfectly. I love the fact you can customize your life with CNC.
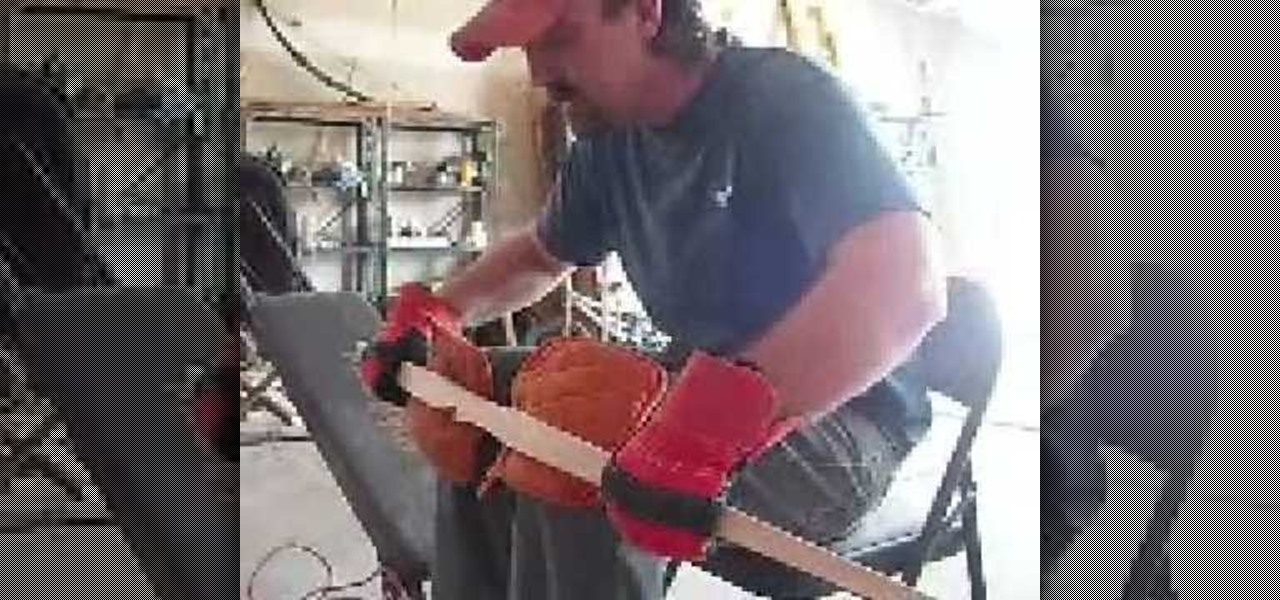
This is the first thing you'll need to do when recurving a traditional bow, and it's called the decurved (or deflexed) process. You'll see exactly how to deflex a traditional-style bow by steaming and bending the wood. You'll need a pot of boiling water, your wooden bow, tin foil and some gloves. To see more videos about traditional bow and arrows, check out Traditional Archery Bows on WonderHowTo.
Learn how to make contacts that include a photo in the contact information displayed on the home screen. Also learn how to add a web feed to contact information and how to remove a contact from the home screen. The C5 is the first offering in Nokia's new "C" series of mobile phones. It runs on Nokia's Symbian OS and features a 2.2-inch screen and 3.2-megapixel camera. Want more? Search WonderHowTo's sizable collection of C5 video tutorials.
Jennifer Aniston is one of the few actresses out there whose name is synonymous with a hairstyle. Like Halle Berry and Farrah Fawcett before here, "The Rachel" has become a celebrity in its own right. But Jennifer Aniston has a lot more to offer in the hair department than simple, shoulder-length layers.
In this tutorial, we learn how to use the camera on the Samsung Galaxy I7500. First, press and hold the camera key on the side of your phone. Next, you will see the camera appear on your screen. To take a picture, press and hold the camera icon. You can review your picture by tapping the gallery icon on the top left. Here you can zoom in and zoom out, view other photos, set it, share it, and delete it. When you are finished, simply go back to your menu and then you are done, enjoy using your ...
In this video we learn how to draw hands without references. First, draw the basic structure of the hand using a photo to make sure it's true to size. After this, draw on boxes and circles to create the wrist, hand, and the knuckles. Then, you will draw on straight lines for the bones in the thumb. After this, start to add details of the fingers and make out their basic shape. As you continue with details, erase any background lines and start to add lines in for wrinkles on the skin. Finish t...
In this video, we learn how to resize an image in MS Paint without losing resolution. First, you will go to the file menu and then open. From here, open up the photo you want to resize. After this, go the 'image' section on the toolbar and then click 'stretch and skew'. From here, change the vertical and horizontal stretches until you have the size of picture that you want! Continue to play with it until it's right and then save this over again. This should only take a few minutes and will ke...
Make your own tiny katana out of paper! All you'll need is some durable printer paper or origami paper, double-sided photo album squares, quick drying craft glue, a small craft knife (like an x-acto knife), a straight edge and a cutting mat.
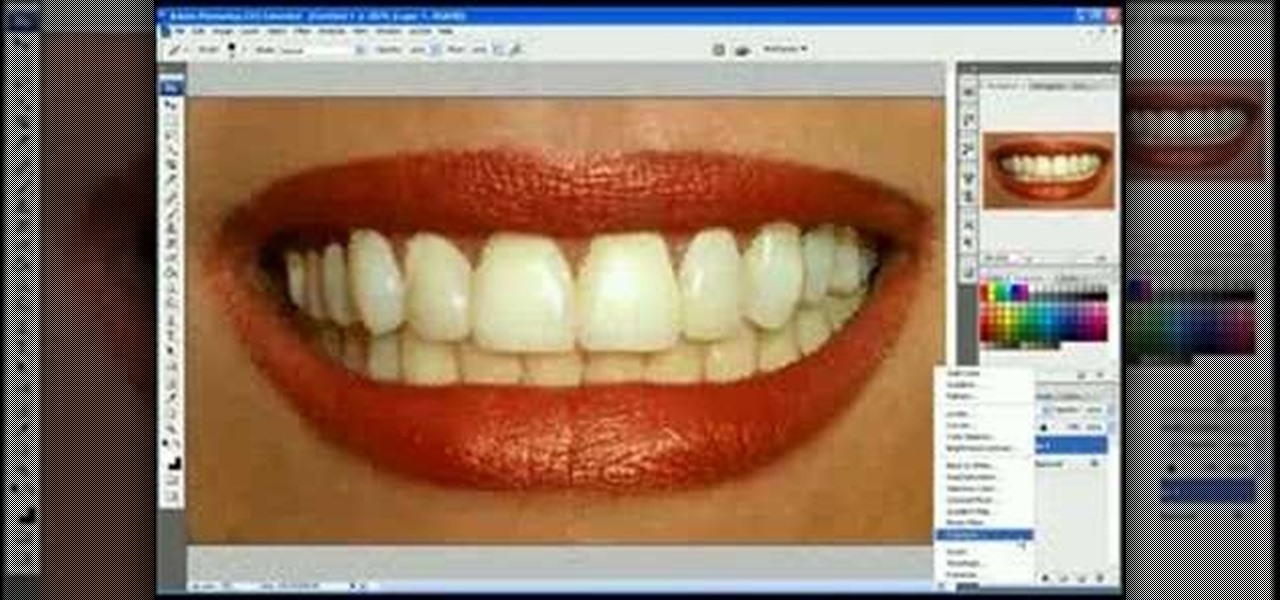
In this video we learn how to whiten teeth in Photoshop like a professional. Start off by opening up Photoshop and zooming in on the teeth in your photo. Start out by selecting a hollow brush and then paint the selection onto the teeth. Paint around them carefully and make sure you don't touch the gums in the middle and on the top of the teeth. Once you have selected the entire area of the teeth you will see them all covered in red. Then, go to "select" and "inverse", then press the button fo...
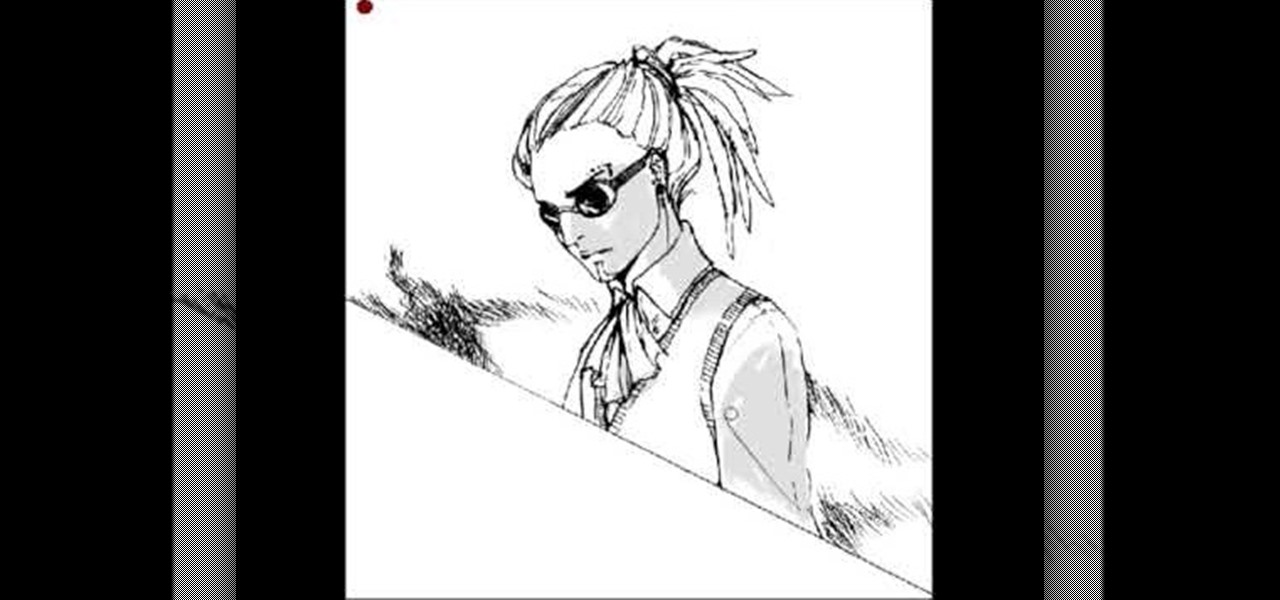
In this video, we learn how to draw shadows in manga. When you are drawing shadows, you want to think in 3D. When you show the lights and shadowing, it's like you are drawing something you see a photo of instead of just a drawing on a piece of paper. Draw the shadows where you want the position of the light to be opposite of. If the shadow is on one side of the face, this would mean that the source of light is coming from the opposite side of the face. Use real pictures to figure out how to s...
Ever wonder how people make those wonderful and awe-inspiring time-lapse films? Well, this video shows you the bare basics of creating a time-lapsed movie. First, you'll need to set your digital camera on a tripod and set it to take stills at your desired intervals. Then, you'll need to import all of these photographs into Aperture or iPhoto on your Mac computer. Then it comes times to turning those pics into a time-lapse film. Watch and see how!
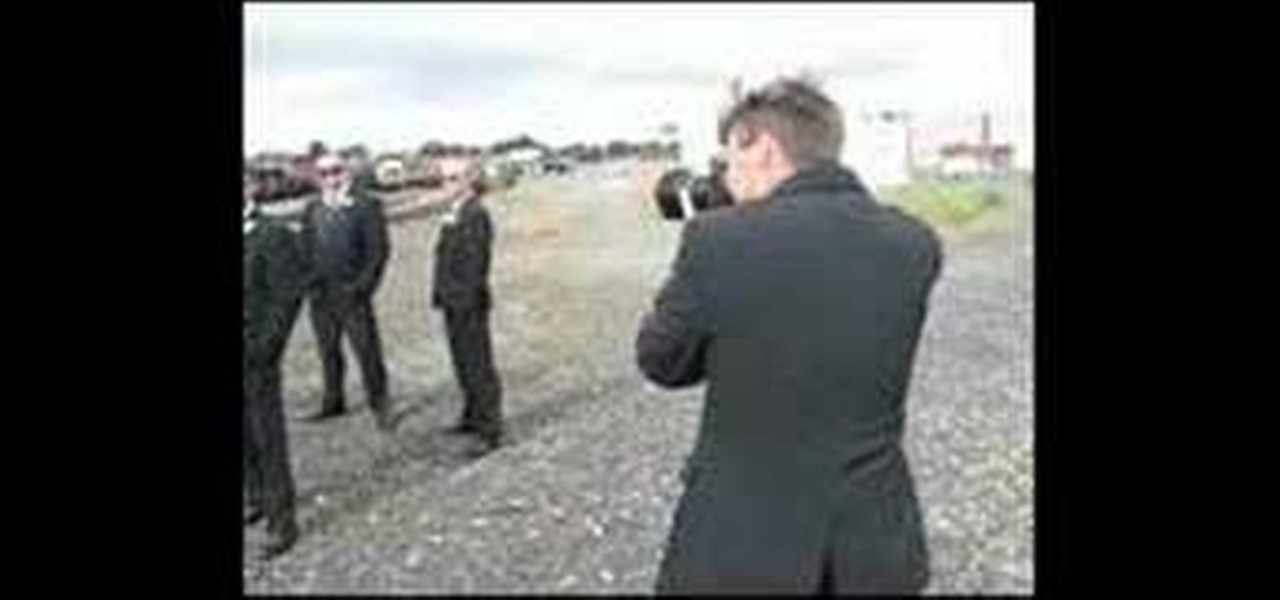
In this video, we learn how to shoot wedding photography like a pro. Start off by having the wedding party in front of a clear background. Try taking their picture outside with trees and a clear sky in the background behind them. Use the surroundings to add a special touch to the pictures and use the correct flash so that the wedding party shows more than the background does. Accentuate the background and use white flash absorbers around the wedding party so their faces have more color that s...
Kim Kardashian knows her way around a smokey eye. Like, sister could put her makeup on in the dark and still be the hottest thing on the red carpet. So it goes without saying that we often find ourselves oogling her pictures and finding inspiration in them for our own smokey eyes.
When you live in a small apartment with a nonexistent closet it's easy for organization to go out the window and your shoes and clothes to go anywhere they land after you take them off. But there's a better way to store your shoes, ladies.
Looking for a quick guide on how to brighten your smile with Photoshop? It's easy. And this clip will show you precisely how it's done. Whether you're new to Adobe's popular raster graphics editor or a seasoned designer looking to better acquaint yourself with the new features and functions of the latest iteration of the application, you're sure to benefit from this free software tutorial. For more information, watch this video guide.
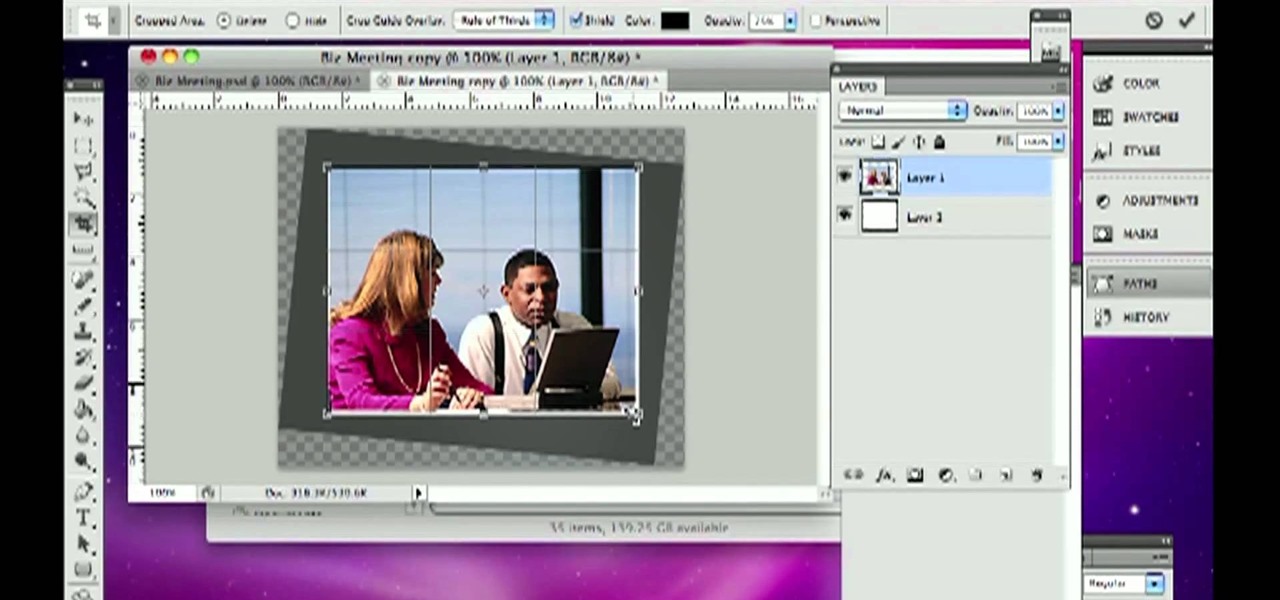
Need some help figuring out how to rotate and crop images in Adobe Photoshop CS5? It's easy. And this clip will show you precisely how it's done. Whether you're new to Adobe's popular raster graphics editor or a seasoned designer looking to better acquaint yourself with the new features and functions of the latest iteration of the application, you're sure to benefit from this free software tutorial. For more information, watch this video guide.
Have you ever wanted to prank your friends by showing pictures of them naked? By learning these easy graphics editing techniques in Photoshop, you can quickly make people shirtless or nude in fake photos.
In this video, we learn how to use and understand depth of field in photography. If you look at a photo, the depth is how deep the picture looks. You can change the depth by changing the aperture to make the depth of field look shorter or longer. The lighting can also change the depth of field and what you can see in the background. A big aperture will give you a large depth of field, with a small amount of light. If you want a big depth of field in a landscape, then you will use a maximum ap...
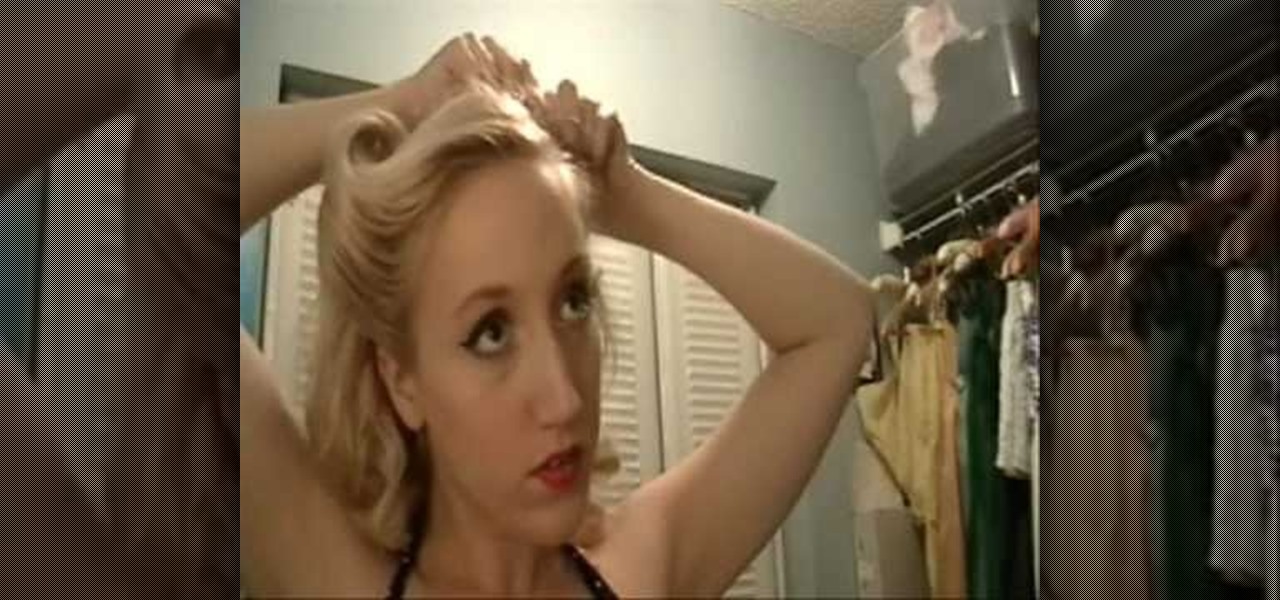
Victory rolls may not sound like a familiar term these days because almost no one does them anymore. But you'd sure recognize them if we showed you some photos from the 1940s and 1950's: Actresses like Rita Hayworth and Katherine Hepburn loved wearing them, and as they did so did the rest of the nation who looked to them for beauty inspiration.
This video tutorial belongs to the software category which is going to show you how to darken the background in Photoshop using the burn tool. This is an example of how to improve your dodging and burning using the adjustment layers.
In this tutorial, we learn how to use the soft light layer mode in Photoshop with Yanik Chauvin. This will reduce gray in the picture. First, duplicate the layer and then click on the blending mode menu. Click on the soft light option, then your photo will adjust and have saturation in it. The flatness will be removed from the image and the gamma will be increased. If you find this too strong, you can go into the opacity slider and adjust this to what you think fits your picture. When finishe...
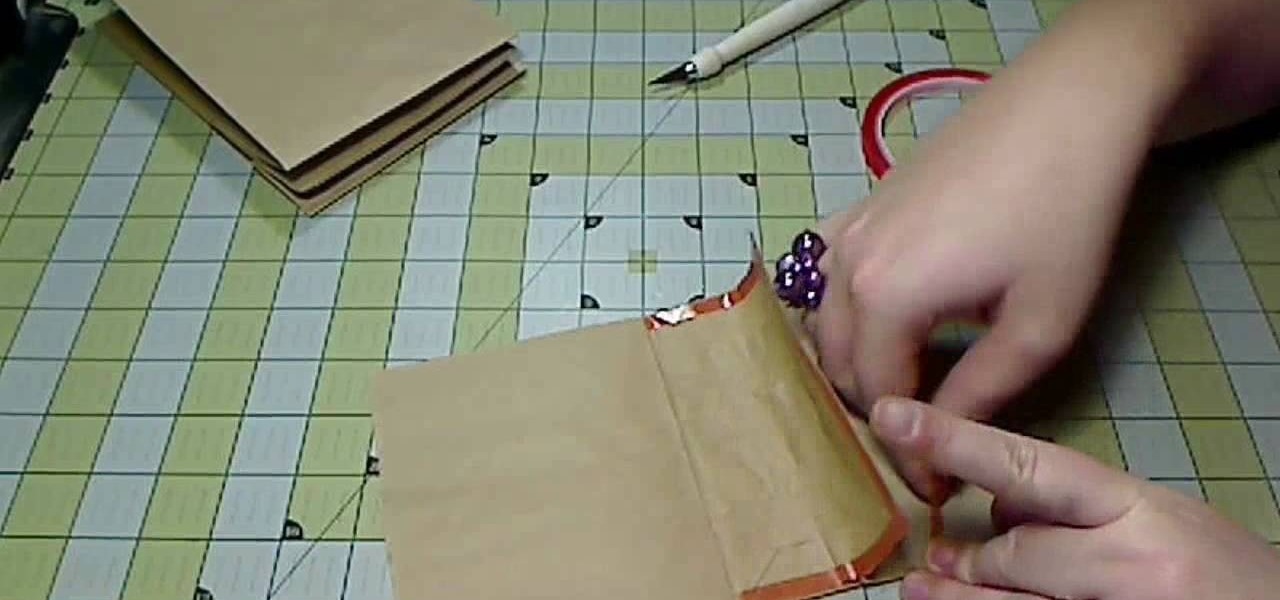
Brown paper bags aren't only for storing your PB&J sandwich for lunch. In fact, in the craft world they're heralded and used frequently because they're cheap and give projects a whimsical homespun feel. Just take this kraft paper bag album, for instance.
In this tutorial, we learn how to enhance the color of your lips and eyes with GIMP. To change the eyes, use the ellipse tool to highlight each individual eye, then change the contrast of the eye as well as the color and highlights. Do this for both eyes, then save. To change the lips, use the lasso tool to highlight the outside and inside of the lips, then go to "select", "from path", and then change the color balance as you did on the eyes. Change it until it's the desired color you want, t...
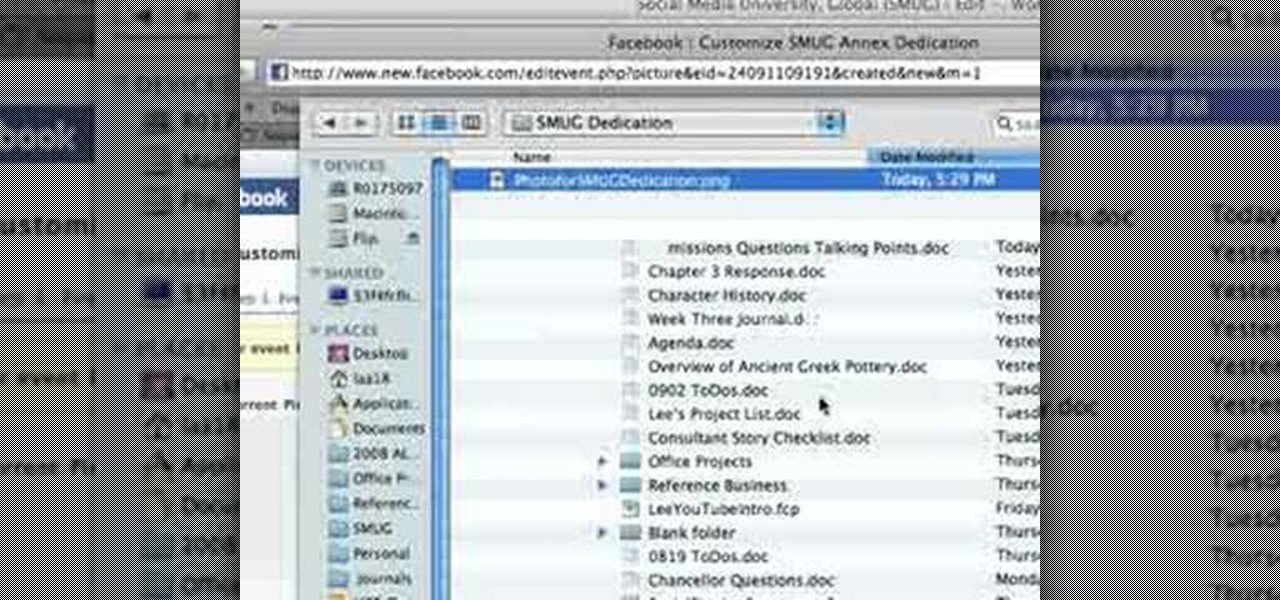
In this tutorial, we learn how to create a Facebook event for a group or member page. To do this, log into your Facebook account, then click on the "create an event" link. Now you will be able to add a name, tagline, description, date, type of event, start time, location, and more details about the event. Once you do this, you can invite your friends into the event and also make it a private event or a public one. After this, you will also be able to upload a photo and then once friend's RSVP...
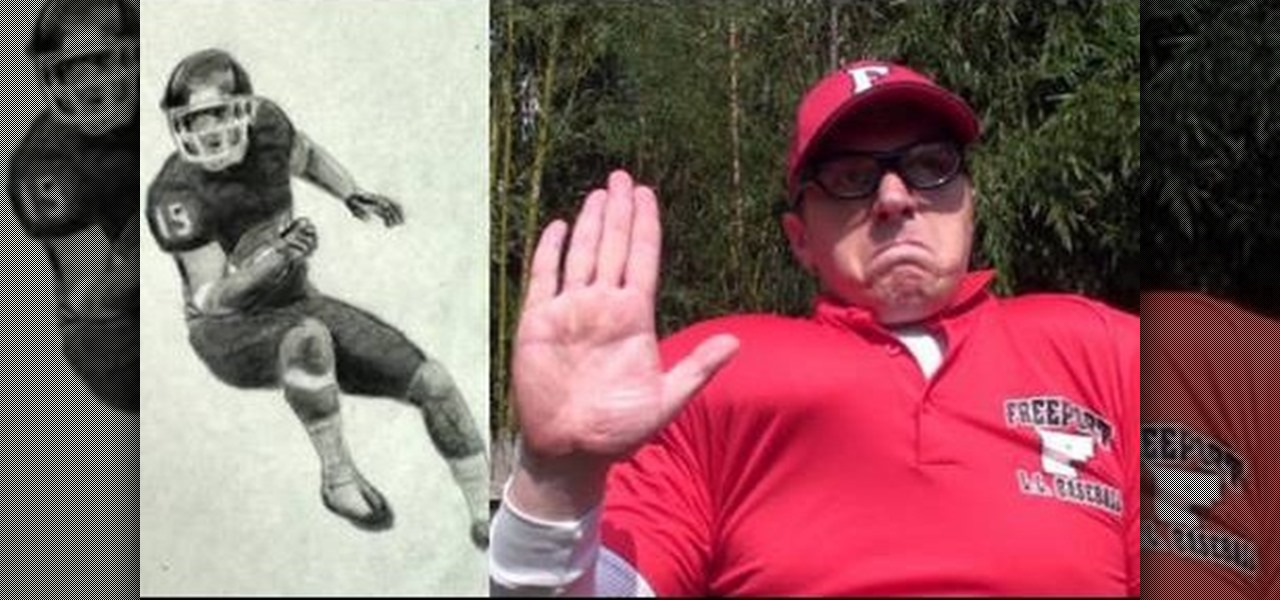
This art tutorial debunks the myth that male artists are sissies. Okay, maybe if you were a dude who just died over painting watercolor lillies then we would question your, uh, orientation, but when it comes to drawing beefcake football players, it's full on masculinity.
One of the many improvements in Android OS 2.1 is a 3D Gallery application. This is a neat feature that comes bundled with the new OS and gives you a cool new way to view your photos. check out some of the features. Learn how to use it with this clip. It's easy! So easy, that this video tutorial can present a complete, step-by-step overview of the process in about three minutes. For more information, including detailed, step-by-step instructions, watch this video guide.
After a short time of having an Android phone, you'll notice that your contact list can bulk up quite a bit. Not only that but all that text can make your favorite and preferred contacts fade into the list. In this clip, you'll learn how to take control of your contacts. It's easy! So easy, that this video tutorial can present a complete, step-by-step overview of the process in about three minutes. For more information, including detailed, step-by-step instructions, watch this video guide.
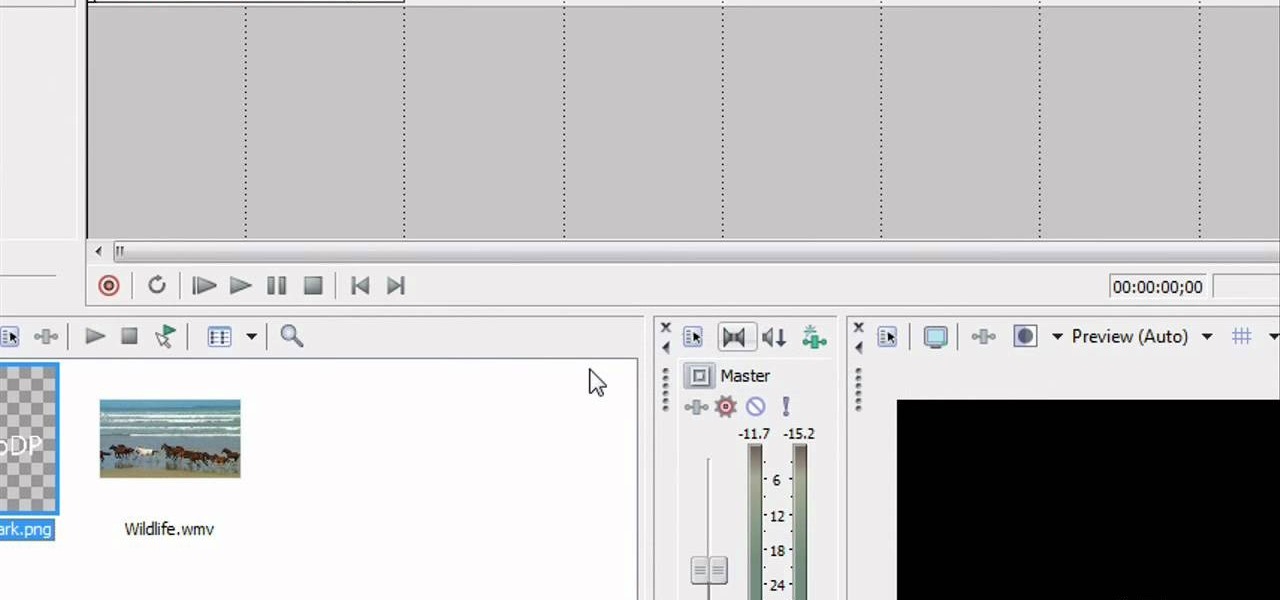
In this video tutorial, viewers learn how to add watermarks to videos in Sony Vegas. Users will need to begin by creating the watermark image in a photo editing software. Once created, make the image into a transparent background and save it as .PNG format. Now load the video into Sony Vegas and place it into the time-line. Then open the image in Sony Vegas and add it into the video time-line. Finish by panning the watermark image to a smaller size in the corner and extend the play time. This...
In this video tutorial, viewers learn how to draw the black Spider-man in Adobe Photo-shop. Begin by drawing the shape of Spider-man and then scan it. Now extract the ink from the white page. Then change the ink from black to white. Make the background black. Then fill the entire figure of the character in black color, using the pencil tool. Now create a blue layer over the entire image. Add white to the eyes and center spider symbol. Finish by adding details and a spider web in the backgroun...
In this tutorial, we learn how to use the screen on the HP TouchSmart. Touch the screen lightly and precisely to open the program you want. There are tiles on the screen where you can store your music, photos, videos, and more. There are different ways to scroll around the page using your fingers. You can simply tap it, scroll by dragging with your finger, and slide your finger right to left. Remember to put your finger on the exact item you want to touch, or you will open or pull something e...
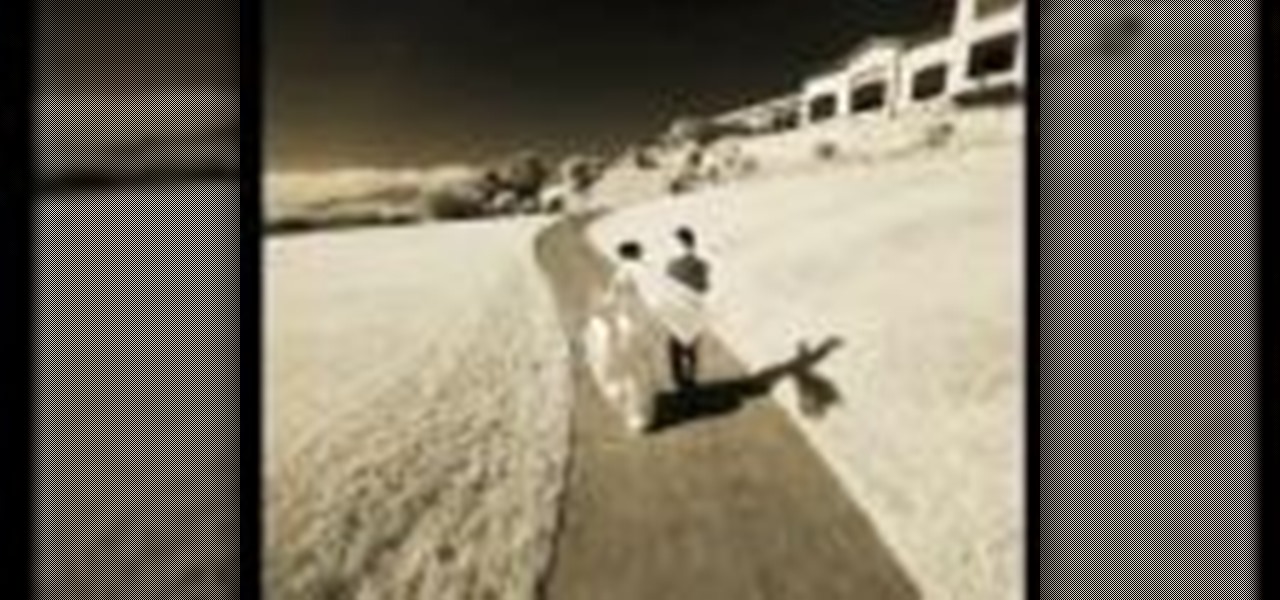
In this video tutorial, viewers learn how to photograph with infrared. Infrared photography is photography the infrared spectrum of light, rather the visible spectrum of light. The main effect are to turn the sky darker, smooth out skin and turn foliage white. Users will need a camera that is converted into infrared. Then simply take a picture with the infrared camera and all the photos that are created by the camera will be in infrared. This video will benefit those viewers who are intereste...