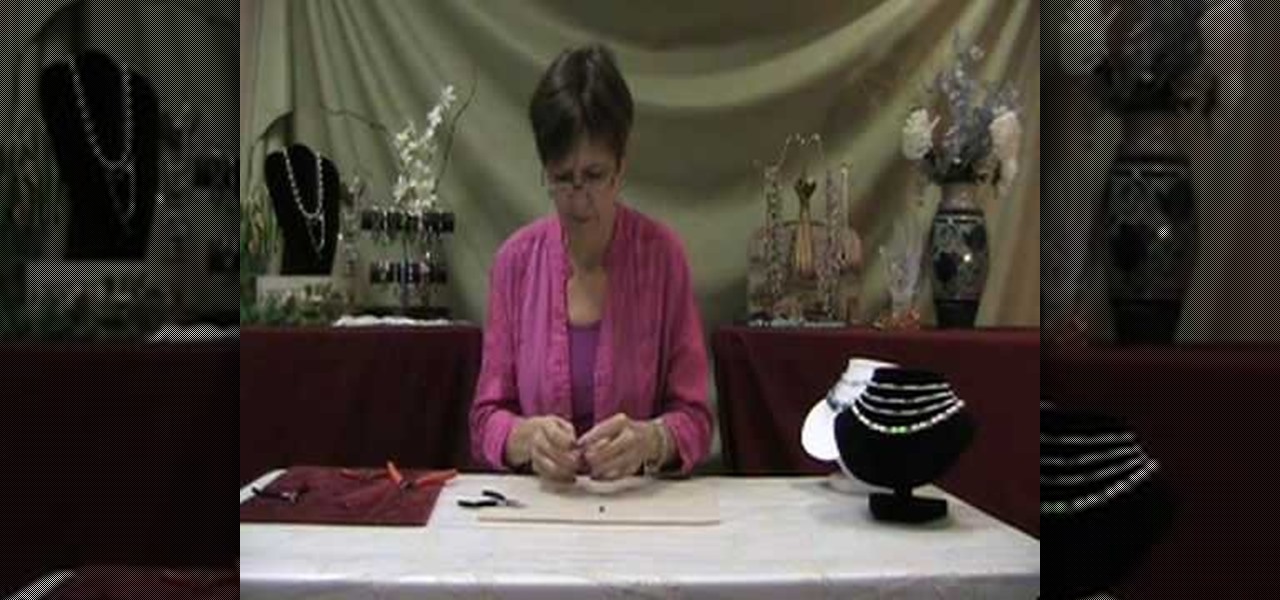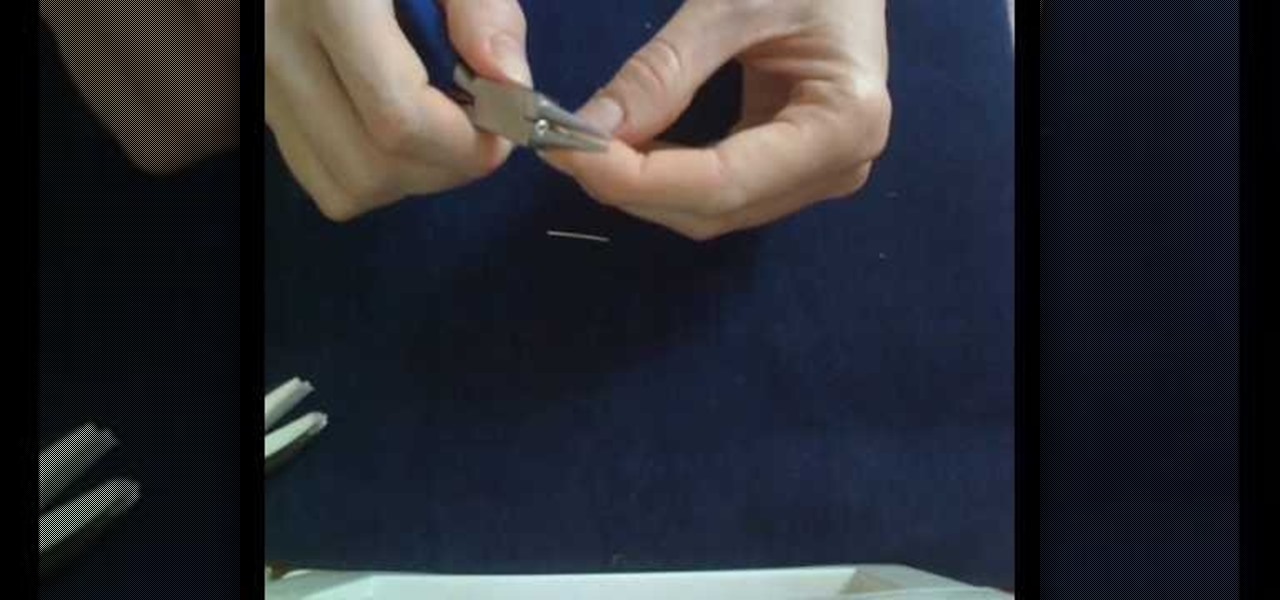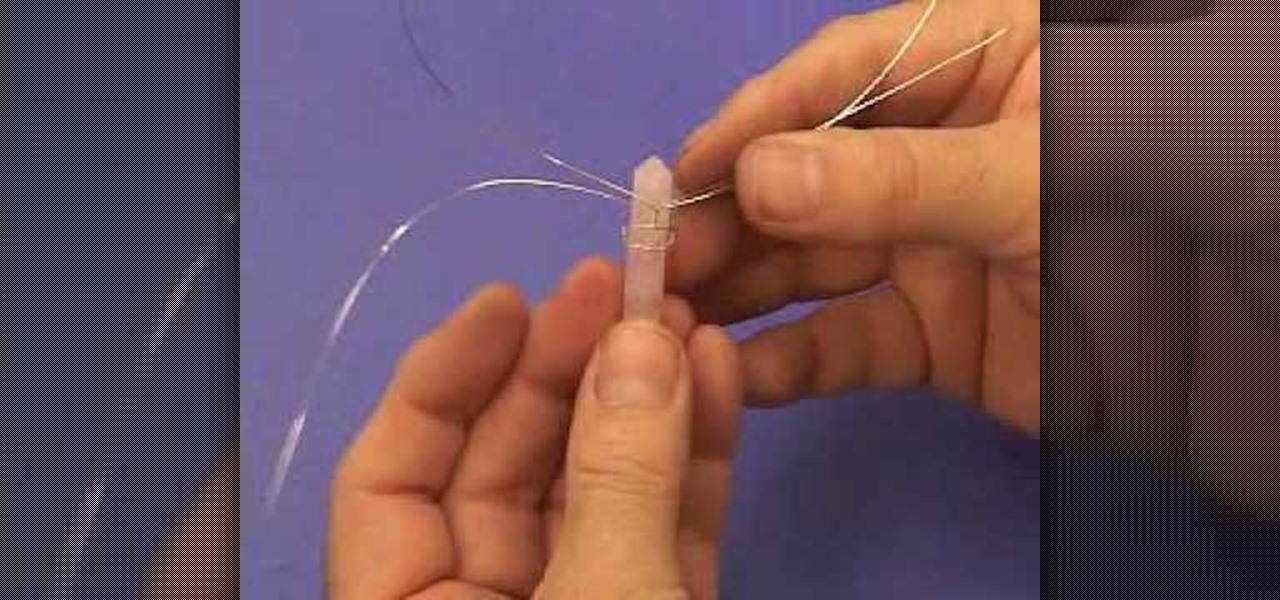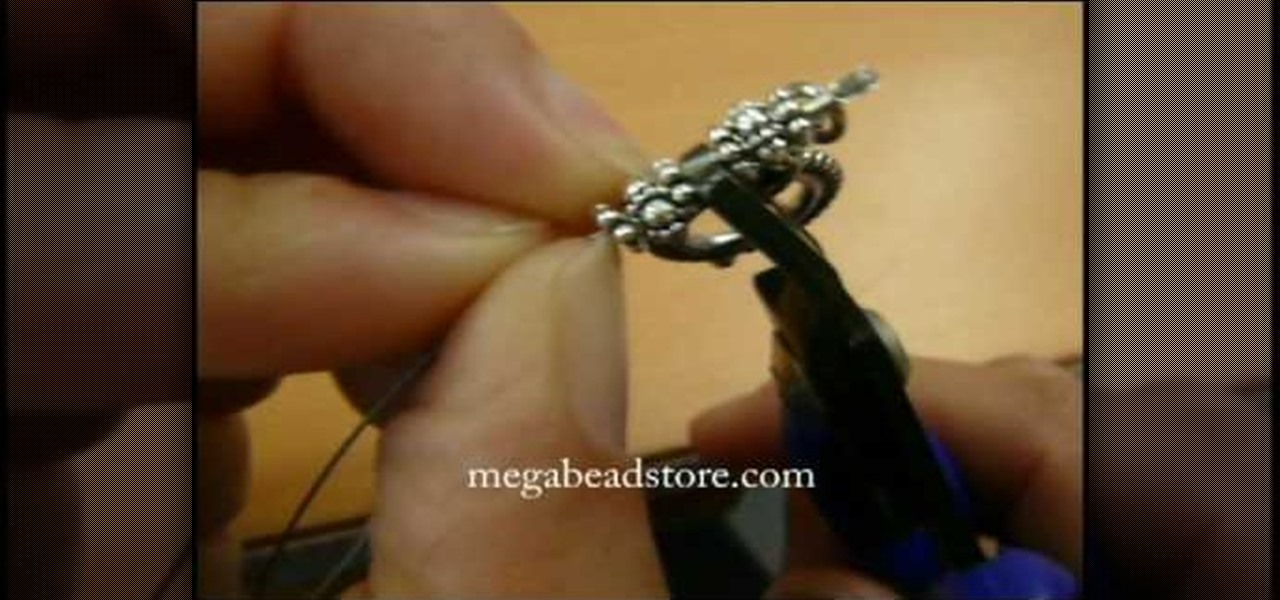
In this video, we learn how to hide a crimp bead with a crimp bead cover. First, string your spacer followed by a crimp bead and another spacer. At the end, you will have the end piece with the wire protector next to it. Then, bring the piece of jewelry through the crimp bead twice, then through the spacer once more. Now the spacers and crimp beads will be pressed with the crimping tool tightly. Pull on the string to test it out, then slip in your crimp bead cover so it looks like another bea...
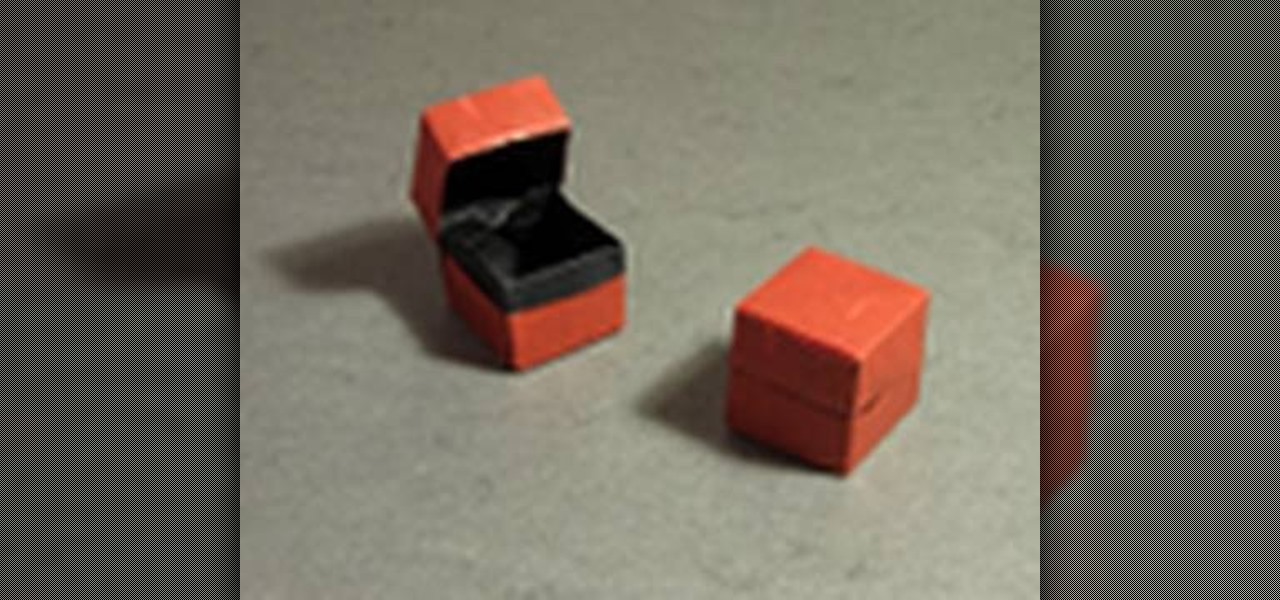
The origami version of a box and lid may seem like one of the simplest origami projects out there, but you should consider this origami box and lid the hard mode version of an otherwise beginner origami craft. Rather than use two sheets of paper total - one for the box and the other for the lid - this origami project only involves one piece of origami tissue paper.
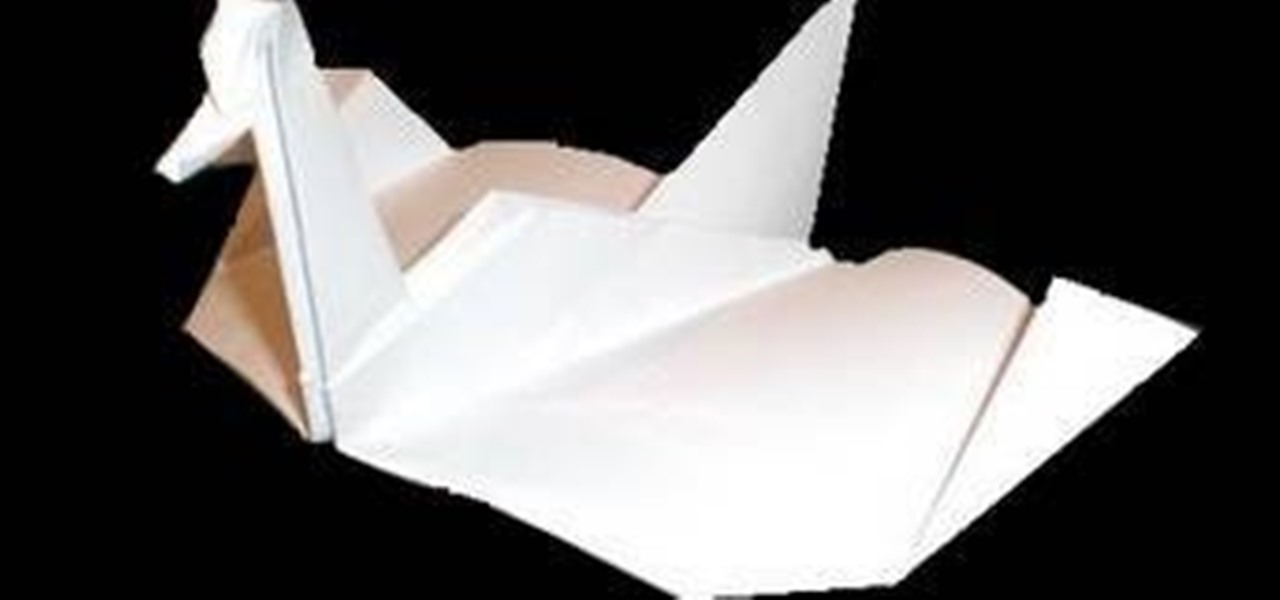
Watch this origami tutorial and in no time at all you'll transform an ordinary piece of paper into a fabulous, beautiful swan, unsuspectingly reenacting the classic gratifying story of "The Ugly Duckling." All you need are two hands with more or less dexterous fingers and a piece of white origami tissue paper or printer paper.
When we were five years old, there was nothing better to do at recess than to whip out a bag full of popsicle sticks of all sizes, some glue, and then piece together the pieces as if solving a puzzle. We'd make forts, bridges, and even stick people.
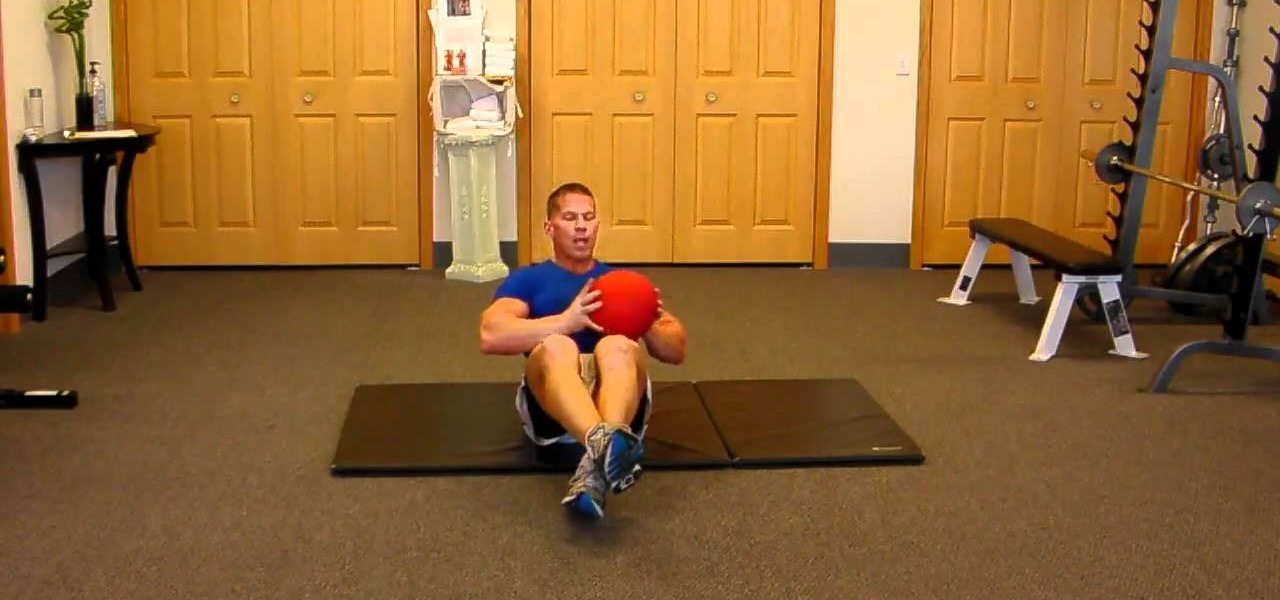
We don't usually think that you need exercise equipment in order to work out effectively. In fact, most of the time you can achieve comparable results to going to the gym simply by using your own body weight (doing push ups, for instance, or the Warrior 3 yoga pose).
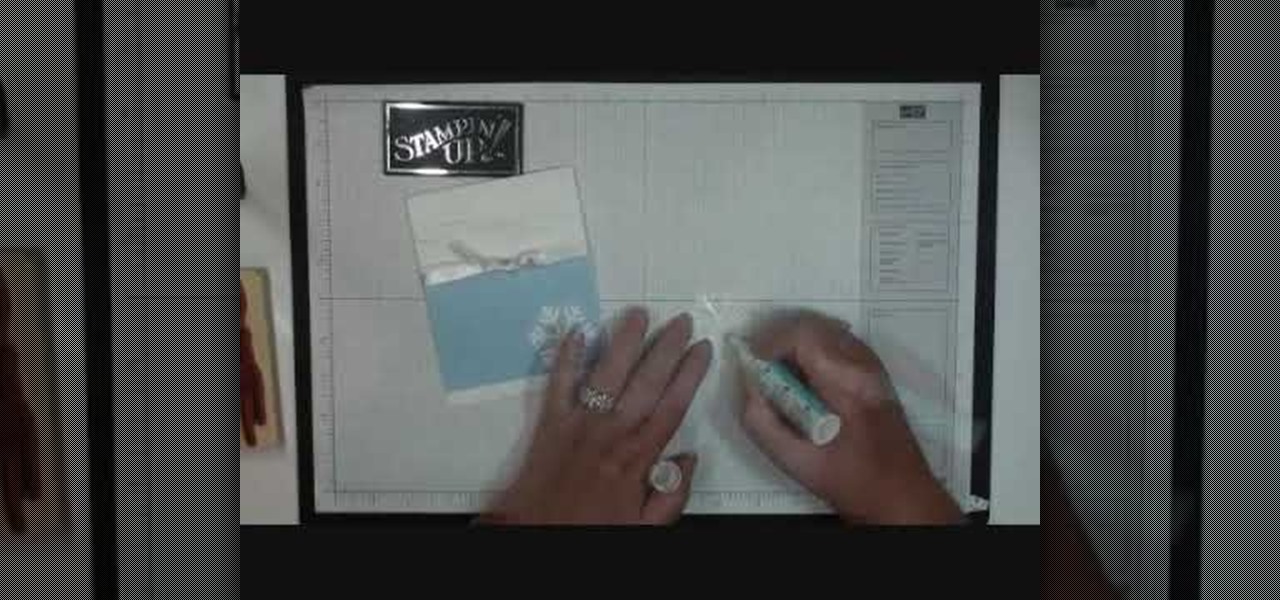
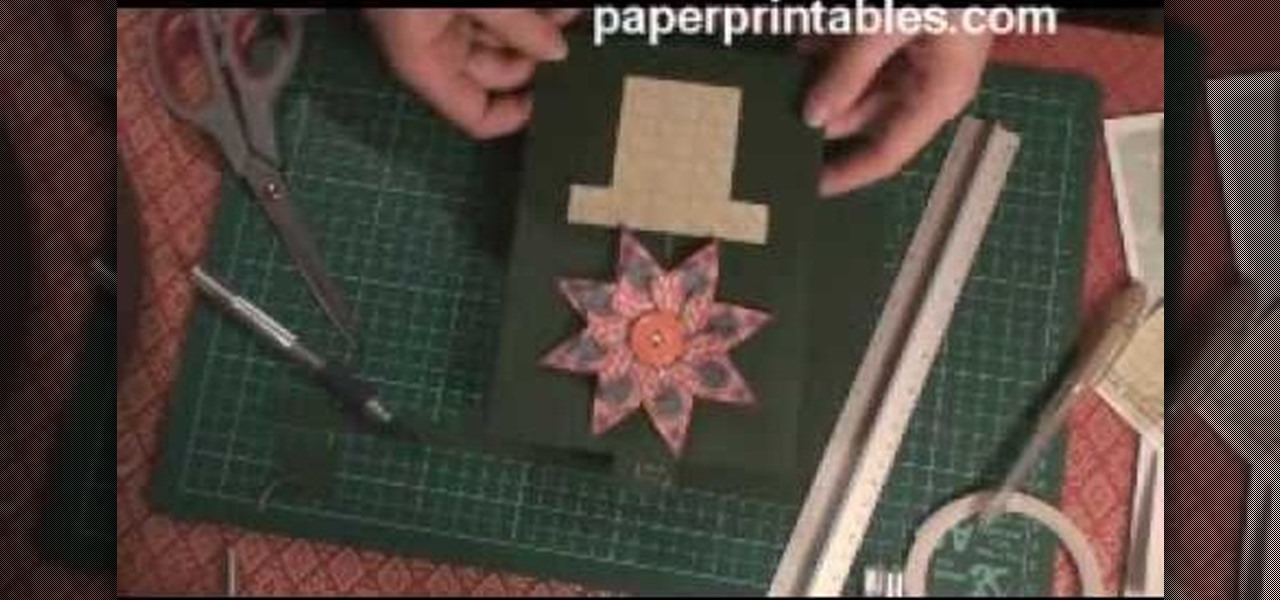
This video tutorial is in the Arts & Crafts category where you will learn how to make a quick and simple Christmas card with Stampin' Up! You will need the bashful blue classic ink, a bashful blue cardstock cut at 3" x 4 1/4", a piece of whisper white cut at 4 1/4" x 11" and scored at 5 1/2", a piece of whisper white organza ribbon and scrap cardstock for two snowflakes. Cut out the snowflakes with the jumbo snowflake punch. Stick the bashful blue on the whisper white cardstock. Using the hea...

In this video, we learn how to use your Cricut to save money on scrapbook paper. First, place the mini monogram cartridge into your Cricut machine. Then, place your paper onto the 12x12 cutting mat. Now, load your paper into the machine, then press the scalloped circle and the fit to page buttons. Then, press cut and let the machine do all the work. Once it's finished, unload your paper from the machine and remove the outside portion of the image. Now, adhere it to the white piece of scrapboo...

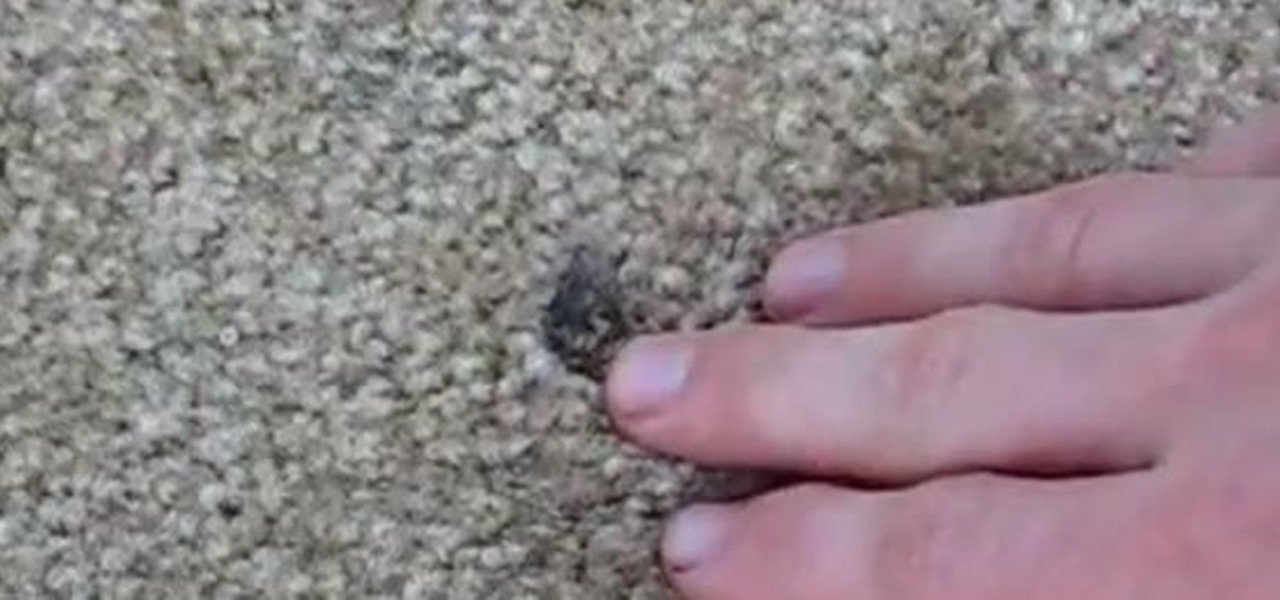
In this tutorial, we learn how to repair carpet burns. First, take some tongues and ruff up the surface to break up the burnt pieces that are inside the carpet. Next, take some Resolve and spray it onto the spot, then brush it with a handheld brush. After this, blot the area with a towel until it's nice and dry. Next, cut out a small piece of spare carpeting and then open up the area that was burnt. Cut it out with scissors, then replace this with the new carpet.

In this tutorial, we learn how to build an outdoor dog house. Start off by making all the measurements for your dog house and cut out your wood. After this, use a metal frame piece to drill into the wood and this will be the base of the house. After this, connect all the metal pieces on the dog house to make the basic outline of the house. When you are finished with this, place wood on the frame of the house and drill it into place. When you are done with this, you can paint the house if you ...

In this tutorial, we learn how to make mozzarella cheese. First, add sea salt to water, then add in cheese curd. Now you will need to work the cheese with gloves over your hands. Start to knead your cheese until you form it in ball shapes and it feels like it's elastic. After you do this, rub the cheese and get any bumps out that are still inside of it.To store this, stretch it onto a piece of plastic wrap, then tie a string around in small balls to cut out smaller pieces of the cheese. When ...

In order to make a ribbon tree, you will need the following: 50 2" pieces of ribbon, scissors, a hot glue gun, hot glue sticks, and a floral tree.

In this video, we learn how to make single ended dreads. First, you will need synthetic hair, a hanger, and a steamer. First, take the hair out of the package and then cut a section out of it and put the other hair aside. Next, place the hair on a clothes hanger hook, then pull on the hair with your hands. After this, pull the ends down and then take a comb and back comb the hair piece. You want it to be in a big poufy mess what you are finished with it. After this, you want to braid the hair...

In this tutorial, we learn how to make a paper football for distance. First, take a piece of copy paper and fold it in half on both sides, then fold in half again, making a crease. Next, fold the bottom of the paper down into a triangle shape. Continue to fold this down, making a right and then left triangle until you reach the bottom of the paper. When finished, you will have a small strip of paper left on the bottom. Tuck this piece into the pocket that you created with the triangle pouches...

In order to make your own envelopes, you will need a piece of paper, glue, scissors, and optional decorating tools/stickers.

Cathedral earrings are so dazzling on the ear and so much fun to make. You will need for this project:

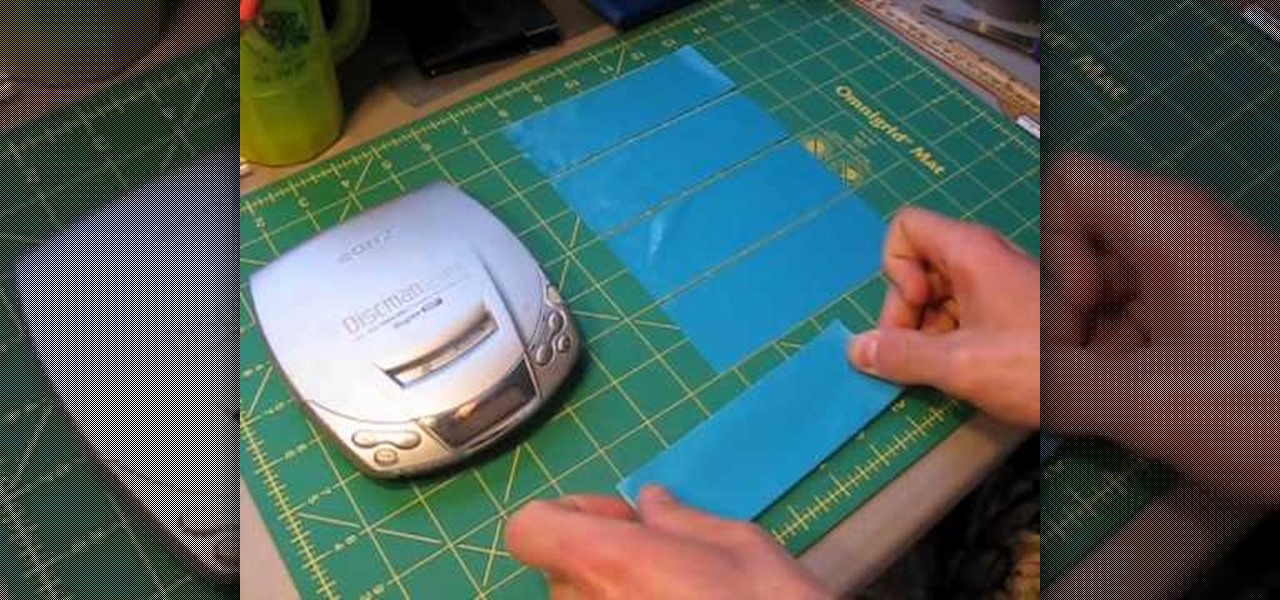
In this tutorial we learn how to make a duct tape CD player holder. First, measure your length, width, and height of your CD player. After this, cut out the color duct tape you like in strips that are the right size for your player. Now, take your first two strips and stick them together. Now, take the third one and apply it to the bottom, flip it over and stick another one on top. Keep overlapping these with several strips until you get to the height of the CD player. After this, place the s...

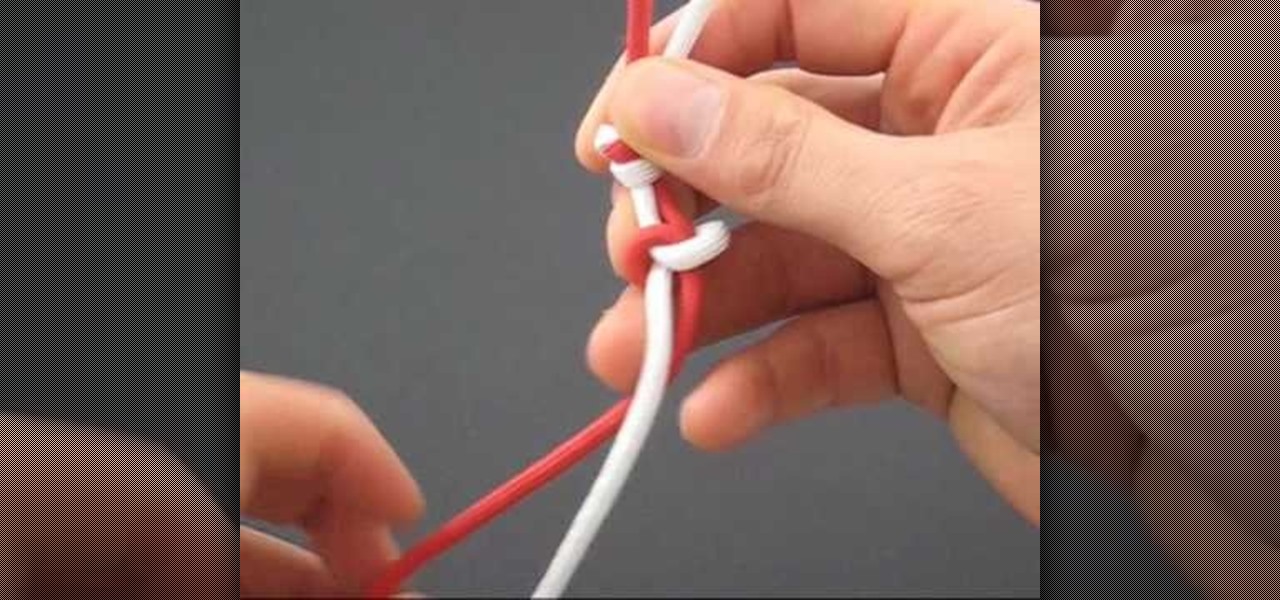
In this tutorial, we learn how to tie a paracord snake knot. Start out with a double overhand knot, by making a loop with two strings and tying it through. After this, start the snake knot by taking the left piece of string and wrapping it around into a loop. Then, take the other piece of string and place it inside the loop, then pull it to the left and wrap it around the other string, then push it through the loop. Continue to do the snake knot until you reach the bottom, then finish it off ...

In this tutorial, we learn how to make a lily out of paper and pipe cleaner. First, lay your hand flat on a piece of copy paper. Next, trace your hand with a pen or pencil, then cut it out with scissors. Now use a pencil or pen to curl the ends of the fingers you just cut out. After this, combine two pieces of gold pipe cleaner together and bend in half. Then, place a green pipe cleaner in the middle and make a twist to keep in place. To finish, wrap your paper hand cut out around the gold pi...

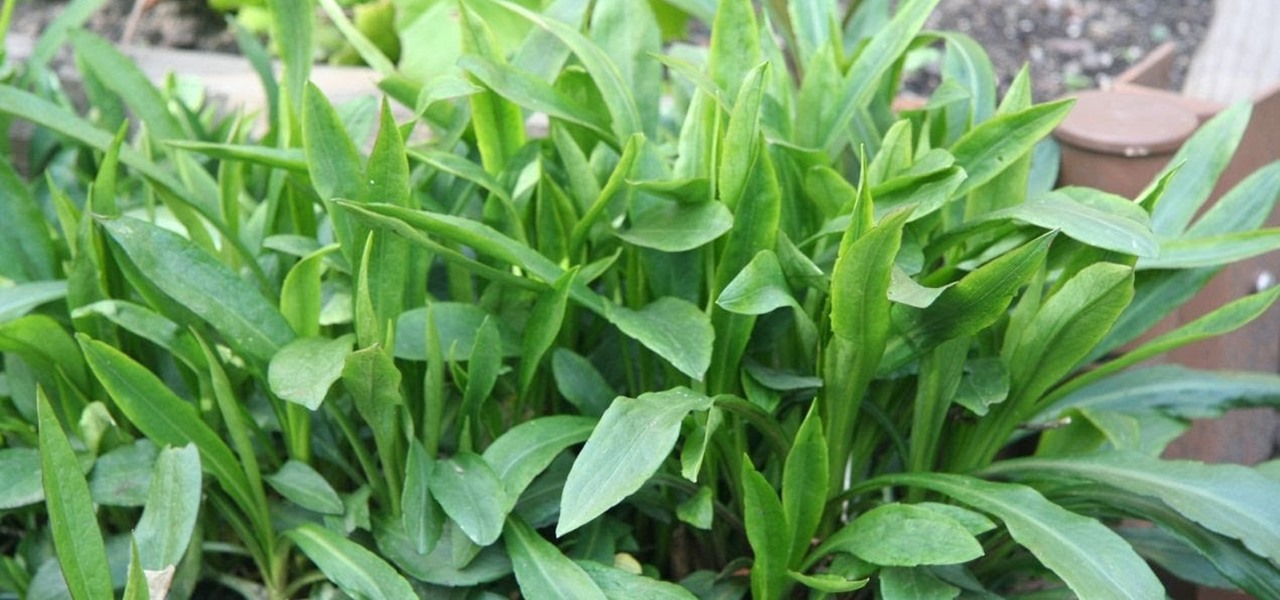
In this tutorial, we learn how to preserve and dry herbs. First, you will want to cut your herbs fresh from the garden. Next, use scissors to cut the herbs into small pieces. After this, place the herbs on a piece of wax paper on a plate. Now, place the plate into the microwave on half power for three minutes. Look at the herbs to see what they look like when they come out of the microwave. If there is still moisture in them, place them in a microwave again. Adjust the power and time you cook...

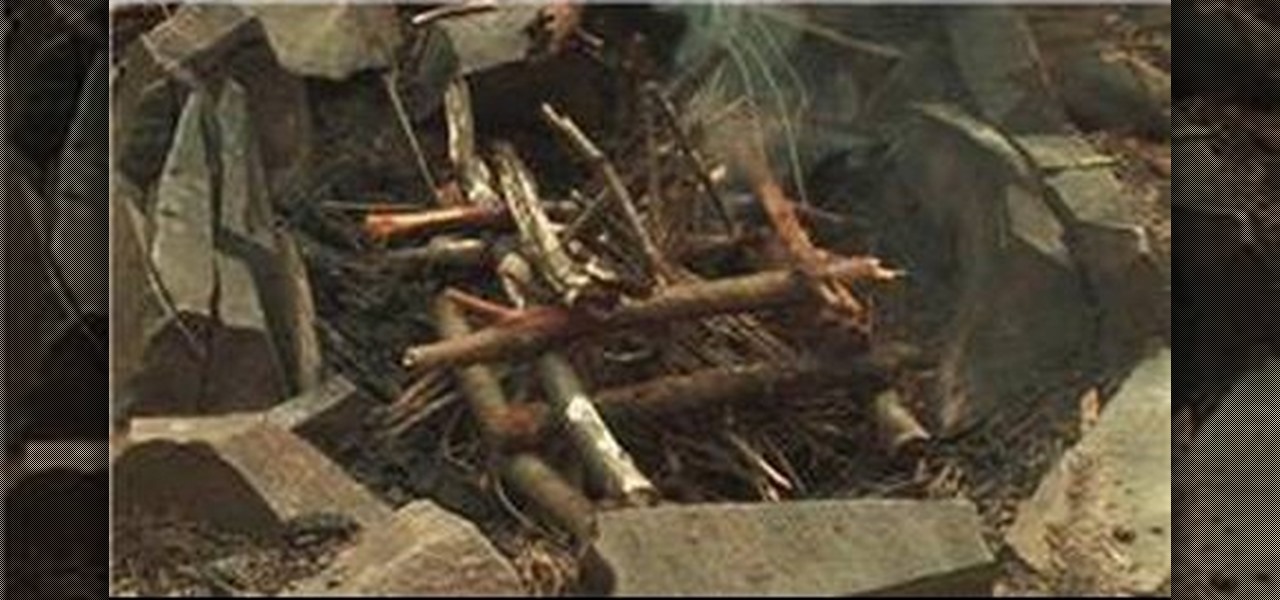
In this tutorial, we learn how to build the perfect campfire. It's important to consider the materials, it's impossible to take a lighter and light a large piece of wood. You want to start the fire small and build it large. Think about the wood you will be using, which will decide if you are going to cook on it or need it for warmth/light. Birch bark is great for a base layer. Cinder is perfect to place on top of the birch, then add in larger pieces of wood as you create a bigger fire. When y...

if you're looking for a little bit more of a challenge in the game Darksiders, then check out this tutorial. In the video, you'll be finding out how to find all ten pieces to the Abyssal Armor. This armor is much different than War's original armor and is much stronger and gives life on all attacks. It doesn't need to be collected to win the game, but it helps make your character stronger.

In this tutorial, we learn how to make a paper flower using paper scraps. To make this, you will need: 3 pieces of small pink scrap paper, 1 piece of small green scrap paper, 1/16" brad, adhesive, hole punch, ink, and a sponge. First, you will draw one different size circle on the 3 sheets of pink paper. Next, draw leaves onto the green scrap paper. Now, start tearing the shapes out of the paper leaving no pencil showing. Crumple the paper up several times, then get your ink and put it on you...

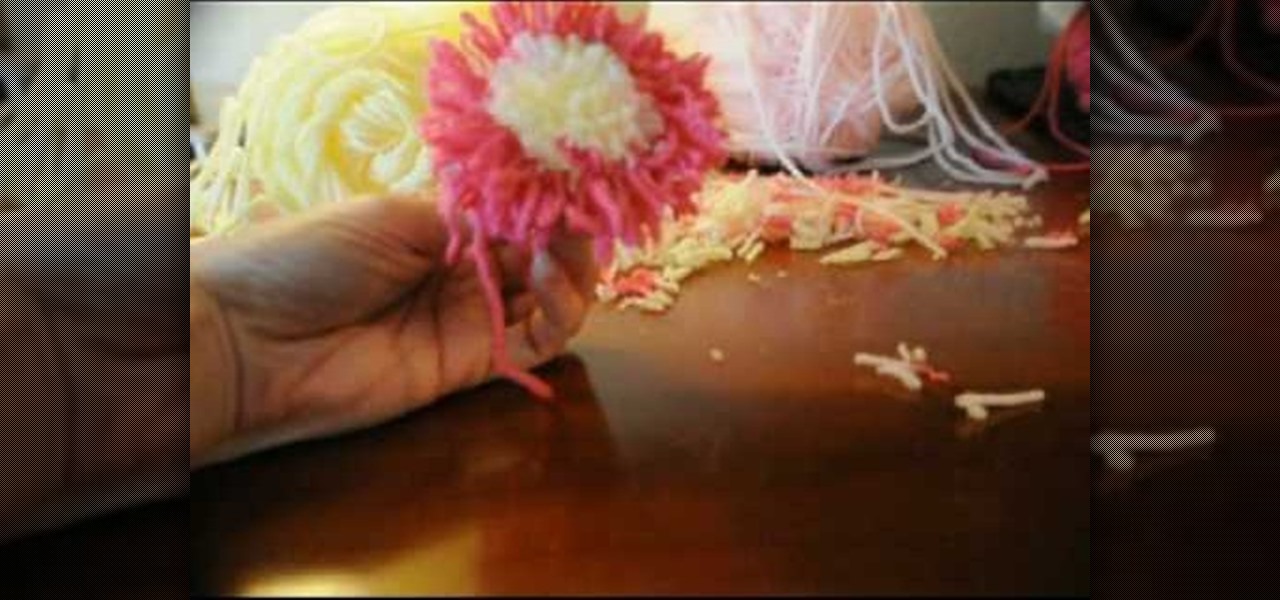
Tracey shows us how to crochet an easy pom pom flower in this tutorial. First, wrap your yarn around four fingers several times, and then wrap another color around as well. Last, wrap one last color on top of the middle color still wrapping around your fingers. Now pull the yarn off your fingers and tie a piece of yarn down the center of the wrapped yarn. Pull this as tight as you can and make as many knots as possible with this piece of yarn. Now cut your loops open with scissors through the...

Jessica VanDen shows us how to make a hand forged silver clasp in this video. Start off with two pieces of sterling silver wire. Now make a simple S clasp with pliers. Then grasp the wire at the thick end and wrap it around until the long piece meets the curve you made. Next, wrap a curve around the end of the wire with pliers to make the clasp. You will need to put the chain through it to attach it. Make sure your chain can fit through the loop that you have made. Now you're finished and mak...

In this Arts & Crafts video tutorial you will learn how to make a growing flower pot card. First you make a flower out of a tea bag. Then cut out a piece of paper in the shape of a flower pot. Now take a couple of sheets of 8x4 card of the same color. Score one card in half and fold it. From the other card cut out a piece equal to the size of an A5 card, which is 14.85 x 10 cms. Now glue the flower pot shaped paper on to this card. Now cut a long strip of the card, 30 x 3 cms and fold it in h...

In this tutorial, Tony Vo teaches us how to cut a bottle. You will need: a glass bottle, yarn, lighter, sink of cold water, and acetone or alcohol. First, take your glass bottle and tie a piece of yarn around the part you want to cut. Wrap the yarn two times around, then tie it tie it tightly. Now, take the acetone and drop it onto the yarn until the entire piece is saturated. Next, take your lighter and burn the yarn on the bottle. As soon as the flames die down, place the bottle into a sink...

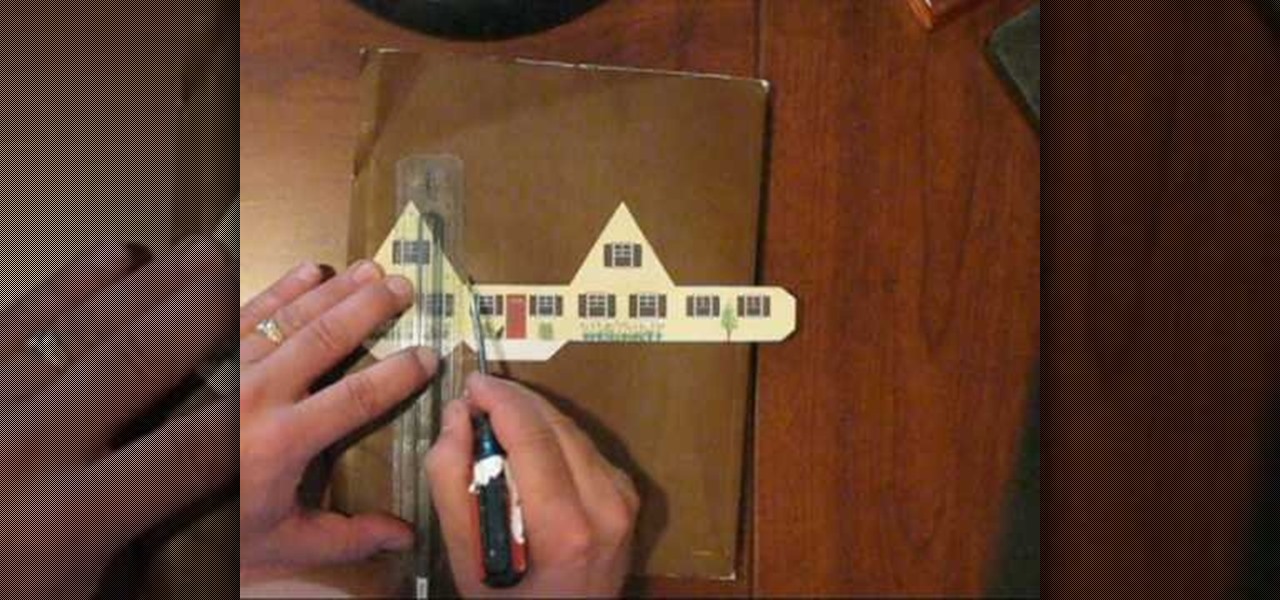
To make a Cottage Pop-Up Card, you will need the following: the printable pattern available at Victoria Norman Home , scissors, a ruler, cardstock, glue, and a flat head screwdriver.

Moving is such a hassle! Packing is a big job but this video shows and easy way to pack out pots and pans. You will need 4-5 cubit foot cartons. You can get these from your mover or you can purchase them from a moving company. You will also want to get clean newsprint, packing tape, a moving blanket, and a permanent ink marker. Prepare your 4-5 foot carton by putting crushed paper on the bottom. This will act as a cushion for the pots and pans. Put the moving blanket or a protected pad on the...

In this tutorial, we learn how to work with memory wire to make jewelry. This is a coil material that remembers its shape and comes in a variety of different sizes. First, decide how thick you want your jewelry piece to be, then cut the excess wire with wire cutters. Next, apply a drop of superglue to one end of the coil followed by a Memory Wire end cap and let dry. Now, string your beads onto the wire. When finished, put a bead stopper onto the wire and apply glue to the very end with anoth...

You know those trendy little jewelry stores that line Melrose and Robertson Blvd., filled with gorgeous yet offbeat knick knacks boasting sleek '60s contours and not too much bling? Well, you can create a similar "pretty, but not too pretty" piece of jewelry by watching this tutorial.

No matter how often you sew or how many projects you complete, you can't possibly find a use for EVERY single scrab of fabric lying around. Your first thought is probably to throw them away, but there is indeed a project you can do that only requires the smallest of fabric scraps.

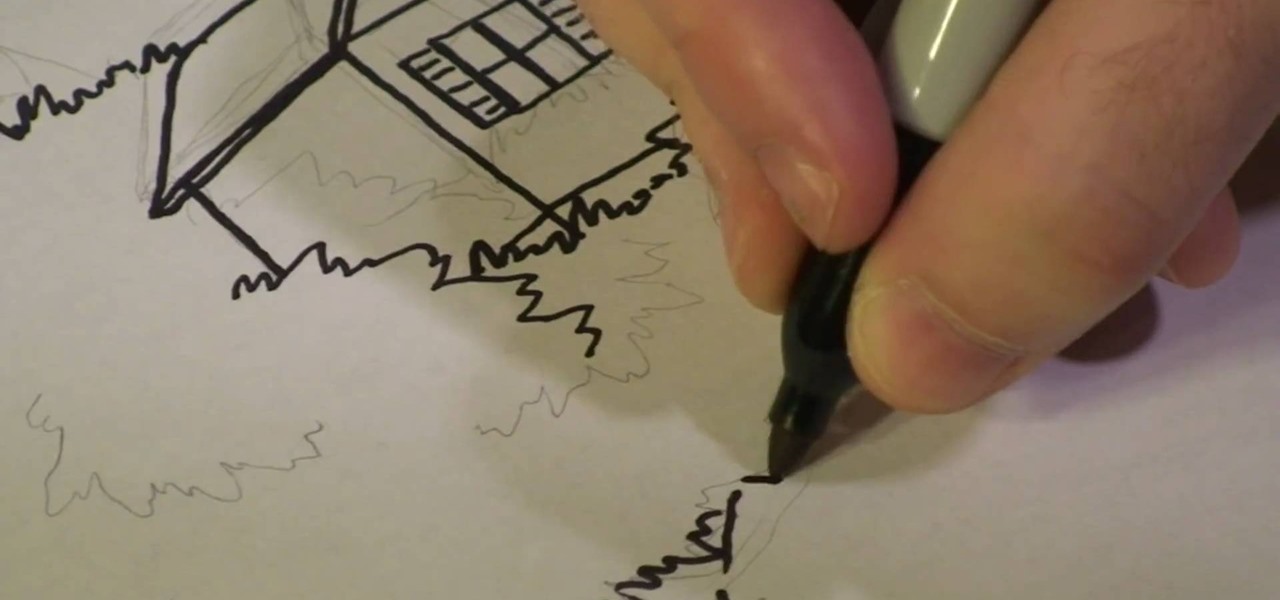
This video by Michael Weisner will show viewers how to draw a tree house using a white piece of drawing paper and a writing utensil. In order to save time, the drawing had been roughly outlined in pencil. A rough outline of the desired picture may help before you begin your drawing, otherwise, you may proceed without it. First, you should begin by drawing the base of the tree, which is a simple trunk with roots. Make sure to leave some space along the trunk in the form of missing pieces along...

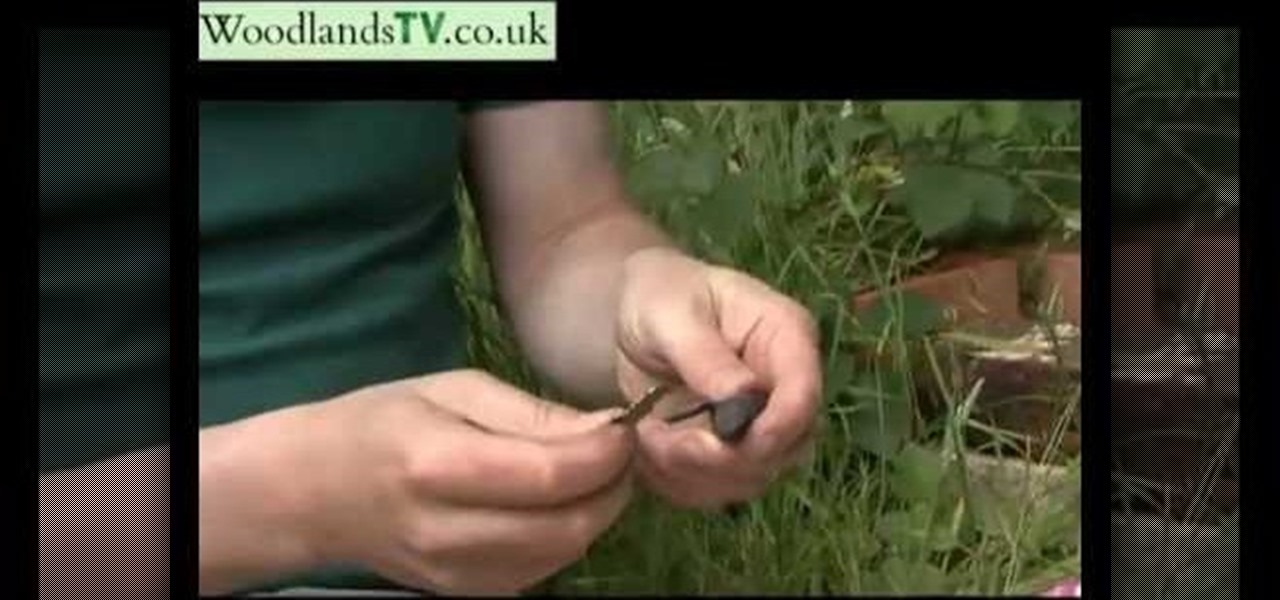
In this video tutorial, viewers learn how to use a fire steel. The fire steel consists of a piece of steel and a striker. To use the fire steel, simply by pressing one piece against the other to create sparks. To ignite a fire with the sparks, users will need some sort of kindling or tinder. Simply strike the fire steel against the tinder to allow the tinder to catch the spark and create a fire. This video will benefit those viewers who are planning to camp or want to learn about wilderness s...

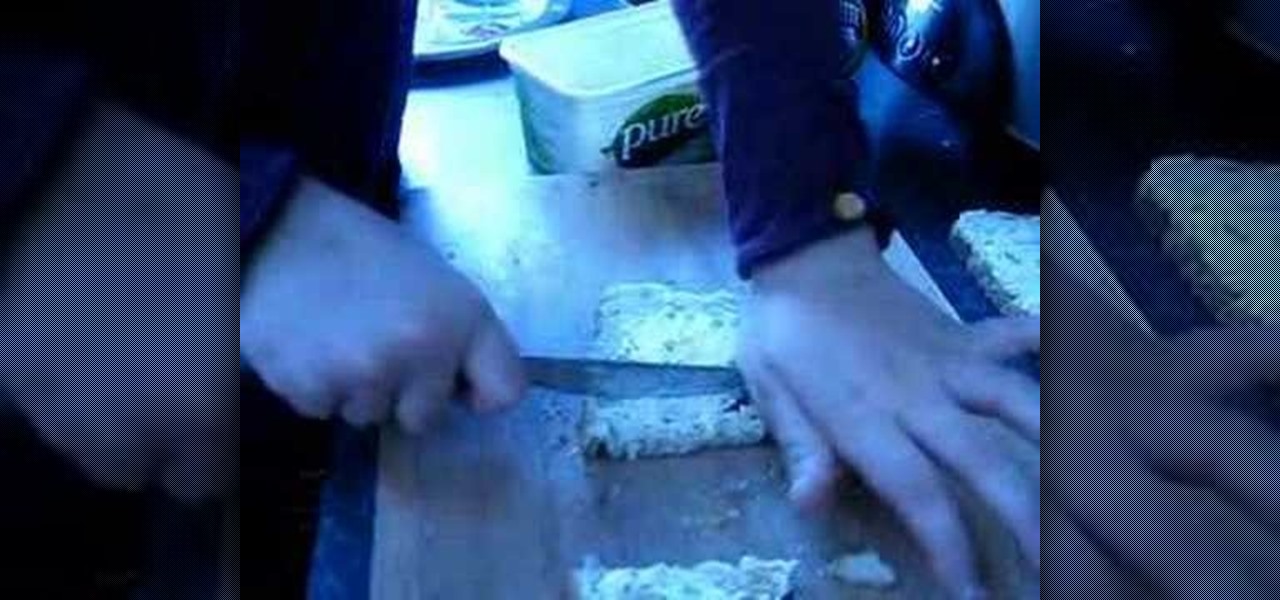
In this tutorial, Lucy shows us how to make buttered soldiers with toast. The ingredients you will need for this are: toast, butter or margarine, knife, and fried or boiled egg. After you have toasted your bread, you will want to butter your toast to your liking, adding as much as you need. After this, cut your toast into strips, until you have cut the entire piece of toast up into pieces. Next, place the toast strips (buttered soldiers) onto a plate and place the boiled or fried egg next to ...

Want to make an authentic, Korean-style miso soup? See how it's done with this free video culinary guide. For details, including step-by-step instructions, watch this free video cooking lesson. The recipe is as follows:

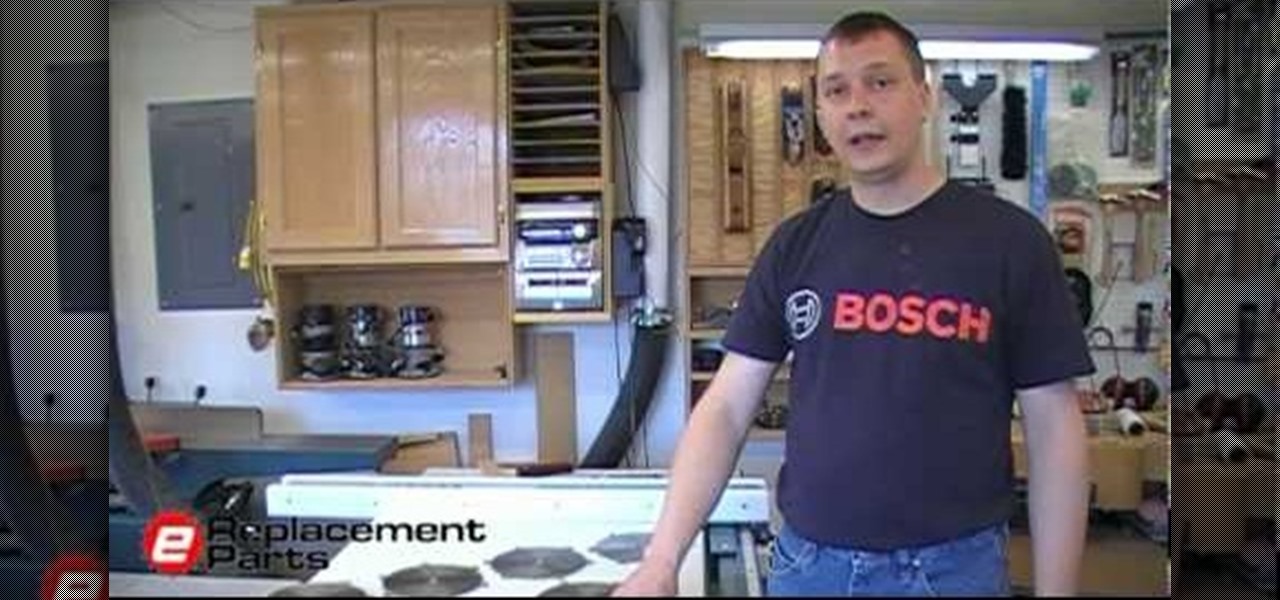
If you plan on making any kind of cabinetry or beds or anything else like that, having a dado blade is a useful and handy tool. What this does is make a u-shaped cut into your piece of wood that is perfect for combing two pieces together to form a sturdy, solid joint. So if you want to find out more about dado blades and how to install and use one check this tutorial out. Enjoy!

Into paper waterfowl? Make a classic-style paper crane using origami, the traditional Japanese folk art of paper folding. This free origami video lesson presents complete instructions on how to make your own cranes from folded paper. For more information, and to get started making the birds yourself, take a look!

Being able to know all the tips and tricks to Photoshop, people can produce some amazing pieces of art. But for the people who don't know their entire way around the most used and known piece of software, there's tutorials out there calling their name. In this video you'll find out how to use the magnetic lasso tool in Photoshop. it creates a well defined outline of the picture in the image and is fairly easy to use. So sit back and enjoy!

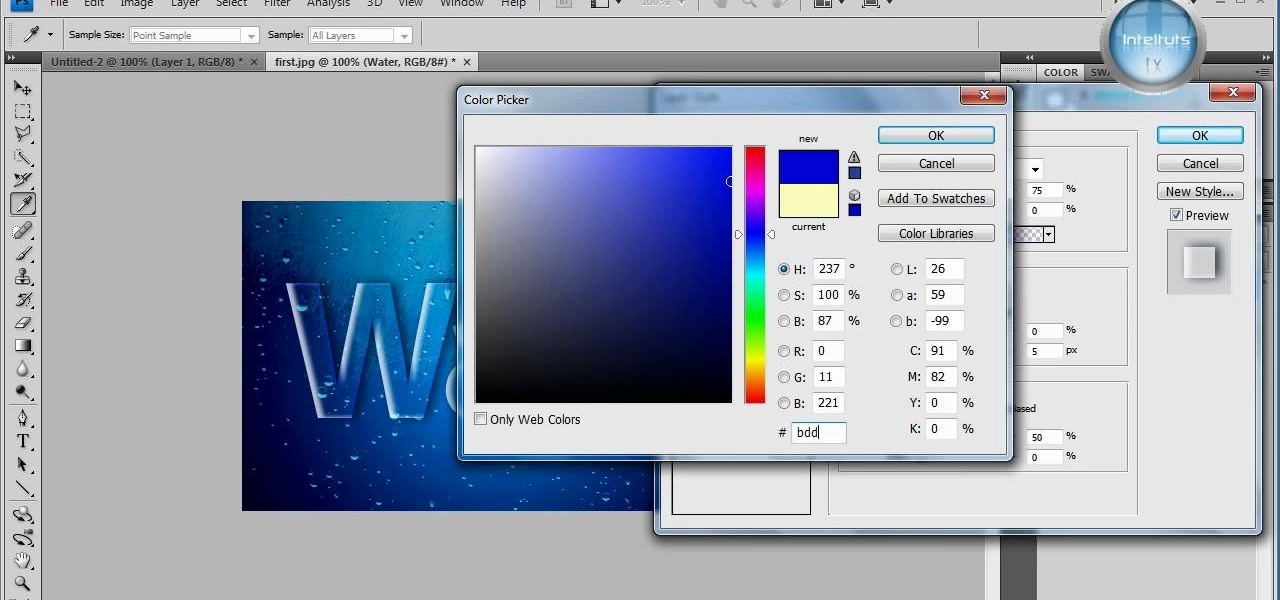
In this tutorial, learn how to make a very cool wet writing effect that you can use for graphics and logos. You will be creating this effect in Photoshop CS4. In this video, you will learn how to take tons of different layer styles and transform a basic text layer into a majestic piece of artwork. You will be shown the process step by step from the very beginning. This tutorial also shows the use of gradients and color corrections tools to optimize the full piece of work.

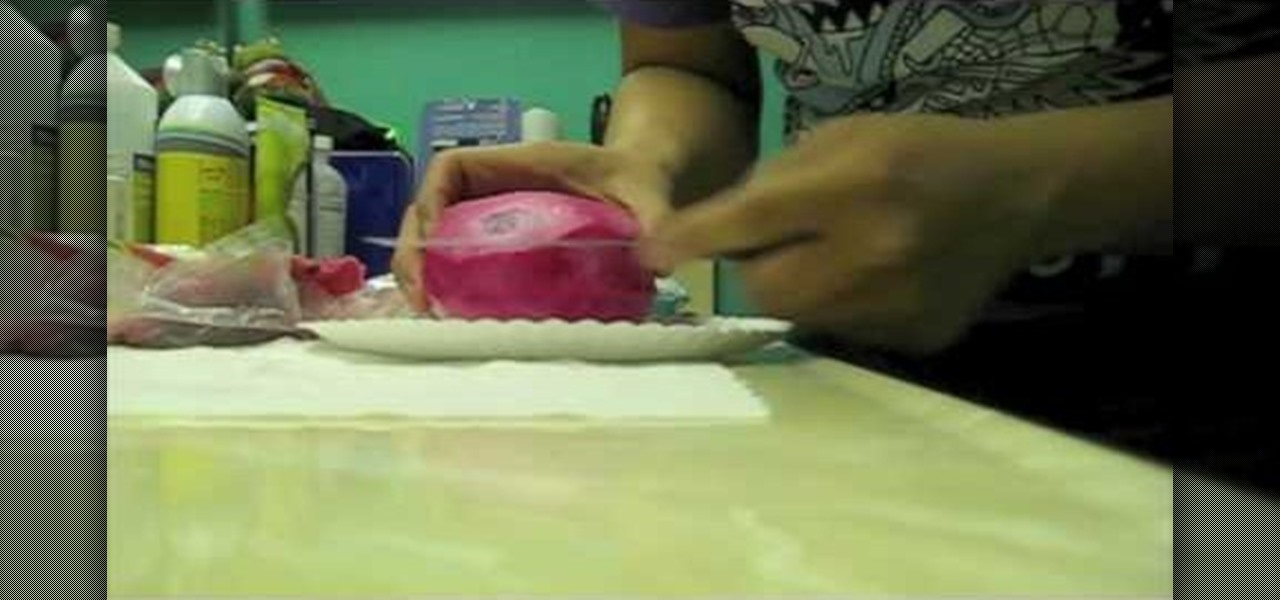
Jaqueesha demonstrates how to prepare and eat a dragonfruit. To prepare the dragonfruit you will need a knife, plate and paper towel. Preparing a dragonfruit involves simply peeling it and cutting it into pieces. First, cut off the stem which is not edible. Then, peel off the outer purple part off of the fruit can stain the skin so be sure to wash your hands after you work with the fruit. Dragonfruit has the texture of a mango. Slice the dragonfruit in half lengthwise. Then, cut each dragonfr...


